Articles
How To Calibrate Dewalt Laser Level
Modified: August 21, 2024
Learn how to calibrate your Dewalt laser level with our informative articles. Expert tips and step-by-step instructions to ensure accurate measurements and precision in your projects.
(Many of the links in this article redirect to a specific reviewed product. Your purchase of these products through affiliate links helps to generate commission for Storables.com, at no extra cost. Learn more)
Introduction
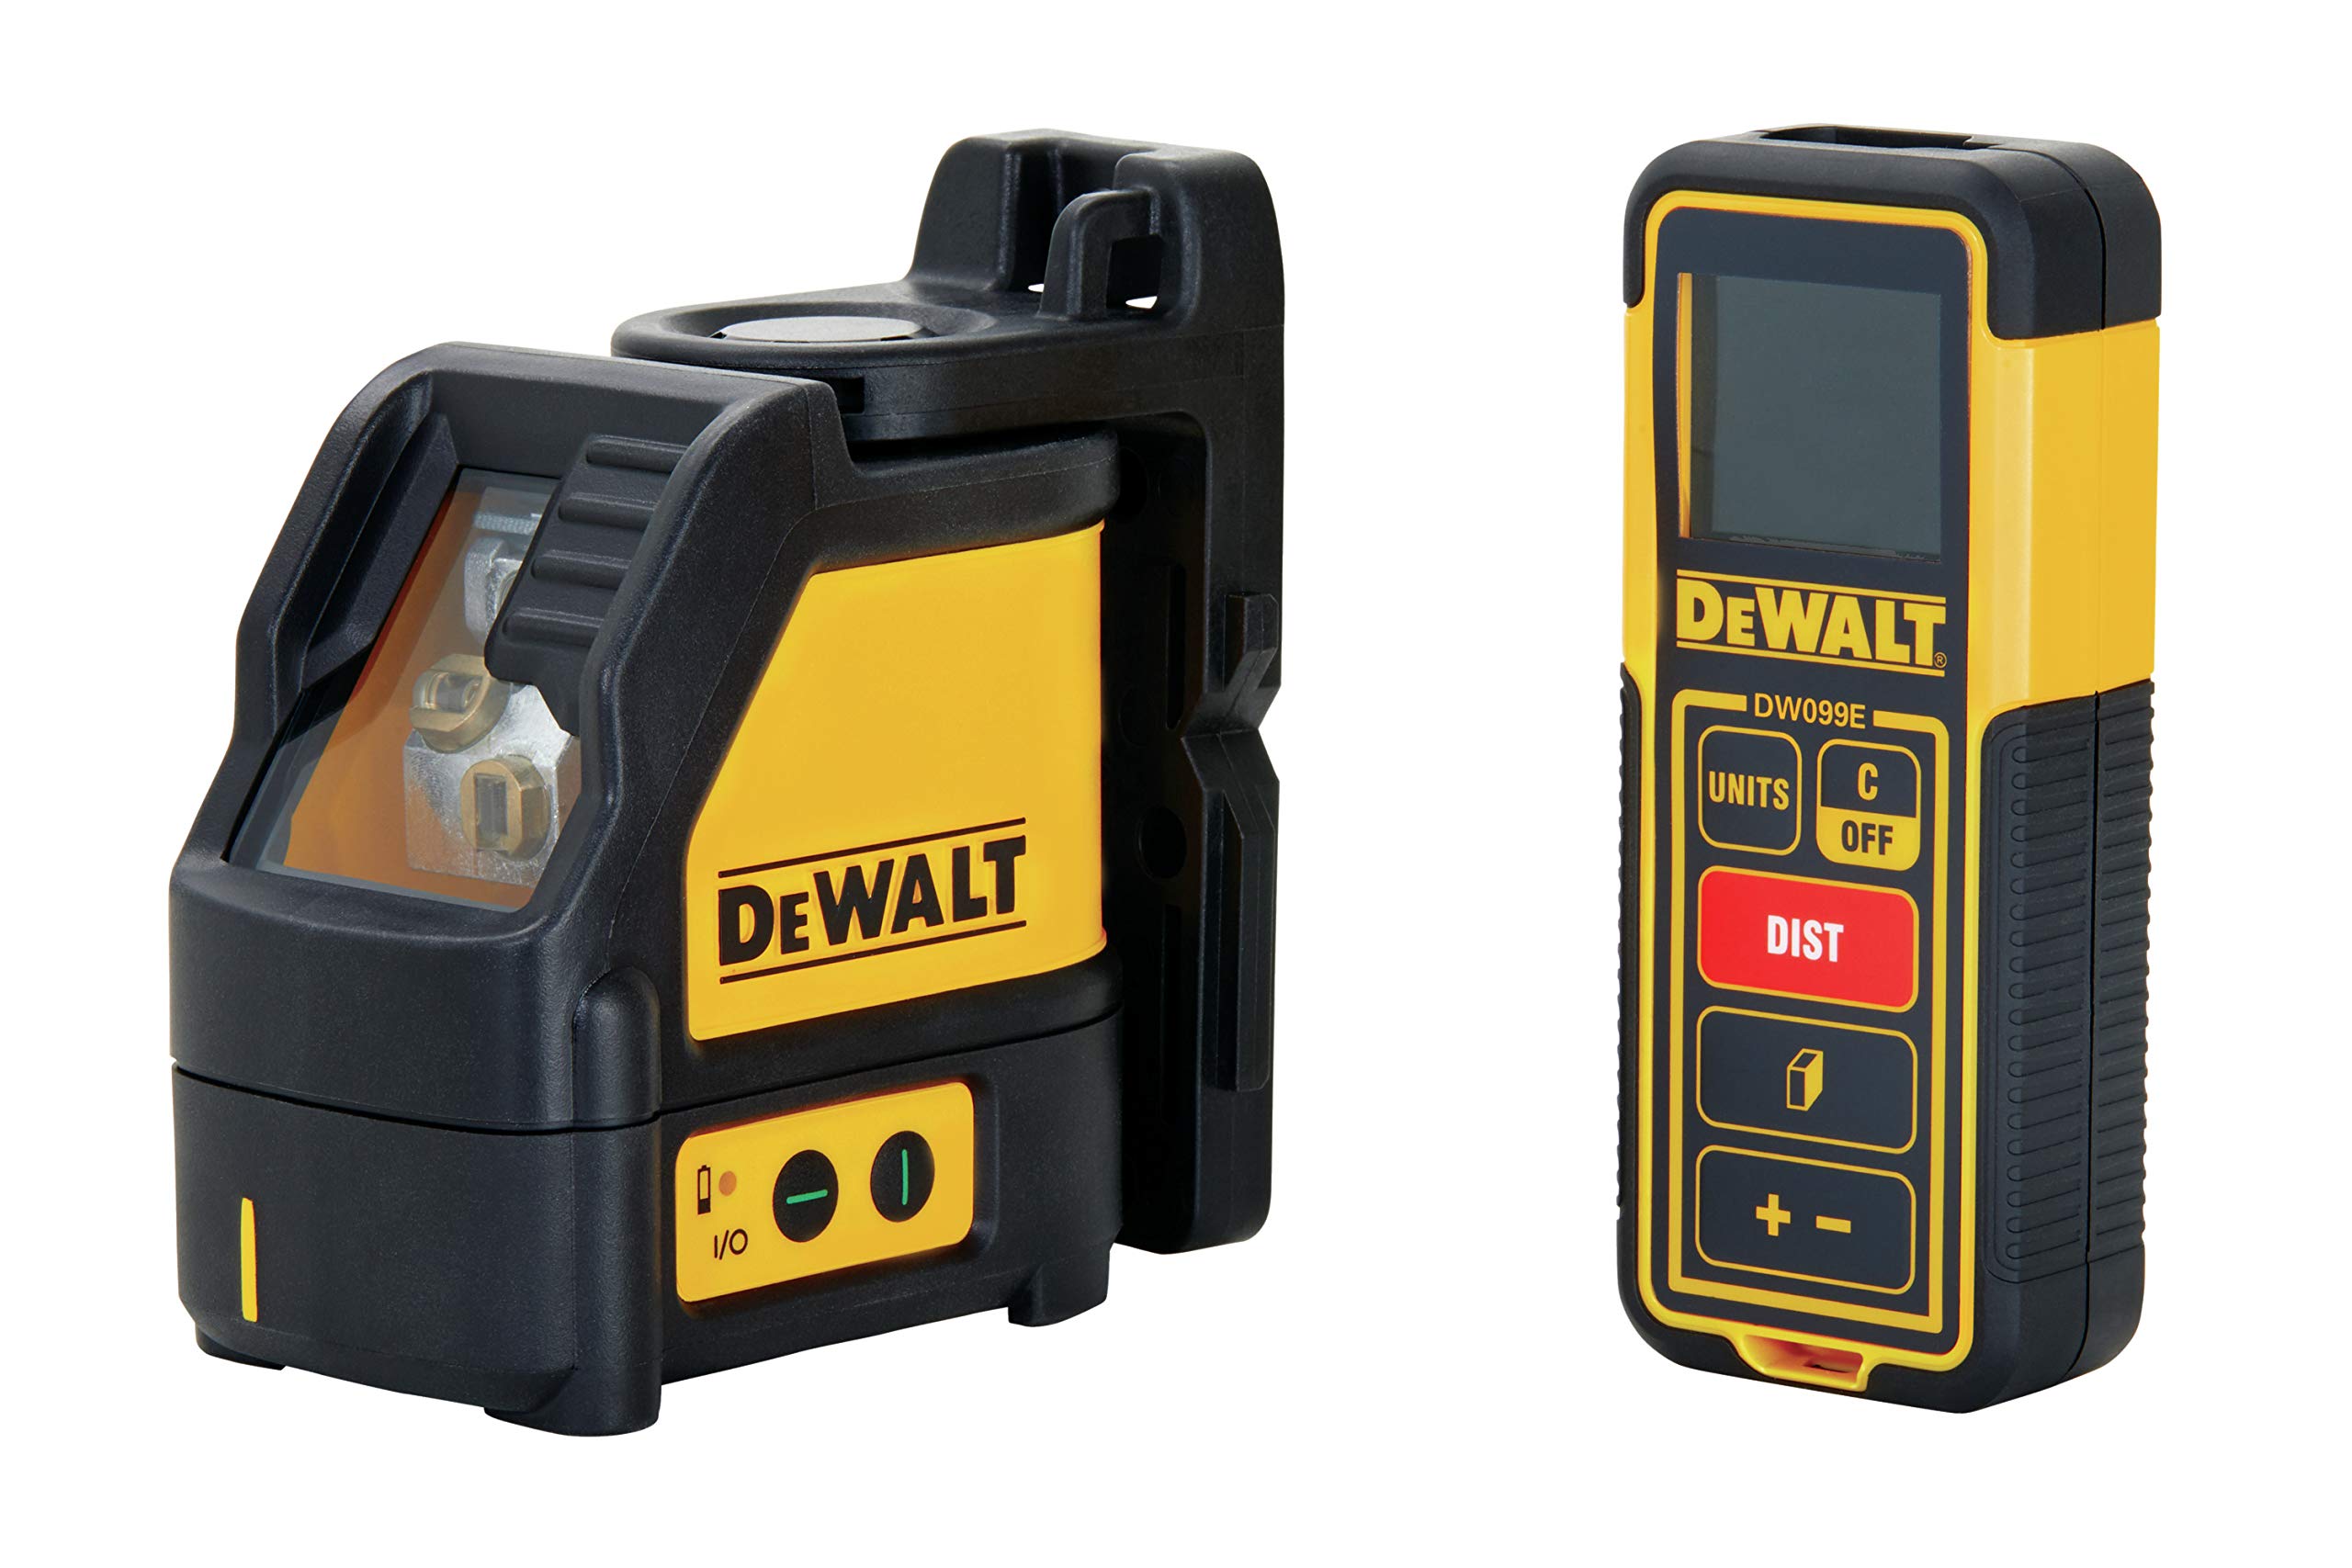
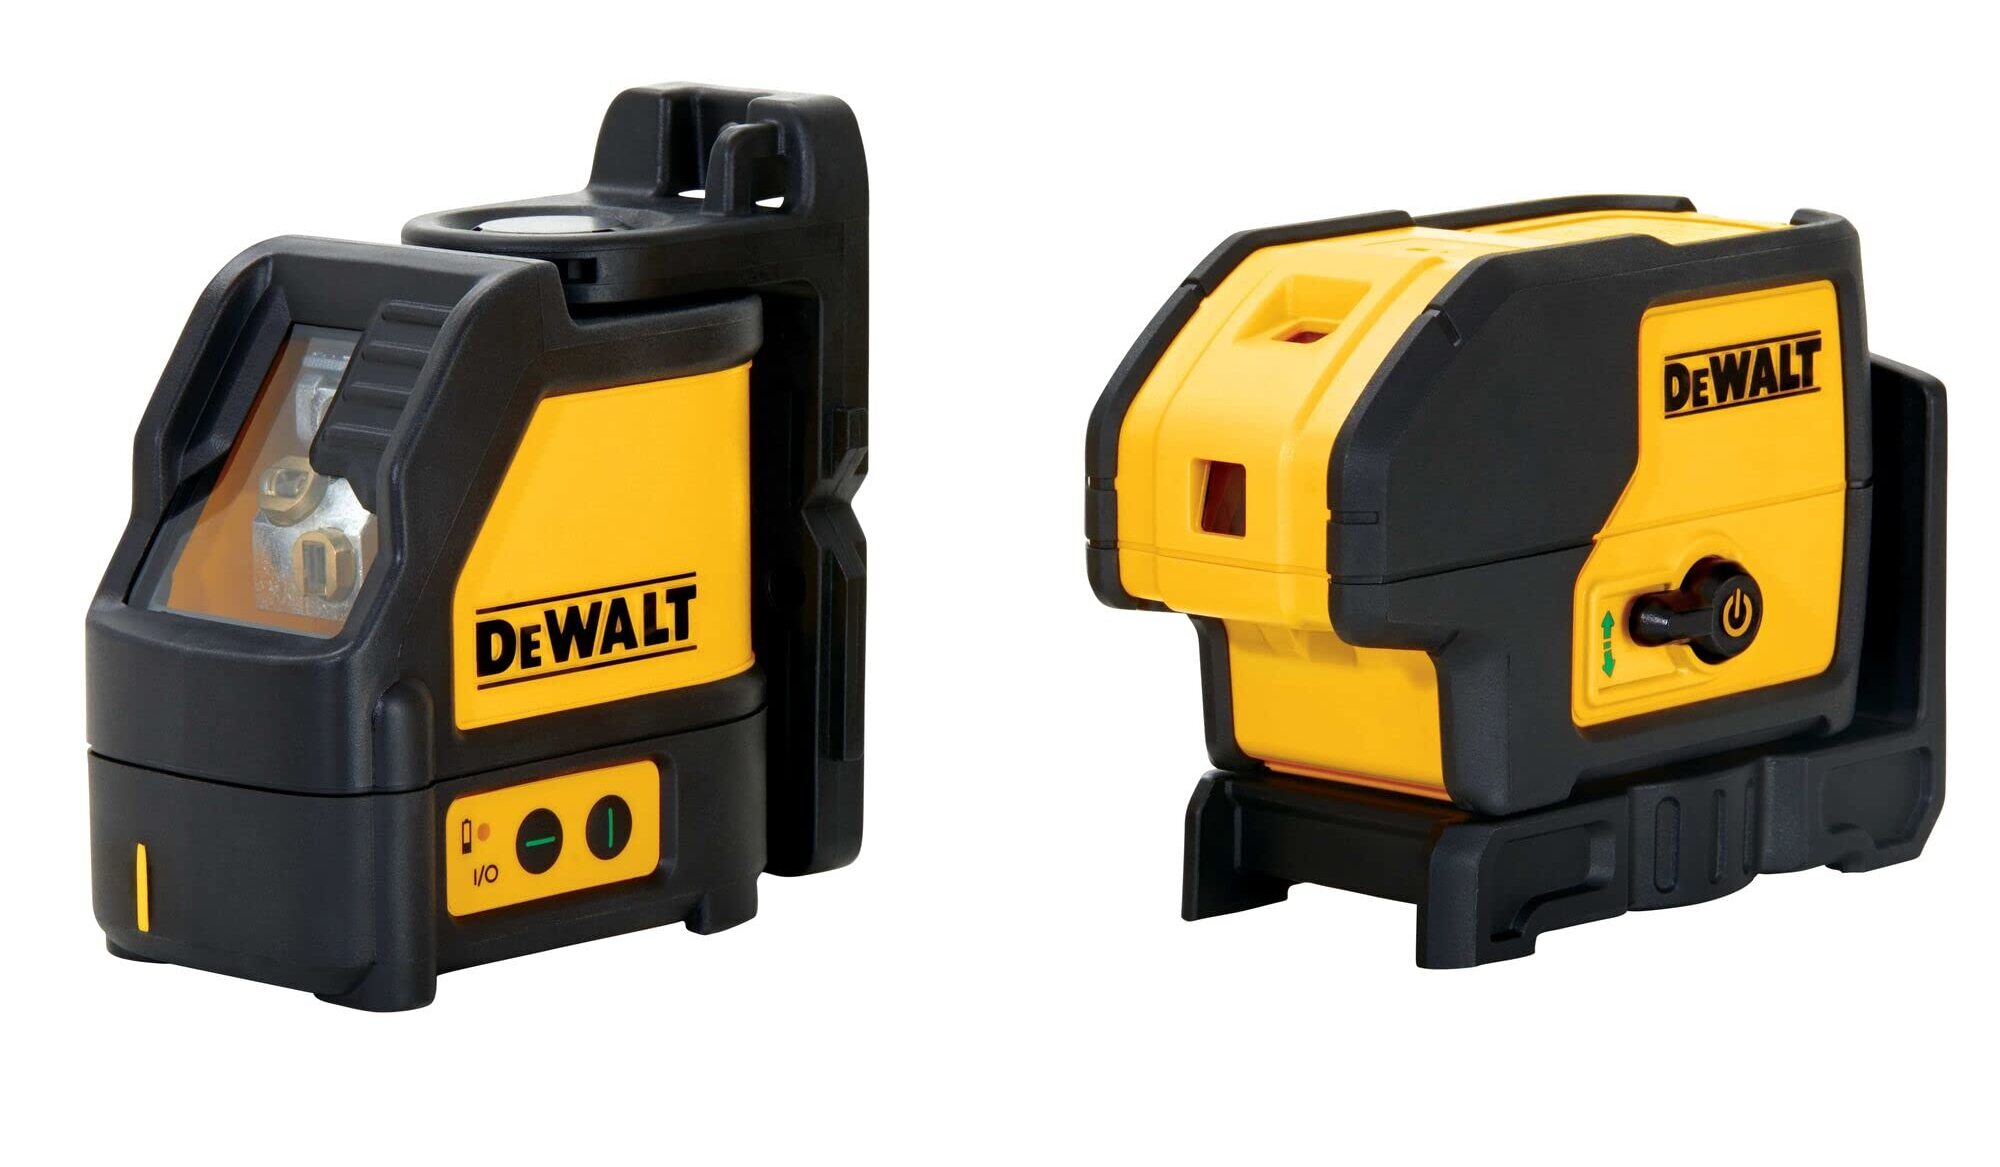
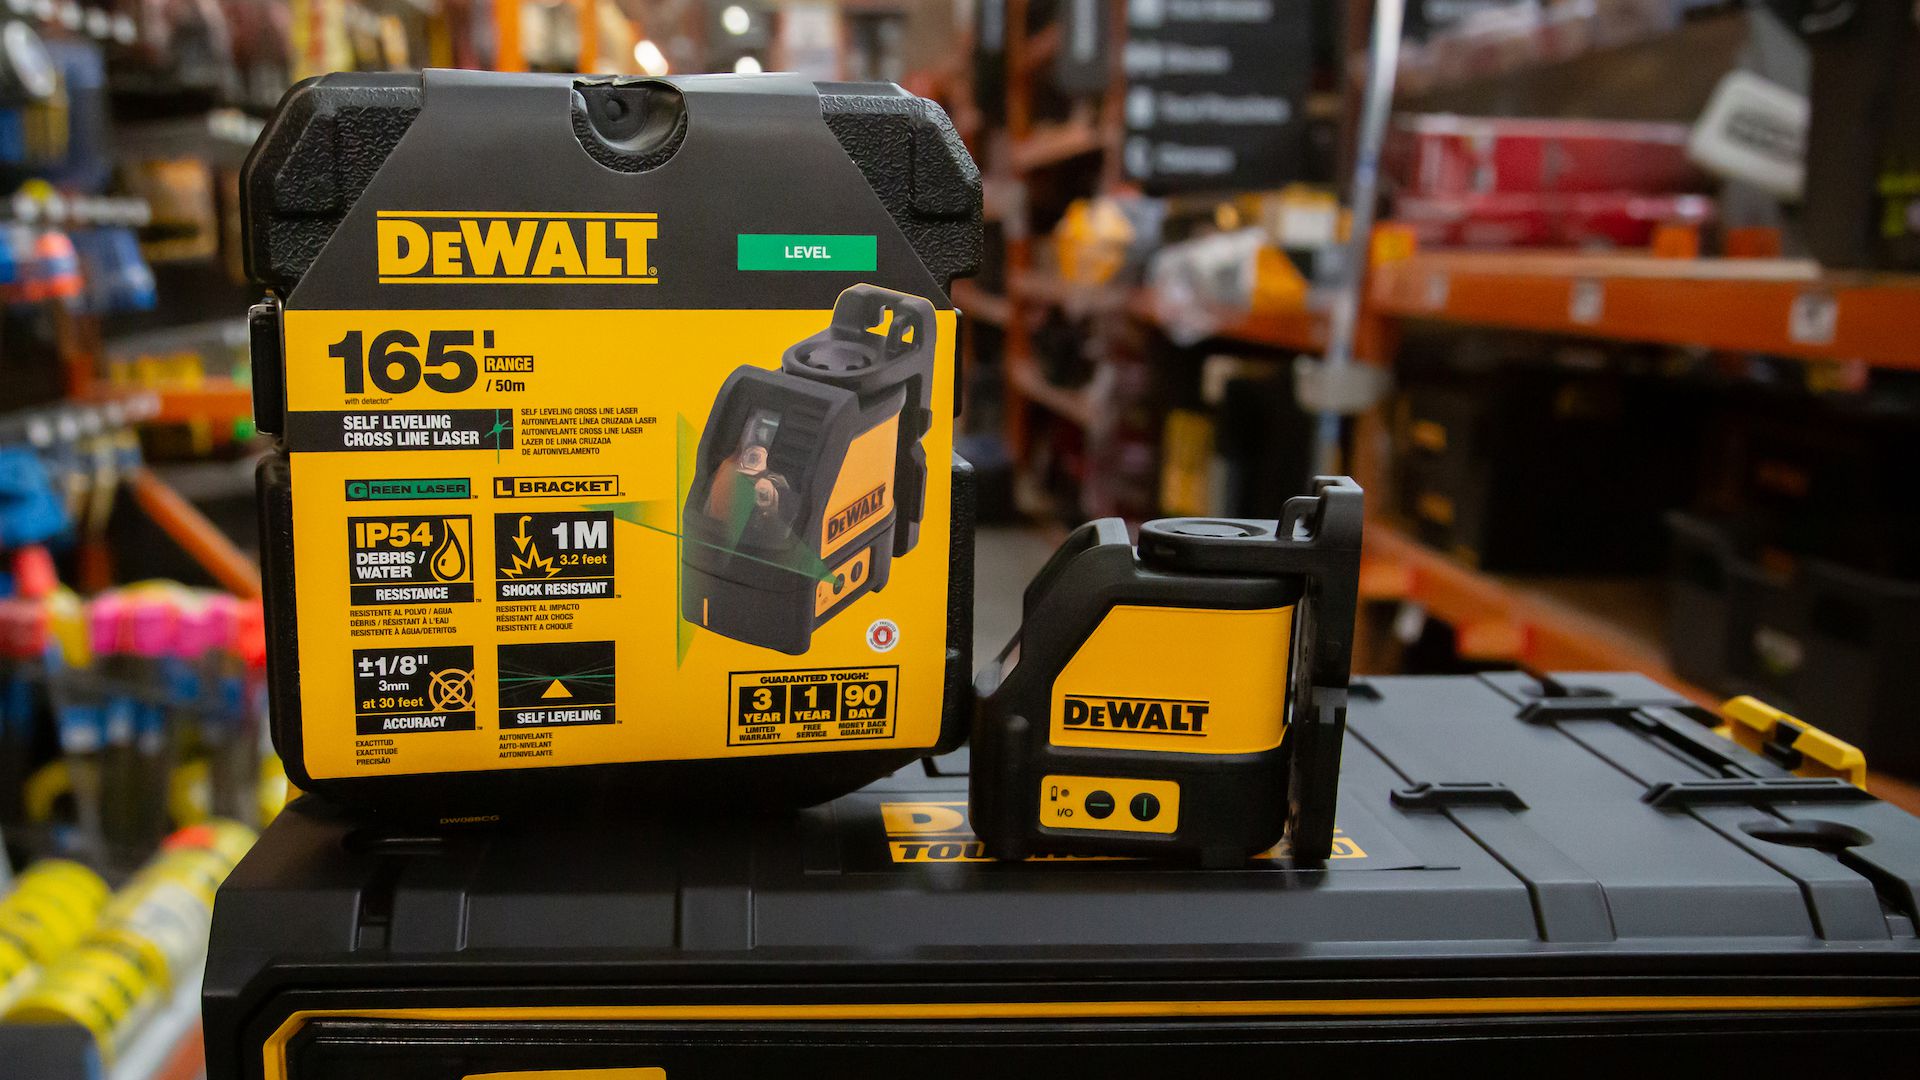
Welcome to the world of Dewalt laser levels! These handy tools are indispensable for any construction project, providing precise and accurate measurements to ensure your work is level, plumb, and aligned. However, like all tools, Dewalt laser levels require periodic calibration to maintain their accuracy. In this article, we will guide you through the process of calibrating your Dewalt laser level, step-by-step.
Whether you are a seasoned professional or a DIY enthusiast, the ability to calibrate your Dewalt laser level will give you peace of mind knowing that your measurements are reliable. A properly calibrated level will save you time and effort by preventing errors and ensuring your projects are executed with precision.
In the following sections, we will discuss the different aspects of Dewalt laser level calibration. First, we will help you understand the basics of these devices and how they function. Then, we will guide you through the necessary preparations before starting the calibration process. After that, we will delve into the steps to adjust the vertical and horizontal alignment of your laser level. We will also cover the fine-tuning process to achieve optimal accuracy. Once the calibration is completed, we will provide tips to verify its effectiveness and troubleshoot common calibration issues.
Lastly, we will share some valuable tips for maintaining the accuracy of your Dewalt laser level over time. By following these recommendations, you can extend the lifespan of your tool and ensure consistent and dependable measurements for all your future projects.
So, let’s dive in and learn how to properly calibrate your Dewalt laser level to unleash its full potential!
Key Takeaways:
- Proper calibration of your Dewalt laser level is essential for accurate measurements in construction and DIY projects. Follow the step-by-step process to ensure reliable results and avoid costly errors.
- Regular maintenance, including cleaning the laser lens and checking battery life, is crucial for maintaining the accuracy of your Dewalt laser level over time. Adhering to operating guidelines and periodic calibration will ensure consistent performance.
Read more: How To Use The Dewalt Laser Level
Understanding Dewalt Laser Levels
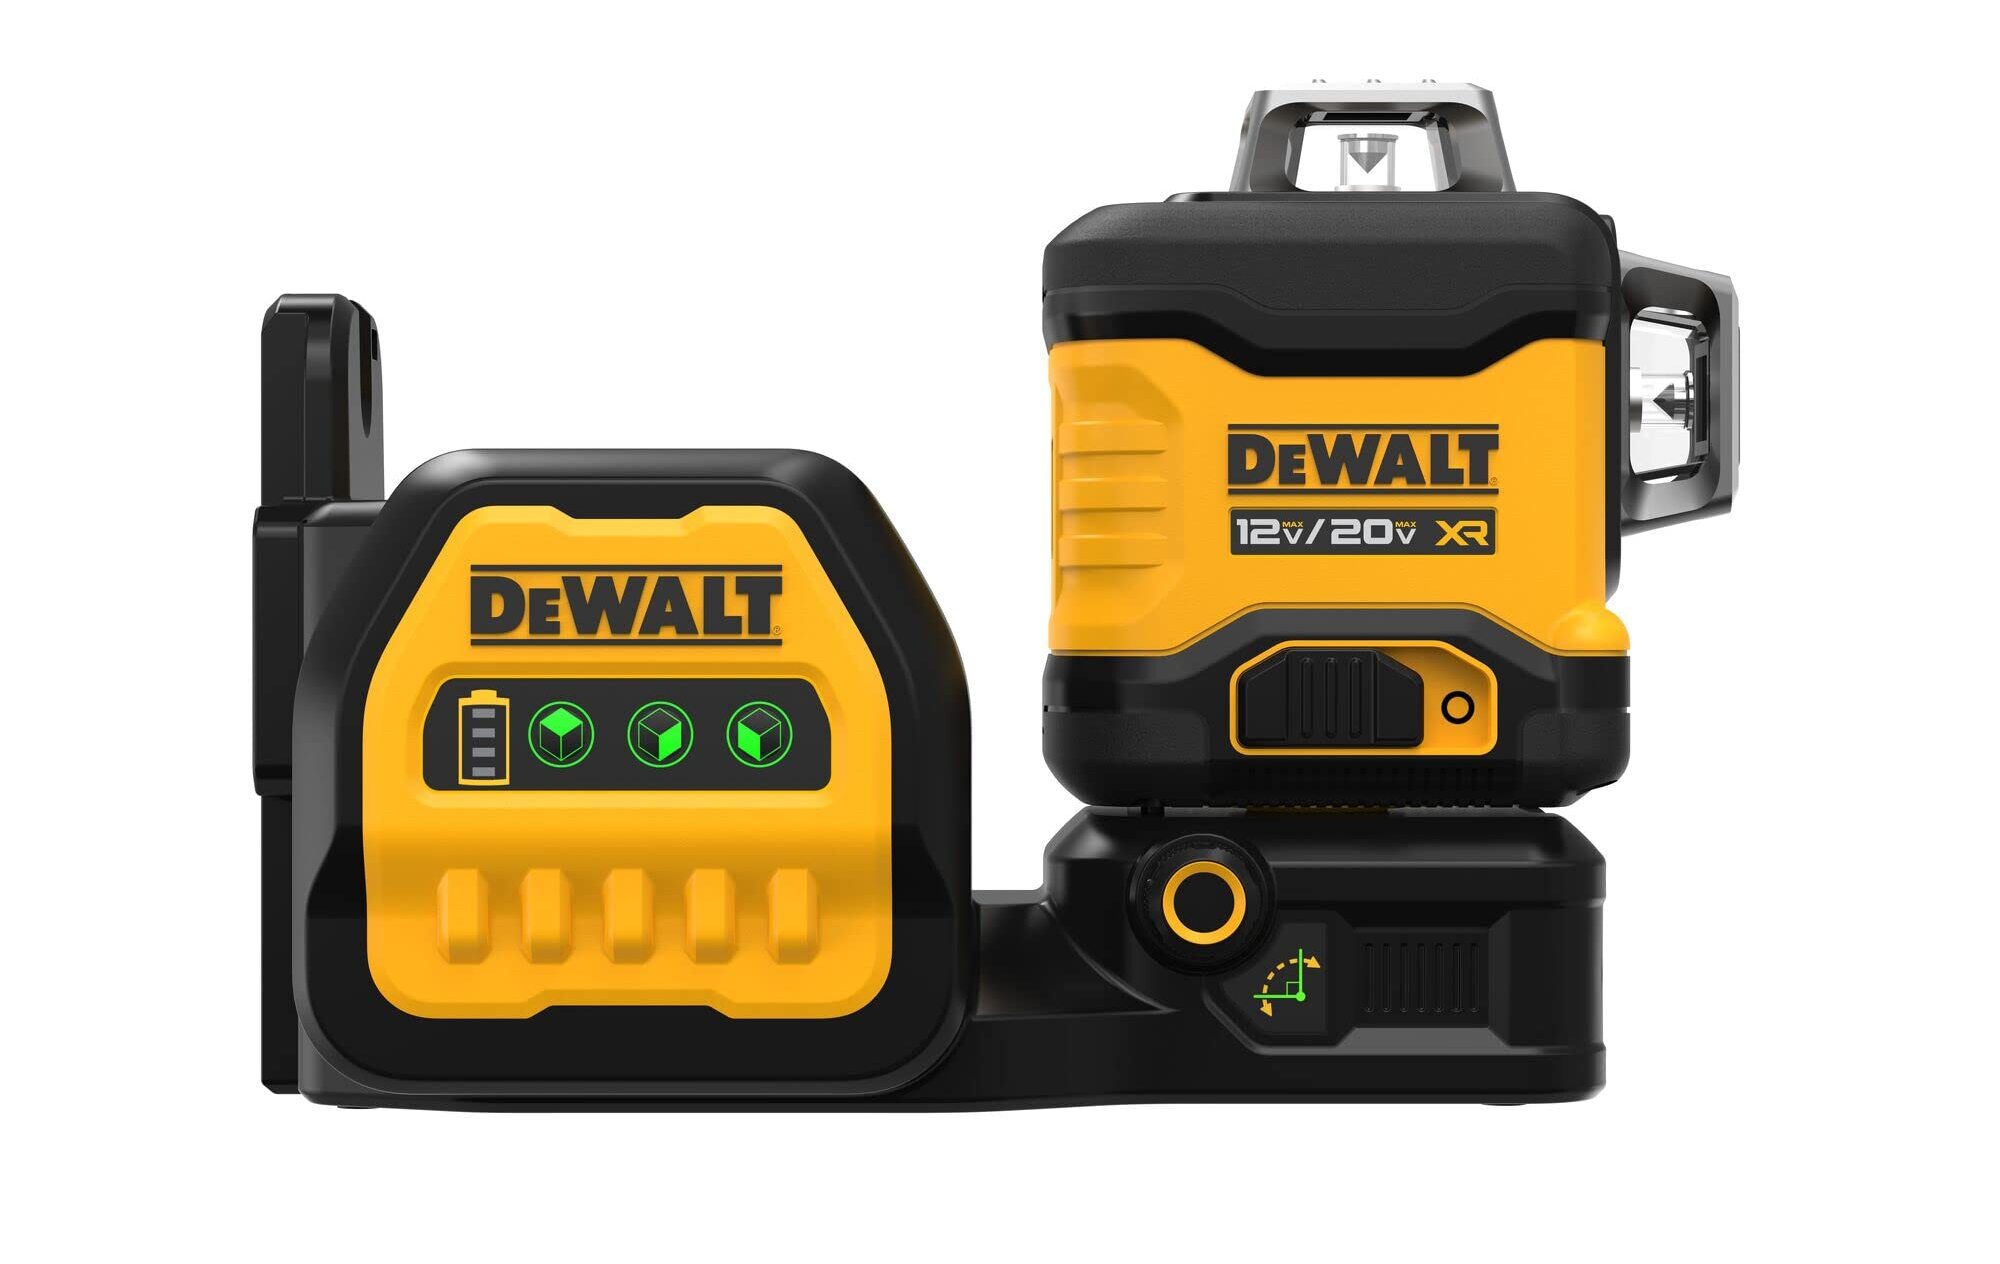
Before we dive into the calibration process, let’s take a moment to understand how Dewalt laser levels work. Dewalt offers a range of laser levels designed for different applications, from basic leveling tasks to more advanced layout and alignment projects.
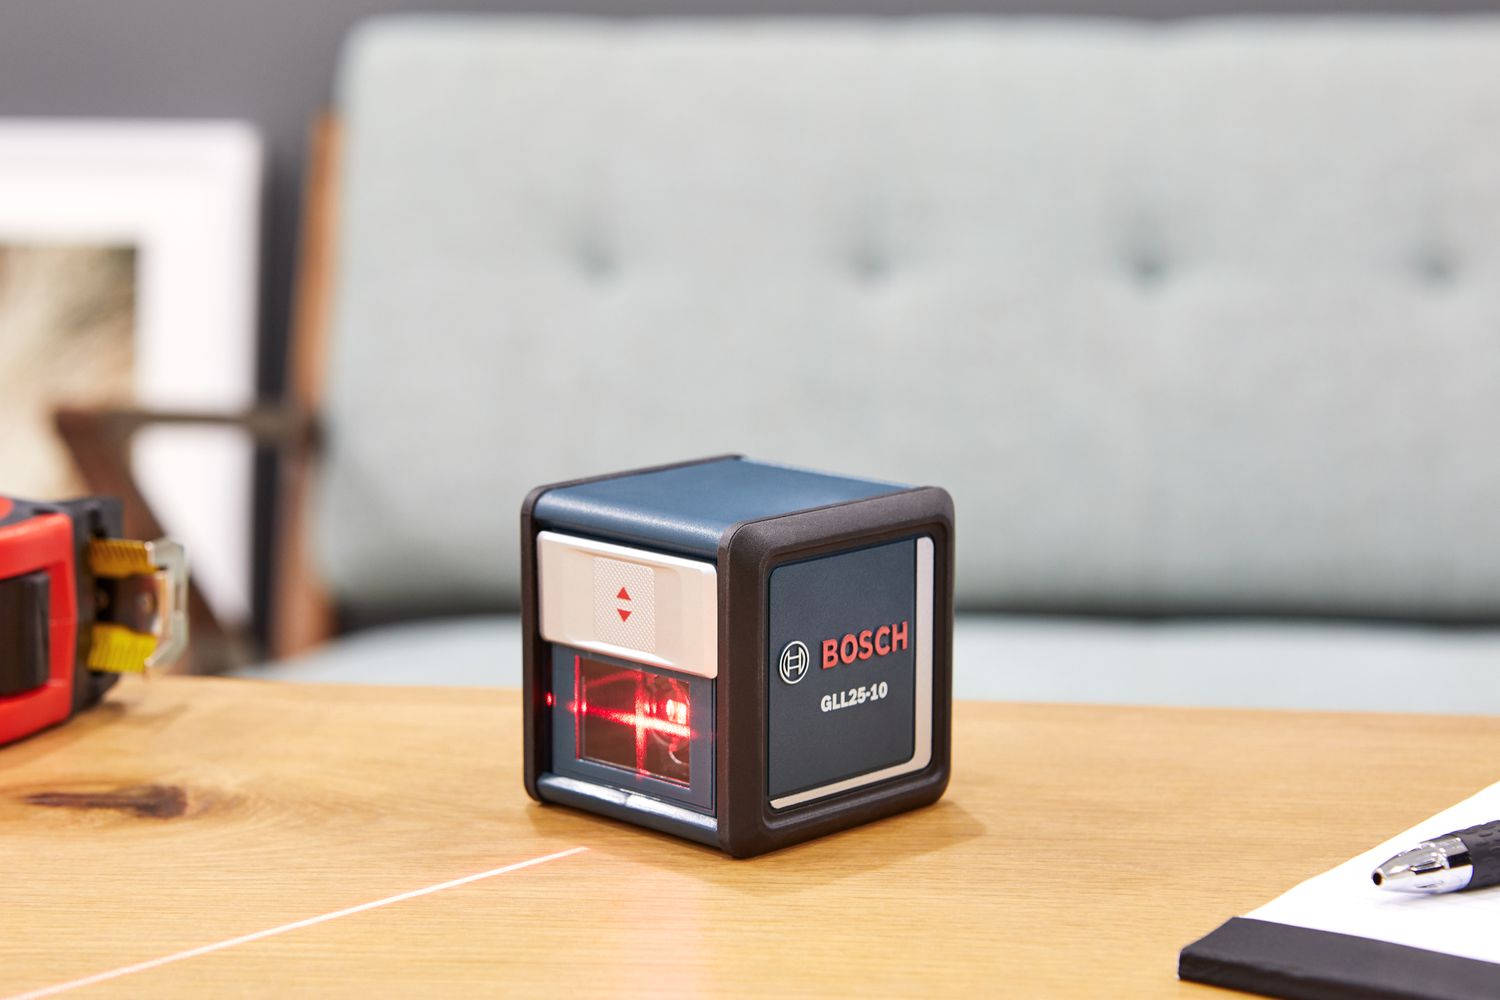
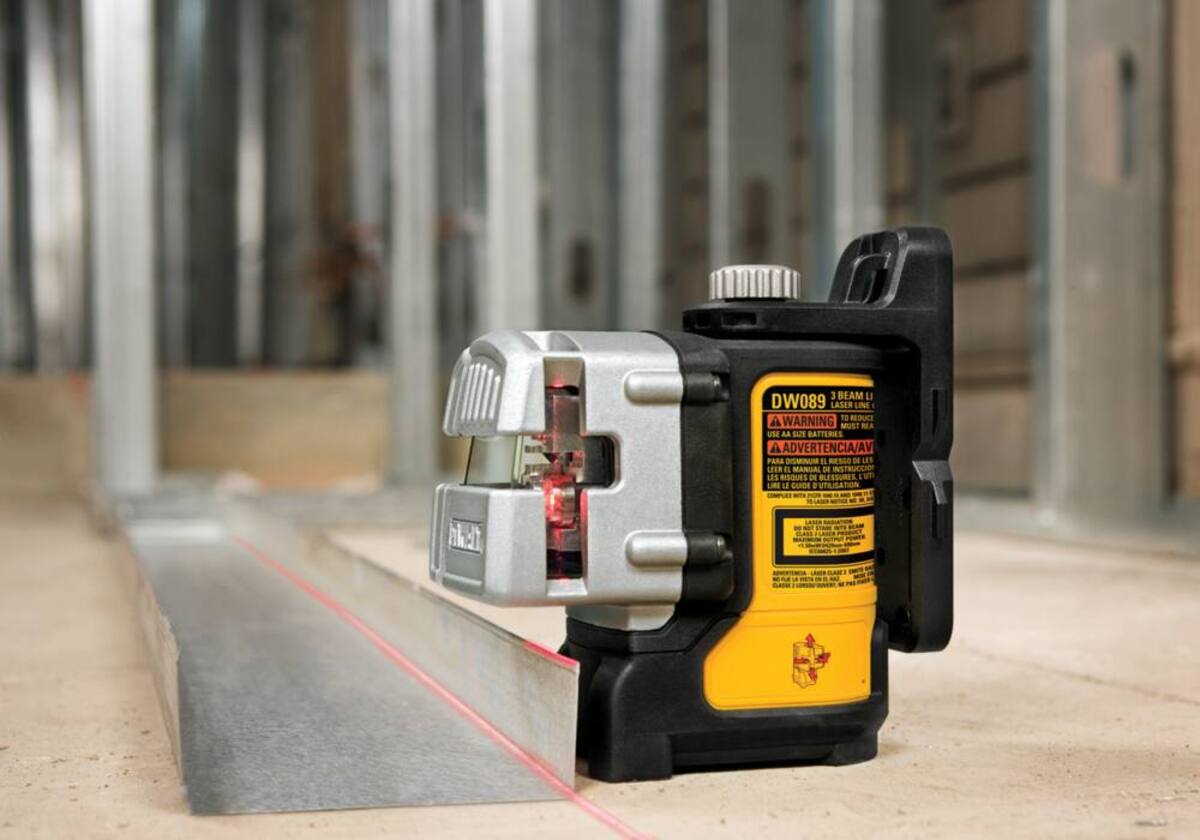
At the core of a Dewalt laser level is a laser diode that emits a highly focused beam of light. This laser beam is projected onto a surface, such as a wall or floor, and creates a bright, visible line or dot. Laser levels can be either dot lasers or line lasers, depending on the type and model.
Dot lasers emit a single point of light, ideal for tasks such as transferring heights or leveling objects. Line lasers, on the other hand, project a straight line of light, allowing for precise alignment and layout tasks. Some Dewalt laser levels even offer the versatility of both dot and line projection.
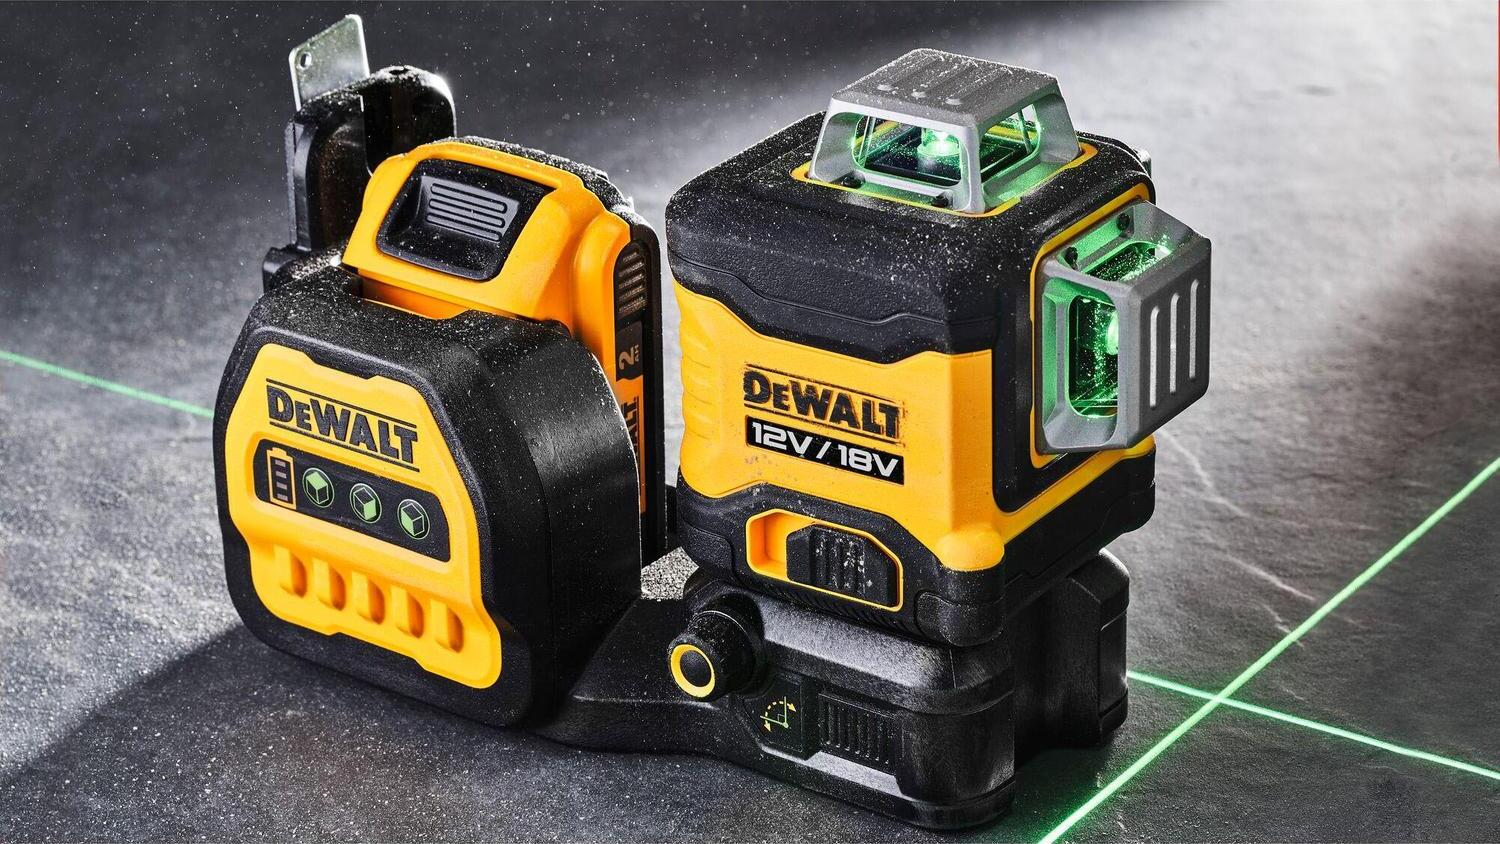
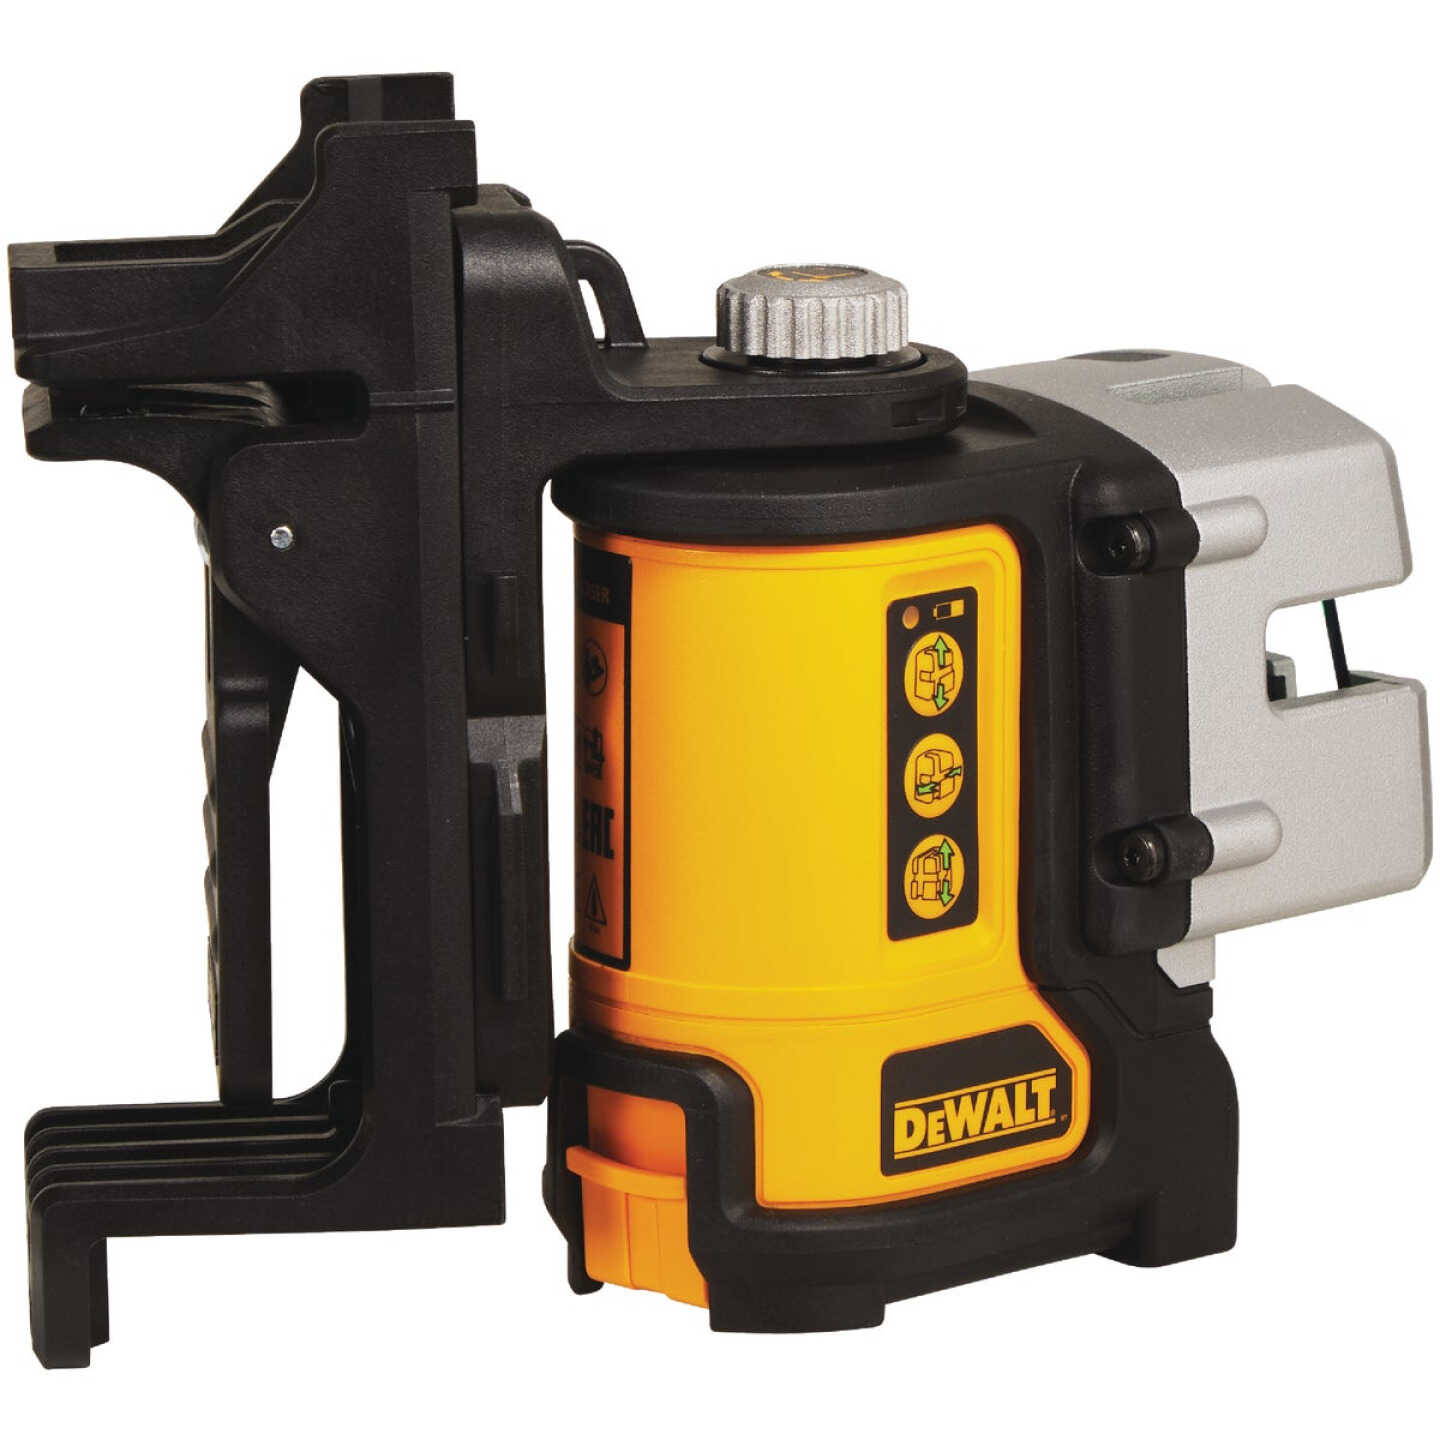
Many Dewalt laser levels are self-leveling, meaning they have an internal mechanism that automatically adjusts the leveling of the laser in response to slight surface unevenness. This feature eliminates the need for manual adjustments and ensures accurate measurements even on uneven terrain.
In addition to self-leveling capabilities, Dewalt laser levels often include additional features like pulse mode, which enhances visibility in bright lighting conditions or over longer distances, and adjustable brightness settings to suit different work environments.
Understanding the basic functionality and features of your specific Dewalt laser level will help you navigate the calibration process more effectively. Consult the user manual or manufacturer’s instructions for detailed information about your model’s specific capabilities and specifications.
Now that we have a solid understanding of Dewalt laser levels, let’s move on to the necessary preparations before calibrating your device.
Preparing for Calibration
Before diving into the calibration process, it’s important to prepare your Dewalt laser level and your work area to ensure a smooth and accurate calibration. Follow these steps to set the stage for successful calibration:
- Read the Manual: Familiarize yourself with the specific calibration instructions provided by Dewalt for your laser level model. The manual will contain valuable information about the calibration process and any specific requirements for your device.
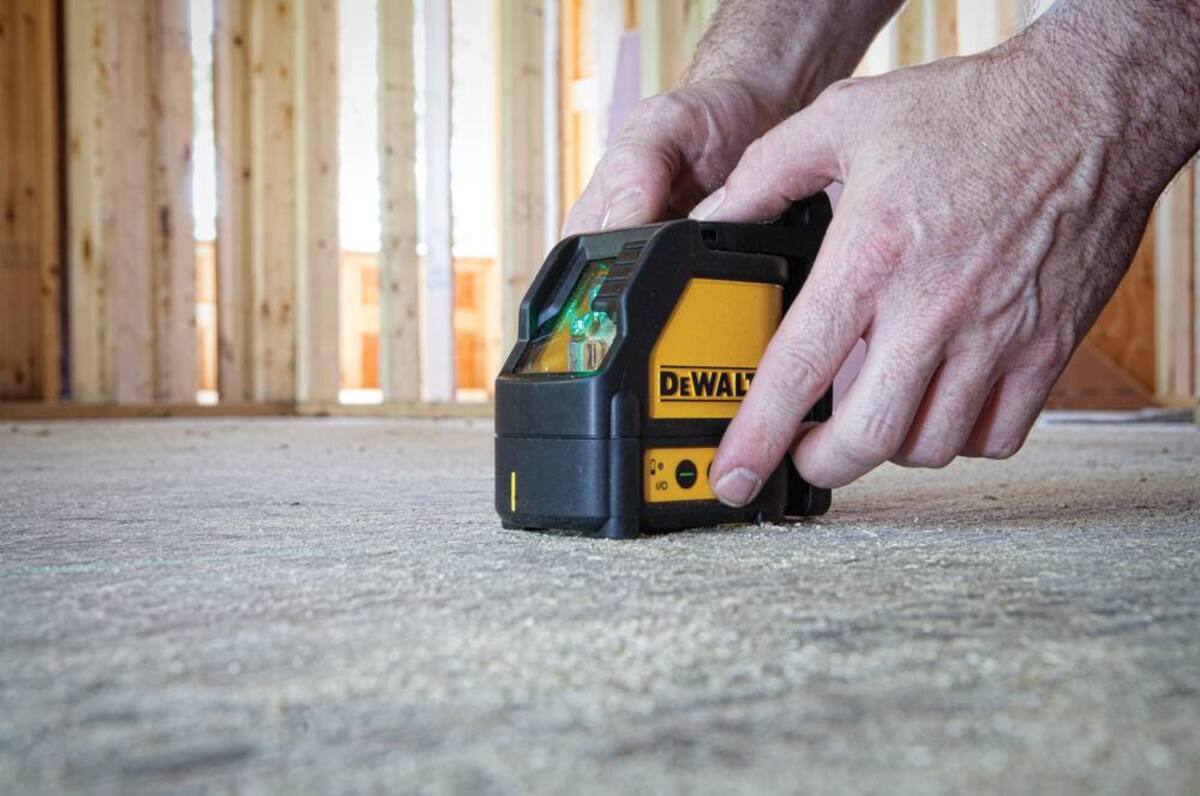
- Choose a Suitable Location: Find a stable, flat surface to set up your Dewalt laser level. This will provide a sturdy base for the calibration process and minimize any external factors that could affect the accuracy of the calibration.
- Remove Obstructions: Clear the work area of any objects that may obstruct the laser beam or interfere with the calibration process. This includes removing any debris, tools, or other equipment that could impact the accuracy of the calibration.
- Ensure Adequate Lighting: Proper lighting is crucial for accurate calibration. Ensure that the work area is well-lit, as this will make it easier to see the laser line or dot and make precise adjustments. If necessary, use additional lighting sources to enhance visibility.
- Power Up the Laser Level: Make sure your Dewalt laser level is powered up and fully charged. Inspect the batteries and ensure that they are in good condition. A low battery can affect the accuracy of the calibration.
- Check for Damage: Inspect your laser level for any visible damage that may affect its performance. Look for scratches, cracks, or other signs of wear and tear. If you notice any issues, contact Dewalt’s customer support for guidance on how to proceed.
By following these preparation steps, you will create an optimal environment for calibrating your Dewalt laser level. Now that you’re ready, let’s move on to the actual calibration process.
Adjusting the Vertical Alignment
The vertical alignment of your Dewalt laser level is crucial for accurate measurements. Follow these steps to adjust the vertical alignment:
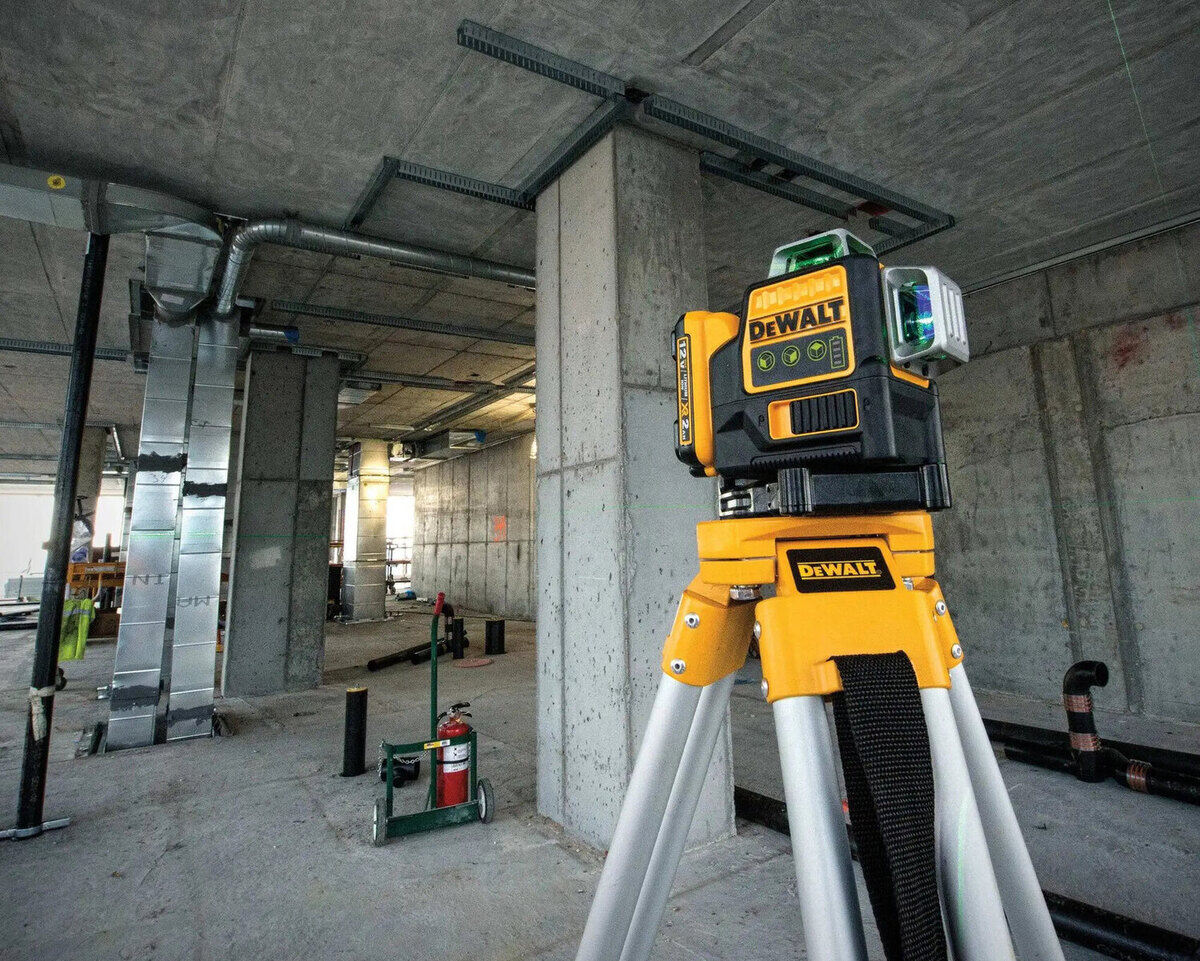
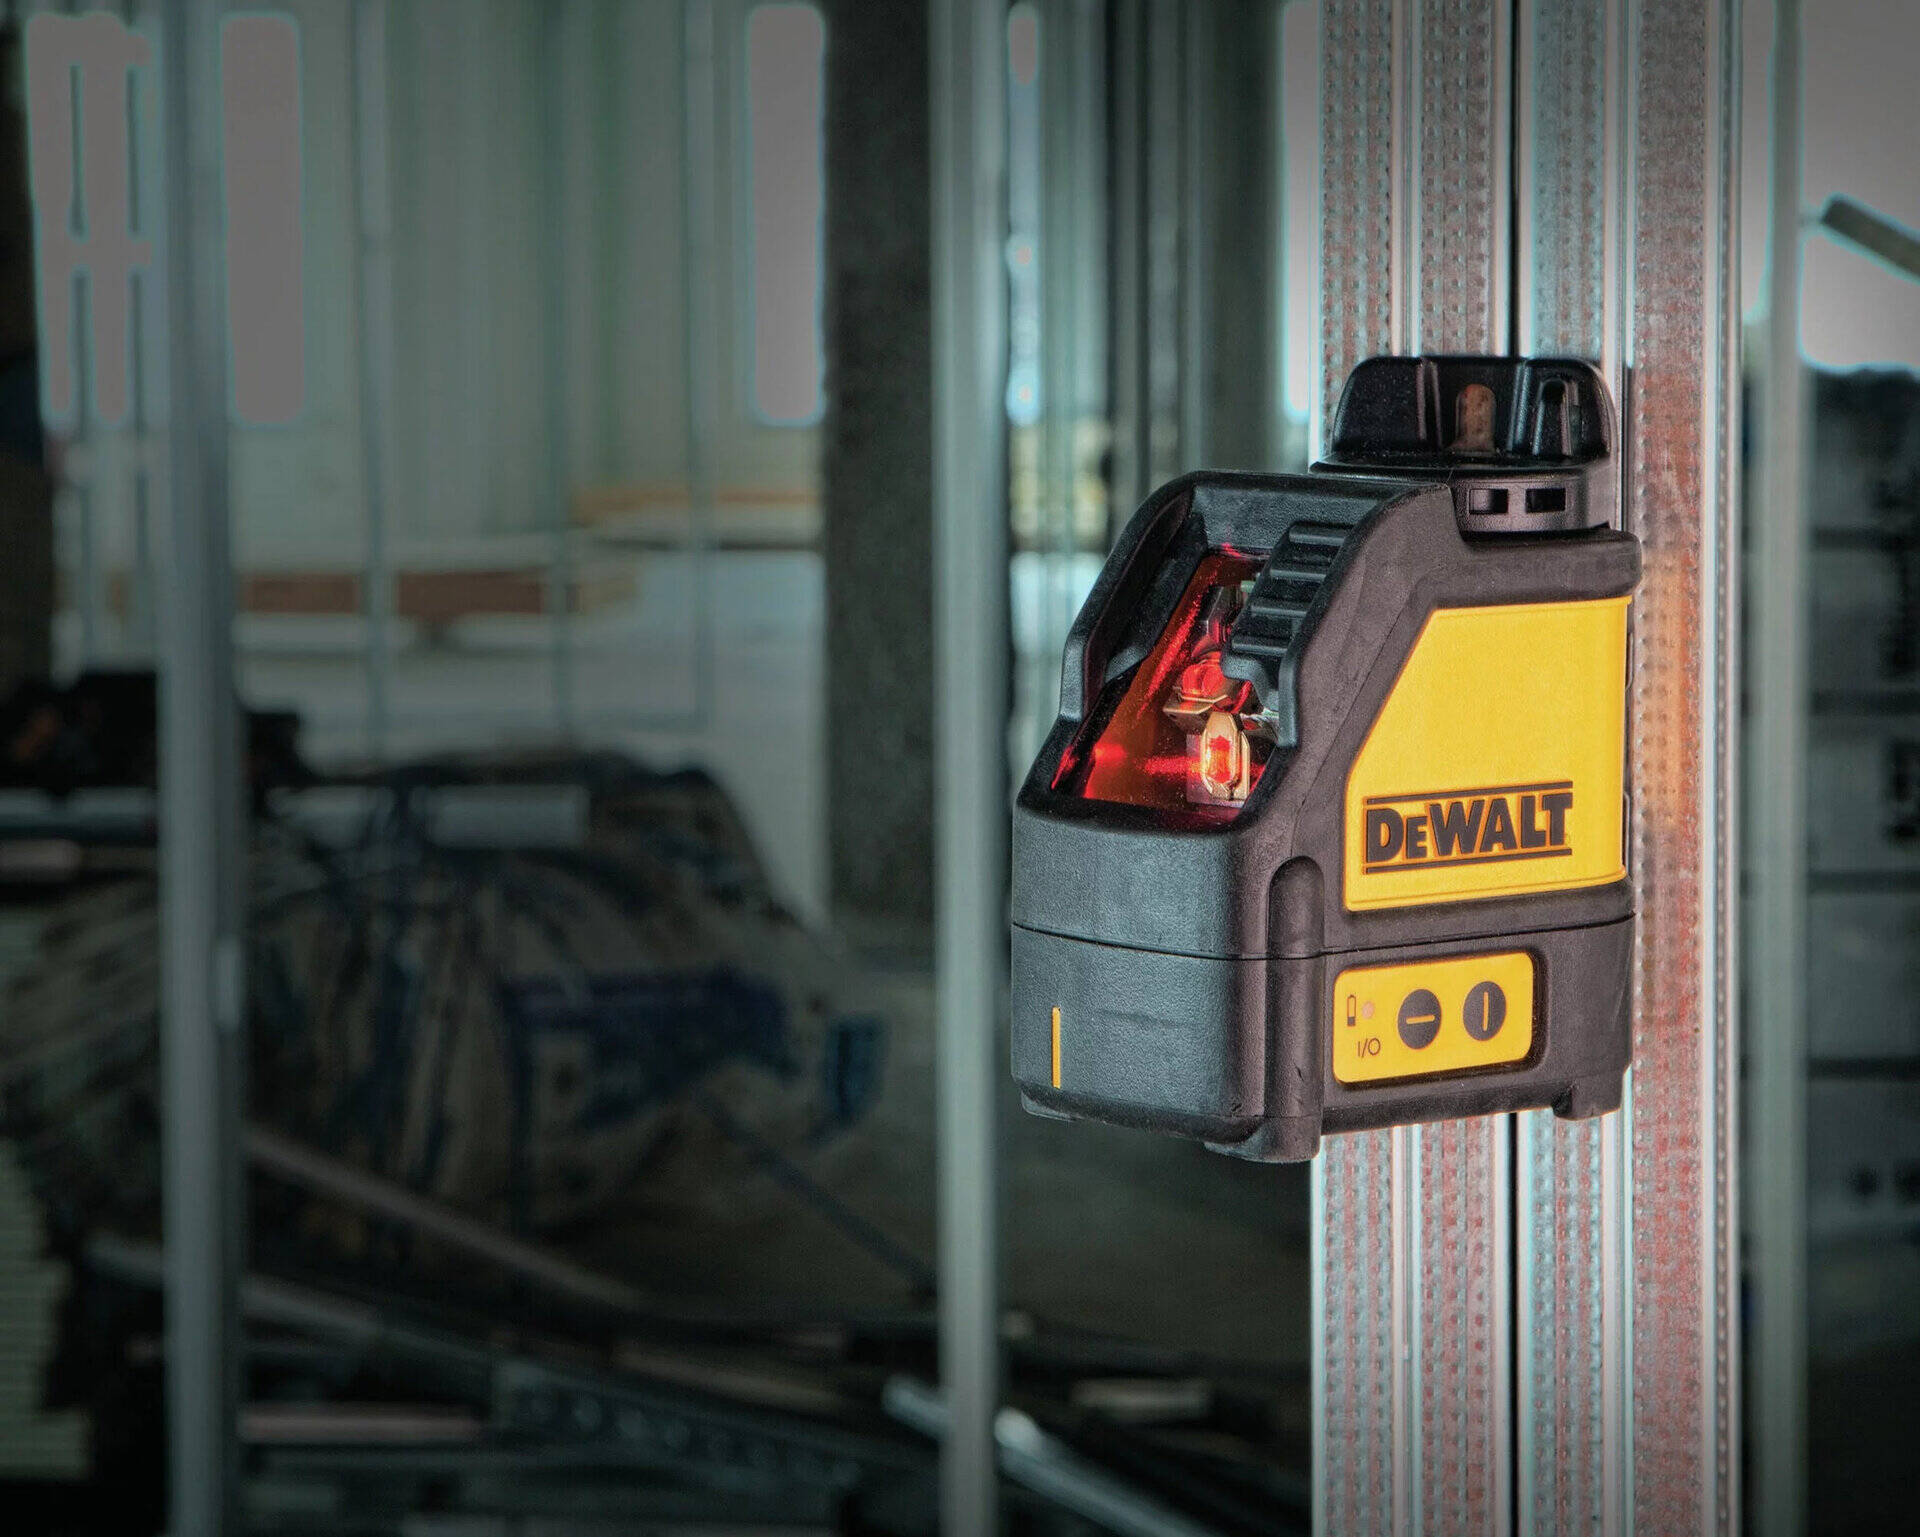
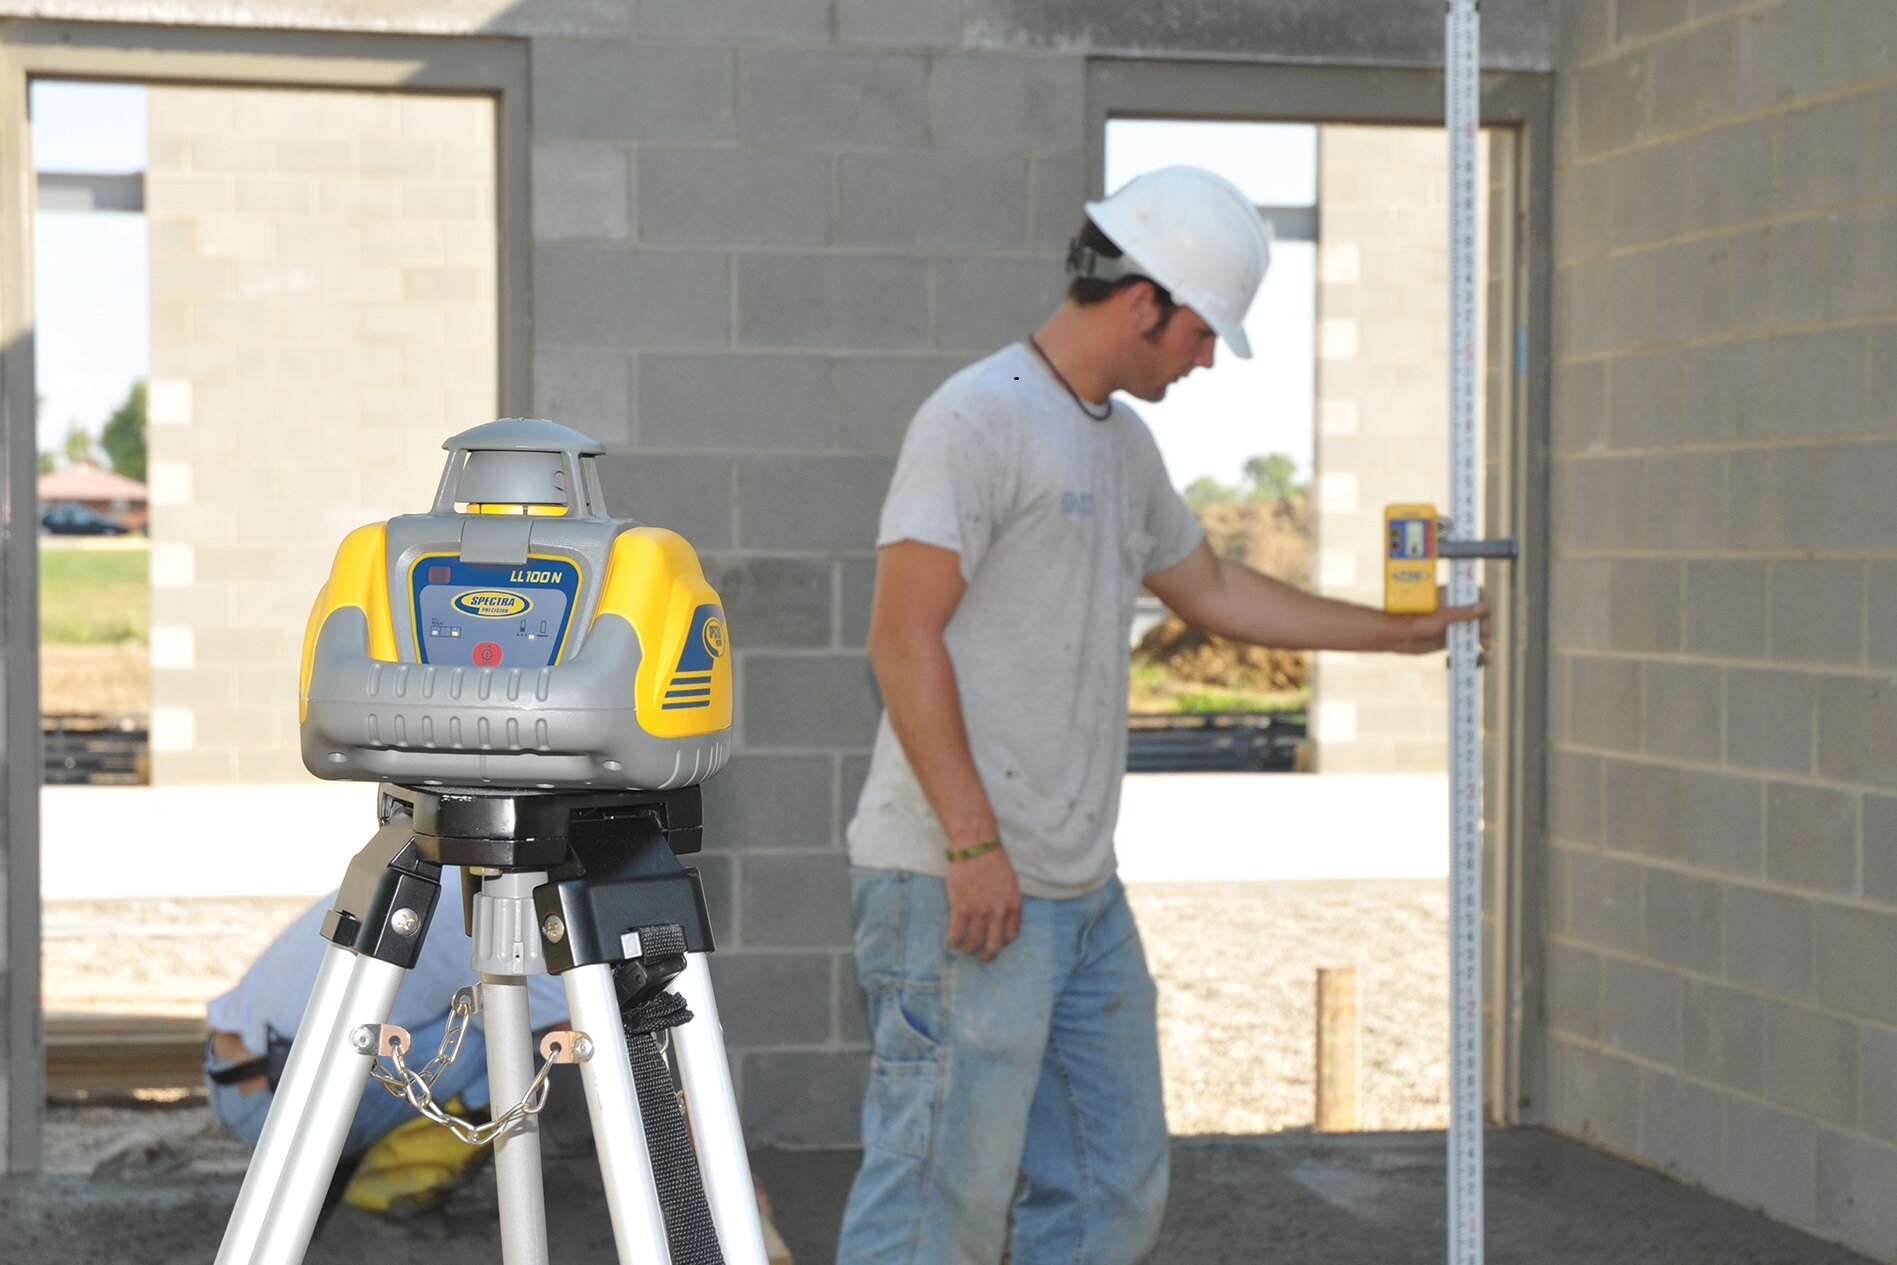
- Set Up the Laser Level: Place your Dewalt laser level on a stable surface, ensuring it is level and positioned at the desired height for your calibration. Use a tripod or mounting bracket if necessary.
- Activate the Self-leveling Mode: If your Dewalt laser level has a self-leveling feature, activate it according to the manufacturer’s instructions. This will ensure that the laser automatically adjusts to the correct vertical alignment.
- Observe the Laser Beam: Look at the laser beam being projected by your Dewalt laser level. It should be a straight, vertical line or dot.
- Adjust the Vertical Alignment: Using the adjustment knobs or buttons provided on your laser level, make small adjustments to the vertical alignment. Turn the knobs or press the buttons in the direction needed to bring the laser beam closer to the desired vertical position.
- Check the Alignment: After making adjustments, observe the laser beam again to assess the vertical alignment. Repeat the adjustment process iteratively until the laser beam is perfectly vertical.
- Lock the Vertical Alignment: Once you have achieved the desired vertical alignment, lock it in place using the locking mechanism provided on your Dewalt laser level. This will prevent any accidental movement during your calibration process.
Remember, the specific steps for adjusting the vertical alignment may vary depending on your Dewalt laser level model. Consult the user manual or manufacturer’s instructions for detailed guidance.
Once you have successfully adjusted the vertical alignment, you can proceed to the next step: adjusting the horizontal alignment of your Dewalt laser level.
Adjusting the Horizontal Alignment
The horizontal alignment of your Dewalt laser level is crucial for accurate measurements across a horizontal plane. Follow these steps to adjust the horizontal alignment:
- Position the Laser Level: Place your Dewalt laser level on a stable surface or mount it on a tripod, ensuring it is level and at the desired height for your calibration. Make sure the laser is facing the direction you want to measure.
- Activate the Self-leveling Mode: If your Dewalt laser level has a self-leveling feature, activate it according to the manufacturer’s instructions. This will ensure that the laser automatically adjusts to the correct horizontal alignment.
- Observe the Laser Beam: Look at the laser beam projected by your Dewalt laser level. It should be a straight, horizontal line or dot.
- Adjust the Horizontal Alignment: Using the adjustment knobs or buttons provided on your laser level, make small adjustments to the horizontal alignment. Turn the knobs or press the buttons in the direction needed to bring the laser beam closer to the desired horizontal position.
- Check the Alignment: After making adjustments, observe the laser beam again to assess the horizontal alignment. Repeat the adjustment process iteratively until the laser beam is perfectly horizontal.
- Lock the Horizontal Alignment: Once you have achieved the desired horizontal alignment, lock it in place using the locking mechanism provided on your Dewalt laser level. This will prevent any accidental movement during your calibration process.
Remember, the specific steps for adjusting the horizontal alignment may vary depending on your Dewalt laser level model. Refer to the user manual or manufacturer’s instructions for detailed guidance.
By ensuring the precise horizontal alignment of your Dewalt laser level, you can trust that your measurements will be accurate and reliable. Now that you have successfully adjusted the horizontal alignment, it’s time to move on to the next step: fine-tuning the leveling.
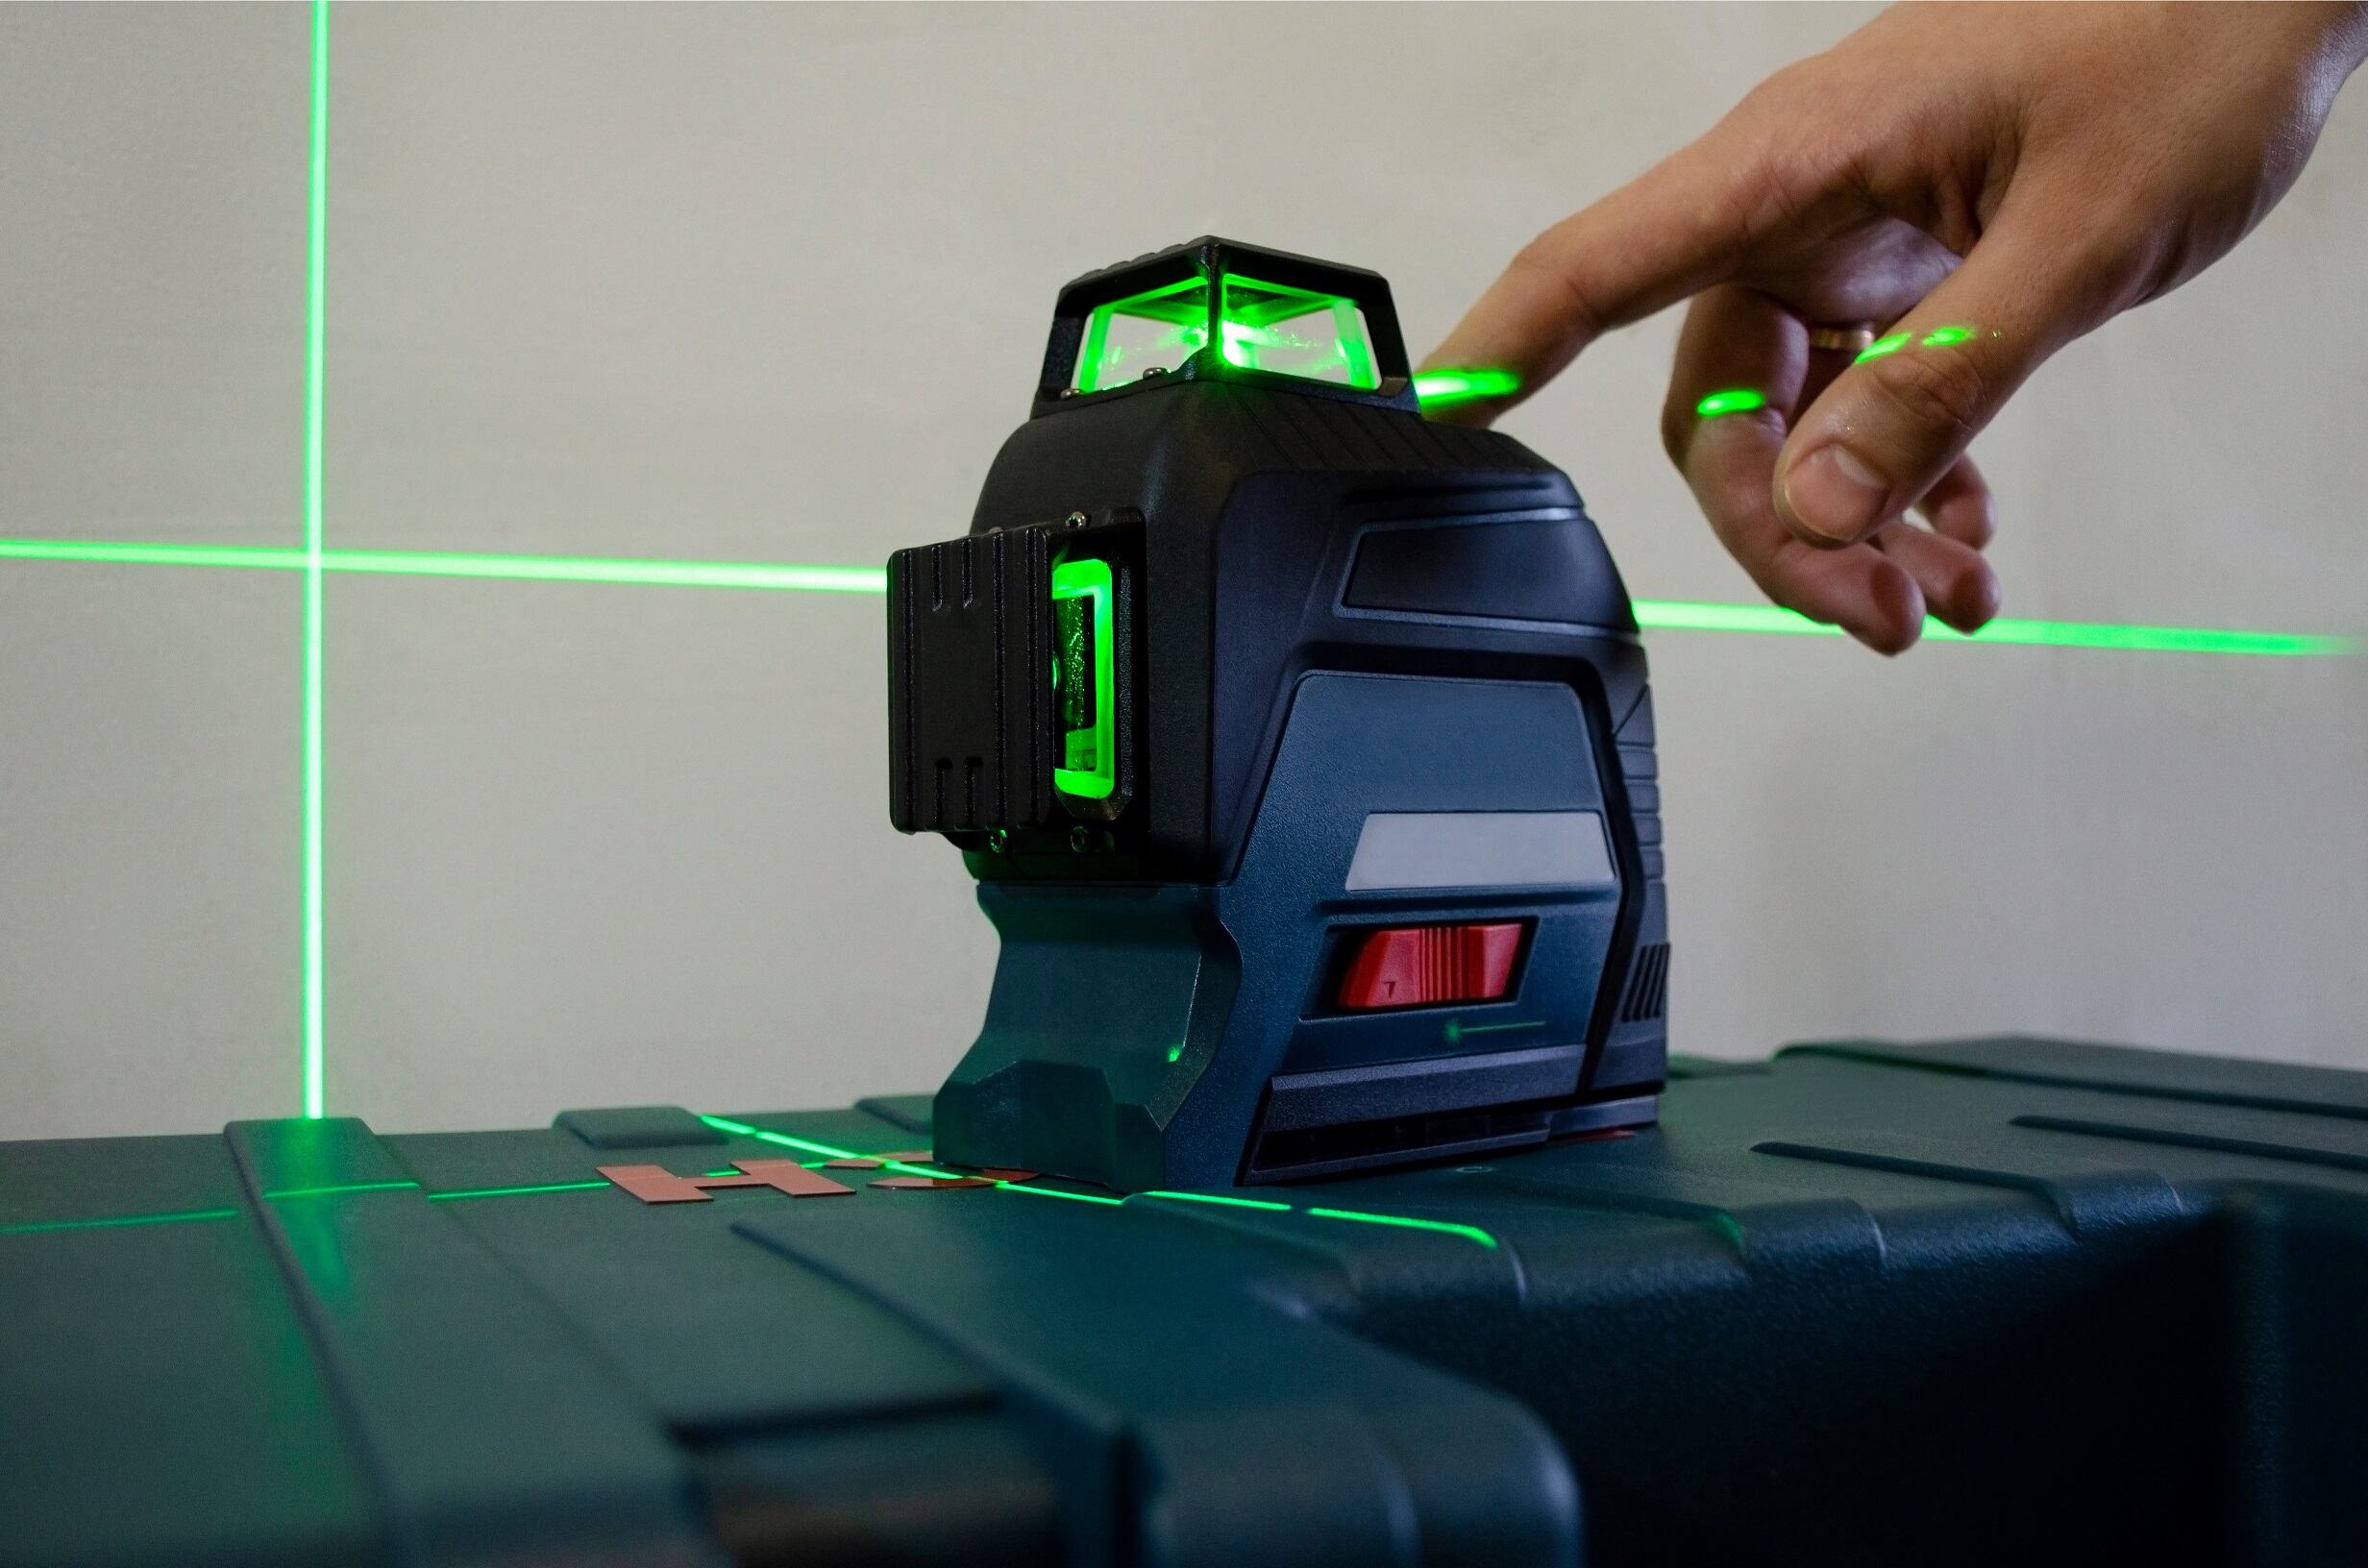
Before calibrating your Dewalt laser level, make sure to read the manufacturer’s instructions carefully. Use a stable surface and a calibration target to ensure accurate results.
Read more: How To Fix Dewalt Laser Level
Fine-Tuning the Leveling
Once you have adjusted the vertical and horizontal alignments of your Dewalt laser level, it’s time to fine-tune the leveling to achieve optimal accuracy. Follow these steps to fine-tune the leveling:
- Check the Bubble Level: Many Dewalt laser levels have a built-in bubble level indicator. Make sure the bubble is centered between the lines to ensure the laser level is perfectly level. Fine adjustments can be made using the leveling screws or knobs located on the laser level.
- Use a Reference Surface: Find a reference surface that you know is level, such as a countertop or table. Place your Dewalt laser level on this surface, and observe the laser beam projection.
- Measure the Deviation: Using a measuring tape or ruler, measure the distance between the laser beam and the reference surface at various points. Note any deviations from the desired level.
- Adjust the Level: If you notice any deviations, use the leveling screws or knobs on your Dewalt laser level to make precise adjustments. Turn the screws or knobs in the direction needed to bring the laser beam closer to the desired level.
- Recheck the Alignment: After making adjustments, observe the laser beam projection again and measure the deviations from the reference surface. Repeat the adjustment process iteratively until the laser beam is aligned perfectly with the reference surface along all points.
- Lock the Leveling: Once you have achieved the desired leveling, lock it in place using the locking mechanism provided on your Dewalt laser level. This will prevent any accidental movement and ensure consistent and accurate measurements.
Remember, the specific steps for fine-tuning the leveling may vary depending on your Dewalt laser level model. Consult the user manual or manufacturer’s instructions for detailed guidance.
Fine-tuning the leveling of your Dewalt laser level will provide the highest level of accuracy for your measurements. Now that you have completed this step, it’s time to verify the calibration.
Verifying the Calibration
After calibrating your Dewalt laser level, it’s important to verify its accuracy to ensure that it is functioning correctly. Follow these steps to verify the calibration:
- Select a Known Reference Point: Identify a known reference point in your workspace, such as a corner of a wall or a marked point on the floor. This point should be easily recognizable and easily measurable.
- Position the Laser Level: Set up your Dewalt laser level at an appropriate distance from the reference point. Make sure it is stable and positioned correctly.
- Align with the Reference Point: Adjust the horizontal and vertical alignment of your laser level to align the laser beam with the reference point. Use the adjustment knobs or buttons to make precise adjustments if needed.
- Measure the Distance: Use a measuring tape or ruler to measure the distance from the reference point to the laser beam at multiple points. Ensure that the measurements are consistent and accurate.
- Compare the Measurements: Compare the measured distances with the known distances to determine if they match. If the measurements align closely with the known distances, it indicates that your Dewalt laser level is calibrated accurately.
- Make Adjustments if Necessary: If there are discrepancies between the measured distances and the known distances, you may need to go back and recalibrate your Dewalt laser level. Follow the calibration process again, paying attention to the alignment and leveling steps.
- Repeat the Verification: Once you have made any necessary adjustments, repeat the verification process. Measure the distances again and compare them to the known distances. Continue adjusting and verifying until the measurements align accurately.
By verifying the calibration of your Dewalt laser level, you can have confidence in its accuracy for your construction or DIY projects. Remember to consult the user manual or manufacturer’s instructions for specific guidance on verifying the calibration for your particular laser level model.
Now that you have successfully verified the calibration, let’s move on to troubleshooting common calibration issues you may encounter.
Troubleshooting Common Calibration Issues
While calibrating your Dewalt laser level, you may encounter some common issues that can affect the accuracy of the calibration. Here are a few troubleshooting tips to help you address these issues:
- Inconsistent Measurements: If you notice inconsistent measurements during calibration, ensure that the surface on which the laser level is placed is stable and not prone to movement. Check for any obstructions or debris that may be interfering with the laser beam. Additionally, make sure to follow the calibration steps carefully and double-check your adjustments.
- Uneven or Misaligned Laser Beam: In cases where the laser beam appears uneven or misaligned, make sure that the laser level is level and properly positioned. Check if the leveling screws or knobs are tightened securely. If necessary, you may need to recalibrate the vertical and horizontal alignments of the laser level.
- Weak or Faint Laser Beam: If the laser beam appears weak or faint, check the battery level of your Dewalt laser level. Replace the batteries if they are low. Additionally, cleaning the laser lens with a lint-free cloth can help improve the visibility of the laser beam.
- Interference from Ambient Light: In brightly lit environments, the visibility of the laser beam may be diminished. Activate the pulse mode on your Dewalt laser level if available, as it enhances the visibility of the laser beam in high ambient light conditions. Additionally, closing curtains or shades to reduce incoming light can also improve visibility.
- Excessive Vibration: Vibrations can disrupt the calibration process and affect the accuracy of your Dewalt laser level. Make sure the laser level is placed on a stable surface, away from any sources of vibration such as heavy machinery or passing vehicles. If needed, consider using a vibration-dampening mount or a tripod specifically designed for laser levels.
If you encounter persistent issues with the calibration of your Dewalt laser level, consult the user manual or contact Dewalt’s customer support for further assistance. They can provide specific troubleshooting steps or guide you through the process of resolving any technical issues.
Now that we have covered troubleshooting, let’s explore some tips for maintaining the calibration accuracy of your Dewalt laser level.
Tips for Maintaining Calibration Accuracy
To ensure consistent and accurate measurements, it’s important to maintain the calibration accuracy of your Dewalt laser level over time. Here are some tips to help you maintain calibration accuracy:
- Store and Transport Properly: When not in use, store your Dewalt laser level in a protective case or pouch to prevent any damage or accidental calibration adjustments. When transporting the laser level, make sure it is secured and protected to avoid any jostling or impacts that could affect its calibration.
- Regularly Clean the Laser Lens: Dust, dirt, and debris can accumulate on the laser lens and affect the visibility and accuracy of the laser beam. Clean the lens regularly using a soft, lint-free cloth to remove any obstructions. Avoid using chemical cleaners as they may damage the lens.
- Inspect for Damage: Regularly inspect your Dewalt laser level for any signs of damage or wear. Check for scratches, cracks, or other issues that could impact calibration accuracy. If you notice any damage, contact Dewalt’s customer support for guidance on repair or replacement.
- Check Battery Life: Ensure that your Dewalt laser level has sufficient battery power for accurate measurements. Check the battery level regularly and replace the batteries as needed. It’s also a good idea to have spare batteries on hand to avoid any interruptions during your work.
- Calibrate Periodically: Even with proper care, laser levels may experience slight changes in calibration over time. It’s recommended to perform a periodic calibration to ensure ongoing accuracy. Refer to the user manual or manufacturer’s instructions for recommended calibration intervals for your specific Dewalt laser level model.
- Follow Operating Guidelines: Adhere to the operating guidelines provided by Dewalt for your laser level. This includes using the laser level within the specified temperature and humidity ranges, avoiding exposure to extreme conditions, and following any specific maintenance or calibration procedures outlined by the manufacturer.
By following these tips, you can maintain the calibration accuracy of your Dewalt laser level, ensuring reliable and precise measurements for your construction or DIY projects. Regular maintenance and care will extend the lifespan of your tool and provide consistent performance over time.
Now that you have a comprehensive understanding of maintaining calibration accuracy, let’s wrap up our article.
Read more: How Much Is A Dewalt Laser Level
Conclusion
Congratulations! You have now learned how to calibrate your Dewalt laser level and maintain its accuracy for reliable measurement in your construction or DIY projects.
Throughout this article, we covered the fundamentals of Dewalt laser levels and how they function. We discussed the importance of preparing for calibration and ensuring a suitable work environment. We walked you through the steps of adjusting the vertical and horizontal alignments, fine-tuning the leveling, and verifying the calibration.
We also provided troubleshooting tips for common calibration issues that you may encounter. Remember to consult the user manual or contact Dewalt’s customer support for specific guidance if you face persistent issues.
To maintain the calibration accuracy of your Dewalt laser level over time, follow our tips for proper storage, regular cleaning of the laser lens, and checking battery life. Additionally, periodic calibration and following the manufacturer’s guidelines will ensure ongoing accuracy and performance.
By calibrating your Dewalt laser level and maintaining its accuracy, you can have confidence in the measurements you take during your construction or DIY projects. This will help you achieve precise results, save time and effort, and ensure the success of your endeavors.
Remember, calibration is an essential step that should not be overlooked. Take the time to properly calibrate your Dewalt laser level before each project to guarantee accurate results and avoid costly mistakes.
So go ahead, unleash the full potential of your Dewalt laser level by following the calibration process outlined in this article. Enjoy your projects with confidence and precision!
Now that you've mastered calibrating your Dewalt laser level, why not tackle more hands-on projects around your home? Our guide on DIY home improvement offers practical advice and creative ideas to transform spaces with your own hands. Whether you're looking to update a room or start a new garden project, these tips will help you achieve professional results without breaking the bank. Get inspired and start making your living space even more welcoming and functional.
Frequently Asked Questions about How To Calibrate Dewalt Laser Level
Was this page helpful?
At Storables.com, we guarantee accurate and reliable information. Our content, validated by Expert Board Contributors, is crafted following stringent Editorial Policies. We're committed to providing you with well-researched, expert-backed insights for all your informational needs.

0 thoughts on “How To Calibrate Dewalt Laser Level”