Articles
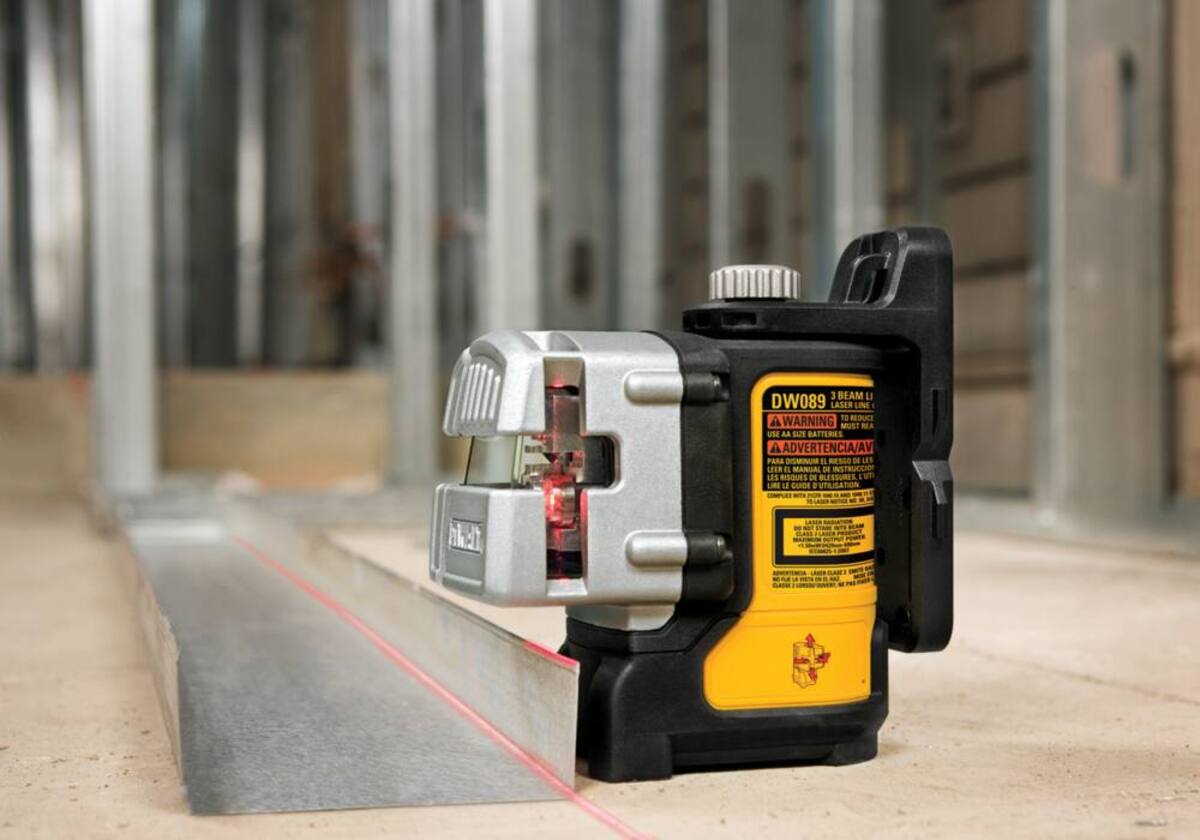
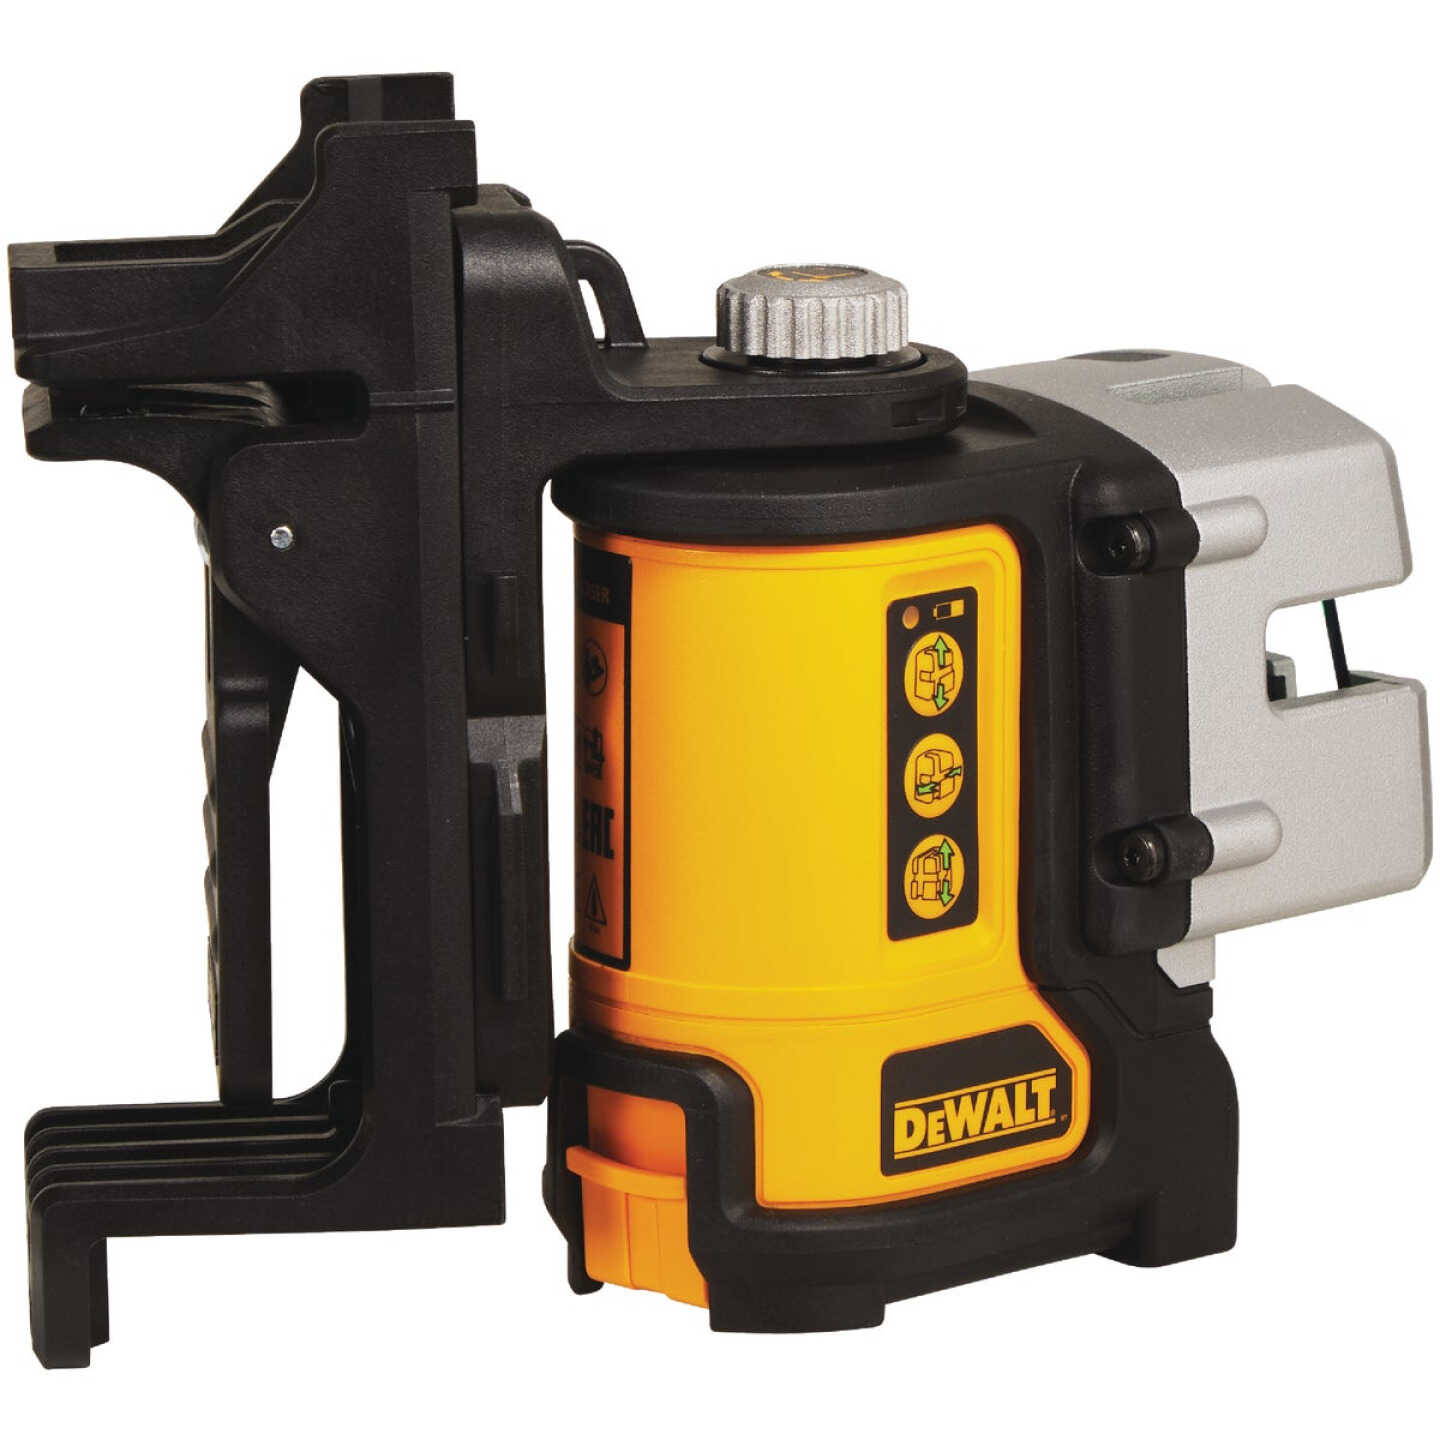
How To Fix Dewalt Laser Level
Modified: January 6, 2024
Learn how to fix your Dewalt laser level with our informative articles. Find step-by-step instructions and troubleshooting tips to help you get your laser level working perfectly.
(Many of the links in this article redirect to a specific reviewed product. Your purchase of these products through affiliate links helps to generate commission for Storables.com, at no extra cost. Learn more)
Introduction
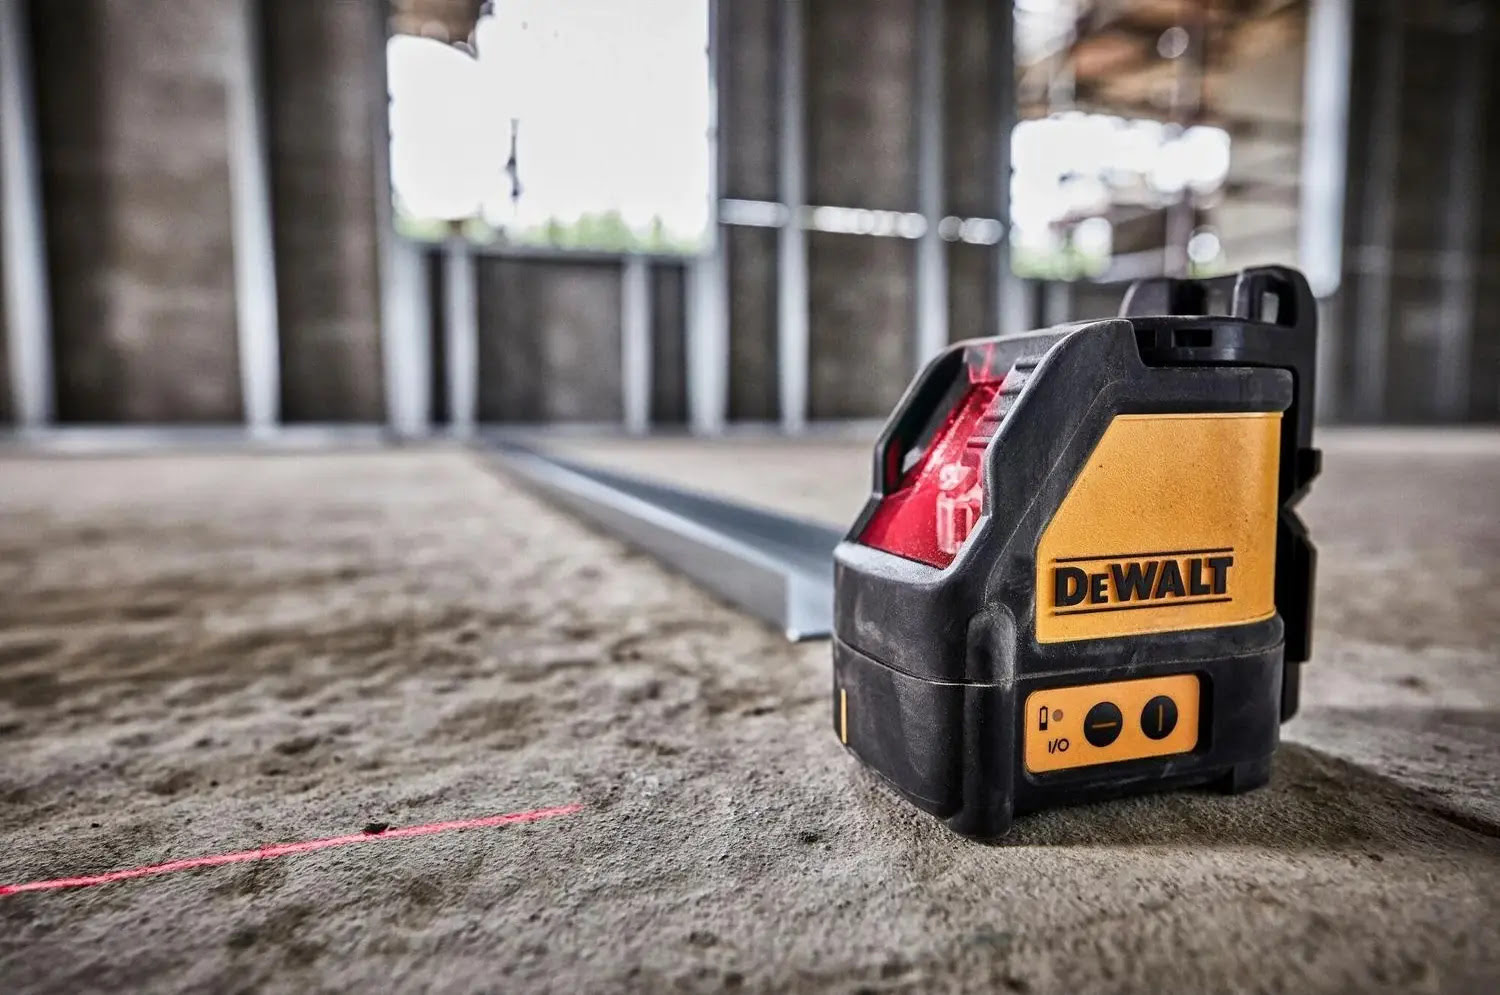
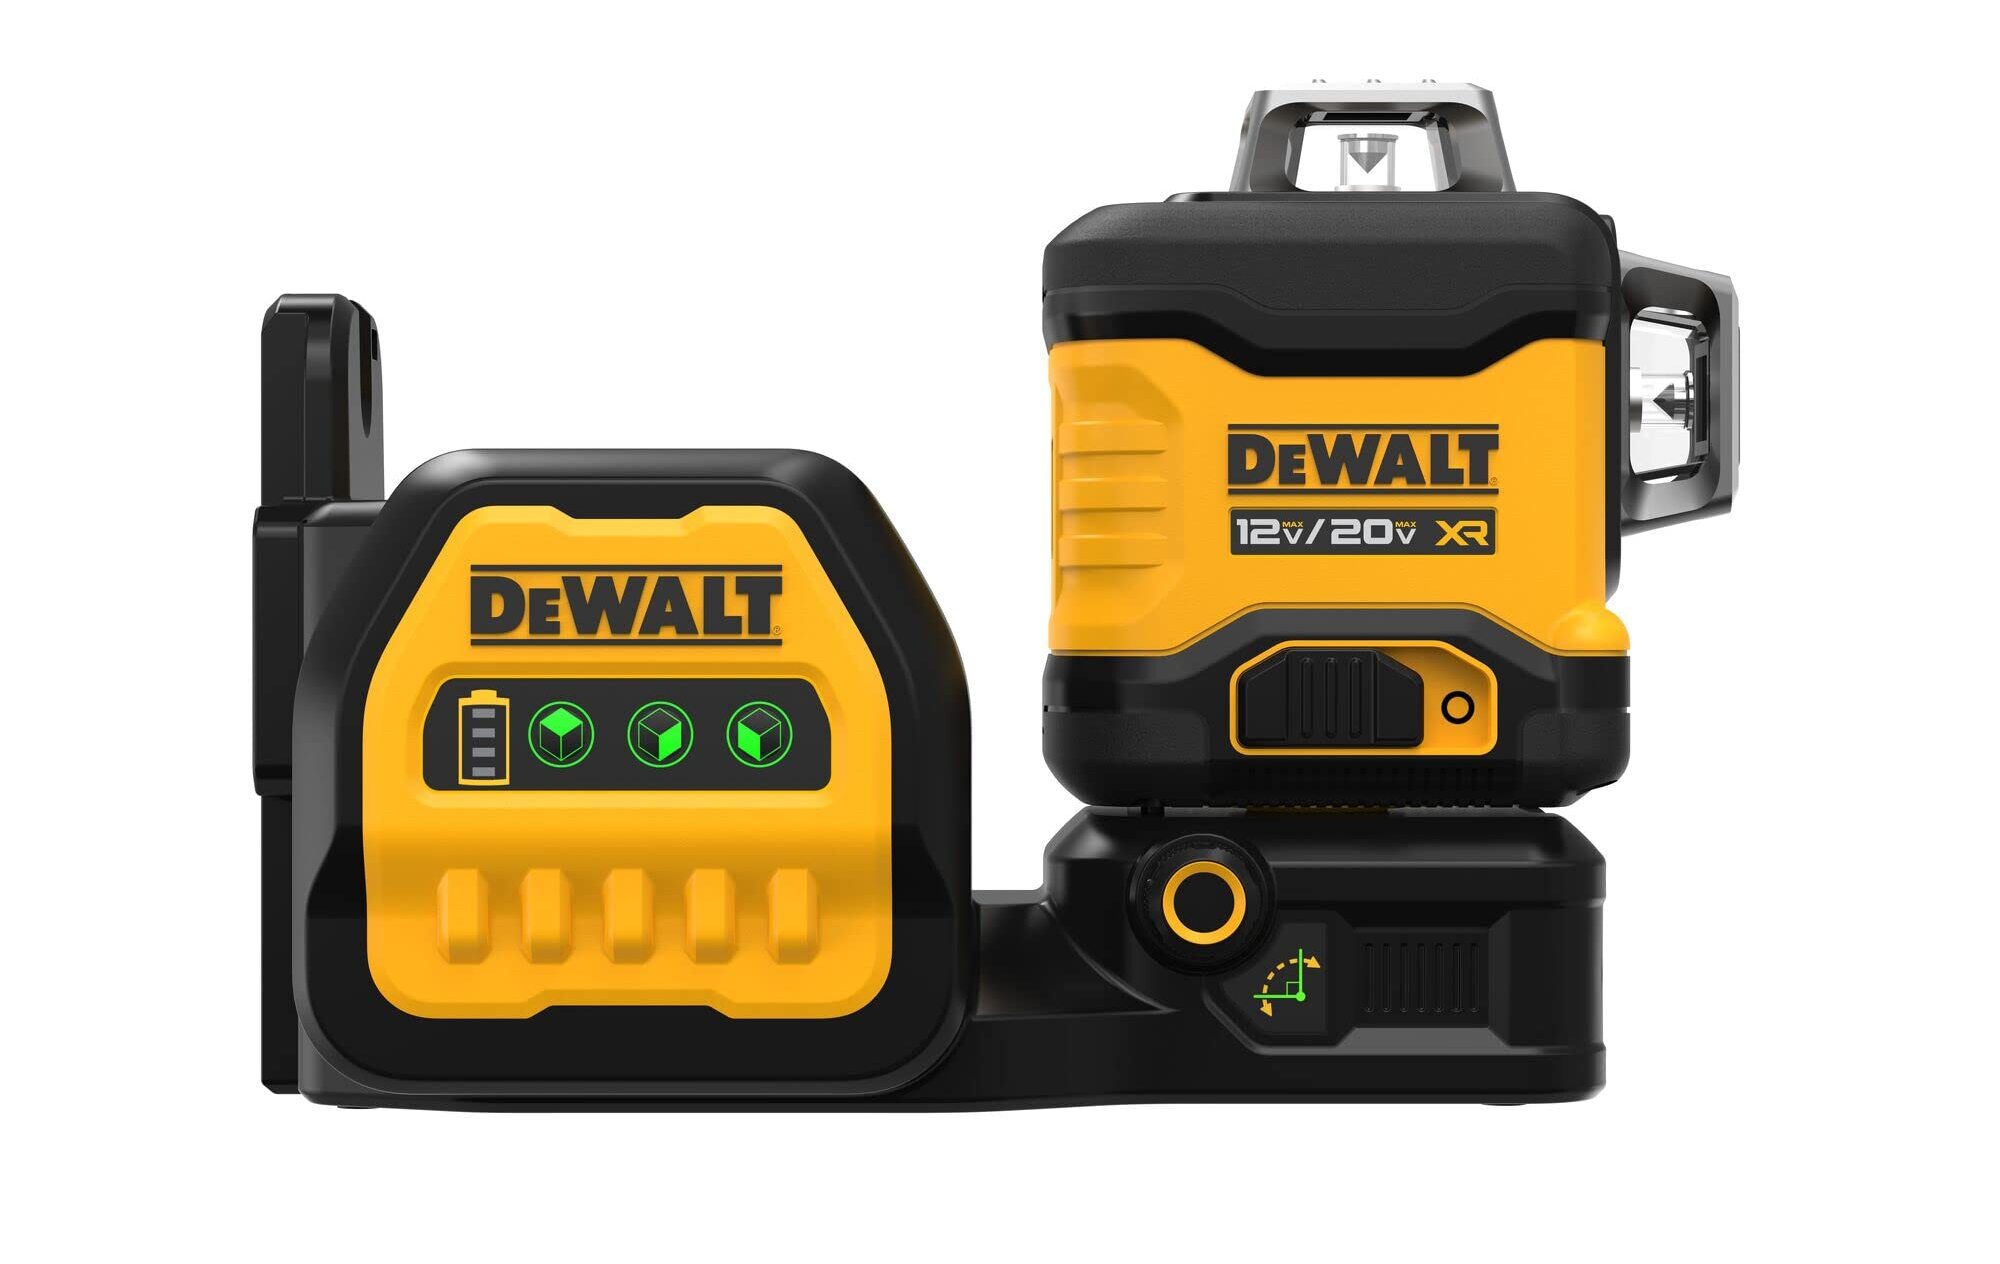
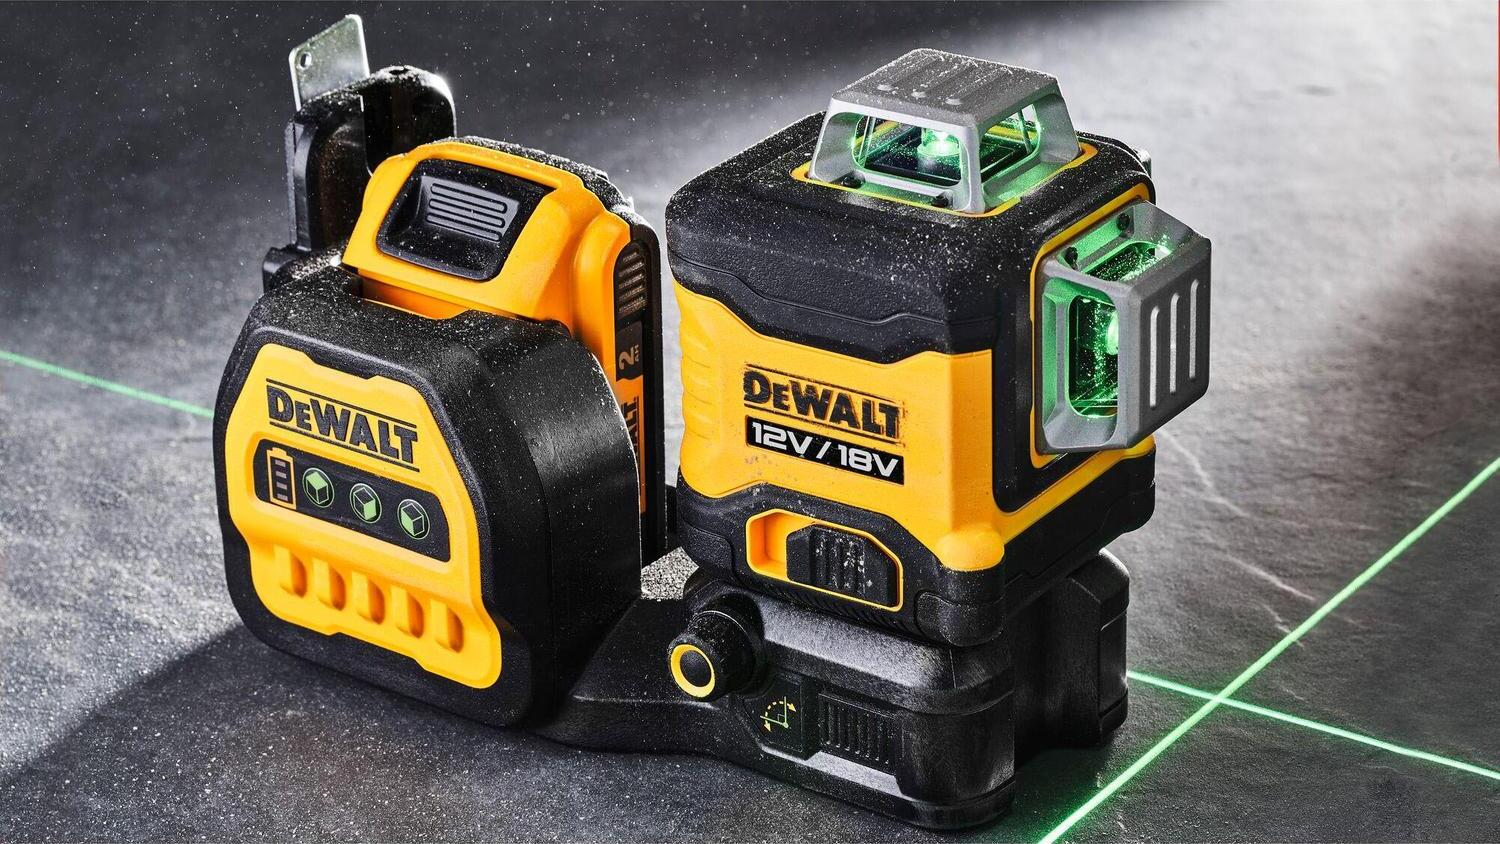
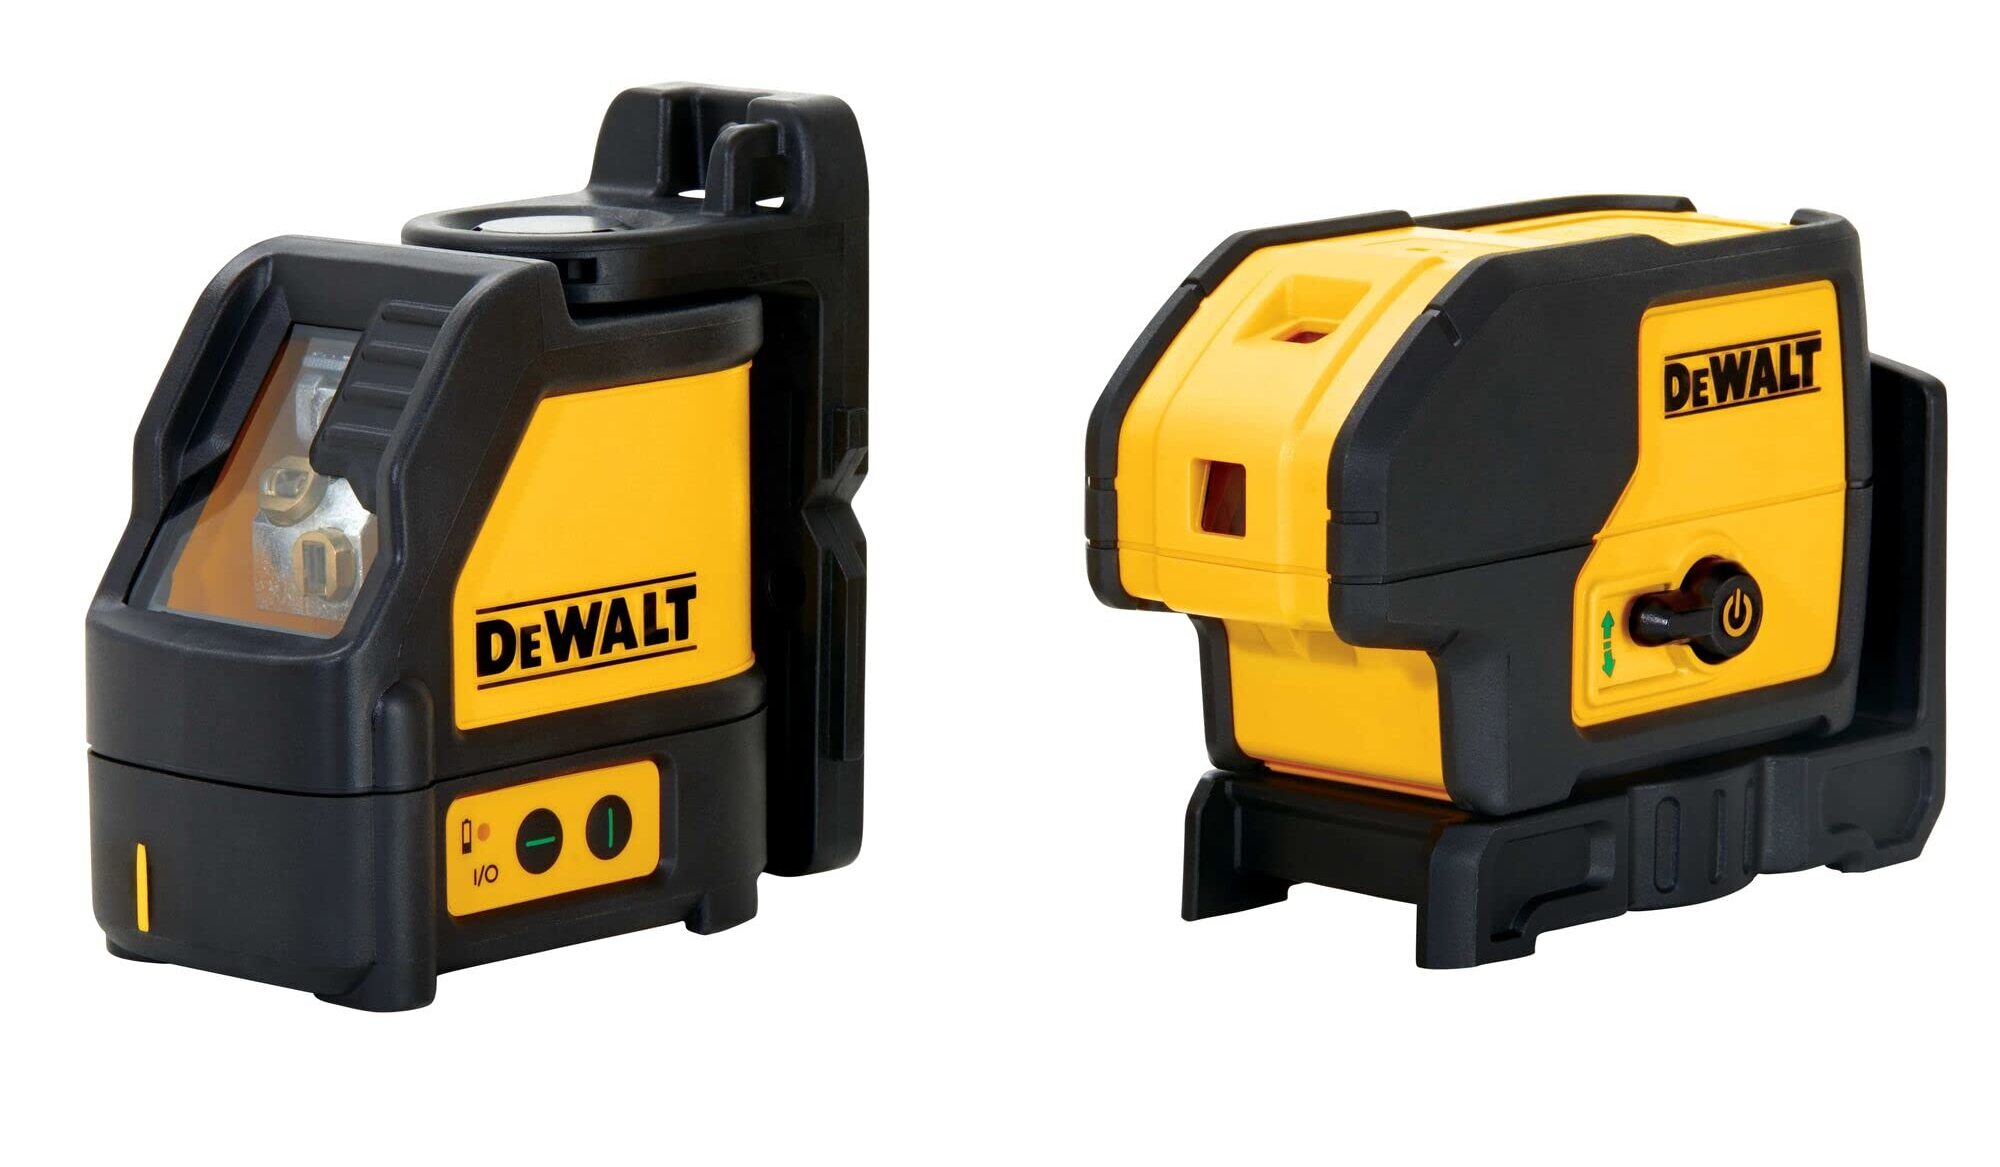
Dewalt laser levels are popular tools used in construction and DIY projects to ensure accurate and level measurements. However, like any electronic device, they can sometimes encounter issues that prevent them from functioning properly. If you’re facing problems with your Dewalt laser level, don’t worry – there are several steps you can take to fix it and get it working again.
In this article, we will guide you through a step-by-step process to troubleshoot and fix common issues with Dewalt laser levels. From checking the power source to calibrating the laser level and contacting Dewalt customer support, we will cover all the necessary steps to help you restore the functionality of your laser level.
Before we dive into the troubleshooting steps, it’s important to note that proper maintenance and care can prevent many issues from arising in the first place. Regularly cleaning the laser lens, storing the level in a protective case, and avoiding extreme temperatures and moisture can help prolong the lifespan of your Dewalt laser level. However, if you do encounter any problems, follow the steps below to get your laser level back in working order.
Key Takeaways:
- Keep your Dewalt laser level in top condition by regularly cleaning the lens, checking the power source, and calibrating it for accurate measurements. Proper maintenance can prevent common issues and prolong its lifespan.
- When troubleshooting your Dewalt laser level, don’t forget to check for loose parts and consider replacing or repairing the laser diode if necessary. If all else fails, reach out to Dewalt’s customer support for expert assistance in resolving any issues.
Read more: How To Calibrate Dewalt Laser Level
Step 1: Check the Power Source
The first step in troubleshooting your Dewalt laser level is to check the power source. Ensure that the batteries or power supply are correctly connected and have enough power to operate the device. If you are using batteries, make sure they are fresh and properly inserted. In some cases, low batteries can cause the laser level to malfunction or not turn on at all.
If your Dewalt laser level uses a power supply, ensure that the cord is securely plugged into the device and the electrical outlet. Check if the power supply is functioning by testing it with another device or using a multimeter to measure the voltage output.
If you have verified that the power source is not the issue, move on to the next step.
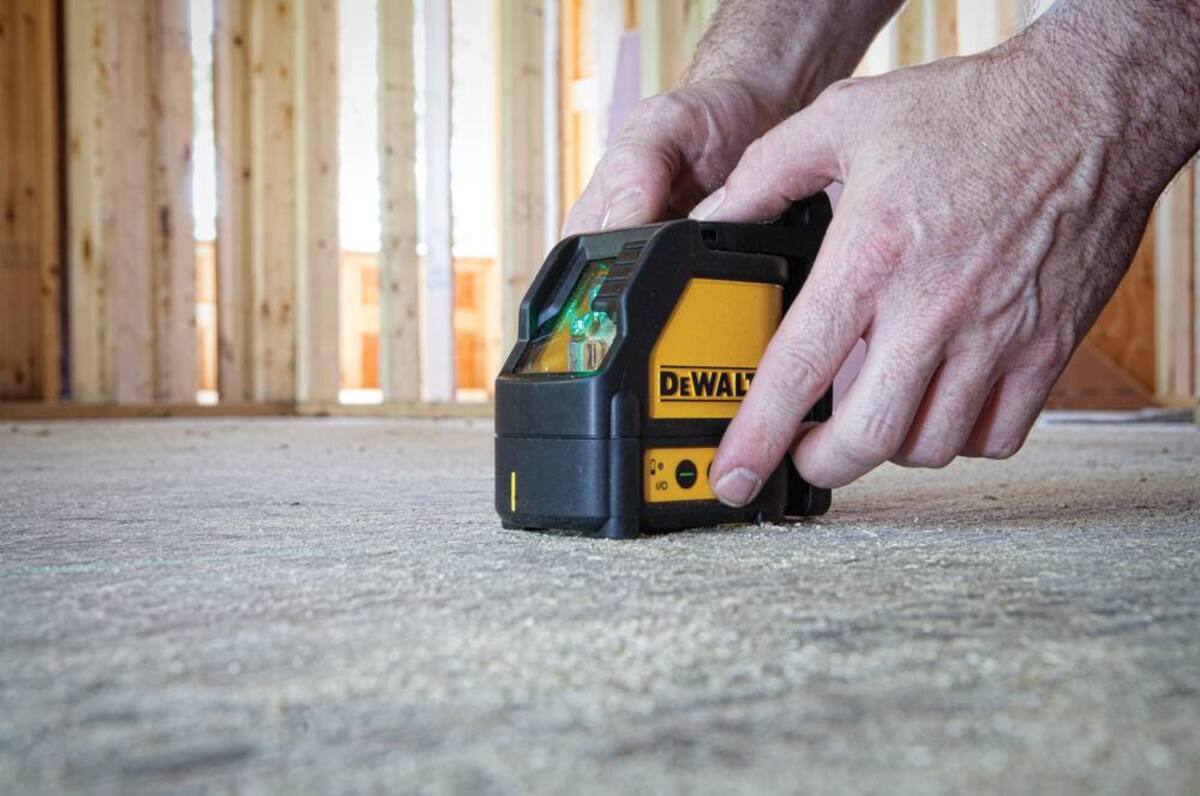
Step 2: Clean the Laser Lens
Over time, dust, dirt, and debris can accumulate on the laser lens, affecting the accuracy and performance of your Dewalt laser level. Cleaning the lens is a simple yet effective way to resolve any issues caused by a dirty lens.
Start by turning off the laser level and removing any batteries or power supply. Then, using a soft, lint-free cloth or a lens cleaning solution, gently wipe the lens in a circular motion. Avoid using harsh chemicals or abrasive materials that could scratch the lens.
If there are stubborn marks or fingerprints on the lens, you can use a mild glass cleaner or isopropyl alcohol. Apply a small amount of cleaner to the cloth and gently wipe the lens until it is clean.
Once you have cleaned the lens, allow it to dry completely before reassembling and testing the laser level. Ensure that no residue or moisture is left on the lens, as this could affect the accuracy of the laser.
If cleaning the lens does not resolve the issue, proceed to the next step.
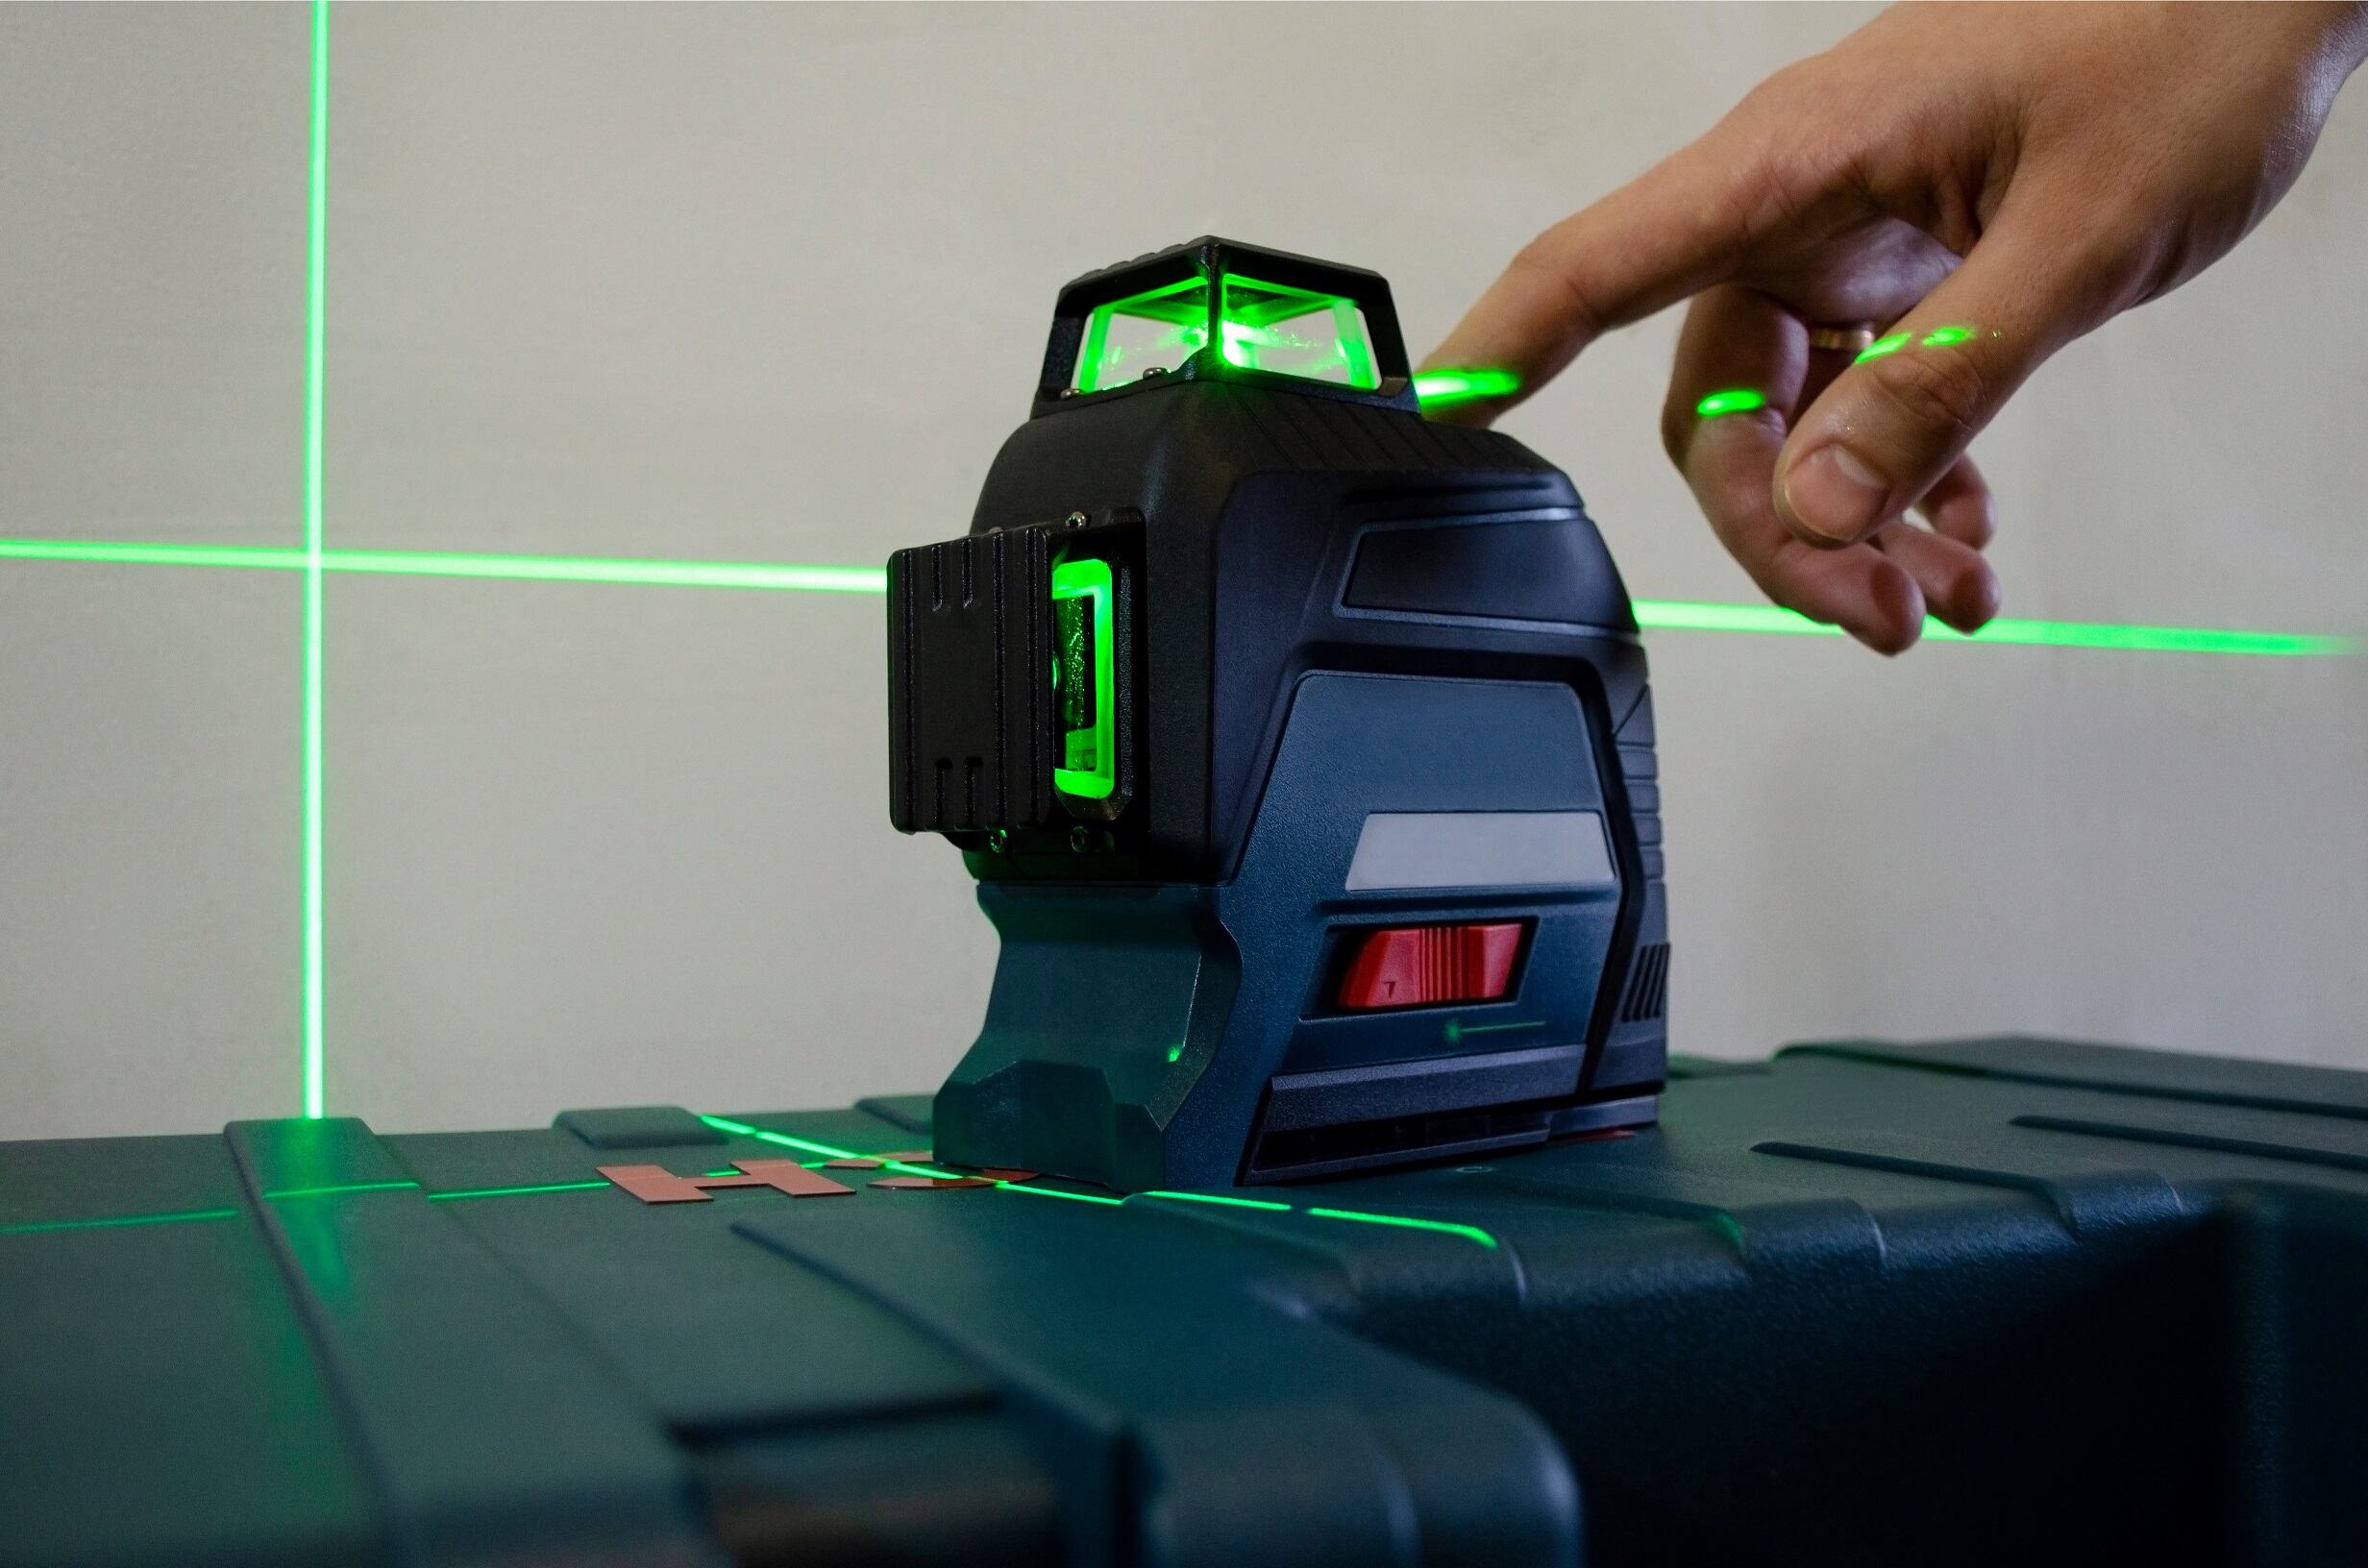
Step 3: Calibrate the Laser Level
If your Dewalt laser level is not providing accurate measurements or is projecting an uneven line, it may need to be calibrated. Calibration ensures that the laser level is aligned correctly and provides precise measurements.
Start by referring to the user manual for your specific Dewalt laser level model. The manual will provide instructions on how to calibrate the device, as different models may have different calibration methods.
In general, calibration involves adjusting the leveling screws or knobs on the laser level to ensure that the laser line is perfectly level or plumb. Some laser levels have an automatic calibration feature, while others require manual adjustment.
Place the laser level on a stable surface or mount it on a tripod. Use a bubble level or the built-in leveling indicators on the laser level to ensure that it is level. If necessary, adjust the leveling screws or knobs until the bubble is centered or the leveling indicators indicate a level position.
Once the laser level is properly leveled, test it by projecting a laser line on a wall or surface. Use a measuring tape or another reference point to verify that the line is accurate and level. Make any additional adjustments as needed.
It’s important to note that calibration should be performed in a controlled environment to minimize any external factors that could affect the measurements, such as vibrations or uneven surfaces.
If calibrating the laser level does not solve the issue, proceed to the next step.
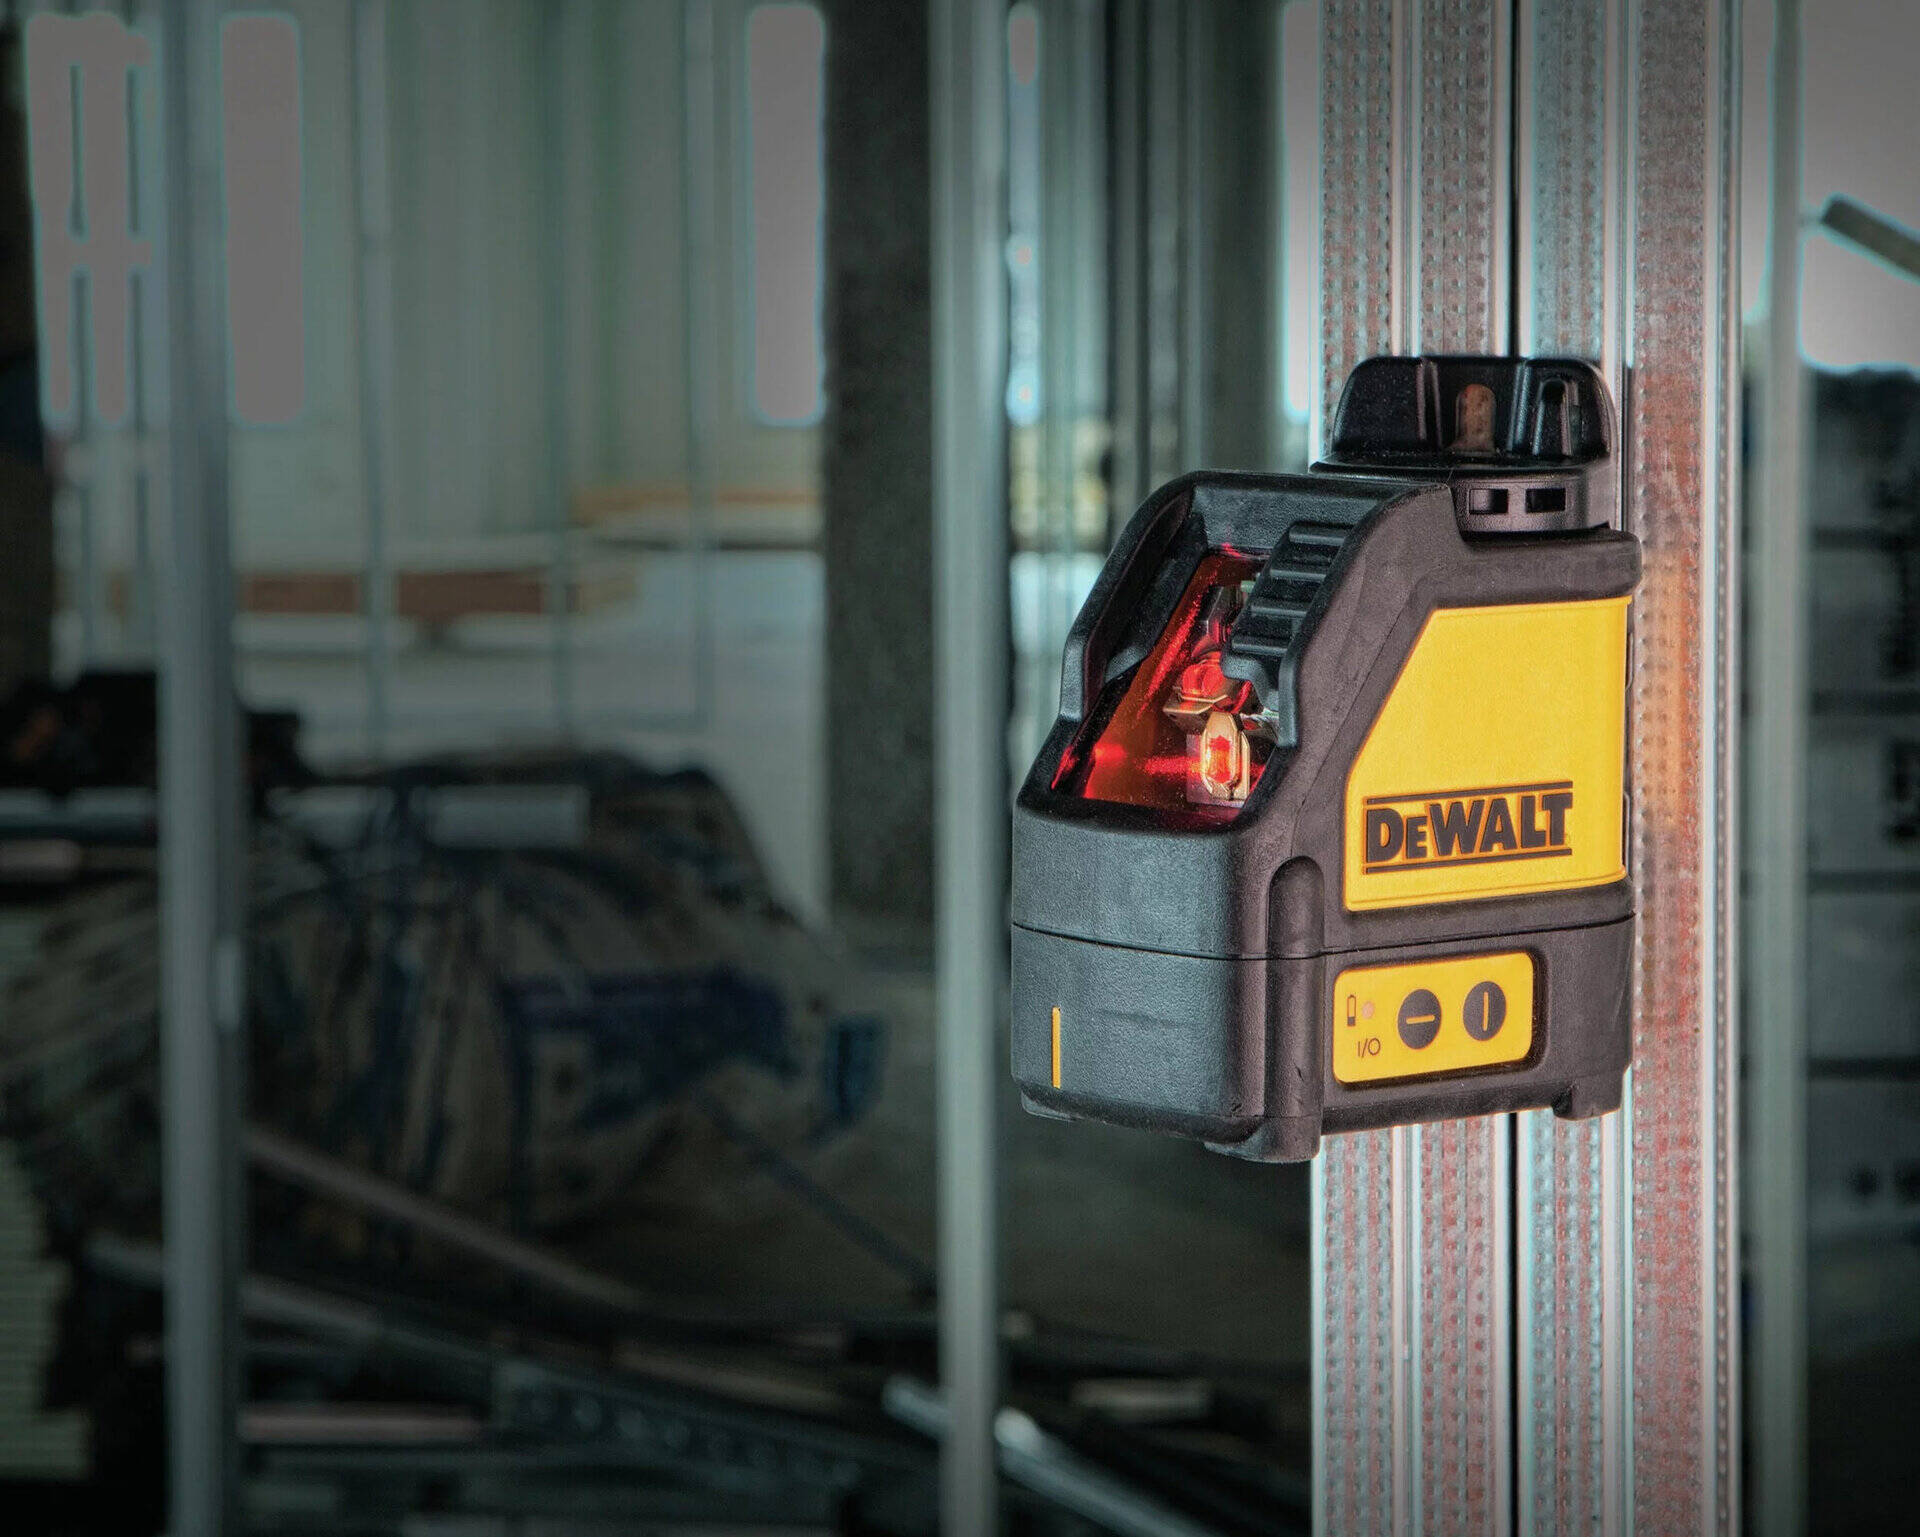
Step 4: Check for Loose Parts
If your Dewalt laser level is experiencing issues such as misalignment or instability, it is essential to check for any loose parts that may be causing the problem.
Start by examining the laser level body and components for any visible signs of damage or loose connections. Check the screws, knobs, and hinges to ensure they are securely tightened. If you find any loose parts, use a screwdriver or appropriate tool to tighten them.
In some cases, the leveling base or the mount of the laser level may become loose, causing instability. Ensure that the base or mount is securely attached to the laser level body and tightened properly. If necessary, adjust the tension or locking mechanism to stabilize the laser level.
Additionally, check the laser level for any signs of wear or damage, such as cracks or breaks. Damaged parts may need to be replaced to restore the functionality of the laser level.
If there are no loose parts or visible damage, proceed to the next step.
When calibrating a Dewalt laser level, make sure to set it on a stable surface and adjust the leveling screws until the laser is perfectly level. Use the built-in vials for accuracy.
Read more: How To Use The Dewalt Laser Level
Step 5: Replace or Repair the Laser Diode
If your Dewalt laser level is not emitting a laser beam or the beam appears faint or distorted, the issue may lie with the laser diode. The laser diode is responsible for generating and projecting the laser beam, and if it is faulty or damaged, it may need to be replaced or repaired.
Start by checking the user manual or contacting Dewalt customer support to determine if the laser diode can be replaced by the user. Some laser diodes are easily replaceable, while others may require professional service.
If the laser diode can be replaced by the user, follow the instructions provided in the manual to safely remove the old diode and install the new one. Ensure that you have the correct replacement diode for your specific Dewalt laser level model.
If the laser diode cannot be replaced by the user, or if you are unsure about performing the replacement yourself, it is recommended to contact Dewalt customer support or a certified Dewalt service center for assistance. They will be able to diagnose the issue and provide the necessary repair or replacement services.
Replacing or repairing the laser diode should only be done by trained professionals or authorized technicians to ensure proper installation and avoid any further damage to the laser level.
If replacing or repairing the laser diode does not resolve the issue, proceed to the next step.
Step 6: Reset the Laser Level
If you’ve tried the previous steps and your Dewalt laser level is still not functioning correctly, it may be helpful to perform a reset. Resetting the laser level can sometimes clear any temporary glitches or software issues that may be causing the problem.
The process for resetting the laser level may vary depending on the model. Consult the user manual or contact Dewalt customer support for specific instructions on how to reset your laser level.
In general, resetting the laser level involves turning it off and disconnecting the power source. Leave the laser level disconnected for a few minutes, then reconnect the power source and turn it back on. This break in power can reset the internal circuitry and software of the laser level.
After resetting the laser level, test its functionality by projecting a laser line and checking for accurate measurements and alignment. If the issue persists, proceed to the next step.
Step 7: Contact Dewalt Customer Support
If you have followed all the previous steps and are still experiencing issues with your Dewalt laser level, it’s time to reach out to Dewalt’s customer support for further assistance. Dewalt provides excellent customer support to help troubleshoot and resolve any problems you may be facing with their products.
Contacting Dewalt customer support can be done through various channels, such as phone, email, or online chat. Visit their official website to find the appropriate contact information for your region.
When reaching out to customer support, provide them with detailed information about the issue you are experiencing, as well as the specific model and serial number of your Dewalt laser level. This will help them diagnose the issue more efficiently and provide you with accurate solutions or recommendations.
Dewalt’s customer support team may guide you through additional troubleshooting steps or recommend sending the laser level for repair if necessary. They can also provide information on warranty coverage and any potential costs involved.
Remember to be patient and polite when interacting with customer support, as they are there to assist you and find the best solution for your situation.
By contacting Dewalt customer support, you can take advantage of their expertise and resources to resolve the issue with your laser level efficiently.
Conclusion
Fixing issues with your Dewalt laser level is possible with the right troubleshooting steps and resources. By following the steps outlined in this article, you can address common problems and restore the functionality of your laser level.
Remember to start by checking the power source, as low batteries or faulty power supply can often be the cause of the problem. Cleaning the laser lens can help improve accuracy, while calibrating the laser level ensures precise measurements. Checking for loose parts and repairing or replacing the laser diode are crucial steps if the issue persists.
If all else fails, performing a reset or contacting Dewalt customer support can provide further assistance and guidance. Their knowledgeable support team can walk you through additional troubleshooting steps or recommend repair options.
Proper maintenance and care of your Dewalt laser level can also help prevent issues from occurring in the first place. Regularly cleaning the lens, storing the level properly, and avoiding extreme conditions can extend the lifespan of your tool.
By following these steps and seeking the necessary support, you can get your Dewalt laser level back in working order and continue with your construction or DIY projects with confidence and accuracy.
Frequently Asked Questions about How To Fix Dewalt Laser Level
Was this page helpful?
At Storables.com, we guarantee accurate and reliable information. Our content, validated by Expert Board Contributors, is crafted following stringent Editorial Policies. We're committed to providing you with well-researched, expert-backed insights for all your informational needs.


0 thoughts on “How To Fix Dewalt Laser Level”