Home>Articles>How To Project Square Vertical Lines With Self-Leveling Laser Level
Articles
How To Project Square Vertical Lines With Self-Leveling Laser Level
Modified: March 1, 2024
Learn how to project square vertical lines with a self-leveling laser level in this informative article. Find step-by-step instructions and tips to achieve precise measurements and alignments.
(Many of the links in this article redirect to a specific reviewed product. Your purchase of these products through affiliate links helps to generate commission for Storables.com, at no extra cost. Learn more)
Introduction
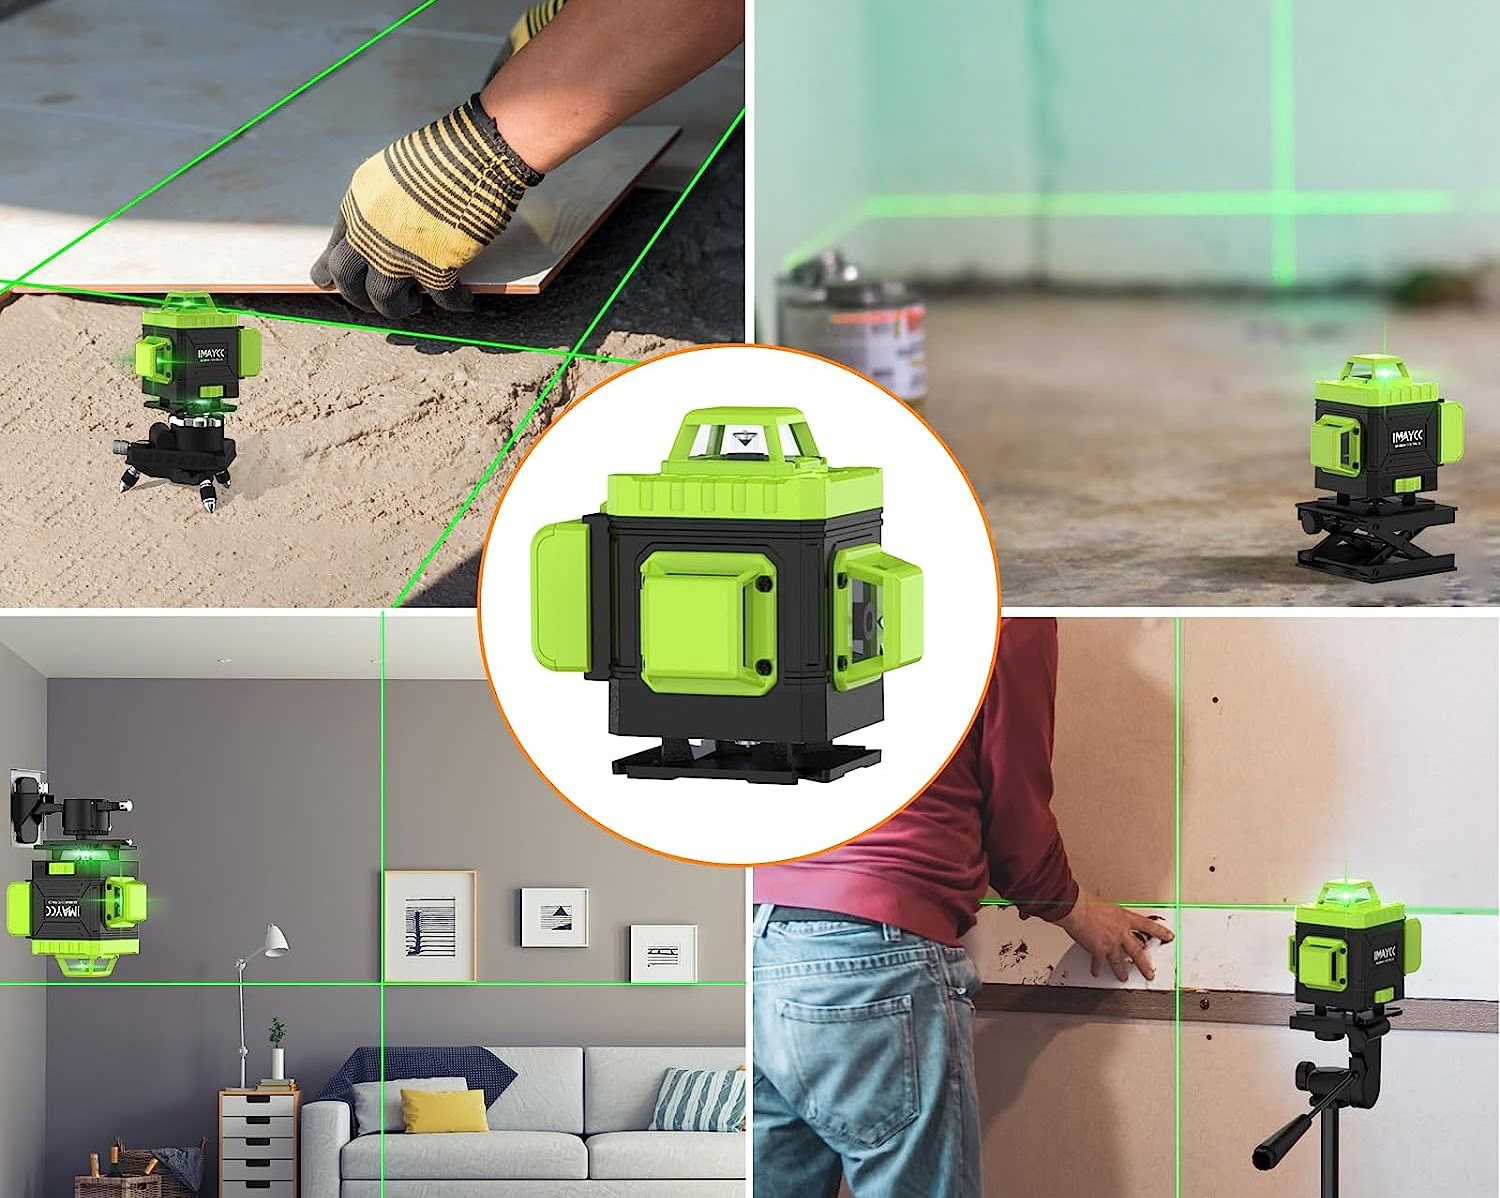
Welcome to the world of self-leveling laser levels, where precision and accuracy meet convenience and efficiency. If you’re embarking on a project that requires projecting square vertical lines, a self-leveling laser level is your go-to tool. This article will guide you through the process of using a self-leveling laser level to project square vertical lines, ensuring that your project is a success.
Before we dive into the technicalities, let’s have a brief understanding of what a self-leveling laser level is and how it works. A self-leveling laser level is a device used for measuring and leveling surfaces. It utilizes a laser beam to project a perfectly straight line, allowing for precise alignment and measurement. The key feature of a self-leveling laser level is its ability to automatically adjust and maintain a level position, even on uneven surfaces.
The benefits of using a self-leveling laser level for your projects are numerous. Firstly, it saves significant time and effort compared to traditional leveling methods. Instead of using a bubble level or string lines, you can rely on the laser level to provide accurate and consistent measurements. Additionally, self-leveling laser levels offer a higher level of precision, ensuring that your vertical lines are perfectly aligned and square.
Now that we have a basic understanding of self-leveling laser levels, let’s move on to preparing for the project. Gathering the necessary materials and choosing the right self-leveling laser level are crucial steps in ensuring smooth progress during the project.
Key Takeaways:
- Embrace the convenience and precision of self-leveling laser levels for projecting square vertical lines, saving time and ensuring accurate alignments for your construction and carpentry projects.
- Prepare, set up, calibrate, and project with confidence using a self-leveling laser level, following best practices to maintain stability, visibility, and safety while achieving perfect square vertical lines.
Read more: How To Use Cross Line Laser Level
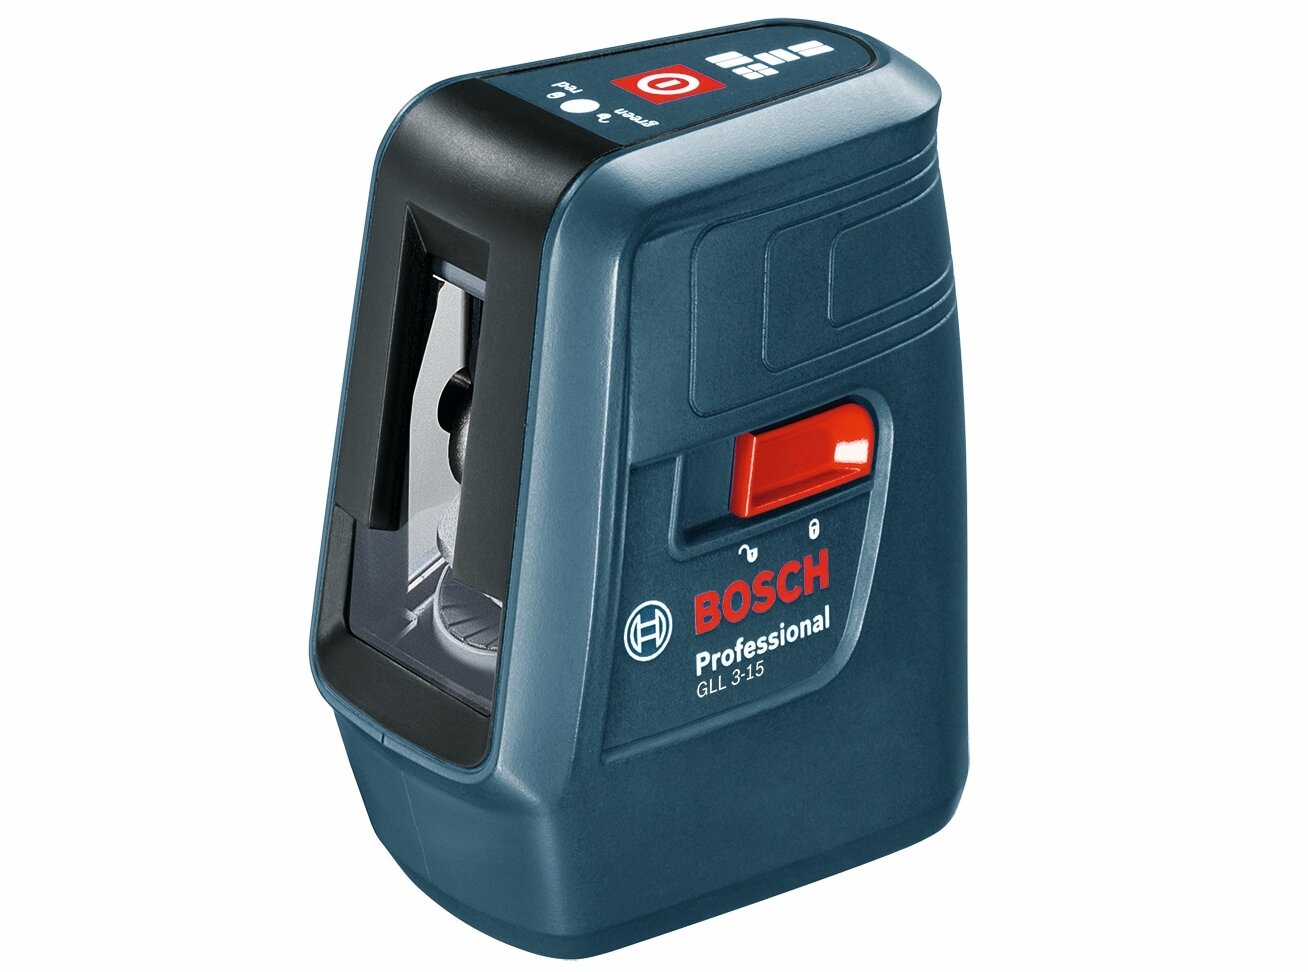
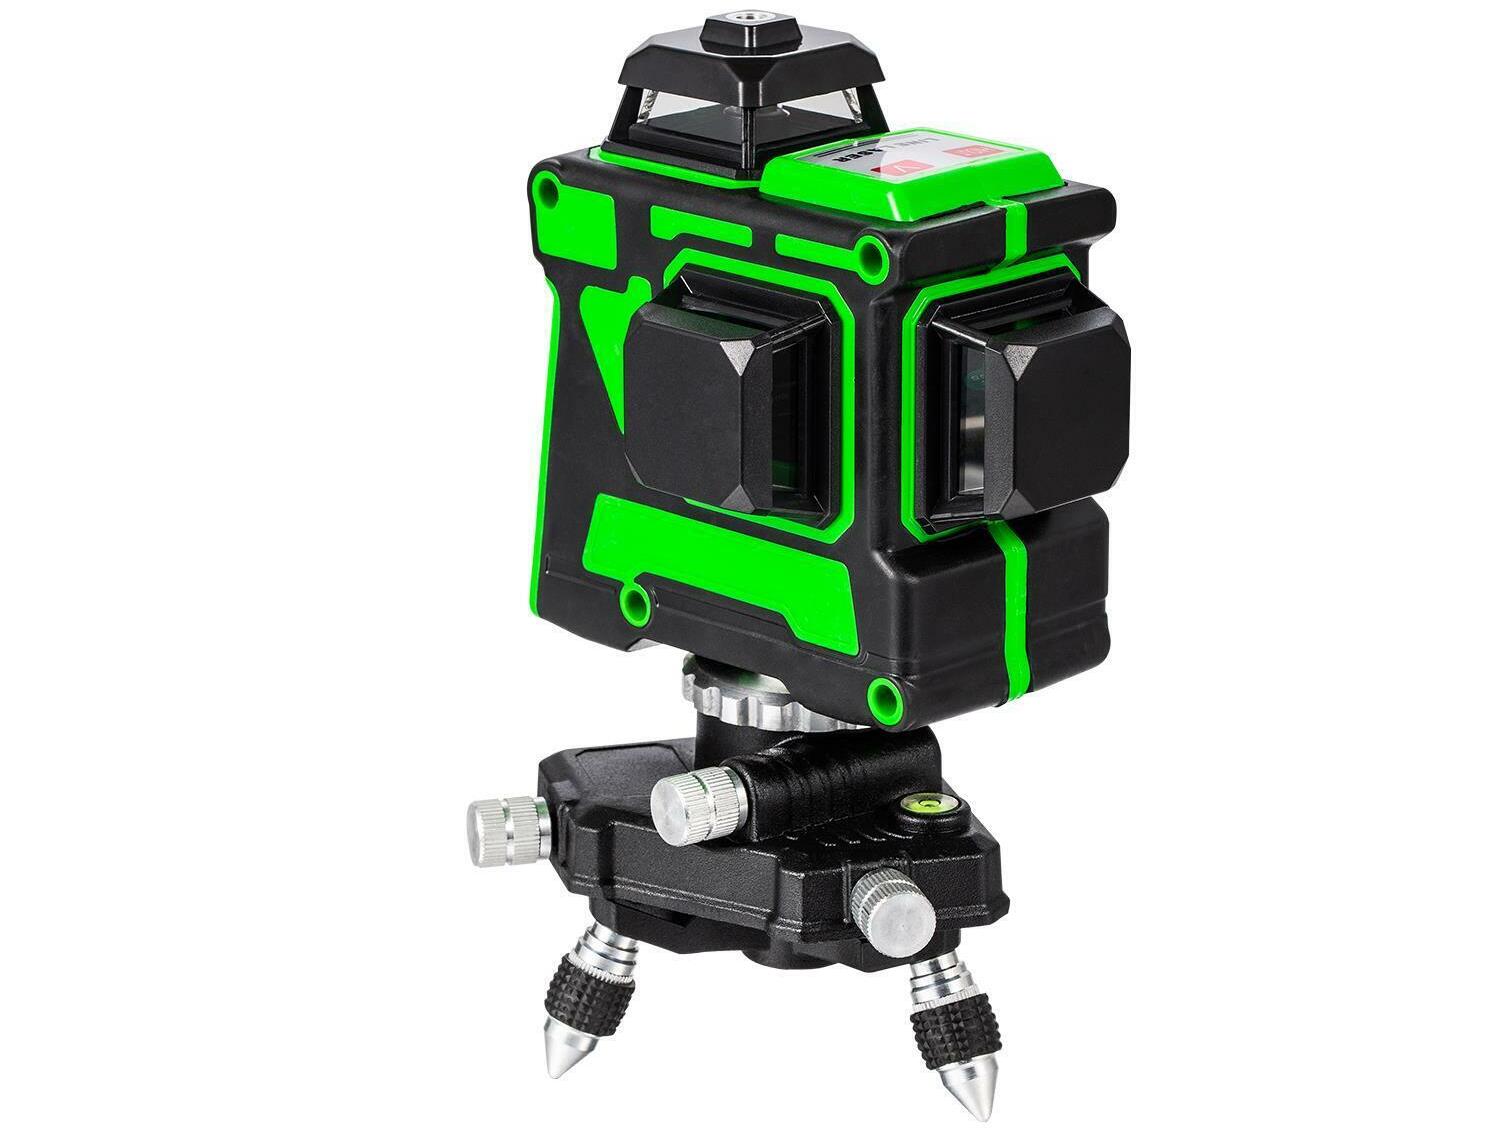
Understanding Self-Leveling Laser Levels
A self-leveling laser level is a versatile tool that is commonly used in construction, carpentry, and other industries where accurate leveling is required. It utilizes advanced technology to ensure that the laser beam remains perfectly level, even when the device is placed on uneven surfaces or is subjected to slight movements.
So how does a self-leveling laser level work? The device is equipped with a built-in pendulum system or electronic sensors that constantly monitor the position of the unit. If the unit detects any deviation from the level position, it automatically adjusts the laser beam to compensate for the tilt and bring it back to level. This self-leveling feature eliminates the need for manual adjustments and ensures accurate measurements every time.
Now, let’s explore the benefits of using a self-leveling laser level for your projects. Firstly, it saves you valuable time. Instead of spending hours manually leveling surfaces using traditional methods, a self-leveling laser level can do the job in a fraction of the time. You can quickly and easily establish accurate reference lines and layout points, leading to improved efficiency and productivity.
Secondly, using a self-leveling laser level provides a higher degree of accuracy. The laser beam emitted by the device is incredibly precise, allowing you to achieve perfect alignment and symmetry in your project. Whether you’re installing cabinets, hanging pictures, or working on a construction site, a self-leveling laser level ensures that your vertical lines are straight and your measurements are accurate.
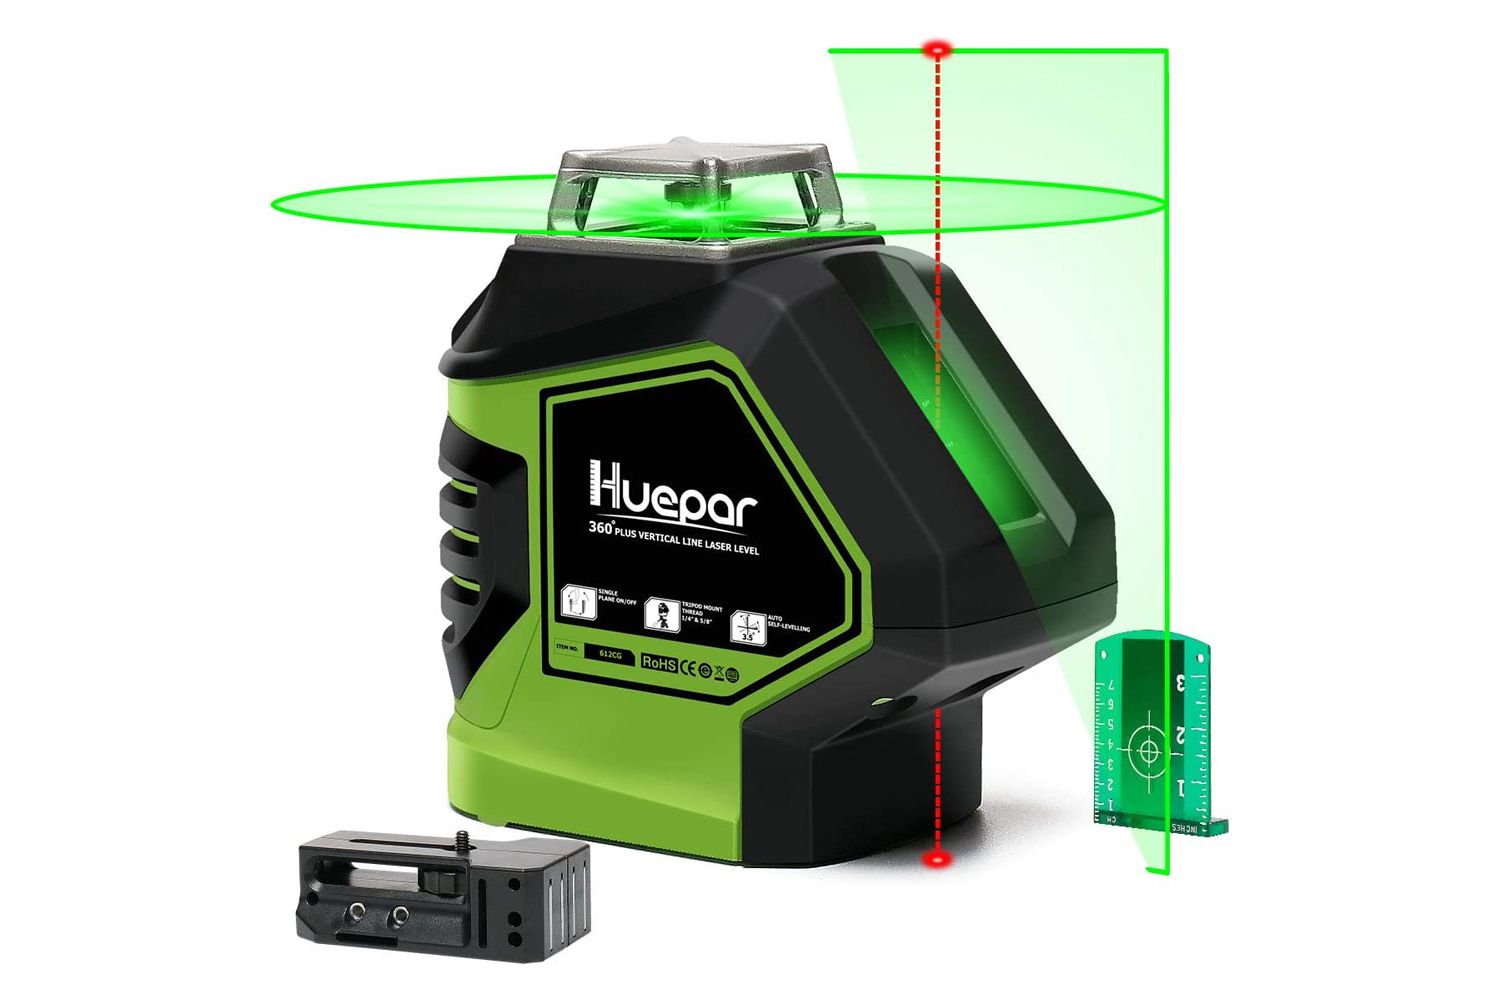
In addition to saving time and enhancing accuracy, a self-leveling laser level also offers convenience and versatility. Many models are compact and portable, allowing you to easily transport and use them in different locations. Some units even offer additional features such as multiple laser line projections, rotational capabilities, and remote control operation, making them suitable for a wide range of applications.
Overall, a self-leveling laser level is an indispensable tool for anyone involved in construction, renovation, or any project that requires precise and level measurements. Its self-leveling feature, accuracy, and convenience make it a valuable asset that can greatly enhance your productivity and quality of work.
Preparing for the Project
Before you begin using a self-leveling laser level to project square vertical lines, it’s important to make proper preparations. This involves gathering the necessary materials and equipment and selecting the right self-leveling laser level for your specific project requirements.
The first step is to gather the materials and equipment you’ll need for the project. Besides the self-leveling laser level itself, you’ll also need a sturdy tripod or mounting device to securely position the laser level. Ensure that the tripod or mounting device is compatible with your laser level and can provide a stable platform for accurate measurements.
In addition to the tripod, you might also need a laser detector or receiver if you anticipate working in bright outdoor conditions or over longer distances. The detector will enhance the visibility and range of the laser beam, allowing you to easily locate and align the projected lines. Make sure the detector is compatible with your self-leveling laser level model.
Once you have gathered the necessary materials, it’s time to choose the appropriate self-leveling laser level. Consider the specific requirements of your project, including the distance over which you need to project the lines and the level of precision you require.
If you’re working on a smaller scale project, a basic self-leveling laser level with a limited range may be sufficient. However, for larger projects or outdoor applications, you will need a laser level with a longer range and higher visibility. Look for a model that offers a visible laser beam that can be easily seen in various lighting conditions.
Another important consideration is the accuracy and precision of the laser level. Some models offer higher accuracy levels which may be necessary for projects that demand meticulous precision, such as tiling or lining up cabinetry. Check the specifications of the laser level to ensure it meets your desired level of accuracy.
Finally, think about the additional features that may be beneficial for your project. These could include rotating laser beams, multiple line projections, or remote control operation. Choose a laser level that has the features that align with your project requirements and will maximize your efficiency and productivity.
By gathering the necessary materials and selecting the appropriate self-leveling laser level, you are setting yourself up for a successful project. With everything in place, you can now move on to setting up the laser level and calibrating it for accurate and square vertical line projections.
Setting Up the Self-Leveling Laser Level
Now that you have the necessary materials and have chosen the right self-leveling laser level for your project, it’s time to set it up for accurate and precise vertical line projections. Follow these steps to ensure proper setup:
1. Positioning the laser level on a stable surface: Find a flat and stable surface to set up your laser level. This could be a sturdy tripod or a mounting device designed for laser levels. Make sure the surface is level and secure to avoid any vibrations or movement that could affect the accuracy of the laser level.
2. Activating the self-leveling feature: Most self-leveling laser levels have an automatic self-leveling feature that needs to be activated before use. Check the manufacturer’s instructions for the specific steps to activate this feature. Once activated, the laser level will adjust itself to become level within a few seconds.
3. Adjusting the laser level for vertical projection: After the self-leveling feature is activated, you need to adjust the laser level for vertical projection. Locate the vertical adjustment screws or knobs on the laser level and use them to fine-tune the vertical alignment. Ensure that the laser beam is perfectly vertical by using a bubble level or visually verifying against a plumb line or reference surface.
Pay attention to any locks or clamps that may be present on the laser level. Make sure they are securely tightened to maintain the desired position and prevent any movement during the project.
While setting up the laser level, it’s essential to ensure that the laser beam is at the desired height for your project. Adjust the height of the tripod or mounting device accordingly to position the laser beam at the desired level. This will help you project the vertical lines at the correct height and maintain consistency throughout the project.
By following these steps and carefully setting up your self-leveling laser level, you will lay the foundation for accurately projecting square vertical lines. With the laser level in position, it’s time to move on to the calibration process to fine-tune the accuracy of the laser level.
When projecting square vertical lines with a self-leveling laser level, ensure that the level is set up on a stable surface and that the laser is calibrated properly to ensure accurate and precise lines.
Calibrating the Laser Level
Calibrating your self-leveling laser level is an essential step to ensure optimal accuracy and precision in projecting square vertical lines. Follow these steps to calibrate your laser level:
1. Ensuring accuracy and precision: Before calibrating, make sure your laser level is positioned on a stable surface and the self-leveling feature is activated. Use the laser level in an area with minimal vibrations or disturbances to ensure accurate readings.
2. Fine-tuning the laser level for square vertical lines: Begin by positioning the laser level so that it projects a vertical line onto a flat surface, such as a wall or a piece of plywood. Ensure that the line is straight and aligned. To make adjustments, refer to the laser level’s manual for specific instructions on how to access and adjust the calibration settings.
The calibration process may involve using screws, knobs, or software controls to make precise adjustments. Some laser levels have bubble vials or digital displays that provide visual feedback to assist in achieving the desired calibration. Make incremental adjustments until the laser beam projects a square vertical line by visually verifying against a plumb line or reference surface.
It’s important to take your time during the calibration process and pay attention to small increments. Make precise adjustments until the laser level produces an accurately aligned vertical line. By properly calibrating the laser level, you will ensure that subsequent measurements and projections are accurate and square.
Remember to double-check the calibration periodically, especially during longer projects or if the laser level has been moved or subjected to changes in temperature or vibration. Regular calibration checks will ensure that your laser level continues to provide accurate and reliable results throughout your project.
With the laser level calibrated and ready, it’s time to move on to the exciting part – projecting square vertical lines.
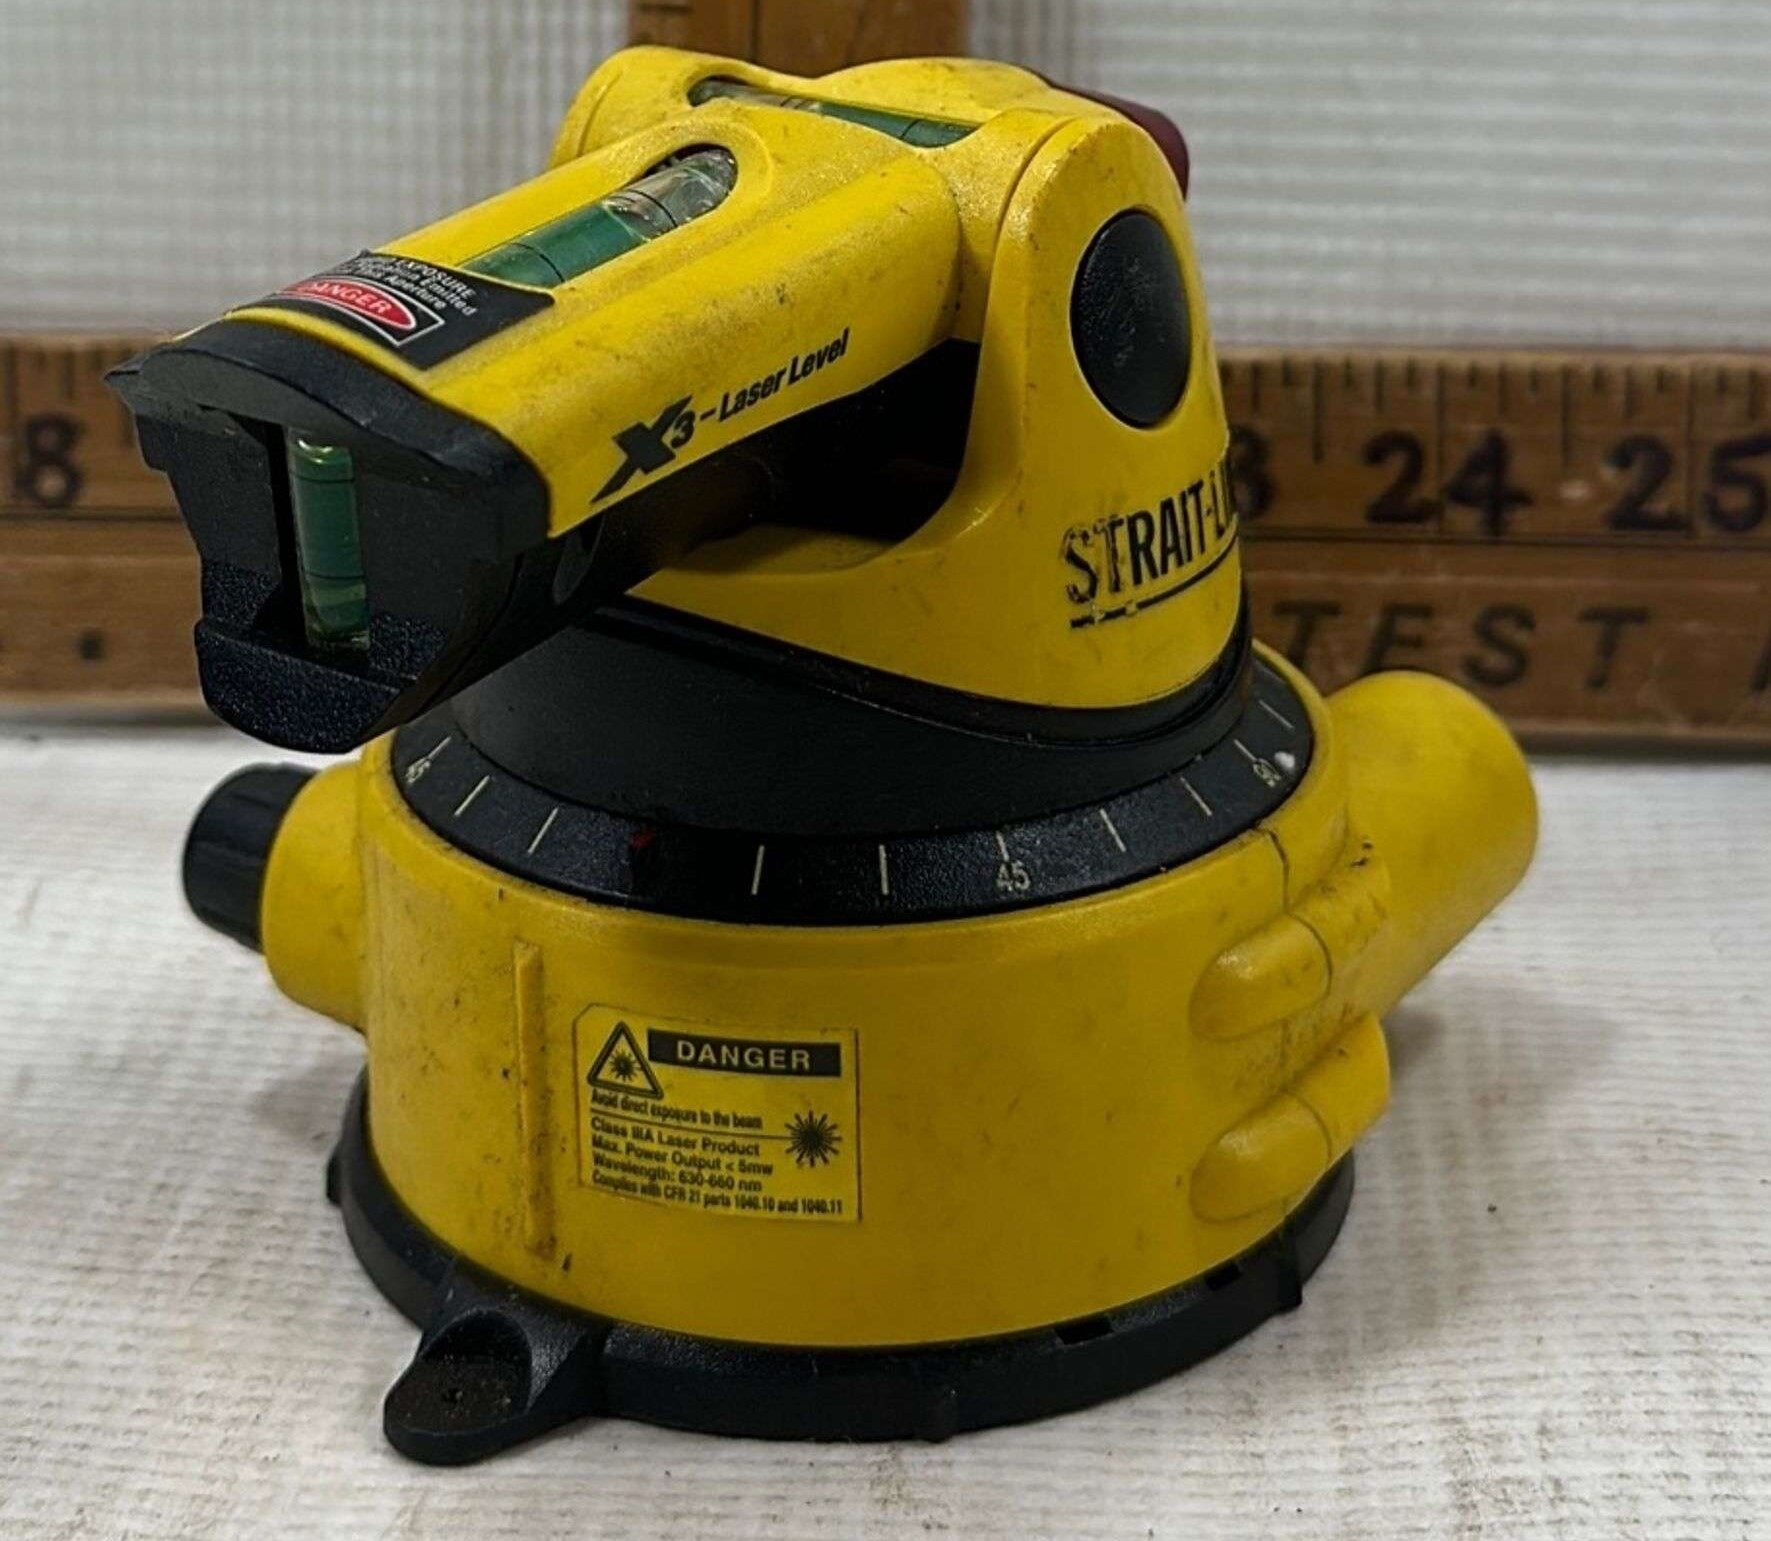
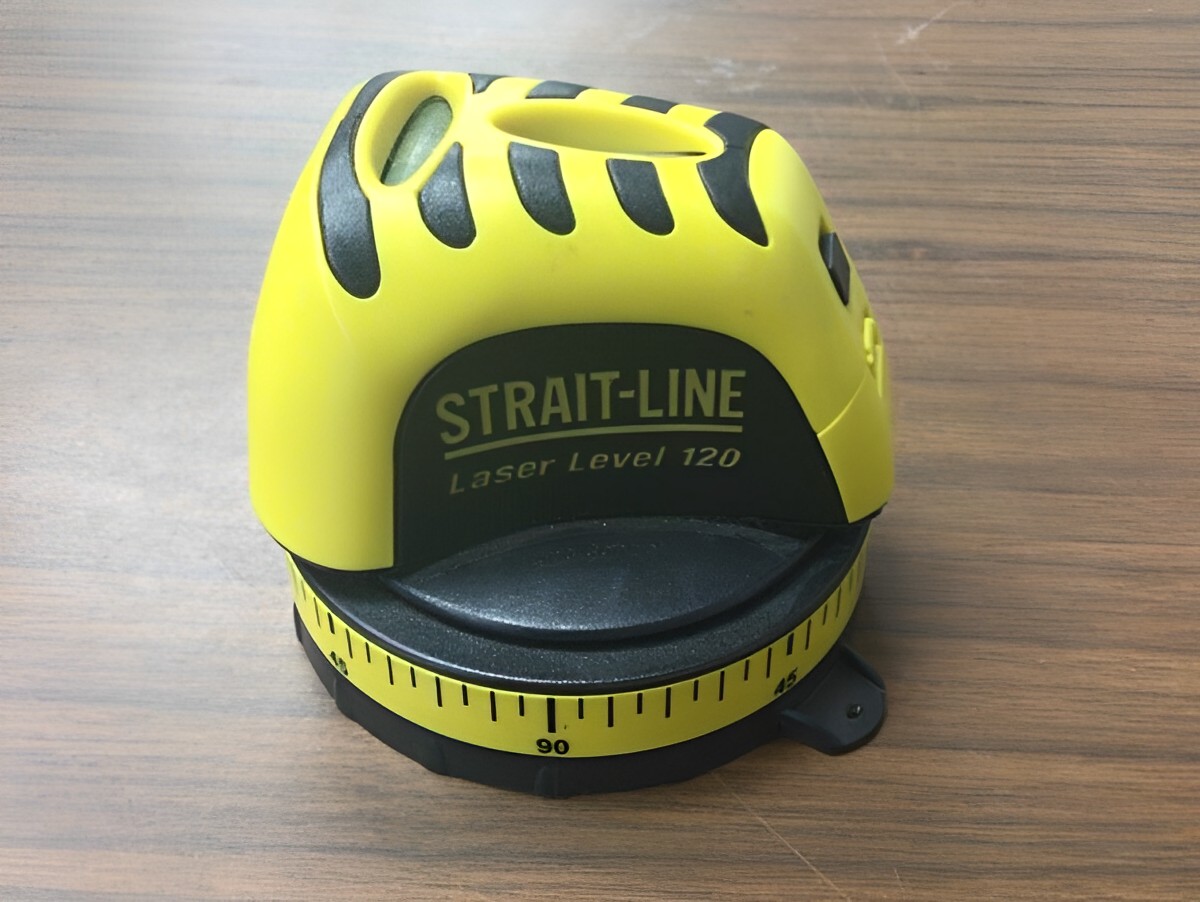
Read more: How To Repair A Strait-Line Laser Level
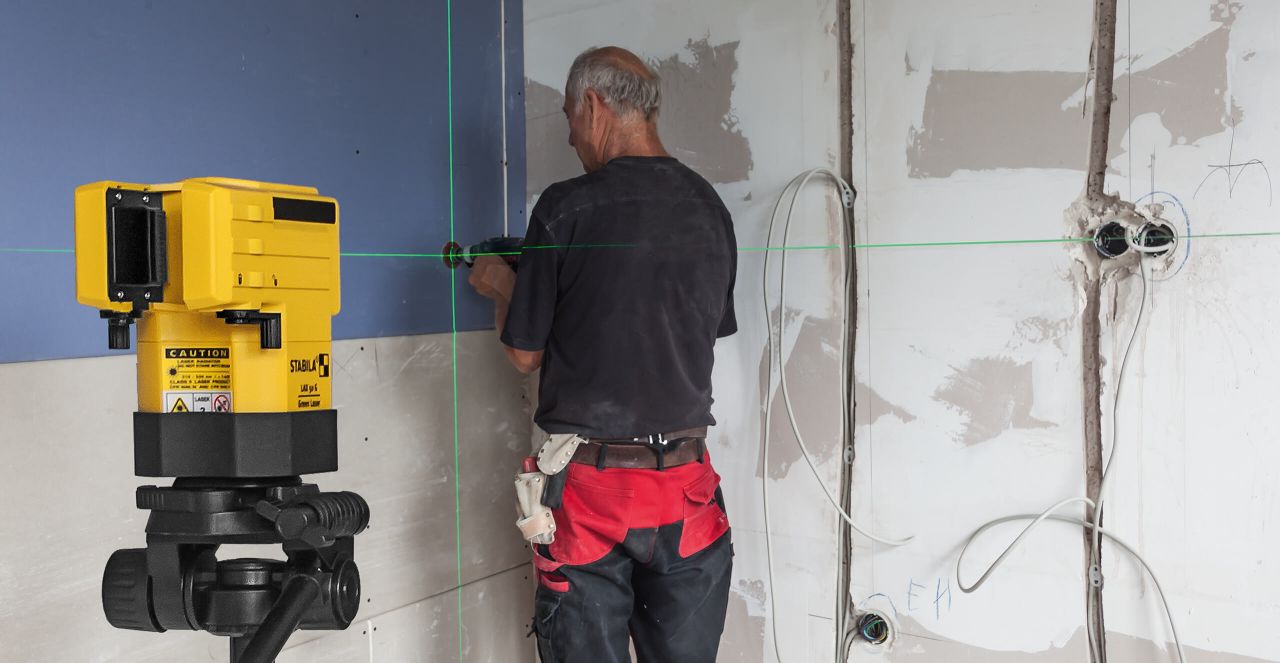
Projecting Square Vertical Lines
Now that your self-leveling laser level is set up and calibrated, it’s time to project square vertical lines for your project. Follow these steps to ensure accurate and precise line projection:
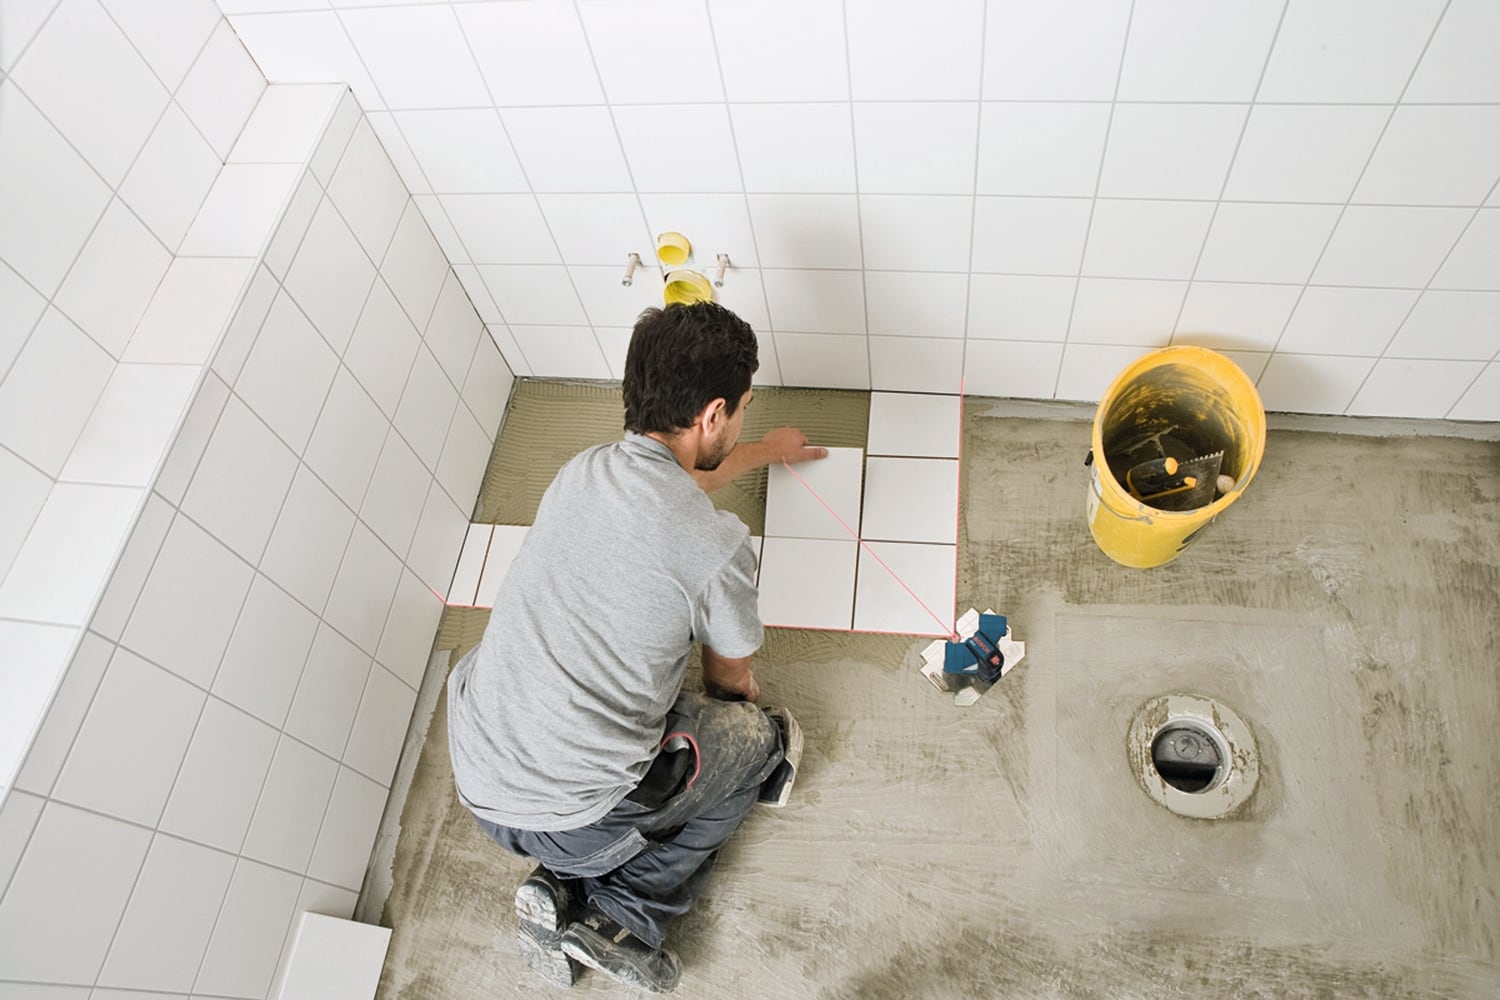
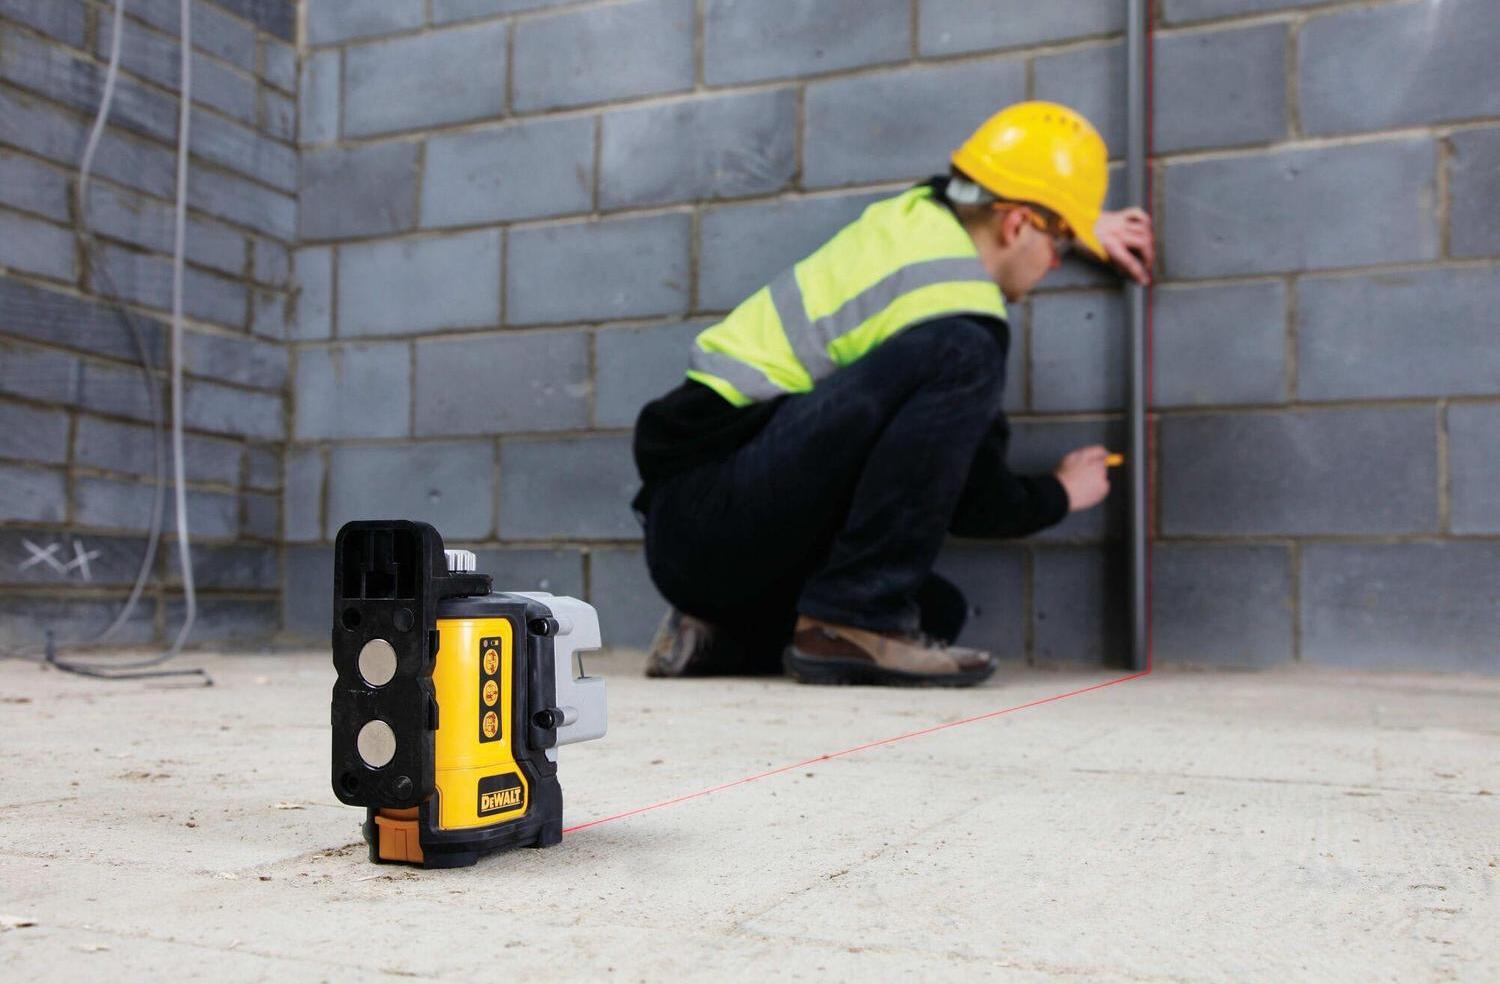
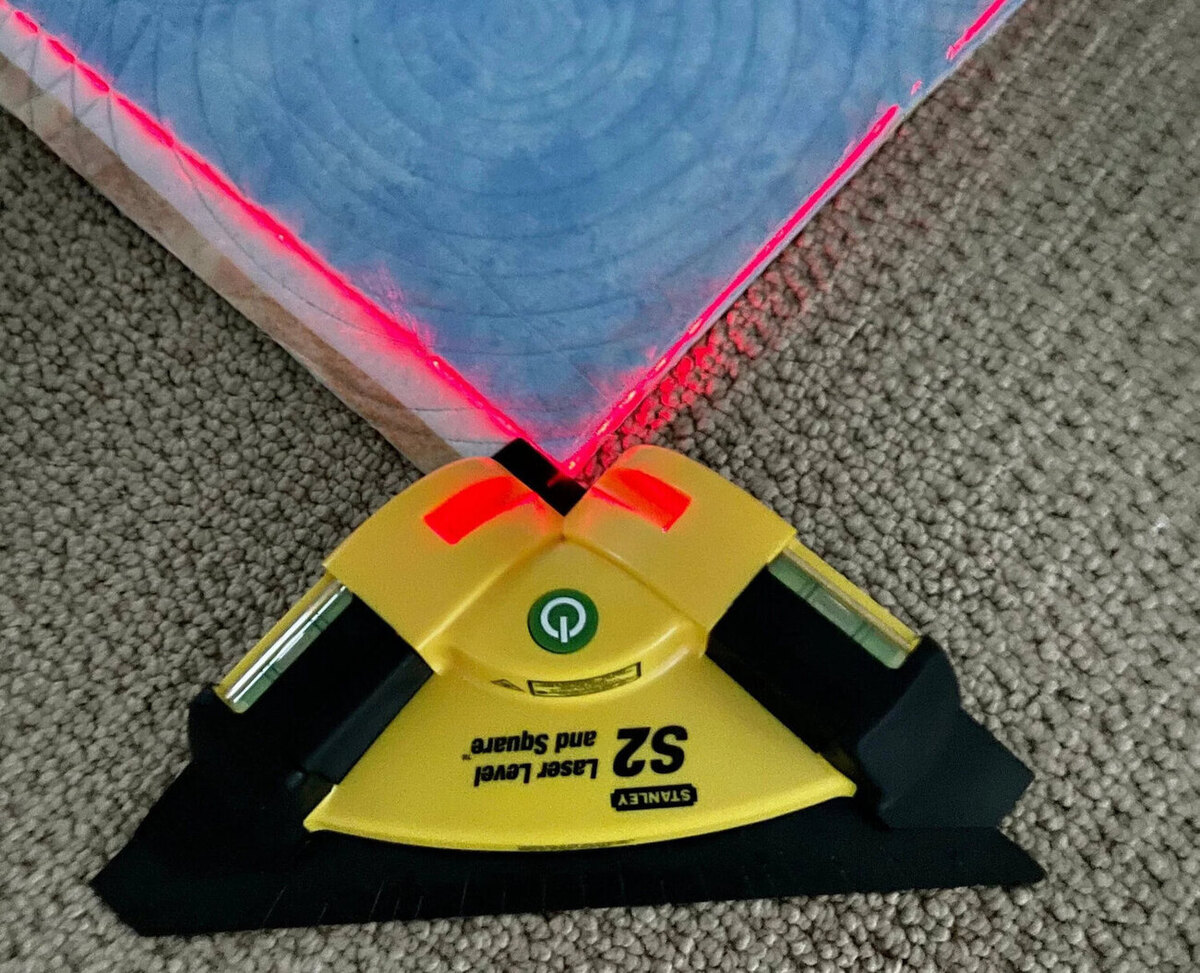
1. Identifying reference points: Before starting, identify the reference points where you want to project the vertical lines. These can be corners, edges, or any other points that require alignment. Take measurements and mark the positions on the surface where the lines will be projected.
2. Aligning the laser level with the desired line: Position the laser level so that the laser beam aligns with one of the reference points you identified. Adjust the height and angle of the laser level to ensure that the projected line will pass through the desired points accurately. Take care to maintain the stability of the laser level during this process.
3. Marking the projected vertical lines accurately: Once the laser level is properly aligned, activate the laser beam and project it onto the surface. The laser beam should create a perfectly straight and vertical line. Use the projected line as a guide to mark the surface accurately using a pencil, chalk, or masking tape.
Take additional measurements and projections as needed, aligning the laser level with different reference points to ensure the vertical lines are accurately positioned throughout your project. Make any necessary adjustments to the laser level or the marking points to maintain squareness and precision.
As you project the lines, ensure that the laser beam remains visible and easily distinguishable. In some cases, using a laser detector or receiver can enhance the visibility and range of the beam, especially in bright outdoor conditions or over longer distances.
Remember to work methodically and check your work as you go. Regularly verify the alignment of the laser level and the accuracy of the projected lines against your reference points. This will help you maintain the squareness and precision necessary for a successful project.
By following these steps, you will be able to confidently and accurately project square vertical lines using your self-leveling laser level. Now, let’s explore some helpful tips and best practices to ensure the smooth execution of your project.
Tips and Best Practices
As you work with your self-leveling laser level to project square vertical lines, here are some helpful tips and best practices to keep in mind:
1. Maintaining the stability of the laser level: Ensure that the laser level is securely positioned on a stable surface, such as a tripod or mounting device. Avoid any movements or vibrations that can affect the accuracy of the laser level. If necessary, use additional stabilization methods such as weights or clamps to further secure the device.
2. Ensuring proper visibility of the laser line: In challenging lighting conditions or when working over longer distances, the visibility of the laser line may be compromised. In such cases, consider using a laser detector or receiver that can amplify the laser signal and provide better visibility. Adjust the laser level’s settings or position to maximize visibility as needed.
3. Troubleshooting common issues: If you encounter any difficulties or inconsistencies in the projected lines, here are some troubleshooting tips:
- Check the battery level of the laser level. A low battery can affect the stability and accuracy of the laser beam.
- Ensure that the laser level is properly calibrated. Revisit the calibration process if necessary to fine-tune the alignment.
- Inspect and clean the lens of the laser level. Any dust or debris can obstruct the laser beam and affect the visibility and accuracy of the lines.
- Double-check the stability and position of the laser level. Small movements or shifts can disrupt the alignment and result in distorted or inaccurate lines.
- Consult the manufacturer’s manual or contact customer support for specific troubleshooting guidance related to your laser level model.
Additionally, always prioritize safety when working with a self-leveling laser level. Avoid pointing the laser beam directly into the eyes or towards people or animals. Use caution when working on elevated surfaces or near potential hazards. Adhere to safety guidelines and regulations to prevent accidents or injuries.
Lastly, practice and familiarize yourself with the laser level before starting your project. Experiment with different settings and techniques to become proficient in using the device. This will help you achieve the best possible results with your self-leveling laser level.
By following these tips and best practices, you’ll be able to make the most of your self-leveling laser level and ensure accurate and precise projection of square vertical lines. Happy projecting!
Please remember to always consult the manufacturer’s manual for specific instructions and guidelines tailored to your self-leveling laser level model.
Conclusion
In conclusion, using a self-leveling laser level to project square vertical lines is a game-changer for various projects. The convenience, accuracy, and efficiency provided by this tool make it an essential asset for anyone involved in construction, carpentry, or other industries that require precise alignments.
Through this article, we have explored the fundamentals of self-leveling laser levels, including how they work and the benefits they offer. We’ve also delved into the important steps of preparing for the project, setting up the laser level, calibrating it for accuracy, and projecting square vertical lines.
By gathering the necessary materials, choosing the right laser level, and positioning it accurately, you set the stage for a successful project. Calibrating the laser level ensures optimal accuracy and precision, and projecting the vertical lines based on reference points guarantees alignment according to your project’s requirements.
Furthermore, we’ve shared valuable tips and best practices, such as maintaining stability and ensuring proper visibility of the laser line. Troubleshooting common issues and prioritizing safety are essential elements to consider during your project.
Remember, practice makes perfect, so take the time to familiarize yourself with your specific laser level model and optimize your skills before starting your project.
With the knowledge and guidelines provided in this article, you are well-equipped to confidently use a self-leveling laser level to project square vertical lines. Enjoy the precision, efficiency, and enhanced quality that this tool brings to your projects.
Keep in mind that each self-leveling laser level may have specific instructions and features unique to its model, so always refer to the manufacturer’s manual for comprehensive guidance tailored to your device.
Now, go ahead and embrace the power of the self-leveling laser level to achieve perfect square vertical lines in your projects. Best of luck and happy projecting!
Frequently Asked Questions about How To Project Square Vertical Lines With Self-Leveling Laser Level
Was this page helpful?
At Storables.com, we guarantee accurate and reliable information. Our content, validated by Expert Board Contributors, is crafted following stringent Editorial Policies. We're committed to providing you with well-researched, expert-backed insights for all your informational needs.


0 thoughts on “How To Project Square Vertical Lines With Self-Leveling Laser Level”