Home>Articles>How To Install A Range Hood Vent Through The Side Wall
Articles
How To Install A Range Hood Vent Through The Side Wall
Modified: October 29, 2024
Learn how to install a range hood vent through a side wall with this comprehensive step-by-step guide. Get expert advice and tips with our informative articles.
(Many of the links in this article redirect to a specific reviewed product. Your purchase of these products through affiliate links helps to generate commission for Storables.com, at no extra cost. Learn more)
Introduction
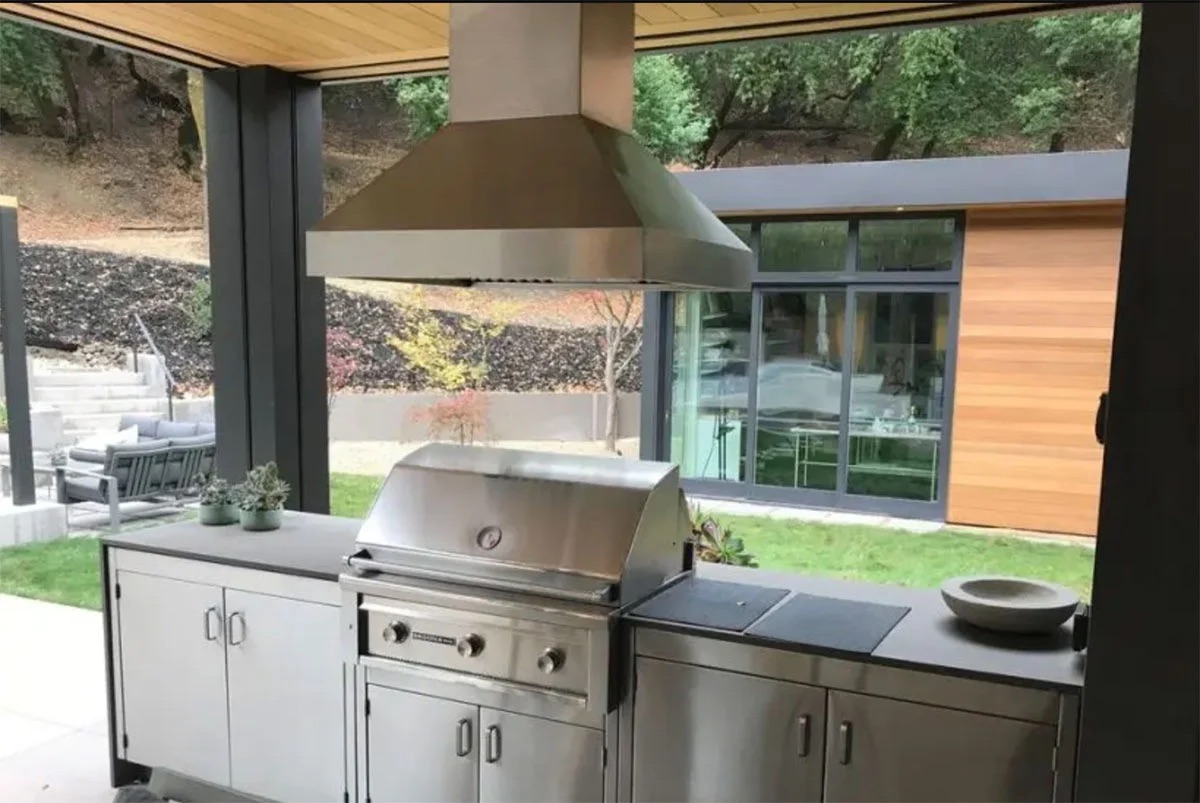
Welcome to our comprehensive guide on how to install a range hood vent through a side wall. A range hood is a crucial component in any kitchen, as it helps to remove smoke, odors, and grease particles from the air during cooking. By properly venting your range hood to the outside, you can ensure optimal air quality and a comfortable cooking environment.
Installing a range hood vent through a side wall may be necessary if your kitchen layout does not allow for venting through the ceiling or if you want an alternative venting option. This article will walk you through the step-by-step process of installing a range hood vent through a side wall, providing you with the knowledge and tools needed to successfully complete the project.
Before we dive into the installation process, let’s quickly go over some necessary materials and tools you will need for this project.
Key Takeaways:
- Properly venting your range hood through a side wall can create a comfortable cooking environment by effectively removing smoke, odors, and grease particles from the air, enhancing air quality in your kitchen.
- By following the step-by-step installation process and regularly maintaining your range hood vent, you can enjoy a clean and efficient cooking space with optimal performance and functionality.
Step 1: Gather Materials and Tools
Before you begin the installation process, it’s important to gather all the necessary materials and tools. This will ensure a smooth and efficient installation process. Here is a list of the items you will need:
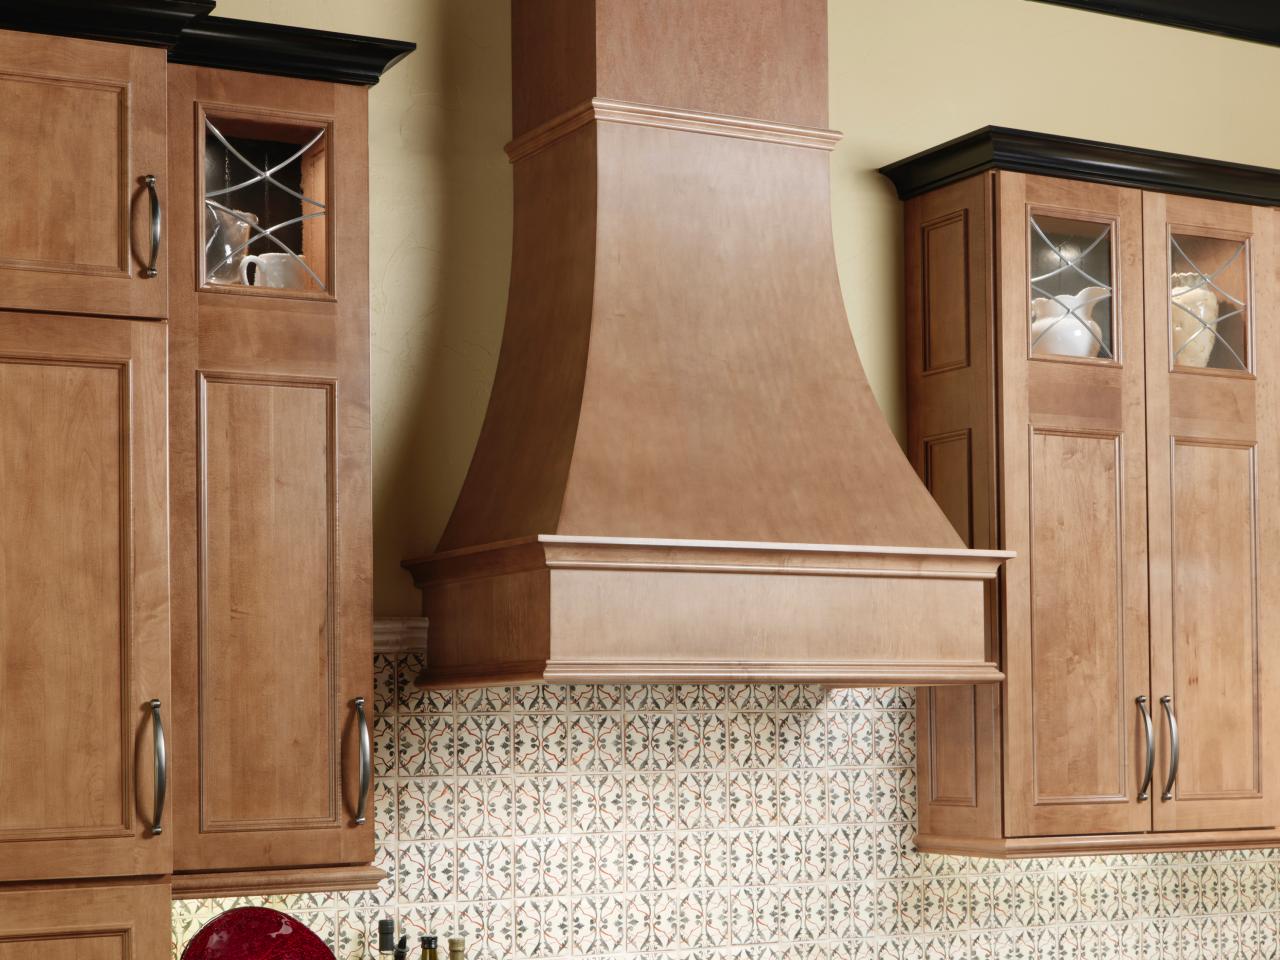
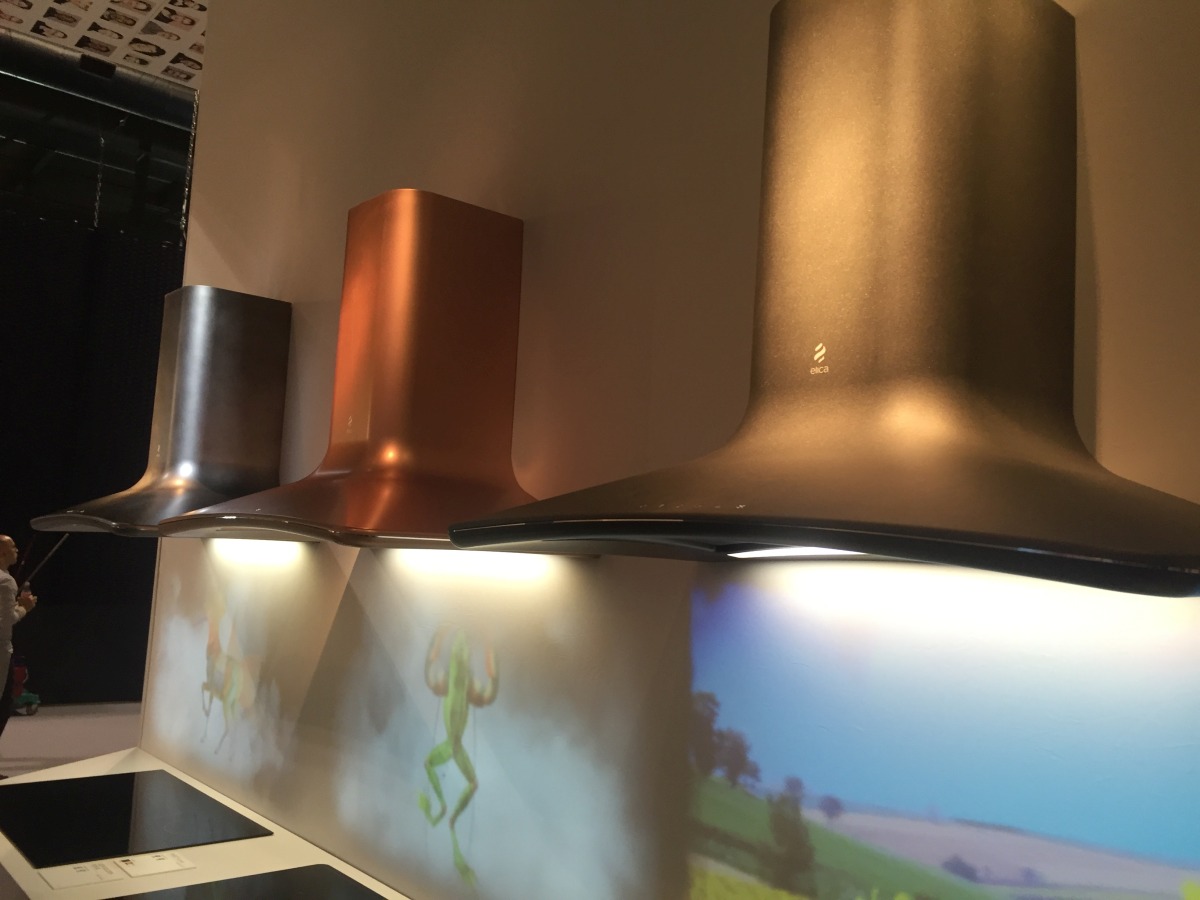
- Range hood: Choose a range hood that fits your kitchen’s ventilation needs and aesthetic preferences. Measure the width, depth, and height of the range hood to ensure a proper fit.
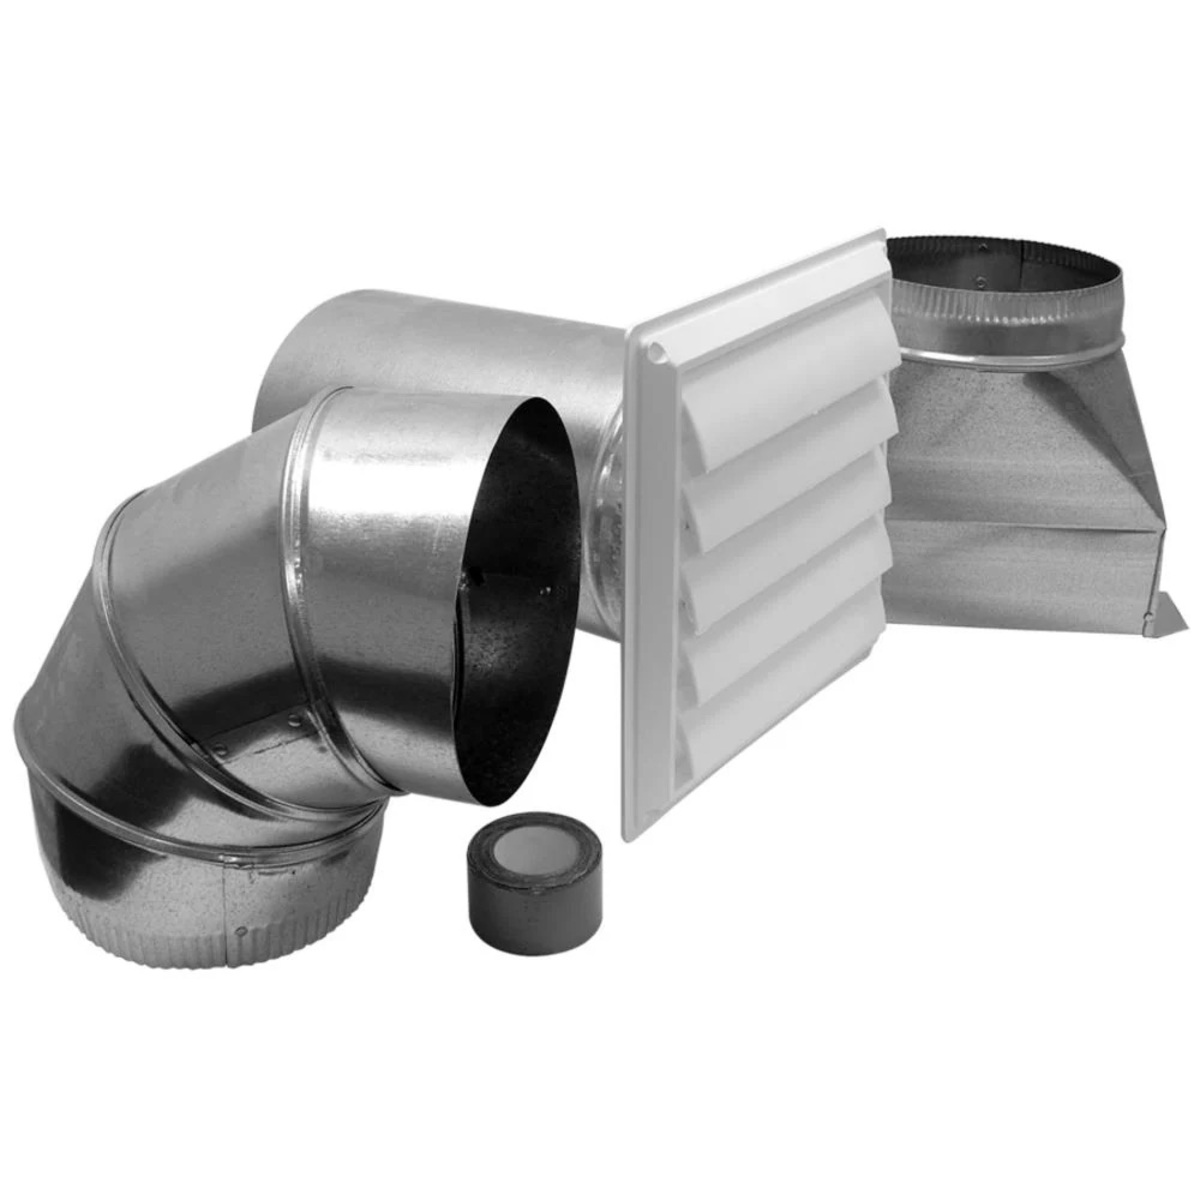
- Ductwork: You will need a flexible or rigid duct to connect the range hood to the vent cap on the exterior wall. The size of the duct will depend on the size of the range hood.
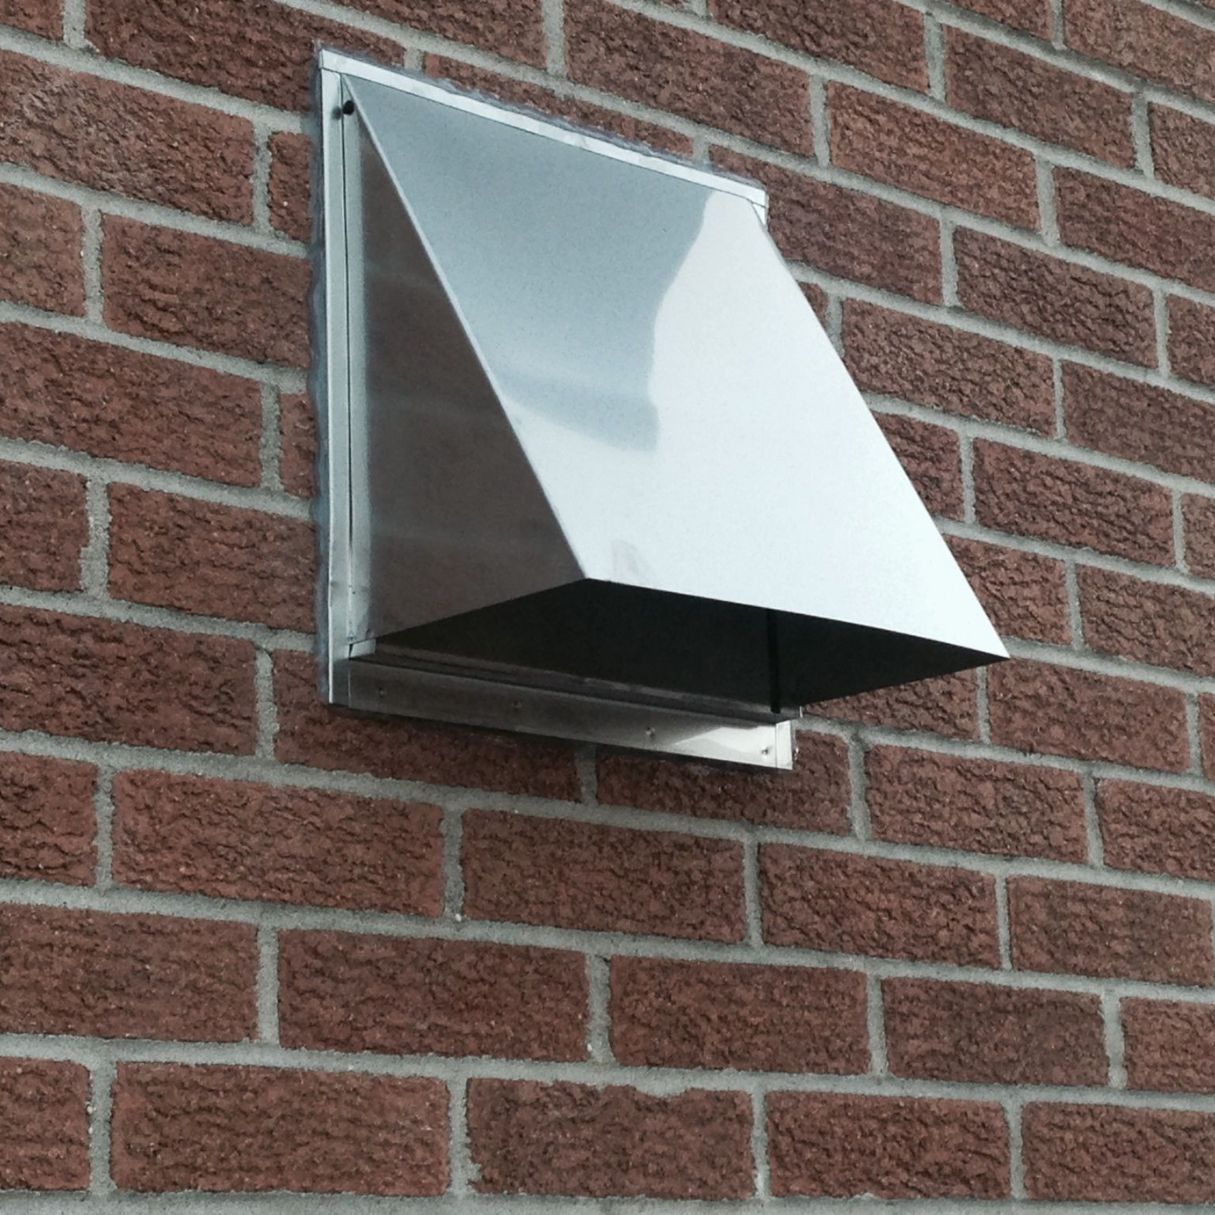
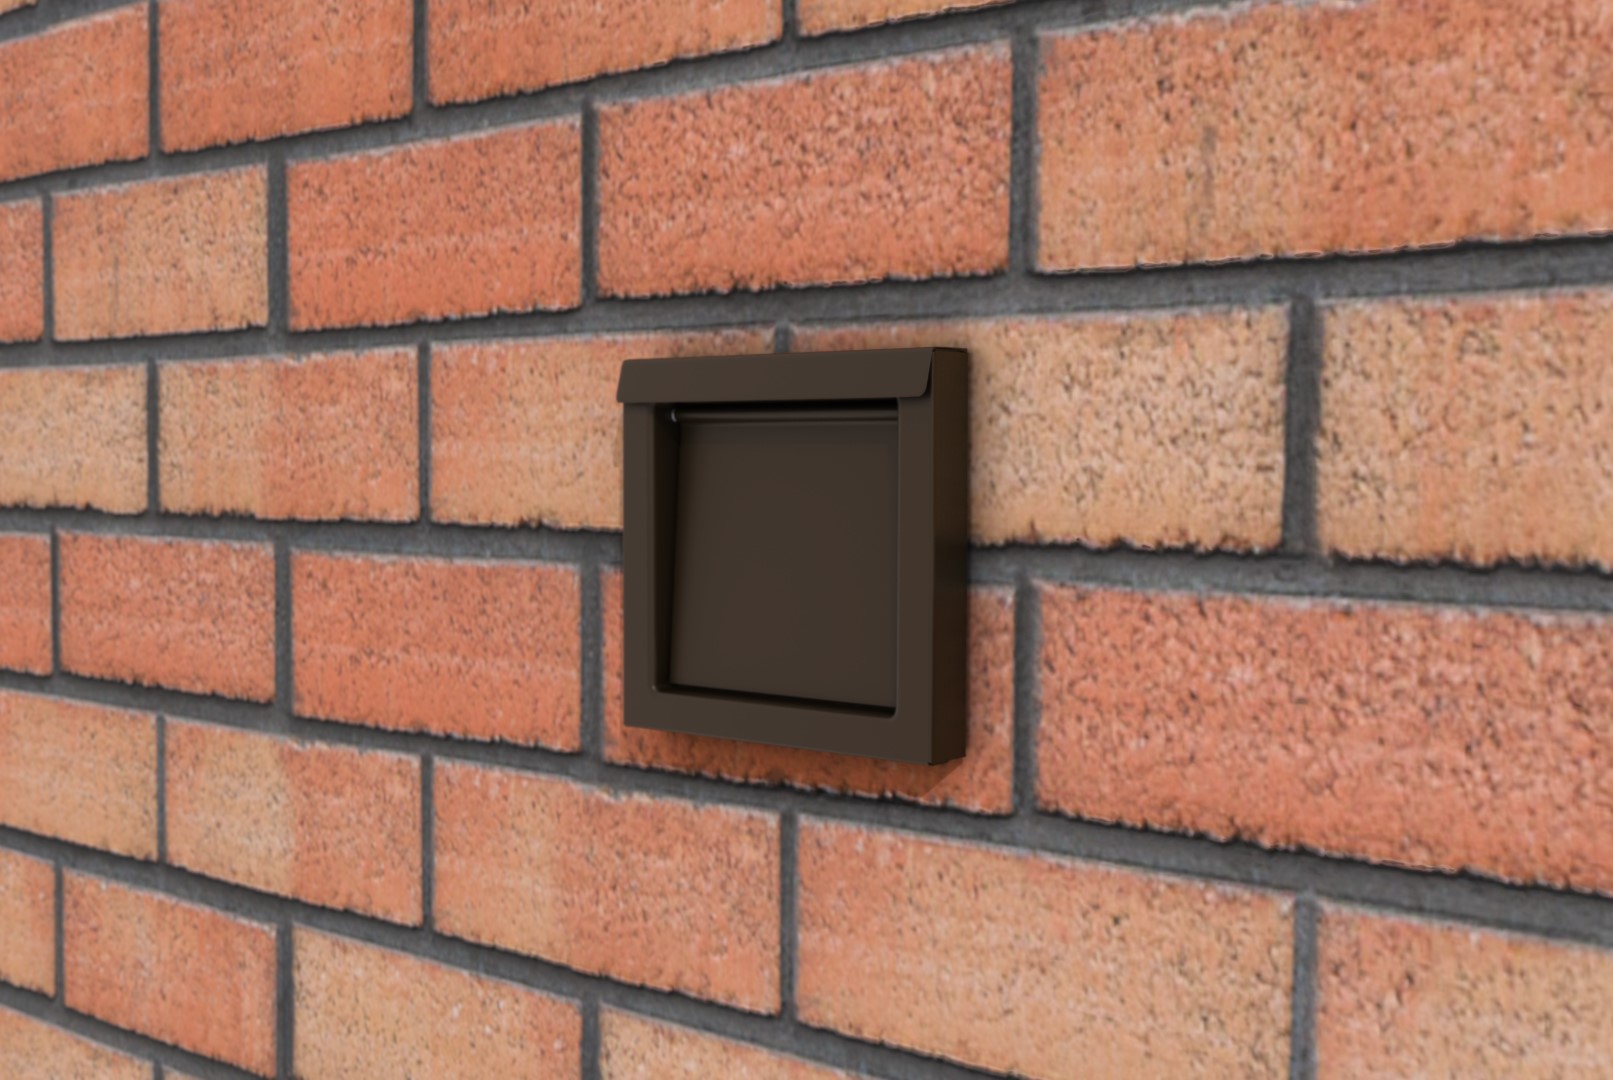
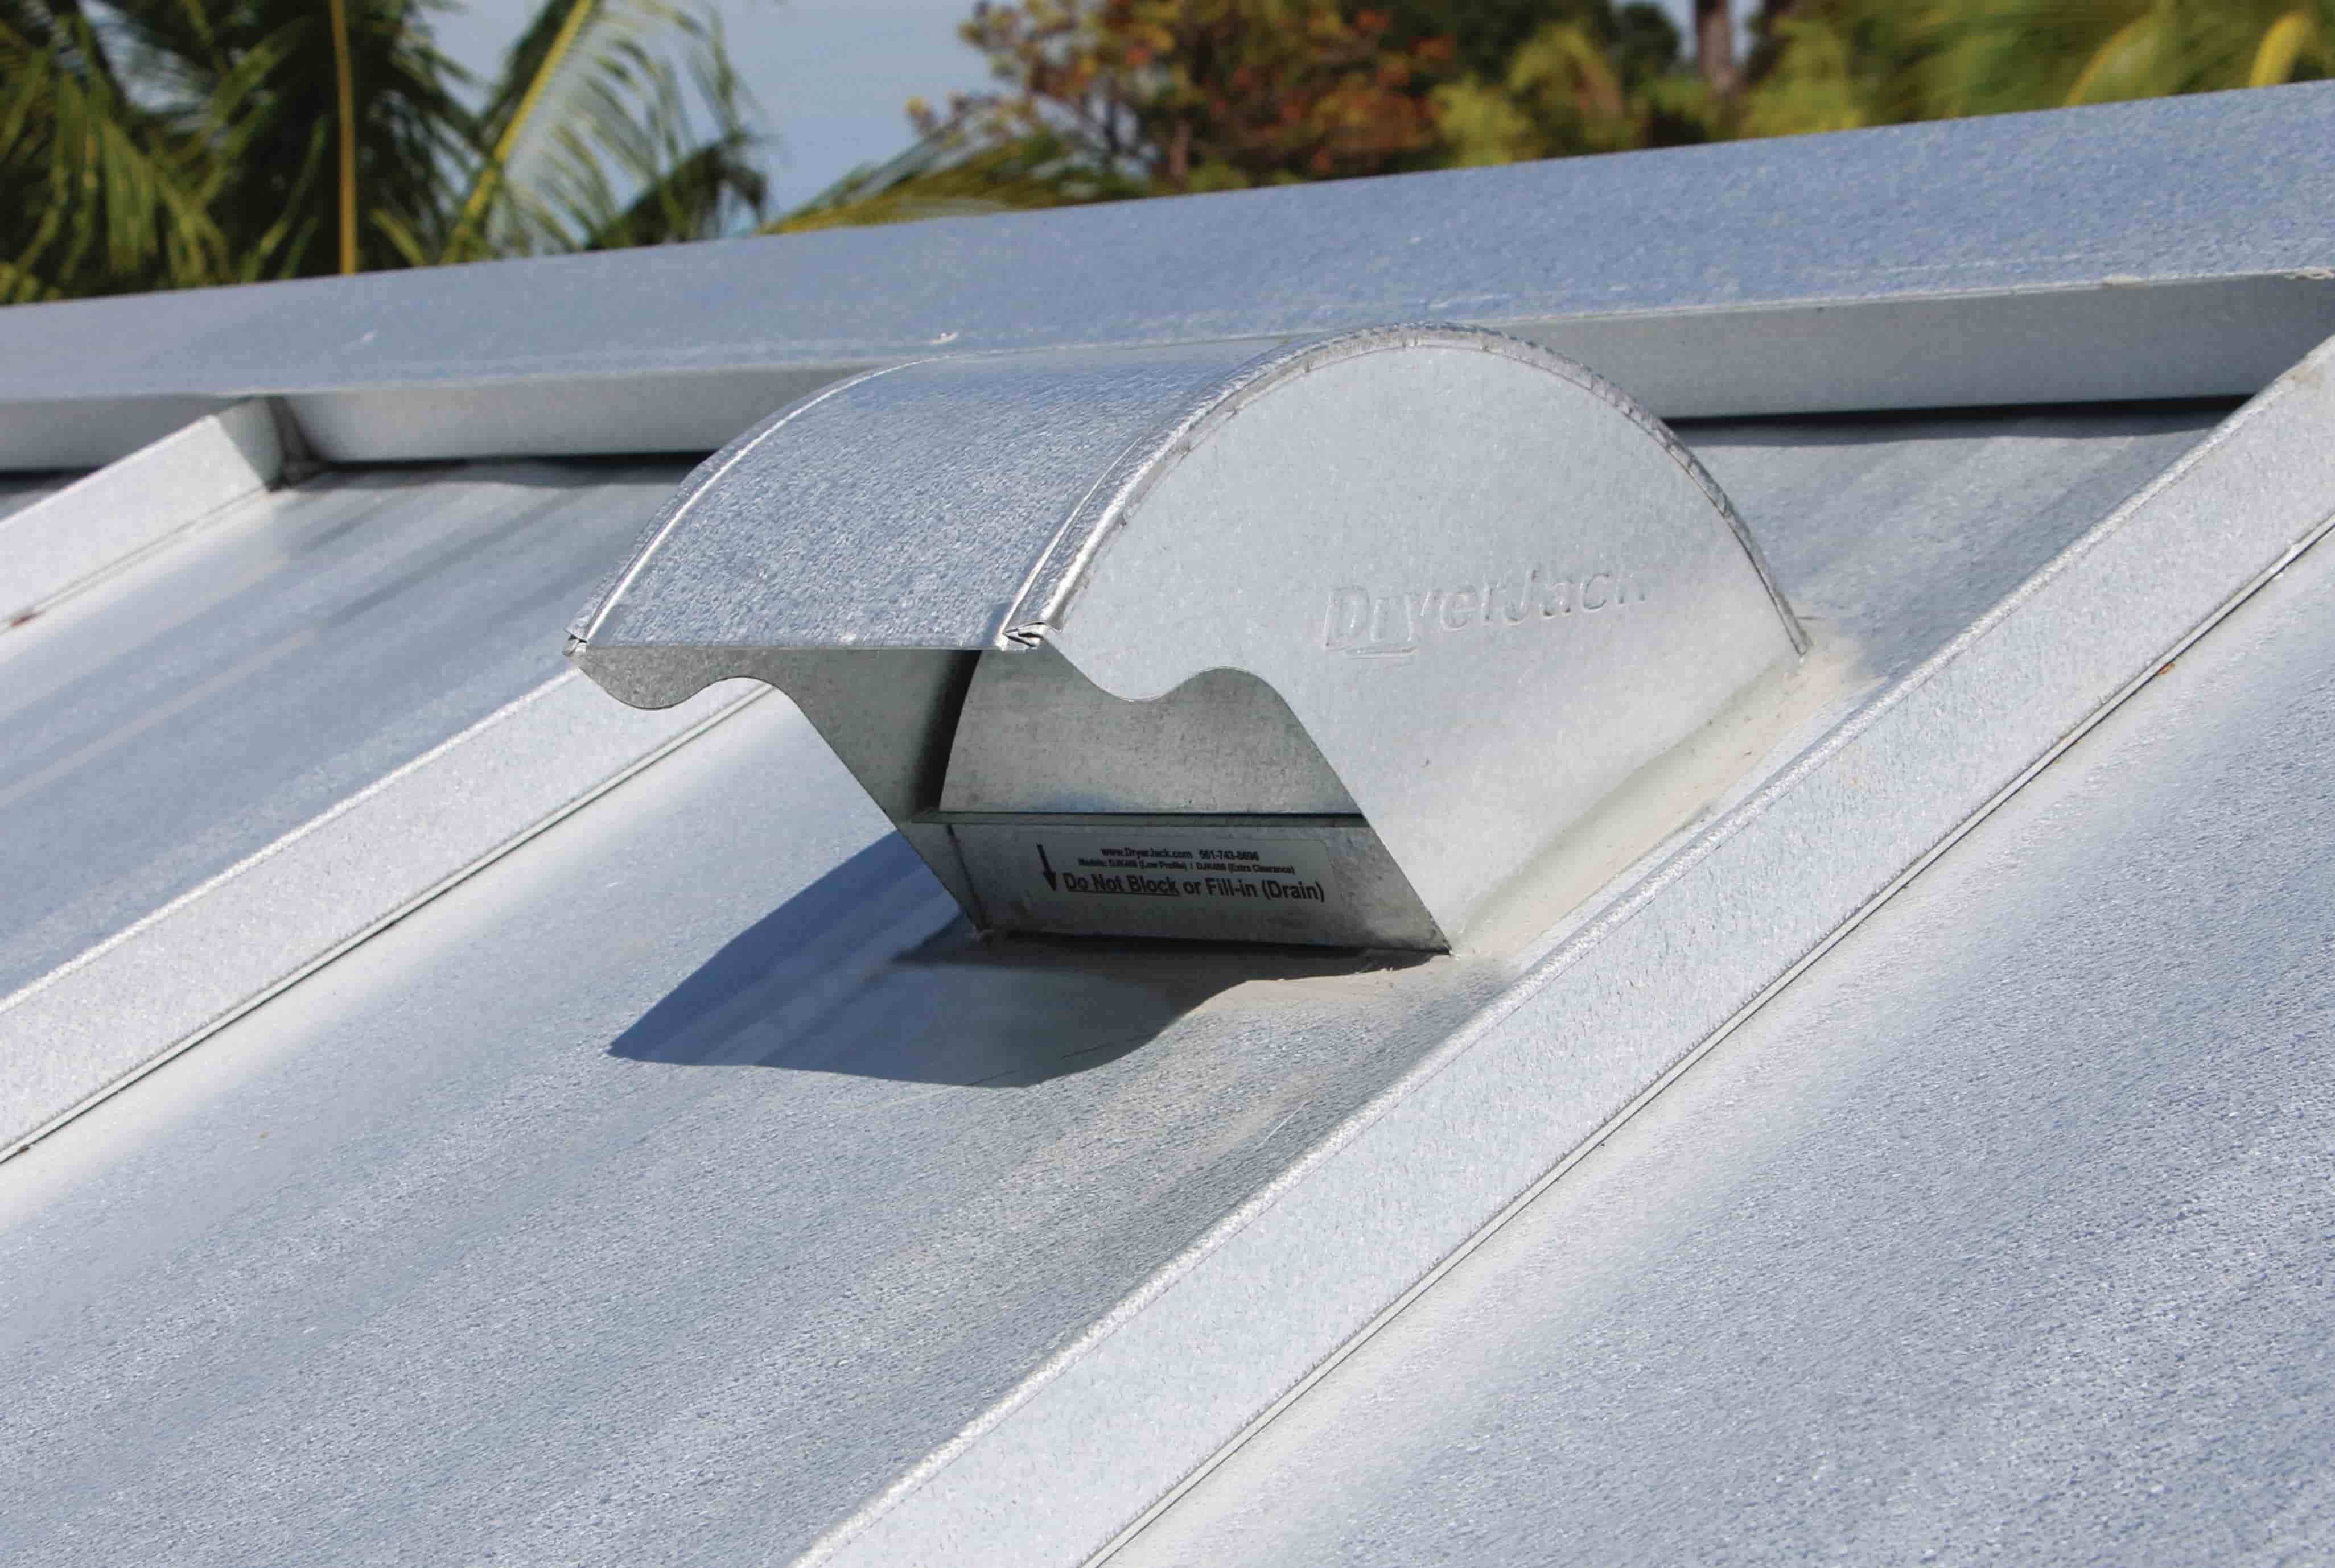
- Vent cap: This is the external component of the range hood vent that allows the air to be expelled outside while preventing water and pests from entering the duct. Choose a vent cap that is compatible with your ductwork.
- Screws and anchors: These will be used to secure the vent cap and ductwork to the side wall. Choose screws and anchors that are appropriate for the material of your wall.
- Tape measure: Use a tape measure to accurately measure the distances for cutting the hole in the side wall and positioning the vent cap.
- Level: A level will help ensure that the vent cap and ductwork are installed correctly and in a straight line.
- Hacksaw or reciprocating saw: You will need a saw to cut the hole in the side wall for the vent cap. A hacksaw or reciprocating saw will work well for this task.
- Pencil or marker: Use a pencil or marker to mark the measurements and cutting lines on the side wall.
- Power drill: A power drill will be needed to create pilot holes for the screws and anchors.
- Sheet metal screws: These screws will be used to secure the ductwork to the range hood.
- Duct tape or foil tape: Duct tape or foil tape will be used to seal the connections between the ductwork and the range hood to prevent air leaks.
Once you have gathered all the necessary materials and tools, you are ready to move on to the next step: determining the placement of the range hood vent.
Step 2: Determine the Placement of the Range Hood Vent
Before you start cutting any holes in your side wall, it’s important to determine the proper placement of the range hood vent. The placement will depend on several factors, including the location of your range, the layout of your kitchen, and any existing obstructions in the wall.
Here are some key considerations to keep in mind when determining the placement of the range hood vent:
- Distance from the range: The vent should be positioned directly above the cooking surface to effectively capture and remove smoke, odors, and grease particles. The ideal distance is generally between 24 and 30 inches from the cooktop surface.
- Obstructions: Take into account any existing obstructions in the wall, such as electrical wires, plumbing pipes, or structural elements. You want to choose a location that minimizes the need for extensive modifications or rerouting of these obstructions.
- Exterior considerations: Consider the exterior of your home and how the vent cap will look on the outside. It’s important to choose a location that allows for a visually appealing and functional vent cap installation.
- Code requirements: Check with your local building codes and regulations to ensure compliance with any specific requirements for range hood vent placement. Some jurisdictions may have specific guidelines on the distance from windows or doors.
Once you have taken these factors into consideration, use a tape measure to mark the desired location of the vent on the side wall. Use a level to ensure that the markings are straight and level. Make sure to account for the size of the vent cap when measuring and marking the location.
With the placement determined and marked, you are now ready to move on to the next step: marking and cutting the hole in the side wall.
Step 3: Mark and Cut the Hole in the Side Wall
Now that you have determined the placement of the range hood vent, it’s time to mark and cut the hole in the side wall. This hole will allow for the installation of the vent cap, which serves as the point of exit for the air expelled by the range hood.
Here’s how to mark and cut the hole in the side wall:
- Using a tape measure, measure the dimensions of the vent cap. These measurements will determine the size of the hole you need to cut.
- Mark the center point of the hole by measuring the desired distance from the range and aligning it with the markings on the side wall.
- Next, use the measured dimensions of the vent cap to mark the borders of the hole on the side wall. Double-check your measurements to ensure accuracy.
- Now it’s time to cut the hole. If you’re working with a wooden or drywall side wall, you can use a reciprocating saw or a keyhole saw to carefully cut along the marked lines.
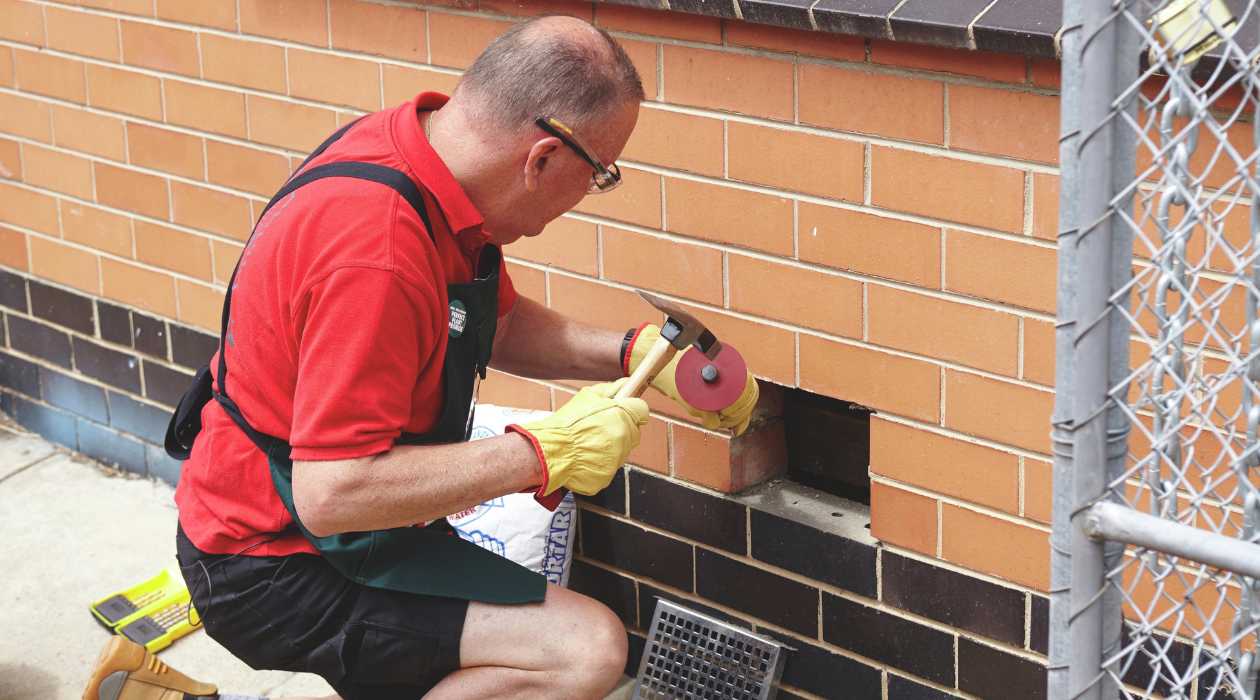
- If you’re dealing with a brick or masonry side wall, you may need to use a masonry drill bit to drill a series of holes along the marked lines. Then, use a chisel and hammer to carefully remove the bricks or masonry and create the hole.
- Once the hole is cut, check its size and shape to ensure it matches the dimensions of the vent cap. Make any necessary adjustments or modifications as needed.
Remember to wear appropriate safety gear, such as goggles and gloves, when cutting the hole in the side wall. Also, be mindful of any electrical or plumbing lines that may be behind the wall to avoid damaging them.
With the hole cut, you are ready to move on to the next step: installing the vent cap on the exterior wall.
Step 4: Install the Vent Cap on the Exterior Wall
Now that you have cut the hole in the side wall, it’s time to install the vent cap on the exterior wall. The vent cap serves as the external component of the range hood vent, allowing the air to be expelled outside while preventing water and pests from entering the duct.
Here’s how to install the vent cap on the exterior wall:
- Position the vent cap over the hole on the exterior wall, aligning it with the markings you made earlier. Ensure that the vent cap is level, using a level if necessary.
- Using a pencil or marker, trace the outline of the vent cap onto the exterior wall. This will serve as a guide for the installation.
- With the outline marked, remove the vent cap and set it aside.
- Now, use a power drill to create pilot holes within the traced outline. These pilot holes will make it easier to insert screws or anchors into the wall.
- Once the pilot holes are drilled, line up the vent cap with the outline and secure it to the wall using screws or anchors. Make sure to tighten them securely to ensure the vent cap is firmly attached.
- After securing the vent cap, inspect the installation to ensure it is properly aligned and secure.
When installing the vent cap, it’s important to follow any specific instructions provided by the manufacturer. Different vent cap models may have variations in installation methods, so refer to the manufacturer’s guidelines to ensure proper installation.
With the vent cap securely installed, you are ready to move on to the next step: connecting the ductwork to the range hood.
When installing a range hood vent through a side wall, make sure to measure and mark the exact location for the vent, use a hole saw to create the opening, and seal the vent properly to prevent any air leaks.
Read more: How To Vent Range Hood On Interior Wall
Step 5: Connect the Ductwork to the Range Hood
With the vent cap installed, it’s time to connect the ductwork to the range hood. The ductwork is responsible for carrying the expelled air from the range hood to the vent cap on the exterior wall.
Follow these steps to connect the ductwork to the range hood:
- Locate the exhaust opening on the range hood. This is where the ductwork will be connected. Ensure the range hood is turned off and unplugged before proceeding.
- Measure the diameter of the exhaust opening to determine the size of the ductwork that will fit.
- Once you have the correct size, cut the ductwork to the desired length using a hacksaw or reciprocating saw.
- Place the cut end of the ductwork over the exhaust opening on the range hood.
- Secure the connection by using sheet metal screws to fasten the ductwork to the range hood. Make sure the connection is tight and secure to prevent any air leaks.
- After connecting the ductwork to the range hood, inspect the connection to ensure it is properly aligned and secure.
Remember, it’s crucial to use the appropriate size of ductwork to ensure optimal airflow and ventilation. Using duct tape or foil tape, seal the connection between the ductwork and the range hood to prevent any air leaks. This will help maintain the efficiency of the ventilation system.
With the ductwork securely connected to the range hood, you are now ready to move on to the next step: securing the ductwork to the side wall.
Step 6: Secure the Ductwork to the Side Wall
Now that the ductwork is connected to the range hood, the next step is to secure it to the side wall. Properly securing the ductwork will ensure that it remains in place and maintains a steady connection between the range hood and the vent cap.
Follow these steps to secure the ductwork to the side wall:
- Position the ductwork against the side wall, ensuring that it aligns with the hole you cut earlier.
- Using a pencil or marker, make markings on the side wall to indicate the points where the ductwork will be secured.
- Using a power drill, create pilot holes on the marked points. These holes will be used to insert screws or anchors for securing the ductwork.
- Once the pilot holes are drilled, align the ductwork with the holes and insert screws or anchors through the ductwork and into the side wall. Make sure to tighten them securely to hold the ductwork in place.
- Continue securing the ductwork along its length, adding additional screws or anchors as necessary to maintain a secure connection.
- Inspect the ductwork and screws/anchors to ensure everything is properly aligned and secure.
It’s important to note that the type of fasteners you use will depend on the material of your side wall. For wooden or drywall walls, use appropriate screws. For masonry walls, use masonry anchors and screws.
Take care not to overtighten the screws or anchors, as this can damage the ductwork or the side wall. Ensure that the ductwork remains straight and aligned throughout the securing process to maintain optimal airflow.
With the ductwork securely fastened to the side wall, you are now ready to move on to the final step: testing the range hood ventilation system.
Step 7: Test the Range Hood Ventilation System
After completing the installation of the range hood vent through the side wall, it is important to test the ventilation system to ensure that it is functioning properly. Testing the system will help identify any potential issues and ensure that the air is effectively being exhausted outside.
Follow these steps to test the range hood ventilation system:
- Turn on the range hood and set it to the highest fan speed.
- Observe the airflow coming out from the vent cap on the exterior wall. It should be strong and steady.
- Check for any signs of air leaks or vibrations in the ductwork. If you notice any, use duct tape or foil tape to seal the connections.
- Monitor the kitchen for any lingering smoke, odors, or steam. The range hood should effectively remove these from the air.
- Listen for any unusual sounds or rattling coming from the range hood or ductwork. If you notice any, it may indicate a problem that needs to be addressed.
- If you are satisfied with the performance of the range hood ventilation system, congratulations! The installation is successful.
If you encountered any issues during the testing process, it may be necessary to troubleshoot and make adjustments. Ensure that the ductwork is properly sealed, the connections are secure, and there are no obstructions in the ductwork that could restrict the airflow.
It’s important to regularly clean and maintain your range hood and ductwork to ensure optimal performance. Clean or replace the filters as recommended by the manufacturer to prevent grease buildup and maintain proper airflow.
By testing and maintaining your range hood ventilation system, you can enjoy a clean and comfortable cooking environment with efficient smoke and odor removal.
Finally, we’ve reached the end of our guide on how to install a range hood vent through a side wall. We hope this comprehensive guide has provided you with the knowledge and confidence to successfully complete this project. Enjoy your newly installed range hood vent!
Conclusion
Installing a range hood vent through a side wall can greatly improve the functionality and air quality in your kitchen. By following the steps outlined in this guide, you can successfully complete the installation process and enjoy the benefits of a well-ventilated cooking space.
Throughout the installation process, we covered the key steps involved, from gathering materials and tools to testing the ventilation system. By carefully determining the placement of the vent, marking and cutting the hole in the side wall, and securely installing the vent cap and ductwork, you have created a pathway for the air to be effectively expelled from your kitchen.
Remember to regularly clean and maintain your range hood and ductwork to ensure optimal performance. By keeping them in good condition, you can ensure that your range hood vent operates efficiently and effectively removes smoke, odors, and grease particles from the air.
We hope that this guide has provided you with valuable insights and guidance on installing a range hood vent through a side wall. With a functional range hood vent, you can create a more comfortable and enjoyable cooking experience in your kitchen.
Thank you for following along, and happy cooking!
Now that you've mastered installing a range hood vent through the side wall, why not tackle more kitchen upgrades or dive into some hands-on home projects? For those keen on enhancing their kitchen's functionality and aesthetics, learning how to fit an under-cabinet range hood is a perfect next step. On the other hand, if you're itching to roll up your sleeves for more varied tasks, our guide on DIY home projects offers plenty of inspiration and practical advice to transform your living space with your own hands.
Frequently Asked Questions about How To Install A Range Hood Vent Through The Side Wall
Was this page helpful?
At Storables.com, we guarantee accurate and reliable information. Our content, validated by Expert Board Contributors, is crafted following stringent Editorial Policies. We're committed to providing you with well-researched, expert-backed insights for all your informational needs.


0 thoughts on “How To Install A Range Hood Vent Through The Side Wall”