Articles
How To Vent Range Hood On Interior Wall
Modified: January 9, 2024
Learn how to vent your range hood on an interior wall with our informative articles. Get expert tips and step-by-step instructions for a successful installation.
(Many of the links in this article redirect to a specific reviewed product. Your purchase of these products through affiliate links helps to generate commission for Storables.com, at no extra cost. Learn more)
Introduction
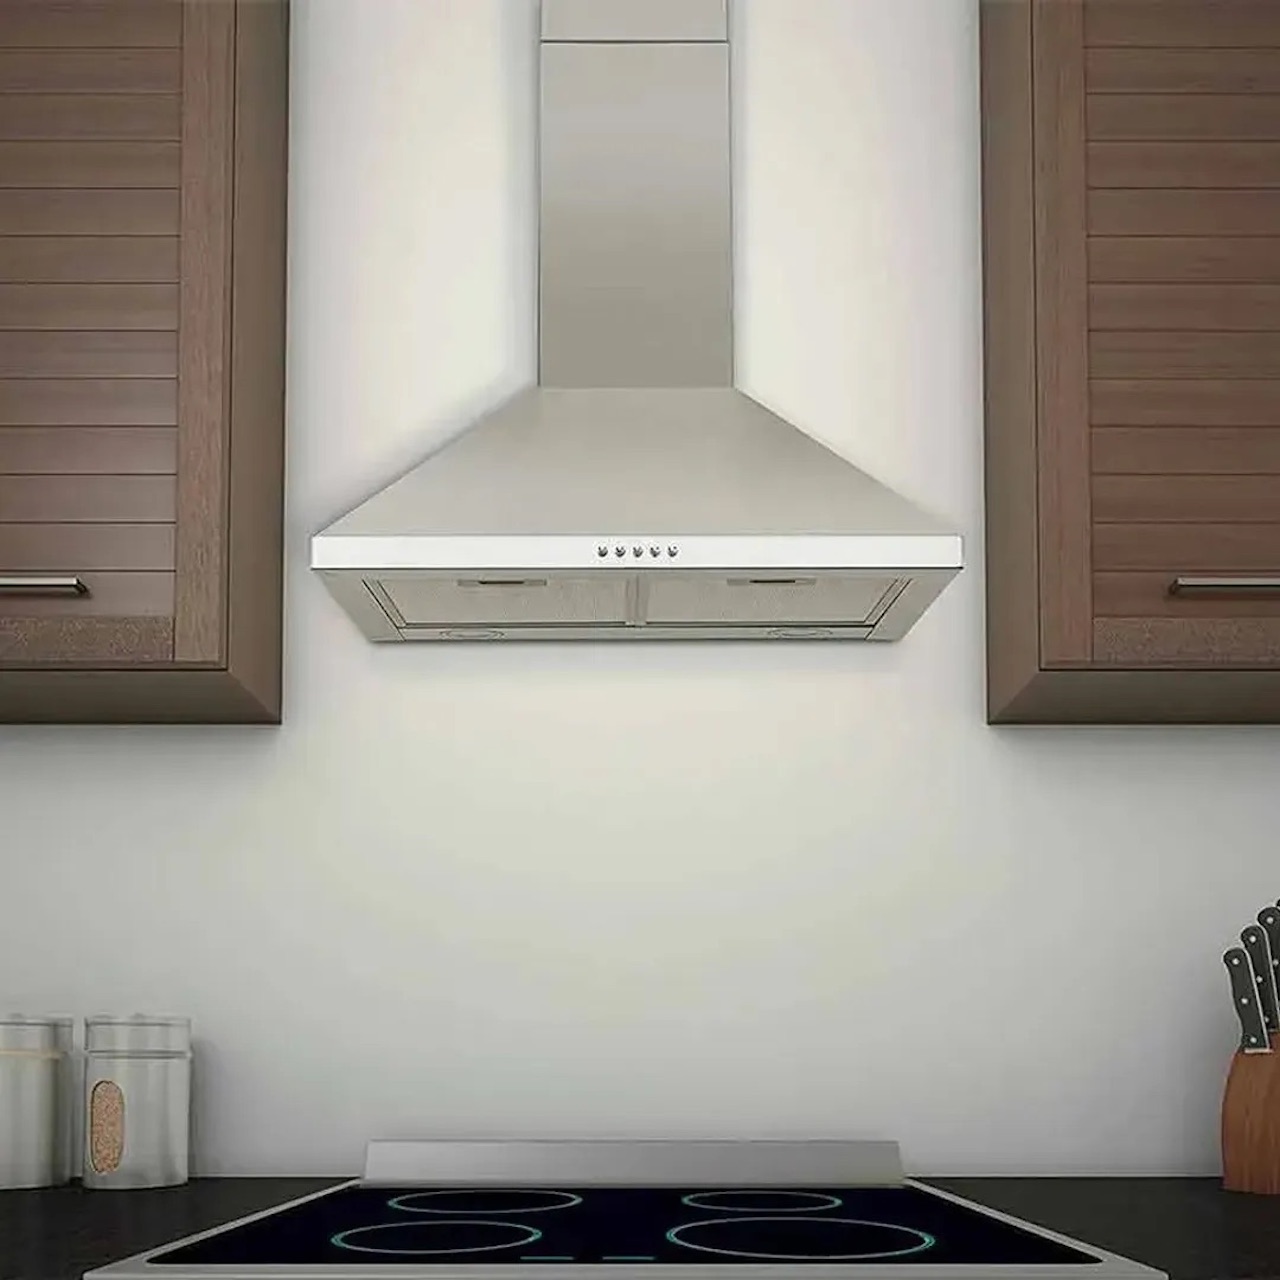
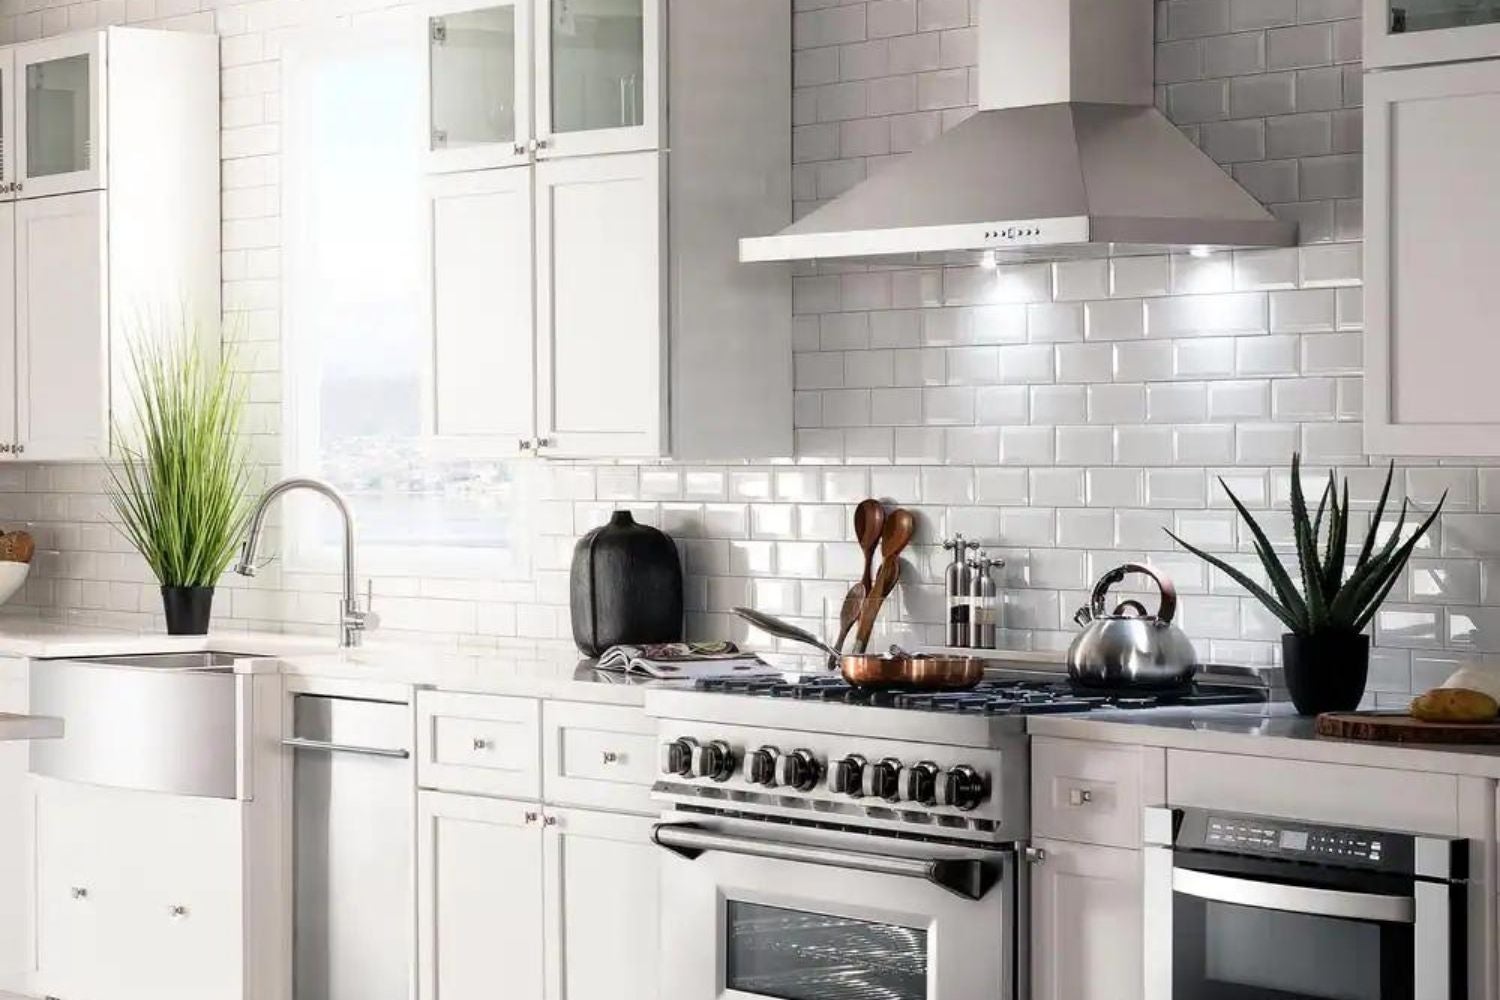
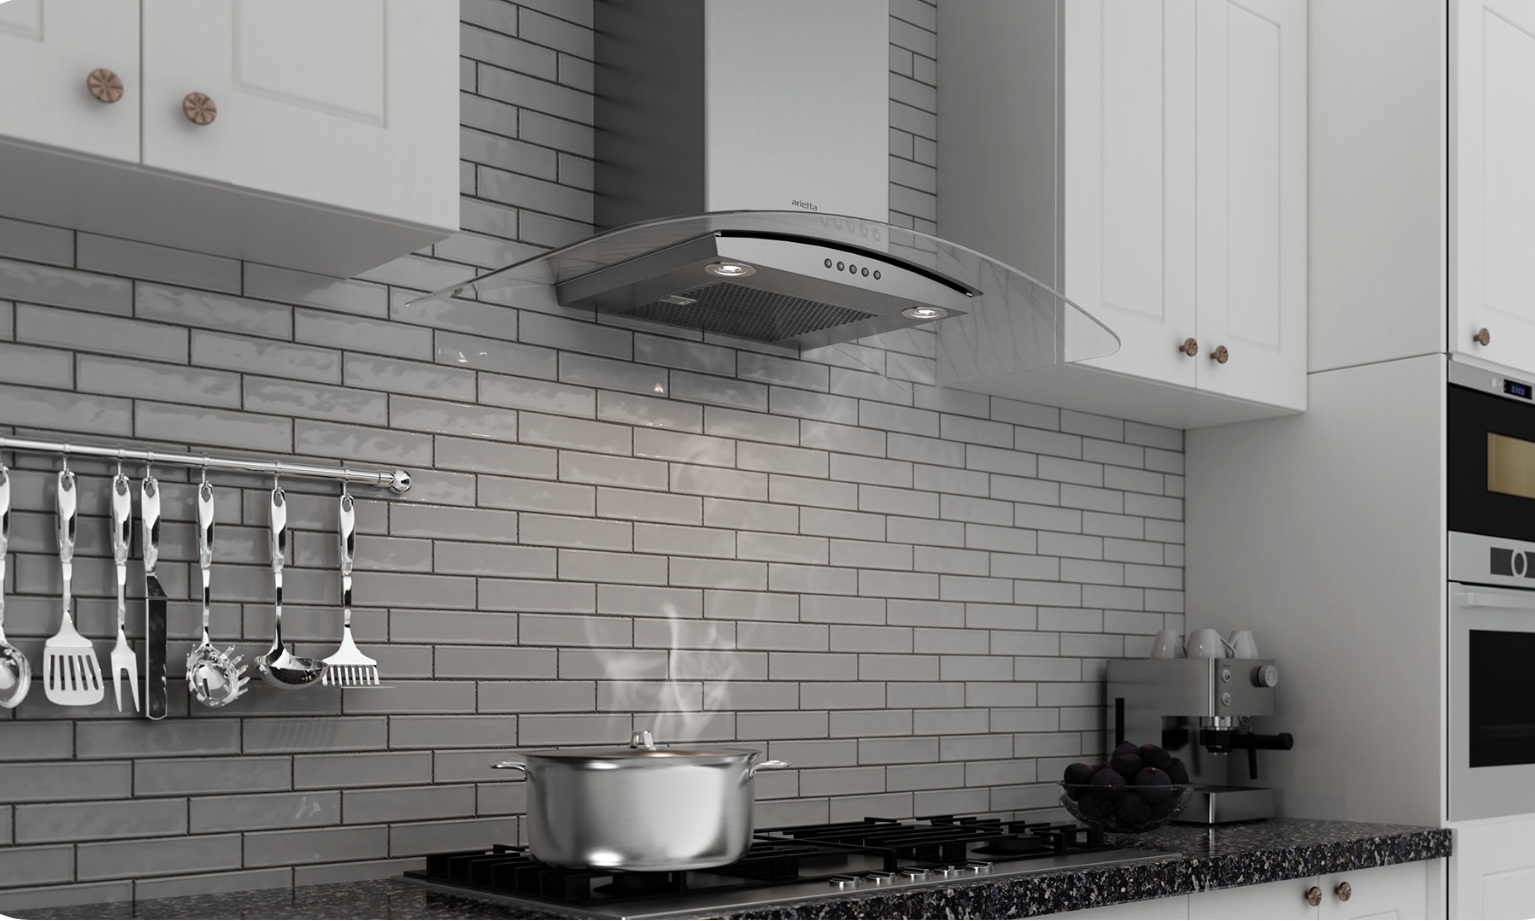
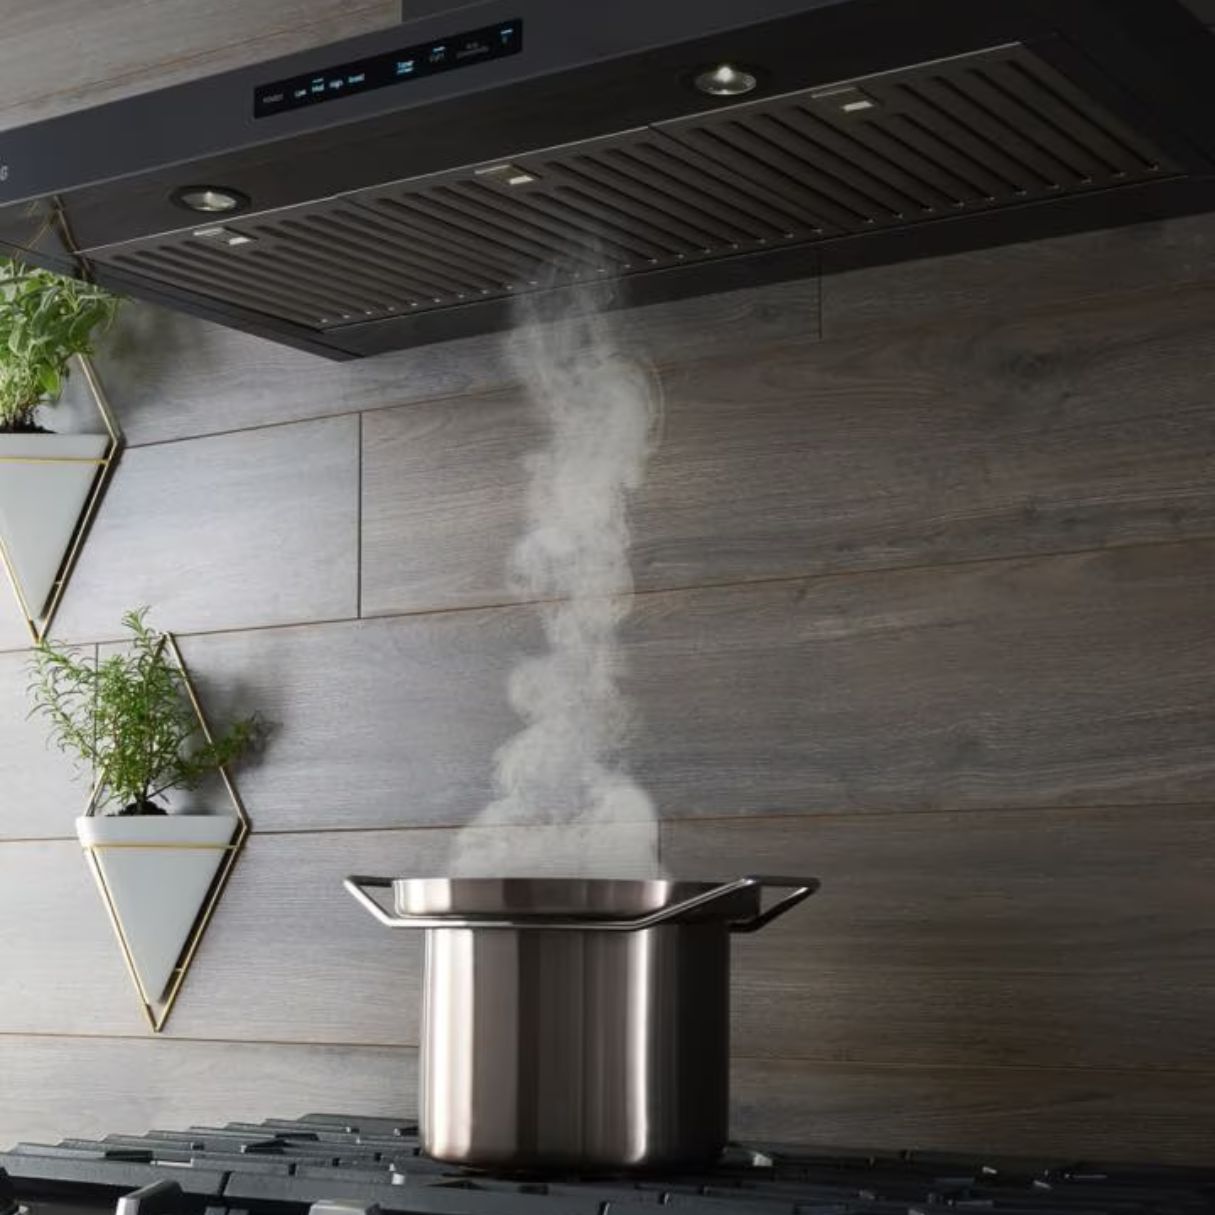
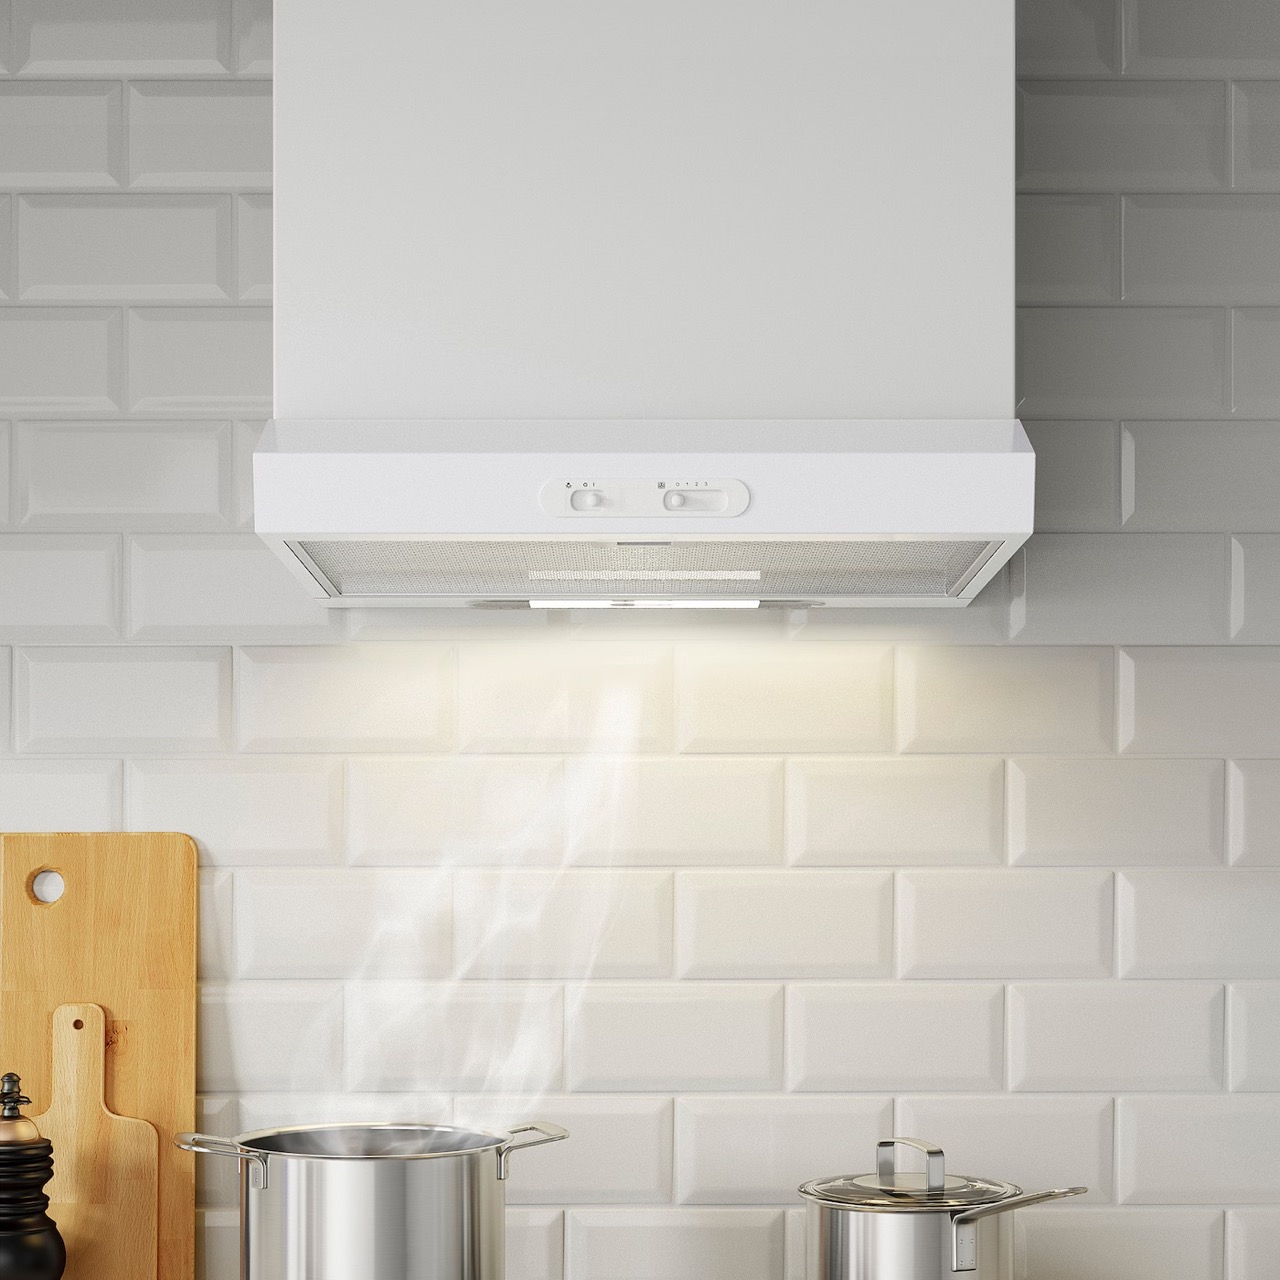
Having a range hood in your kitchen is essential for keeping the air clean and free from cooking odors, smoke, and grease. Properly venting your range hood is crucial to ensure optimal performance and prevent any potential damage to your interior walls.
In this article, we will guide you through the process of venting a range hood on an interior wall. By following these steps, you will be able to effectively remove the airborne pollutants and keep your kitchen fresh and odor-free.
Before we begin, it is important to note that every kitchen setup is unique, and the steps outlined here may need to be adapted to suit your specific needs. Additionally, if you are not comfortable working with electrical or cutting into the walls, it is recommended to hire a professional to assist you.
Now, let’s gather the necessary tools and materials and get started!
Key Takeaways:
- Properly venting your range hood on an interior wall is crucial for maintaining a clean and odor-free kitchen. Follow the step-by-step guide to effectively remove cooking odors, smoke, and grease from your home.
- By concealing the vent duct, you can create a polished and cohesive look in your kitchen while still benefiting from the functionality of a range hood. Enjoy a cleaner and fresher kitchen environment with a well-vented range hood.
Read more: How To Vent Range Hood Outside
Step 1: Gather necessary tools and materials
Before you begin venting your range hood on an interior wall, it is important to gather all the necessary tools and materials. Here’s a list of what you’ll need:
- Measuring tape
- Pencil
- Level
- Drill
- Hole saw or reciprocating saw
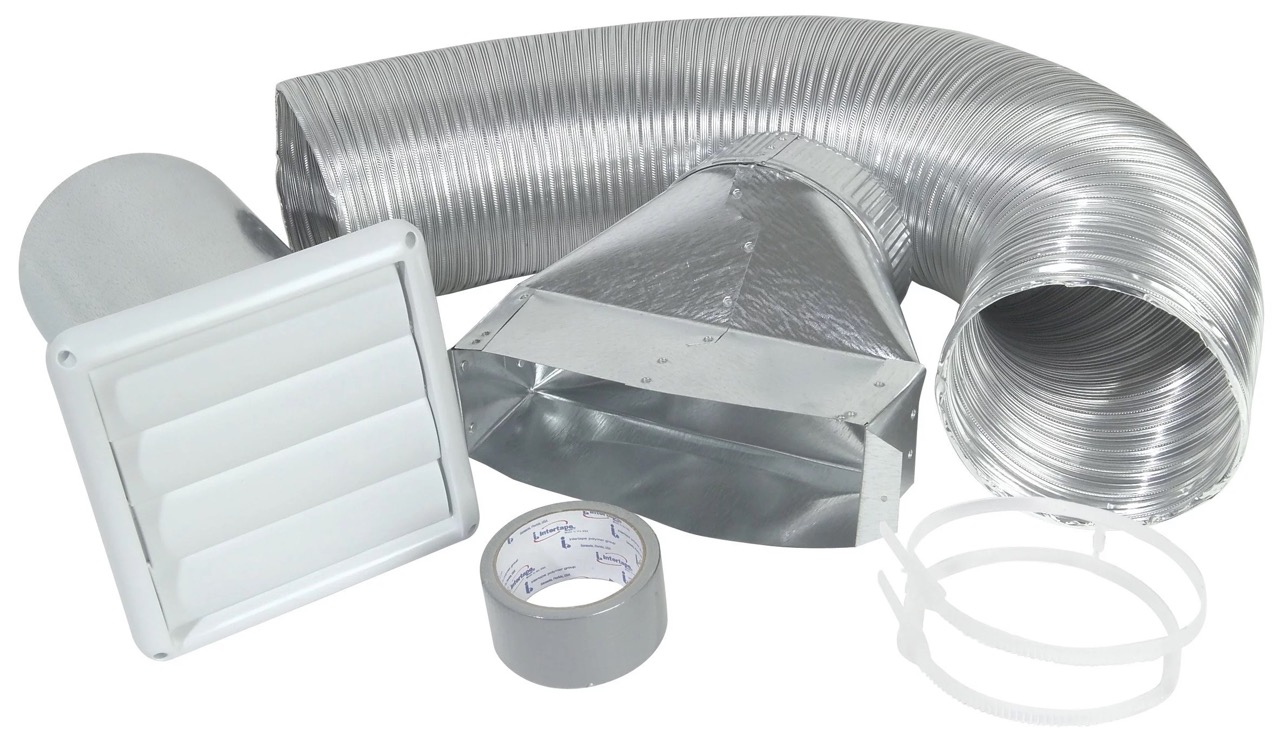
- Vent duct
- Duct tape
- Screws
- Electric screwdriver
- Wire cutters
Make sure you have all these items before starting the installation process. It will save you time and ensure that you can complete the job smoothly.
Once you have gathered all the necessary tools and materials, you can move on to the next step: determining the ideal location for venting.
Step 2: Determine the ideal location for venting
Choosing the right location for venting your range hood is crucial for its efficient operation. The ideal location should allow for proper air circulation and minimize any potential interference with cabinets or other fixtures. Here’s how to determine the best spot:
- Start by considering the layout of your kitchen. Look for a nearby exterior wall where the vent duct can be easily directed outside.
- Position the range hood at a height that allows for efficient capture of cooking vapors and smoke. Typically, the bottom of the range hood should be 18-30 inches above the cooktop surface.
- Ensure that there are no obstacles, such as cabinets, shelving, or windows, which could obstruct the venting process.
- Take into account any structural components, such as wall studs or electrical wiring, which may impact the positioning of the vent hole.
Once you have identified the ideal location, use a pencil to mark the area on both the interior and exterior walls. This will serve as a guide during the next steps of the installation process.
Now that you have determined the best location for venting your range hood, it’s time to mark the placement of the vent hole.
Step 3: Mark the placement of the vent hole
Marking the placement of the vent hole is a crucial step in ensuring that the range hood is properly positioned and aligned with the vent duct. Here are the steps to follow:
- Using a measuring tape, measure the desired distance from the bottom of the range hood to the location where the vent hole will be positioned on the interior wall. Typically, this is around 18-30 inches above the cooktop surface.
- Transfer this measurement to the interior wall by making a pencil mark. This will serve as the center point for the vent hole.
- Use a level to ensure that the mark is straight and aligned horizontally.
- Now, move to the exterior wall and measure the same distance from the bottom of the range hood. Make a corresponding pencil mark on the exterior wall, aligning it with the mark on the interior wall.
Once you have marked the placement of the vent hole on both the interior and exterior walls, double-check the alignment and make any necessary adjustments. It is important to ensure that the vent hole is positioned accurately to avoid any complications during the installation process.
With the placement of the vent hole marked, you are now ready to move on to the next step: drilling a hole for the vent.
Step 4: Drill a hole for the vent
Drilling a hole for the vent is a critical step in the process of venting your range hood on an interior wall. Here’s how to do it:
- Start by attaching a hole saw or reciprocating saw to your drill. Choose a size that matches the diameter of the vent duct you will be using.
- Position the drill bit at the center point of the mark on the interior wall.
- Slowly begin drilling the hole, applying gentle and steady pressure. Make sure to keep the drill level and aligned with the mark to ensure a straight hole.
- Continue drilling until you reach the exterior wall, making sure to maintain control and avoid any splintering or damage to the walls.
- Once the hole is complete, carefully remove the drill bit from the wall.
After drilling the hole, be sure to check both the interior and exterior walls for any debris or splinters. You can use a clean cloth or vacuum to remove any loose particles.
Now that you have successfully drilled the hole for the vent, it’s time to move on to the next step: installing the vent duct.
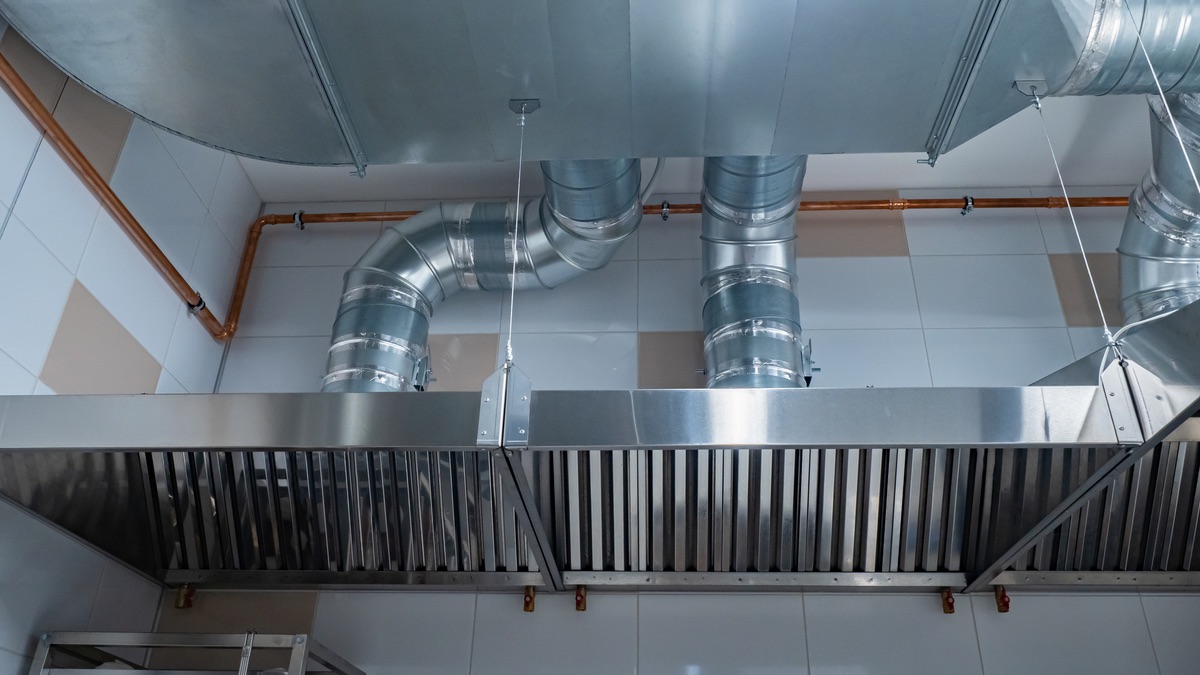
When venting a range hood on an interior wall, make sure to use the shortest and straightest duct route possible to maximize efficiency. Use smooth metal ducting and avoid any sharp turns or bends to ensure proper airflow.
Step 5: Install the vent duct
Installing the vent duct is a crucial step in the process of venting your range hood on an interior wall. The vent duct allows for the proper airflow and directs the expelled air outside your home. Follow these steps to install the vent duct:
- Measure the length of the vent duct needed to connect the range hood to the exterior wall. It is recommended to use rigid metal ducting for optimal airflow.
- Using a wire cutter, carefully cut the vent duct to the appropriate length.
- Attach the vent duct to the back of the range hood, ensuring a secure and tight connection. Use duct tape to seal any gaps or joints.
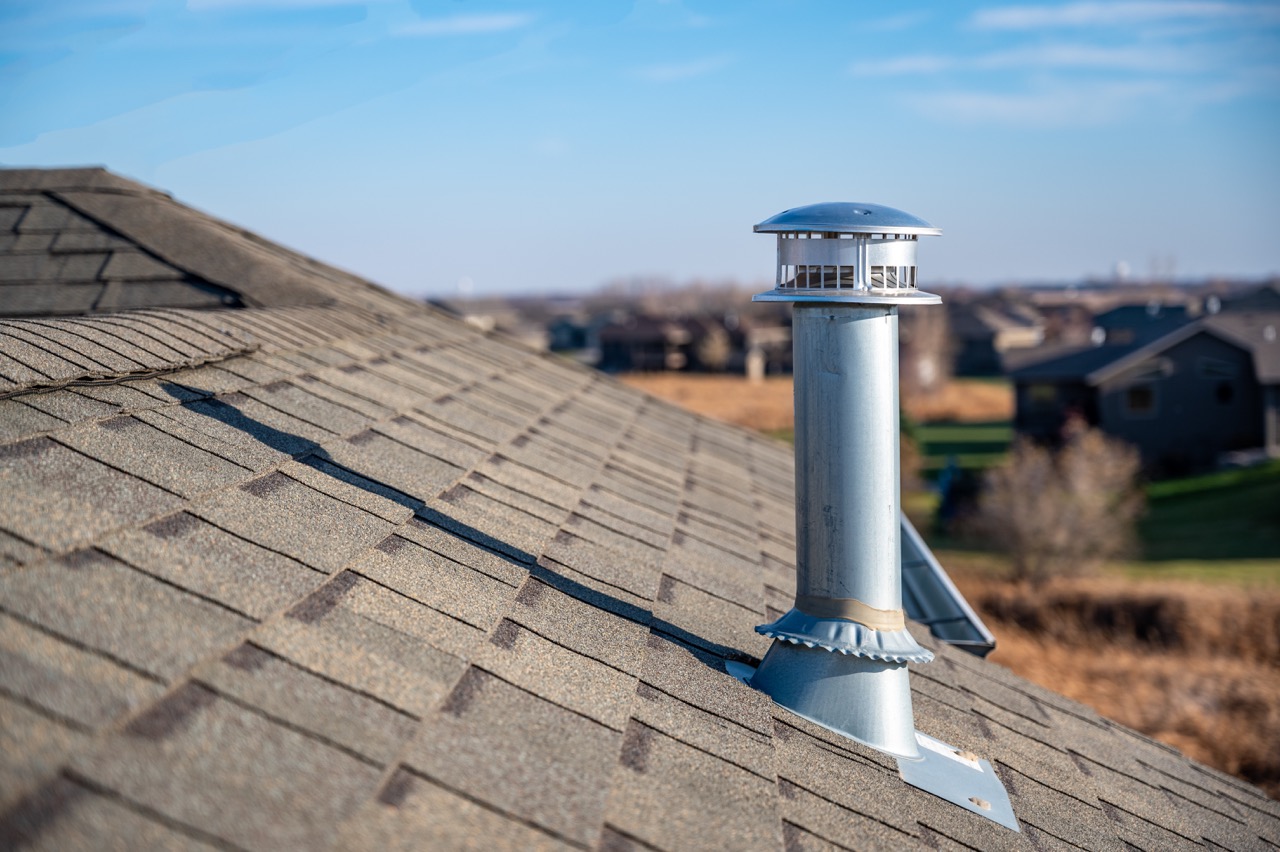
- Feed the vent duct through the hole you drilled in the interior wall, extending it to reach the exterior wall.
- Carefully push the vent duct through the hole in the exterior wall, making sure it extends past the wall surface for proper ventilation.
- Secure the vent duct to the exterior wall using screws and an electric screwdriver. Ensure that the vent is firmly attached and sealed to prevent any air leakage.
It is important to maintain a straight and unobstructed path for the vent duct to ensure efficient airflow. Avoid sharp bends or kinks in the duct that may impede performance.
Now that you have installed the vent duct, you’re ready to move on to the next step: connecting the range hood to the vent duct.
Step 6: Connect the range hood to the vent duct
Connecting the range hood to the vent duct is a crucial step in completing the installation process. This step will ensure that the range hood effectively expels cooking odors, smoke, and grease outside your home. Follow these steps to connect the range hood to the vent duct:
- Locate the vent opening on the back of the range hood. It is typically located towards the top or rear of the hood.
- Line up the vent opening on the range hood with the end of the vent duct.
- Securely attach the vent duct to the range hood using screws or clamps that are provided with your range hood. Make sure the connection is tight and secure.
- If your range hood has an adjustable damper, ensure that it is in the open position to allow for proper airflow.
Once you have connected the range hood to the vent duct, it is advisable to double-check all the connections to ensure they are secure and properly sealed. This will prevent any potential air leaks and ensure optimal performance of your ventilation system.
Now that you have successfully connected the range hood to the vent duct, it’s time to move on to the next step: testing the venting system.
Step 7: Test the venting system
Testing the venting system is a crucial step to ensure that it is functioning properly and effectively expelling airborne pollutants from your kitchen. Follow these steps to test the venting system:
- Turn on the range hood and set it to the highest fan speed.
- Monitor the airflow at the vent outside your home. Ensure that there is a steady flow of air coming out of the vent.
- Stand near the range hood and check for any strong odors, smoke, or steam that may linger in the kitchen. If there is still a noticeable presence of cooking odors or smoke, it may indicate an issue with the venting system.
- Check for any unusual noises coming from the range hood or venting system. Any rattling or banging noises could be a sign of improper installation or obstruction in the ductwork.
- Adjust the fan speed and observe any changes in airflow and performance. Ensure that the range hood is effectively capturing cooking vapors and expelling them outside.
If you discover any issues during the testing process, it may be necessary to troubleshoot the venting system. This could involve checking for any blockages in the ductwork, ensuring proper installation, or contacting a professional for assistance.
Once you have ensured that the venting system is working properly and effectively removing airborne pollutants, it’s time to move on to the final step: concealing the vent duct if desired.
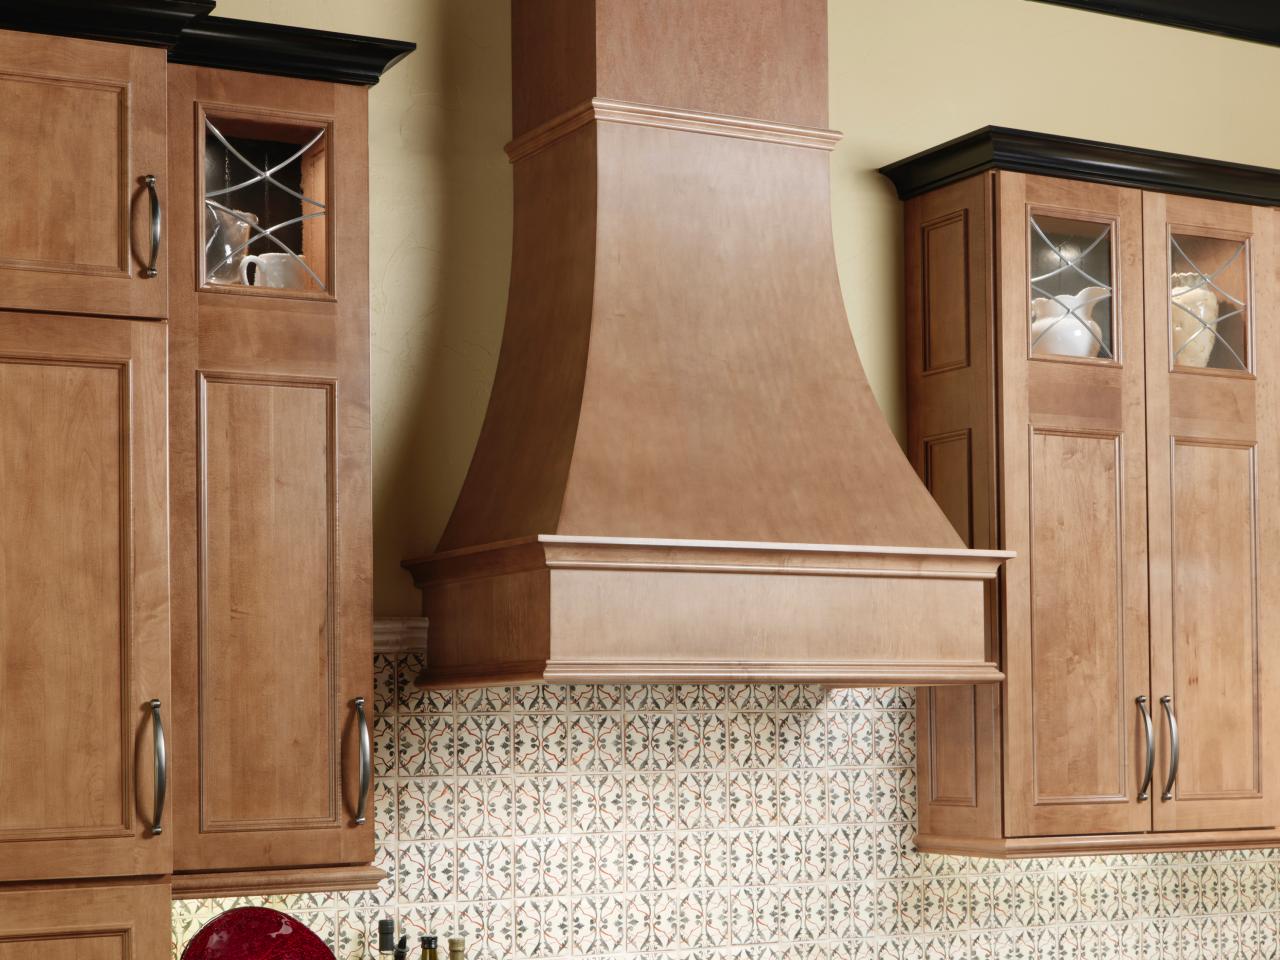
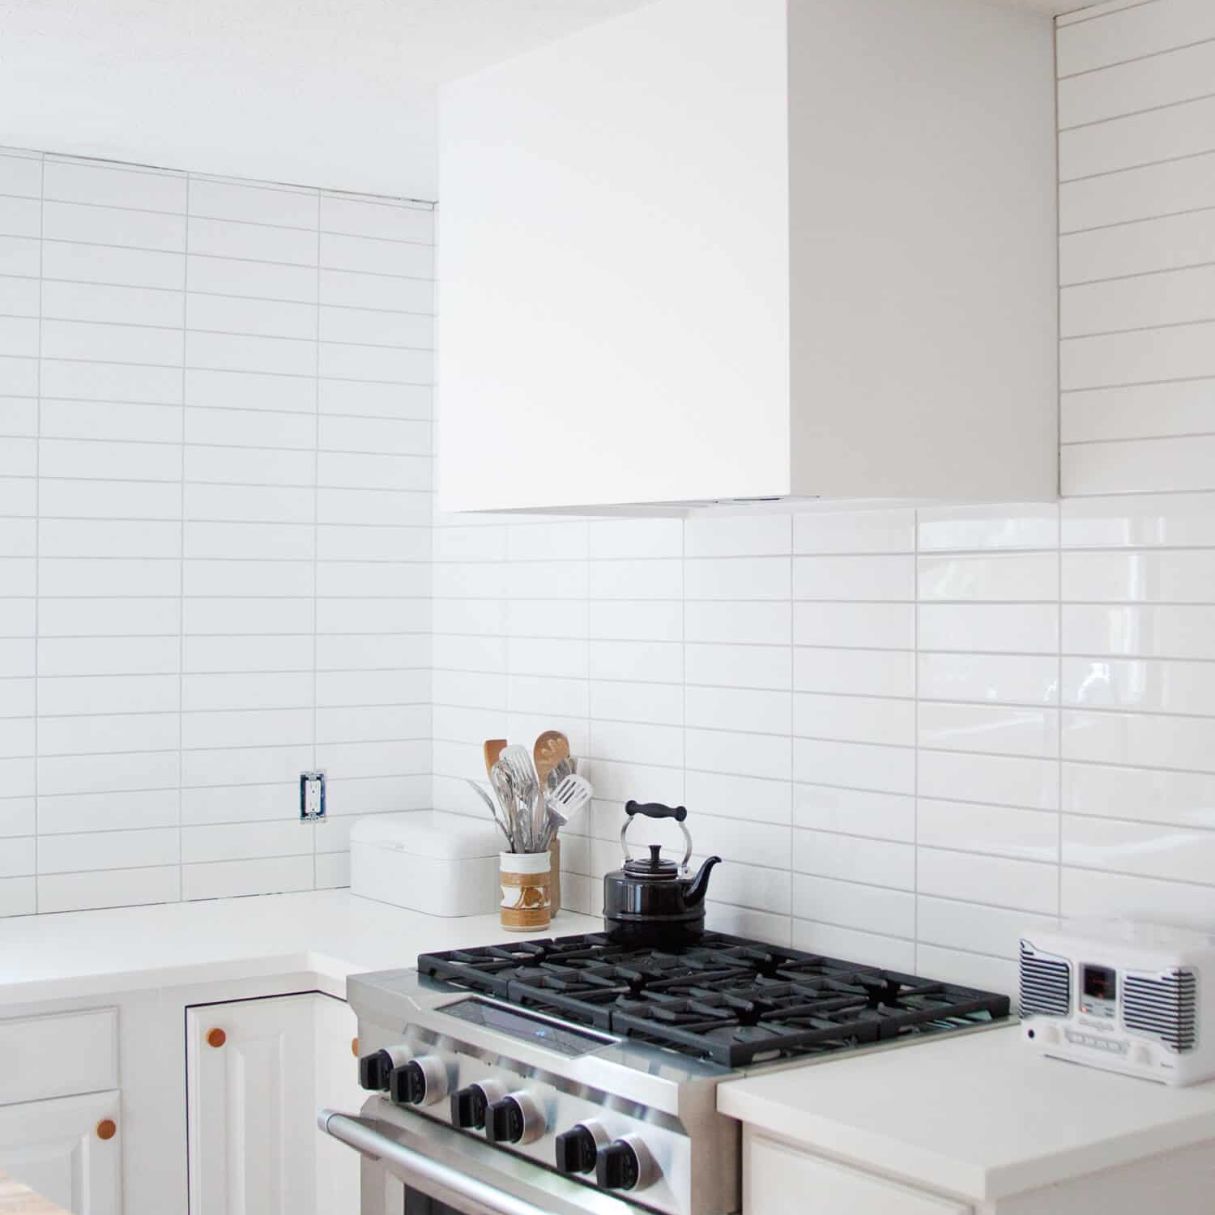
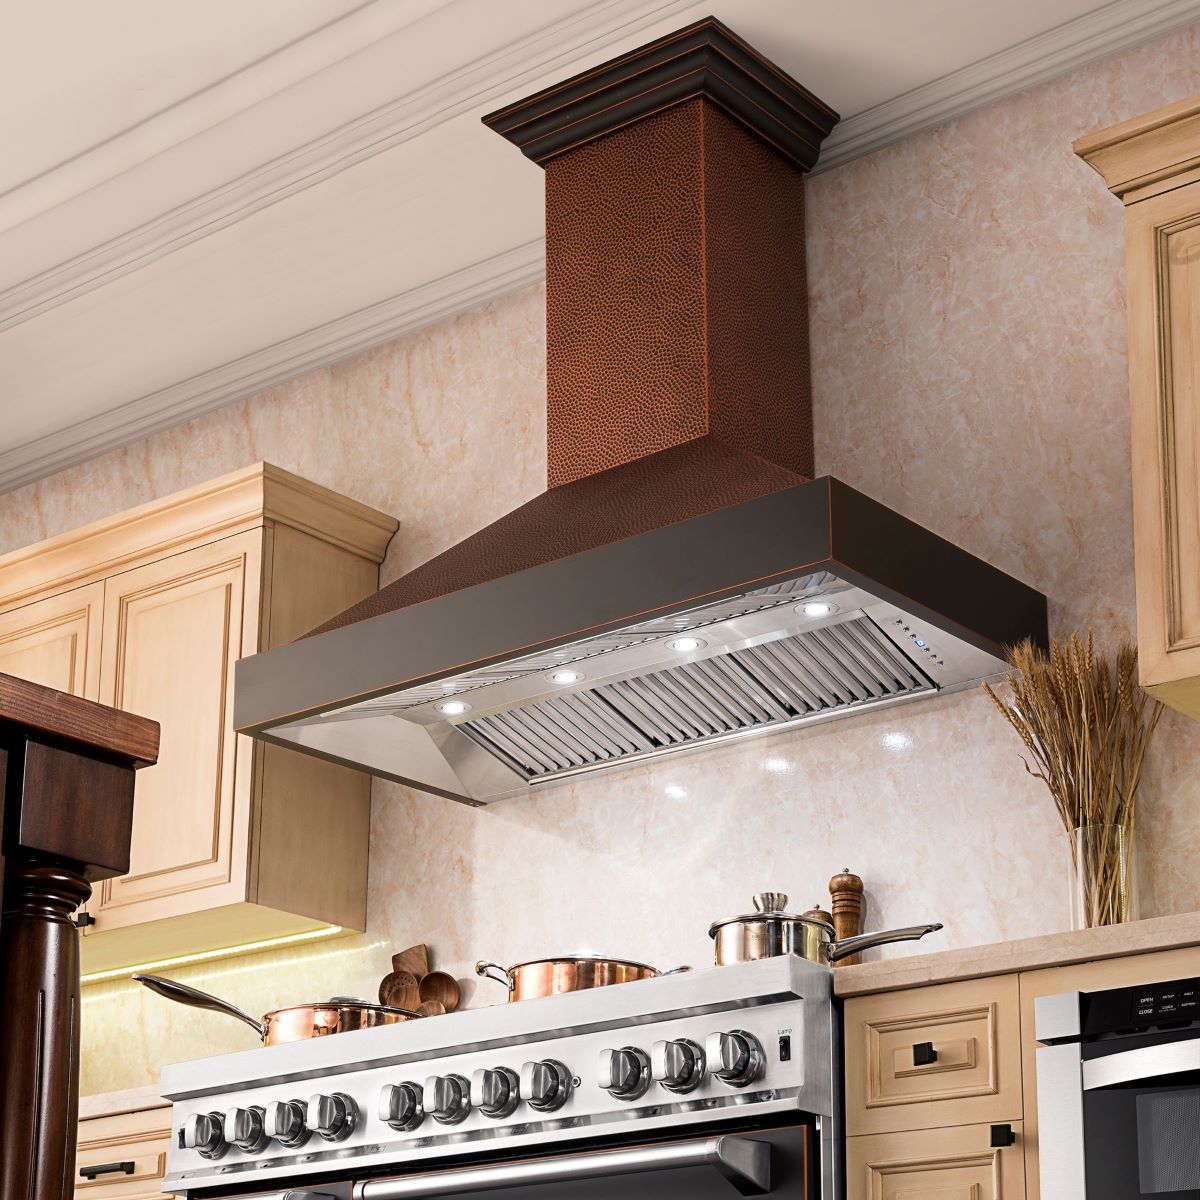
Step 8: Conceal the vent duct if desired
If you prefer to have a more seamless and aesthetically pleasing kitchen design, you may choose to conceal the vent duct. Concealing the vent duct can help integrate the range hood into your kitchen’s overall look and feel. Here’s how you can conceal the vent duct:
- Measure the length of the vent duct that is visible from the interior wall to the exterior wall.
- Cut a piece of drywall or a decorative cover to fit the measured length.
- Attach the drywall or decorative cover to the interior wall, covering the visible portion of the vent duct. Ensure that it is securely fastened.
- If using drywall, apply joint compound and sand the surface to create a smooth finish. You can then paint or wallpaper over the drywall to match your kitchen’s decor.
Remember to consider any applicable building codes and regulations when concealing the vent duct. It is important to ensure that the venting system remains accessible for maintenance and repair purposes.
By concealing the vent duct, you can create a more polished and cohesive look in your kitchen while still benefiting from the functionality of a range hood.
Congratulations! You have successfully completed the steps to vent your range hood on an interior wall. You can now enjoy a cleaner and fresher kitchen environment, free from cooking odors, smoke, and grease.
If you encounter any difficulties or are unsure about any steps in the process, it is recommended to consult a professional for assistance. Proper installation and venting of your range hood will ensure its optimal performance and longevity.
Thank you for following this guide, and happy venting!
Read more: What Size Vent Pipe For Range Hood
Conclusion
Venting a range hood on an interior wall is a necessary step in maintaining a clean and odor-free kitchen. By following the step-by-step guide outlined in this article, you can successfully install and vent your range hood, effectively removing cooking odors, smoke, and grease from your home.
Throughout the process, we discussed the importance of gathering the necessary tools and materials, determining the ideal location for venting, marking the placement of the vent hole, drilling a hole for the vent, installing the vent duct, connecting the range hood to the vent duct, testing the venting system, and optionally concealing the vent duct for a more polished look.
Remember, every kitchen setup is unique, and it is essential to adapt the steps to suit your specific needs. If you are unsure or uncomfortable with certain aspects of the installation process, it is recommended to seek the assistance of a professional.
Properly venting your range hood not only improves air quality but also enhances the overall functionality and efficiency of your kitchen. With a well-vented range hood, you can enjoy a cleaner and healthier cooking environment, as well as protect your interior walls from potential damage caused by grease and smoke accumulation.
Thank you for following this comprehensive guide on how to vent a range hood on an interior wall. I hope this article has provided you with the necessary knowledge and confidence to tackle the installation process successfully.
Happy cooking and enjoy your fresh and inviting kitchen!
Frequently Asked Questions about How To Vent Range Hood On Interior Wall
Was this page helpful?
At Storables.com, we guarantee accurate and reliable information. Our content, validated by Expert Board Contributors, is crafted following stringent Editorial Policies. We're committed to providing you with well-researched, expert-backed insights for all your informational needs.


0 thoughts on “How To Vent Range Hood On Interior Wall”