
Articles
How To Install A Wall Mount Range Hood
Modified: September 1, 2024
Learn step-by-step instructions for installing a wall mount range hood in this helpful article. Discover tips and tricks from the experts.
(Many of the links in this article redirect to a specific reviewed product. Your purchase of these products through affiliate links helps to generate commission for Storables.com, at no extra cost. Learn more)
Introduction
Installing a wall mount range hood in your kitchen is not only a practical choice but also a stylish addition to your cooking space. A range hood helps to remove smoke, odors, and grease particles from the air, ensuring a clean and fresh environment while cooking. If you’re a culinary enthusiast or simply looking to upgrade your kitchen, installing a wall mount range hood is a great idea.
In this article, we will guide you through the step-by-step process of installing a wall mount range hood. Whether you’re a seasoned DIY enthusiast or new to home improvement projects, this guide will help you successfully complete the installation with ease.
Before we dive into the installation process, it’s essential to gather the necessary tools and materials. This will ensure that you have everything you need on hand and prevent any unnecessary interruptions. Let’s take a look at what you’ll need:
Key Takeaways:
- Installing a wall mount range hood requires careful planning, precise measurements, and proper electrical connections. Following the step-by-step guide ensures a successful and stylish addition to your kitchen.
- Properly preparing the wall, securing the range hood, and testing its functionality are crucial steps in the installation process. Enjoy a cleaner and fresher kitchen environment with your newly installed wall mount range hood.
Tools and Materials
- Power drill
- Tape measure
- Pencil
- Level
- Screwdriver set
- Adjustable wrench
- Stud finder
- Wall mount range hood
- Mounting brackets
- Screws
- Electrical wiring
Now that you have all the necessary tools and materials, let’s move on to the next step – determining the location for your Wall mount range hood.
Step 1: Gather necessary tools and materials
Before you begin the installation process, it’s important to gather all the required tools and materials. Having everything on hand will make the installation process smoother and more efficient. Here’s a list of the essential tools and materials you’ll need:
- Power drill: A power drill will be used to create holes in the wall for mounting the range hood.
- Tape measure: Use a tape measure to accurately measure the space where the range hood will be mounted.
- Pencil: A pencil will be used to mark the location for drilling holes and mounting the range hood.
- Level: A level will help ensure that the range hood is installed perfectly straight.
- Screwdriver set: You’ll need a screwdriver set to tighten the screws and secure the range hood in place.
- Adjustable wrench: An adjustable wrench will be used to tighten any bolts or nuts during the installation process.
- Stud finder: Use a stud finder to locate the studs in the wall, which will provide extra support for the range hood.
- Wall mount range hood: Choose a wall mount range hood that suits your needs and matches the style of your kitchen.
- Mounting brackets: The mounting brackets will be used to secure the range hood to the wall.
- Screws: Make sure to have screws of the appropriate length and size for mounting the range hood and securing the brackets.
- Electrical wiring: If your range hood requires electrical power, make sure to have the necessary wiring and connectors.
Make sure to check the installation manual provided with your wall mount range hood for any additional tools or materials that may be required.
Once you have gathered all the necessary tools and materials, you’re ready to move on to the next step – determining the location for your wall mount range hood.
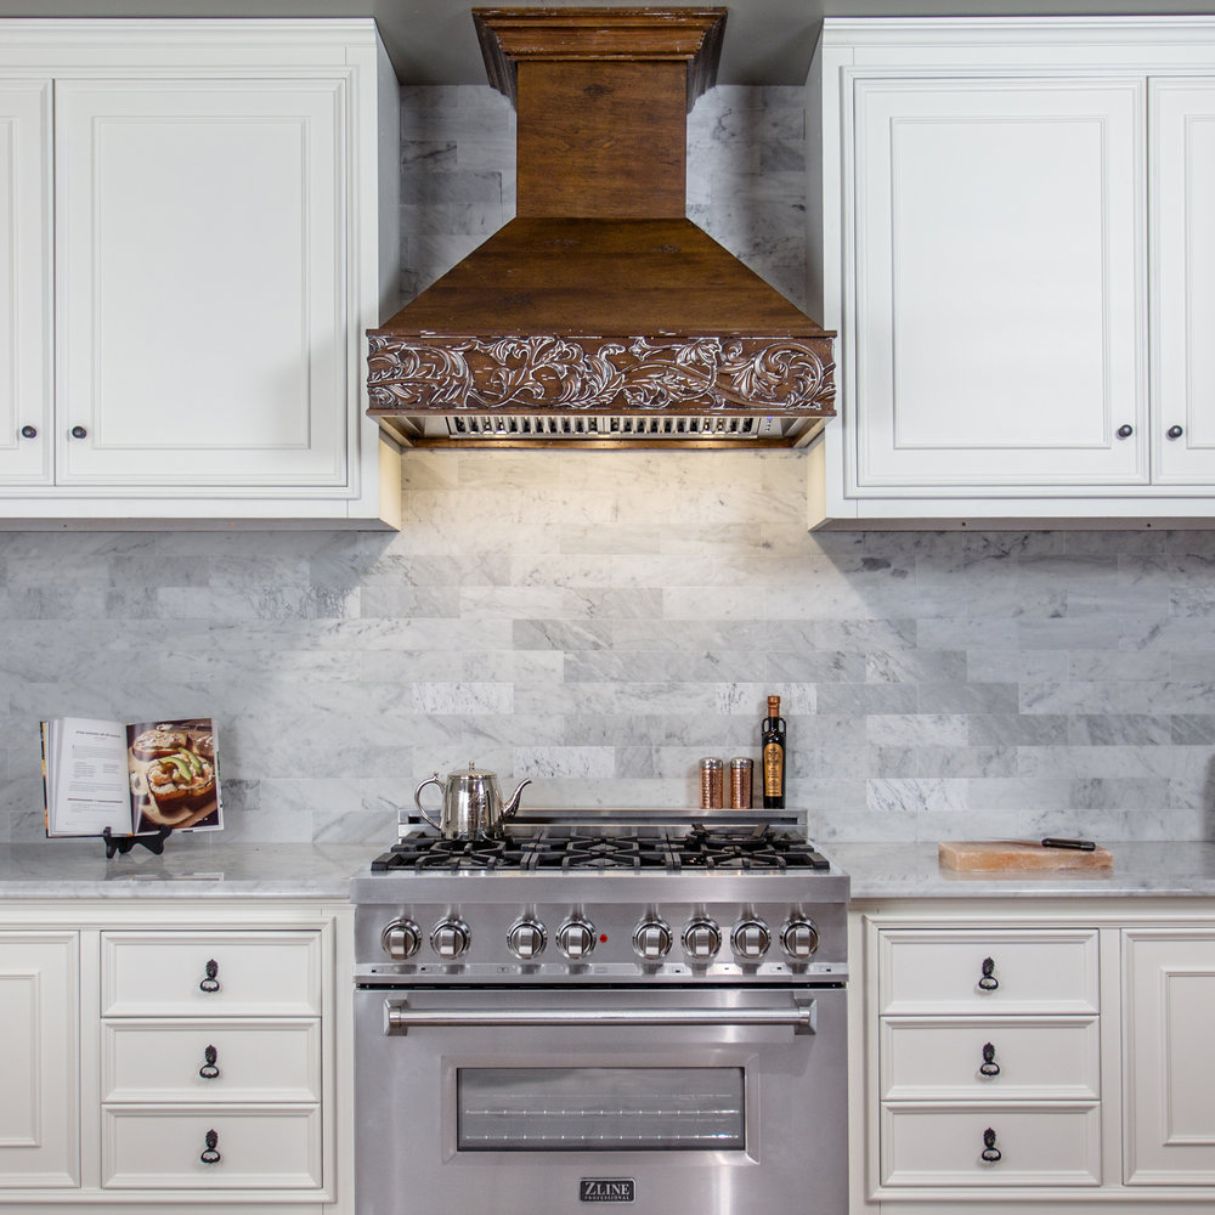
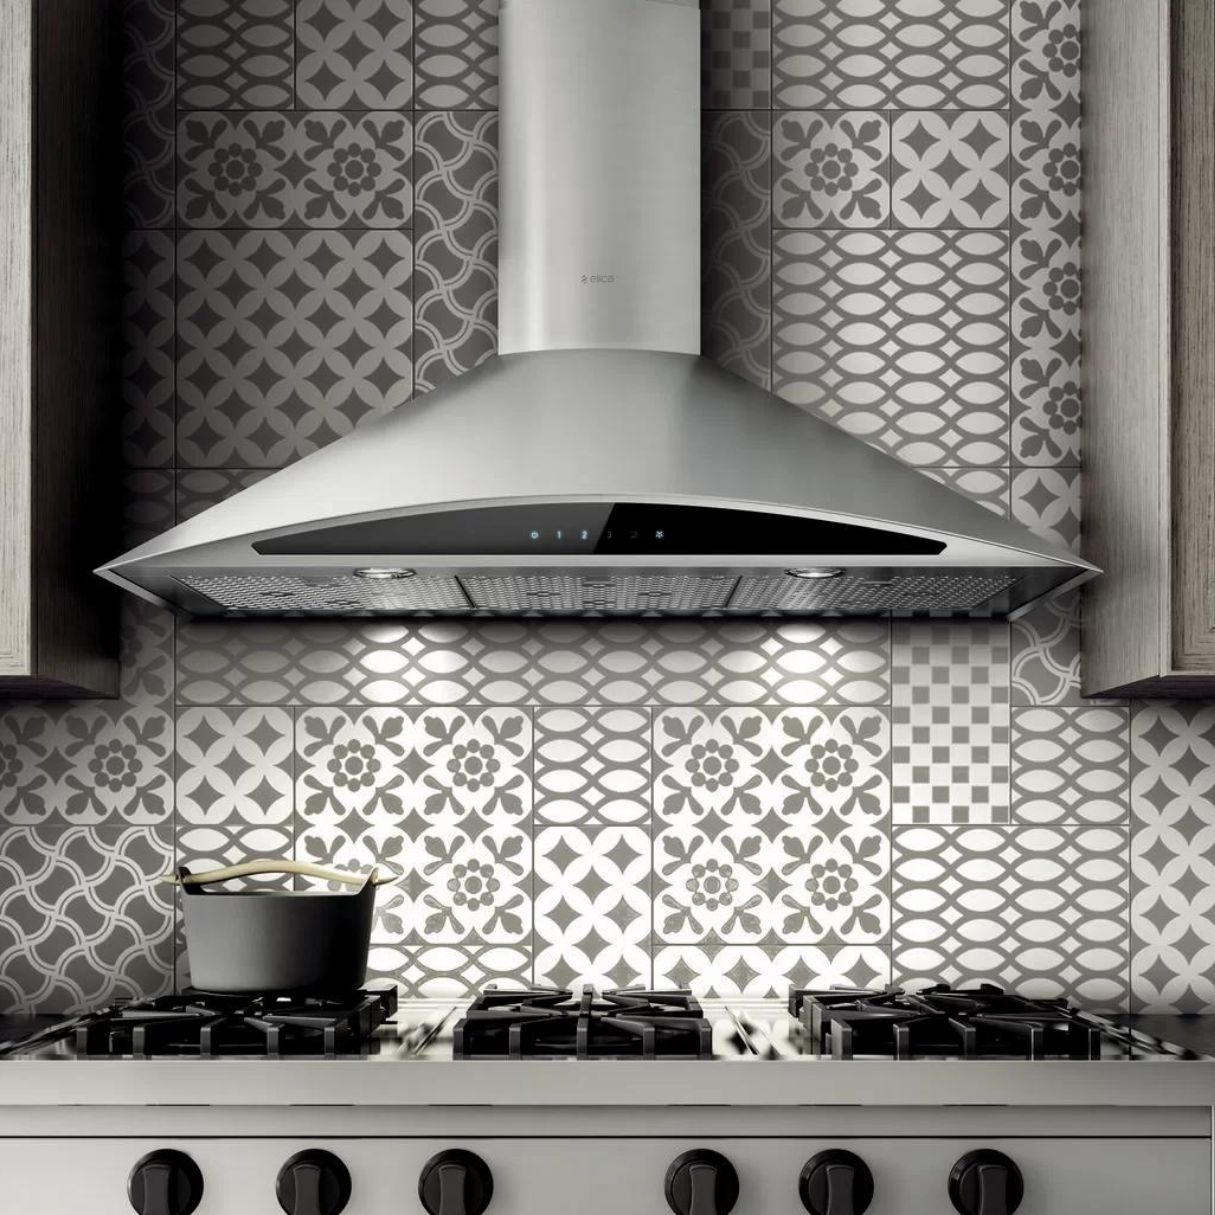
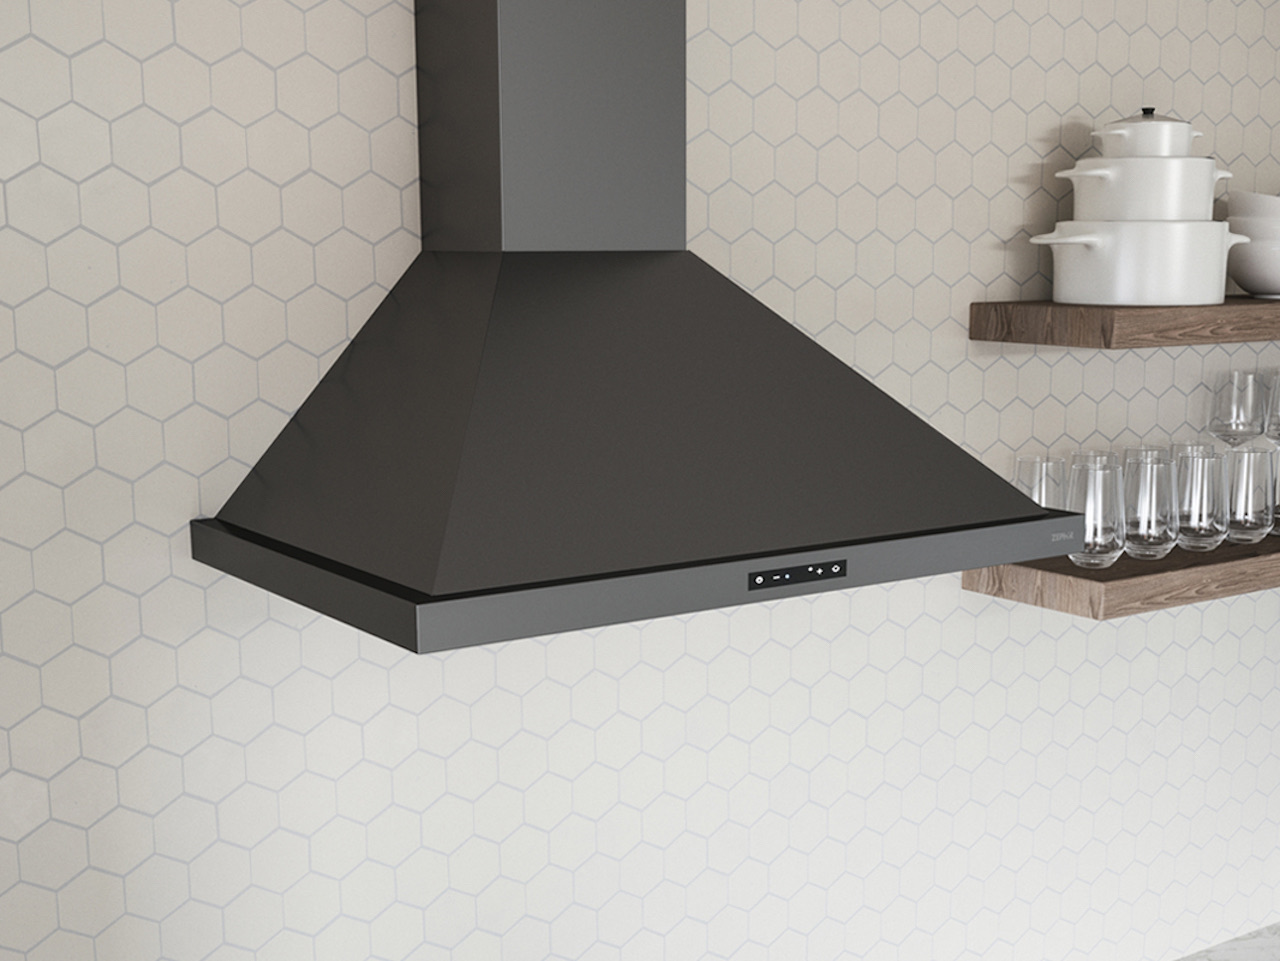
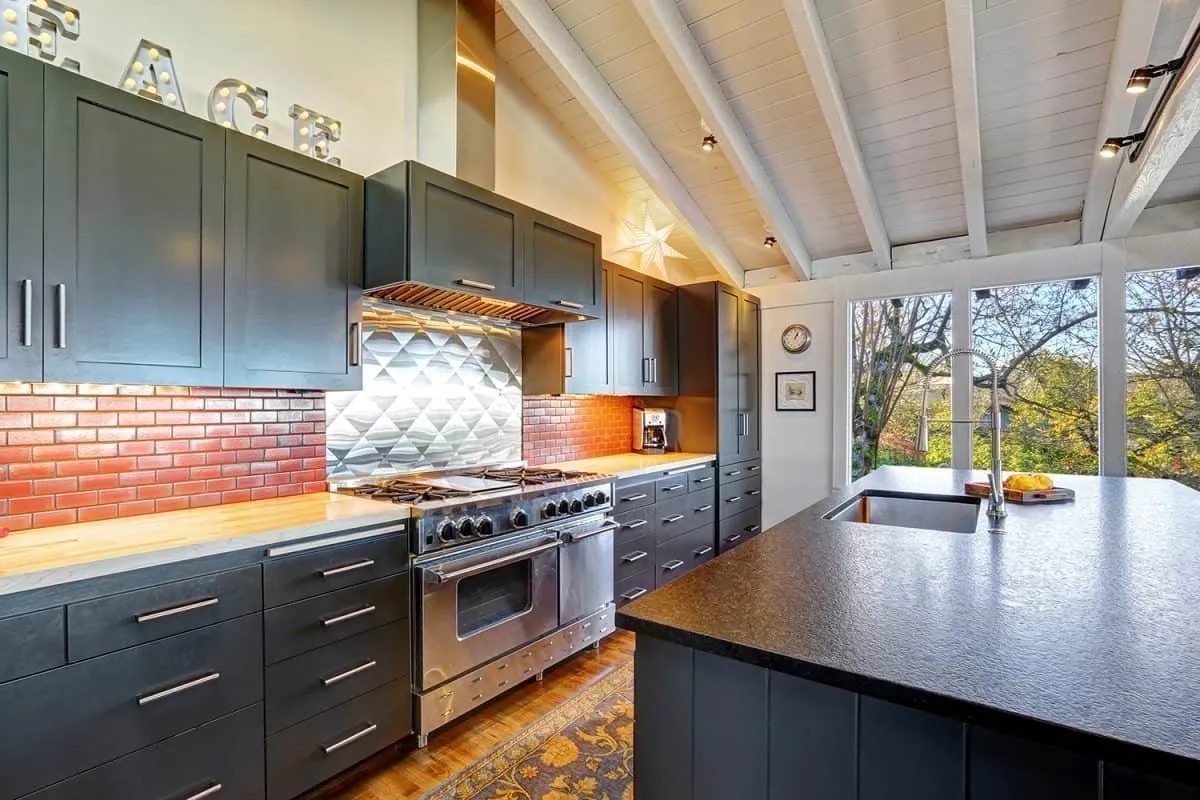
Step 2: Determine the location for the range hood
Choosing the right location for your wall mount range hood is crucial for optimal functionality and aesthetics. Before you start drilling any holes, consider the following factors:
- Cooking area: It’s important to position the range hood directly above your cooking surface to effectively capture and remove smoke, odors, and grease particles. Make sure there is enough clearance between the range hood and your cooktop or range.
- Clearance to cabinets: Ensure that there is sufficient space between the range hood and any nearby cabinets. Generally, it is recommended to have at least 18-24 inches of clearance on each side to prevent any obstruction.
- Electrical and ventilation access: Consider the location of electrical outlets and ventilation ducts. The range hood should be positioned near an electrical outlet for easy installation. If you’re replacing an existing range hood, it’s advisable to use the same location to minimize electrical and ductwork modifications.
- Height: The optimal height for mounting the range hood is typically between 24-30 inches above the cooking surface. This may vary depending on the manufacturer’s recommendations, so refer to the installation manual for specific guidelines.
- Stud location: Use a stud finder to locate the studs in the wall. Mounting the range hood to the studs will provide extra stability and support. If the stud placement doesn’t align with your desired location, you may need to use additional support anchors.
Once you have considered all these factors, mark the desired location for the range hood on the wall using a pencil. Double-check your measurements to ensure accuracy and adjust as needed. It’s important to take your time during this step, as choosing the right location is essential for a successful installation.
Now that you have determined the location for your range hood, it’s time to prepare the wall for installation.
Step 3: Prepare the wall for installation
Before you can proceed with the installation of your wall mount range hood, it’s important to prepare the wall to ensure a secure and stable mounting. Follow these steps to properly prepare the wall:
- Turn off power: Before working with any electrical components, turn off the power to the area where you’ll be installing the range hood. This will help prevent any accidents or shocks during the installation process.
- Remove any obstacles: Clear the area where you’ll be installing the range hood. Remove any artwork, photos, or decorations from the wall to prevent damage or obstruction during the installation.
- Locate and mark studs: Use a stud finder to locate the studs in the wall. Mark their locations with a pencil. Mounting your range hood to the studs will provide additional support and stability.
- Drill pilot holes: Once you have marked the stud locations, use a power drill and an appropriate drill bit to create pilot holes at the marked spots. This will make it easier to insert the screws during the installation process.
- Check for wiring and plumbing: Before proceeding, ensure that there are no hidden electrical wires or plumbing pipes within the area where you’ll be drilling holes or installing the range hood. Use caution and consult a professional if needed.
- Clean the wall: Wipe down the wall where you’ll be installing the range hood to remove any dust or debris. A clean surface will ensure a better adhesion between the wall and the mounting brackets.
By properly preparing the wall, you’ll create a solid foundation for the installation of your wall mount range hood. Once the wall is prepared, you’re ready to move on to the next step – installing the range hood.
When installing a wall mount range hood, make sure to carefully measure and mark the placement of the hood before drilling any holes. Use a stud finder to locate and secure the hood to the wall studs for maximum stability.
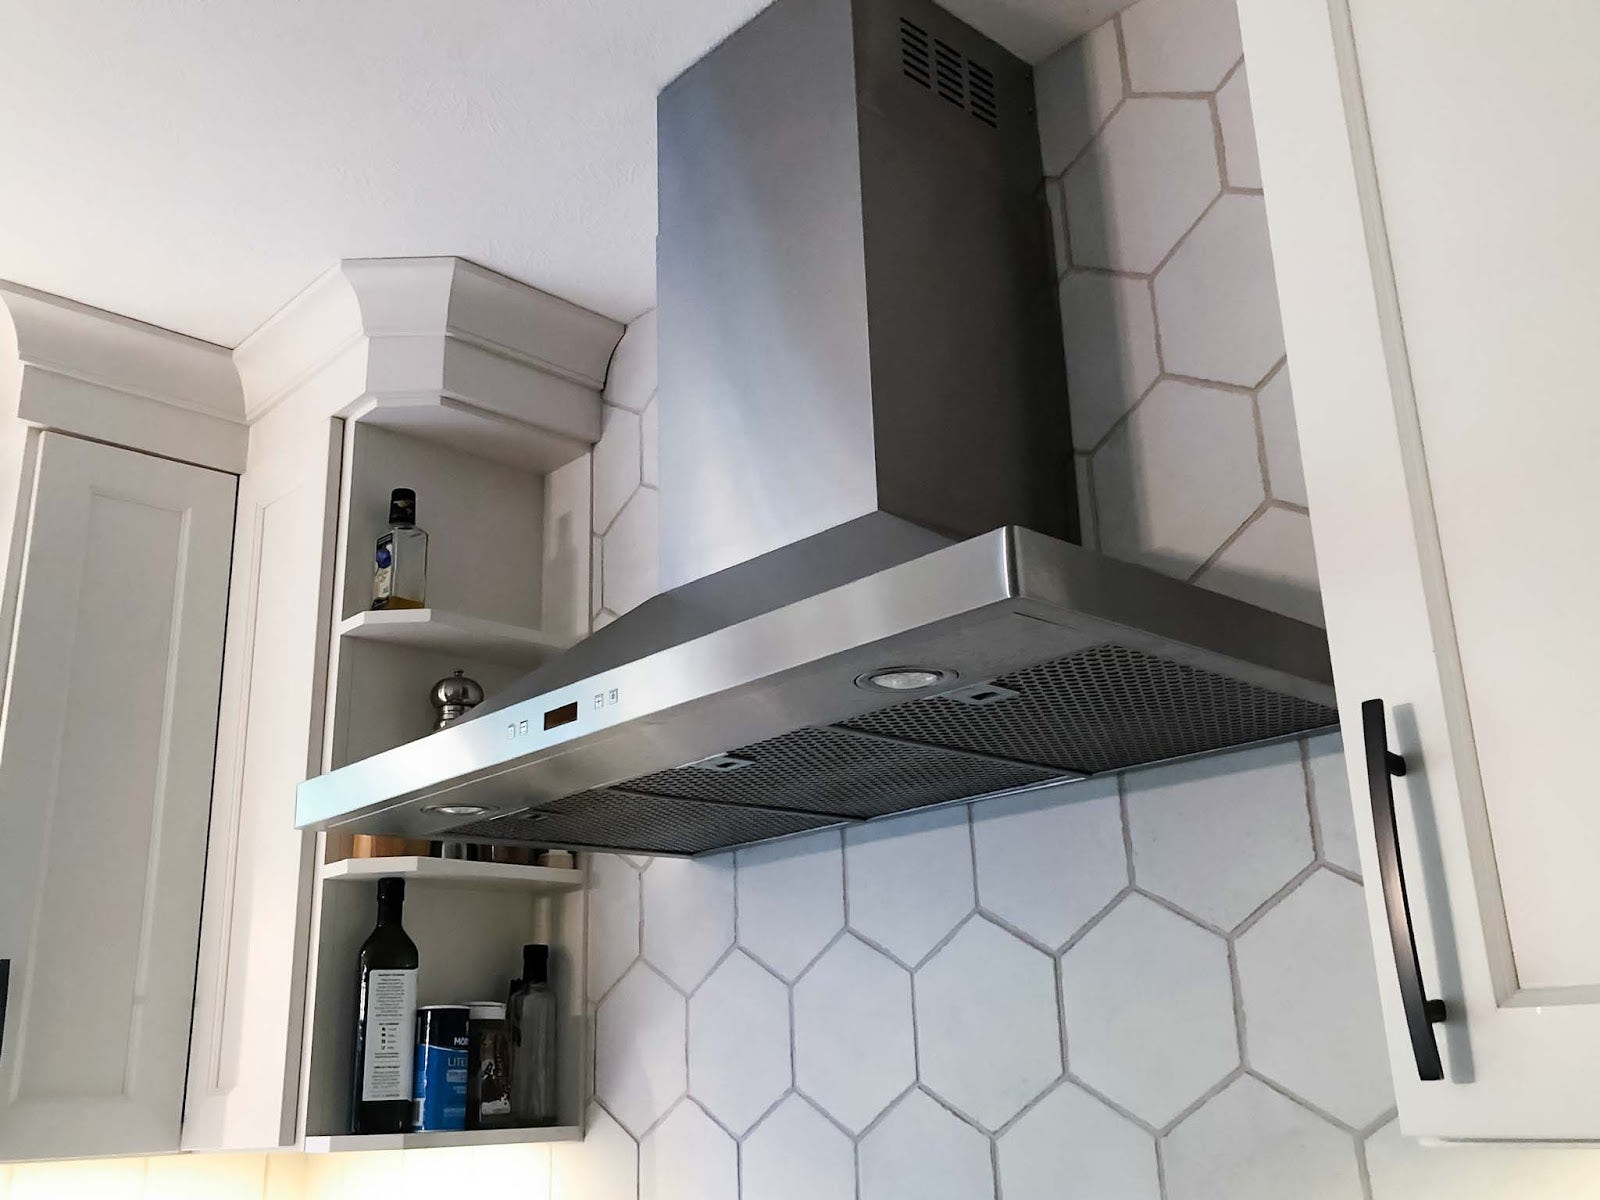
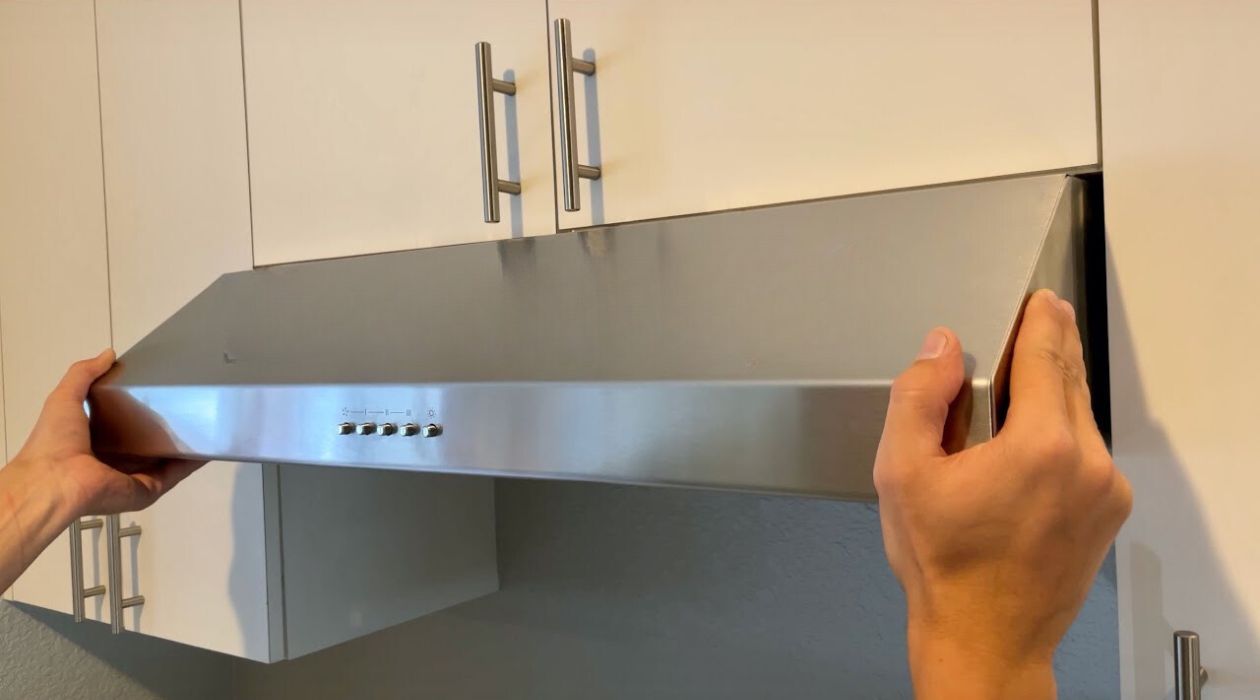
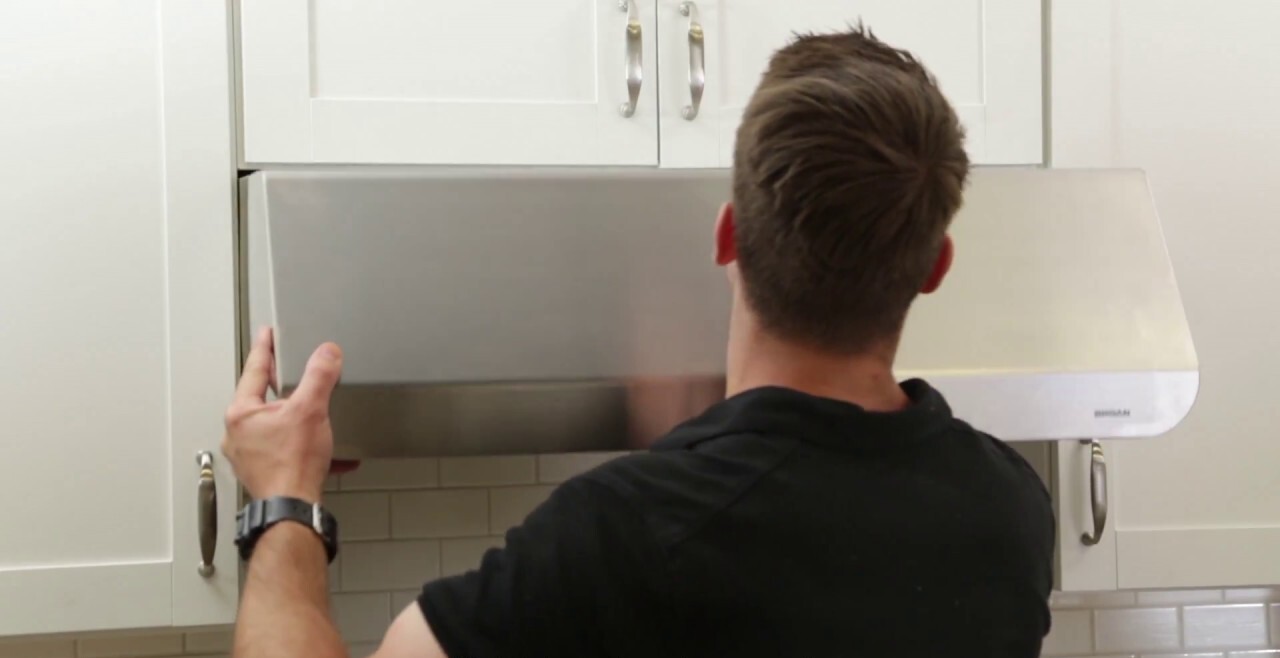
Step 4: Install the wall mount range hood
With the wall prepared, you’re now ready to install the wall mount range hood. Follow these steps to ensure a proper and secure installation:
- Position the range hood: Carefully lift the range hood and position it against the wall at the marked location. Make sure it is centered and aligned with the pilot holes you drilled in the previous step.
- Attach the mounting brackets: Using the provided screws, attach the mounting brackets to the top of the range hood. Ensure that the brackets are securely fastened.
- Align with pilot holes: Gently lower the range hood while aligning the mounting brackets with the pilot holes in the wall. Take your time to ensure accuracy.
- Secure the range hood: Insert the screws through the mounting brackets and into the pilot holes. Use a screwdriver or power drill to tighten the screws and secure the range hood to the wall. Be careful not to overtighten, as it can damage the range hood or the wall.
- Check for level: Use a level to ensure that the range hood is straight and properly aligned. Make any necessary adjustments before proceeding to the next step.
- Double-check stability: Once the range hood is securely mounted, give it a gentle shake to ensure that it is stable and doesn’t wobble. If you notice any instability, recheck the screws and mounting brackets for proper tightness.
It’s important to take your time during the installation process to ensure a proper fit and a secure mounting. If you’re unsure about any step, consult the installation manual provided by the manufacturer or seek assistance from a professional.
Now that your wall mount range hood is installed, the next step is to connect the electrical wiring.
Step 5: Connect the electrical wiring
Connecting the electrical wiring is an important step in the installation process of your wall mount range hood. Follow these guidelines to ensure a safe and proper connection:
- Turn off the power: Before working with any electrical components, turn off the power to the area where you’ll be connecting the range hood. This will help ensure your safety and prevent electrical accidents.
- Locate the electrical junction box: The electrical junction box is typically located behind the range hood. Remove the cover plate to access the wiring connections.
- Match the wires: Inside the junction box, you’ll find wires coming from the range hood and the electrical supply. Match the wires based on their colors. Typically, black wires are for hot/positive, white wires are for neutral, and green or bare wires are for grounding.
- Make the connections: Use wire connectors or terminal blocks to join the corresponding wires. Twist the exposed ends of the wires together and secure them using the appropriate connectors. Ensure that the connections are tight and secure.
- Secure the wiring: Once the connections are made, carefully tuck the wiring back into the electrical junction box. Make sure to prevent any pinching or damage to the wires.
- Replace the cover plate: Place the cover plate back onto the electrical junction box and ensure it is securely fastened.
It is always recommended to follow the instructions provided by the manufacturer for specific wiring instructions and safety precautions. If you’re unsure about any aspect of the electrical wiring, it’s advisable to consult a licensed electrician.
With the electrical wiring connected, you’re one step closer to completing the installation of your wall mount range hood. The next step is to secure the range hood to the wall.
Step 6: Secure the range hood to the wall
Now that the electrical wiring is safely connected, it’s time to secure the range hood to the wall to ensure stability and proper functioning. Follow these steps to securely fasten the range hood:
- Check alignment: Verify that the range hood is still properly aligned and level. Make any necessary adjustments before proceeding.
- Tighten mounting screws: Using a screwdriver or power drill, tighten the mounting screws on the range hood. Ensure that they are securely fastened to the wall.
- Check for stability: Give the range hood a gentle shake to confirm that it is stable and firmly attached to the wall. If it wobbles or feels loose, recheck the mounting screws and make necessary adjustments.
- Verify clearance: Ensure that there is sufficient clearance between the range hood and any nearby cabinets or ceiling. This will prevent any obstruction or potential damage.
- Inspect the ventilation duct: If your wall mount range hood is vented, check the connection between the range hood and the ventilation duct. Make sure it is securely attached and properly sealed to prevent any air leakage.
It’s crucial to ensure that the range hood is securely fastened to the wall for safe and efficient operation. Take the time to double-check all connections and tighten any loose screws or brackets.
With the range hood securely mounted, you’re almost done! The final step is to test the range hood to ensure it’s working properly.
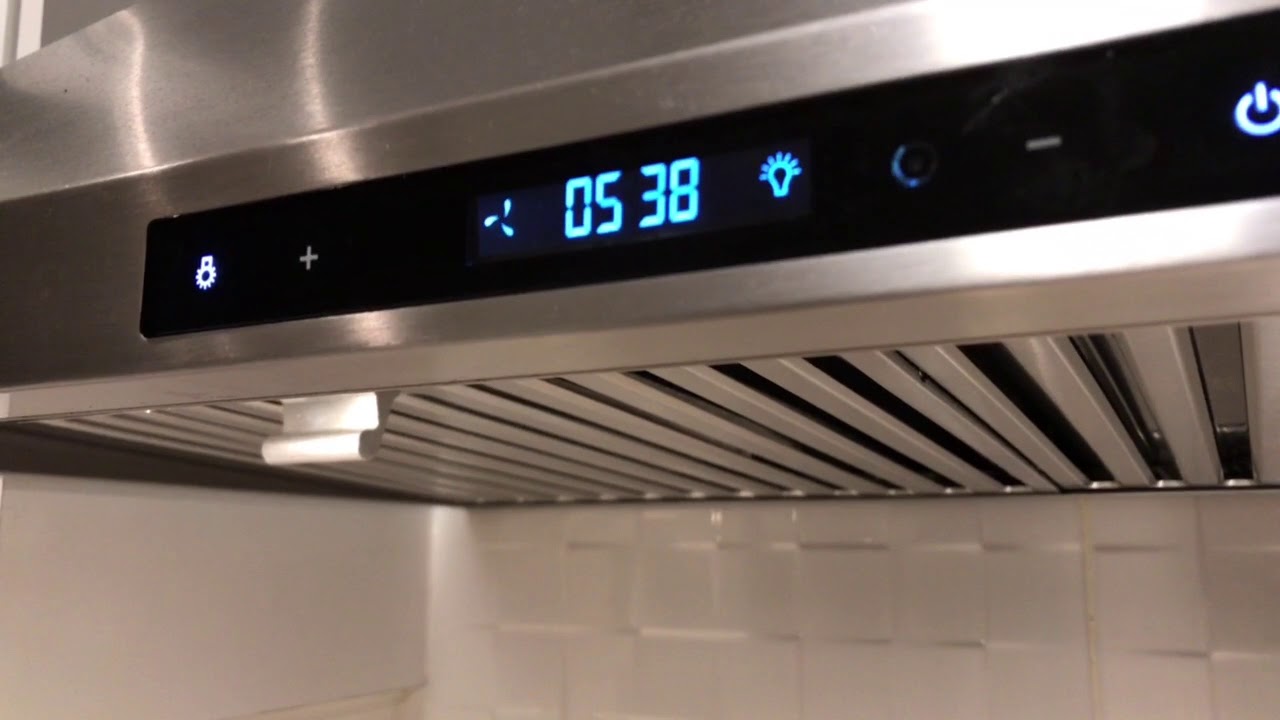
Step 7: Test the range hood
Before you can enjoy the benefits of your newly installed wall mount range hood, it’s important to perform a thorough test to ensure it’s functioning correctly. Follow these steps to test the range hood:
- Turn on the power: Restore power to the area by flipping the circuit breaker or turning on the switch.
- Adjust the fan speed: Depending on your range hood model, adjust the fan speed to the desired level. Most range hoods have multiple fan settings to accommodate different cooking needs.
- Test the lights: If your range hood has built-in lighting, turn on the lights and make sure they are functioning properly.
- Check the ventilation: If your range hood is vented, test the ventilation system by running the fan and standing near the exhaust to ensure it’s effectively removing steam, smoke, and odors from the kitchen.
- Listen for unusual noises: As the range hood operates, pay attention to any unusual noises or vibrations. A well-installed range hood should operate smoothly and quietly.
- Inspect for proper air flow: Verify that the range hood is effectively pulling in air and directing it towards the ventilation system. You can do this by holding a piece of paper near the range hood’s intake to ensure it’s being pulled in.
If you encounter any issues during the testing phase, refer to the manufacturer’s troubleshooting guide or contact their customer service for assistance. It’s always better to address any potential concerns early on to ensure the proper functioning of your range hood.
Once you have completed the testing and everything is working as expected, congratulations! You have successfully installed and tested your wall mount range hood. It’s now ready to enhance your cooking experience by effectively ventilating your kitchen and removing odors and airborne particulates.
Remember to periodically clean and maintain your range hood to ensure its longevity and optimal performance. Refer to the manufacturer’s instructions for specific cleaning and maintenance guidelines.
We hope this step-by-step guide has been helpful to you and that you are now able to enjoy the benefits of your newly installed wall mount range hood. Happy cooking!
Conclusion
Installing a wall mount range hood can greatly improve the functionality and aesthetics of your kitchen. By following the step-by-step guide outlined in this article, you can successfully install a wall mount range hood and enjoy its benefits for years to come.
From gathering the necessary tools and materials to securing the range hood to the wall, each step in the installation process is crucial to ensure a proper and safe installation. Taking the time to carefully plan the location, prepare the wall, connect the electrical wiring, and secure the range hood will result in a successful installation.
Remember to always refer to the manufacturer’s instructions and guidelines for your specific range hood model. If you’re unsure about any step of the installation process, consult a professional or contact the manufacturer for assistance.
Once the range hood is installed, be sure to test its functionality by adjusting the fan speed, checking the lights, and ensuring proper ventilation. Regular maintenance and cleaning of your range hood will help maintain its performance and longevity.
Now that you have completed the installation of your wall mount range hood, you can enjoy a cleaner and fresher kitchen environment. Say goodbye to lingering cooking odors and excess smoke as your range hood efficiently removes them from your space.
We hope this comprehensive guide has been helpful, providing you with the necessary knowledge and confidence to install your wall mount range hood. Happy cooking and enjoy the benefits of your newly upgraded kitchen!
Frequently Asked Questions about How To Install A Wall Mount Range Hood
Was this page helpful?
At Storables.com, we guarantee accurate and reliable information. Our content, validated by Expert Board Contributors, is crafted following stringent Editorial Policies. We're committed to providing you with well-researched, expert-backed insights for all your informational needs.


0 thoughts on “How To Install A Wall Mount Range Hood”