Articles
How To Install Broan Range Hood
Modified: October 20, 2024
Learn how to install a Broan range hood with our informative articles! Get step-by-step instructions and expert tips for a successful installation.
(Many of the links in this article redirect to a specific reviewed product. Your purchase of these products through affiliate links helps to generate commission for Storables.com, at no extra cost. Learn more)
Introduction
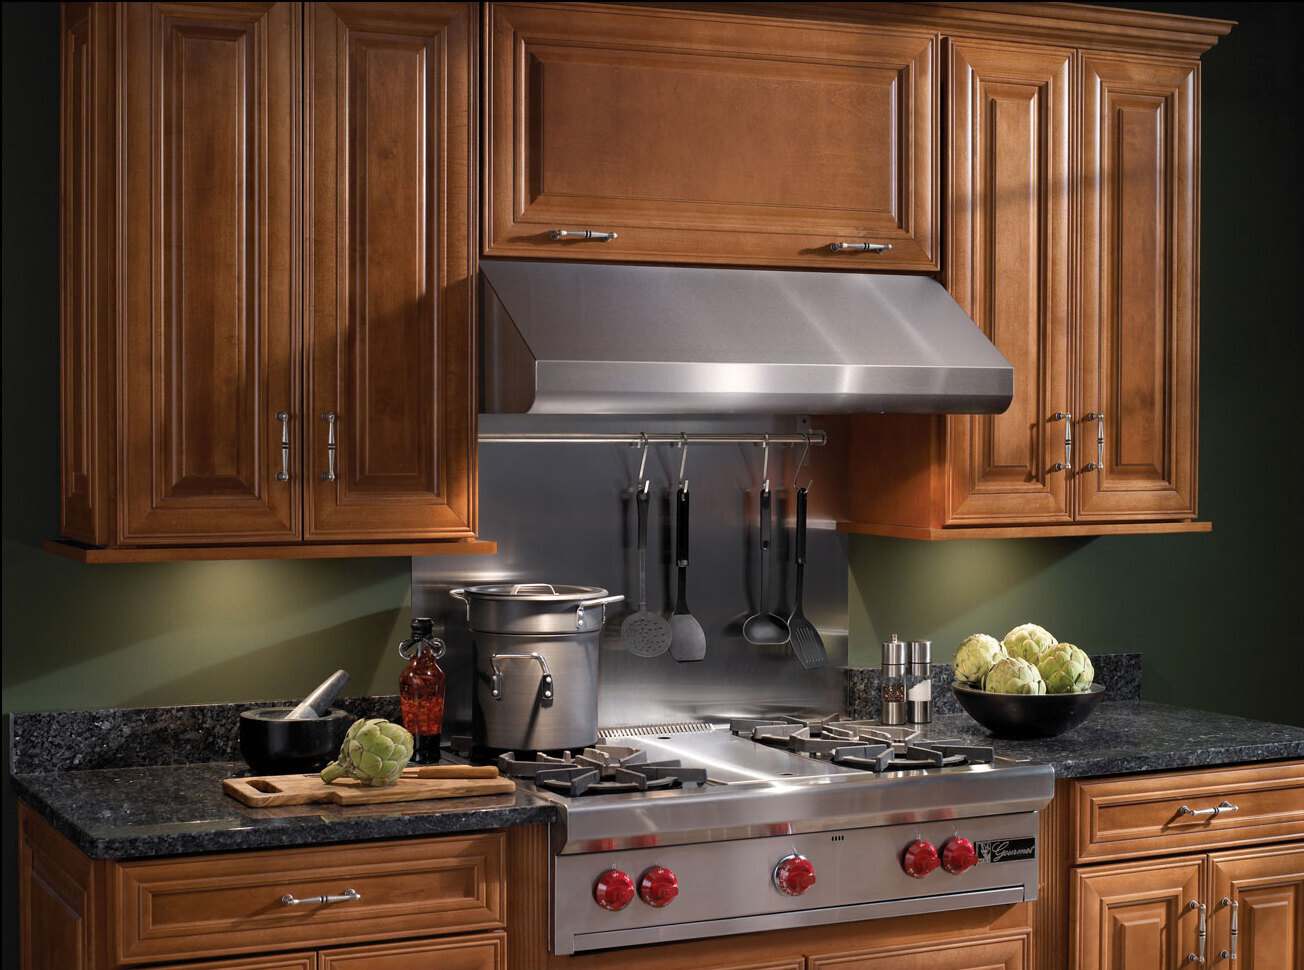
Welcome to our comprehensive guide on how to install a Broan range hood! A range hood is an essential appliance in any kitchen, as it helps to remove odors, smoke, and grease from the air while cooking. The Broan range hood is known for its reliability, durability, and powerful ventilation. Whether you are replacing an old range hood or installing a new one, this article will provide you with step-by-step instructions to ensure a successful installation.
Before we dive into the installation process, it is important to note that working with electricity and handling heavy equipment can be dangerous. We highly recommend consulting a professional electrician or contractor if you are unsure about any step in the installation process. Safety should always be a top priority when working on any household project.
Now that we’ve covered the important safety precautions, let’s gather the necessary tools and materials for the installation.
Key Takeaways:
- Ensure safety and precision by gathering the right tools, measuring accurately, and preparing electrical connections when installing a Broan range hood. Following each step meticulously guarantees a successful and efficient installation process.
- Enjoy a cleaner and more comfortable kitchen environment by securely mounting the range hood, connecting the ductwork if needed, and testing its operation. Completing the installation with attention to detail ensures optimal functionality and aesthetics.
Step 1: Gather the necessary tools and materials
Before you start the installation process, it’s crucial to gather all the necessary tools and materials. Having everything ready beforehand will save you time and prevent any unnecessary delays. Here is a list of tools and materials you’ll need:
- A Broan range hood kit (including the hood, brackets, hardware, and any additional components)
- Screwdriver (flathead and Phillips)
- Tape measure
- Pencil or marker
- Drill
- Level
- Wire cutter/stripper
- Electrical tape
- Wire nuts
- Ductwork (if required)
Having these tools and materials prepared will ensure a smooth installation process and minimize any potential setbacks. Once you have everything ready, let’s move on to step two – measuring and marking the installation area.
Step 2: Measure and mark the installation area
Before installing your Broan range hood, it is essential to accurately measure and mark the installation area. This step will ensure that your range hood is correctly positioned and aligned with your kitchen’s layout. Here’s how to proceed:
- Start by identifying the centerline of your cooktop or range. Measure the width of your range hood and mark the centerline on the wall directly above it. Use a pencil or marker to make the mark.
- Next, measure the distance between the cabinets on either side of the range. This measurement will determine the width of the range hood that you need. Remember to subtract about 1/16 inch from the measurement to allow for a proper fit.
- Now, measure the distance from the cooktop to the bottom of the cabinet above it. This measurement will determine the height at which your range hood should be installed. It’s recommended to leave a clearance of at least 24 to 30 inches between the cooktop and the range hood.
- Using the measurements you obtained, mark the mounting height and outline of the range hood on the wall. Ensure that the outline is centered over the cooktop and aligned with the cabinets.
- Double-check your markings and use a level to ensure that the range hood will be installed straight. Adjust the outline if necessary.
By accurately measuring and marking the installation area, you will ensure that your Broan range hood is positioned correctly and visually aligned with your kitchen design. Once the area is marked, you can move on to preparing the electrical connections in the next step.
Step 3: Prepare the electrical connections
Now that you have measured and marked the installation area for your Broan range hood, it is time to prepare the electrical connections. This step is crucial to ensure safe and proper operation of your range hood. Follow these steps to prepare the electrical connections:
- Turn off the power to the kitchen circuit at the main electrical panel to avoid any accidents or electrical shocks. Use a voltage tester to double-check that there is no power flowing to the circuit.
- Locate the electrical junction box on the wall or cabinet that will be used to supply power to the range hood. Ensure that the box is properly grounded and meets electrical code requirements.
- If there is an old range hood or electrical wires already in place, disconnect and remove them. Cut the wires if necessary using wire cutters.
- Carefully read the manufacturer’s instructions for your specific Broan range hood model to determine the electrical requirements. Most range hoods require a 120-volt power supply.
- Strip about 1/2 inch of insulation from the end of the power supply wires. If your range hood has a whip or pre-installed wires, strip about 1/2 inch of insulation from the wires as well.
- Connect the corresponding wires from the power supply to the wires of the range hood. Twist the exposed ends together and secure them with wire nuts. Wrap electrical tape around the wire nuts for added safety.
- Carefully tuck the connected wires into the electrical junction box, ensuring that there is no strain on the connections. Attach the junction box cover securely.
- Turn the power back on at the main electrical panel and use the range hood’s controls to verify that it is receiving power and functioning properly.
By properly preparing the electrical connections, you will ensure that your Broan range hood receives the necessary power for efficient operation. Now that the electrical connections are in place, we can move on to the next step – installing the range hood brackets.
Step 4: Install the range hood brackets
With the electrical connections prepared, it’s time to install the range hood brackets. These brackets will securely hold the range hood in place during the installation process. Follow these steps to install the brackets for your Broan range hood:
- Refer to the manufacturer’s instructions to determine the specific placement and spacing requirements for your range hood brackets.
- Using a pencil or marker, mark the location of the bracket screw holes on the wall or cabinet where the range hood will be installed. Ensure that the markings are aligned with the previously marked installation area.
- Drill pilot holes at the marked screw hole locations. Use a drill bit that is slightly smaller than the screws provided with the range hood brackets.
- Align the brackets with the pilot holes and secure them in place using the screws provided. Ensure that the brackets are level and firmly attached to the wall or cabinet.
- Double-check the alignment and stability of the brackets. Make any adjustments if necessary to ensure that the range hood will be mounted securely.
By properly installing the range hood brackets, you will provide a stable and secure foundation for mounting the Broan range hood. With the brackets in place, we can now move on to the next step – mounting the range hood onto the brackets.
Read more: How To Remove Broan Range Hood Fan Blade
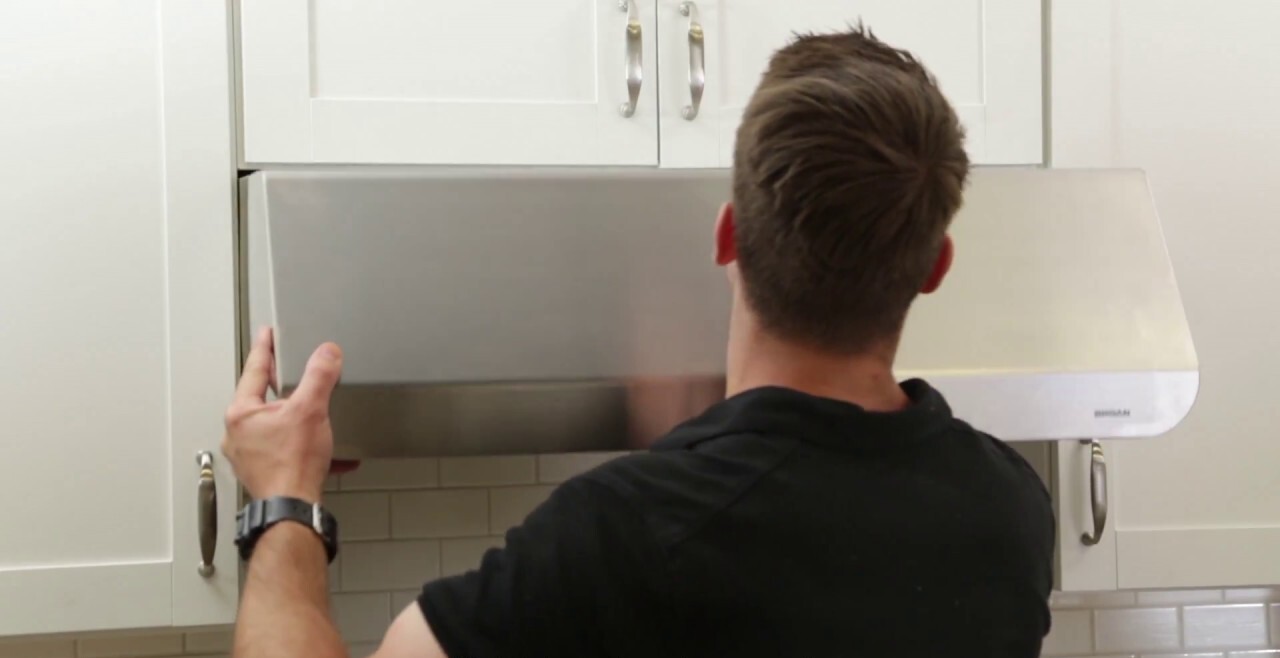
Step 5: Mount the range hood onto the brackets
Now that the brackets are securely installed, it’s time to mount the Broan range hood onto the brackets. This step will ensure that the range hood is properly positioned and attached to the brackets. Follow these steps to mount the range hood:
- With the help of a friend or family member, carefully lift the range hood and align it with the brackets on the wall or cabinet. Ensure that the range hood is centered and level.
- Slide the range hood onto the brackets, making sure that it sits securely and rests evenly on the brackets.
- Double-check the alignment and positioning of the range hood. Make any necessary adjustments to ensure that it is straight and properly mounted.
- Secure the range hood to the brackets using the screws provided by the manufacturer. Refer to the installation instructions for the specific screw locations and tightening requirements.
- Check that the range hood is securely and firmly attached to the brackets. Give it a gentle tug to ensure that it does not move or wobble.
By properly mounting the Broan range hood onto the brackets, you will ensure that it is securely in place and ready for use. With the range hood mounted, we can now move on to the next step – connecting the ductwork (if applicable).
When installing a Broan range hood, make sure to carefully follow the manufacturer’s instructions for proper venting and electrical connections to ensure safe and efficient operation.
Step 6: Connect the ductwork (if applicable)
Connecting the ductwork is an important step if your Broan range hood requires ventilation through an external duct. This step will ensure proper airflow and extraction of smoke, odors, and grease from your kitchen. If your range hood is a ductless model, you can skip this step. Follow these instructions to connect the ductwork:
- Review the manufacturer’s instructions to determine the specific ductwork requirements for your Broan range hood. This includes the size and type of duct needed.
- If necessary, measure and cut the duct to fit between the range hood and the exterior vent location. Use tin snips or a duct cutter to make precise cuts.
- Connect one end of the duct to the vent opening on the range hood. Secure the connection using metal duct tape or clamp, ensuring a tight and secure fit.
- Extend the other end of the duct to the exterior vent location. Make sure it is properly aligned and inserted into the vent cap or wall vent.
- Secure the duct to the vent cap or wall vent using metal duct tape or clamps. Ensure that it is tightly fitted and there are no gaps or leaks.
- Inspect the ductwork connections for any gaps or loose fittings. Seal any gaps with metal duct tape or mastic sealant for airtight and secure connections.
By properly connecting the ductwork, your Broan range hood will effectively vent out the pollutants, smoke, and odors from your kitchen, ensuring a clean and fresh cooking environment. With the ductwork connected, we can move on to the next step – securing the range hood in place.
Step 7: Secure the range hood in place
After mounting the range hood onto the brackets and connecting the ductwork (if applicable), the next step is to securely fasten the range hood in place. This will ensure that it remains stable and doesn’t move during use. Follow these steps to secure the range hood:
- Double-check that the range hood is aligned and centered with the installation area. Make any necessary adjustments if it is not properly positioned.
- Depending on your specific Broan range hood model, there may be additional brackets or mounting screws provided. Follow the manufacturer’s instructions to locate and install these additional fasteners.
- Tighten all the screws, bolts, or fasteners that secure the range hood to the brackets. Ensure that they are snug and secure.
- Give the range hood a gentle push and pull to test its stability. It should not move or wobble. If it does, recheck the tightness of the screws and fasteners.
By securely fastening the range hood in place, you can have peace of mind knowing that it will remain stable and firmly attached during regular use. With the range hood securely in place, we can move on to the next step – testing the range hood’s operation.
Step 8: Test the range hood operation
After completing the installation and securing the range hood, it is important to test its operation to ensure that it is functioning properly. This step will allow you to verify that the range hood is effectively removing odors, smoke, and grease from your kitchen. Follow these steps to test the range hood’s operation:
- Make sure that the power to the range hood is turned on at the main electrical panel.
- Turn on the range hood and observe the airflow. It should be strong and steady, indicating that the ventilation system is working correctly.
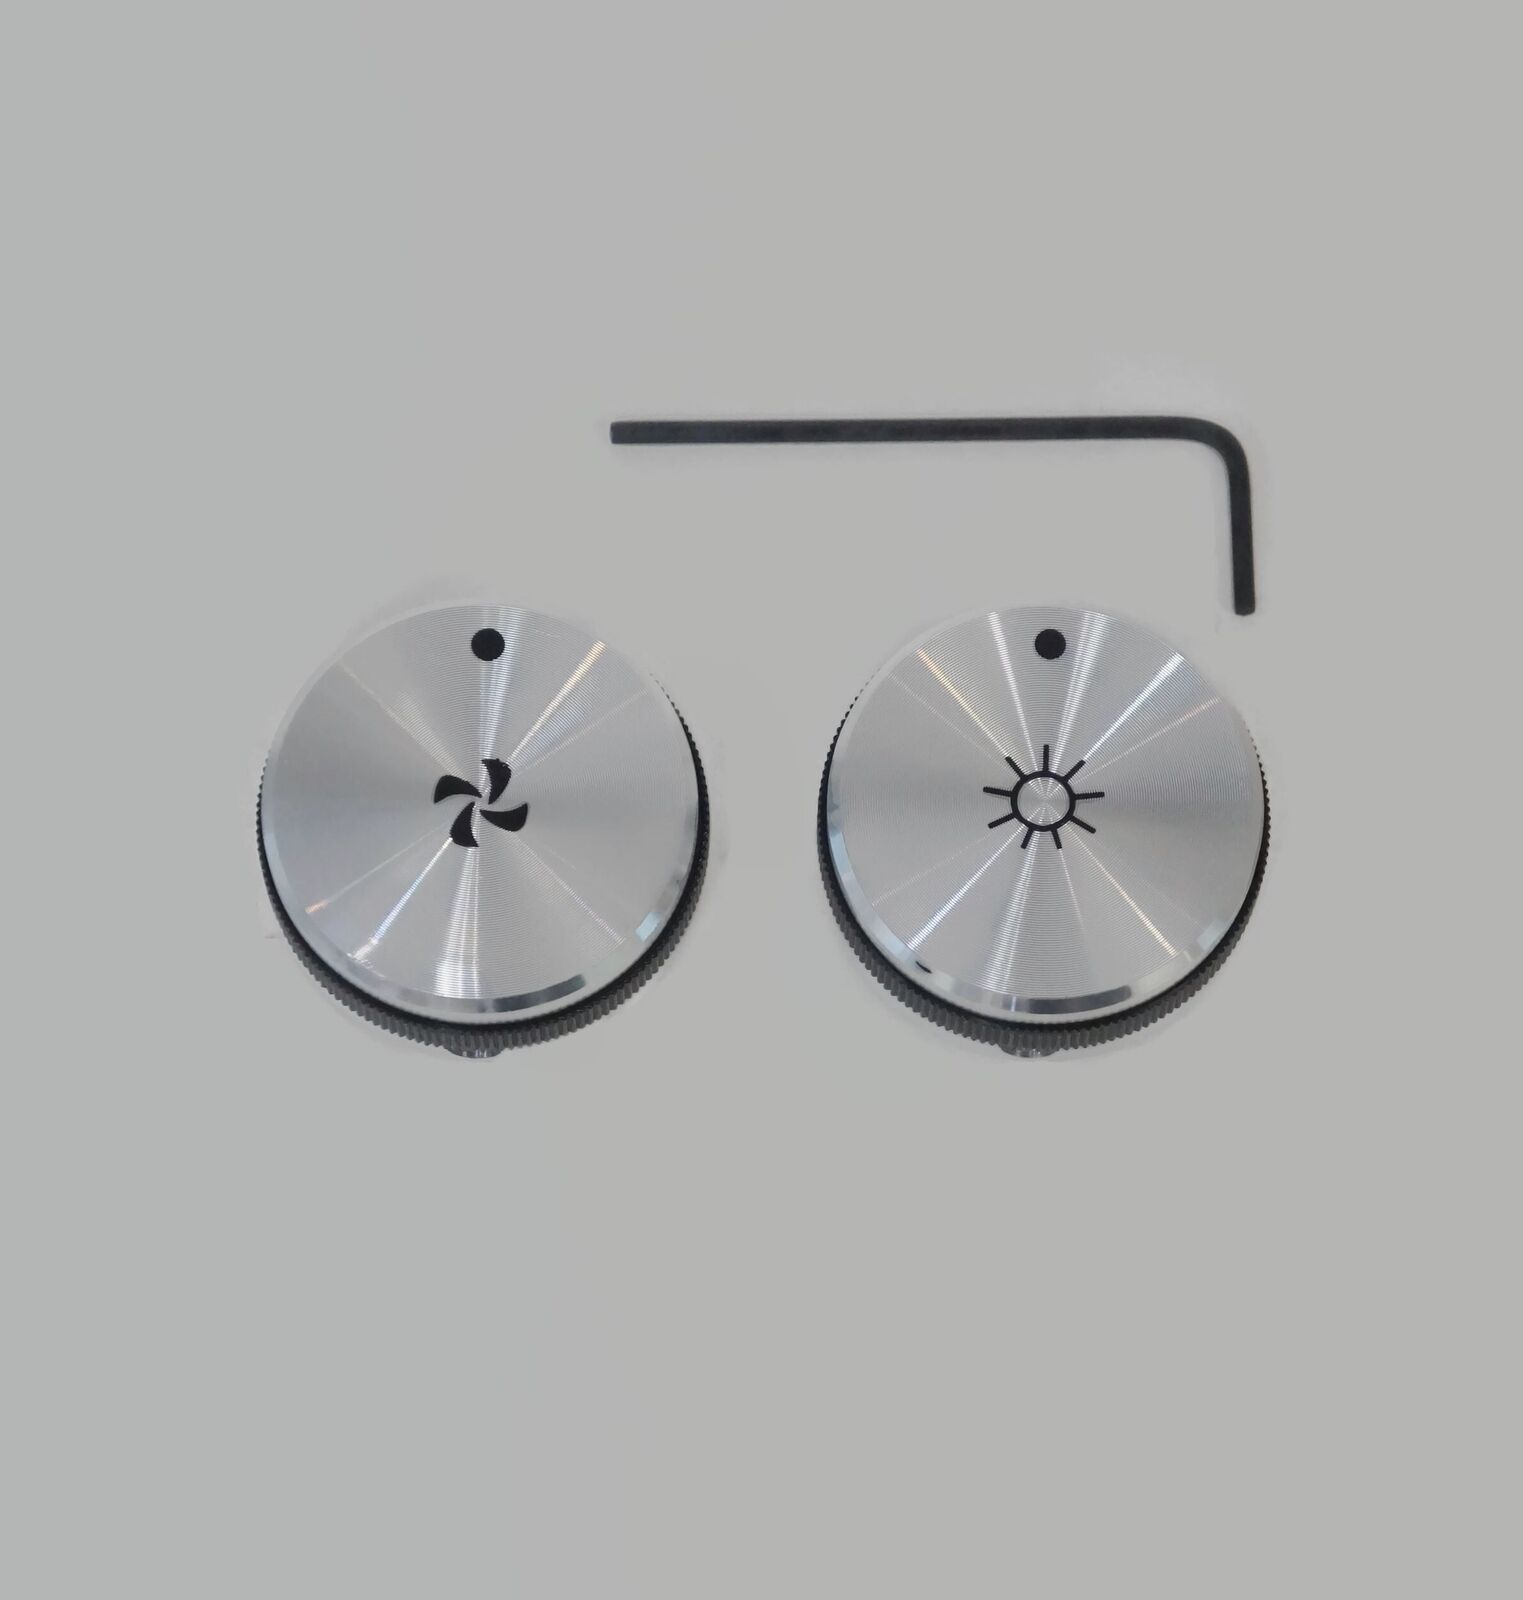
- Check the different fan speeds and lighting options (if your range hood has them) to ensure they are functioning as expected.
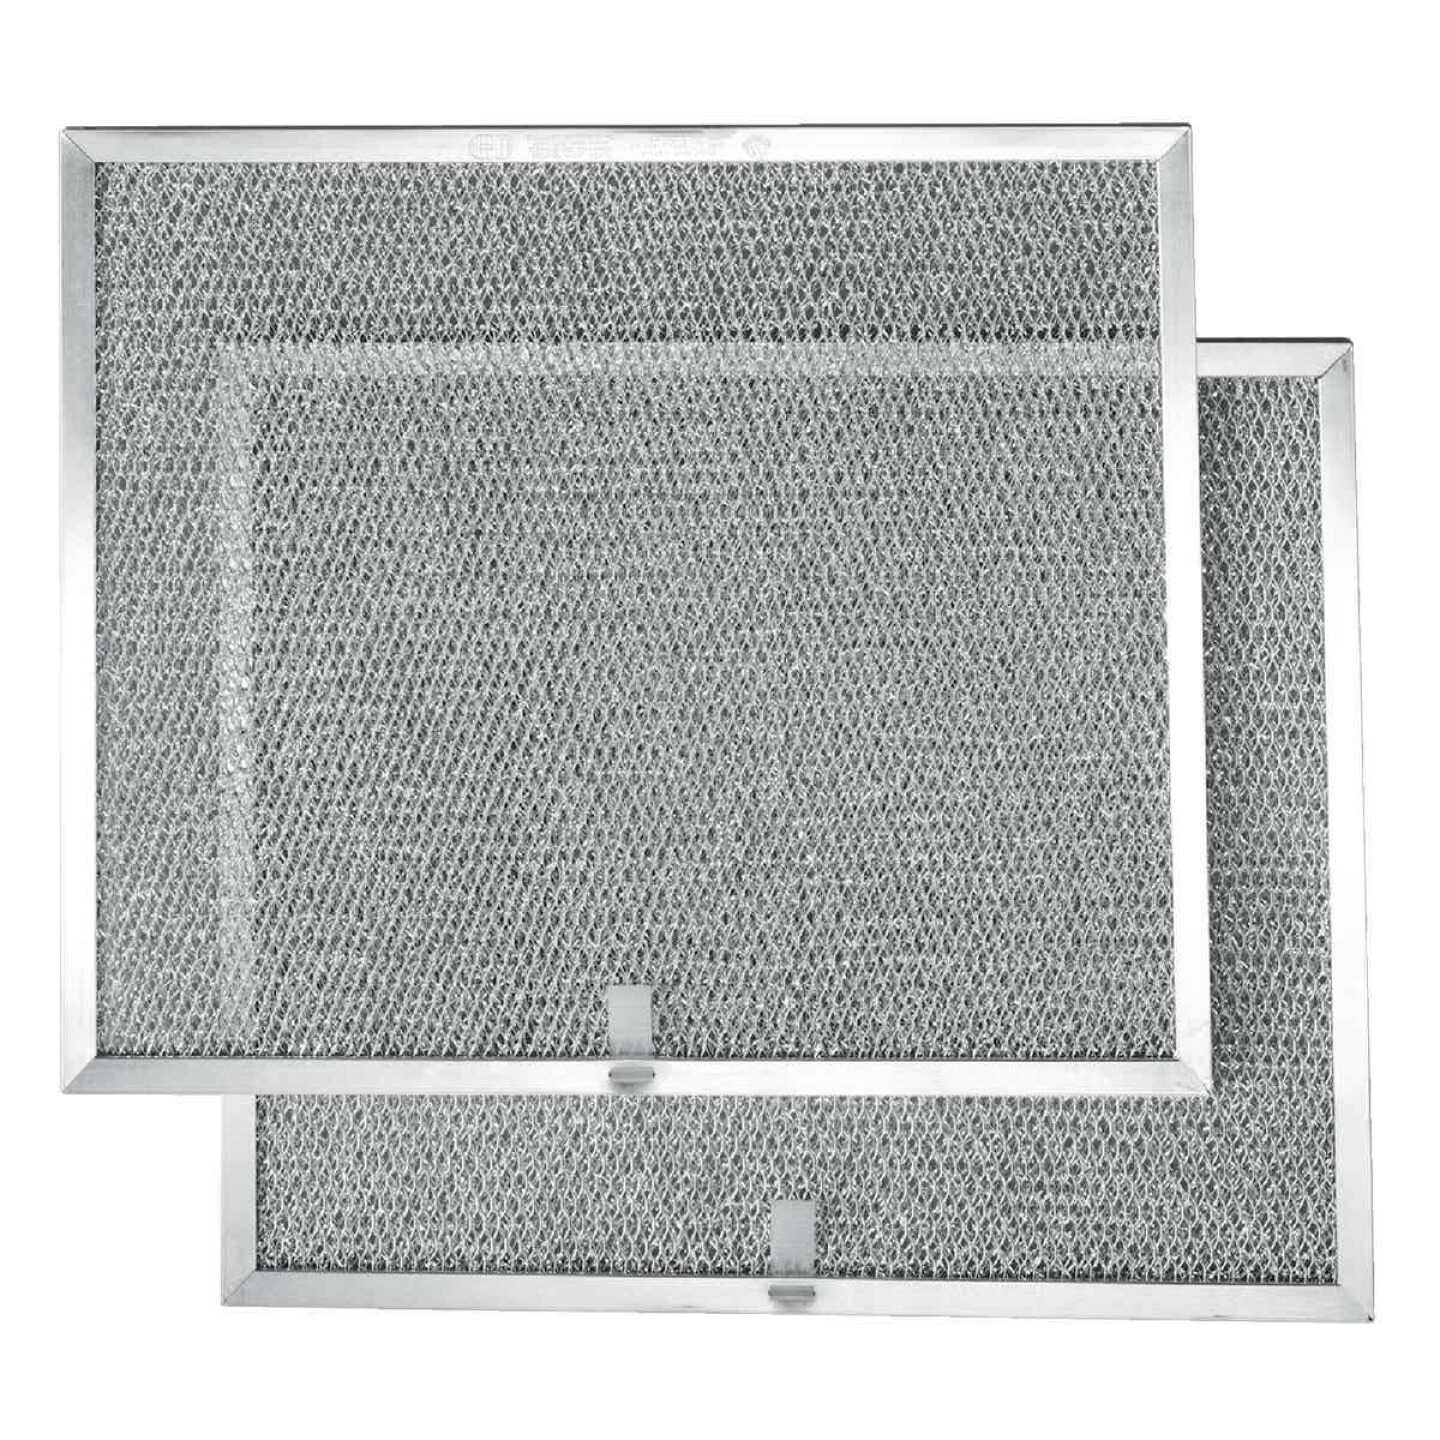
- If your range hood has a filtration system, such as a grease filter or charcoal filter, inspect and clean or replace them as recommended by the manufacturer.
- Monitor the range hood while cooking to ensure that it effectively captures and removes smoke, steam, and cooking odors from the air.
If you notice any issues or abnormalities during the testing process, refer to the troubleshooting section in the manufacturer’s instructions or consider consulting a professional for assistance. It’s important to have a fully functioning range hood to maintain a healthy and comfortable cooking environment in your kitchen.
With the range hood’s operation tested and confirmed, we can now move on to the final step – finalizing the installation.
Read more: How To Remove Broan Range Hood Filter
Step 9: Finalize the installation
Congratulations! You’re almost done with the installation of your Broan range hood. The final step involves some finishing touches to ensure everything is in order. Follow these steps to finalize the installation:
- Inspect the area around the range hood for any gaps or spaces. Use caulk or sealant to fill in any visible gaps between the range hood and the wall or cabinet.
- Clean the exterior of the range hood using a mild detergent or cleaner suitable for the material. This will help remove any fingerprints, smudges, or dirt that may have accumulated during the installation process.
- Take a step back and review the overall appearance and alignment of the range hood. Make any necessary adjustments to its position or the surrounding area to ensure a clean and professional installation.
- Dispose of any packaging materials and clean up any debris left from the installation process.
- Refer to the manufacturer’s instructions for any additional recommendations or maintenance requirements for your specific range hood model.
By finalizing the installation, you are ensuring that the range hood is properly sealed, clean, and visually appealing. This will enhance the overall functionality and aesthetics of your kitchen space.
With the installation completed and the range hood fully operational, you can now enjoy the benefits of cleaner air, reduced odors, and improved ventilation in your kitchen.
Thank you for following this comprehensive guide on how to install a Broan range hood. We hope this step-by-step process has been helpful in achieving a successful installation. Happy cooking!
Conclusion
Installing a Broan range hood is a worthwhile investment that enhances the functionality and aesthetics of your kitchen while improving the air quality. By following the step-by-step instructions in this guide, you have learned how to successfully install a Broan range hood and ensure its proper operation.
Throughout the installation process, we emphasized the importance of safety and attention to detail. It is crucial to follow the manufacturer’s instructions, consult a professional if needed, and take necessary precautions when working with electrical connections and heavy equipment.
From gathering the necessary tools and materials to finalizing the installation with precision, each step plays a critical role in achieving a successful installation. Taking the time to measure, mark, and align the range hood properly ensures its optimal placement and functionality.
Remember to test the range hood’s operation after installation, checking the airflow, fan speeds, lighting, and any filtration systems. Regular maintenance, such as cleaning or replacing filters, will help the range hood function effectively and efficiently for years to come.
By following this comprehensive guide, you can confidently install a Broan range hood and enjoy the benefits it brings to your kitchen. Fresh air, reduced odors, and improved ventilation will make your cooking experience more enjoyable and comfortable.
Thank you for choosing Broan and trusting us to guide you through this installation process. If you have any further questions or need additional assistance, do not hesitate to refer to the manufacturer’s instructions or reach out to a professional for support.
Happy cooking and enjoy your newly installed Broan range hood!
Frequently Asked Questions about How To Install Broan Range Hood
Was this page helpful?
At Storables.com, we guarantee accurate and reliable information. Our content, validated by Expert Board Contributors, is crafted following stringent Editorial Policies. We're committed to providing you with well-researched, expert-backed insights for all your informational needs.


0 thoughts on “How To Install Broan Range Hood”