Home>Articles>How To Waffle Iron The Optavia Chocolate Chip Cookie
Articles
How To Waffle Iron The Optavia Chocolate Chip Cookie
Modified: October 20, 2024
Discover delicious recipes and tips for using your waffle iron to make Optavia chocolate chip cookies with this informative article. Enhance your culinary skills today!
(Many of the links in this article redirect to a specific reviewed product. Your purchase of these products through affiliate links helps to generate commission for Storables.com, at no extra cost. Learn more)
Introduction
Welcome to the delicious world of waffle iron cooking! While we typically think of waffle irons as a tool for making crispy golden waffles, did you know that you can also use them to create mouthwatering treats like chocolate chip cookies? That’s right, with just a few simple steps, you can transform your waffle iron into a cookie-making powerhouse!
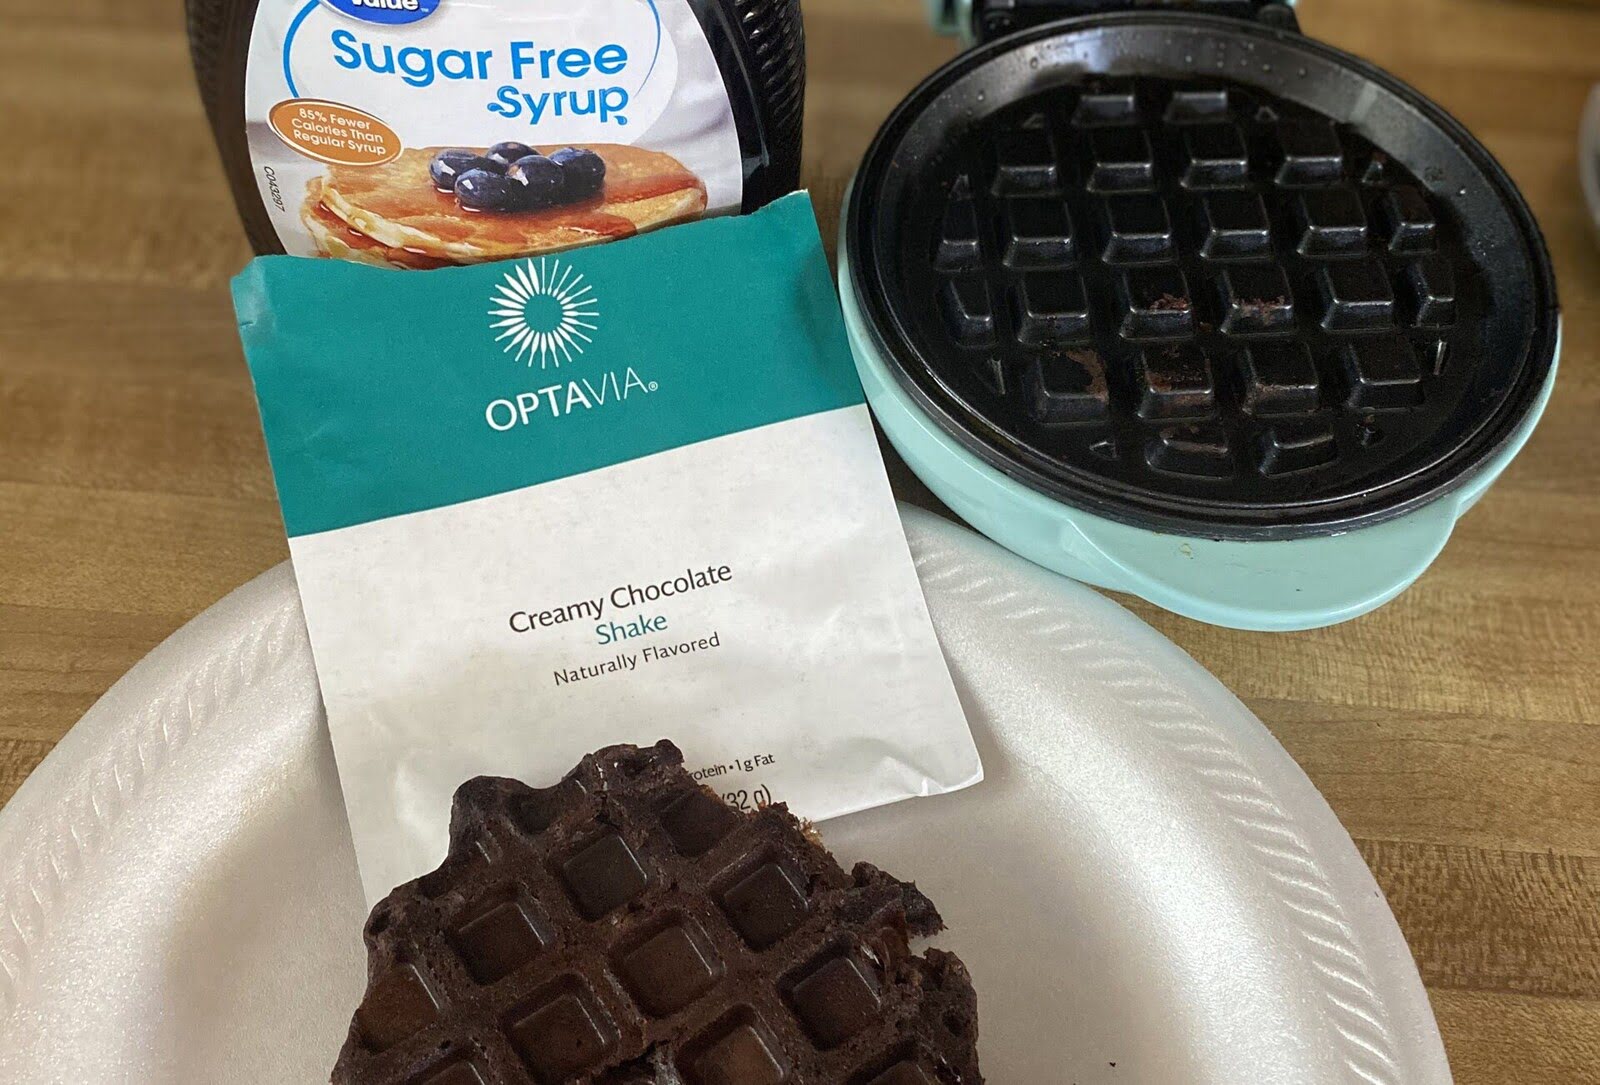
In this article, we will walk you through the process of making scrumptious Optavia chocolate chip cookies using a waffle iron. Whether you’re looking for a unique twist on a classic cookie recipe or you simply want to try something new and exciting, this innovative cooking method is sure to impress your taste buds.
By using a waffle iron, you can achieve a delightful combination of crispy edges and soft, chewy centers that are reminiscent of freshly baked cookies. The heat distribution and unique shape of the waffle iron contribute to the cookie’s texture and taste, resulting in a treat that is both visually appealing and incredibly delicious.
So, if you’re ready to embark on a culinary adventure and elevate your cookie game to the next level, let’s dive in and learn how to waffle iron the Optavia chocolate chip cookie!
Key Takeaways:
- Elevate your cookie game by waffle ironing Optavia chocolate chip cookies for a delightful blend of crispy edges and soft, gooey centers. Impress your taste buds with this innovative cooking method!
- Embrace the adventure of waffle iron cooking and unleash your creativity by customizing the recipe with different chocolate chips or mix-ins. Elevate your baking skills and delight your friends and family with delectable waffle ironed cookies!
Read more: How To Store Chocolate Chip Cookies
Ingredients
Before we begin, let’s gather all the necessary ingredients for making the Optavia chocolate chip cookies using a waffle iron:
- 2 cups all-purpose flour
- 1 teaspoon baking soda
- 1/2 teaspoon salt
- 1 cup unsalted butter, softened
- 1 cup granulated sugar
- 1 cup packed brown sugar
- 2 large eggs
- 1 teaspoon vanilla extract
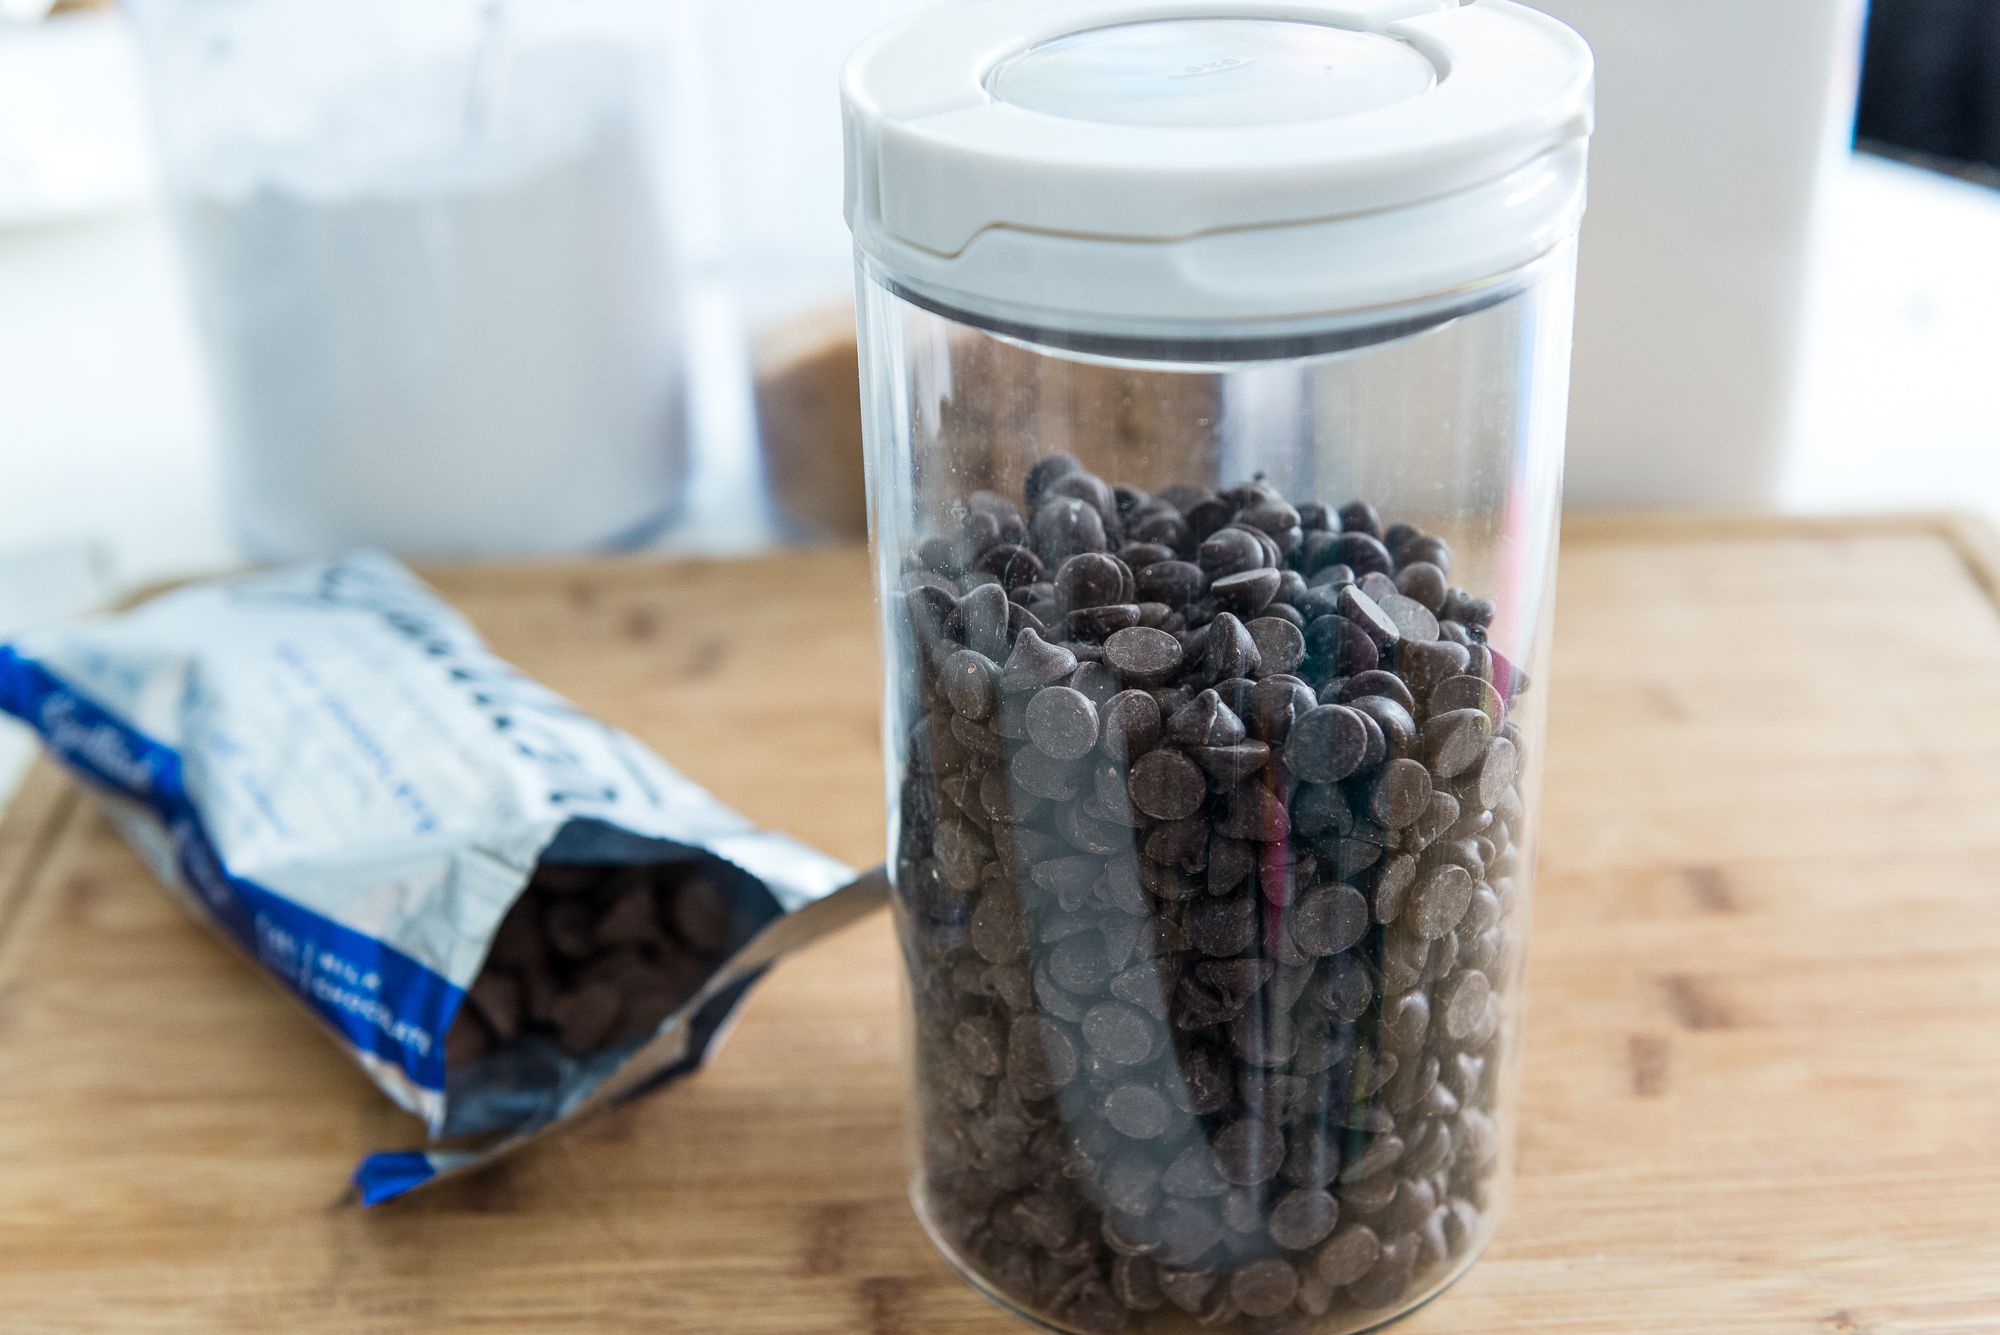
- 2 cups chocolate chips
Ensure that you have these ingredients on hand before you begin the baking process. You can customize the recipe by using your preferred type of chocolate chips, such as milk chocolate, dark chocolate, or even a combination of different flavors.
Now that we’re all set with the ingredients, let’s move on to the next step and prepare the waffle iron for cooking our delicious cookies!
Step 1: Preparing the Waffle Iron
Before we can start making our Optavia chocolate chip cookies in the waffle iron, it’s important to properly prepare the waffle iron to ensure the best cooking results. Follow these simple steps:
- Start by giving your waffle iron a quick wipe down with a clean, damp cloth to remove any dust or residue.
- Next, preheat the waffle iron according to the manufacturer’s instructions. Typically, you will need to set it to a medium-high heat setting and allow it to heat up for a few minutes.
- While the waffle iron is preheating, lightly grease the cooking plates with non-stick cooking spray or use a small amount of melted butter. This will help prevent the cookies from sticking to the surface.
- Once the cooking plates are greased, you’re now ready to move on to mixing the cookie dough.
By properly preparing the waffle iron and ensuring it is adequately heated and greased, you’ll create the perfect environment for baking your cookies. This will help them cook evenly and prevent them from sticking to the waffle iron’s surface.
Now that your waffle iron is prepared, let’s move on to the next step and mix the cookie dough!
Step 2: Mixing the Cookie Dough
The key to delicious chocolate chip cookies lies in the perfect cookie dough. Follow these simple steps to mix the cookie dough for your Optavia chocolate chip cookies:
- In a medium-sized mixing bowl, whisk together the all-purpose flour, baking soda, and salt. This ensures that the dry ingredients are well combined and evenly distributed throughout the dough.
- In a separate large mixing bowl, cream together the softened butter, granulated sugar, and packed brown sugar until light and fluffy. This can be easily done using an electric mixer or by hand with a wooden spoon.
- Add the eggs one at a time, mixing well after each addition. This helps to incorporate the eggs into the dough and create a smooth mixture.
- Stir in the vanilla extract to add a delicious hint of flavor to the cookie dough.
- Sift the dry ingredients into the wet ingredients and mix until just combined. It’s important not to overmix at this stage, as it can result in tough cookies.
- Gently fold in the chocolate chips, ensuring they are evenly distributed throughout the dough.
Once the cookie dough is mixed and the chocolate chips are incorporated, it’s time to move on to the next step and preheat the waffle iron.
Remember, the quality of the cookie dough plays a crucial role in the final outcome of your cookies. Take your time to ensure that all the ingredients are well incorporated, and be careful not to overmix the dough. Now, let’s move on to preheating the waffle iron!
Step 3: Preheating the Waffle Iron
Preheating the waffle iron is an essential step in achieving perfectly cooked Optavia chocolate chip cookies. Follow these steps to ensure that your waffle iron is heated to the right temperature:
- Turn on your waffle iron and set it to a medium-high heat setting. Refer to the manufacturer’s instructions for the ideal temperature range.
- Allow the waffle iron to preheat for a few minutes, typically around 5 minutes. This ensures that the cooking plates reach the desired temperature and evenly distribute heat.
- During the preheating process, keep an eye on the indicator light on your waffle iron. Once it illuminates or changes color, it’s an indication that the waffle iron has reached its optimal temperature.
Properly preheating the waffle iron is essential for achieving the desired texture and doneness of your chocolate chip cookies. When the cooking plates are heated to the right temperature, it helps the cookies cook evenly and develop a crispy exterior while maintaining a soft and chewy interior.
Now that your waffle iron is preheated and ready for action, let’s move on to the exciting step of cooking the cookies!
Preheat your waffle iron and lightly spray it with non-stick cooking spray before placing the Optavia Chocolate Chip Cookie dough onto the iron. Cook for 3-4 minutes or until golden brown for a delicious waffled cookie treat.
Step 4: Cooking the Cookies
Now comes the fun part – cooking your Optavia chocolate chip cookies in the waffle iron! Follow these steps to ensure perfectly cooked and delicious cookies:
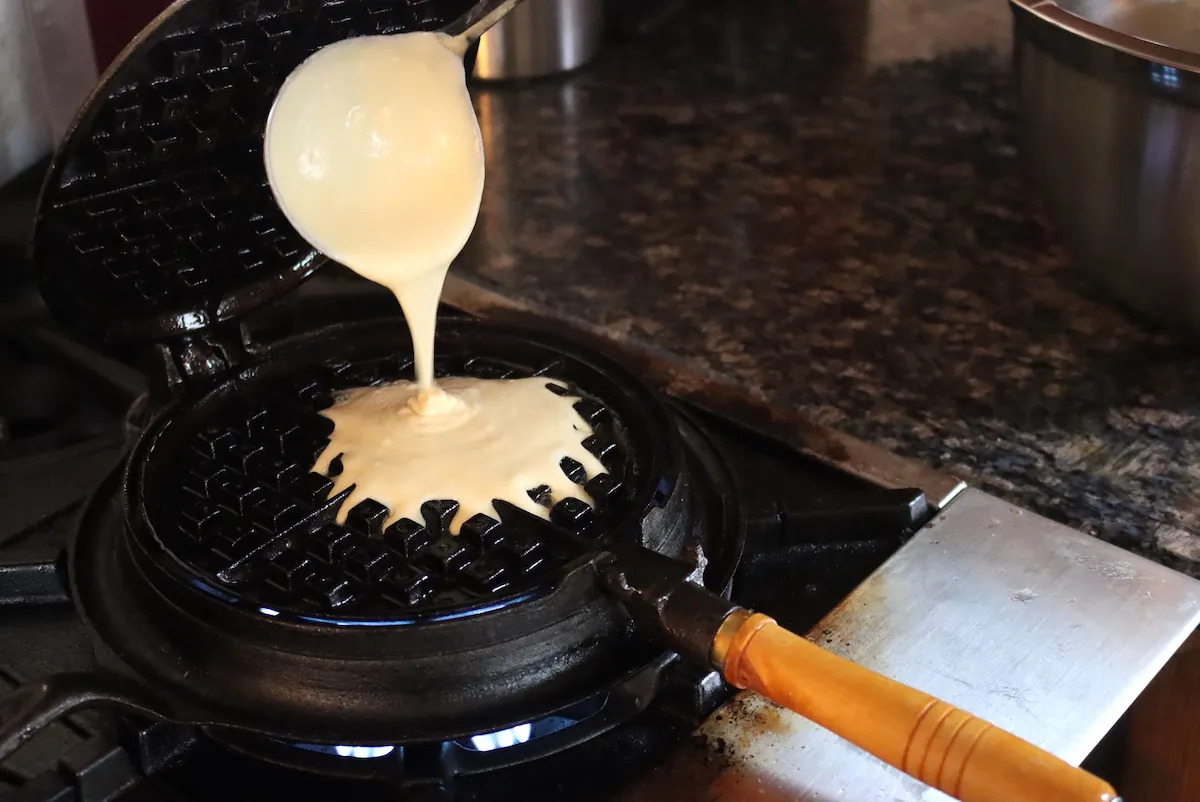
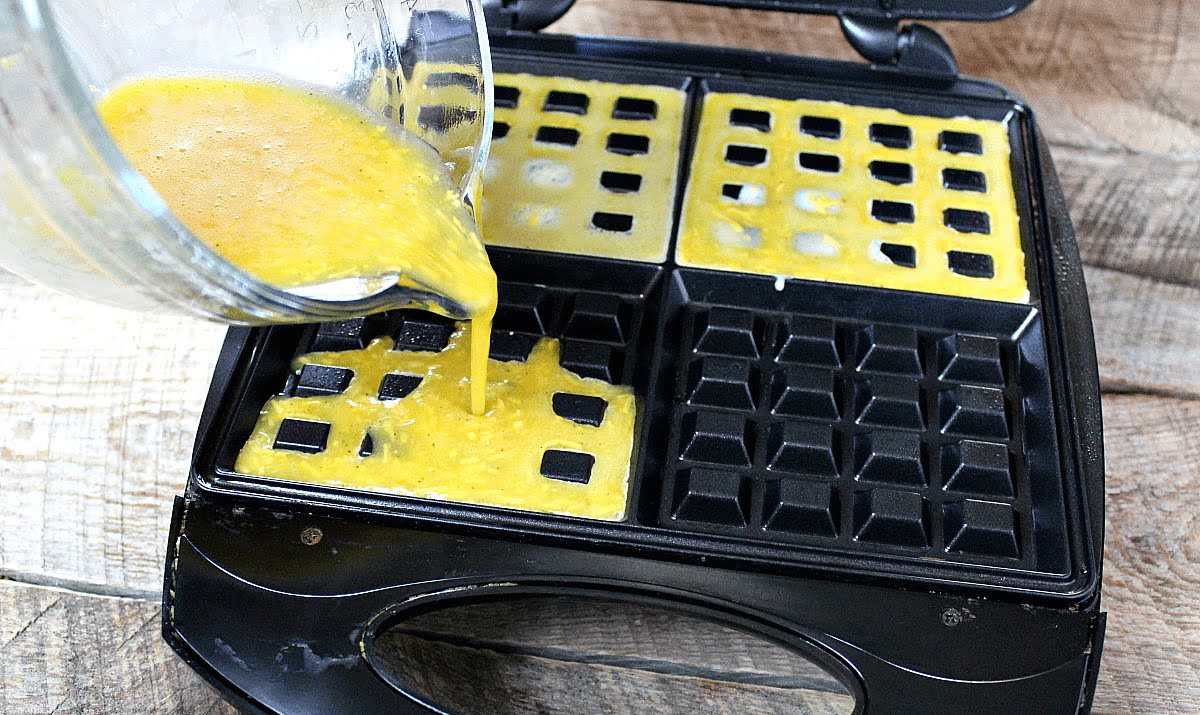
- Scoop about 2 tablespoons of cookie dough onto each section of the preheated waffle iron. It’s important to leave some space between the scoops to allow for spreading during cooking.
- Carefully close the waffle iron, making sure not to press it down too firmly. The cookie dough will spread and flatten on its own as it cooks.
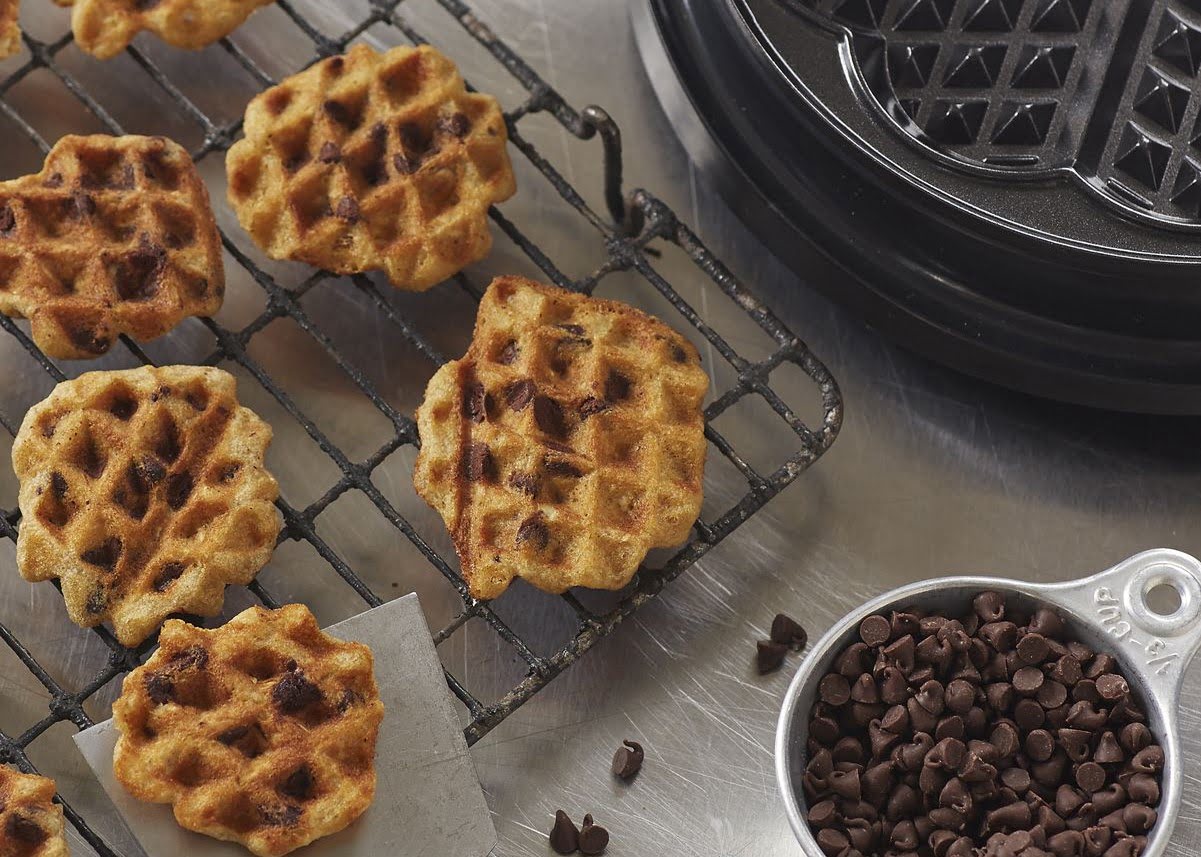
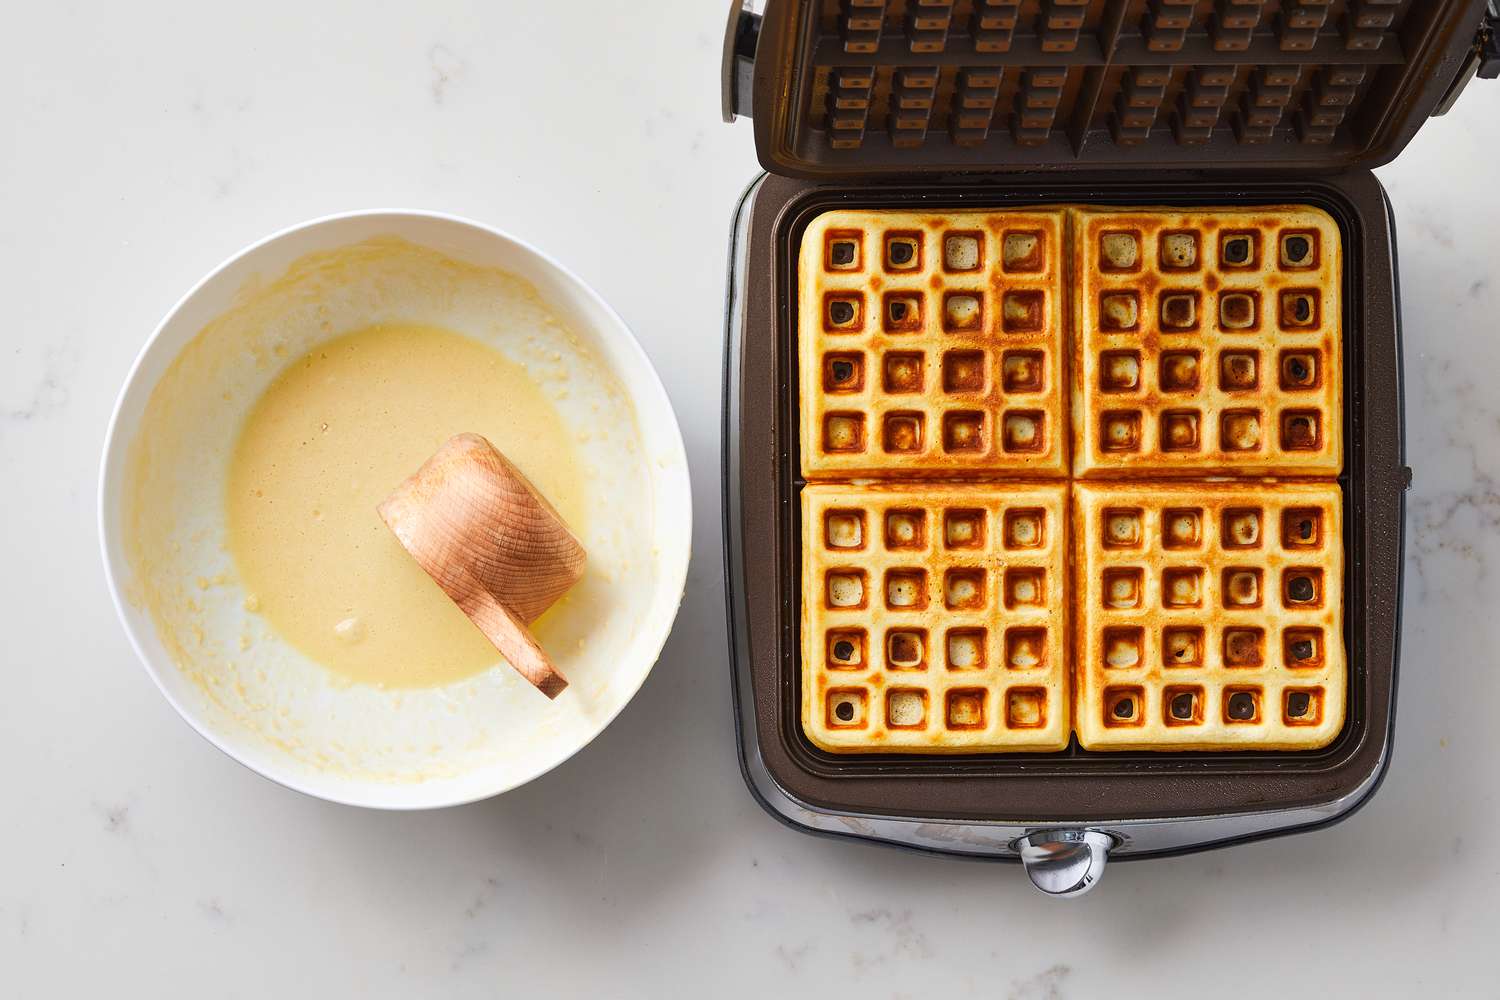
- Cook the cookies in the waffle iron for about 3-5 minutes, or until they are golden brown and crispy on the edges. The exact cooking time may vary depending on your waffle iron and desired cookie doneness.
- Avoid opening the waffle iron too frequently during cooking as it can affect the overall cooking time and disrupt the heat distribution.
Keep a close eye on the cookies as they cook to prevent them from burning. The cooking time may vary depending on the waffle iron and the size of the cookies, so it’s important to monitor them to achieve your desired level of crispness and chewiness.
Once the cookies are cooked to perfection, it’s time to move on to the next step and remove them from the waffle iron.
Enjoy the delightful aroma of freshly baked cookies as they cook in your waffle iron! Now, let’s learn how to remove the cookies from the waffle iron.
Step 5: Removing the Cookies from the Waffle Iron
After cooking your Optavia chocolate chip cookies in the waffle iron, it’s time to carefully remove them. Follow these steps to ensure that your cookies come out intact and ready to be enjoyed:
- Using a heat-resistant spatula or tongs, gently lift each cookie from the waffle iron. Be cautious not to apply too much pressure, as the cookies may be delicate when hot.
- Transfer the cookies to a wire rack or a flat surface lined with parchment or wax paper. This allows them to cool down and maintain their shape.
- Repeat the process for the remaining cookies, ensuring that you remove them from the waffle iron as soon as they are cooked.
Handling the cookies with care while removing them from the waffle iron is crucial to prevent them from breaking apart or losing their shape. Once you’ve successfully removed all the cookies, it’s time for the final step – cooling and serving!
Allow the cookies to cool for a few minutes before serving to ensure that they firm up and achieve the perfect texture. Now, let’s move on to the last step and learn how to cool and serve the cookies.
Step 6: Cooling and Serving the Cookies
Once your freshly baked Optavia chocolate chip cookies have been removed from the waffle iron, it’s important to allow them to cool before indulging in their deliciousness. Follow these steps to ensure that your cookies are cooled and served to perfection:
- Place the wire rack with the cookies in a cool and dry area, away from direct heat or sunlight. This allows them to cool down gradually and maintain their texture.
- Leave the cookies to cool for approximately 10-15 minutes, or until they reach room temperature. This cooling time allows the cookies to set and develop their final texture.
- Once the cookies are completely cooled, carefully transfer them to a serving plate or platter. They are now ready to be enjoyed!
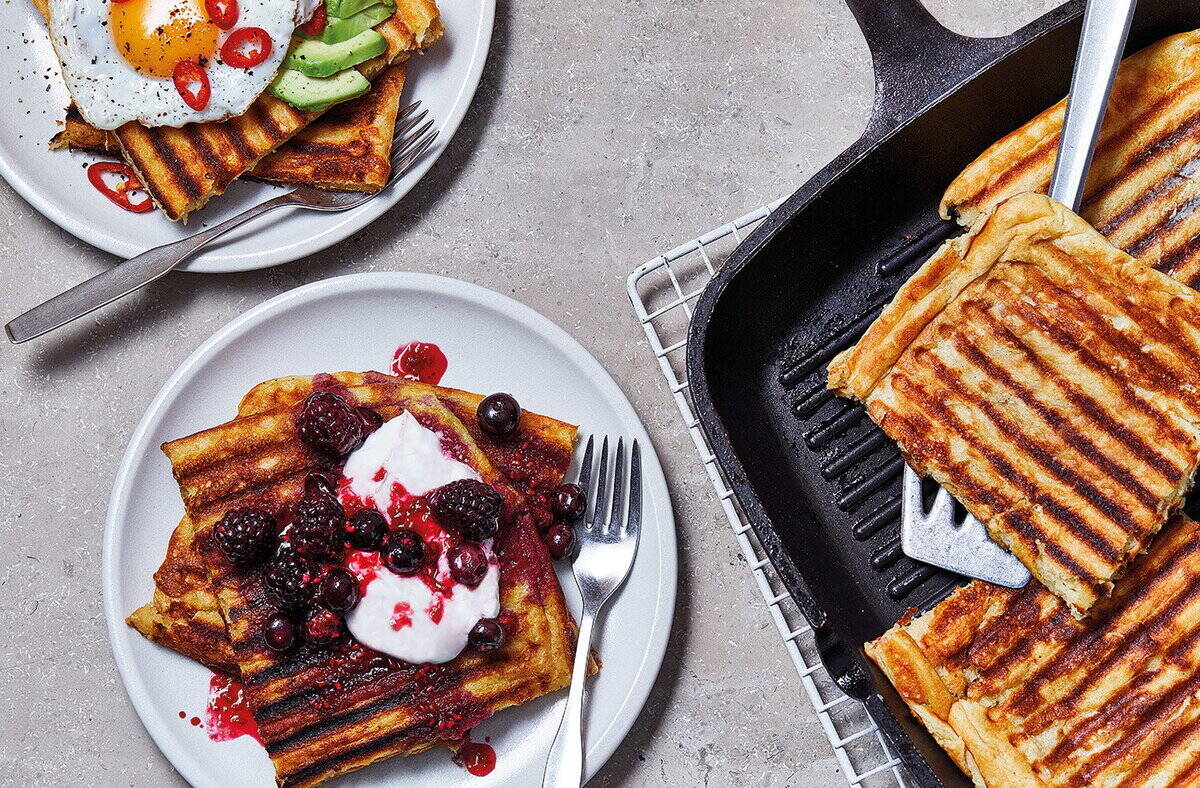
For an extra touch of decadence, consider serving the cookies with a scoop of vanilla ice cream, a drizzle of chocolate syrup, or a dusting of powdered sugar. This adds a delightful twist to the classic chocolate chip cookie experience.
Now that you’ve successfully waffle ironed your Optavia chocolate chip cookies and allowed them to cool, it’s time to savor the delectable treats you’ve created. Grab a cookie, take a bite, and enjoy the perfect balance of crispy edges and soft, melt-in-your-mouth centers.
Congratulations on mastering the art of waffle ironing cookies! We hope you had an enjoyable and tasty journey. Don’t hesitate to experiment with different cookie dough recipes and variations to expand your waffle iron baking repertoire.
Remember to share your delicious creations with friends and family, and enjoy the smiles on their faces as they devour your unique, waffle ironed cookies. Happy baking!
Conclusion
Exploring the world of waffle iron cooking has opened up a world of possibilities, as seen with the delicious Optavia chocolate chip cookies we’ve created. By using a waffle iron, we’ve transformed the traditional cookie baking experience into something extraordinary.
The combination of the waffle iron’s unique heat distribution and the cookie dough’s texture has allowed us to achieve a delightful blend of crispy, golden edges and soft, gooey centers. This innovative cooking method brings a new level of excitement and flavor to the classic chocolate chip cookie.
Throughout this article, we’ve walked you through the step-by-step process of waffle ironing the Optavia chocolate chip cookies, from preparing the waffle iron to removing the cookies and serving them. Each step is crucial in ensuring that the cookies turn out perfectly every time.
With a little practice and experimentation, you can customize the recipe with different types of chocolate chips or even add in your favorite mix-ins like nuts or dried fruit. The waffle iron technique can be applied to other cookie recipes as well, allowing you to unleash your creativity and impress your taste buds.
So, whether you’re looking for a unique twist on a classic recipe or simply want to try something new and exciting, waffle ironing cookies is an excellent choice. It’s a fun and inventive way to elevate your baking skills and delight your friends and family with delectable treats.
Embrace the adventure of waffle iron cooking and let your creativity soar as you explore the endless possibilities. Are you ready? Grab your waffle iron and get ready to enjoy the perfect combination of crispy, chewy, and utterly irresistible Optavia chocolate chip cookies!
Frequently Asked Questions about How To Waffle Iron The Optavia Chocolate Chip Cookie
Was this page helpful?
At Storables.com, we guarantee accurate and reliable information. Our content, validated by Expert Board Contributors, is crafted following stringent Editorial Policies. We're committed to providing you with well-researched, expert-backed insights for all your informational needs.
0 thoughts on “How To Waffle Iron The Optavia Chocolate Chip Cookie”