Articles
How To Use A Kidde Carbon Monoxide Detector
Modified: February 23, 2024
Discover essential articles on how to effectively use a Kidde carbon monoxide detector to keep your family safe from this silent killer.
(Many of the links in this article redirect to a specific reviewed product. Your purchase of these products through affiliate links helps to generate commission for Storables.com, at no extra cost. Learn more)
Introduction
Welcome to the comprehensive guide on how to use a Kidde carbon monoxide detector. Carbon monoxide is a colorless, odorless, and highly toxic gas that can be produced by malfunctioning appliances, such as gas stoves, water heaters, or furnaces. It poses a severe risk to your health and safety, as it can cause dizziness, headaches, nausea, and even death if not detected on time. That’s why it’s crucial to have a reliable carbon monoxide detector in your home or workplace.
Kidde is a well-known and trusted brand that offers a range of carbon monoxide detectors, designed to provide accurate and timely warnings in case of a leak. In this guide, we will take you through the step-by-step process of understanding and using a Kidde carbon monoxide detector effectively.
By following these guidelines, you can ensure the safety of yourself, your family, and your property. Now, let’s begin our journey to becoming knowledgeable about Kidde carbon monoxide detectors and how to use them properly.
Key Takeaways:
- Protect Your Loved Ones
Understanding and using a Kidde carbon monoxide detector is crucial for safeguarding your family from the silent threat of carbon monoxide. Follow the guide to ensure their safety and well-being. - Stay Vigilant, Stay Safe
Regularly test, maintain, and respond to alarms from your Kidde carbon monoxide detector to create a safe environment for your home. Prioritize the well-being of your loved ones and stay vigilant against carbon monoxide dangers.
Read more: How To Test A Kidde Carbon Monoxide Detector
Step 1: Understanding Carbon Monoxide
Before we dive into the specifics of using a Kidde carbon monoxide detector, it’s essential to have a clear understanding of what carbon monoxide is and why it is dangerous.
Carbon monoxide (CO) is a poisonous gas that is produced by the incomplete combustion of fuels such as gas, oil, wood, and coal. It is often referred to as the “silent killer” as it is colorless, odorless, and tasteless, making it difficult to detect without the help of a specialized device like a carbon monoxide detector.
Carbon monoxide can be generated by various sources in and around your home, including gas stoves, fireplaces, furnaces, water heaters, and even vehicles in attached garages. If not properly ventilated or maintained, these appliances can lead to the accumulation of carbon monoxide, which can rapidly reach dangerous levels.
When you inhale carbon monoxide, it displaces oxygen in your bloodstream, preventing vital organs like the heart and brain from receiving the oxygen they need. Even low levels of carbon monoxide exposure can cause symptoms like headaches, dizziness, nausea, and fatigue. Prolonged exposure to high levels of carbon monoxide can lead to loss of consciousness, organ damage, and even death.
Now that we understand the dangers of carbon monoxide, let’s move on to the next step, which is choosing the right Kidde carbon monoxide detector for your needs.
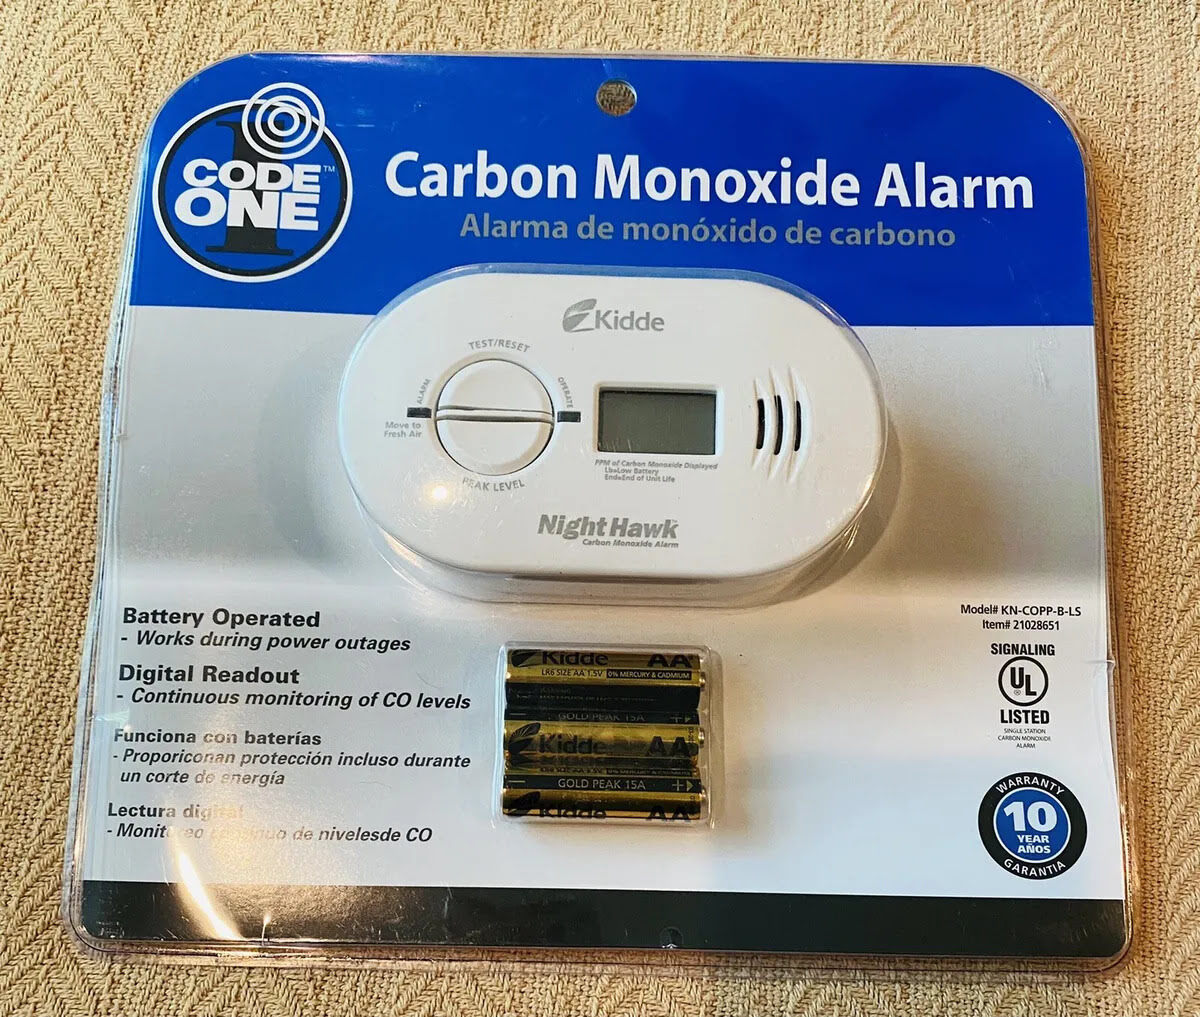
Step 2: Choosing the Right Kidde Carbon Monoxide Detector
When it comes to selecting a carbon monoxide detector, Kidde offers a range of options to meet different needs and preferences. Here are some factors to consider when choosing the right Kidde carbon monoxide detector:
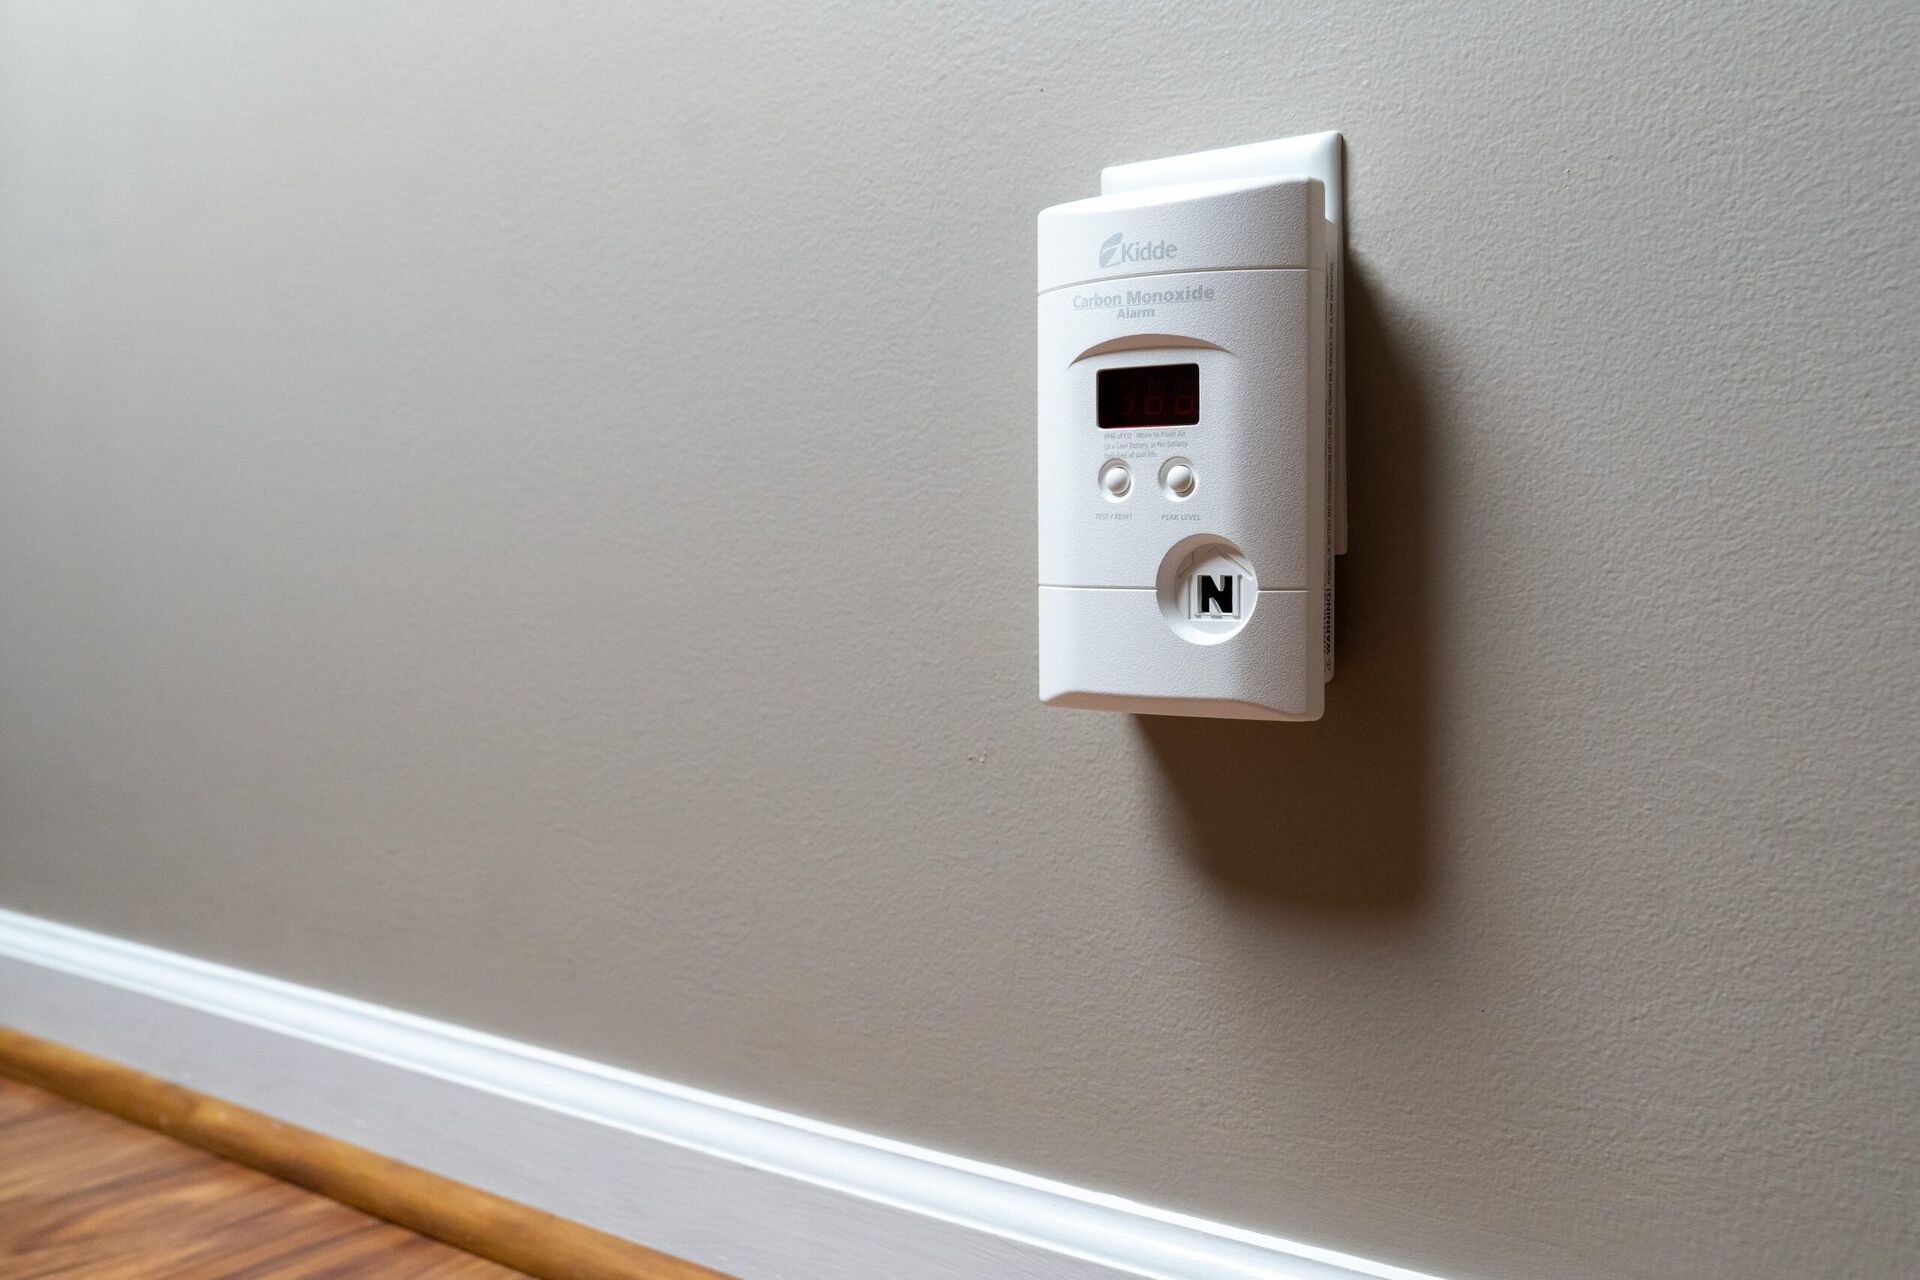
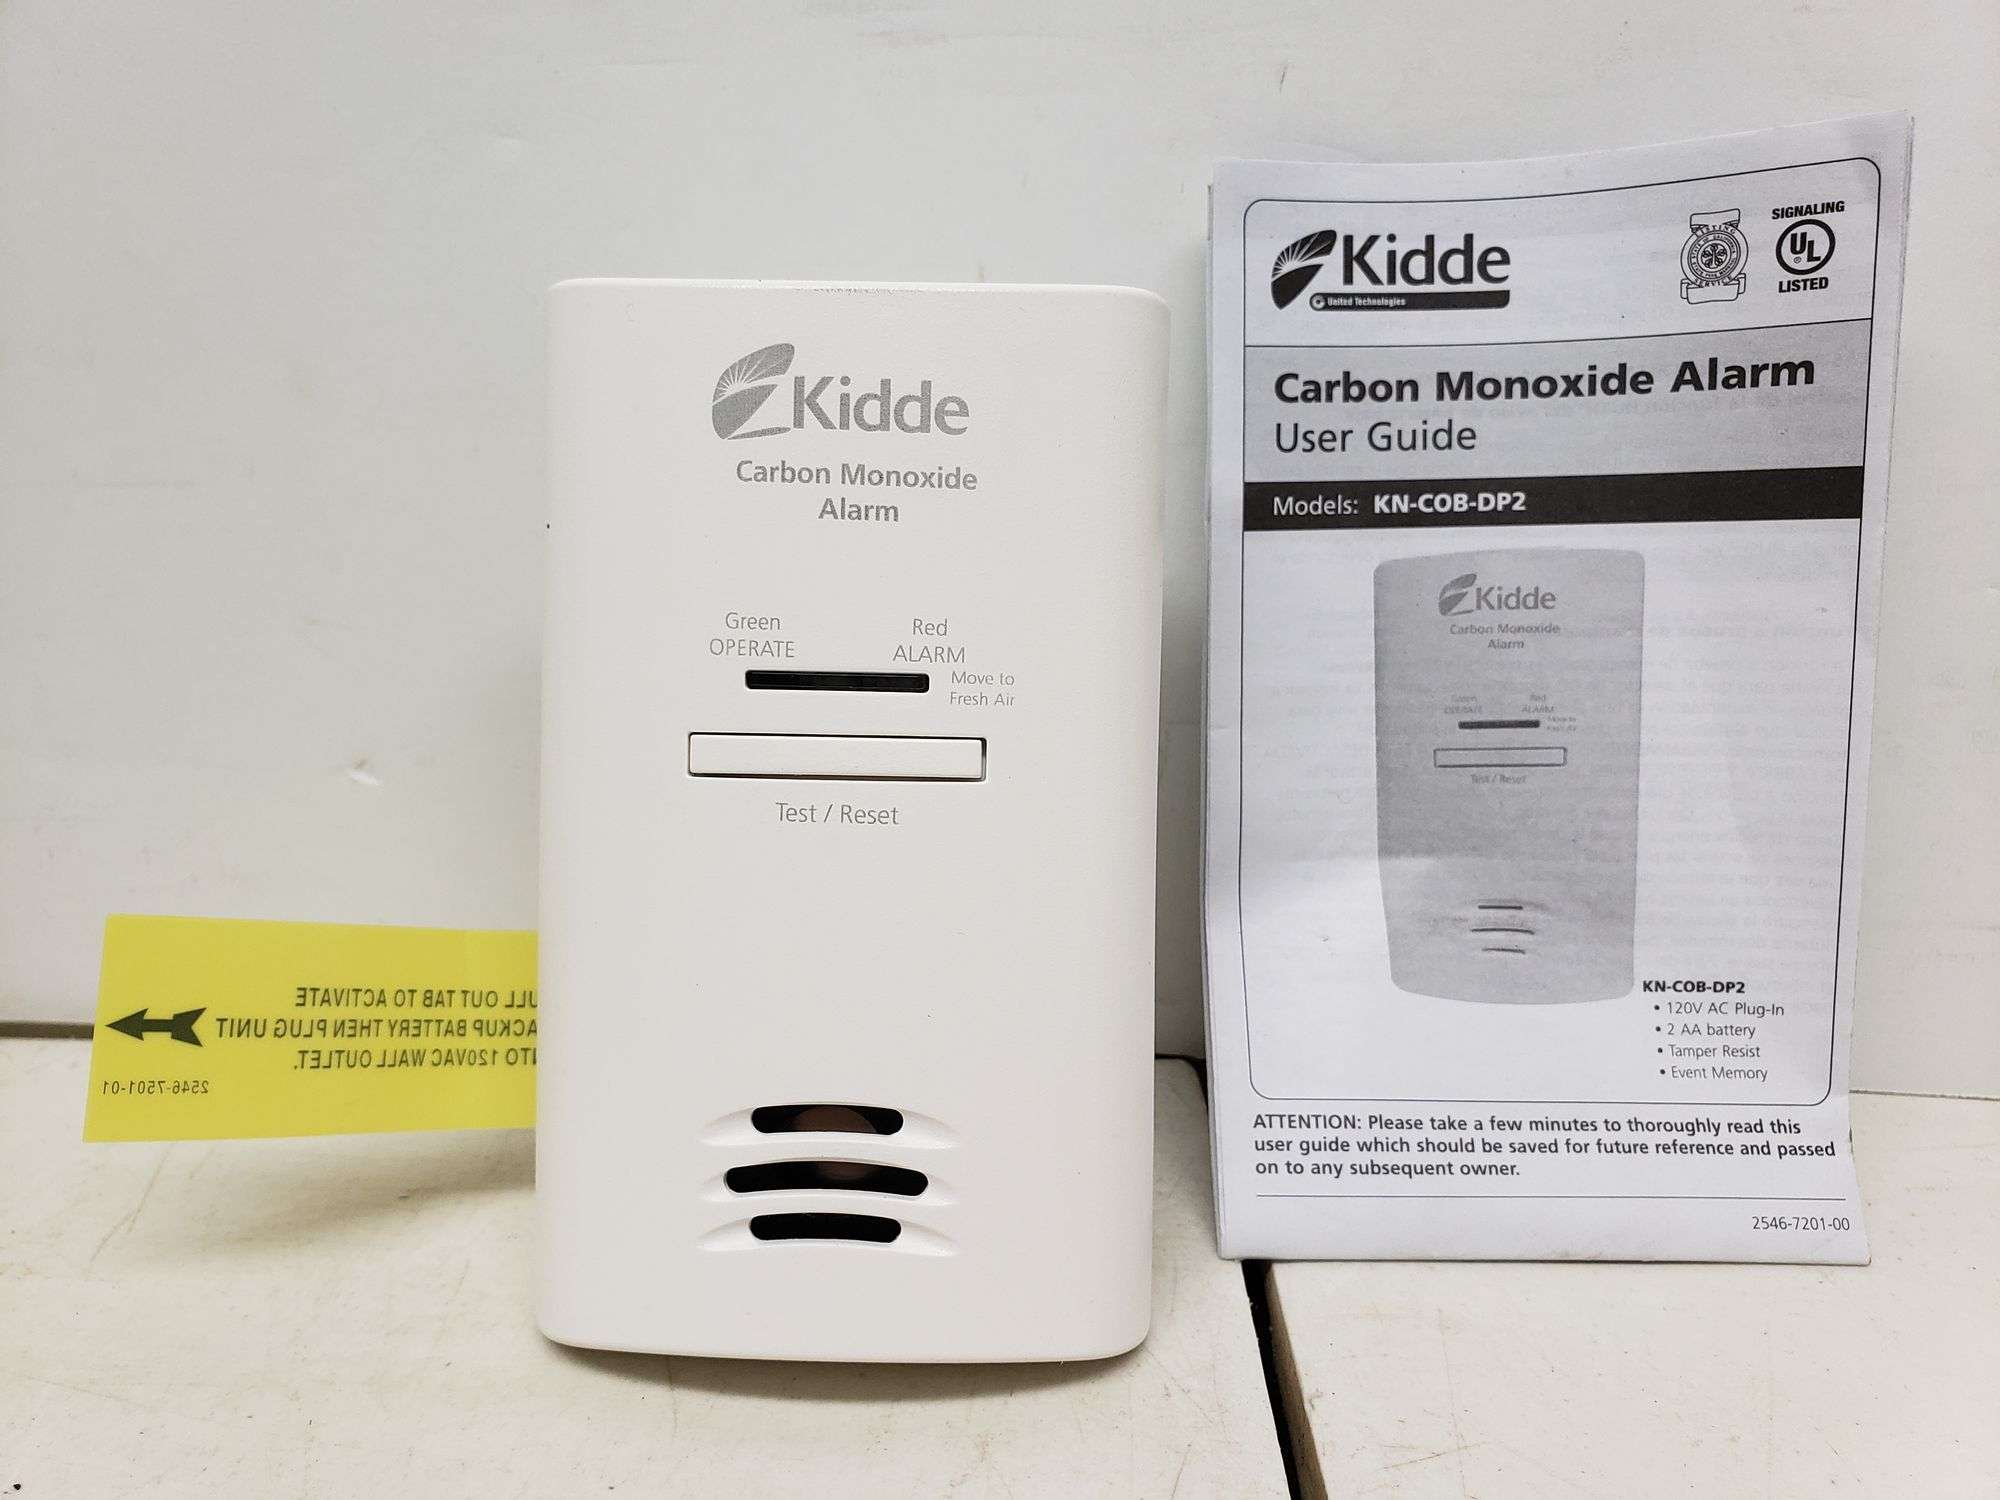
1. Power Source: Kidde carbon monoxide detectors are available in battery-operated and hardwired versions. Battery-operated detectors are portable and easy to install, making them ideal for apartments or spaces without a wired power source. Hardwired detectors, on the other hand, are directly connected to the electrical system of your home and often come with battery backup for continuous detection during power outages.
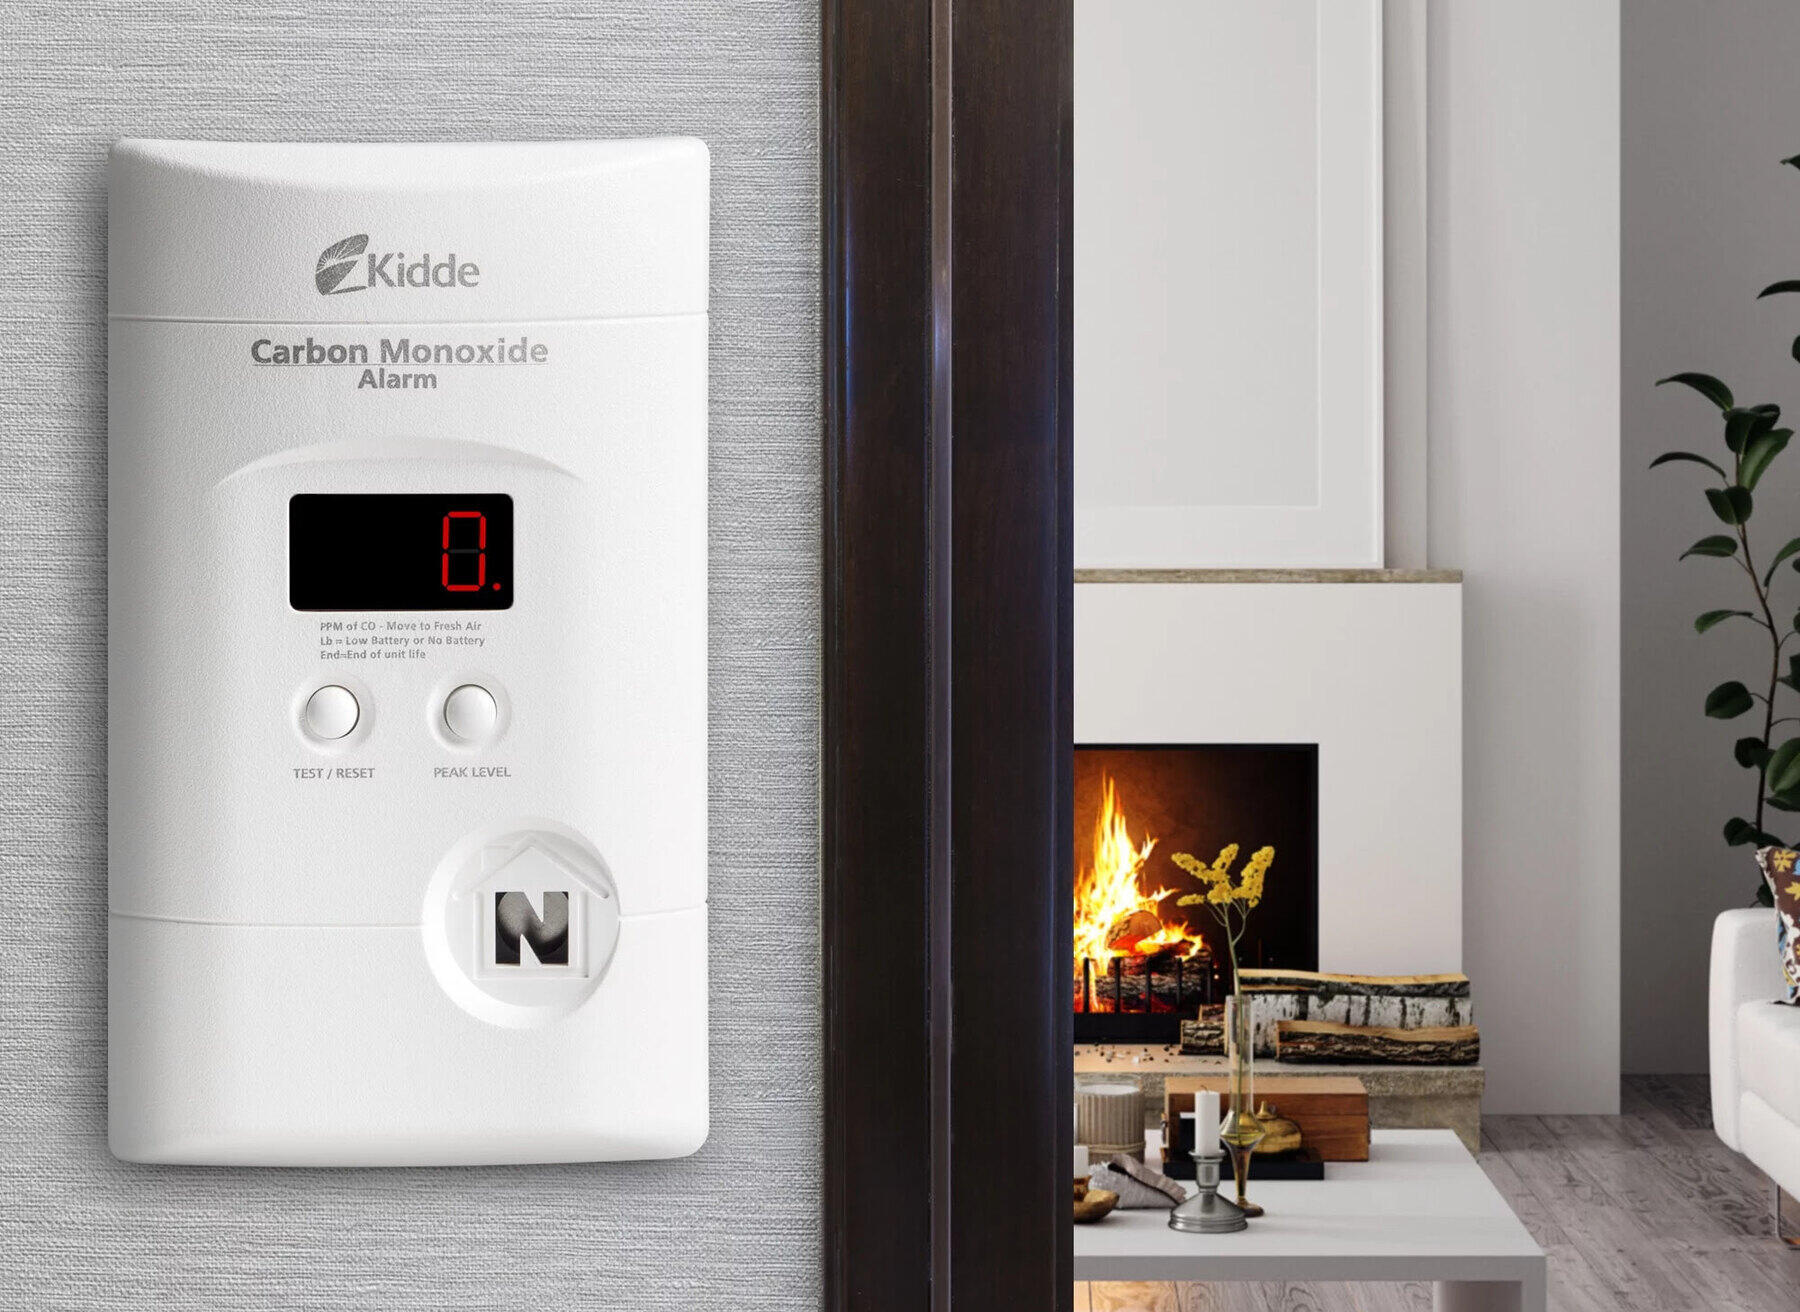
2. Display and Alerts: Look for a Kidde carbon monoxide detector with a clear digital display that shows the carbon monoxide levels in parts per million (ppm). Some models also feature color-coded or light-up indicators for quick visual alerts. It’s important to choose a detector with loud and distinctive alerts, such as an audible alarm, to ensure that you can be alerted even when you’re asleep or in a different room.
3. Features: Consider additional features that may be valuable to you, such as a digital peak level memory that displays the highest recorded carbon monoxide level, or a built-in safety light that illuminates dark hallways during an alarm. Some Kidde detectors also offer the ability to connect to a smart home system for remote monitoring and control.
4. Certifications: Look for Kidde carbon monoxide detectors that are certified and meet the relevant safety standards, such as those from Underwriters Laboratories (UL) or the Canadian Standards Association (CSA). These certifications ensure that the detector has undergone rigorous testing and meets strict quality and safety requirements.
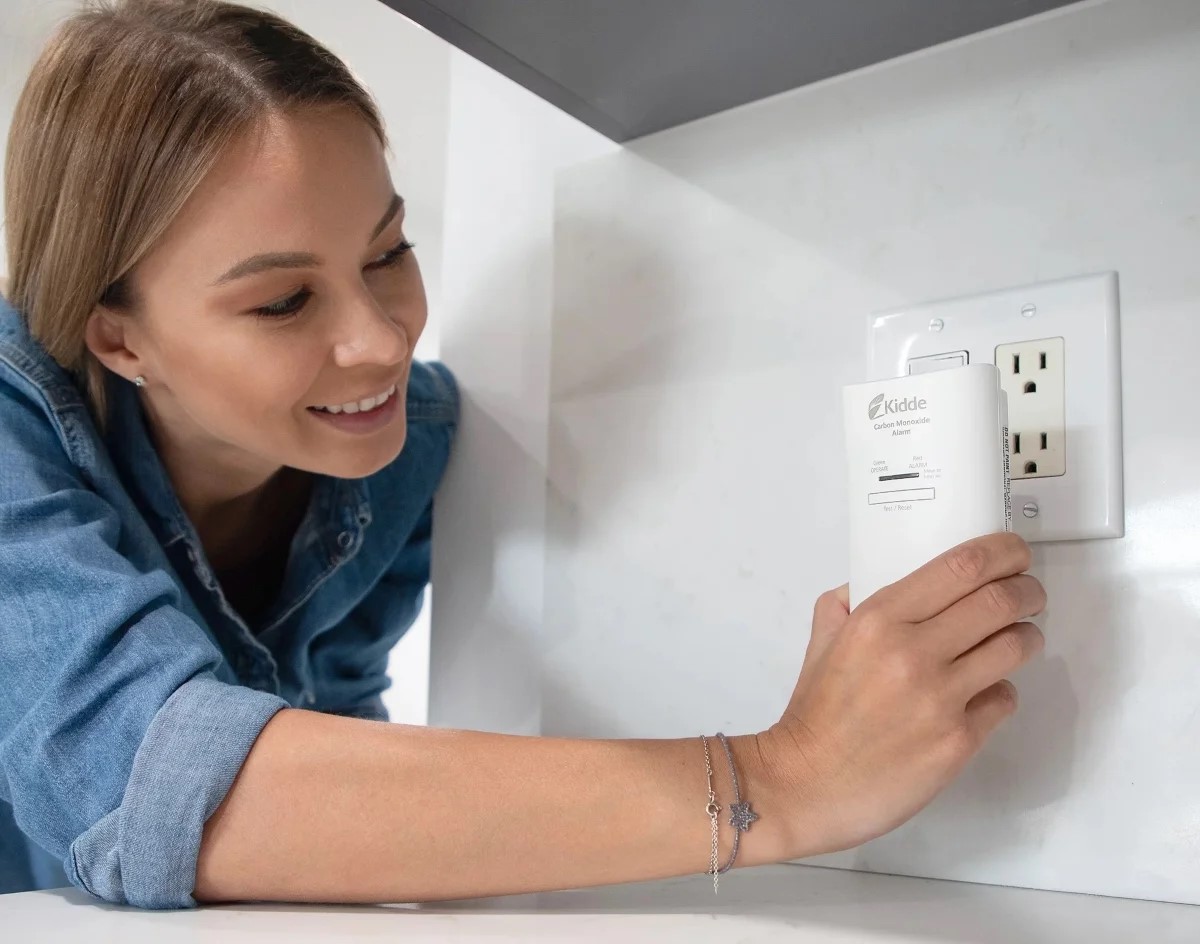
5. Placement: Consider where you plan to install the carbon monoxide detector. It’s recommended to have at least one detector on each level of your home, near sleeping areas, and in close proximity to fuel-burning appliances. Kidde offers a variety of models suitable for wall-mounted, ceiling-mounted, or tabletop installation.
Once you have considered these factors, you can confidently choose the right Kidde carbon monoxide detector that meets your specific needs. In the next step, we will discuss how to properly install the detector for optimal effectiveness.
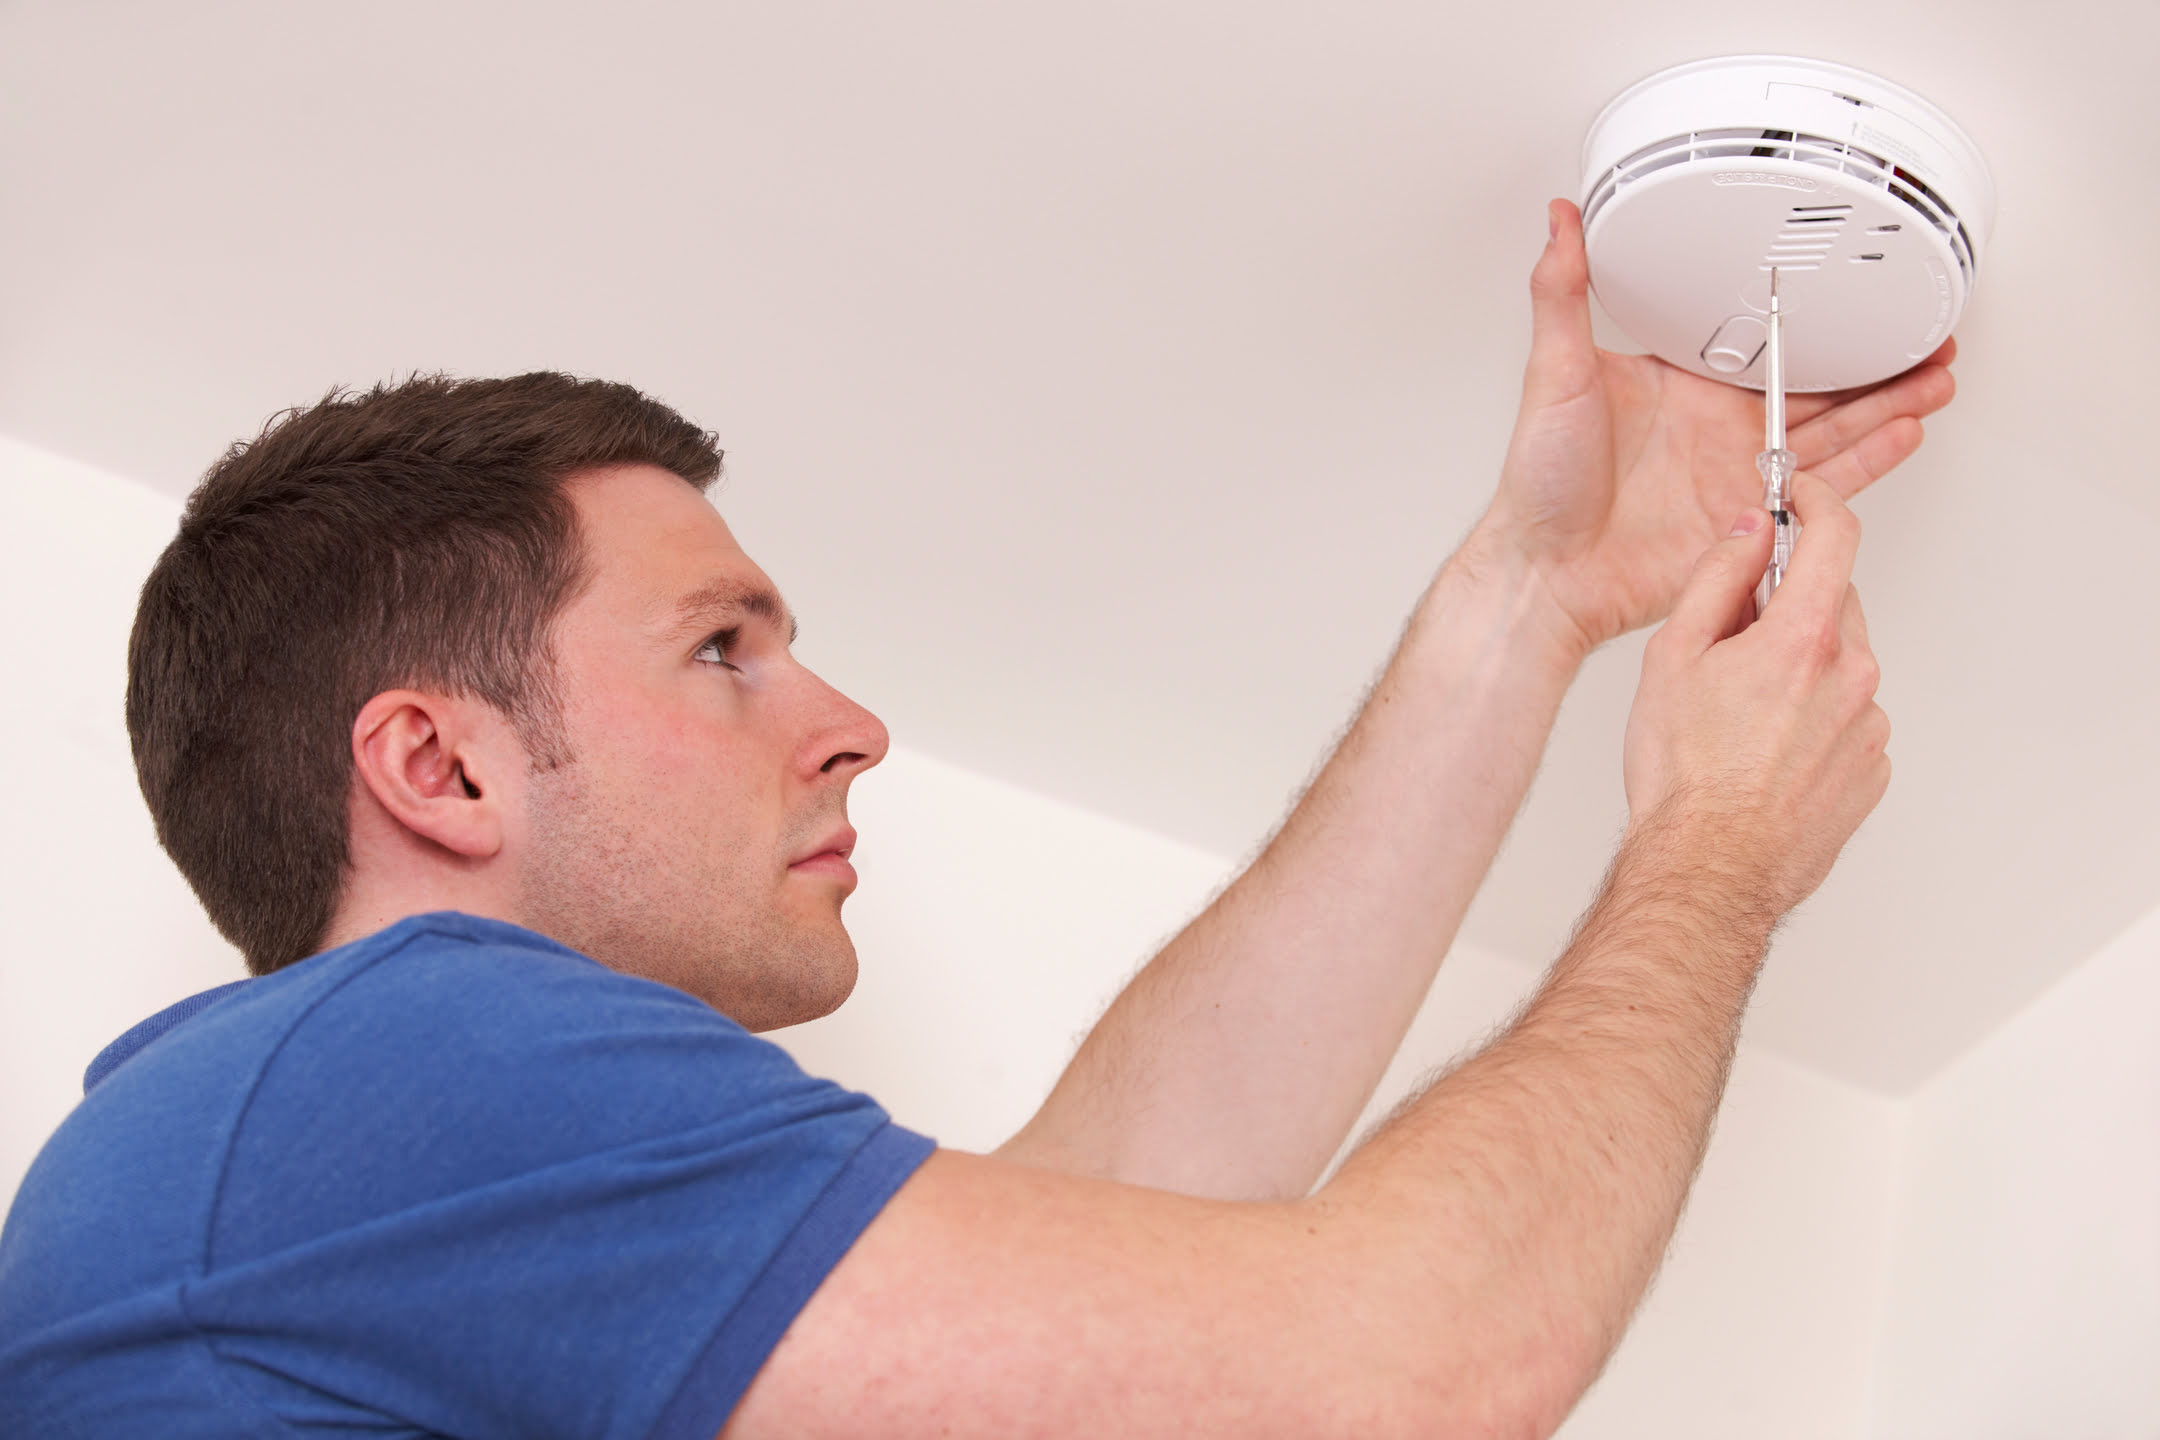
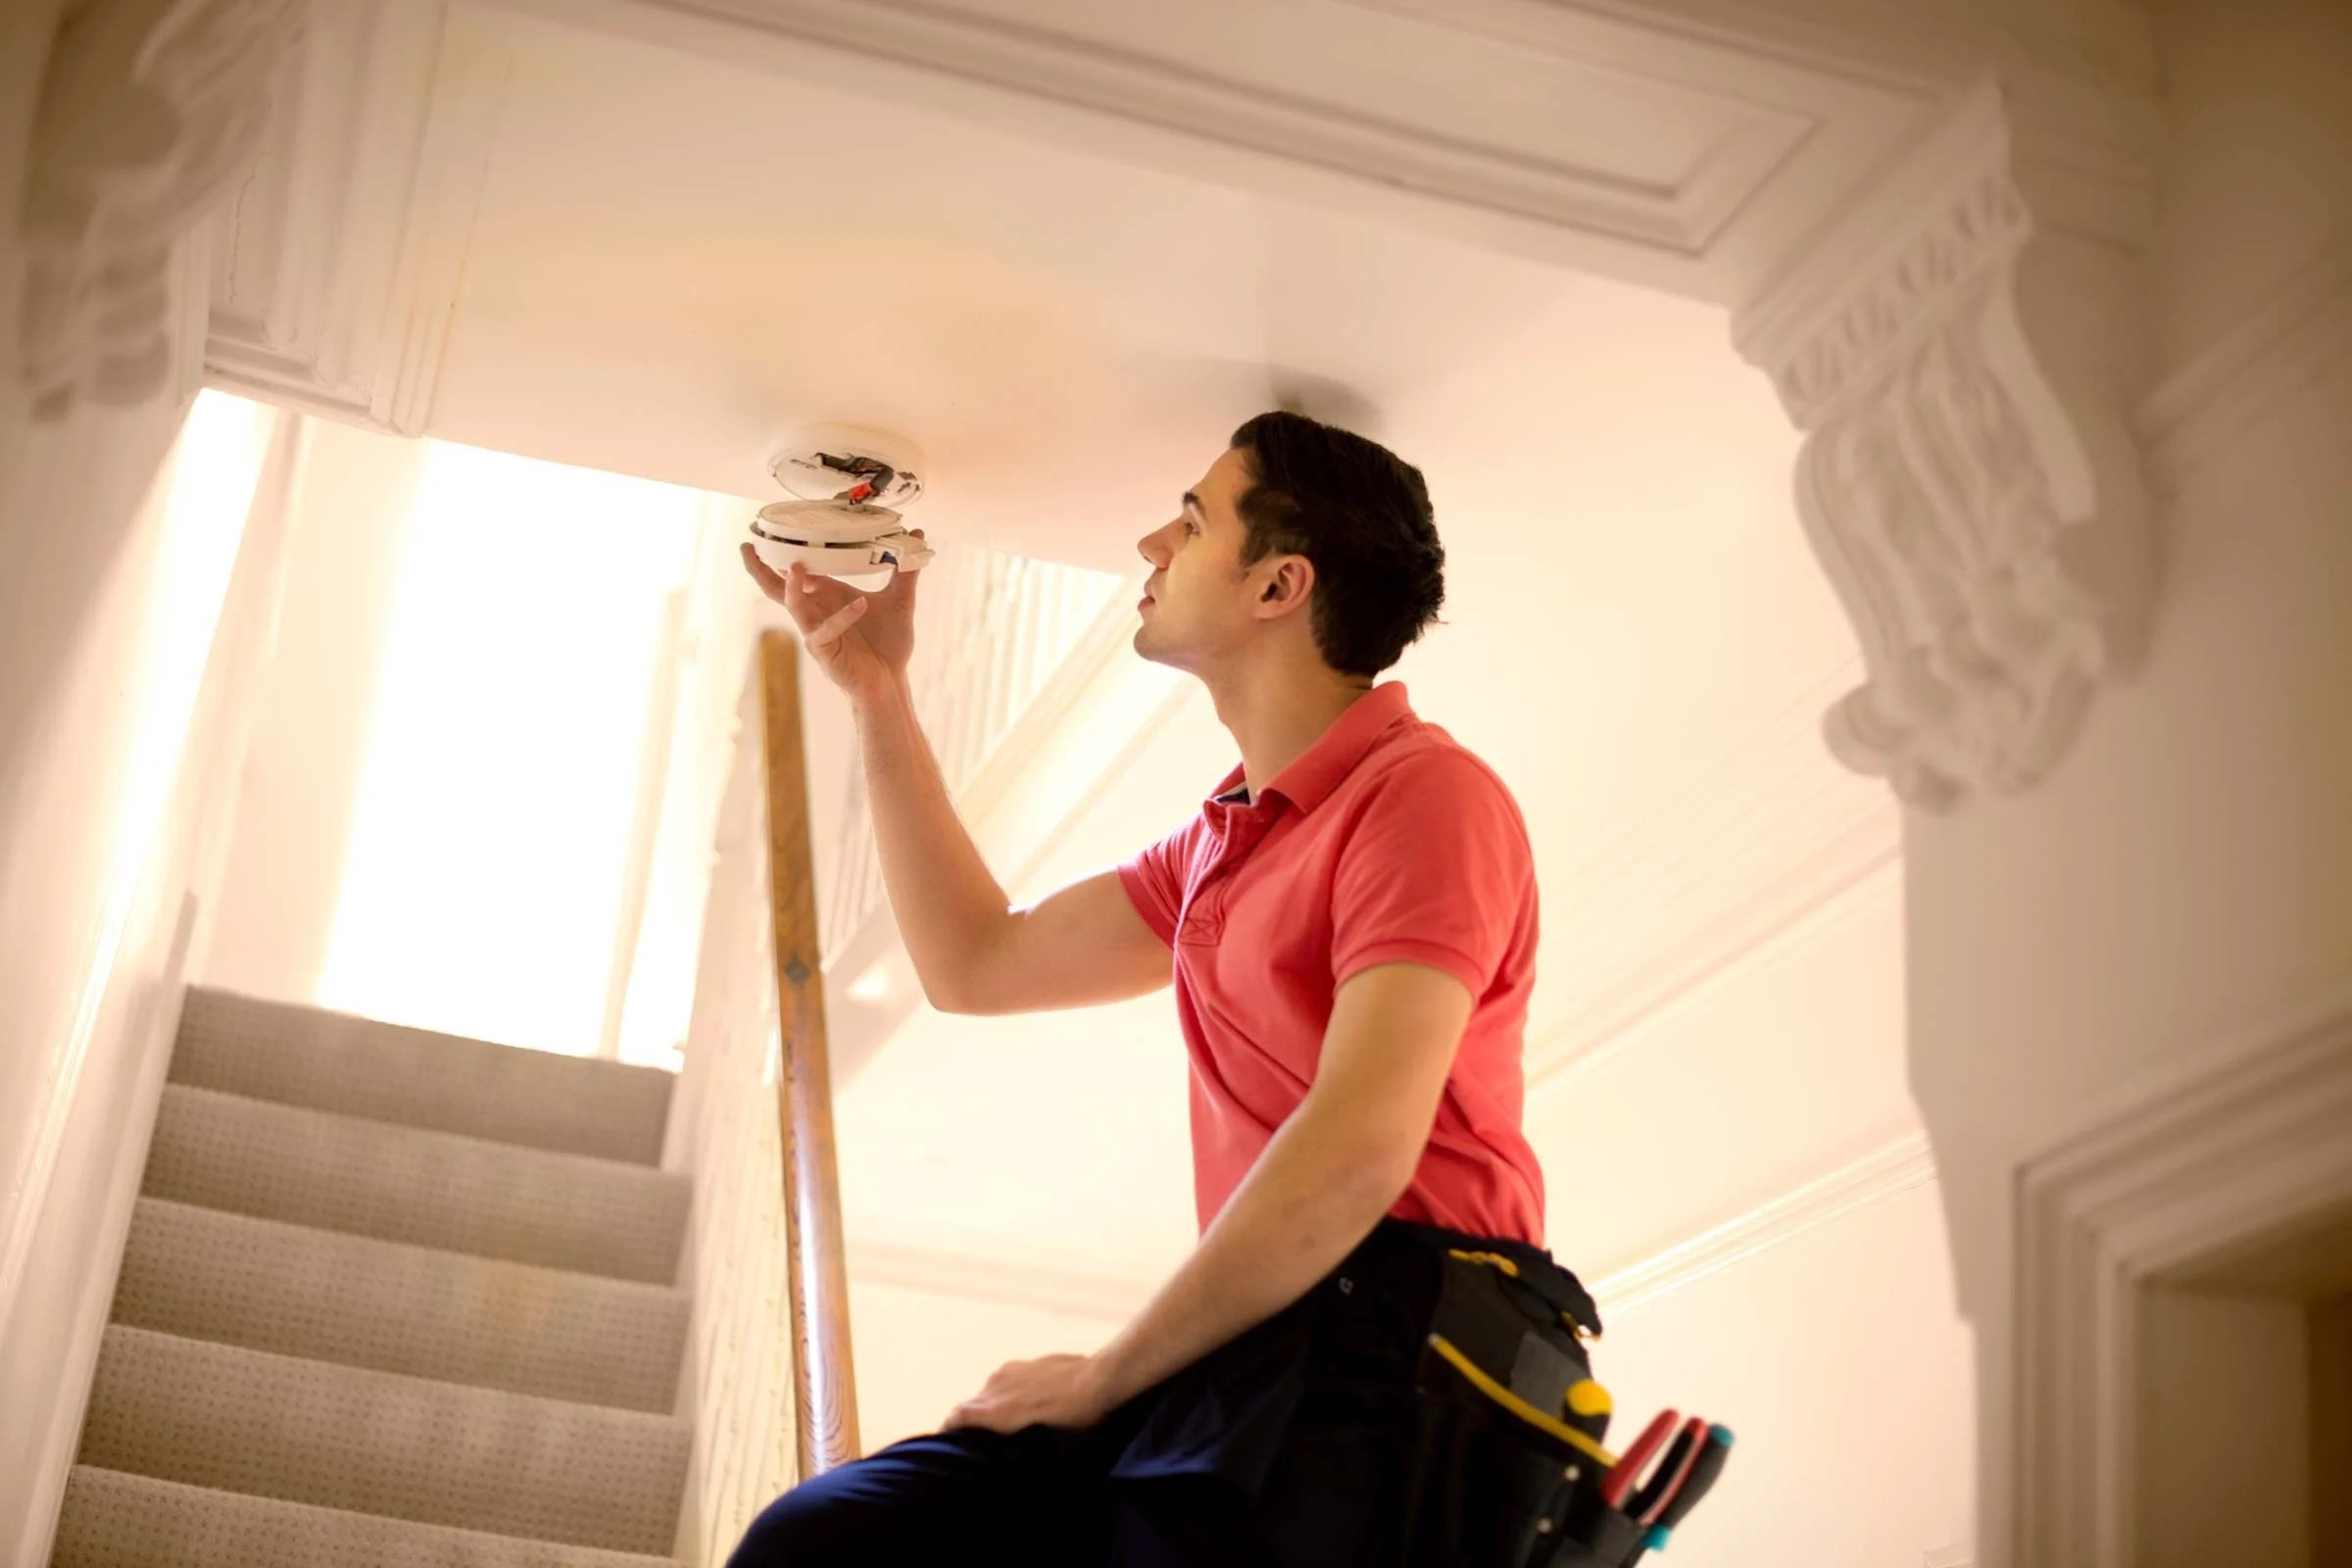
Step 3: Installing the Kidde Carbon Monoxide Detector
Proper installation of your Kidde carbon monoxide detector is crucial to ensure accurate and timely detection of carbon monoxide levels. Here’s a step-by-step guide on how to install your Kidde carbon monoxide detector:
1. Choose the Ideal Location: Select a location for the detector that is within 10 feet of each sleeping area or bedroom. It should be installed at least 5 feet above the floor, as carbon monoxide tends to rise. Avoid placing the detector near windows, doors, or vents, as this may affect its performance.
2. Mounting on the Wall: If wall-mounting, use the provided mounting bracket and screws. Make sure the detector is mounted at eye level for easy visibility. Use a level to ensure that the detector is properly aligned.
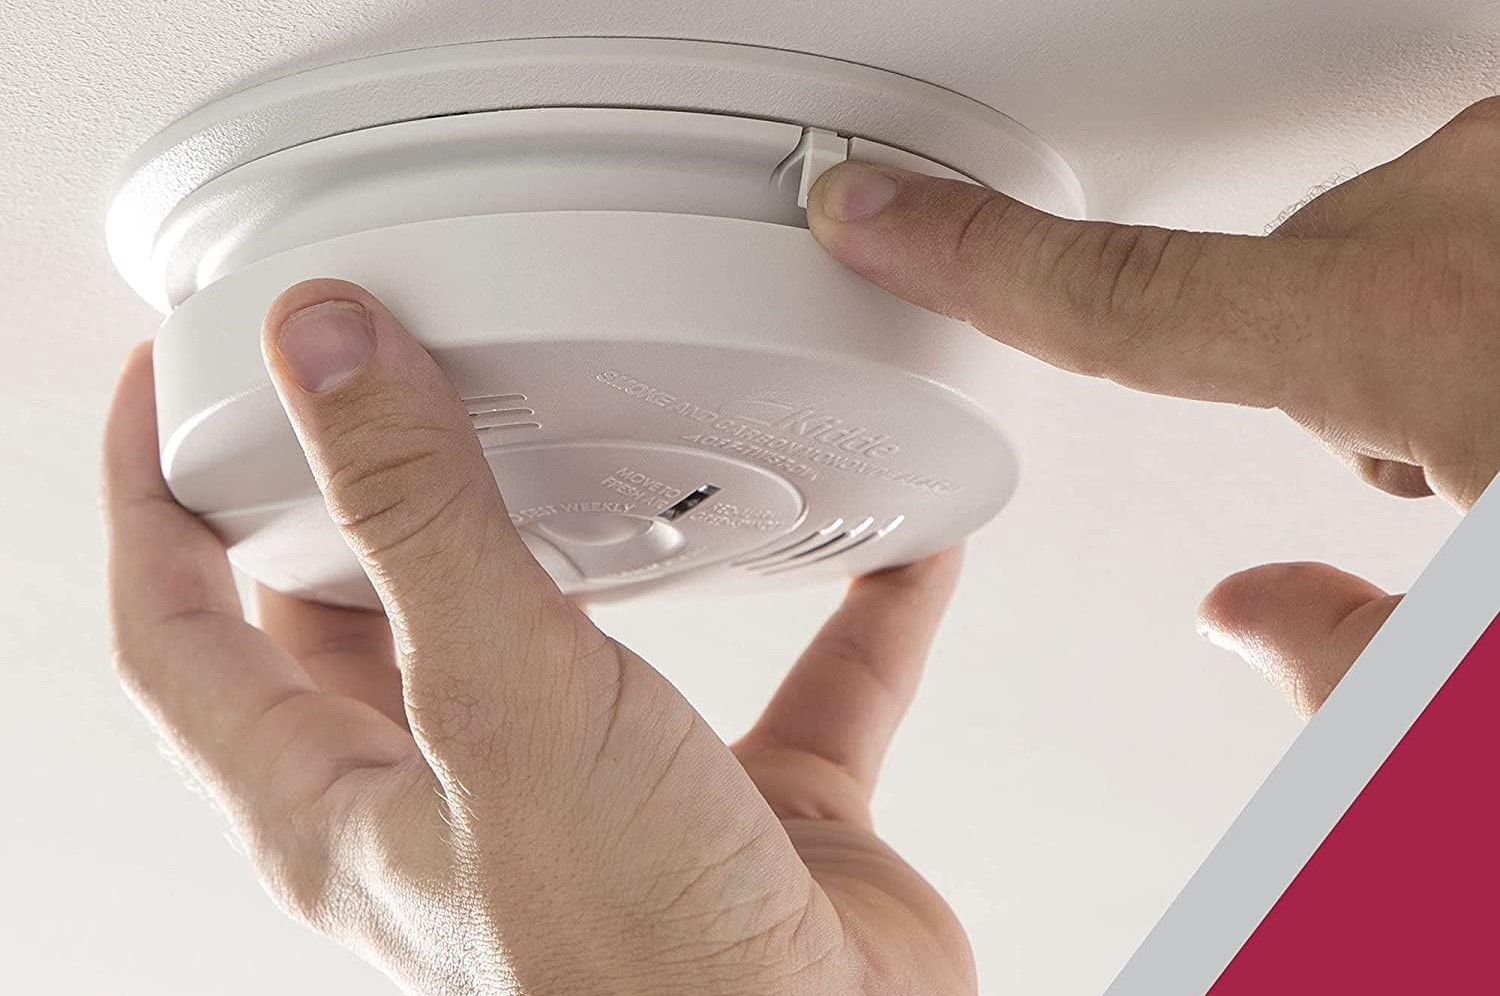
3. Mounting on the Ceiling: If ceiling-mounting, attach the mounting plate to the ceiling using screws or adhesive. Then, twist the detector onto the mounting plate until it clicks into place.
4. Testing the Detector: After installation, test the detector to ensure it is functioning correctly. Follow the manufacturer’s instructions for the specific Kidde model you have. Typically, this involves pressing the test button on the detector to activate the alarm. If the alarm sounds, it indicates that the detector is working properly.
5. Follow Manufacturer’s Recommendations: Always refer to the user manual for your specific Kidde carbon monoxide detector model for any additional installation instructions or recommendations provided by the manufacturer.
Remember that it’s essential to have multiple detectors installed throughout your home for comprehensive coverage. If you have a large house or multiple levels, install additional detectors accordingly.
Now that you have successfully installed your Kidde carbon monoxide detector, it’s time to move on to the next step: testing the detector to ensure its functionality.
Make sure to place your Kidde carbon monoxide detector in a central location, at least 15 feet away from fuel-burning appliances and outside of sleeping areas. Test the detector regularly to ensure it is functioning properly.
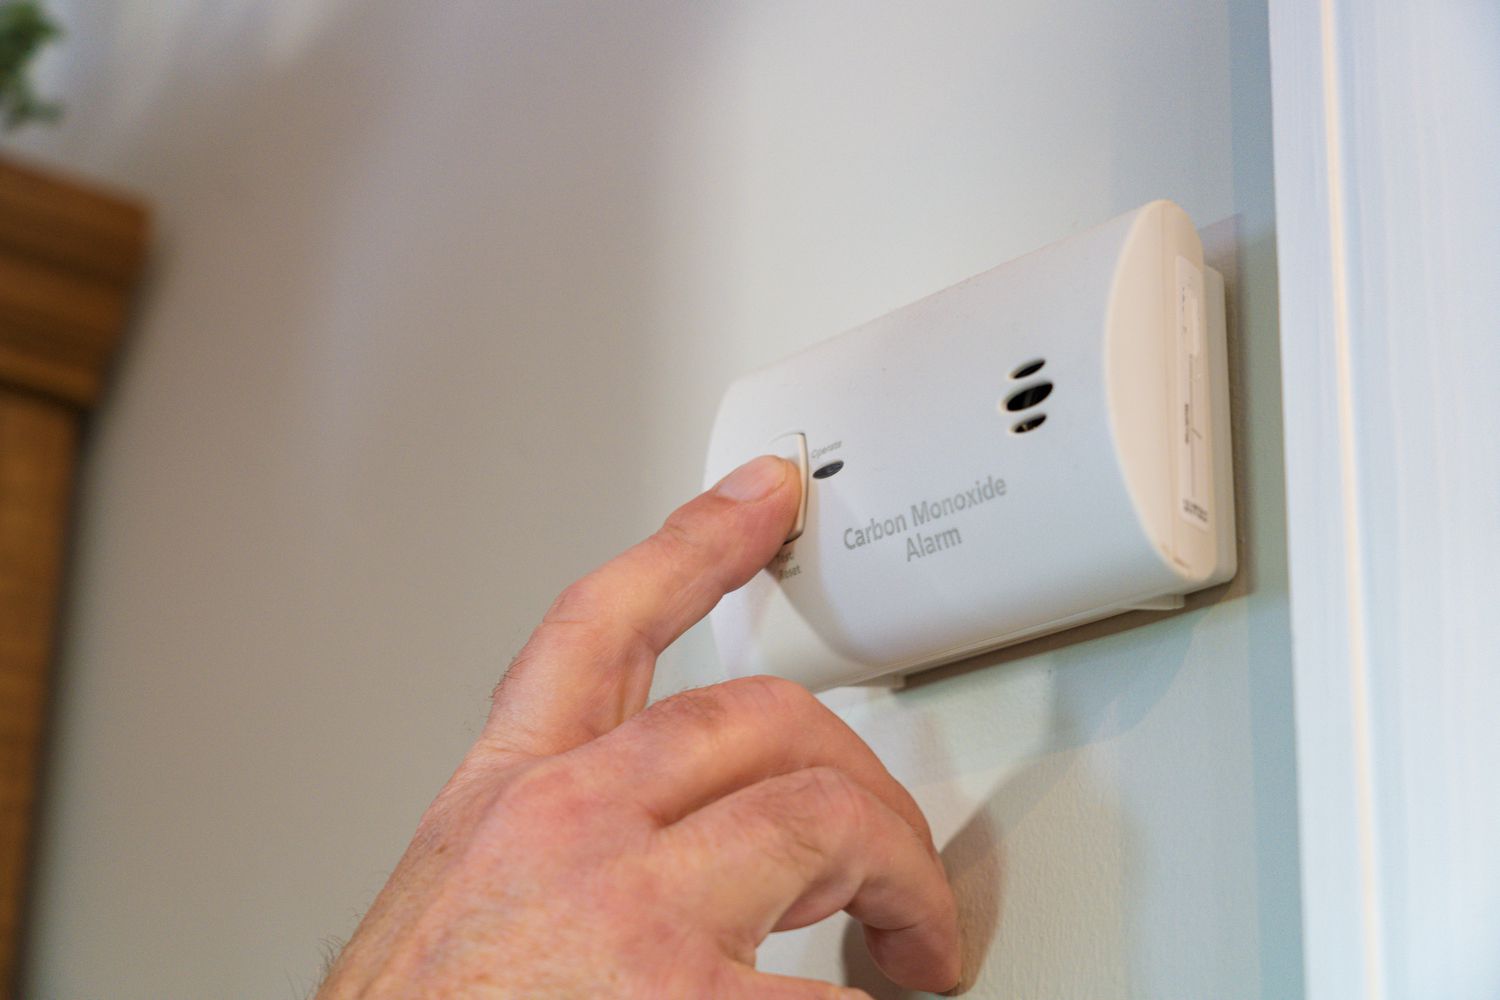
Step 4: Testing the Kidde Carbon Monoxide Detector
Regularly testing your Kidde carbon monoxide detector is crucial to ensure that it is functioning properly and will provide accurate warnings in the event of a carbon monoxide leak. Here’s how to test your Kidde carbon monoxide detector:
1. Refer to the User Manual: Before conducting the test, carefully review the user manual that came with your Kidde carbon monoxide detector. Different models may have specific instructions or features related to testing.
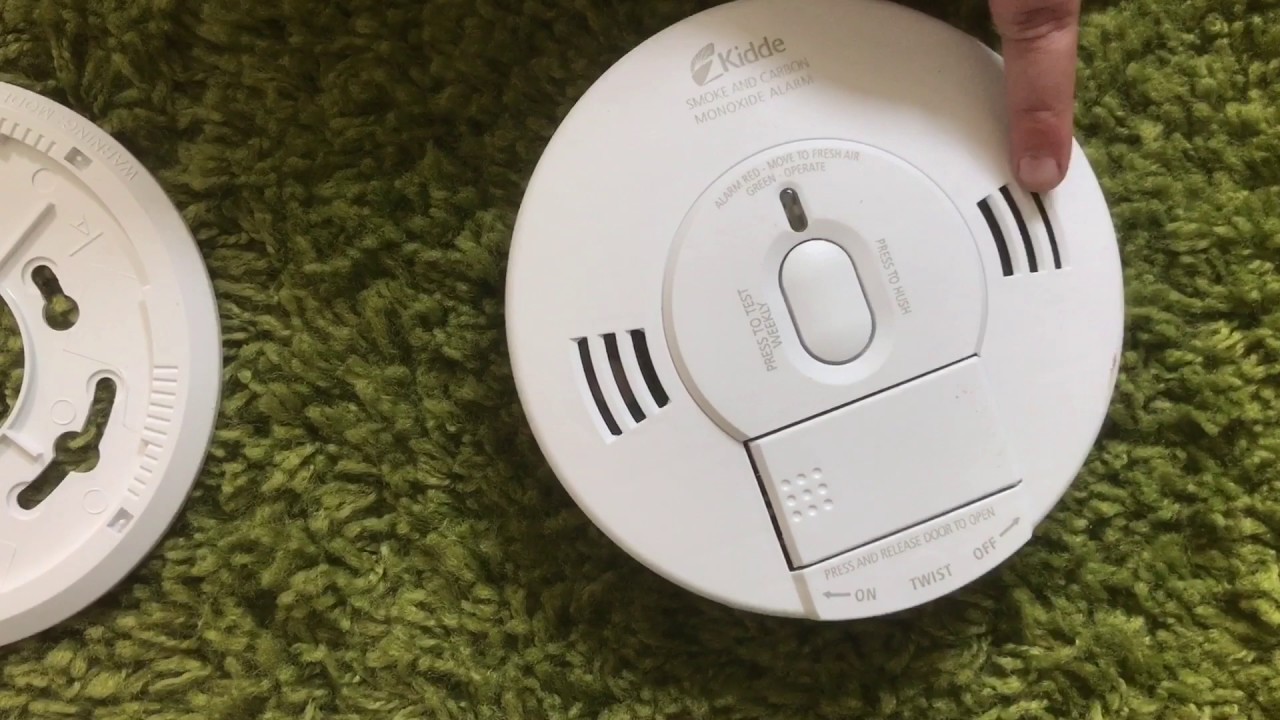
2. Press the Test Button: Locate the test button on your Kidde carbon monoxide detector. It is usually marked with the word “Test” or an image of a bell. Press and hold the test button for a few seconds until you hear a loud alarm sound. This will simulate an actual carbon monoxide alarm.
3. Observe the Alarm: Pay attention to the loudness and clarity of the alarm sound. It should be easily audible from different areas of your home, including bedrooms and common areas. Additionally, check if the digital display (if applicable) shows the simulated carbon monoxide levels for added assurance.
4. Reset the Detector: After conducting the test, press the reset button on the detector to stop the alarm. This will ensure that the device is ready to detect carbon monoxide again.
5. Perform Regular Tests: It is recommended to test your Kidde carbon monoxide detector at least once a month to ensure its functionality. Regular testing allows you to identify any issues or malfunctions promptly.
If the alarm does not sound during the test or if you notice any other issues, refer to the troubleshooting section in the user manual or contact Kidde customer support for further assistance.
By regularly testing your Kidde carbon monoxide detector, you can have peace of mind knowing that it is operating correctly and will effectively alert you to any potential carbon monoxide hazards.
Now that we have tested the detector, it’s time to understand what to do in the event of an alarm. Let’s move on to the next step: understanding and responding to alarms.
Step 5: Understanding and Responding to Alarms
When your Kidde carbon monoxide detector sounds an alarm, it is crucial to respond quickly and appropriately to ensure your safety. Here’s what you need to know about understanding and responding to carbon monoxide alarms:
1. Recognize the Alarm Sound: Familiarize yourself with the sound of the carbon monoxide alarm on your Kidde detector. It is typically a loud and continuous sound, similar to a siren. Ensure that all members of your household can recognize and differentiate the carbon monoxide alarm from other household alarms, such as smoke detectors.
2. Take Immediate Action: When the alarm sounds, treat it as a serious emergency. Carbon monoxide can be life-threatening, so it is essential to respond quickly. Leave the area immediately and move to fresh air. Avoid opening windows or using fans to ventilate the area, as it may spread the carbon monoxide further.
3. Account for Everyone: Ensure that all family members, including pets, evacuate the premises and gather at a safe location outside. Do not re-enter the building until it has been deemed safe by emergency professionals.
4. Contact Emergency Services: Call your local emergency service number or the dedicated carbon monoxide hotline to report the leak and seek immediate assistance. Inform them of the carbon monoxide alarm and follow their instructions.
5. Do Not Ignore the Alarm: Never ignore a carbon monoxide alarm, even if you or others in your household do not exhibit symptoms of carbon monoxide poisoning. Low level or prolonged exposure to carbon monoxide can have detrimental effects on your health.
6. Seek Medical Attention: If you or anyone in your household experiences symptoms such as dizziness, nausea, headache, or confusion, seek medical attention immediately. Inform medical professionals about the carbon monoxide exposure and the alarm sounding.
Remember to regularly replace the batteries in your Kidde carbon monoxide detector and conduct tests to ensure it is functioning correctly. Carbon monoxide alarms have a limited lifespan, so it’s essential to follow the manufacturer’s recommendations for replacement.
Understanding and responding to carbon monoxide alarms can save lives. Now, let’s move on to the final step: maintenance and battery replacement for your Kidde carbon monoxide detector.
Step 6: Maintenance and Battery Replacement
Maintaining your Kidde carbon monoxide detector is crucial to ensure its uninterrupted functionality and reliable performance. Here are some maintenance tips and guidelines for battery replacement:
1. Read the User Manual: Refer to the user manual provided with your Kidde carbon monoxide detector for specific maintenance instructions and recommendations. Each model may have different maintenance requirements.
2. Regular Cleaning: Keep the detector clean and free from dust and debris. Use a soft, dry cloth to wipe the exterior surface of the detector. Avoid using any cleaning agents or solvents, as they may damage the device.
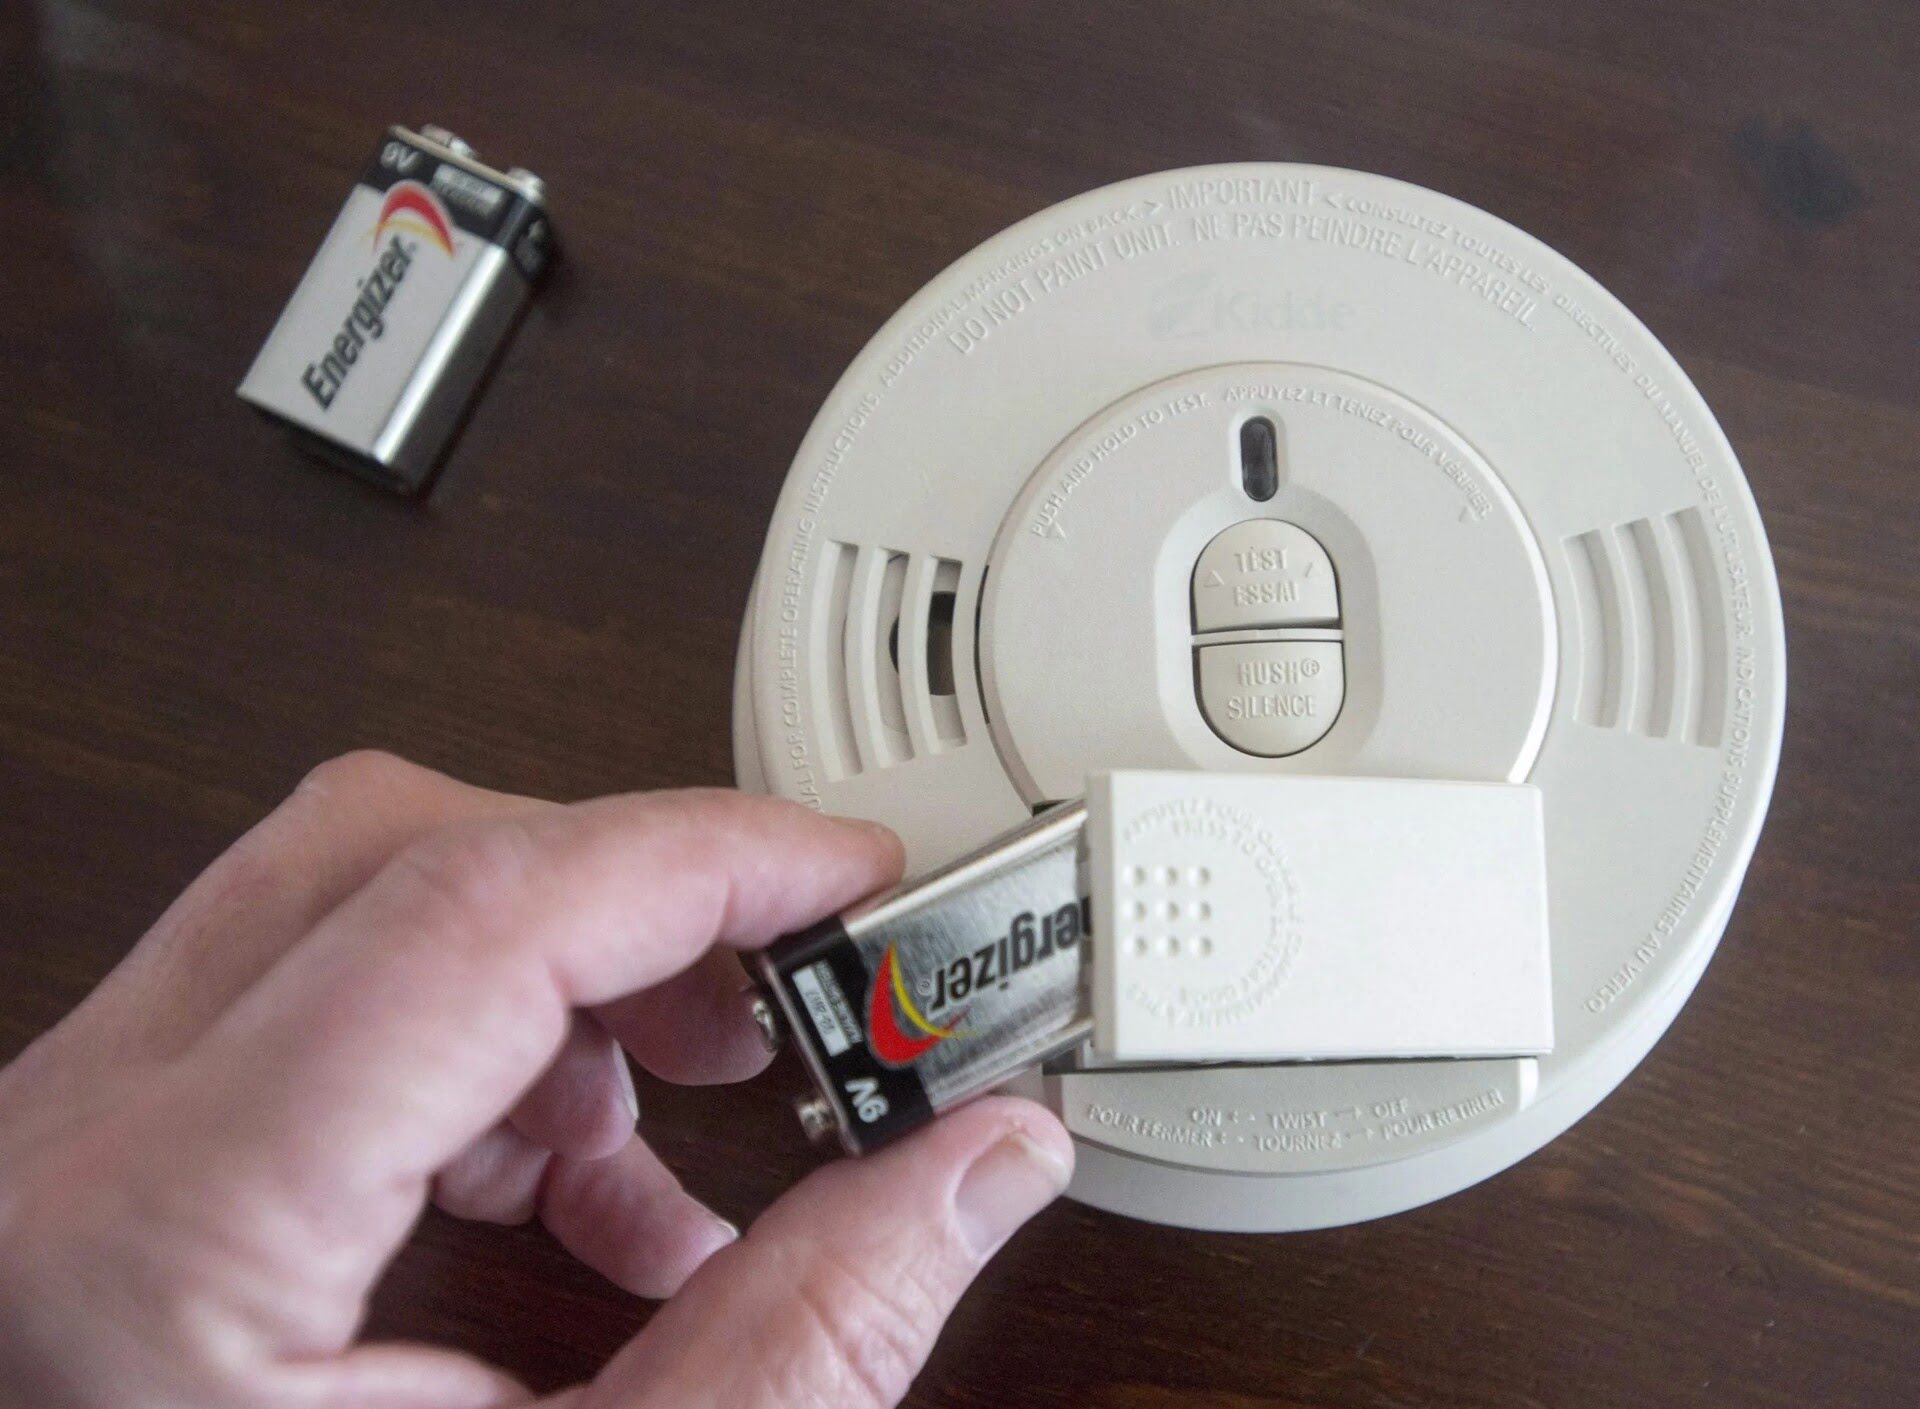
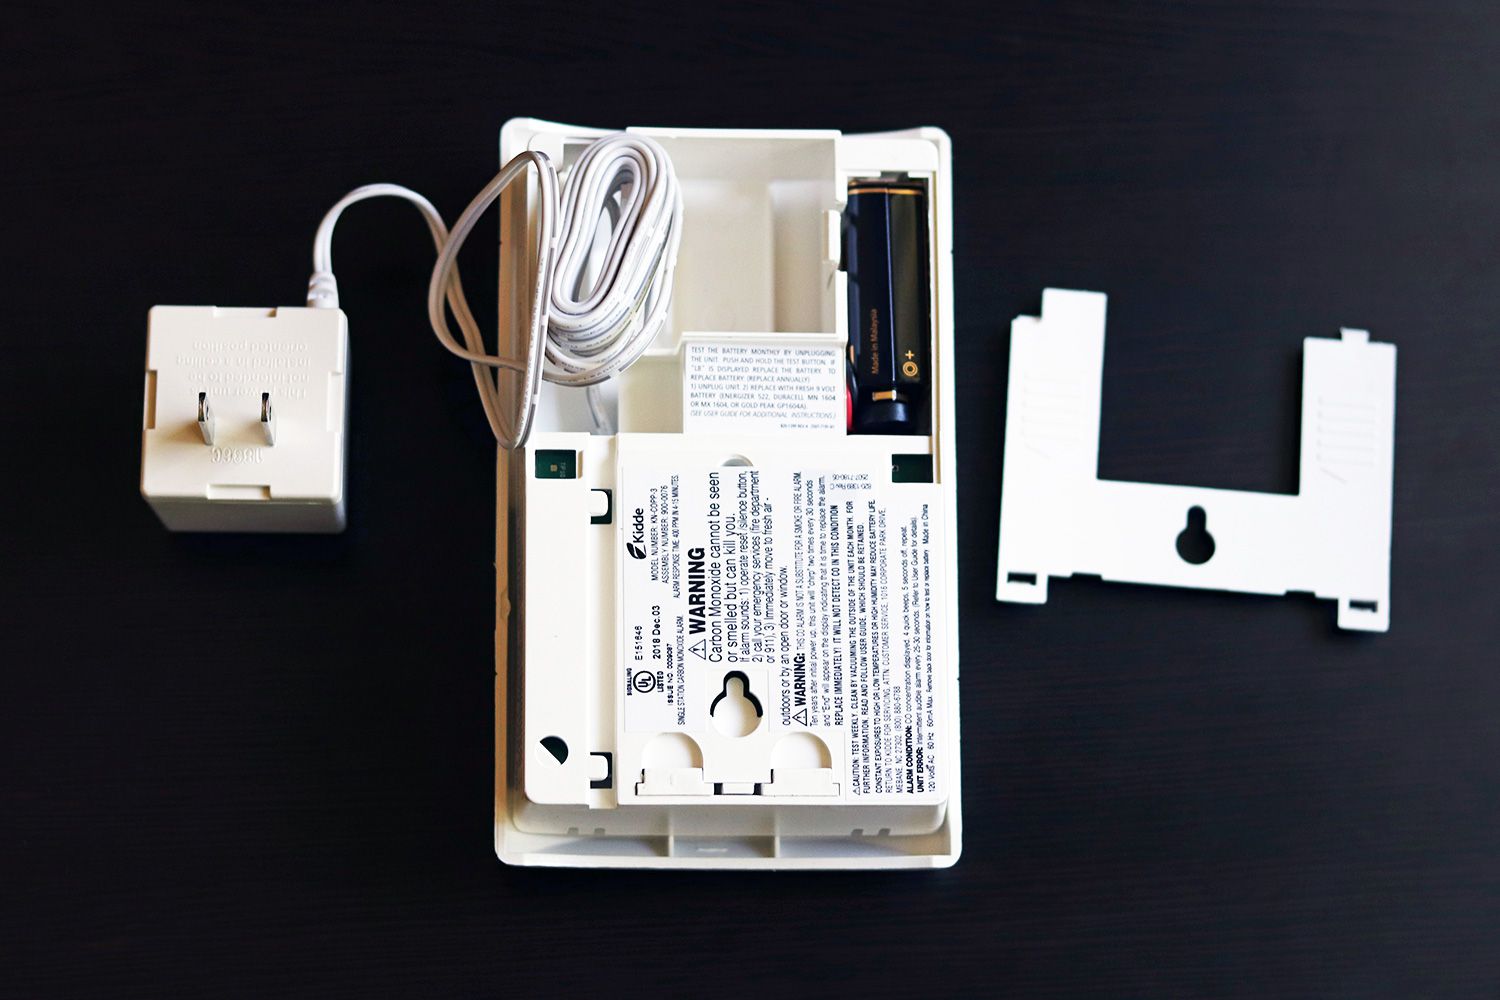
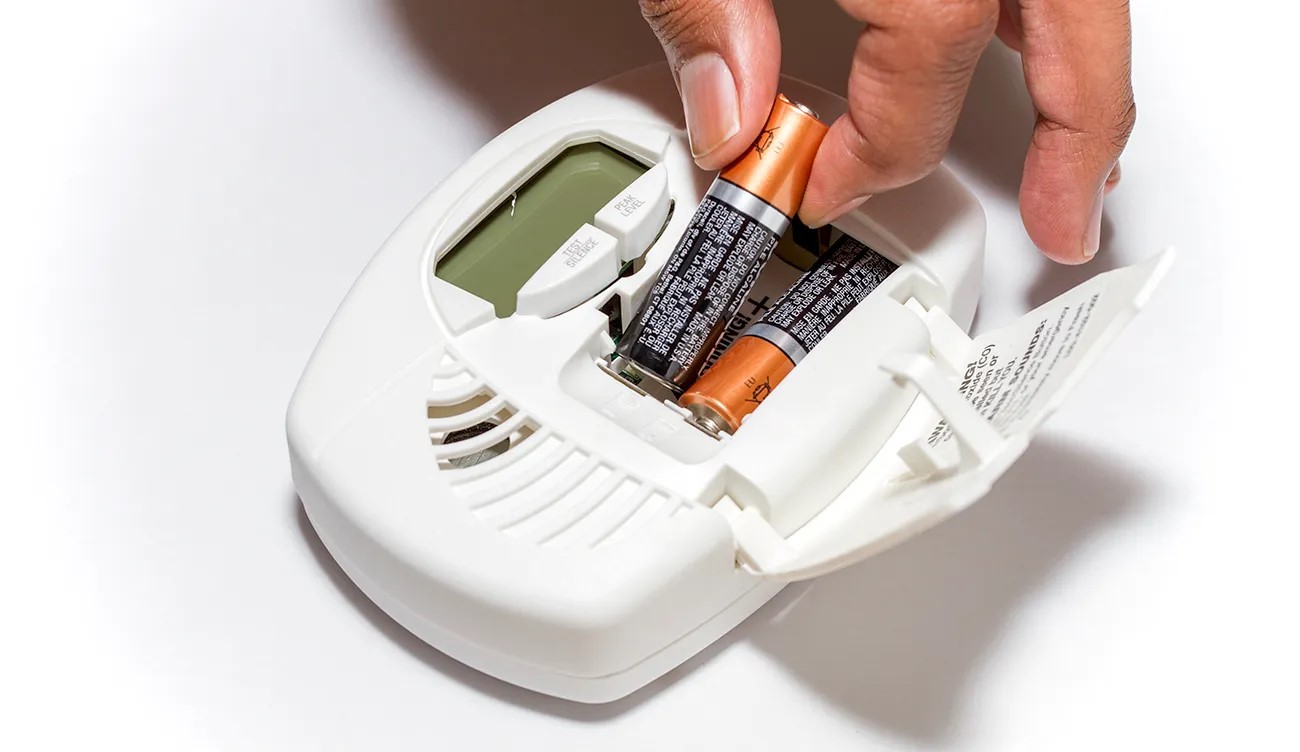
3. Check the Batteries: Inspect the batteries in your Kidde carbon monoxide detector regularly. Ensure that they are properly installed, and there is no corrosion or damage. Depending on the model, the detector may provide a low battery alert or indicator light when the batteries need replacement.
4. Replace Batteries Promptly: As a general rule, it is recommended to replace the batteries in your Kidde carbon monoxide detector at least once a year, or as per the manufacturer’s instructions. Consider replacing the batteries during daylight saving time or set a reminder to ensure timely replacement.
5. Battery Type: Follow the manufacturer’s recommendations for the type of batteries to use in your Kidde carbon monoxide detector. Alkaline batteries are commonly recommended for reliable performance.
6. Test After Battery Replacement: After replacing the batteries, perform a test to ensure that the detector is functioning correctly. Follow the testing procedure mentioned in the user manual to verify that the alarm sounds and the display (if applicable) shows the simulated carbon monoxide levels.
7. Keep Record of Maintenance: Maintain a record of when you performed maintenance tasks and replaced batteries. This can help you track the history of your Kidde carbon monoxide detector and ensure regular maintenance.
Remember, maintaining your Kidde carbon monoxide detector is vital for its optimal performance. A well-maintained detector can provide you with peace of mind, knowing that it is consistently monitoring for the presence of carbon monoxide.
With that, you have reached the end of our guide on how to use a Kidde carbon monoxide detector. By following these steps and guidelines, you can ensure the safety of yourself, your loved ones, and your property from the dangers of carbon monoxide.
If you have any further questions or concerns, consult the user manual or contact Kidde customer support for assistance. Stay safe!
Conclusion
In conclusion, understanding and using a Kidde carbon monoxide detector is crucial for protecting your home and the well-being of your loved ones. Carbon monoxide is a silent and deadly gas that can be present in our homes without any visible signs. Having a reliable carbon monoxide detector, such as those offered by Kidde, is essential to detect this poisonous gas and prevent serious harm.
In this comprehensive guide, we covered the essential steps to use a Kidde carbon monoxide detector effectively. We started by understanding the dangers of carbon monoxide and why it’s important to have a detector in your home. We then discussed how to choose the right Kidde carbon monoxide detector based on factors like power source, display and alerts, features, certifications, and placement.
Next, we delved into the installation process, highlighting the importance of selecting an optimal location for your Kidde carbon monoxide detector and providing instructions for both wall-mounted and ceiling-mounted installations. We also emphasized the significance of regularly testing your detector to ensure its functionality and responsiveness.
In the event of an alarm, we discussed the necessary steps to take, including recognizing the alarm sound, evacuating the premises, contacting emergency services, and seeking medical attention if needed. We stressed the importance of not ignoring the alarm and treating it as a serious emergency.
Lastly, we covered the maintenance and battery replacement guidelines for your Kidde carbon monoxide detector, including regular cleaning, checking and replacing batteries, and keeping a record of maintenance tasks.
By following these steps and guidelines, you can rest assured that your Kidde carbon monoxide detector will provide accurate and timely warnings in case of a carbon monoxide leak, helping you and your loved ones stay safe.
Remember, the safety of your home and family should always be a top priority. If you have any questions or concerns about your Kidde carbon monoxide detector, refer to the user manual or contact Kidde customer support for assistance. Stay vigilant and stay safe!
Frequently Asked Questions about How To Use A Kidde Carbon Monoxide Detector
Was this page helpful?
At Storables.com, we guarantee accurate and reliable information. Our content, validated by Expert Board Contributors, is crafted following stringent Editorial Policies. We're committed to providing you with well-researched, expert-backed insights for all your informational needs.

0 thoughts on “How To Use A Kidde Carbon Monoxide Detector”