Articles
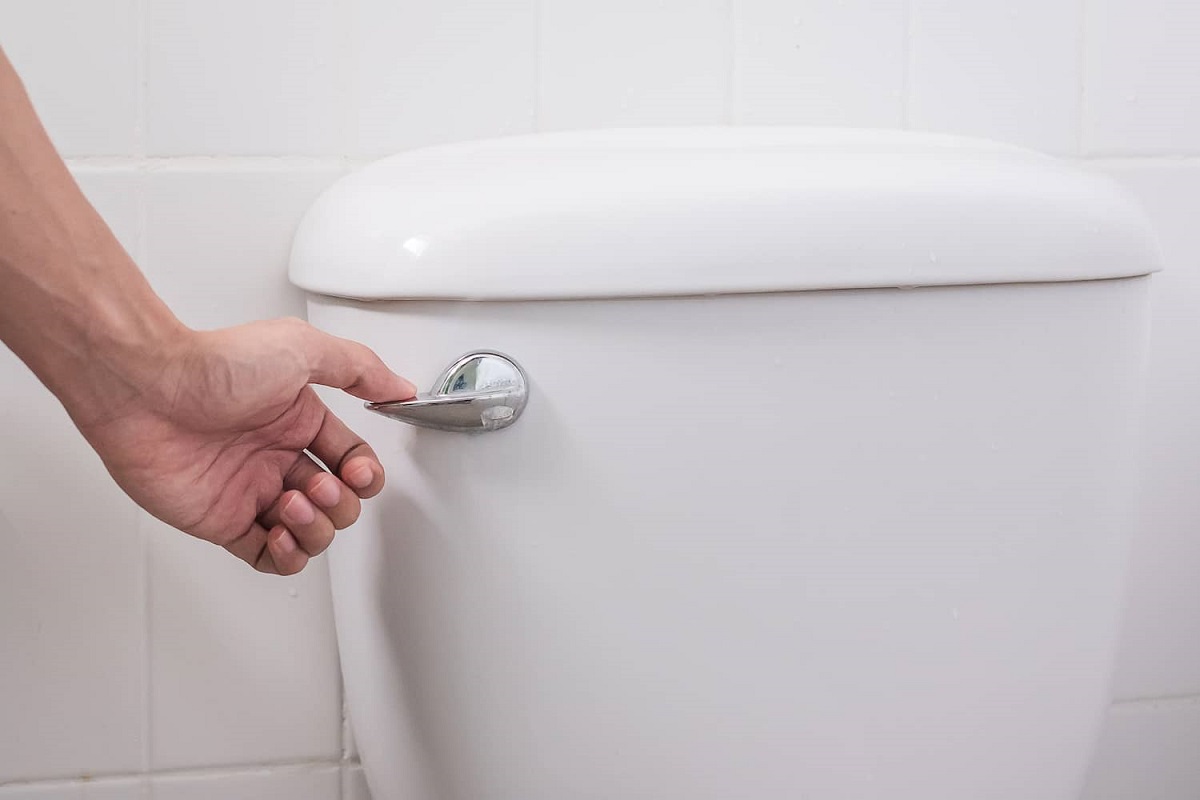
Toilet Noise When Flushing
Modified: October 18, 2024
Discover helpful articles on how to fix and reduce toilet noise when flushing. Get expert advice and tips to eliminate those annoying noises.
(Many of the links in this article redirect to a specific reviewed product. Your purchase of these products through affiliate links helps to generate commission for Storables.com, at no extra cost. Learn more)
Introduction
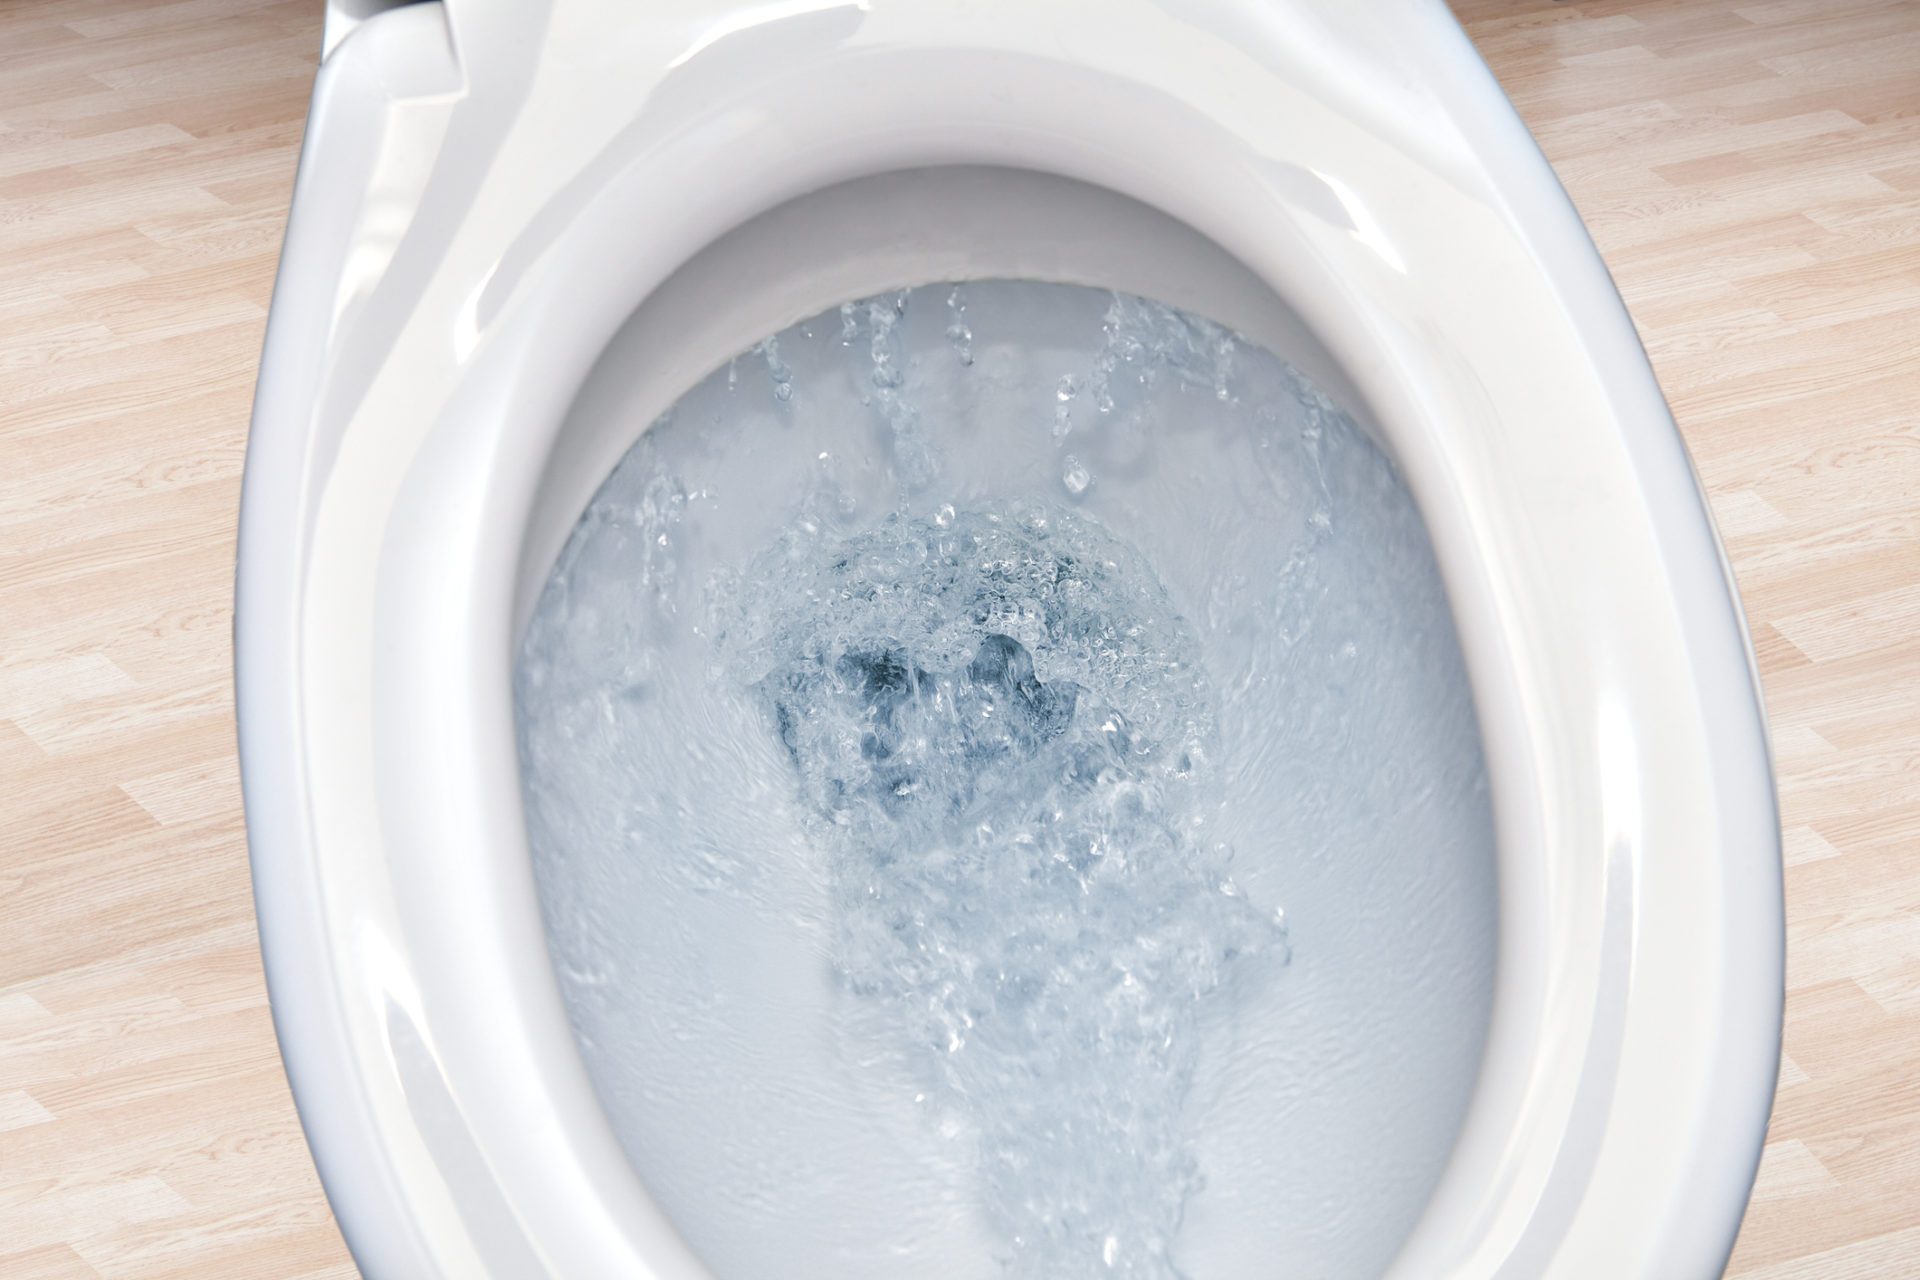
When you flush the toilet, you expect a smooth and quiet operation. However, if you hear strange noises coming from your toilet when you flush, it can be quite alarming. Not only can toilet noise be annoying, but it may also indicate an underlying problem that needs attention.
In this article, we will explore the common causes of toilet noise when flushing and provide troubleshooting tips to help you reduce or eliminate these unwanted sounds. By understanding the root causes and taking appropriate action, you can restore peace and tranquility to your bathroom.
Whether you hear gurgling, hissing, banging, or other unusual sounds, it’s essential to identify the source of the noise. By doing so, you can address the problem effectively and prevent any potential damage to your toilet or plumbing system.
Without further ado, let’s delve into the common causes of toilet noise when flushing and discover the steps you can take to mitigate them.
Key Takeaways:
- Regularly inspect and maintain your toilet to address common causes of noise, such as loose pipes, faulty fill valves, and mineral buildup. Prompt action can restore a peaceful bathroom environment.
- Troubleshoot and address toilet noise issues by tightening loose pipes, replacing faulty fill valves, and clearing drain blockages. Regular maintenance and proper ventilation can prevent noise-related problems.
Read more: Toilet Sprays When Flushed
Common Causes of Toilet Noise When Flushing
There are several potential reasons why your toilet may produce noise when it’s being flushed. Understanding these common causes will help you diagnose the issue and take appropriate action. Here are the most prevalent culprits behind toilet noise:
- Loose Pipes: Loose or improperly secured pipes can vibrate and create noise when water flows through them. This can result in a rattling or banging sound when you flush the toilet.
- Faulty Fill Valve: The fill valve controls the flow of water from the supply line into the toilet tank. If the fill valve is faulty or worn out, it can create a hissing or whistling noise when the tank is being refilled.
- Inadequate Water Pressure: If your toilet is not receiving enough water pressure, it can result in a weak and insufficient flush. This can lead to gurgling or bubbling sounds as air mixes with the water in the toilet bowl.
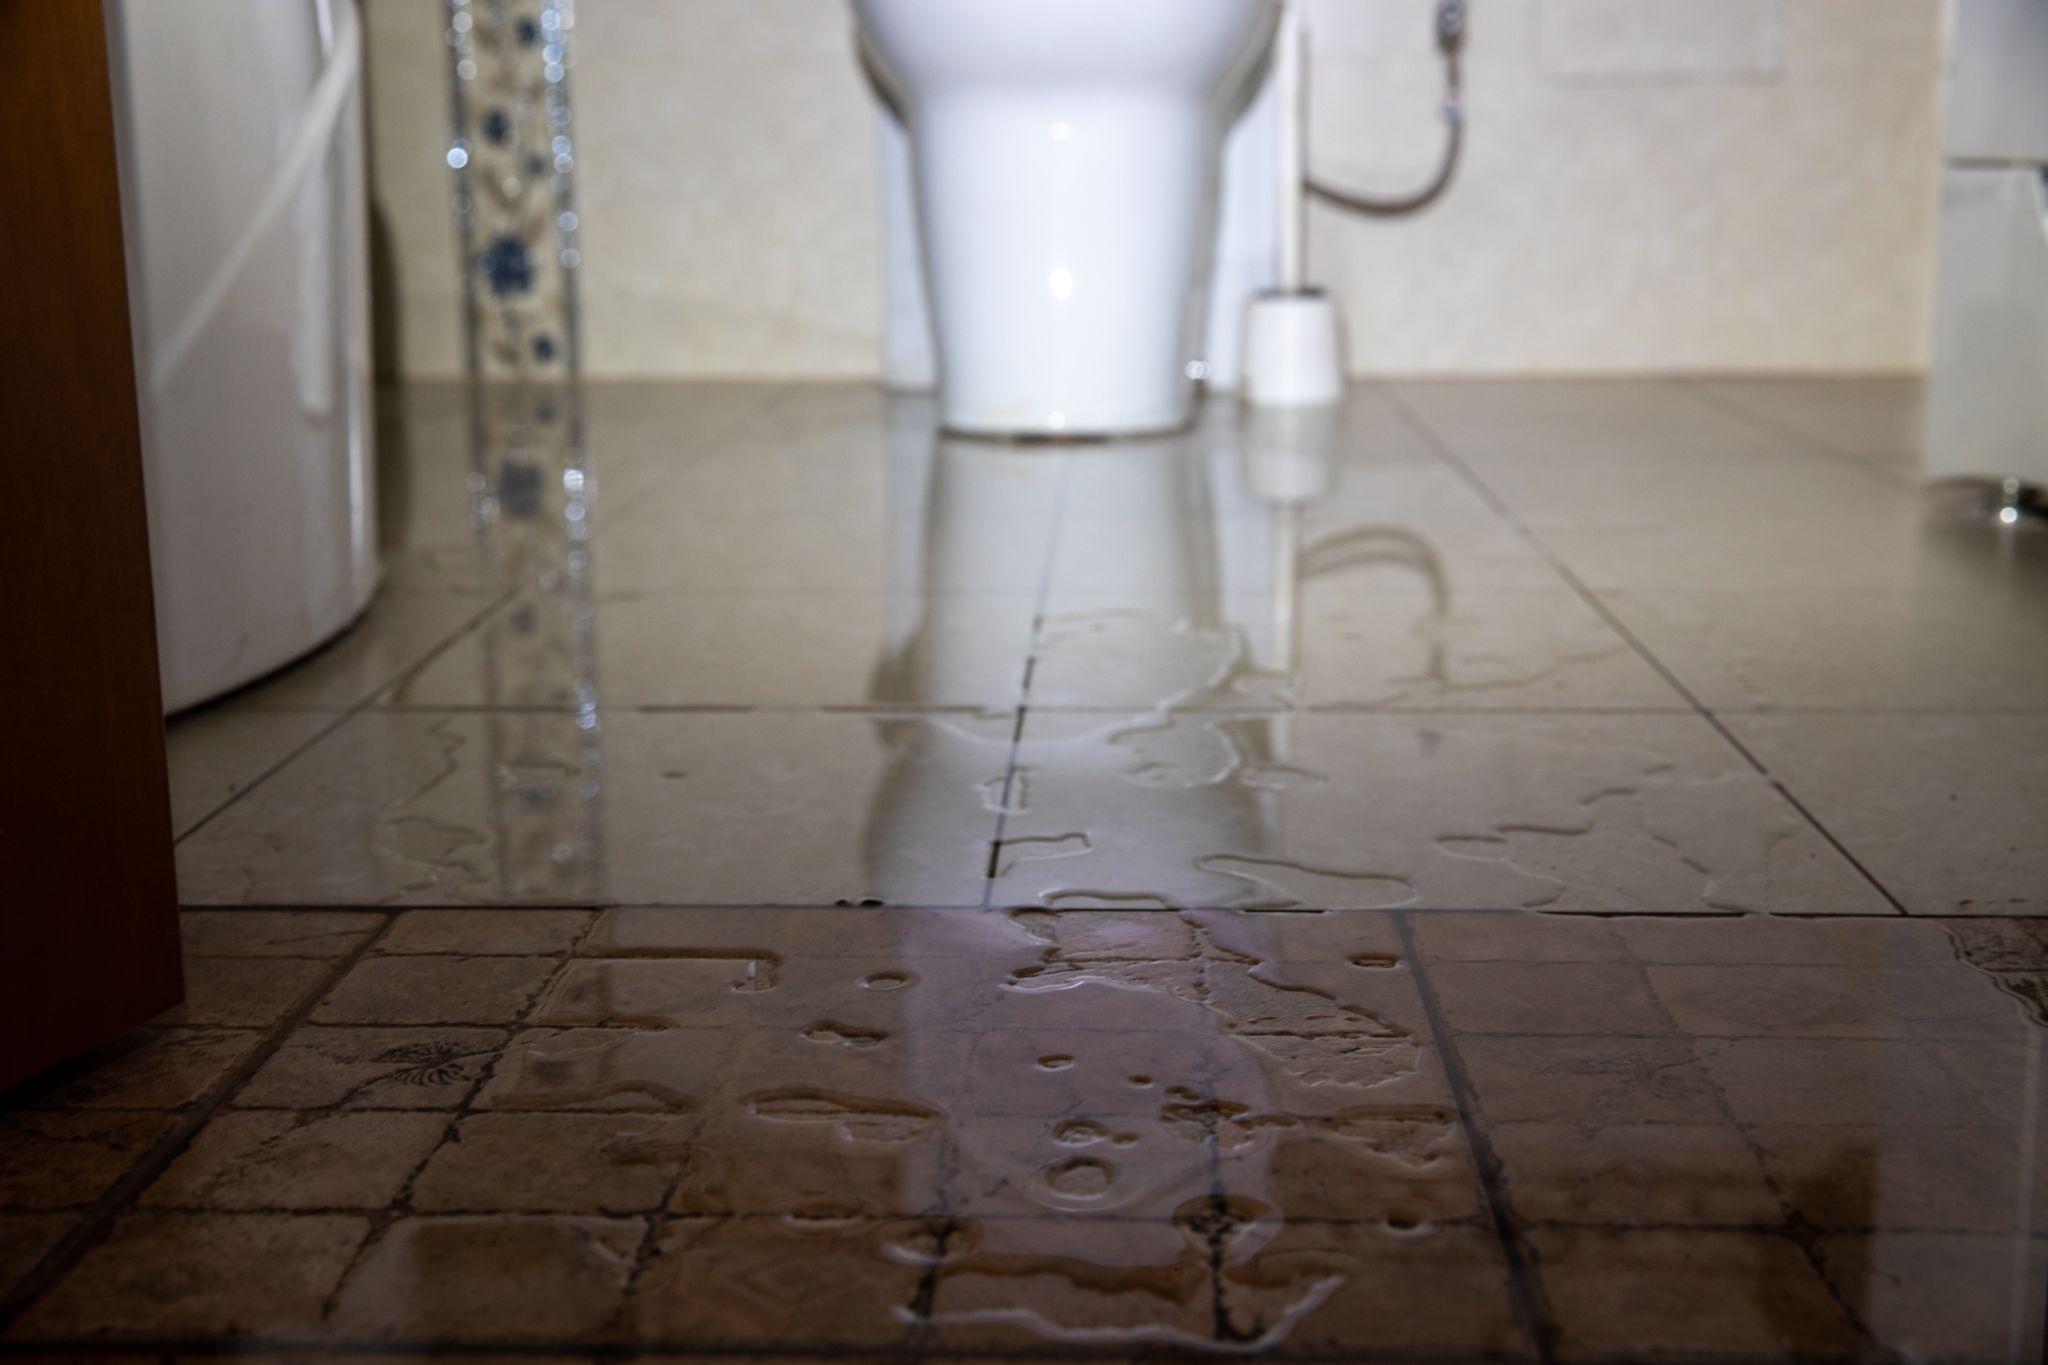
- Clogged or Partially Blocked Toilet Drain: A clog or obstruction in the toilet drain can disrupt the normal flow of water and create gurgling or bubbling noises when you flush. This is often accompanied by slow drainage or water backup in the bowl.
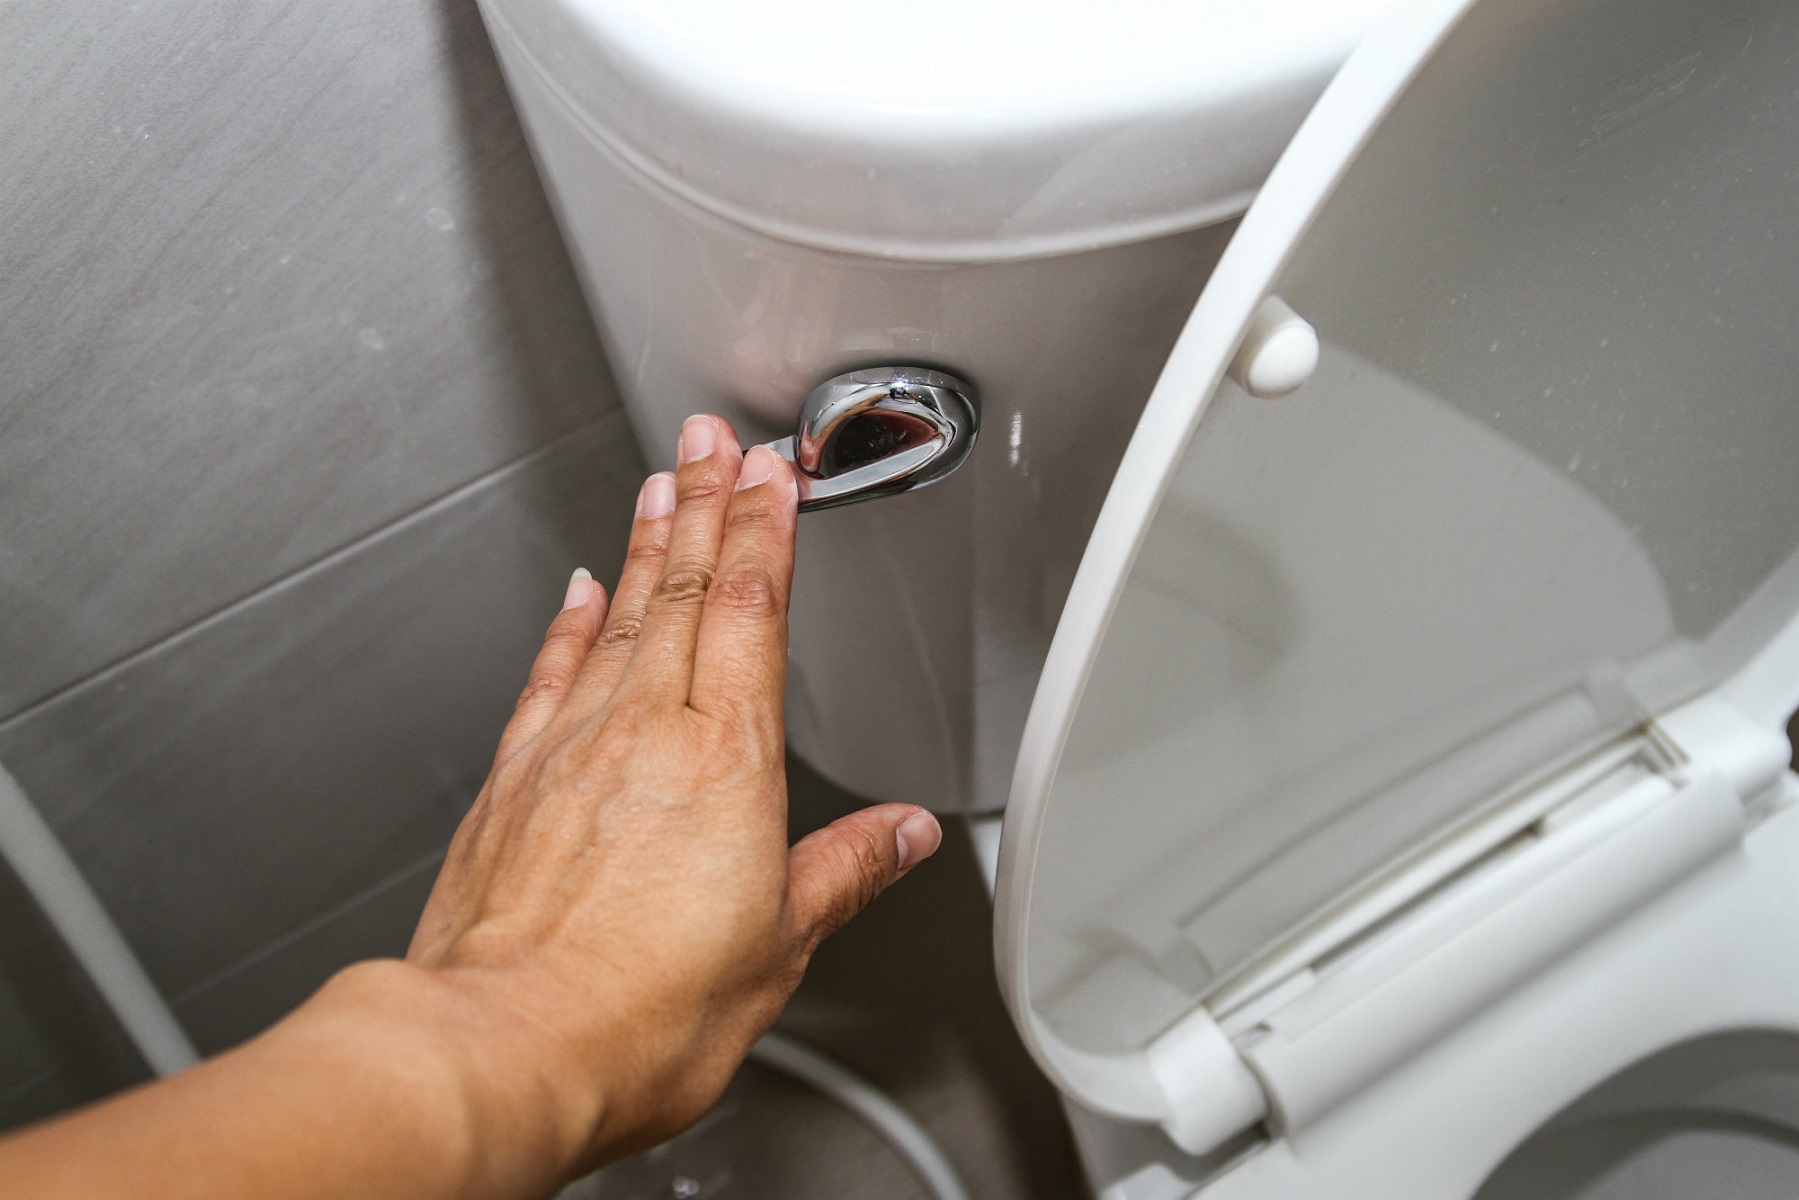
- Malfunctioning Flush Valve: The flush valve is responsible for releasing water from the toilet tank into the bowl during a flush. If the flush valve is not functioning properly, it can cause water to leak, resulting in hissing or dripping sounds.
- Broken or Worn Out Toilet Parts: Over time, various components of your toilet, such as the flapper, handle, or gaskets, can wear out or break. These damaged parts can result in abnormal sounds when you flush the toilet.
- Water Hammer: Water hammer occurs when the flow of water is abruptly stopped or changed direction, causing a loud banging or thumping sound. It can be caused by high water pressure, loose pipes, or a malfunctioning valve.
- Mineral Buildup: Hard water contains minerals that can accumulate and form deposits inside the toilet’s pipes and valves. These mineral deposits can restrict water flow and create hissing, gurgling, or rumbling noises.
- Improper Ventilation System: Inadequate ventilation in the bathroom can lead to negative pressure, causing air to be sucked into the toilet, resulting in gurgling or whistling noises during flushing.
Now that we have identified the common causes of toilet noise when flushing, let’s move on to the troubleshooting tips that can help you alleviate these irritating sounds and restore peace to your bathroom.
Loose Pipes
One common cause of noisy toilets when flushing is loose or improperly secured pipes. When water flows through the pipes, the vibrations can cause them to rattle or bang against nearby surfaces, creating annoying noise.
To address this issue, you will need to locate the loose pipes and secure them properly. Here are some steps to follow:
- Turn off the water supply to the toilet by shutting off the valve behind or nearby the toilet.
- Remove the toilet tank lid and set it aside in a safe place.
- Carefully inspect the pipes connecting the toilet tank to the wall and the floor. Look for any obvious signs of looseness or movement.
- If you find any loose pipes, use an adjustable wrench or pipe wrench to tighten the nuts or connectors that are holding them in place. Be careful not to overtighten, as this can cause damage.
- If the noise persists after tightening the pipes, you may need to add insulation or cushioning material around the pipes to reduce vibrations. Foam pipe insulation or adhesive-backed felt tape can be used for this purpose.
- Once you have secured the pipes and added insulation if necessary, turn on the water supply and flush the toilet to check if the noise has been eliminated.
If the noise persists or if you are unsure about how to tighten the pipes, it is recommended to consult a professional plumber for assistance. They will have the expertise and necessary tools to properly secure the pipes and ensure a noise-free flushing experience.
Remember, loose pipes can not only be noisy but can also lead to more serious plumbing issues if left unaddressed. Taking prompt action to fix loose pipes will help maintain the integrity of your plumbing system and prevent further damage.
Now that you have tackled loose pipes, let’s move on to the next common cause of toilet noise: a faulty fill valve.
Faulty Fill Valve
A faulty fill valve is another potential culprit behind toilet noise when flushing. The fill valve is responsible for regulating the flow of water from the supply line into the toilet tank. When this valve malfunctions, it can result in hissing or whistling sounds during the tank refill process.
To address a faulty fill valve, you may need to replace it with a new one. Here’s a step-by-step guide:
- Turn off the water supply to the toilet by shutting off the valve located behind or near the toilet.
- Flush the toilet to drain out as much water as possible from the tank.
- Use a towel or sponge to soak up any remaining water in the tank.
- Locate the fill valve inside the toilet tank. It is usually connected to the float assembly and has a water supply line attached to it.
- Disconnect the water supply line from the fill valve using an adjustable wrench or pliers.
- Remove the old fill valve by unscrewing it from the bottom of the toilet tank. You may need to use a wrench or pliers to loosen and remove it.
- Take the new fill valve and follow the manufacturer’s instructions for installation. This typically involves inserting the valve into the tank opening and tightening it securely.
- Reattach the water supply line to the fill valve and tighten it using an adjustable wrench or pliers.
- Turn on the water supply and allow the toilet tank to refill.
- Flush the toilet to ensure that the new fill valve is working properly and that the noise has been eliminated.
If you are unsure about how to replace the fill valve or if the noise persists even after replacing it, it is recommended to seek the assistance of a professional plumber. They can help diagnose the issue and ensure that the new fill valve is installed correctly.
Remember, a faulty fill valve not only creates noise but can also lead to water waste and higher water bills. By promptly addressing this issue, you can not only eliminate the noise but also improve the efficiency of your toilet’s water usage.
With the faulty fill valve addressed, let’s move on to the next common cause of toilet noise: inadequate water pressure.
Inadequate Water Pressure
Inadequate water pressure can be a frustrating issue that can lead to weak flushes and unusual noises when you flush the toilet. When the water pressure is low, air can mix with the water in the toilet bowl, resulting in gurgling or bubbling sounds.
If you suspect that inadequate water pressure is causing the noise in your toilet, here are some troubleshooting tips to address the issue:
- Check other faucets and fixtures in your home to determine if the low water pressure is limited only to the toilet. If all the faucets are experiencing low pressure, the problem may be with your main water supply or a larger plumbing issue that requires professional assistance.
- If the low water pressure is specific to the toilet, check the shut-off valve located behind or near the toilet. Ensure that it is fully open. Sometimes, the valve may be partially closed, limiting the flow of water.
- If the shut-off valve is fully open and the low pressure persists, you may need to clean or replace the toilet’s fill valve. Sediment or debris can accumulate in the valve, obstructing the flow of water and causing low pressure. Refer to the instruction manual or consult a professional for guidance on cleaning or replacing the fill valve.
- Another possible cause of low water pressure is a clogged or partially blocked water supply line. To check for this, turn off the water supply to the toilet and disconnect the supply line from the fill valve. Use a bucket to catch any water that may be in the line, then turn on the water supply briefly to flush out any debris.
- If none of the above steps resolve the low water pressure issue, consider contacting a professional plumber to assess and address the problem. They have the expertise and tools to diagnose and fix more complex plumbing issues that may be causing the inadequate water pressure.
Having adequate water pressure in your toilet is crucial to ensure a proper flush and eliminate any unusual noises. By following these troubleshooting tips, you can address the issue of inadequate water pressure and enjoy a fully functioning and noise-free toilet.
Now that we have covered inadequate water pressure, let’s move on to another common cause of toilet noise: a clogged or partially blocked toilet drain.
Read more: Toilet Squeals When Flushed
Clogged or Partially Blocked Toilet Drain
A clogged or partially blocked toilet drain can lead to gurgling or bubbling sounds when you flush the toilet. The obstruction in the drain can disrupt the normal flow of water and air, causing these unusual noises.
To address a clogged or partially blocked toilet drain and eliminate the associated noise, you can try the following troubleshooting tips:
- Use a plunger to attempt clearing the clog. Ensure that there is enough water in the toilet bowl to cover the rubber part of the plunger. Place the plunger over the drain hole and push down firmly, then pull up sharply to create suction. Repeat this motion several times until the clog is dislodged.
- If the plunger does not resolve the issue, you can try using a toilet auger or a plumbing snake. Insert the auger or snake into the toilet drain and rotate it clockwise while applying gentle pressure. This can help break up and dislodge the clog.
- If the clog is stubborn and cannot be cleared with a plunger or auger, you may need to use a chemical drain cleaner. However, use caution and follow the instructions on the product carefully, as some drain cleaners can be harsh and may damage your pipes or toilet.
- For more severe or persistent clogs, it is advisable to seek the assistance of a professional plumber. They have the necessary equipment and expertise to effectively clear the clog without causing damage to your toilet or plumbing system.
- As a preventive measure, avoid flushing items that can contribute to clogs, such as feminine hygiene products, wipes, or excessive amounts of toilet paper. Proper disposal of these items in a waste bin can help prevent future clogs and noise issues.
By addressing a clogged or partially blocked toilet drain promptly, you can restore proper water flow and eliminate the gurgling or bubbling noises during flushing.
Now that we have covered a clogged or partially blocked toilet drain, let’s move on to another potential cause of toilet noise: a malfunctioning flush valve.
Malfunctioning Flush Valve
A malfunctioning flush valve can be a source of noise when flushing your toilet. The flush valve is responsible for releasing water from the toilet tank into the bowl during a flush. When this valve doesn’t function properly, it can lead to various issues, including hissing or dripping sounds.
To address a malfunctioning flush valve and eliminate the associated noise, you can try the following troubleshooting steps:
- Turn off the water supply to the toilet by closing the shut-off valve.
- Remove the toilet tank lid and carefully set it aside.
- Inspect the flush valve for any visible signs of damage or wear. Look for cracks, broken pieces, or corrosion.
- If the flush valve appears to be damaged, it will need to be replaced. You can find a suitable replacement flush valve at your local hardware store. Follow the manufacturer’s instructions for installation.
- If the flush valve looks intact, it may be dirty or covered in mineral deposits. Use a clean cloth or sponge to wipe away any debris or buildup on the valve.
- Check the flush valve’s seal. Ensure that it is properly seated and creating a tight seal. If the seal is worn or damaged, it will need to be replaced.
- If the noise persists after cleaning or replacing the flush valve, you may need to call a professional plumber to assess and address the issue.
It’s important to repair or replace a malfunctioning flush valve, as it can impact the efficiency and effectiveness of your toilet’s flushing mechanism. A properly functioning flush valve will ensure a noise-free flush and prevent water waste.
Now that we’ve discussed a malfunctioning flush valve, let’s move on to the next common cause of toilet noise: broken or worn-out toilet parts.
Broken or Worn Out Toilet Parts
If your toilet is making noise when you flush, it’s possible that there are broken or worn-out parts contributing to the issue. Over time, various components of a toilet can deteriorate, leading to unusual sounds during flushing.
To identify and address broken or worn-out toilet parts, follow these troubleshooting steps:
- Turn off the water supply to the toilet by closing the shut-off valve.
- Remove the toilet tank lid and place it in a safe area.
- Inspect the components inside the toilet tank, including the flapper, handle, chain, and gaskets.
- If you notice any cracks, breaks, or signs of wear on these parts, they may need to be replaced.
- Start by checking the flapper, which is responsible for sealing the flush valve opening. If the flapper is damaged or worn, it may not create a tight seal, causing water to leak and producing noise. Replace the flapper if necessary.
- Check the handle and chain. If they are loose, adjust or tighten them as needed to ensure smooth operation during flushing.
- Inspect the gaskets between the tank and the bowl. If they are old or damaged, they may need to be replaced to eliminate any potential leaks or noise.
- For any broken or worn-out parts, purchase suitable replacements from a hardware store and follow the manufacturer’s instructions for installation.
- Once you have replaced the necessary components, turn on the water supply and test the toilet. The noise should be significantly reduced or eliminated.
By regularly inspecting your toilet’s components and replacing broken or worn-out parts, you can ensure smooth and silent flushes. Additionally, this maintenance can help prevent further damage to your toilet system in the long run.
If you are unsure about identifying or replacing the broken or worn-out parts, it is recommended to consult a professional plumber for assistance. They have the expertise to diagnose the issue accurately and ensure proper replacement of toilet components.
With broken or worn-out toilet parts addressed, let’s move on to the next common cause of toilet noise: water hammer.
Water Hammer
If you’re hearing a loud banging or thumping sound when you flush the toilet, it may be due to a phenomenon known as water hammer. Water hammer occurs when there is a sudden change or stop in water flow, causing a pressure surge in the plumbing pipes.
To address water hammer and eliminate the associated noise, you can take the following steps:
- Turn off the water supply to the toilet by closing the shut-off valve.
- Flush the toilet to drain any water remaining in the tank and plumbing lines.
- Inspect the water supply lines connecting to the toilet. Look for any loose or improperly secured pipes.
- If you find any loose pipes, use a wrench or pliers to tighten the nuts or connectors holding them in place.
- If tightening the pipes doesn’t resolve the issue, consider installing a water hammer arrestor. A water hammer arrestor is a device that absorbs or redirects the pressure surge, preventing the noise associated with water hammer. You can find water hammer arrestors at your local hardware store.
- Follow the manufacturer’s instructions to install the water hammer arrestor, usually near the shut-off valve or where the water supply line connects to the toilet.
- Turn on the water supply and test the toilet. The water hammer should be significantly reduced or eliminated.
Addressing water hammer is crucial to prevent potential damage to your plumbing system. The sudden pressure surges associated with water hammer can lead to pipe leaks, valve damage, and other plumbing issues if left unattended.
If you’re unsure about how to address water hammer or install a water hammer arrestor, it’s recommended to consult a professional plumber. They have the expertise and experience to diagnose and resolve water hammer issues effectively.
With water hammer addressed, let’s move on to another common cause of toilet noise: mineral buildup.
Read more: Bathtub Gurgles When Toilet Is Flushed
Mineral Buildup
Mineral buildup, often caused by hard water, can be a source of noise when flushing your toilet. Over time, minerals such as calcium and magnesium can accumulate in the toilet’s pipes and valves, restricting water flow and creating hissing, gurgling, or rumbling noises.
To address mineral buildup and eliminate the associated noise, follow these troubleshooting steps:
- Turn off the water supply to the toilet by closing the shut-off valve.
- Empty the toilet tank by flushing and holding down the handle until the majority of the water drains out.
- Inspect the toilet tank and the inside of the toilet bowl for any visible mineral deposits. These deposits may appear as a white or yellowish crust.
- To remove the mineral buildup, you can use a mixture of vinegar and water. Fill a spray bottle with equal parts of white vinegar and water.
- Spray the vinegar and water mixture onto the affected areas in the toilet tank and bowl. Allow it to sit for a few minutes to dissolve the mineral deposits.
- Use a toilet brush or a scrubber to gently scrub away the loosened mineral buildup. Be careful not to scrub too vigorously to avoid damaging the toilet’s surface.
- Flush the toilet to rinse away any remaining vinegar and mineral residue.
- If the mineral buildup is severe, you may need to repeat this process multiple times or let the vinegar mixture soak for a longer period.
- To prevent future mineral buildup, consider installing a water softener system or using water treatment products specifically designed for reducing mineral content.
Mineral buildup not only affects the performance of your toilet but can also impact the overall efficiency of your plumbing system. By regularly addressing and removing mineral deposits, you can prevent clogs, improve water flow, and reduce the noise associated with mineral buildup.
If you’re unsure about removing mineral buildup or if the noise persists even after cleaning, it is recommended to consult a professional plumber for assistance. They can provide further guidance and ensure that your toilet and plumbing system are functioning optimally.
With mineral buildup addressed, let’s move on to the final common cause of toilet noise: improper ventilation.
Improper Ventilation System
Improper ventilation in the bathroom can contribute to toilet noise when flushing. When there is inadequate airflow and negative pressure in the bathroom, it can cause air to be sucked into the toilet drain, resulting in gurgling, whistling, or other unusual sounds during flushing.
To address an improper ventilation system and reduce toilet noise, consider the following troubleshooting tips:
- Inspect the bathroom ventilation fan or window. Ensure that it is functioning properly and providing sufficient airflow to the room.
- If you have an exhaust fan, clean or replace the air filter to maintain optimal airflow. A clogged or dirty filter can hinder the ventilation system’s effectiveness.
- If you don’t have an exhaust fan, consider installing one to improve ventilation. An exhaust fan helps remove moisture and odors from the bathroom, promoting better airflow and reducing negative pressure.
- Keep the bathroom door open during and after using the toilet. This allows for better air circulation and minimizes negative pressure in the room.
- Consider installing a vent stack or extending the existing vent pipe for improved ventilation. Vent stacks help maintain proper air pressure and prevent negative pressure from affecting the toilet and drain system.
- Ensure that there are no obstructions in the plumbing vent pipe on the roof. Debris, leaves, or even bird nests can block the vent pipe, disrupting proper airflow and causing noise issues.
- If you’re unsure about the ventilation system or need professional assistance, consult a plumber or HVAC technician. They can assess the situation, make recommendations, and help you ensure that the ventilation system is properly designed and installed.
Proper ventilation in the bathroom is crucial for maintaining a healthy and functional environment. By addressing any ventilation issues, you can improve airflow, reduce negative pressure, and minimize toilet noise when flushing.
With improper ventilation addressed, we have covered the common causes of toilet noise when flushing. By following the troubleshooting tips provided, you can identify and rectify the specific issue causing the noise in your toilet, restoring peace and quiet to your bathroom.
Now that we have explored the common causes and troubleshooting tips, you are well equipped to address toilet noise when flushing. Remember, if you’re unsure about diagnosing or resolving the issue, it’s advisable to seek the assistance of a professional plumber. They have the expertise and experience to tackle plumbing problems effectively.
To reduce toilet noise when flushing, try adjusting the water level in the tank. Lowering the water level can help reduce the noise as the tank refills.
Troubleshooting Tips for Reducing Toilet Noise
Dealing with a noisy toilet can be irritating, but there are several troubleshooting tips you can follow to reduce or eliminate the noise. By addressing the underlying issues, you can restore tranquility to your bathroom. Here are some tips to help you troubleshoot and reduce toilet noise:
- Tighten Loose Pipes: Loose or improperly secured pipes can vibrate and create noise when water flows through them. Use an adjustable wrench or pipe wrench to tighten the nuts or connectors holding the pipes in place. Additionally, consider adding insulation or cushioning material around the pipes to reduce vibrations.
- Replace Faulty Fill Valve: A faulty fill valve can result in hissing or whistling noises during tank refilling. Turn off the water supply, remove the old fill valve, and install a new one following the manufacturer’s instructions. This will ensure a proper seal and prevent noise.
- Check and Adjust Water Pressure: Inadequate water pressure can cause gurgling or bubbling sounds during flushing. Check the shut-off valve and ensure it is fully open. If low pressure persists, clean or replace the fill valve and check for clogs in the supply line. Consult a professional plumber if needed.
- Clear Toilet Drain Blockages: A clogged or partially blocked toilet drain can disrupt water flow and create gurgling noises. Use a plunger or a toilet auger to remove the obstruction. For stubborn clogs, consider using a chemical drain cleaner or seek professional help.
- Repair or Replace Flush Valve: A malfunctioning flush valve can lead to hissing or dripping sounds. Inspect the flush valve for any damage or wear. Replace it if necessary, following the manufacturer’s instructions. Ensure the flush valve seal is properly seated for a tight seal.
- Inspect and Replace Worn Out Toilet Parts: Over time, various toilet parts can wear out or break, causing noise during flushing. Check components like the flapper, handle, chain, and gaskets for any signs of damage. Replace any worn-out parts as needed to eliminate noise.
- Install a Water Hammer Arrestor: Water hammer occurs when water flow abruptly stops, causing loud banging or thumping sounds. Install a water hammer arrestor near the shut-off valve or where the water supply line connects to the toilet. This device absorbs pressure surges, preventing noise.
- Remove Mineral Deposits: Mineral buildup from hard water can restrict water flow and create hissing or rumbling noises. Use a vinegar and water mixture to clean the toilet tank and bowl, removing mineral deposits. Regularly cleaning and descaling can prevent future buildup and noise issues.
- Improve Ventilation in the Bathroom: Inadequate airflow and negative pressure can cause air to be sucked into the toilet drain, resulting in noise. Ensure your bathroom has proper ventilation, such as an exhaust fan, to promote airflow. Keep the bathroom door open to allow for better air circulation.
By following these troubleshooting tips, you can identify and address the specific issues causing noise in your toilet. However, if the noise persists or if you’re unsure about performing any repairs, it’s always recommended to consult a professional plumber. They can provide proper diagnosis and resolution for your plumbing problems.
By taking action to reduce toilet noise, you can enjoy a peaceful and quiet bathroom environment without the unwanted sounds during flushing.
Now that you have a comprehensive set of troubleshooting tips, you are well-equipped to tackle toilet noise effectively. Remember to approach each issue systematically and consult a professional if needed. Happy troubleshooting and enjoy a noise-free bathroom experience!
Tighten Loose Pipes
Loose or improperly secured pipes in your toilet can be a common source of noise during flushing. When water flows through these loose pipes, they can vibrate or bang against nearby surfaces, creating annoying noises. Fortunately, tightening loose pipes is a relatively simple fix. Here’s how to do it:
- Start by turning off the water supply to your toilet. You can do this by locating the shut-off valve typically located near the base of the toilet or on the wall behind the toilet.
- Once the water supply is turned off, flush the toilet to drain as much water as possible from the tank and bowl. This will minimize the risk of water leakage when you start working on the pipes.
- Next, examine the pipes connecting the toilet tank to the wall or floor. Look for any pipes that appear to be loose or wiggling. Pay close attention to the nuts or connectors where the pipes attach to the toilet tank and the water supply line.
- Using an adjustable wrench or pliers, gently but firmly tighten the nuts or connectors on the loose pipes. Be careful not to overtighten, as this can lead to damage or cracks in the pipes. The goal is to secure the pipes snugly without causing any unnecessary strain.
- After tightening the pipes, turn the water supply back on and observe the toilet for any signs of leaks. If you notice any leaks, you may need to further tighten the connections or consider replacing faulty parts.
- Finally, flush the toilet and listen for any remaining noises. Tightening the loose pipes should eliminate or significantly reduce the vibrations and banging sounds that were previously present during flushing.
If you’re uncertain about how to tighten the pipes or encounter any difficulties during the process, it’s always wise to consult a professional plumber. They have the expertise and tools necessary to tackle any plumbing issues more efficiently and effectively.
Tightly securing loose pipes is crucial, not only to eliminate noise but also to ensure the integrity of your plumbing system. By taking the time to address the problem promptly, you can enjoy a quieter and more peaceful flushing experience.
Now that you’ve tackled the issue of loose pipes, let’s move on to troubleshooting the next potential cause of toilet noise.
Read more: Toilet Bowl Fills With Water When Flushed
Replace Faulty Fill Valve
A faulty fill valve in your toilet can lead to hissing, whistling, or other irritating noises when the tank is being refilled. The fill valve is responsible for controlling the flow of water from the supply line into the toilet tank, and when it malfunctions, it can disrupt the normal water flow and create unwanted sounds. To resolve this issue, replacing the faulty fill valve is necessary. Here’s how:
- Start by turning off the water supply to your toilet. Locate the shut-off valve, often located near the base of the toilet or on the wall behind it, and turn it off by rotating the handle clockwise.
- Flush the toilet to drain as much water as possible from the tank. You may need to hold down the flush handle until the water is fully drained.
- With the water supply turned off and the tank empty, use an adjustable wrench or pliers to disconnect the water supply line from the fill valve at the bottom of the tank. Place a towel or bucket beneath the connection to catch any remaining water.
- Once the water supply line is disconnected, locate the fill valve inside the toilet tank. It’s commonly attached to the float assembly and is situated in the center or on one side of the tank.
- Depending on the type of fill valve, there may be a locknut securing it to the bottom of the tank. Loosen and remove the locknut using an adjustable wrench or pliers.
- Once the locknut is removed, take out the old fill valve from the tank. Ensure that you have a new fill valve ready for installation.
- Follow the manufacturer’s instructions for installing the new fill valve. This typically involves inserting it through the bottom of the tank and securing it with the locknut. Make sure the fill valve is positioned correctly and aligned with the overflow tube.
- Reconnect the water supply line to the fill valve and tighten it securely with an adjustable wrench or pliers.
- Turn on the water supply by rotating the shut-off valve handle counterclockwise. Allow the toilet tank to refill, and check for any leaks around the new fill valve connections.
- Once the tank is refilled, flush the toilet and listen for any unusual noises. The new fill valve should operate smoothly, without hissing or whistling sounds.
If you encounter any difficulties during the replacement process or if the noise persists even after installing a new fill valve, it’s advisable to seek assistance from a professional plumber. They will have the expertise and knowledge to diagnose the issue and provide a suitable solution.
Replacing a faulty fill valve is essential not only for eliminating noise but also to ensure proper water flow, prevent water waste, and maintain the efficiency of your toilet. By taking the time to perform this repair, you can enjoy a quieter and more reliable flushing experience.
Now that you’ve addressed the issue of a faulty fill valve, let’s move on to troubleshooting the next cause of toilet noise.
Check and Adjust Water Pressure
Inadequate water pressure can contribute to gurgling or bubbling sounds during toilet flushing. When the water pressure is too low, air can become mixed with the water in the toilet bowl, causing these unwanted noises. Checking and adjusting the water pressure can help alleviate this issue. Here’s how:
- Begin by checking the water pressure in your home. Start by turning on a faucet or shower in a different area and observing the water flow. If all the faucets and showers have low water pressure, the issue might lie with your main water supply or a larger plumbing problem. In such cases, it’s advisable to consult a professional plumber for assistance.
- If the low water pressure appears to be specific to the toilet, the first step is to locate the shut-off valve located behind or near the toilet and ensure it is fully open. Sometimes, the valve may be partially closed, limiting the flow of water.
- Next, remove the toilet tank lid and observe the float ball or float cup inside the tank. Ensure the water level is adjusted to the recommended level indicated on the tank or according to the manufacturer’s instructions. Consult your toilet’s manual for specific information.
- If the water level is too low, adjust the float ball or cup by bending the float arm slightly to increase or lower the water level. A higher water level can help improve flushing performance and reduce noise caused by inadequate water pressure.
- If adjusting the float arm doesn’t resolve the issue, check the fill valve for any clogs or debris that may be obstructing water flow. Clean the valve thoroughly using a soft brush or cloth to remove any buildup. Alternatively, consider replacing the fill valve if it is worn or faulty.
- Once you have adjusted the water level and checked the fill valve, turn on the water supply and allow the toilet tank to refill completely. Then, flush the toilet and observe if the gurgling or bubbling noise has subsided.
- If the low water pressure and noise persist, it is advisable to consult a professional plumber to further investigate the issue. They have the expertise and specialized equipment to diagnose and address more complex plumbing problems.
By checking and adjusting the water pressure in your toilet, you can optimize the flushing performance and minimize noise caused by inadequate water flow. However, if you’re uncertain about performing these steps or experience any difficulties, it’s recommended to seek professional assistance for a thorough assessment and resolution.
Now that you’ve addressed water pressure, let’s move on to the next troubleshooting tip for reducing toilet noise.
Clear Toilet Drain Blockages
A clogged or partially blocked toilet drain can disrupt the normal flow of water during flushing, resulting in gurgling or bubbling noises. Clearing these blockages is crucial to restore proper water flow and eliminate the associated noise. Here’s how you can do it:
- Start by using a plunger to attempt to clear the blockage. Ensure there is enough water in the toilet bowl to cover the rubber part of the plunger. Place the plunger over the drain hole and push down and pull up firmly several times to create suction. This action can help dislodge the blockage and restore water flow.
- If the plunger doesn’t solve the issue, you can try using a toilet auger or plumbing snake. Insert the auger or snake into the toilet drain and rotate it clockwise while applying gentle pressure. The auger’s extendable cable or snake will help break up and remove the blockage. Continue feeding the cable or snake until you encounter resistance, then rotate and retract it to clear the clog.
- For more stubborn or severe blockages, you may need to use a chemical drain cleaner. Follow the instructions on the product carefully, as different cleaners have specific usage guidelines. It’s essential to use a drain cleaner formulated for toilets and avoid mixing different types of cleaners, as this can cause dangerous chemical reactions.
- If the blockage persists or the noise continues after attempting the previous steps, you may need to seek the assistance of a professional plumber. They have specialized tools, such as high-pressure water jets or drain cameras, to diagnose and clear more challenging clogs effectively.
- As a preventive measure, remind household members to avoid flushing items that can contribute to clogs, such as feminine hygiene products, wipes, or excessive toilet paper. Educate them about proper waste disposal and consider providing a clearly marked waste bin in the bathroom for non-flushable items.
Clearing toilet drain blockages is necessary not only to eliminate noise but also to ensure proper drainage and prevent plumbing issues. By following these steps and practicing proper toilet maintenance, you can avoid future blockages and maintain a smoothly functioning and quiet toilet.
If you’re unsure about clearing toilet drain blockages or encounter any difficulties during the process, it’s recommended to consult a professional plumber. They have the expertise to handle more challenging clogs and ensure the issue is properly resolved.
Now that you’ve tackled toilet drain blockages, let’s move on to the next troubleshooting tip for reducing toilet noise.
Repair or Replace Flush Valve
A malfunctioning flush valve can be a source of noise when flushing your toilet. The flush valve is responsible for releasing water from the toilet tank into the bowl during a flush. If the flush valve is not functioning properly, it can lead to hissing or dripping sounds. Here’s how you can repair or replace a faulty flush valve:
- Turn off the water supply to your toilet by closing the shut-off valve located near the base or behind the toilet.
- Flush the toilet to drain the water from the tank.
- Remove the toilet tank lid and set it aside in a safe place.
- Locate the flush valve inside the toilet tank. It is typically located at the center or at the bottom of the tank and is connected to the toilet handle.
- Inspect the flush valve for any visible signs of damage or wear. Look for cracks, breaks, or mineral deposits that may be affecting its performance.
- If the flush valve appears damaged or worn, you may need to replace it. Start by determining the type of flush valve your toilet uses. There are different types, such as flapper valves or canister valves.
- Visit a hardware store or plumbing supply store to purchase a suitable replacement flush valve for your specific toilet model.
- Follow the manufacturer’s instructions to remove the old flush valve from the toilet tank. This may involve disconnecting the chain or lever mechanism and unscrewing or unclipping the valve from the tank.
- Install the new flush valve according to the manufacturer’s instructions. Ensure it is properly aligned and securely fastened in the tank.
- Reconnect the chain or lever mechanism to the new flush valve.
- Turn on the water supply and allow the toilet tank to refill.
- Test the newly installed flush valve by flushing the toilet and checking for any noise or leaks. Adjust the chain or lever mechanism if necessary to ensure proper operation.
If you encounter any difficulties during the repair or replacement process, or if the noise persists after installing the new flush valve, it’s advisable to consult a professional plumber. They have the expertise to diagnose and address any complex issues with the flush valve or toilet system.
Repairing or replacing a faulty flush valve is essential for a quiet and efficient flushing experience. By taking the necessary steps to address the issue, you can eliminate noise and ensure the proper functioning of your toilet.
Now that you’ve tackled the flush valve, let’s move on to the next troubleshooting tip for reducing toilet noise.
Inspect and Replace Worn Out Toilet Parts
Over time, various parts of your toilet can become worn out or damaged, leading to noise during flushing. It’s important to regularly inspect and replace these worn-out toilet parts to maintain a quiet and properly functioning toilet. Here’s how you can do it:
- Turn off the water supply to your toilet by closing the shut-off valve located near the base or behind the toilet.
- Flush the toilet to drain the water from the tank.
- Remove the toilet tank lid and set it aside in a safe place.
- Inspect the components inside the toilet tank, including the flapper, handle, chain, and gaskets.
- If you notice any signs of damage, wear, or deterioration on these parts, it’s time to replace them.
- If the flapper, a rubber valve that opens to release water during flushing, is cracked or worn, it won’t create a proper seal. Replace the flapper by disconnecting it from the chain and attaching a new one according to the manufacturer’s instructions.
- Inspect the toilet handle for any looseness or damage. If it’s not operating smoothly or is broken, replace it with a new handle. This involves removing the old handle by unscrewing it from the side of the tank and attaching the new handle in its place.
- Check the chain that connects the toilet handle to the flapper valve. If the chain is loose or too tight, it can affect the proper functioning of the toilet. Adjust the chain length as necessary to ensure smooth operation.
- Examine the gaskets between the tank and the bowl for any wear or damage. Faulty gaskets can cause water leakage and noise. Replace them with new ones if needed.
- If any other parts of the toilet, such as the fill valve or flush valve, appear damaged or worn, consider replacing them following the manufacturer’s instructions and using appropriate replacement parts.
- After replacing the worn-out toilet parts, turn on the water supply and allow the toilet tank to refill.
- Test the toilet by flushing it and listen for any unusual noises. The replacement of worn-out parts should result in a quieter and more efficient flushing experience.
If you’re uncertain about identifying or replacing the worn-out toilet parts or encounter any difficulties during the process, it’s recommended to consult a professional plumber. They have the expertise to ensure proper installation and can assist with more complex toilet repairs if necessary.
By regularly inspecting and replacing worn-out toilet parts, you can maintain a quiet and reliable flushing mechanism while preventing potential leaks or further damage.
Now that you’ve addressed worn-out toilet parts, let’s move on to the next troubleshooting tip for reducing toilet noise.
Install a Water Hammer Arrestor
Water hammer, the loud banging or thumping noise that occurs when water flow is abruptly stopped or changed direction, can be a source of annoyance and potential damage to your plumbing system. Installing a water hammer arrestor can help alleviate this issue and reduce noise during toilet flushing. Here’s how you can install a water hammer arrestor:
- Locate the shut-off valve that controls the water supply to your toilet. Turn off the water supply by rotating the valve handle clockwise.
- Flush the toilet to release any remaining water in the tank and reduce pressure in the plumbing lines.
- Using an adjustable wrench or pliers, disconnect the water supply line from the shut-off valve at the wall or floor connection. Have a small bucket or towel ready to catch any water that may spill.
- Depending on the type of water hammer arrestor you have, there are a few installation options.
- One common option is to install a water hammer arrestor directly onto the shut-off valve. Unscrew the existing connector or nut where the supply line was connected, and attach the water hammer arrestor in its place. Make sure it is tightened securely.
- Another option is to install the water hammer arrestor on the water supply line itself. In this case, use a pipe cutter or tubing cutter to cut the water supply line at the appropriate location. Follow the manufacturer’s instructions to install the water hammer arrestor in the cut section, making sure to connect it securely with compression fittings.
- Once the water hammer arrestor is properly installed, reconnect the water supply line to the shut-off valve or the water hammer arrestor itself, depending on the installation method you chose. Tighten the connection to prevent any leaks.
- Turn on the water supply by rotating the shut-off valve handle counterclockwise. Allow the toilet tank to refill.
- Flush the toilet and listen for any noise. The water hammer arrestor should help prevent the loud banging or thumping sounds associated with water hammer during flushing.
If you’re uncertain about installing a water hammer arrestor or encounter any difficulties during the process, it’s recommended to consult a professional plumber. They have the expertise and specialized tools to ensure proper installation and resolve any potential issues.
Installing a water hammer arrestor can significantly reduce noise caused by water hammer during toilet flushing. By addressing this issue, you not only improve the comfort of your home but also protect your plumbing system from potential damage.
Now that you’ve installed a water hammer arrestor, let’s move on to the final troubleshooting tip for reducing toilet noise.
Remove Mineral Deposits
Mineral deposits can accumulate in your toilet over time, especially if you have hard water. These deposits can restrict water flow, create blockages, and contribute to noise during flushing. Removing mineral deposits is essential to ensure optimal toilet performance and reduce unwanted noise. Here’s how you can do it:
- Start by turning off the water supply to your toilet. Locate the shut-off valve near the base or behind the toilet and rotate the handle clockwise to close it.
- Flush the toilet to drain as much water as possible from the tank and bowl.
- Wear protective gloves and safety goggles to protect your hands and eyes from cleaning solutions.
- Prepare a cleaning solution by mixing equal parts white vinegar and water in a spray bottle or a container.
- Spray or pour the cleaning solution on the interior surfaces of the toilet tank and bowl. Pay extra attention to areas with visible mineral deposits.
- Allow the cleaning solution to sit for several minutes to dissolve the mineral deposits.
- Scrub the interior surfaces of the tank and bowl using a toilet brush or a scrub brush. Focus on areas with stubborn buildup.
- Rinse the tank and bowl by turning on the water supply momentarily to flush out the cleaning solution and loosened mineral deposits.
- If the mineral deposits are severe or deep inside the toilet, you may need to repeat the cleaning process or use a pumice stone or a scrub pad specifically designed for toilet cleaning. Follow the manufacturer’s instructions and be cautious not to scratch the porcelain surface.
- For stubborn mineral deposits on smaller parts like jets or in hard-to-reach areas, you can soak them in a bowl filled with vinegar for a few hours or overnight before scrubbing or rinsing.
- To prevent future mineral buildup, consider using a water softener or a water treatment system to soften the water. Regular cleaning and maintenance are also key to keeping mineral deposits at bay.
If you’re dealing with particularly stubborn mineral deposits or if you’re unsure about cleaning methods, it’s advisable to consult a professional plumber. They can provide guidance and assistance in effectively removing mineral deposits without causing damage to your toilet.
By removing mineral deposits, you not only restore proper water flow and reduce noise during flushing, but also prolong the lifespan of your toilet. Regular maintenance and cleaning will help keep your toilet functioning efficiently and quietly.
Now that you’ve addressed mineral deposits, let’s move on to the final troubleshooting tip for reducing toilet noise.
Improve Ventilation in the Bathroom
Inadequate ventilation in the bathroom can contribute to negative pressure and air suction, leading to gurgling, whistling, or other unusual noises during toilet flushing. Improving ventilation is essential for maintaining proper airflow and reducing noise. Here are some tips to enhance ventilation in your bathroom:
- Make sure your bathroom has a functioning exhaust fan. An exhaust fan helps remove moisture, odors, and stale air from the bathroom, improving airflow. Regularly clean or replace the air filter if your fan has one to maintain optimal performance.
- If your bathroom doesn’t have an exhaust fan, consider installing one. Choose an appropriately sized fan based on the bathroom’s square footage to ensure effective ventilation.
- Alternatively, you can open a window while using the bathroom to promote natural ventilation and airflow. Ensure the window is easily operable and allows fresh air to circulate effectively.
- Keep the bathroom door open when not in use to allow air to circulate freely throughout the space. This can help equalize pressure and reduce the likelihood of negative pressure formation.
- Ensure that air vents or grilles in the bathroom are not obstructed by towels, curtains, or other objects. Clear any blockages to allow the free flow of air.
- If your bathroom has insufficient ventilation, consider upgrading to a larger or more powerful exhaust fan or consulting a professional to assess and improve your ventilation system.
- Regularly clean and maintain your bathroom to prevent the accumulation of dust, dirt, or mold, which can hinder ventilation and contribute to poor air quality. Wipe surfaces, clean grout, and remove any visible mold or mildew.
- Avoid excessive moisture in the bathroom by using ventilation fans or opening windows during showers. Promptly repair any leaks in faucets, pipes, or fixtures to prevent water buildup and potential damage.
- Consider using moisture-absorbing products like dehumidifiers or moisture-activated fans to help control humidity levels in the bathroom.
If you’ve addressed potential ventilation issues and the noise during toilet flushing persists, it’s recommended to consult a professional plumber. They can assess your bathroom’s ventilation system, identify any underlying problems, and recommend the best course of action.
Improving ventilation in the bathroom is crucial for ensuring proper airflow and minimizing noise during toilet flushing. By implementing these tips, you can create a more comfortable and peaceful bathroom environment.
Now that you’ve improved the ventilation in your bathroom, you’ve completed the troubleshooting tips for reducing toilet noise. Congratulations! By addressing the common causes and taking appropriate action, you can now enjoy a quieter and more serene flushing experience.
Read more: Toilet Tank Leaking When Flushed
Conclusion
Dealing with toilet noise when flushing can be a frustrating and disruptive experience. However, by understanding the common causes of these noises and following the troubleshooting tips provided, you can effectively reduce or eliminate the unwanted sounds. Here’s a recap of the key points discussed:
We explored various common causes of toilet noise, including loose pipes, faulty fill valves, inadequate water pressure, clogged or partially blocked toilet drains, malfunctioning flush valves, worn-out toilet parts, water hammer, mineral buildup, and improper ventilation systems. Each cause requires specific actions to address the issue and reduce the associated noise.
Throughout the troubleshooting tips, we discussed tightening loose pipes, replacing faulty fill valves, checking and adjusting water pressure, clearing toilet drain blockages, repairing or replacing flush valves, inspecting and replacing worn-out toilet parts, installing water hammer arrestors, removing mineral deposits, and improving ventilation in the bathroom.
It’s important to remember that if you are unsure about performing any repairs or if the noise persists after attempting the troubleshooting tips, it is best to consult a professional plumber. They have the expertise and experience to diagnose and resolve any complex issues with your toilet and plumbing system.
By addressing the causes of toilet noise and implementing the appropriate solutions, you can enjoy a quieter and more pleasant bathroom experience. Regular maintenance, cleaning, and proper usage can also help prevent future noise-related problems.
Thank you for joining us on this journey to reduce toilet noise. By following these troubleshooting tips, you have gained the knowledge and confidence to tackle any noise issues in your own bathroom. Remember to be proactive in maintaining your toilet’s performance, and don’t hesitate to seek professional help when needed. Here’s to a peaceful and noise-free bathroom environment!
Frequently Asked Questions about Toilet Noise When Flushing
Was this page helpful?
At Storables.com, we guarantee accurate and reliable information. Our content, validated by Expert Board Contributors, is crafted following stringent Editorial Policies. We're committed to providing you with well-researched, expert-backed insights for all your informational needs.
0 thoughts on “Toilet Noise When Flushing”