Articles
How To Manually Flush A Toilet
Modified: October 20, 2024
Learn how to manually flush a toilet with these helpful articles. Discover step-by-step instructions and troubleshooting tips for a properly functioning toilet.
(Many of the links in this article redirect to a specific reviewed product. Your purchase of these products through affiliate links helps to generate commission for Storables.com, at no extra cost. Learn more)
Introduction
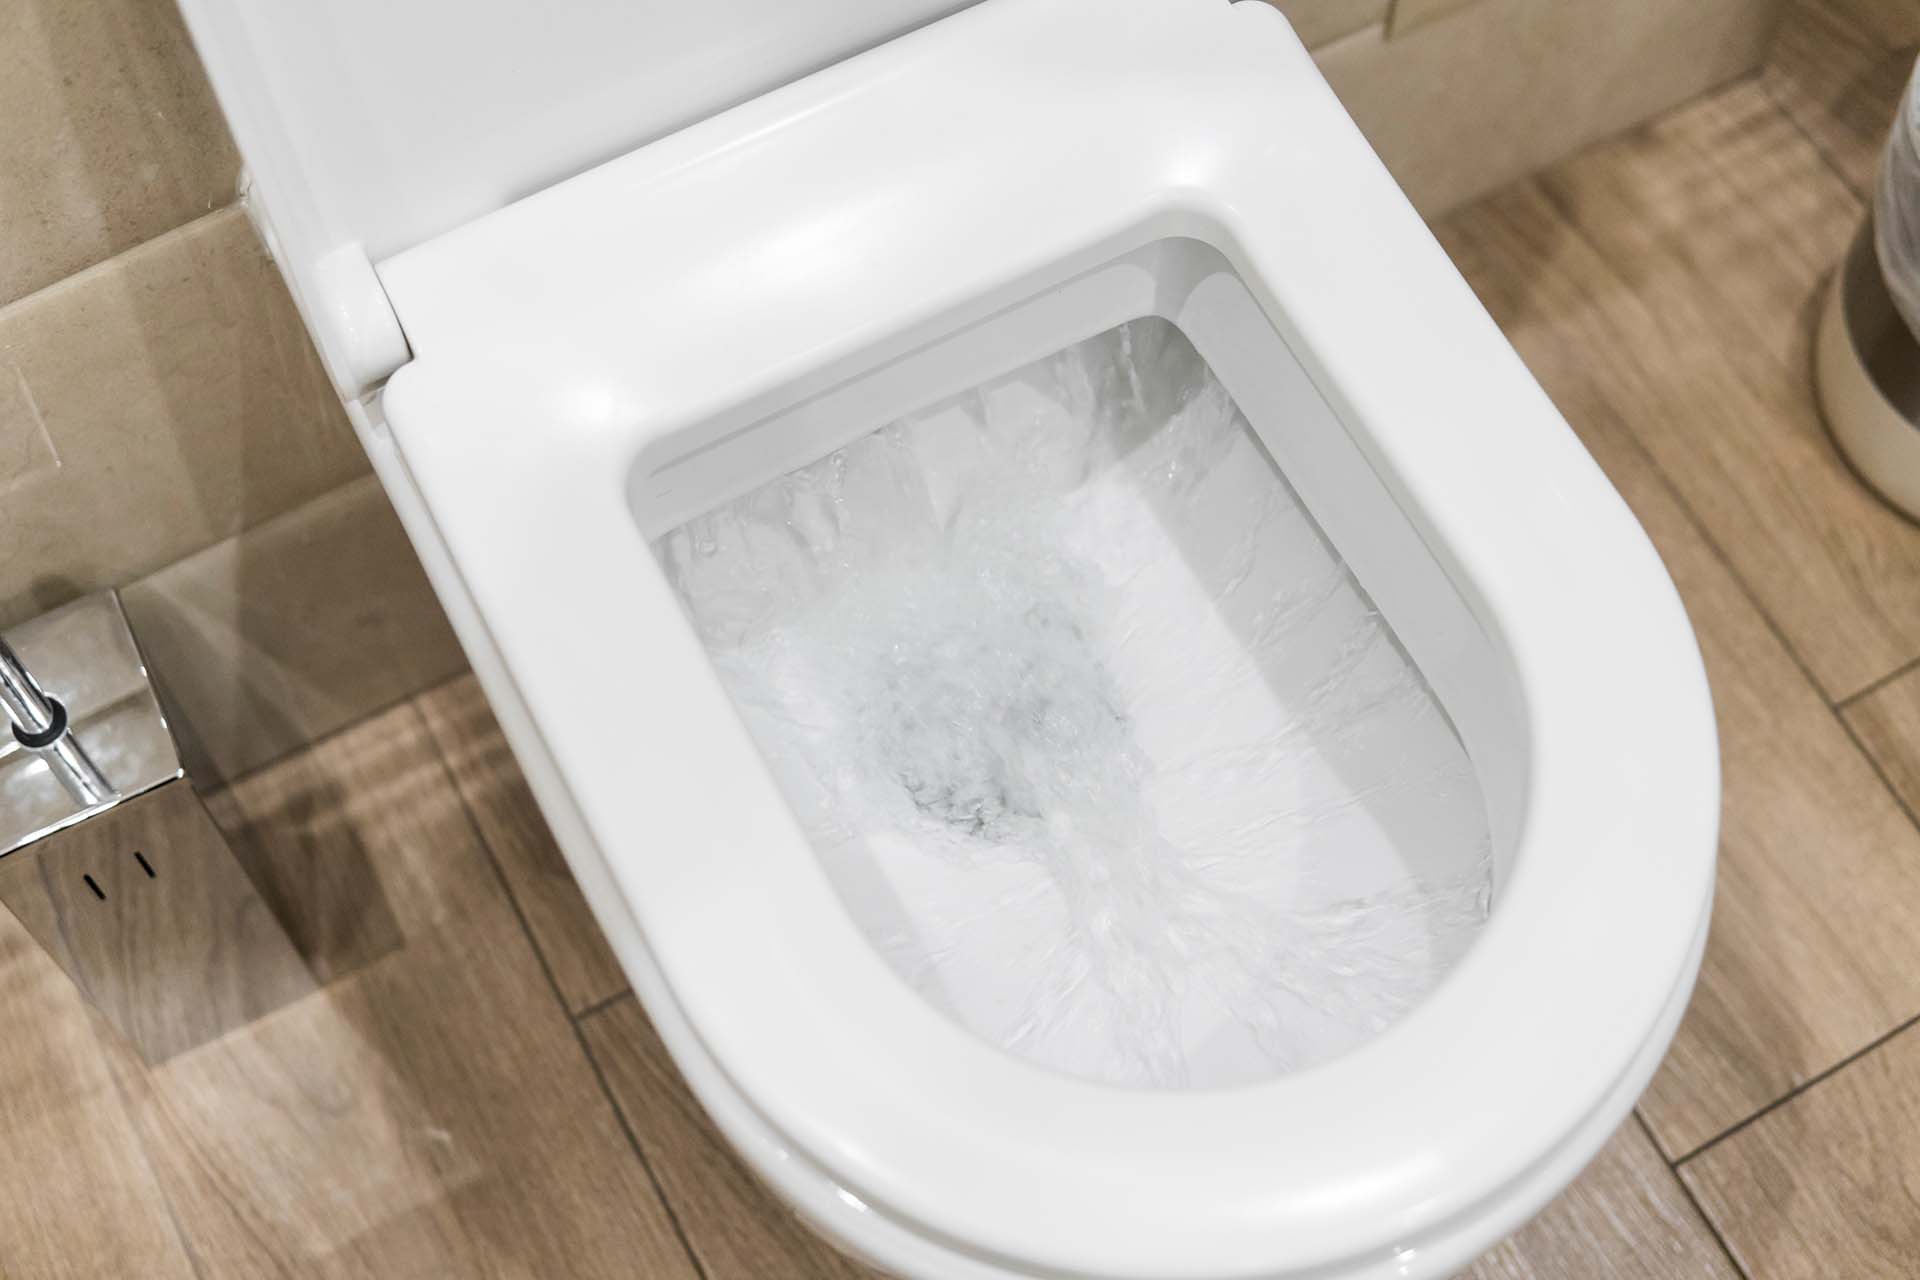
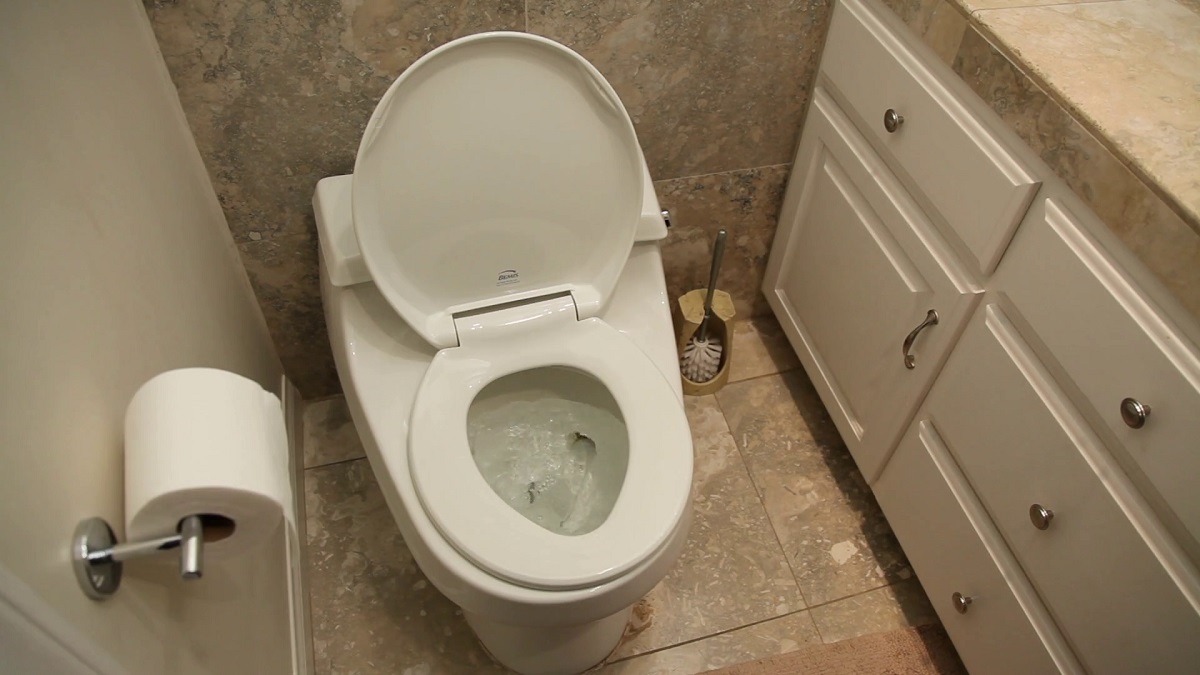
Flushing toilets are a critical part of our daily lives, but what happens when they don’t work as they should? A clogged or malfunctioning toilet can be an inconvenience that can disrupt our routines and cause frustration. While most toilet flushes are automatic, there are times when a manual flush becomes necessary.
In this article, we will guide you through the process of manually flushing a toilet. Whether you’re dealing with a stubborn clog or a temporary issue with your automatic flushing mechanism, the steps outlined here will help you regain control and get your toilet back in working order.
Before we dive into the step-by-step process, it’s important to note that while manual flushing is a viable solution for temporary issues, it shouldn’t replace professional plumbing services if you’re experiencing recurring or severe problems. If you’re unsure about the cause of the issue or it persists after attempting manual flushing, it’s always best to consult a professional plumber.
Now, let’s gather the materials needed before we start the manual flushing process. By having everything readily available, you can complete the task efficiently and without unnecessary interruptions.
Key Takeaways:
- Manually flushing a toilet requires preparation, caution, and the right tools. From locating the water valve to using a plunger and hot water, this step-by-step guide empowers you to tackle minor toilet issues effectively.
- While manual flushing can address temporary toilet problems, recurring issues or severe clogs should prompt professional plumbing assistance. Remember to prioritize safety, proper ventilation, and maintenance for long-term toilet functionality.
Read more: How Toilet Flush Works
Materials Needed
Before we begin the process of manually flushing a toilet, it’s important to gather the following materials:
- A plunger: This tool is essential for dislodging any clogs in the toilet drain.
- Gloves: It’s always a good idea to protect your hands when working with toilets. Disposable gloves can help prevent the spread of germs and keep your hands clean.
- Bucket or large container: Having a bucket or container nearby will allow you to dispose of any excess water or unclog debris during the manual flushing process.
- Hot water: Boiling water can help break down stubborn clogs or dissolve any build-up in the toilet drain. It’s important to use caution when handling hot water to avoid burns.
- A flashlight: Sometimes, the cause of a toilet issue may not be visible to the naked eye. A flashlight will help you see into the toilet drain and identify any potential obstructions.
- A towel or mop: In case of any spills or splashes during the manual flushing process, having a towel or mop on hand will make cleanup easier.
By having these materials ready, you will be well-prepared to tackle the task of manually flushing your toilet. Now, let’s move on to the step-by-step process of how to manually flush a toilet.
Step 1: Prepare for Manual Flushing
Before you begin the process of manually flushing your toilet, it’s important to take some necessary precautions and prepare the area. Follow these steps to get started:
- Put on your gloves: It’s always a good idea to protect your hands when working with toilets. Disposable gloves will help prevent the spread of germs and keep your hands clean.
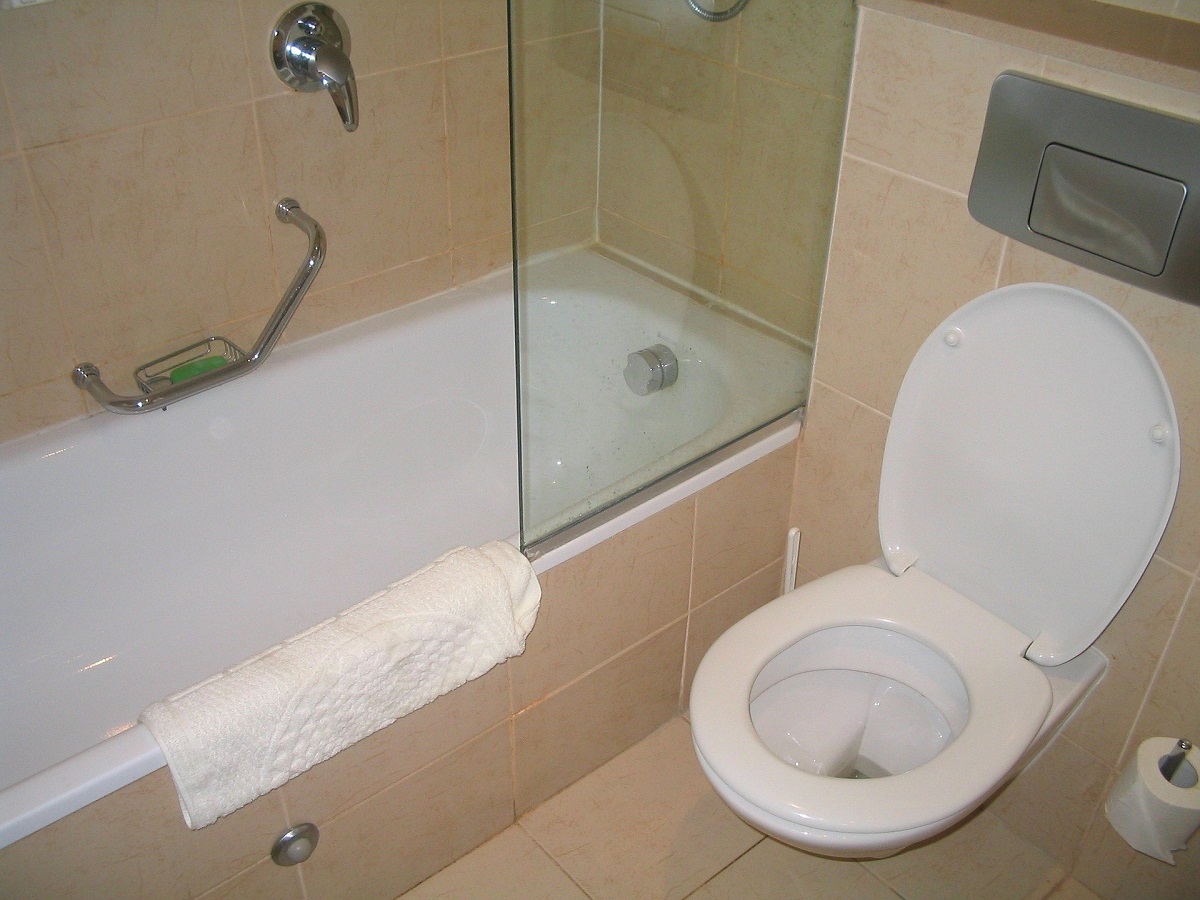
- Clear the area: Remove any items or obstacles around the toilet to provide ample space for the manual flushing process. This will make it easier to access the toilet and work efficiently.
- Open a window or turn on ventilation: Manual flushing may involve unpleasant odors, so it’s a good idea to have proper ventilation in the bathroom. Opening a window or turning on the ventilation fan will help circulate the air and mitigate any unpleasant smells.
- Have a bucket or container ready: Place a bucket or a large container near the toilet. This will allow you to collect any excess water or unclog debris during the manual flushing process. It’s important to have this ready to avoid spills and make cleanup easier.
- Grab your plunger: Make sure you have a plunger handy. This tool will be essential in dislodging any clogs in the toilet drain. Choose a plunger with a flange or an extension that will fit securely into the drain opening.
By following these steps and preparing the necessary materials, you will be ready to proceed with the manual flushing process. In the next step, we will guide you through locating the water valve and turning off the water supply to the toilet.
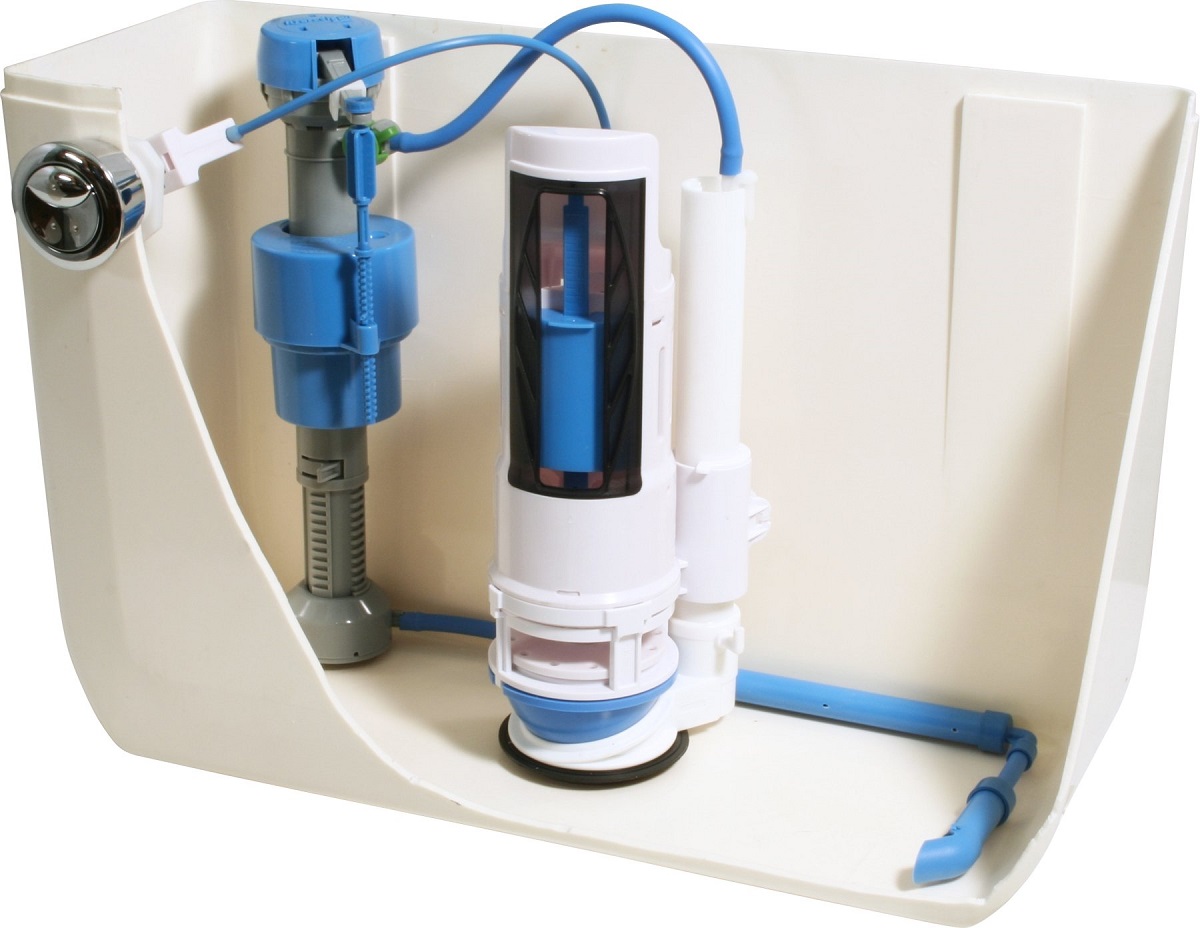
Step 2: Locate the Water Valve
Before you can begin the manual flushing process, it’s important to locate the water valve for your toilet. Follow these steps to find and identify the water valve:
- First, look for the water supply line near the base of the toilet. This is usually located on the wall behind or beside the toilet.
- In some cases, the water valve may be housed in a small access panel on the wall. If you see this panel, gently remove it to reveal the water valve.
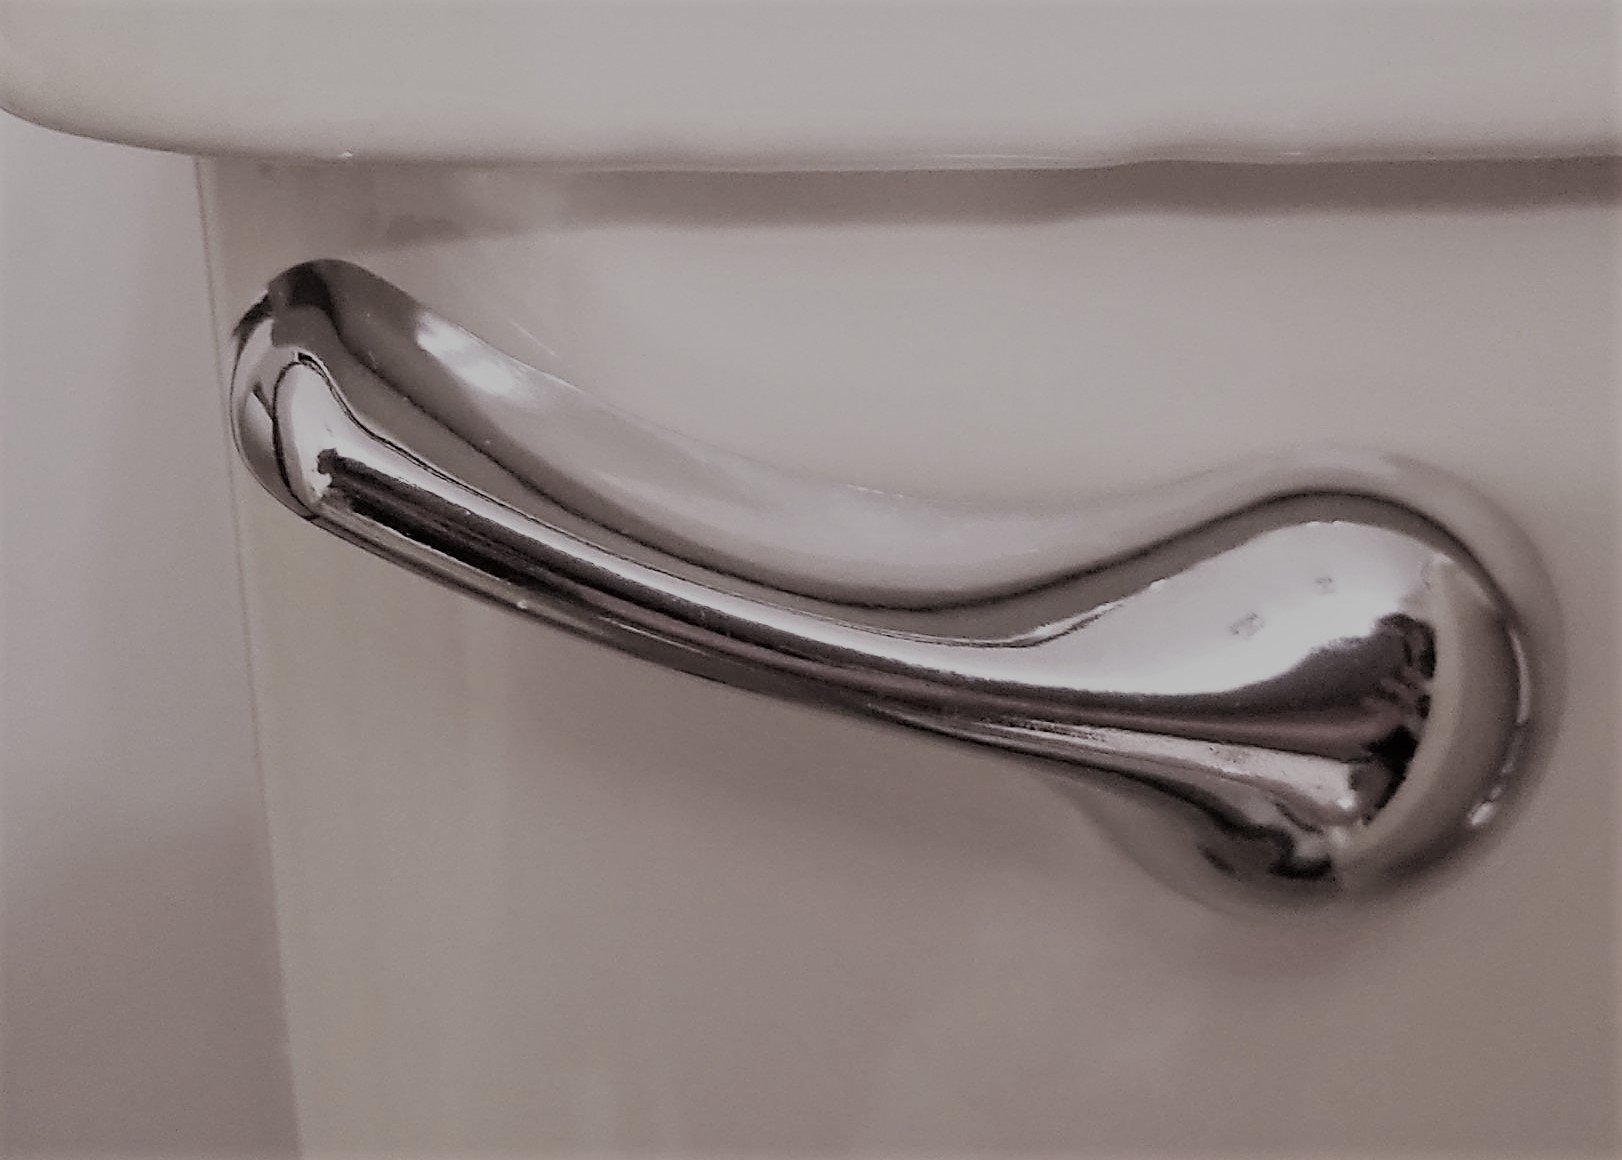
- If you don’t see an access panel, you may need to feel around the area near the toilet to locate the water valve. It is typically a lever or a round valve handle.
- Once you have located the water valve, take a moment to familiarize yourself with its operation. The valve can usually be turned clockwise or counterclockwise to shut off or open the water supply.
Locating the water valve is an important step in the manual flushing process as it allows you to control the water supply to the toilet. By turning off the water valve, you’ll be able to prevent any further water flow and avoid potential messes during the manual flushing process.
Once you have located and familiarized yourself with the water valve, you’re ready to move on to step 3: turning off the water supply.
Step 3: Turn Off the Water Supply
Now that you have located the water valve, it’s time to turn off the water supply to your toilet. Follow these simple steps to ensure that no water is flowing into the toilet during the manual flushing process:
- Begin by confirming the position of the water valve. In most cases, turning the valve clockwise will shut off the water supply.
- Using your hand or a wrench, gently turn the water valve clockwise until it stops. This will effectively shut off the water flow to the toilet.
- Once the valve is fully closed, double-check to ensure that no water is flowing into the toilet tank. This will prevent any water from refilling the tank and interfering with the manual flushing process.
Remember, turning off the water supply is a crucial step in the manual flushing process. It prevents any additional water from entering the toilet tank and bowl, allowing you to work on resolving the issue without complications.
With the water supply turned off, you can now focus on emptying the toilet bowl in preparation for manual flushing. Proceed to the next step for further instructions.
Read more: How To Make Toilet Flush
Step 4: Empty the Toilet Bowl
Before you can effectively manually flush the toilet, you’ll need to empty the toilet bowl of any standing water. Follow these steps to empty the toilet bowl:
- Put on your gloves if you haven’t already done so to protect your hands.
- Locate a sturdy container, such as a bucket, and place it near the toilet bowl.
- Position the container carefully below the toilet bowl rim to catch the water effectively.
- Next, carefully lift the toilet bowl lid or seat and set it aside in a safe place.
- Using a plastic cup or any suitable container, scoop out as much water as possible from the bowl and pour it into the container.
- Continue scooping and pouring until the water level in the toilet bowl is significantly reduced.
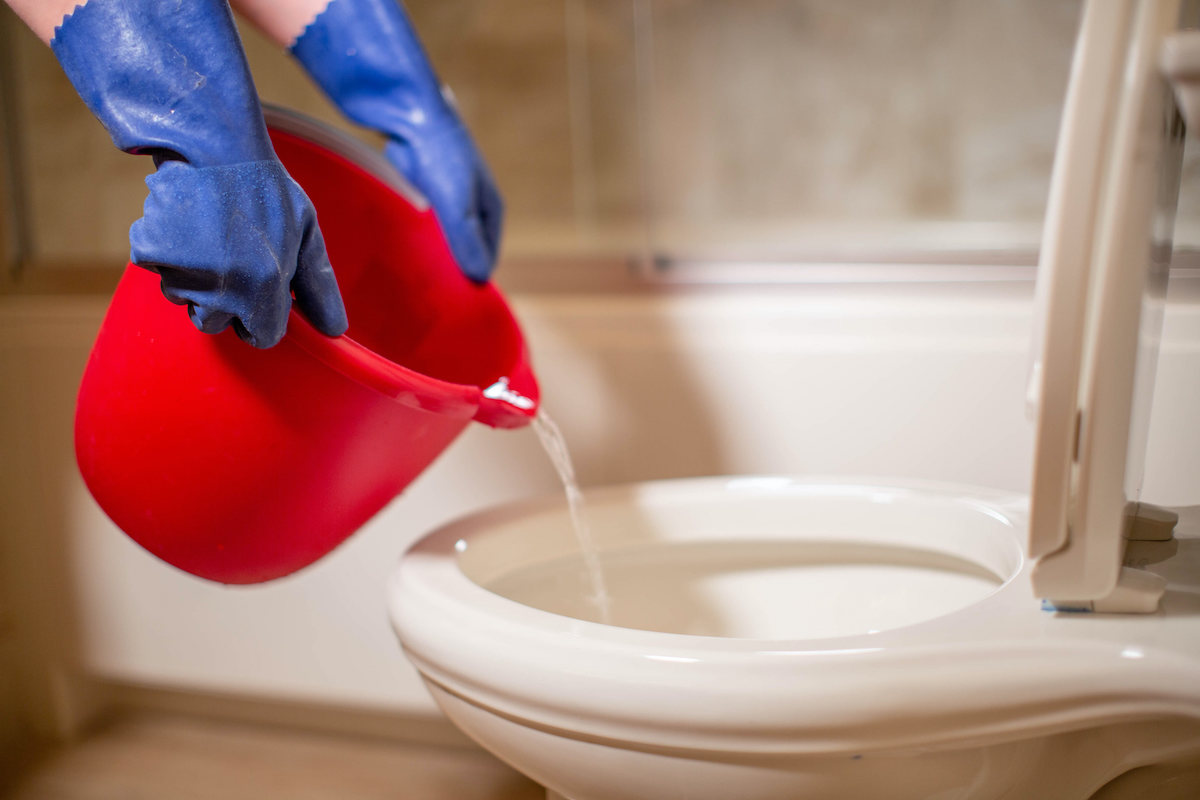
- If necessary, flush the remaining water in the toilet bowl by using a large container to pour water directly into the drain.
- Once the toilet bowl is emptied, dispose of the collected water appropriately, such as pouring it into a sink or a drain.
Emptying the toilet bowl removes excess water, allowing for better access and manual flushing without the risk of overflowing. With the toilet bowl emptied, you can now proceed to the next step – using a plunger to attempt unclogging the toilet.
Note that if the toilet bowl is not completely empty, use caution to avoid spills or splashes during the manual flushing process.
If the toilet is clogged, try using a plunger to create pressure and dislodge the blockage. If that doesn’t work, pour hot water into the bowl to help break up the clog.
Step 5: Use a Plunger
If you’re dealing with a clogged toilet, a plunger can be a useful tool to help dislodge the blockage and restore proper flushing. Follow these steps to effectively use a plunger:
- Make sure the plunger is clean and in good condition before use. Remove any debris or obstructions from the suction cup if necessary.
- Place the plunger over the toilet drain, ensuring that it covers the entire opening. The suction cup should create a tight seal.
- Press the plunger downward firmly, and then quickly pull back, creating suction and pressure to dislodge the clog. Repeat this plunging motion several times.
- After a few attempts, check the toilet bowl to see if the water starts to drain or if the clog has been cleared. If not, continue plunging until you observe improvements.
- If the water starts to drain, it means the clog is clearing. Continue plunging and flushing several times to ensure the blockage is fully removed.
When using a plunger, it’s important to maintain a steady and forceful plunging motion. This creates the necessary pressure to dislodge the clog. However, be cautious not to plunge too forcefully, as it may cause splashing and a mess.
If the plunger method doesn’t resolve the issue or the clog seems to be persisting, it’s time to move on to the next step – pouring hot water into the toilet bowl.
Step 6: Pour Hot Water into the Bowl
If using a plunger alone didn’t completely unclog the toilet, pouring hot water into the bowl can help break down the remaining debris and clear the blockage. Follow these steps to effectively pour hot water into the toilet bowl:
- Boil a pot or kettle of water on your stovetop or using an electric kettle. The water should be hot, but not boiling or scalding.
- While the water is heating, ensure that the toilet bowl is empty of any excess standing water. If necessary, repeat Step 4 to empty the toilet bowl.
- Once the water is hot, carefully and slowly pour it into the toilet bowl. Aim for the center of the bowl to ensure proper distribution.
- Allow the hot water to sit in the bowl for a few minutes. The heat will help soften and break down the clog in the toilet drain.
- After a few minutes, use the plunger again to create suction and pressure. Plunge vigorously to further break down the clog and encourage drainage.
- If needed, repeat the process of pouring hot water and plunging until the blockage is completely cleared and the water drains smoothly.
Hot water can be a valuable tool in unclogging toilets as it helps to dissolve and loosen stubborn debris. Combined with plunging, this technique can often be effective in resolving minor clogs. However, it’s important to exercise caution when handling hot water to avoid burns.
If the toilet is still not draining properly or the clog persists, it may be necessary to repeat previous steps or consider seeking professional plumbing assistance. In the next step, we’ll cover the process of repeating the flushing process if needed.
Step 7: Repeat Flushing Process if Needed
If the toilet is still not flushing properly even after using a plunger and pouring hot water, it may be necessary to repeat the flushing process. Follow these steps to further clear any remaining clogs:
- Ensure that the water valve is turned off to prevent any water from entering the toilet tank.
- Repeat Step 4 to empty the toilet bowl of any standing water.
- Using your plunger, plunge forcefully and consistently to create suction and pressure. Try different plunging techniques, such as gentle pumps or rapid thrusts, to dislodge the stubborn clog.
- After several attempts, check if the water in the bowl begins to drain. If it does, continue plunging and flushing until the water flows freely.
- If the water still doesn’t drain or if you suspect a more severe clog, it’s best to seek professional plumbing assistance.
Repeating the flushing process may be necessary for more stubborn or persistent clogs. Sometimes, it can take multiple attempts before the blockage is completely cleared. Remember to take breaks in between attempts to avoid overexertion or frustration.
If the clog persists despite your efforts, it’s recommended to consult a professional plumber who can assess and resolve the issue effectively.
With the manual flushing process complete, it’s time to move on to the final step – turning on the water supply to restore normal flushing functionality.
Read more: How To Flush An Automatic Toilet
Step 8: Turn On the Water Supply
Once you have successfully cleared the clog and ensured proper water flow, it’s time to turn on the water supply and restore the normal flushing functionality of your toilet. Follow these steps to turn on the water supply:
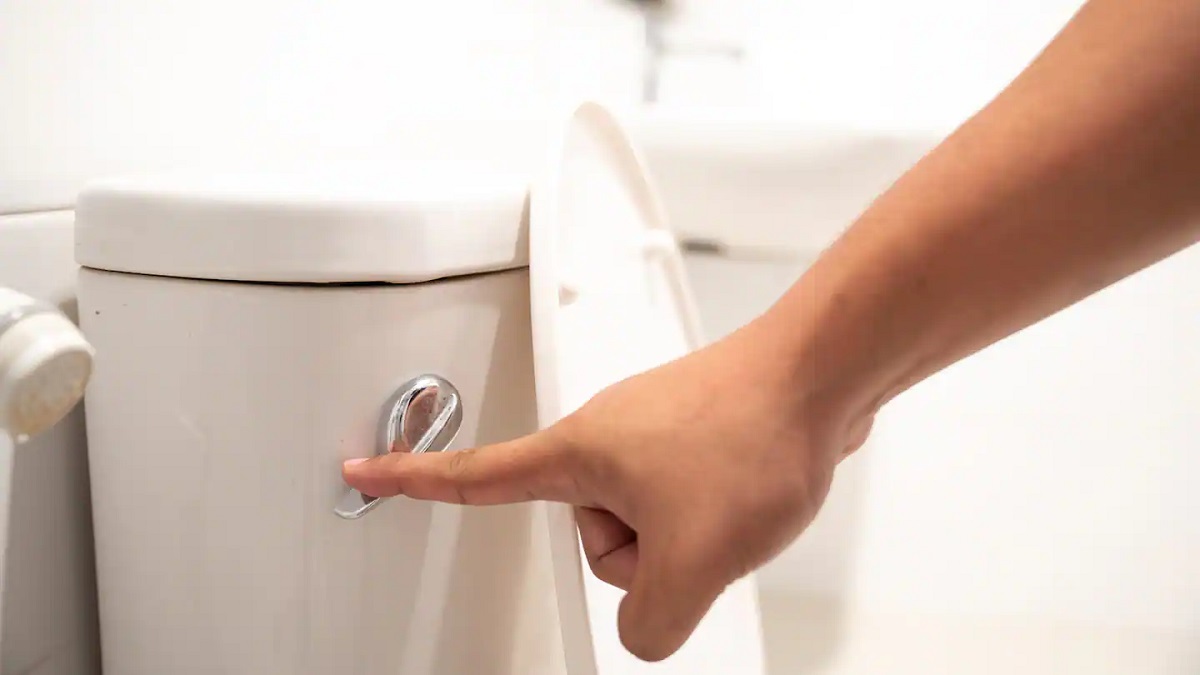
- Locate the water valve, which you turned off in Step 3, and make sure it is easily accessible.
- Using your hand or a wrench, carefully turn the water valve counterclockwise to gradually open it.
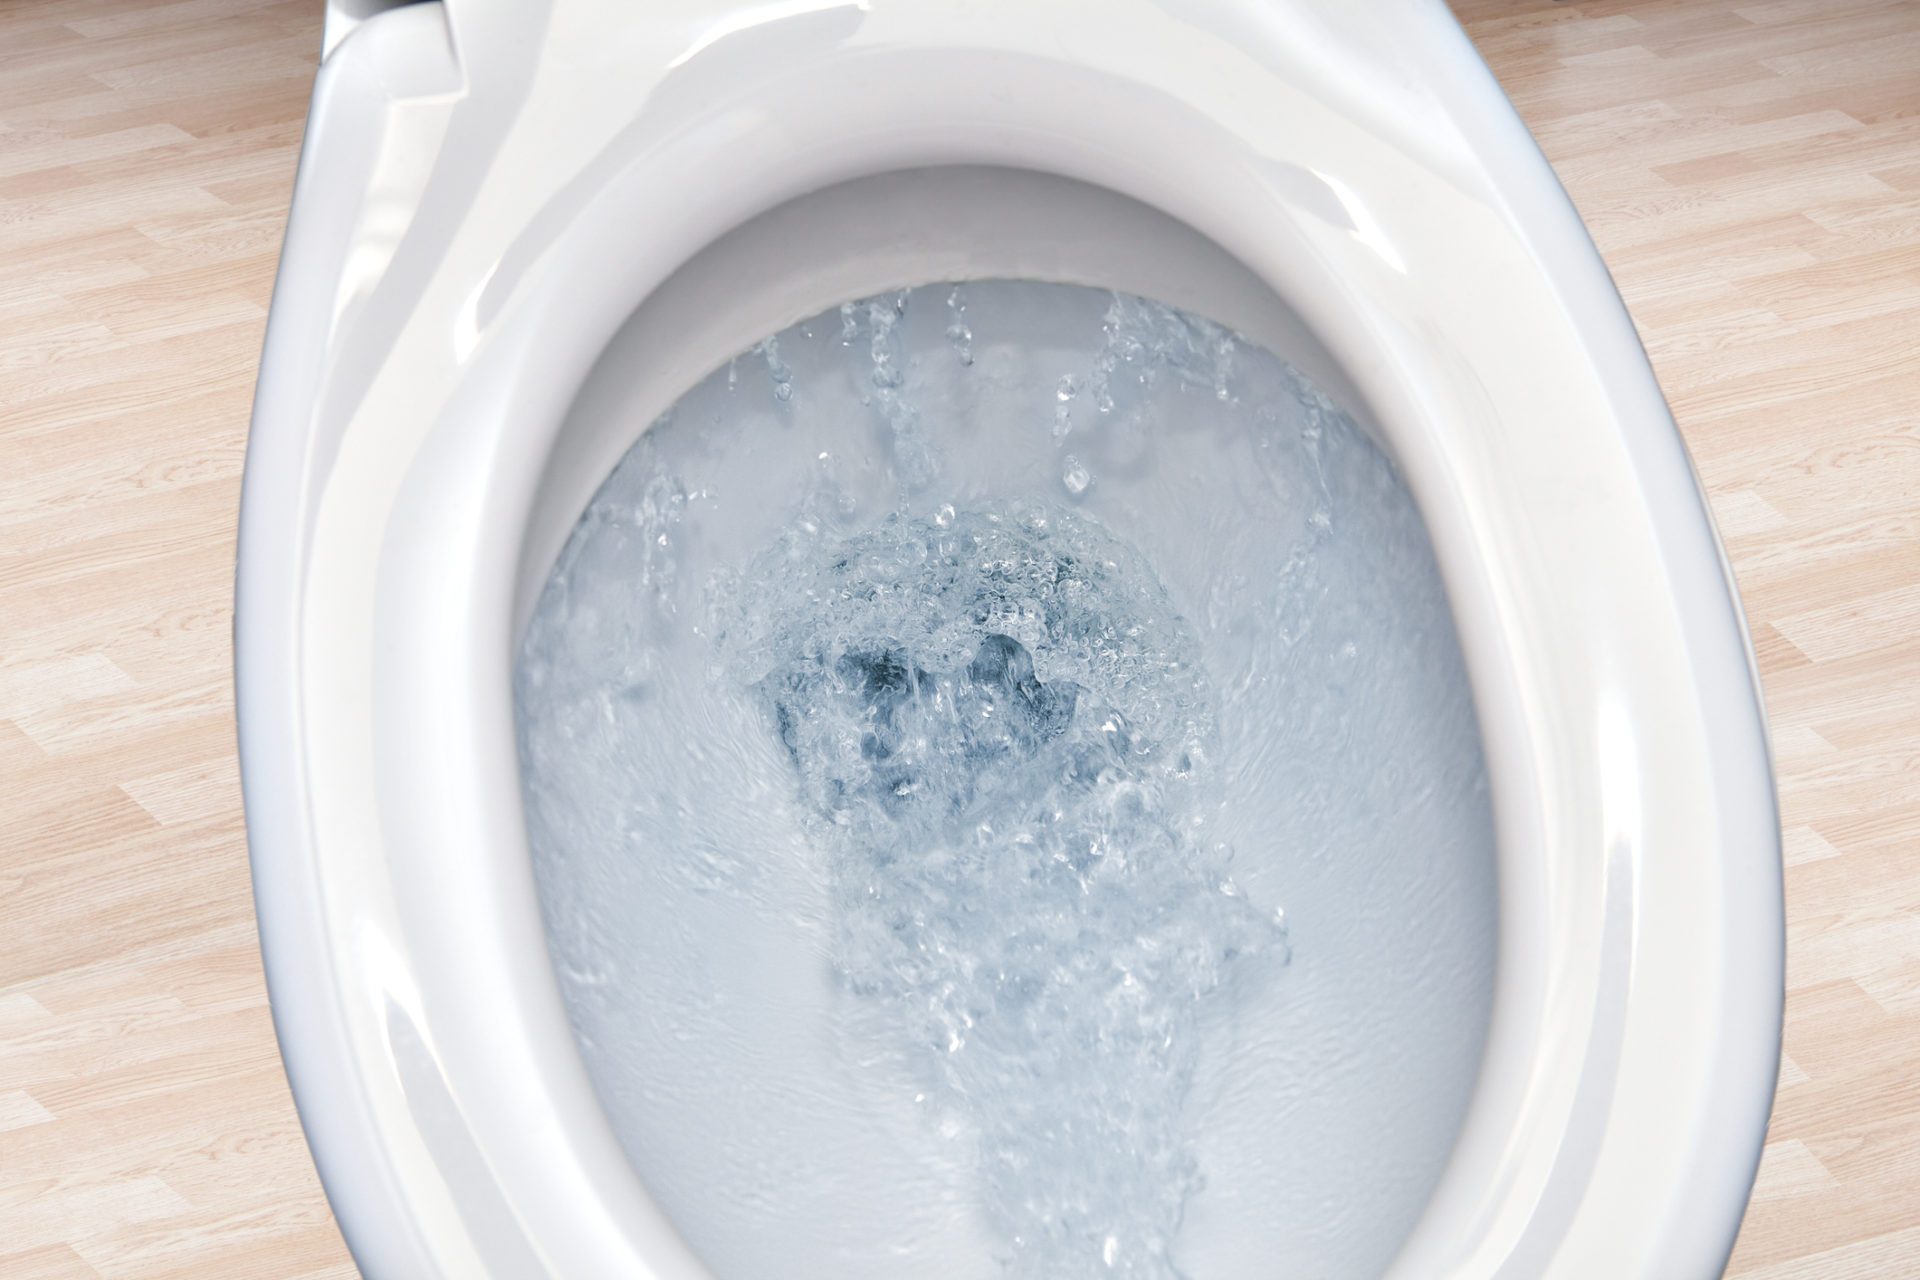
- Listen for the sound of flowing water and observe the toilet bowl as the water fills the tank.
- Once the tank is full, the water should stop flowing automatically. This indicates that the water supply is fully restored.
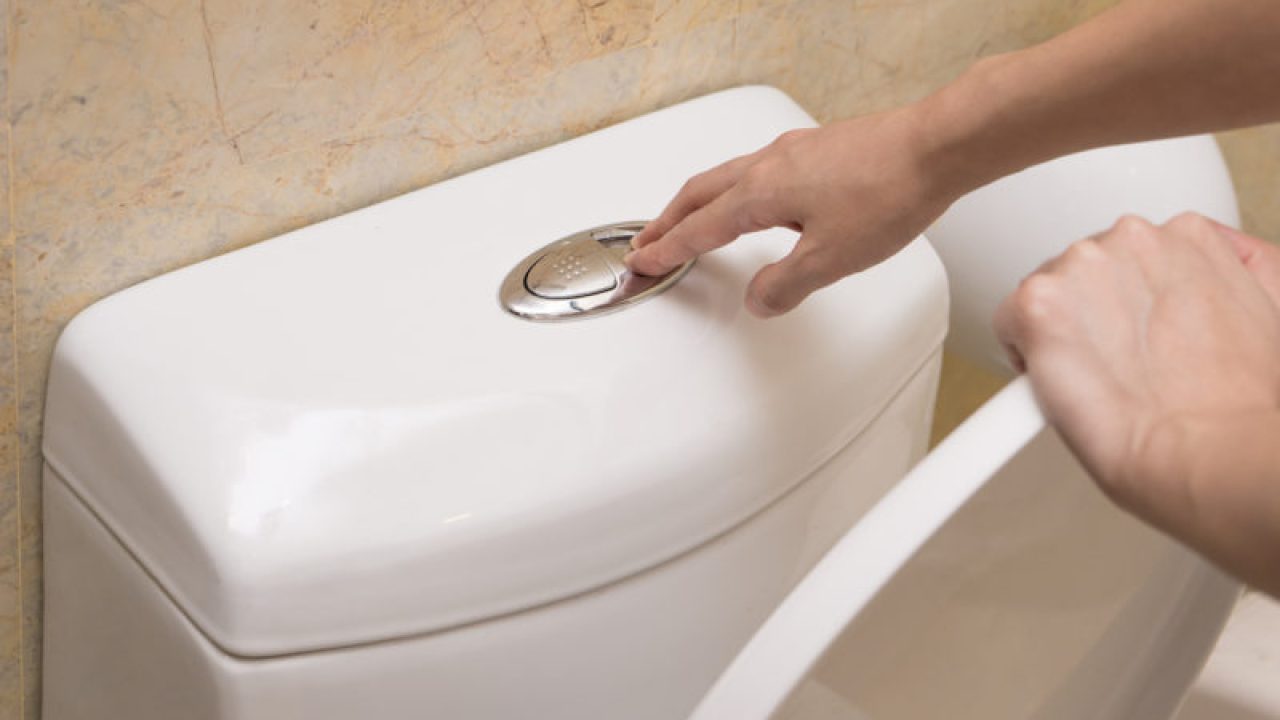
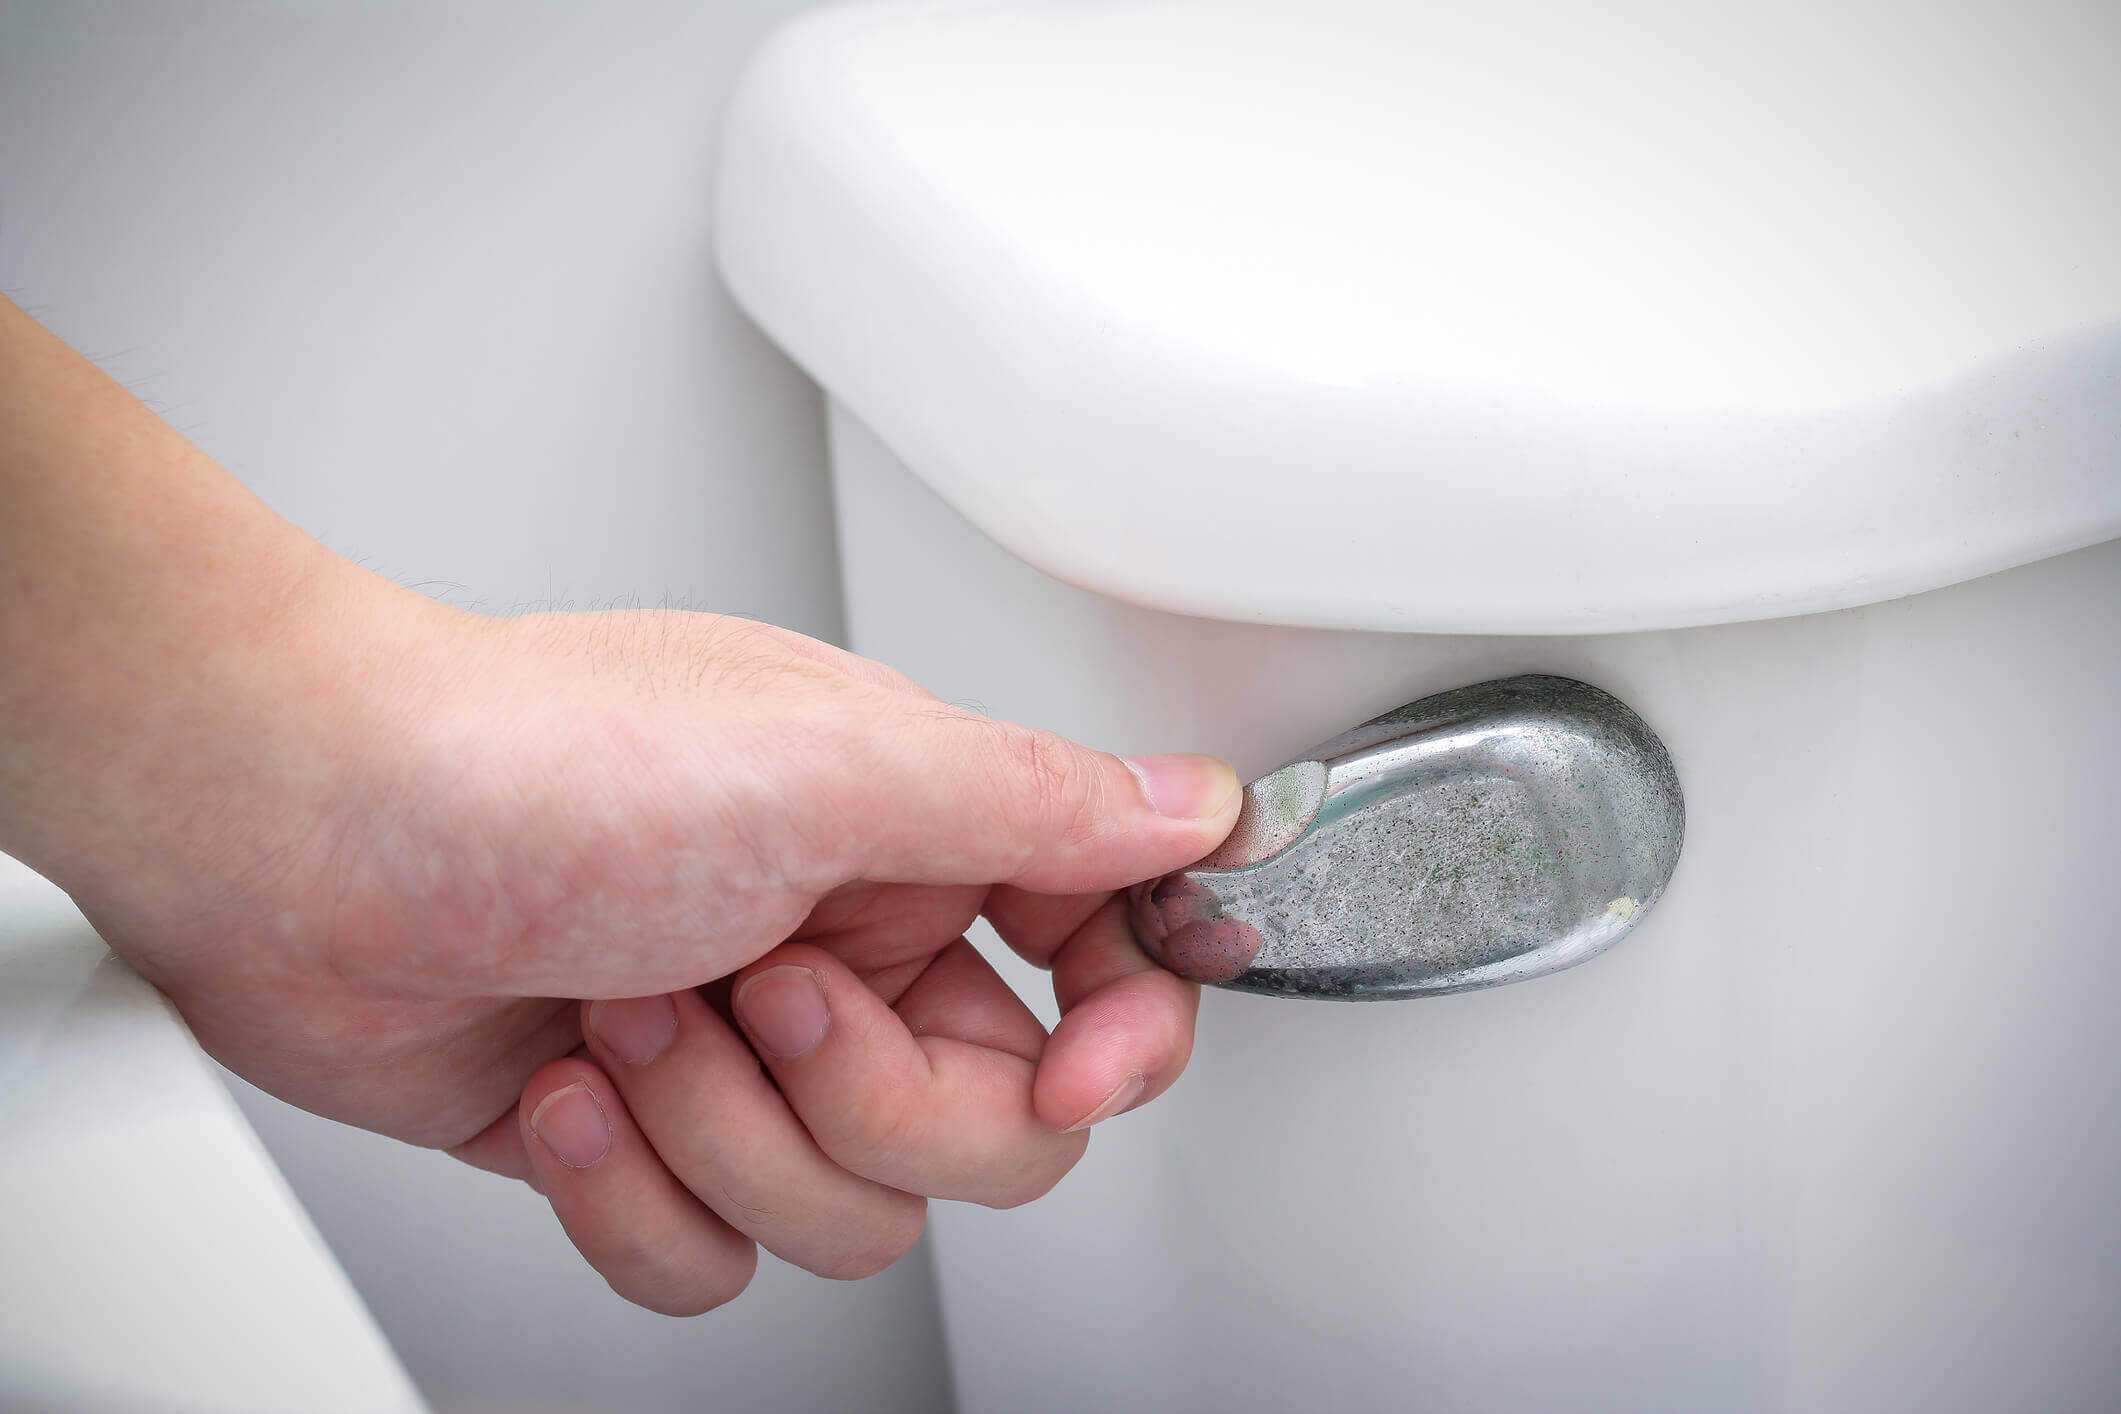
- Check the flushing mechanism by flushing the toilet and ensuring that water flows smoothly and drains properly.
- If you notice any issues with the flushing or water flow, turn off the water supply again and inspect for any leaks or potential problems. In such cases, it’s advisable to seek professional help.
By turning on the water supply, you are allowing for normal operation of your toilet’s flushing mechanism. This final step completes the manual flushing process, and your toilet should be back to working order.
Remember, if you experience any recurring issues or severe clogs, it’s best to consult a professional plumber. They can provide expert assistance and ensure that your toilet and plumbing system are functioning properly.
Hopefully, this step-by-step guide has helped you successfully navigate the process of manually flushing a toilet. By following these instructions and taking appropriate safety measures, you can effectively address minor toilet issues and restore proper flushing functionality.
If you have any further questions or encounter difficulties, don’t hesitate to reach out to a professional plumber for assistance. They are equipped with the knowledge and expertise to handle more complex issues and ensure the reliable performance of your toilet.
Thank you for reading, and best of luck with your toilet flushing endeavors!
Conclusion
Dealing with a clogged or malfunctioning toilet can be a frustrating experience, but with the right knowledge and tools, you can navigate through the process of manually flushing a toilet. By following the step-by-step guide outlined in this article, you should be well-equipped to tackle minor toilet issues and restore proper flushing functionality.
Remember, manual flushing should only be used as a temporary solution for minor clogs or temporary issues. If you’re facing recurring problems or severe blockages, it’s recommended to consult a professional plumber who can identify and resolve the underlying cause.
Throughout the manual flushing process, it’s essential to take necessary safety precautions. Use gloves to protect your hands, be cautious when handling hot water, and ensure proper ventilation in the bathroom to minimize odors and fumes. Additionally, always work carefully to avoid spills or splashes.
Keep in mind that prevention is the best approach to maintain a smoothly functioning toilet. Proper maintenance, regular cleaning, and mindful flushing practices can help prevent clogs and avoid future issues.
If you encounter any challenges or the manual flushing process doesn’t resolve the problem, don’t hesitate to seek professional help. Plumbing experts have the expertise and experience to tackle more complex toilet issues and ensure the long-term reliability of your plumbing system.
Thank you for reading our guide on how to manually flush a toilet. We hope it has been helpful in assisting you with resolving any toilet flushing issues you may have encountered. With the knowledge and tips provided in this article, you can handle minor toilet troubles with confidence and maintain the proper functionality of your toilet for years to come.
Frequently Asked Questions about How To Manually Flush A Toilet
Was this page helpful?
At Storables.com, we guarantee accurate and reliable information. Our content, validated by Expert Board Contributors, is crafted following stringent Editorial Policies. We're committed to providing you with well-researched, expert-backed insights for all your informational needs.


0 thoughts on “How To Manually Flush A Toilet”