Articles
How To Replace A Toilet Flush Valve
Modified: October 20, 2024
Learn how to replace a toilet flush valve with our informative articles. Step-by-step instructions and expert advice for a seamless DIY project.
(Many of the links in this article redirect to a specific reviewed product. Your purchase of these products through affiliate links helps to generate commission for Storables.com, at no extra cost. Learn more)
Introduction
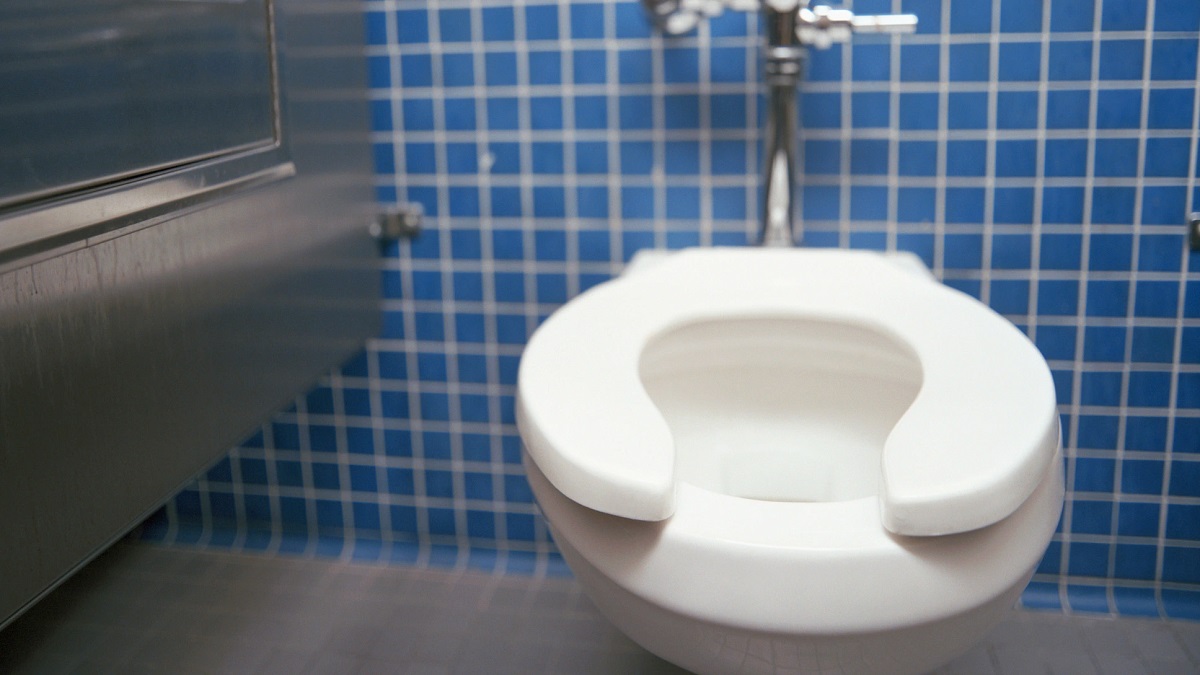
Replacing a toilet flush valve is a common maintenance task that can help ensure your toilet operates efficiently and prevents water wastage. The flush valve is responsible for allowing water to flow from the tank into the bowl, facilitating the flushing process. Over time, the flush valve may wear out or become faulty, resulting in problems such as continuous running water or incomplete flushes. In such cases, replacing the flush valve is necessary to restore your toilet’s functionality.
In this article, we will guide you through the step-by-step process of replacing a toilet flush valve. You don’t need to be a plumbing expert to tackle this task; with a few basic tools and a bit of patience, you can successfully replace the flush valve and have your toilet working like new in no time.
Before we dive into the steps, let’s quickly go over the tools and materials you’ll need for this project:
Key Takeaways:
- Save money and restore your toilet’s efficiency by replacing the flush valve with basic tools and a bit of patience. Enjoy a fully operational toilet with efficient water usage.
- Ensure proper functionality and water conservation by following the step-by-step process to replace your toilet’s flush valve. Enjoy a smoothly operating toilet and contribute to water conservation efforts.
Tools and Materials
- Adjustable wrench
- Screwdriver (flathead or Phillips, depending on your toilet’s screws)
- Bucket or towel
- New toilet flush valve
- Plumber’s tape
Make sure you have these tools and materials ready before you begin. Now that you’re prepared, let’s move on to the first step of the process.
Step 1: Gather the necessary tools and materials
Before you begin the process of replacing the toilet flush valve, you’ll need to gather the required tools and materials. Having everything ready and within reach will ensure a smoother and more efficient repair process. Here’s a breakdown of what you’ll need:
1. Adjustable wrench: This versatile tool will be essential for loosening and tightening various connections during the replacement process. Make sure you have a wrench that fits the size of the nuts on your toilet.
2. Screwdriver: Depending on your toilet’s design, you may need either a flathead or Phillips screwdriver to remove any screws or fasteners holding the flush valve in place.
3. Bucket or towel: As you disconnect the water supply and remove the old flush valve, water may spill out. Having a bucket or towel nearby will help prevent any mess and make clean-up easier.
4. New toilet flush valve: This is the main component that you’ll be replacing. Ensure that you have the correct flush valve for your specific toilet model. It’s a good idea to purchase a universal flush valve kit, as these are compatible with a wide range of toilets.
5. Plumber’s tape: Also known as Teflon tape, plumber’s tape is used to provide a tight and secure seal for threaded connections. You’ll need this tape to wrap around the threads of the water supply line.
Once you have gathered all the necessary tools and materials, you’re ready to move on to the next step: preparing the toilet for repair.
Step 2: Prepare the toilet for repair
Before you can replace the toilet flush valve, it’s essential to prepare the toilet for the repair process. This step involves emptying the tank, disconnecting the water supply, and ensuring a safe and clean working environment. Here’s how to prepare your toilet for repair:
1. Turn off the water supply: Locate the shut-off valve behind or beside the toilet. Turn the valve clockwise until it’s fully closed to stop the water flow. This step is crucial to prevent any leaks or flooding during the repair.
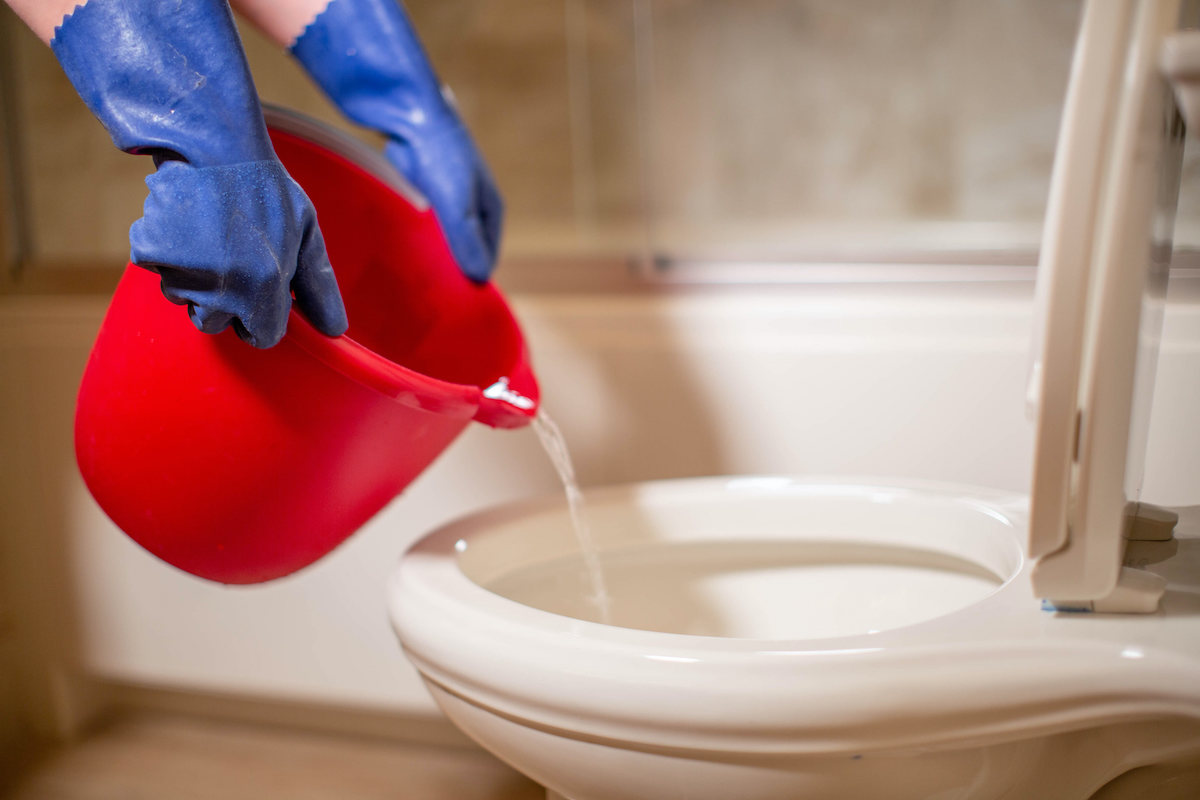
2. Empty the tank: Flush the toilet to drain as much water as possible from the tank. Use a sponge or towel to soak up any remaining water. You can also use a bucket to scoop out the water if needed. By emptying the tank, you’ll make it easier to remove the old flush valve.
3. Remove the tank lid: Lift off the tank lid and set it aside in a safe place. Be careful when handling the lid, as it can be heavy and fragile.
4. Inspect the flush valve: Take a moment to inspect the old flush valve for any cracks, corrosion, or signs of damage. This visual assessment will help you determine if the valve truly needs to be replaced or if there are other underlying issues with your toilet that need attention.
5. Clean the tank: Use a sponge or cleaning cloth to wipe down the inside of the tank. Remove any buildup or debris that may have accumulated over time. A clean tank will ensure better functionality and prevent any potential issues with the new flush valve.
By following these steps, you’ll have a well-prepared toilet that’s ready for the next phase of the repair process. With the toilet prepped, you can now move on to disconnecting the water supply in the next step.
Step 3: Disconnect the water supply
Before you can proceed with replacing the flush valve, it’s crucial to disconnect the water supply to the toilet. This step ensures that no water will flow into the tank while you’re working on the repair. Follow these instructions to disconnect the water supply:
1. Locate the water supply valve: Look for the shut-off valve, usually located on the wall behind or beside the toilet. It’s a small lever or knob connected to a water pipe. Turn the valve handle clockwise until it’s fully closed. This will stop any water flow to the toilet.
2. Empty the remaining water in the tank: Flush the toilet once again to drain any remaining water in the tank. If there’s still water left, use a sponge, towel, or a bucket to absorb and remove it. It’s important to have a dry working area before proceeding.
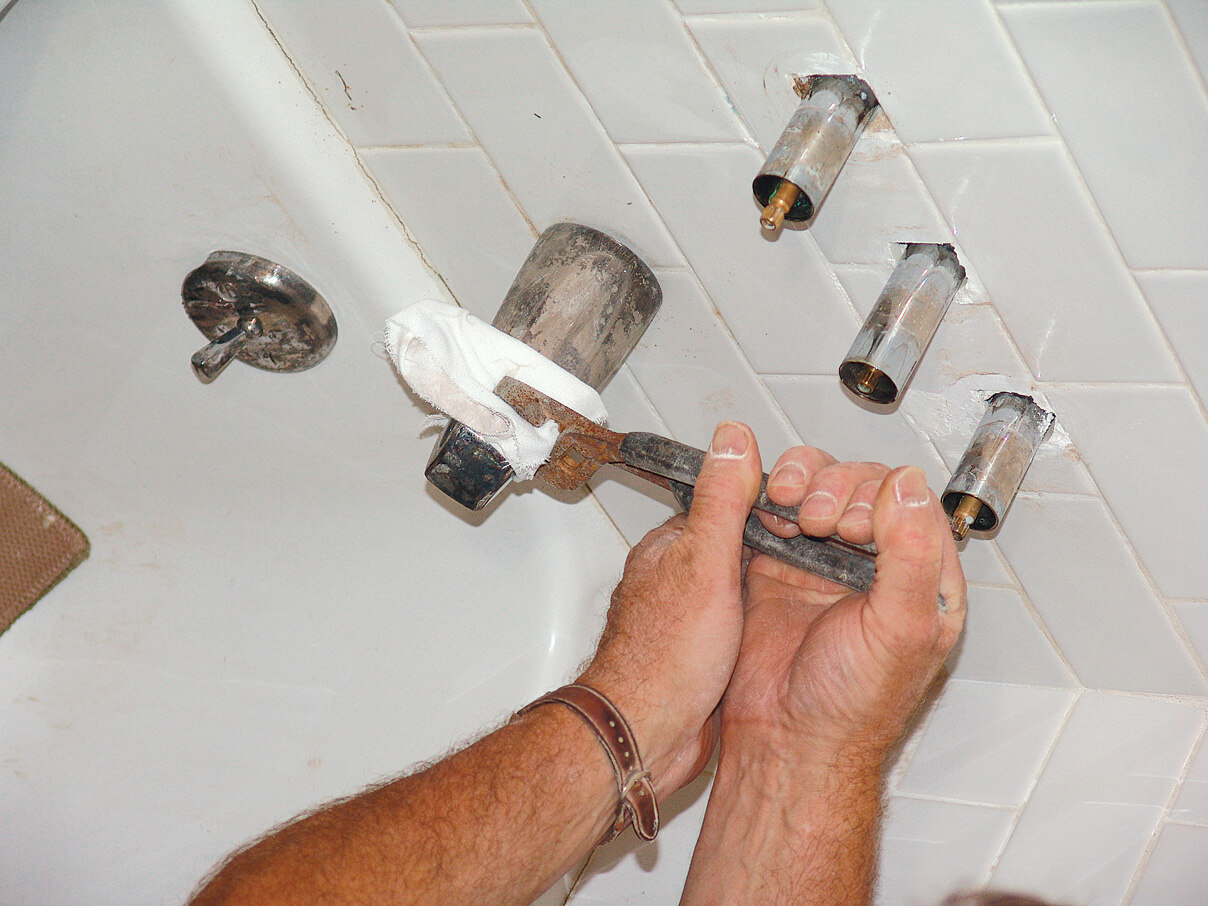
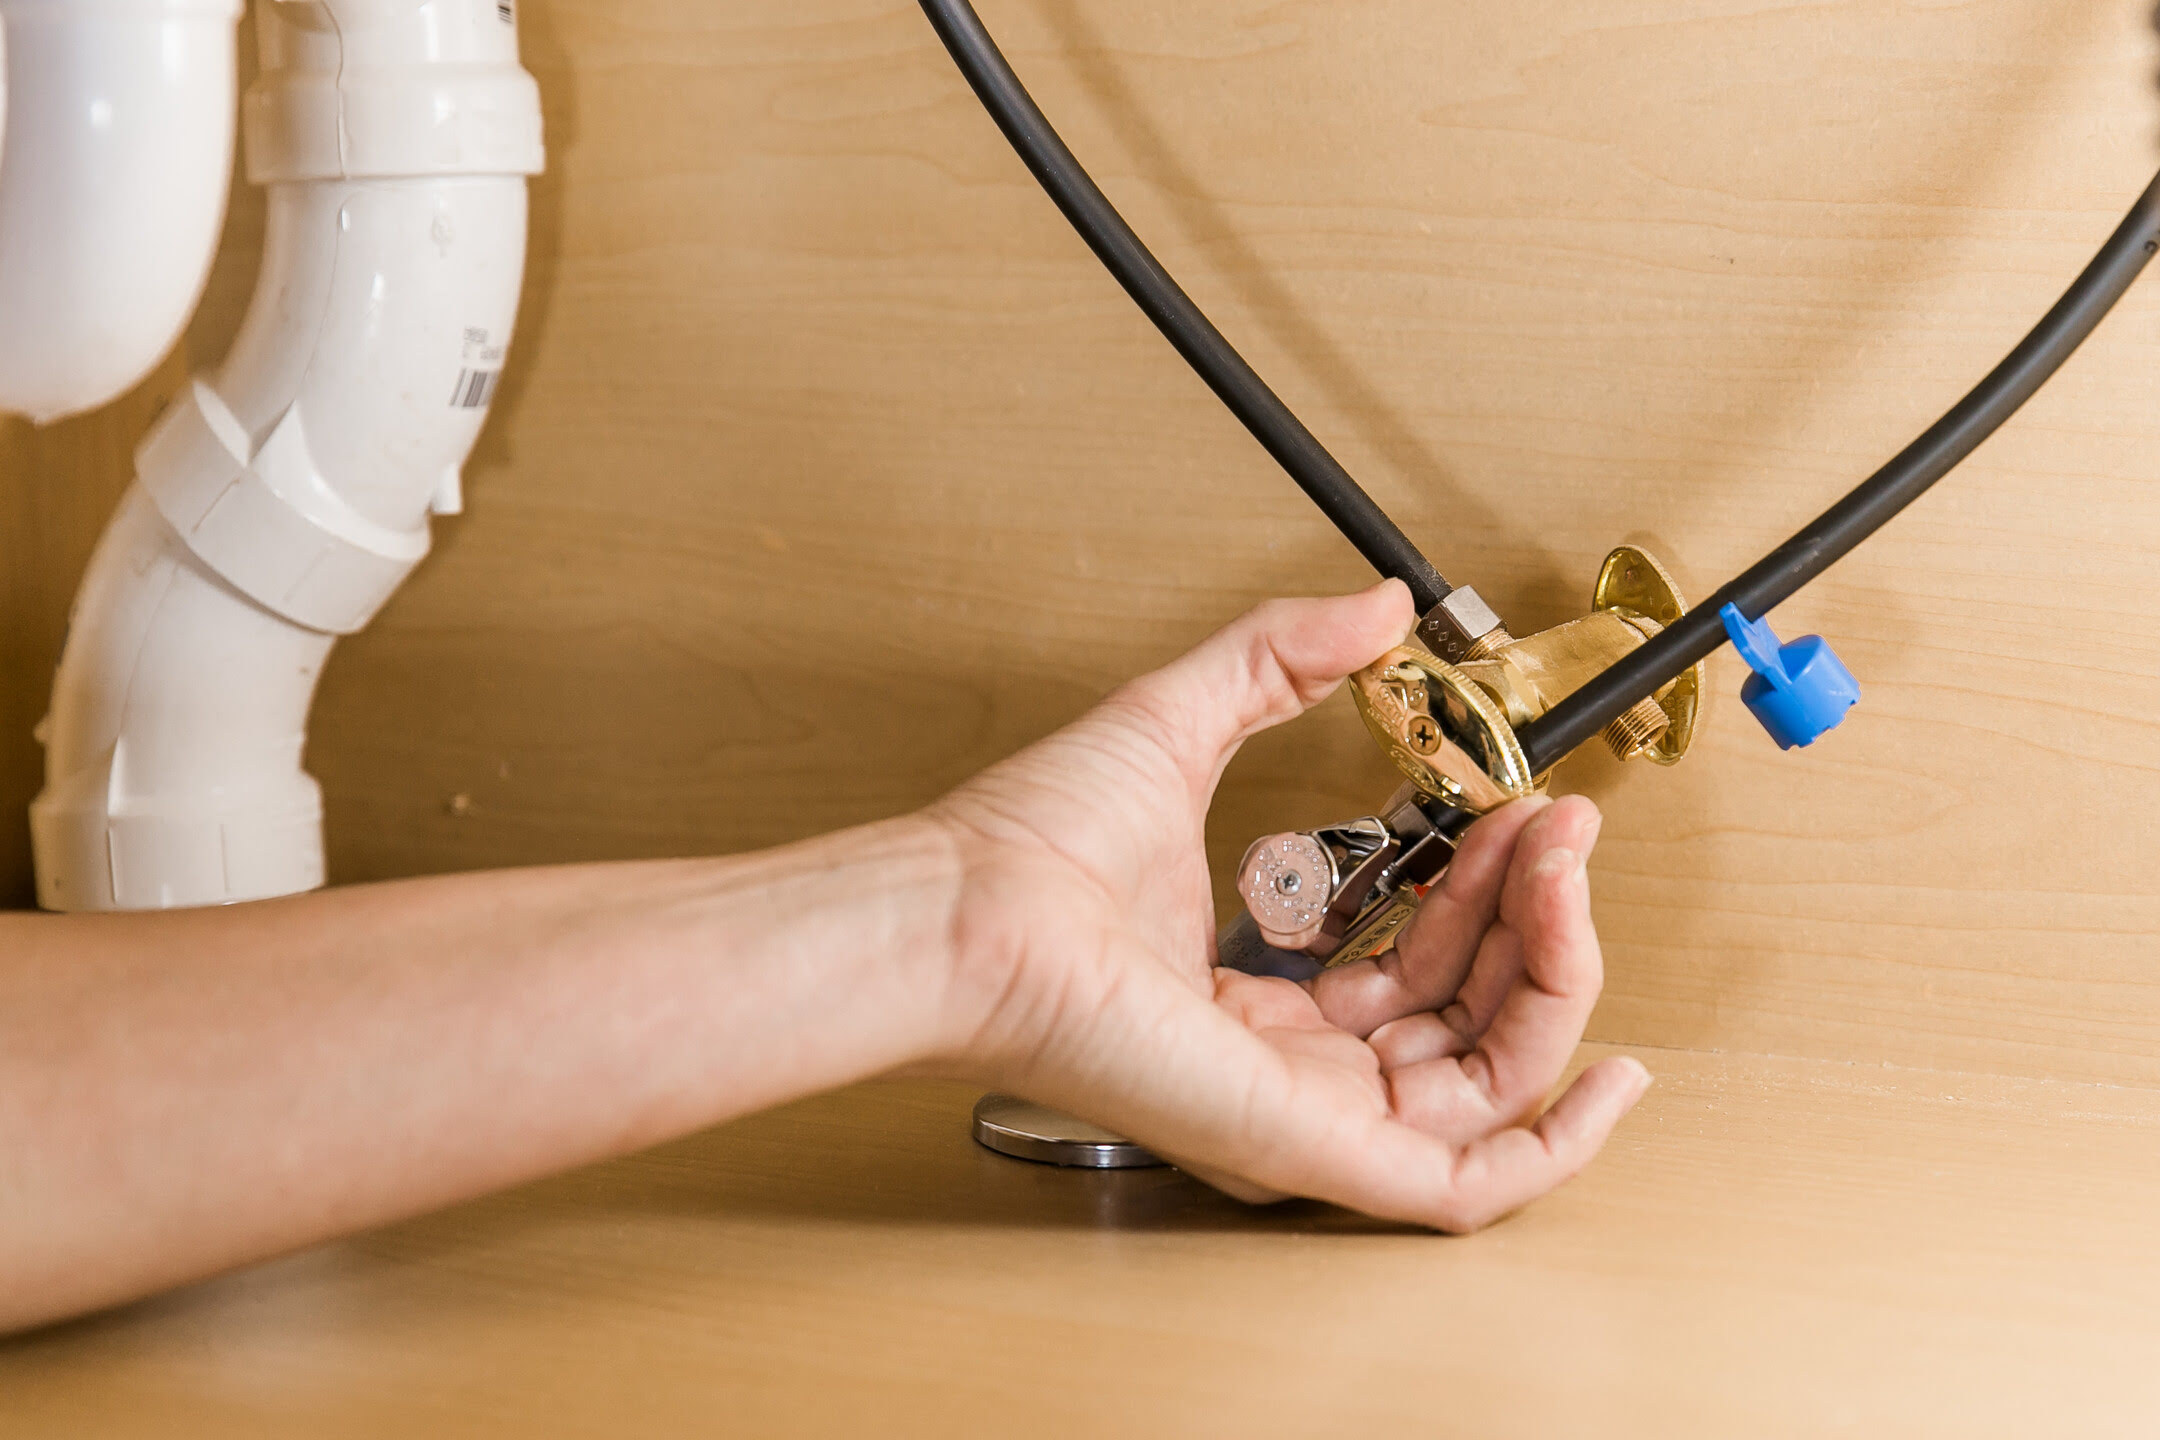
3. Disconnect the water supply line: The water supply line connects the shut-off valve to the toilet tank’s fill valve or a fill valve assembly. Use an adjustable wrench to loosen the nut that connects the water supply line to the fill valve. Hold the valve with one hand to prevent it from turning as you loosen the nut.
4. Inspect the water supply line: Take a moment to inspect the water supply line for any signs of damage, such as cracks or leaks. If you notice any issues, consider replacing the water supply line as well.
With the water supply disconnected, you have successfully prepared your toilet for the next step, which involves removing the old flush valve. It’s important to ensure that the water supply remains off throughout the entire replacement process to avoid any potential water damage or flooding. Now, let’s move on to the fourth step: removing the flush valve.
When replacing a toilet flush valve, be sure to turn off the water supply and flush the toilet to empty the tank. Use a wrench to remove the old valve and follow the manufacturer’s instructions for installing the new one.
Read also: 13 Best Toilet Flush Valve for 2025
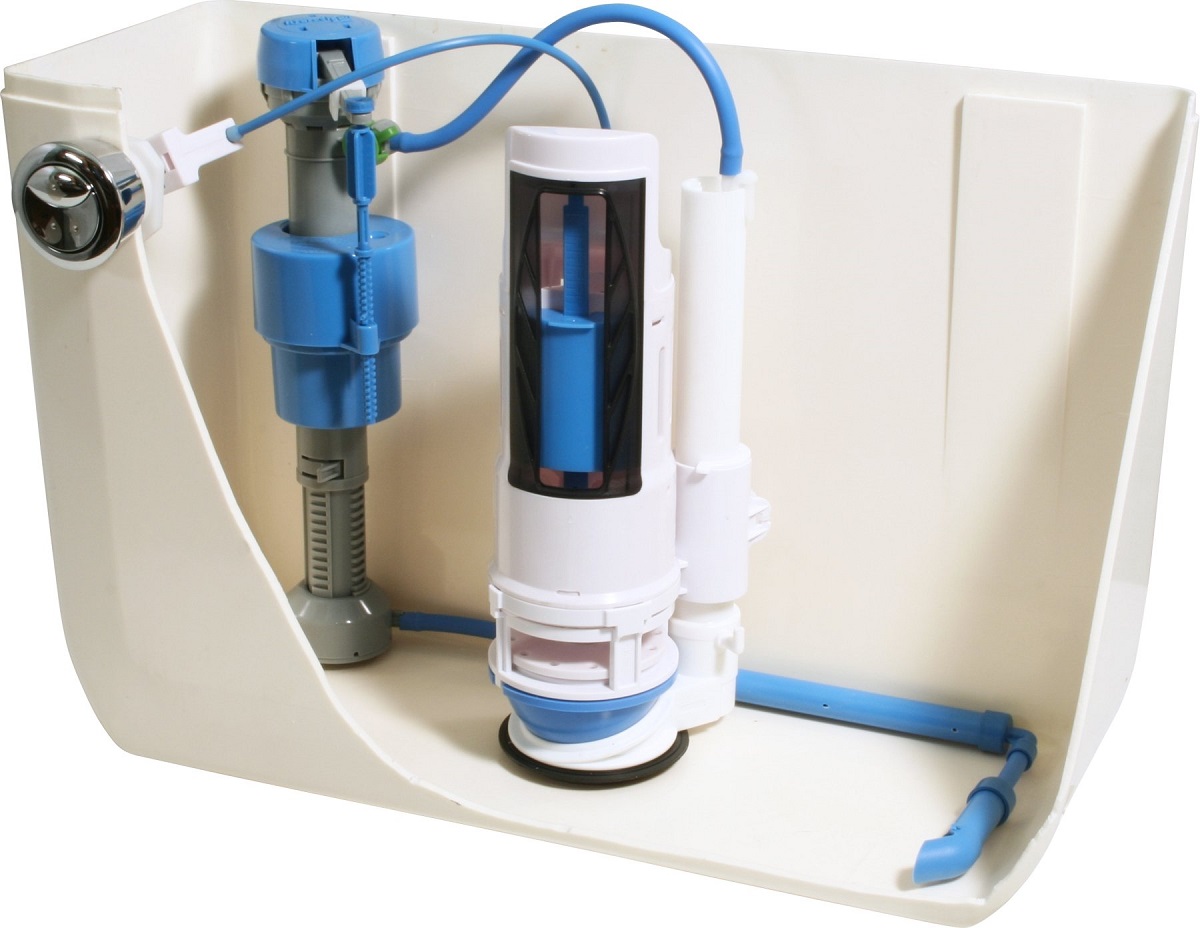
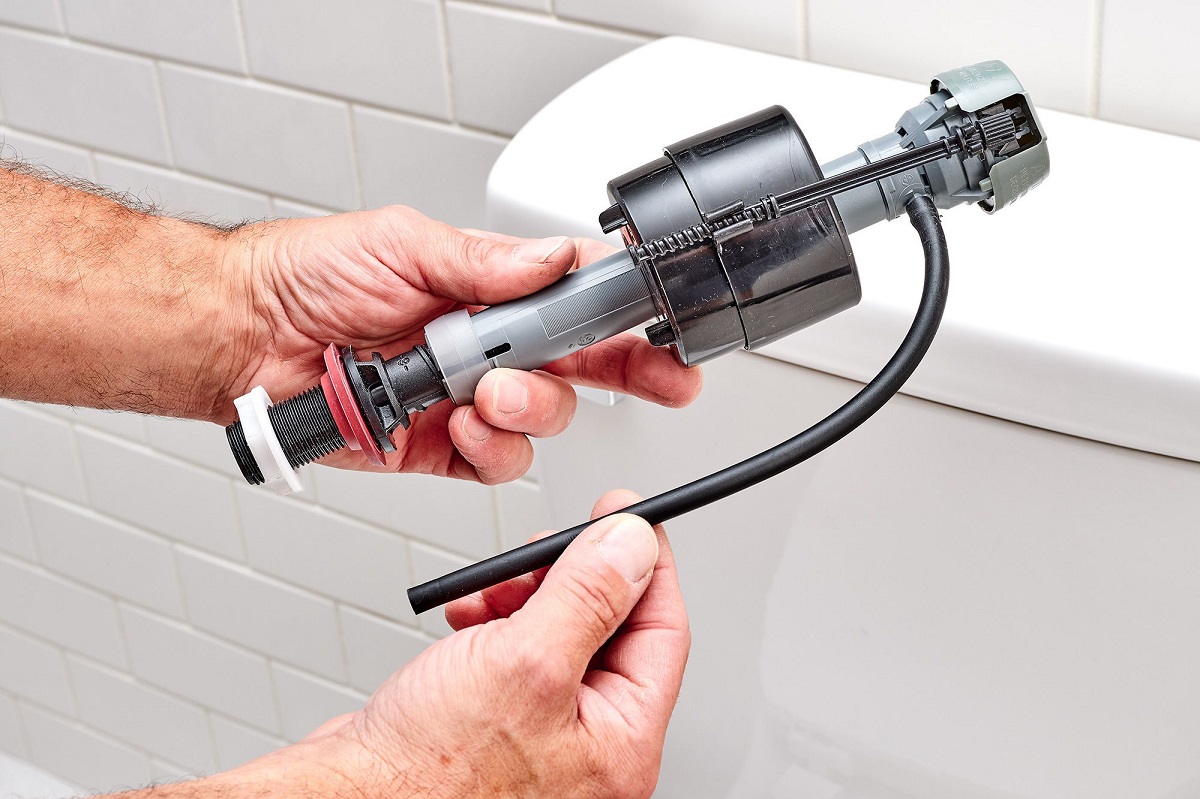
Step 4: Remove the flush valve
With the water supply disconnected and the toilet prepared, it’s time to remove the old flush valve. The flush valve is located at the bottom of the toilet tank and is responsible for releasing the water into the bowl during the flush. Follow these steps to remove the flush valve:
1. Remove the tank’s mounting nuts: Look for the mounting nuts on the underside of the toilet tank. These nuts secure the flush valve to the tank. Use an adjustable wrench to loosen and remove the nuts. You may need to hold the valve in place with one hand while loosening the nuts.
2. Lift out the old flush valve: Once the mounting nuts are removed, carefully lift the old flush valve out of the tank. It may be connected to the overflow tube, so gently wiggle and lift it to detach it completely.
3. Clean the tank: Before installing the new flush valve, take a moment to clean the inside of the tank. Remove any mineral deposits, debris, or old gaskets that may have accumulated. This will ensure a clean and smooth installation of the new flush valve.
4. Inspect the flapper: While the flush valve is removed, inspect the rubber flapper attached to it. If the flapper shows signs of wear, damage, or deterioration, consider replacing it as well. The flapper is responsible for sealing the flush valve and preventing water leakage between flushes.
By following these steps, you have successfully removed the old flush valve from your toilet tank. Now, it’s time to move on to the next step: installing the new flush valve to restore your toilet’s functionality.
Step 5: Install the new flush valve
Now that you have removed the old flush valve, it’s time to install the new one. Installing a new flush valve will help ensure that your toilet functions properly and efficiently. Follow these steps to install the new flush valve:
1. Position the new flush valve: Take the new flush valve and position it in the hole at the bottom of the toilet tank. Make sure the valve is aligned properly and sits securely in place.
2. Attach the mounting nuts: From the underside of the tank, slide the mounting nuts onto the bolts protruding from the flush valve. Tighten the nuts by hand, then use an adjustable wrench to secure them firmly. Be careful not to overtighten, as it may cause damage to the tank.
3. Connect the flapper: If your new flush valve includes a flapper, attach it to the flush valve according to the manufacturer’s instructions. The flapper should form a tight seal and allow water to fill the tank without leaking.
4. Check the positioning: Ensure that the flush valve is properly positioned and centered in the tank. Adjust it if necessary to ensure it sits flush and straight.
5. Reattach the water supply line: Reconnect the water supply line to the fill valve or fill valve assembly. Use plumber’s tape to wrap the threads of the water supply line for a secure and leak-free connection. Tighten the nut with an adjustable wrench, taking care not to overtighten.
With the new flush valve installed and the water supply line reconnected, your toilet is one step closer to being fully functional again. In the next step, we will cover how to reconnect the water supply and test the toilet for any potential issues.
Step 6: Reconnect the water supply
With the new flush valve installed, the next step is to reconnect the water supply to your toilet. Reconnecting the water supply will allow water to flow into the tank, enabling the toilet to flush properly. Follow these steps to reconnect the water supply:
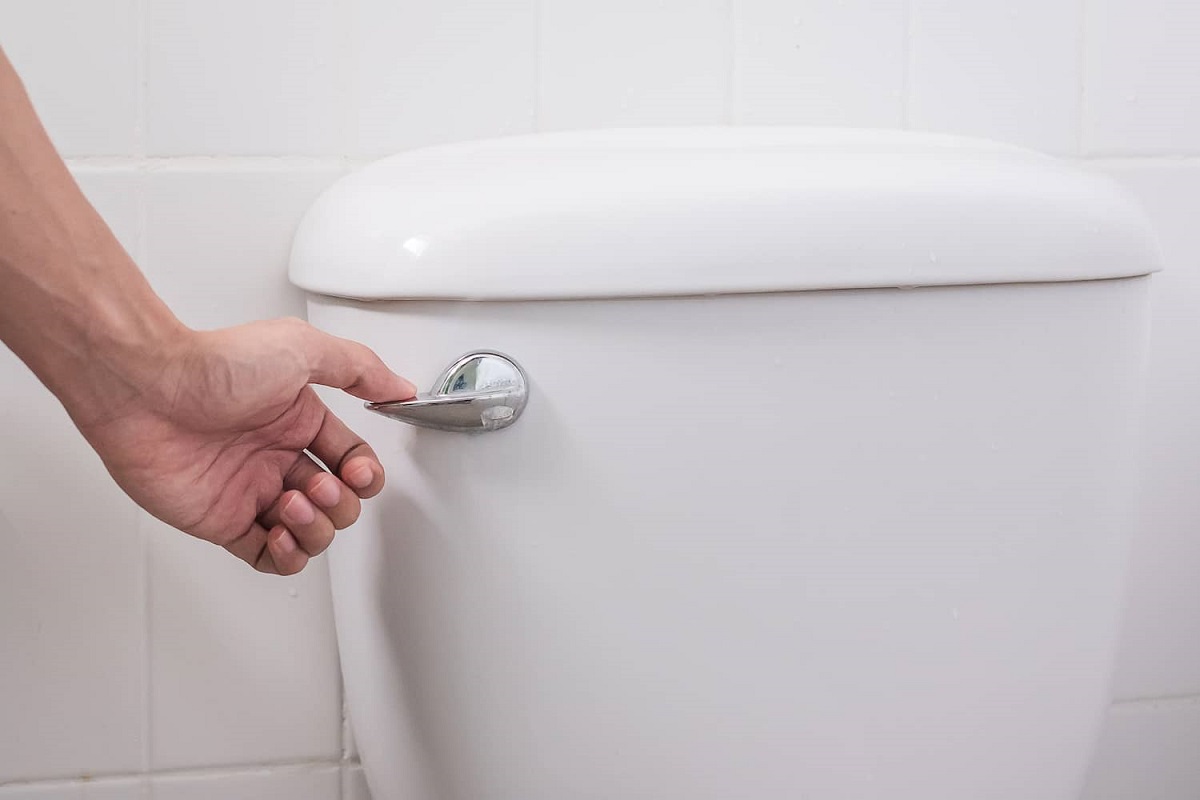
1. Turn on the water supply valve: Locate the shut-off valve behind or beside the toilet. Turn the valve handle counterclockwise until it’s fully open. This will allow water to flow into the toilet tank.
2. Check for leaks: As the water supply is turned on, carefully inspect all the connections for any signs of leakage. Look specifically at the fill valve and water supply line connection. If you notice any leaks, tighten the connections or consider replacing any faulty parts.
3. Fill the tank: As the water supply flows into the tank, the fill valve will start filling it. Allow the tank to fill completely. Keep an eye on the water level inside the tank to ensure it stops at the appropriate level, indicated by the waterline mark on the inside of the tank.
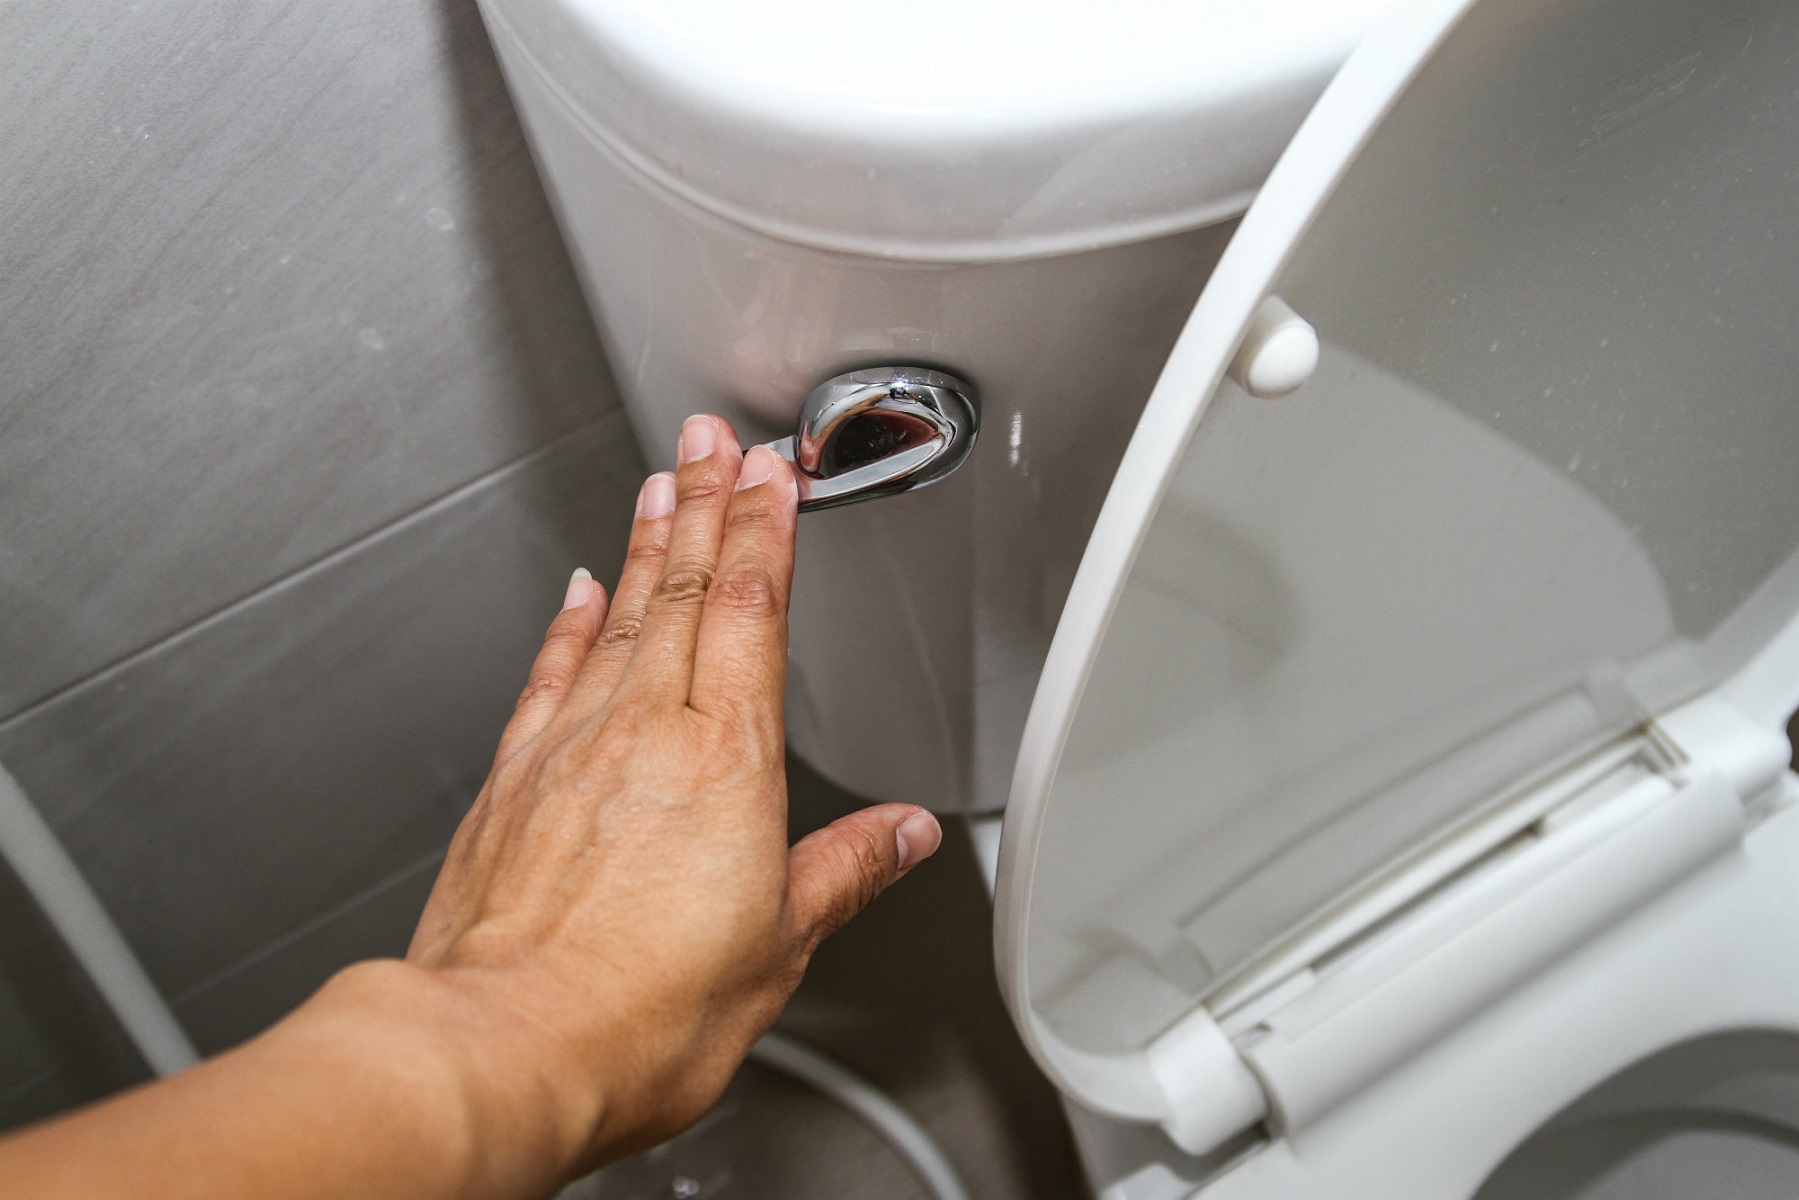
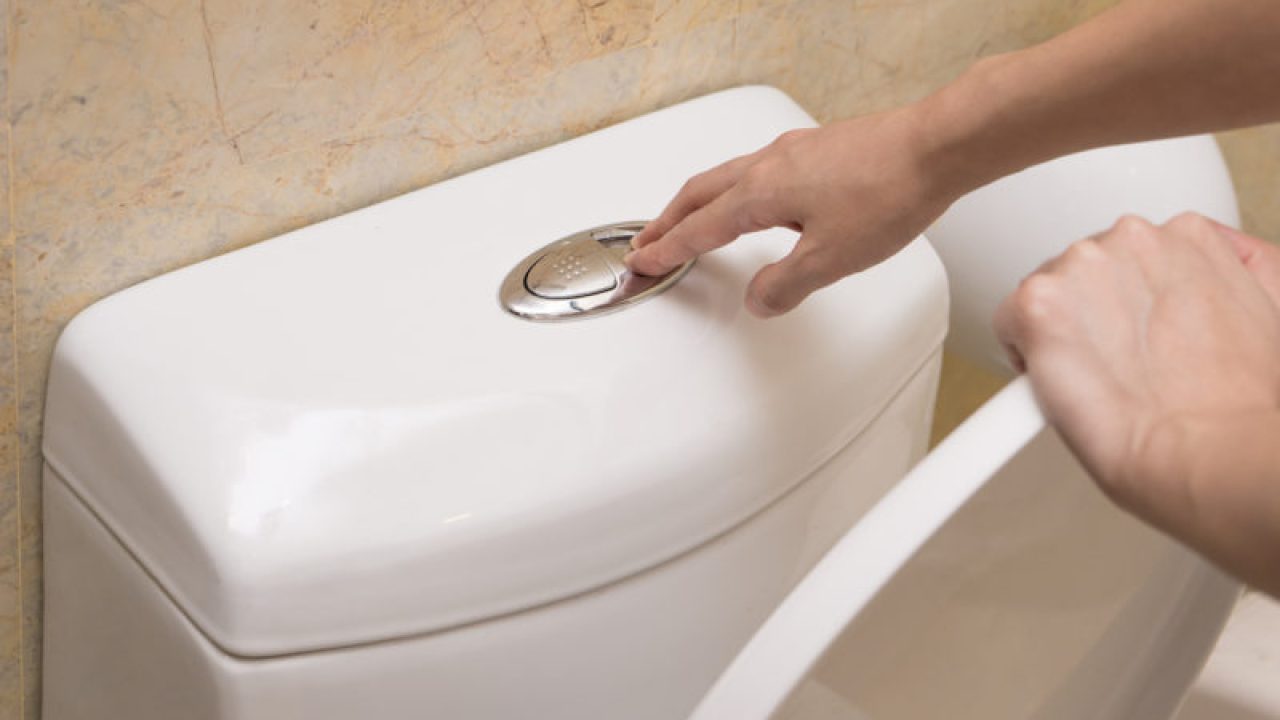
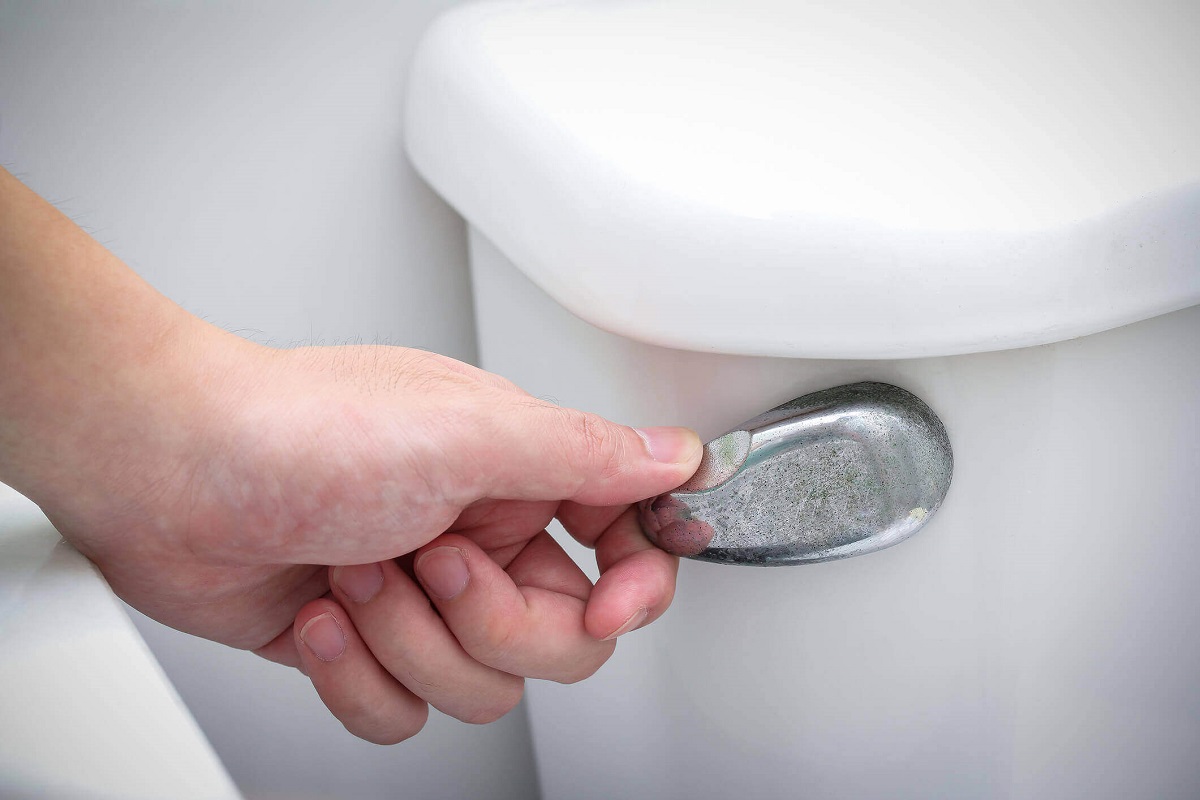
4. Test the flush: Once the tank is filled, press the flush handle to test the new flush valve. Ensure that the water is released into the bowl and the flush is working properly. Observe the flush cycle to ensure that the flapper closes tightly and prevents any water from continuously running into the bowl.
If everything appears to be functioning correctly and there are no leaks, you have successfully reconnected the water supply to your toilet. However, if you notice any issues, such as leaks or a malfunctioning flush, double-check the installation and consider seeking professional assistance.
Now that the water supply is reconnected, you can proceed to the final step of this process: testing the toilet to ensure it’s working properly.
Step 7: Test the toilet
Now that you have completed the installation of the new flush valve and reconnected the water supply, it’s time to test the toilet to ensure it’s functioning properly. Testing the toilet will help confirm that the flush valve replacement was successful and that there are no lingering issues. Follow these steps to test the toilet:
1. Flush the toilet: Press the flush handle or button to initiate a flush. Observe the water flow from the tank into the bowl. Ensure that there are no leaks and that the water drains properly from the tank.
2. Check for complete flush: After flushing, ensure that the bowl is fully emptied and refills with the appropriate amount of water. If the bowl does not refill completely or if there are any difficulties with flushing, there may be an issue with the new flush valve. Double-check the installation and make any necessary adjustments.
3. Look for any leaks: After flushing, inspect the area around the toilet, including the base and connections, for any signs of water leakage. Pay close attention to the base of the toilet, the water supply line, and the fill valve. Address any leaks immediately to prevent further damage.
4. Monitor the tank: Keep an eye on the water level inside the tank over the next few hours. Ensure that the tank maintains a consistent water level and does not continuously fill or leak water into the bowl. Adjust the fill valve if necessary to achieve the proper water level.
5. Repeat the test: Flush the toilet several more times to ensure consistent and reliable flushing. Pay attention to any irregularities or issues that may occur during flushing, such as weak flushes or water running continuously.
If everything is functioning properly and there are no leaks or issues with the flush, congratulations! You have successfully completed the process of replacing the toilet flush valve. Your toilet should now be working efficiently and effectively.
However, if you encounter any problems or are unsure of the installation, it’s always advisable to consult a professional plumber who can provide expert assistance and ensure your toilet is in optimal working condition.
With the installation and testing complete, you can now enjoy a fully operational toilet that provides an efficient flush and helps conserve water.
Read more: How To Replace Toilet Shut Off Valve
Conclusion
Replacing a toilet flush valve is a manageable DIY task that can save you money and restore the functionality of your toilet. By following the step-by-step process outlined in this article, you can successfully replace the flush valve and have your toilet working like new again.
Throughout the steps, we covered the necessary tools and materials needed for the job, preparing the toilet for repair, disconnecting the water supply, removing the old flush valve, installing the new flush valve, reconnecting the water supply, and testing the toilet for proper functionality.
Remember to gather all the necessary tools before you begin and take the time to prepare the toilet properly. With careful attention to detail, you can confidently remove the old flush valve and install the new one, ensuring a proper seal and efficient flushing performance.
After reconnecting the water supply, it’s crucial to test the toilet to confirm its functionality. Check for leaks, assess the flush cycle, and monitor the tank to ensure it maintains the correct water level. By doing so, you can identify any issues that may require further adjustments or professional assistance.
Regular maintenance and attention to your toilet can help prevent future problems and prolong its lifespan. Remember to clean the tank periodically, inspect the flush valve and flapper for signs of wear, and address any leaks or issues promptly. These proactive measures will help to keep your toilet operating smoothly for years to come.
By successfully replacing your toilet flush valve, you’re not only improving the functionality of your toilet but also contributing to water conservation efforts. A properly functioning flush valve ensures efficient water usage and helps reduce unnecessary wastage.
If you’re ever unsure about any step or encounter difficulties during the process, it’s always wise to seek professional assistance to avoid any potential damage or further complications.
We hope this article has provided you with a clear and comprehensive guide on how to replace a toilet flush valve. With the right tools, materials, and a bit of patience, you can tackle this maintenance task and enjoy a properly functioning toilet once again.
Now that you've mastered replacing a toilet flush valve, why not tackle more DIY projects around your home? For those keen on broader undertakings, our guide on home repair offers practical tips and insights. If you're considering updating your bathroom, understanding bathroom renovation timelines helps plan effectively. Dive into these reads to enhance your DIY skills and transform your living space smoothly.
Frequently Asked Questions about How To Replace A Toilet Flush Valve
Was this page helpful?
At Storables.com, we guarantee accurate and reliable information. Our content, validated by Expert Board Contributors, is crafted following stringent Editorial Policies. We're committed to providing you with well-researched, expert-backed insights for all your informational needs.

0 thoughts on “How To Replace A Toilet Flush Valve”