Articles
What Causes Air Bubbles In The Kegerator Line
Modified: October 18, 2024
Discover the main causes of air bubbles in your kegerator line in our informative articles. Learn how to avoid this common issue and maintain a perfect pour every time.
(Many of the links in this article redirect to a specific reviewed product. Your purchase of these products through affiliate links helps to generate commission for Storables.com, at no extra cost. Learn more)
Introduction
A kegerator is a popular appliance used to dispense draft beer at home, allowing beer enthusiasts to enjoy their favorite brews with the perfect pour. However, sometimes, you may notice air bubbles forming in the kegerator line, disrupting the smooth flow of beer. These air bubbles can be frustrating, as they affect the taste, carbonation, and overall drinking experience. In this article, we will explore the factors that contribute to air bubbles in the kegerator line and provide troubleshooting steps to help you resolve this issue.
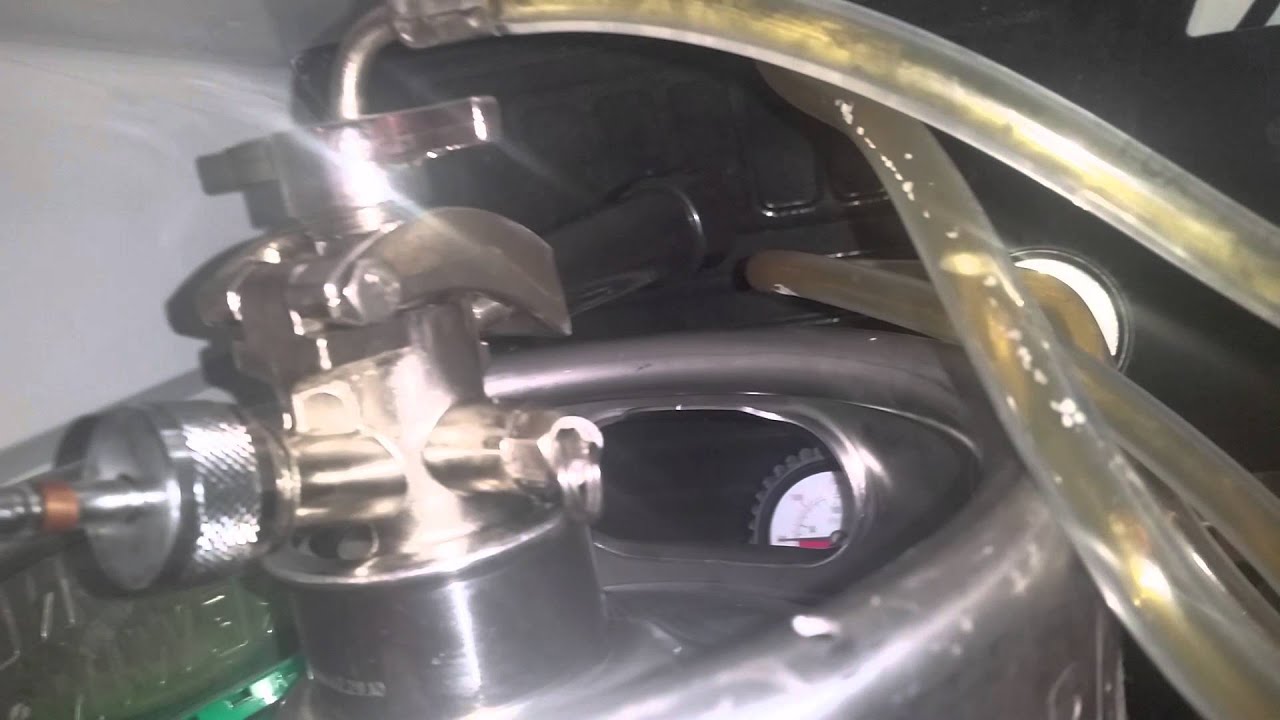
Before diving into the potential causes of air bubbles, let’s first understand the kegerator system. A typical kegerator consists of a refrigerated unit, a keg of beer, a CO2 cylinder, a regulator, and a keg line. The refrigerated unit cools the beer and maintains it at the perfect temperature, while the CO2 cylinder provides the pressure needed to push the beer out of the keg and into your glass. The regulator controls the pressure, and the keg line is the tubing that connects the keg to the faucet.
Now, let’s explore the factors that may contribute to air bubbles in the kegerator line:
Key Takeaways:
- Troubleshooting air bubbles in your kegerator line involves checking for loose connections, adjusting pressure settings, and maintaining proper temperature control. Regular maintenance and attention to detail are key to a smooth pouring experience.
- Understanding the kegerator system and addressing factors such as line length, diameter, and CO2 regulator cleanliness are essential for eliminating air bubbles. Proper installation and regular cleaning ensure a bubble-free beer pouring experience.
Read more: What Causes Stucco To Bubble
Understanding the Kegerator System
Before we delve into the causes of air bubbles in the kegerator line, it’s important to have a good understanding of how the kegerator system works. This will help us identify and troubleshoot any issues that may arise.
As mentioned earlier, a kegerator is comprised of several components that work together to deliver draft beer. Let’s break down each component:
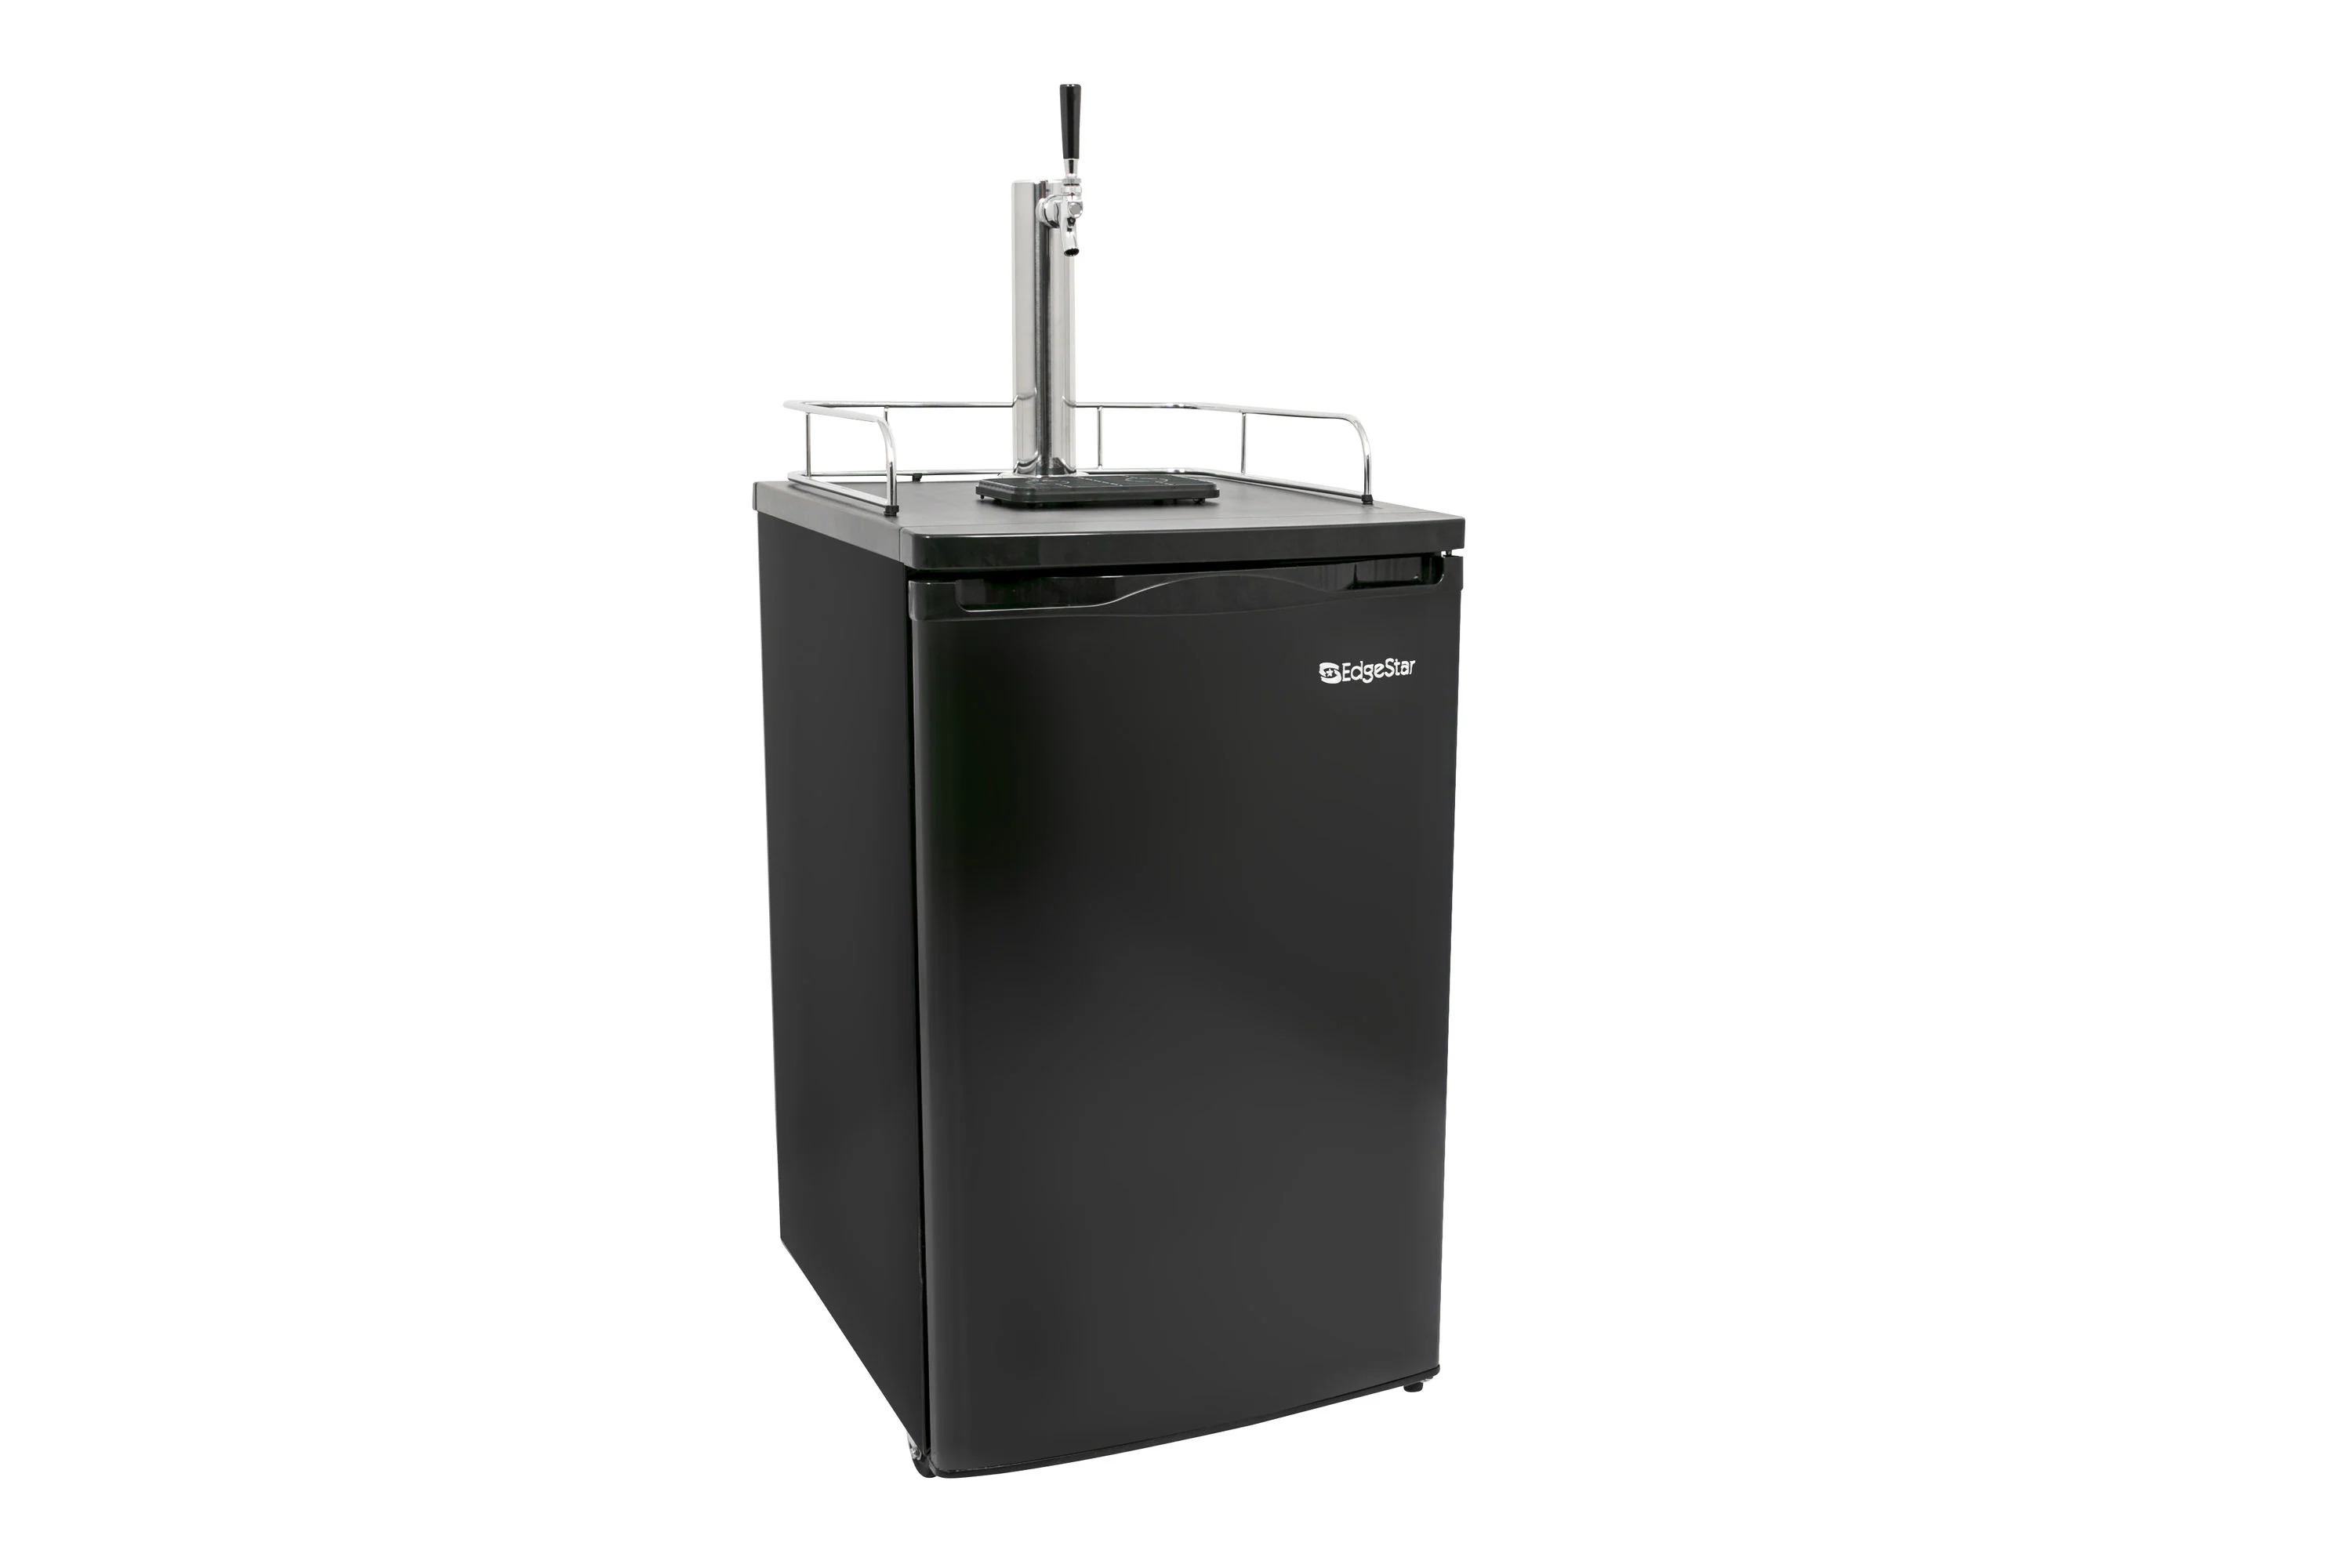
- Refrigerated Unit: This is the main body of the kegerator that houses the keg and keeps it at the desired temperature. The refrigeration system ensures that the beer remains cold and refreshing.
- Keg: The keg is where the beer is stored. It is pressurized with carbon dioxide (CO2) to maintain the carbonation and allow for easy dispensing. There are different types and sizes of kegs, such as quarter barrels, half barrels, and mini kegs, depending on your preference and the capacity of your kegerator.
- CO2 Cylinder: The CO2 cylinder is responsible for providing the pressure needed to push the beer out of the keg and through the kegerator line. It is filled with CO2 gas, which is typically regulated using a pressure regulator.
- Regulator: The regulator is essential for controlling the pressure of the CO2 gas. It connects to the CO2 cylinder and allows you to adjust the pressure according to the carbonation level and flow rate you desire. A well-adjusted regulator ensures a steady and consistent flow of beer.
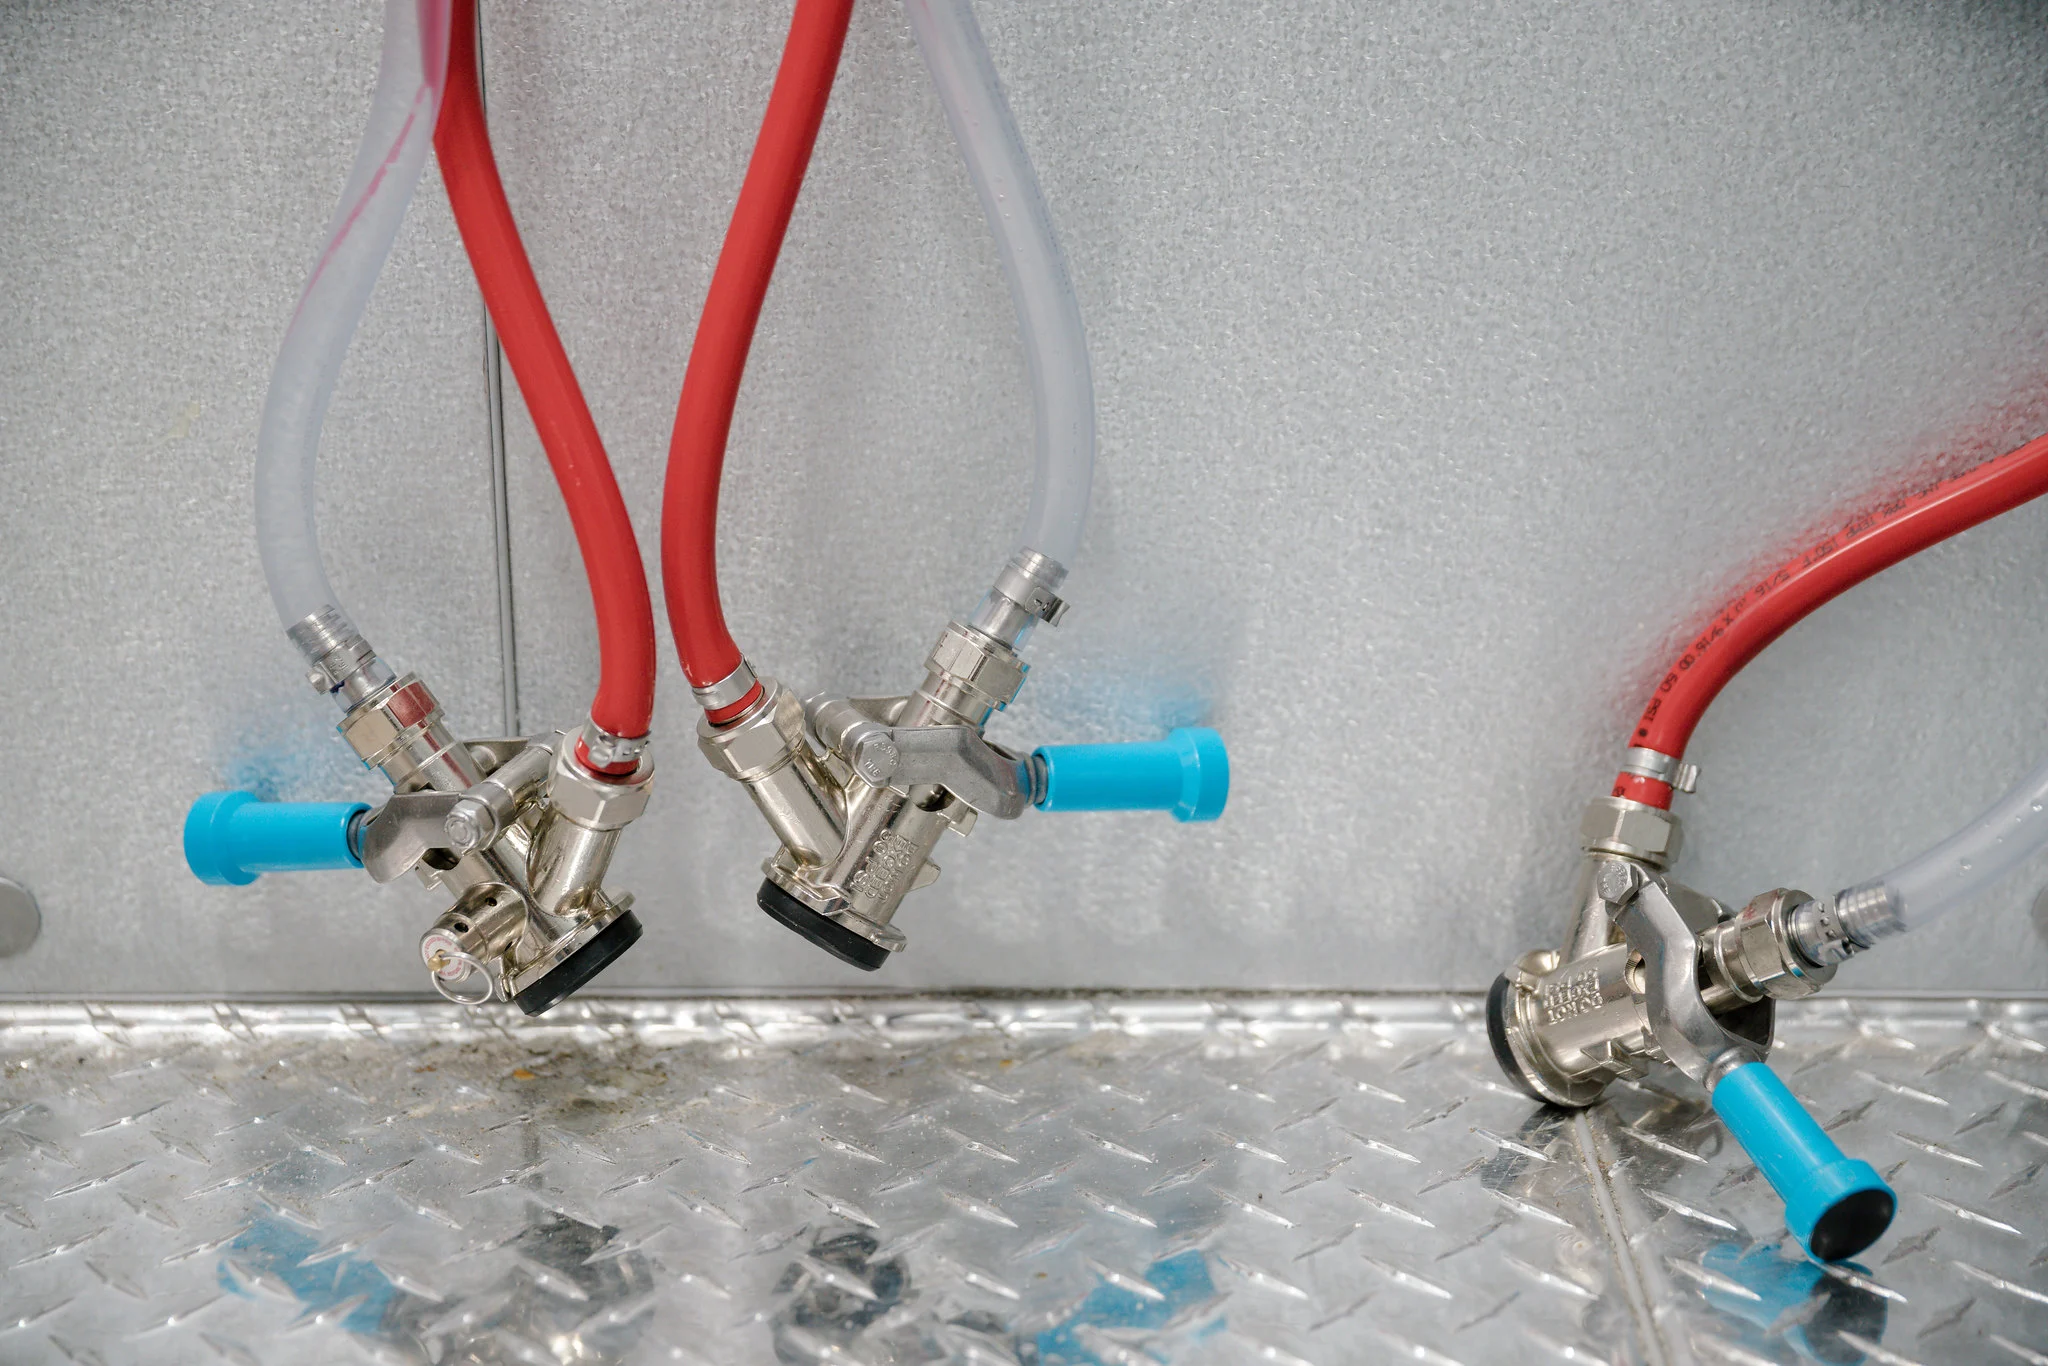
- Keg Line: The keg line is the tubing that connects the keg to the faucet or tap. It is responsible for transferring the beer from the keg to your glass. The line is typically made of food-grade vinyl or beverage tubing, with a diameter and length that can influence the flow and dispensing process.
- Faucet or Tap: This is where the beer is dispensed into your glass. It is usually equipped with a handle or lever that you pull to release the beer. The faucet regulates the flow and provides a smooth pour.
With a basic understanding of the kegerator system, we can now explore the various factors that may contribute to the formation of air bubbles in the kegerator line.
Factors that Contribute to Air Bubbles in the Kegerator Line
Air bubbles in the kegerator line can affect the quality of your beer and disrupt the smooth flow from keg to glass. Several factors can contribute to the formation of these air bubbles. Let’s take a closer look at each one:
- Improper Installation: A common cause of air bubbles is improper installation of the keg line. If the line is not securely connected to both the keg and the faucet, air can seep into the system, causing bubbles. Make sure all connections are tight and properly sealed to prevent any air leakage.
- Incorrect Pressure Setting: If the pressure in your kegerator system is set too high or too low, it can lead to the formation of air bubbles. High pressure can cause the beer to foam excessively, while low pressure may result in a slow or uneven dispense. Adjust the pressure using the regulator to find the optimal setting for your particular beer and keg system.
- Dirty or Faulty CO2 Regulator: A dirty or faulty CO2 regulator can disrupt the flow of CO2 gas and introduce air into the kegerator line. Regular maintenance and cleaning of the regulator can help prevent this issue. If you suspect a faulty regulator, it may need to be replaced to ensure proper functioning.
- Damaged or Loose Connections: Any damage or looseness in the kegerator line connections can result in air bubbles. Inspect the tubing and fittings for any cracks, gaps, or wear and replace them if necessary. Additionally, check that all connections are securely fastened to prevent air from entering the system.
- Temperature Fluctuations: Significant fluctuations in temperature can cause air bubbles to form in the kegerator line. Rapid changes in temperature can lead to the release of dissolved gases, which then manifest as bubbles when dispensed. Ensure that your kegerator is properly insulated and maintained at a consistent temperature to minimize temperature-related issues.
- Line Length and Diameter: The length and diameter of the keg line can also impact the formation of air bubbles. If the line is too long or narrow, it can create resistance and cause air to get trapped, resulting in bubbles. Consider adjusting the line length or diameter based on the specific requirements of your kegerator system.
Identifying and addressing these contributing factors can help eliminate air bubbles in your kegerator line, ensuring a smooth and enjoyable pouring experience. In the next section, we will discuss troubleshooting steps and solutions to help resolve air bubble issues in your kegerator system.
Improper Installation
Improper installation of the keg line is a common culprit for air bubbles in the kegerator line. When the line is not securely connected to both the keg and the faucet, air can enter the system, disrupting the smooth flow of beer. Here are some potential installation issues to watch out for:
- Loose Connections: If the connections between the keg line and the keg or faucet are loose, air can seep into the system. Ensure that all connections are tightly secured by properly attaching the fittings and tightening any clamps or connectors.
- Improper Sealing: In addition to tightening the connections, it’s important to ensure a proper seal. Check for any gaps or leaks and use appropriate gaskets or O-rings, if needed, to create a watertight seal between the components.
- Misaligned Tubing: Make sure that the tubing is correctly aligned with the connection points. Any kinks, bends, or twists in the keg line can hinder the beer flow and lead to the formation of air bubbles. Straighten the tubing as needed to maintain a smooth path for the beer.
- Damaged or Worn Tubing: Inspect the keg line for any damage, cracks, or signs of wear. Damaged tubing can allow air to enter the system, resulting in bubbles. Replace any compromised sections of tubing to ensure a tight and secure connection.
To prevent improper installation from causing air bubbles in your kegerator line, it’s essential to carefully follow the manufacturer’s instructions for setting up the system. Take your time during the installation process to ensure that all connections are properly tightened and sealed. Double-check the alignment of the tubing and inspect it for any signs of damage or wear. By addressing any installation issues, you can minimize the risk of air bubbles and enjoy a smooth, uninterrupted beer pouring experience from your kegerator.
Incorrect Pressure Setting
The pressure setting in your kegerator system plays a crucial role in maintaining the optimal flow and carbonation of your beer. Incorrect pressure settings can lead to the formation of unwanted air bubbles in the kegerator line. Here are some factors to consider when setting the pressure:
- Carbonation Level: Different beer styles have different carbonation levels. Consult the supplier or check the specific guidelines for the carbonation level recommended for your beer. Adjust the pressure accordingly to achieve the desired level of carbonation. High pressure can cause excessive foaming, while low pressure may result in a flat or slow dispense.
- Temperature: Temperature plays a significant role in carbonation. As the temperature rises, the solubility of carbon dioxide decreases, potentially leading to air bubble formation. Ensure that your kegerator is properly refrigerated and maintained at the recommended temperature for your beer type.
- Gauge Reading: Most kegerator systems are equipped with a pressure gauge that displays the pressure inside the system. Use this gauge as a reference point for setting the pressure. Adjust the regulator to reach the desired pressure, making sure that it neither over-pressurizes nor under-pressurizes the system.
- Experimentation: Fine-tuning the pressure settings may require some trial and error. Start with a baseline pressure based on the carbonation level and temperature recommendations. Pour a sample of beer and observe the carbonation and foam formation. Adjust the pressure incrementally and continue to sample until you achieve the desired pour with minimal air bubbles.
Regularly check and monitor the pressure gauge to ensure that it remains consistent over time. Pressure fluctuations can introduce air into the kegerator line, resulting in bubbles. If you notice sudden changes in pressure, investigate and address any issues promptly, such as CO2 leaks or malfunctions in the regulator.
By properly setting the pressure in your kegerator system and fine-tuning it for your specific beer and temperature conditions, you can minimize the occurrence of air bubbles and ensure a smooth and enjoyable beer dispensing experience.
Read more: What Causes AC Line To Freeze
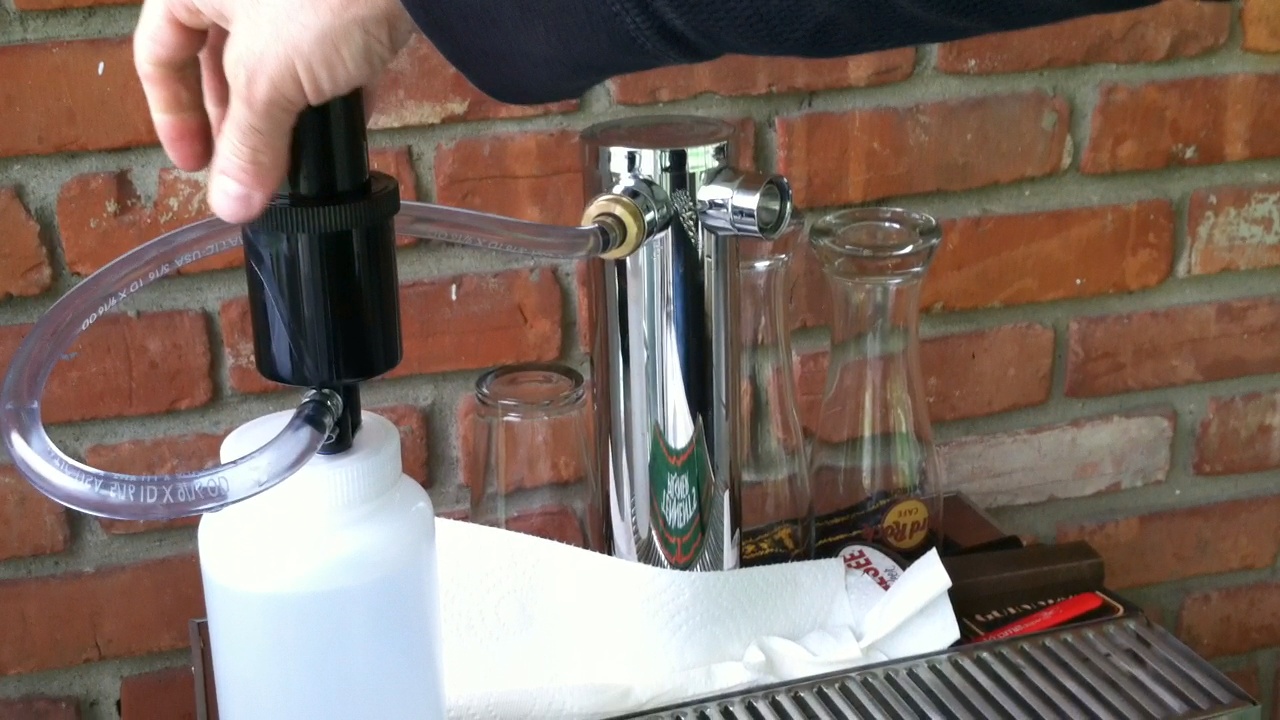
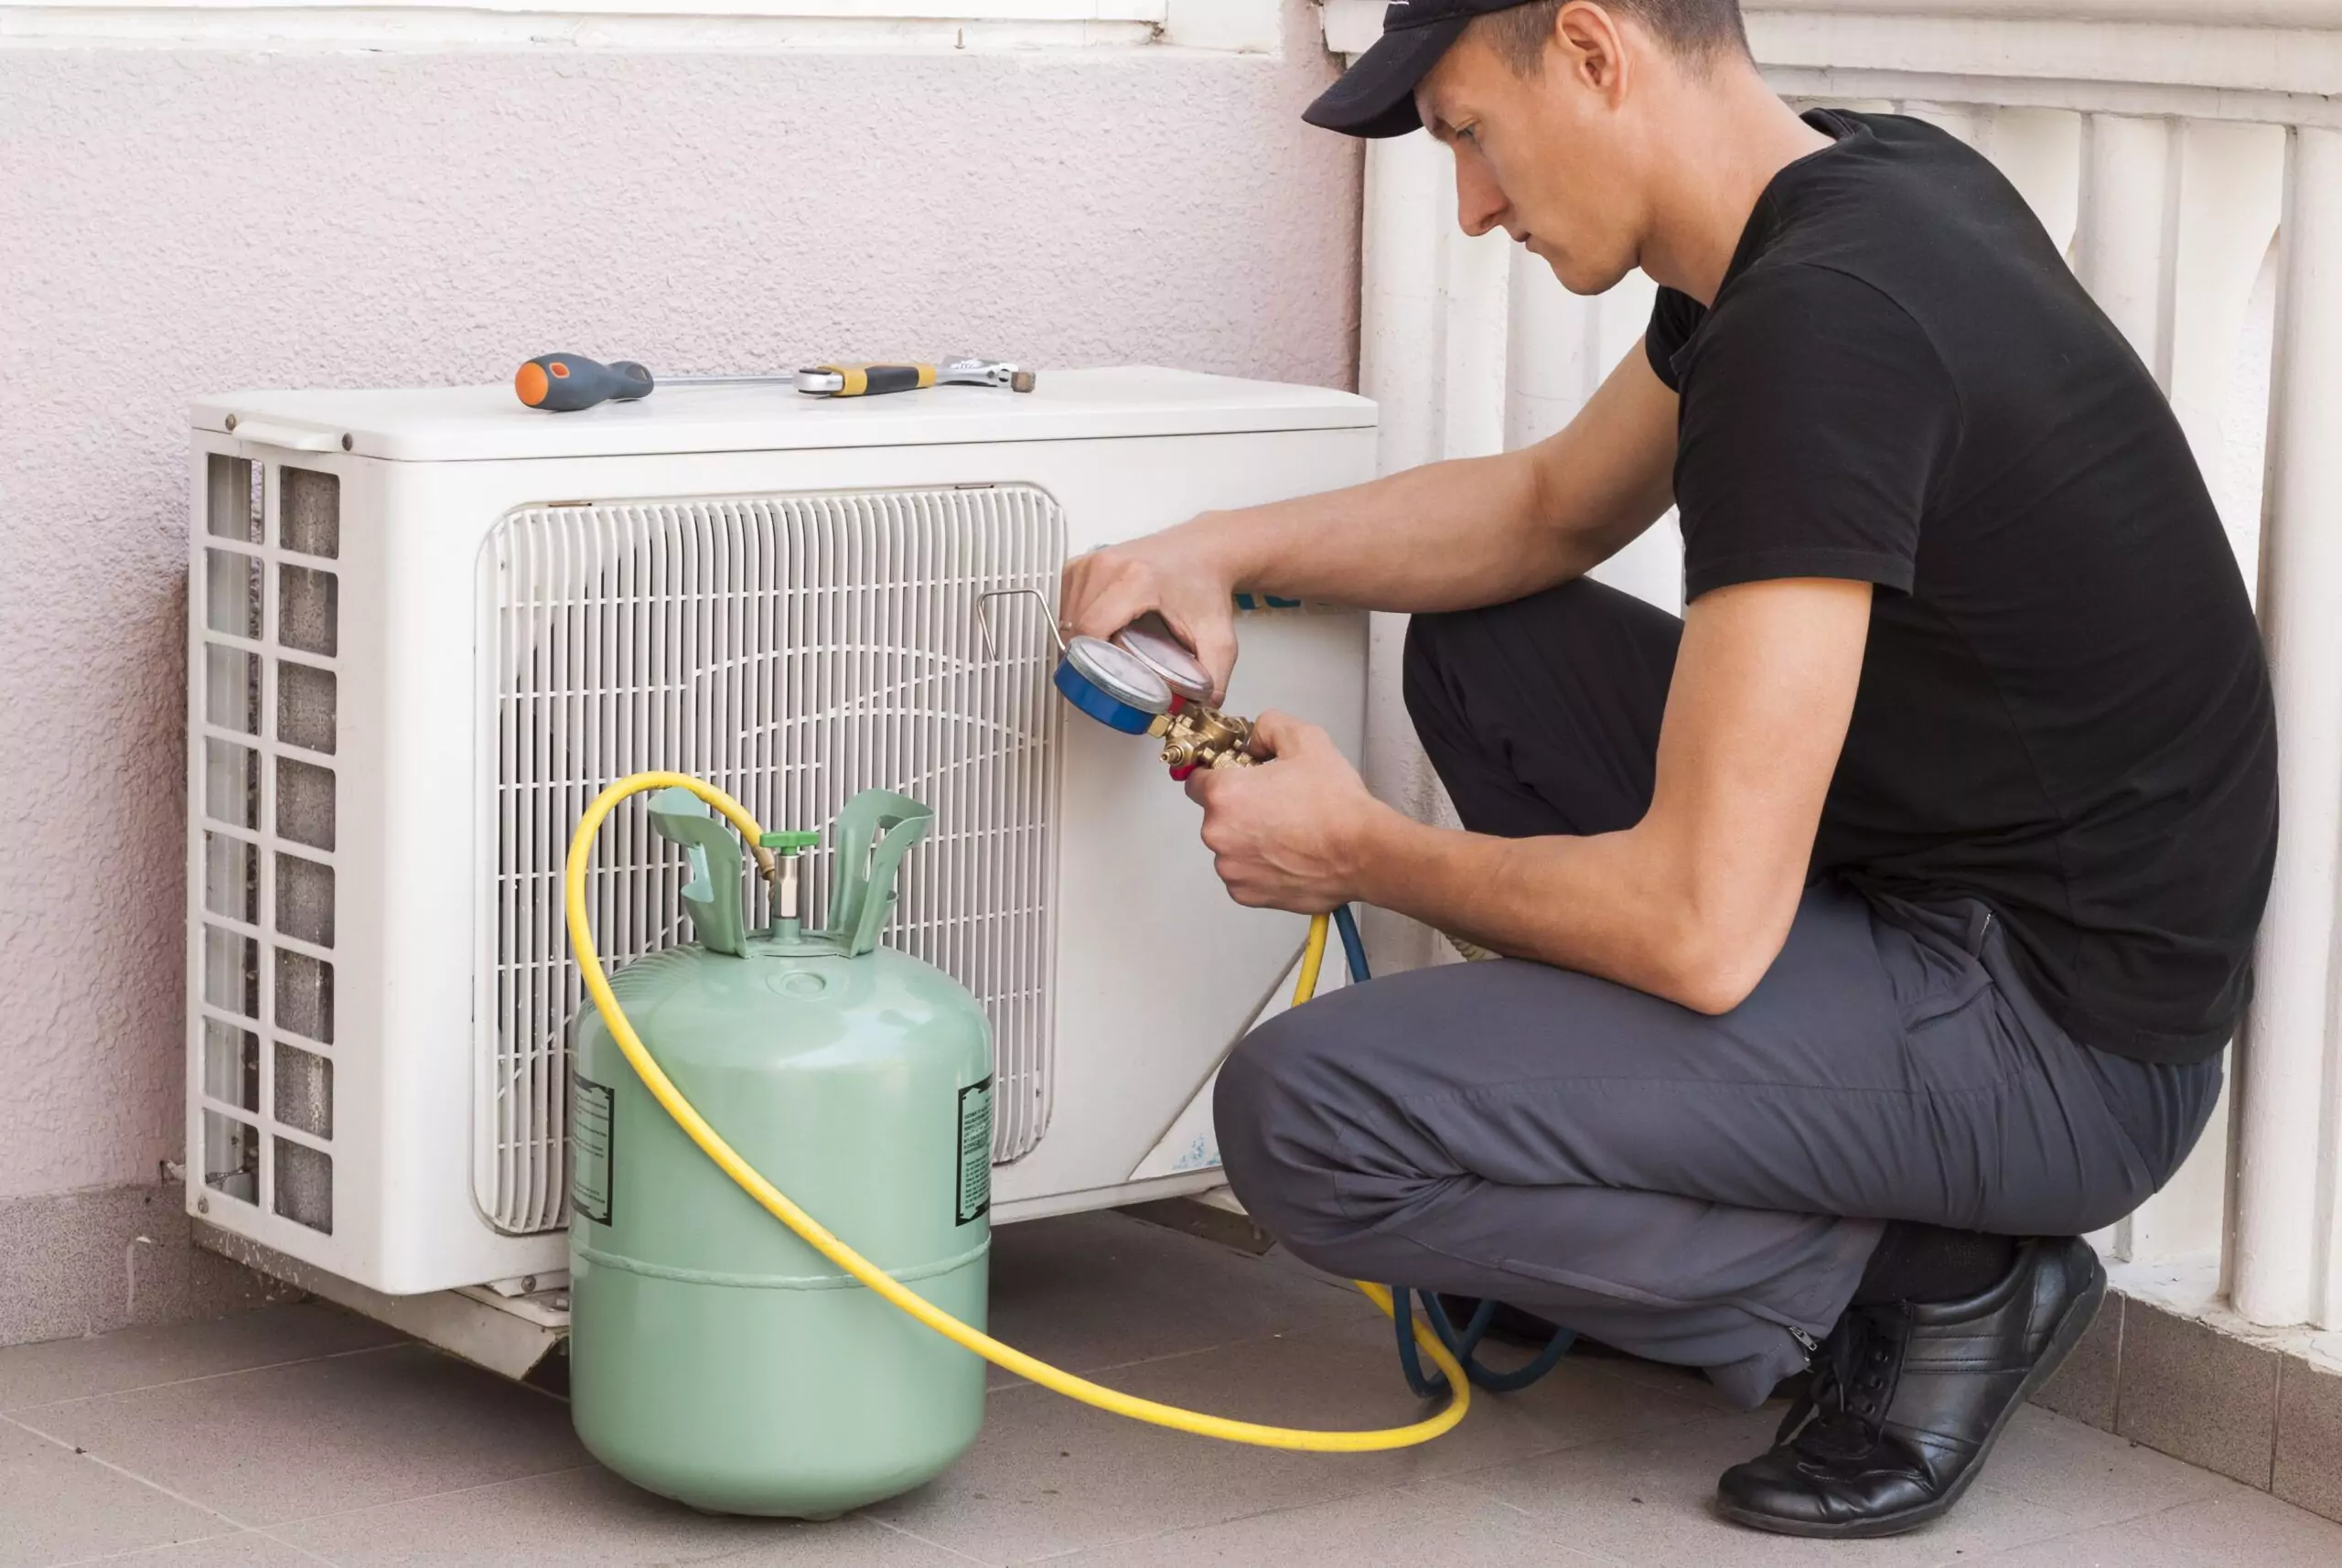
Dirty or Faulty CO2 Regulator
A dirty or faulty CO2 regulator can be a major contributing factor to the formation of air bubbles in the kegerator line. The CO2 regulator, as the name suggests, regulates the pressure of the carbon dioxide (CO2) gas used to push the beer from the keg to the faucet. Here’s what you need to know about this potential cause:
- Gas Flow Interruption: If the CO2 regulator is dirty or clogged with debris, it can disrupt the flow of CO2 gas into the kegerator line. This interruption in gas flow can create a partial vacuum, causing air to be drawn into the system and resulting in the formation of air bubbles.
- Cleaning and Maintenance: Regular cleaning and maintenance of the CO2 regulator are essential to prevent issues. Follow the manufacturer’s guidelines for cleaning and maintenance procedures. Generally, this involves disassembling the regulator, removing any dirt or debris, and inspecting for any signs of damage or wear.
- CO2 Gas Quality: The quality of the CO2 gas being used can also impact the functionality of the regulator. Ensure that you are using high-quality CO2 gas from a reliable source. Impure or contaminated gas may contain additional substances, such as oils or impurities, which can affect the performance of the regulator.
- Regulator Malfunction: If you notice persistent issues with air bubbles, despite cleaning and proper gas quality, it is possible that the CO2 regulator itself is faulty. Over time, regulators can experience wear and tear, leading to malfunctions. In such cases, it may be necessary to replace the regulator to restore proper gas flow and eliminate the air bubble problem.
Regularly inspecting and cleaning the CO2 regulator, and using high-quality CO2 gas, will help prevent issues related to dirt and contamination. If you suspect a faulty regulator, consult a professional or the manufacturer for further assistance and consider replacing the regulator if necessary.
By ensuring that your CO2 regulator is clean, well-maintained, and functioning properly, you can minimize the risk of air bubbles in your kegerator line and maintain a smooth and consistent beer pouring experience.
To prevent air bubbles in the kegerator line, make sure the CO2 pressure is set correctly and that the beer lines are properly insulated to maintain a consistent temperature. Also, regularly clean and maintain the kegerator system to prevent any blockages or obstructions in the lines.
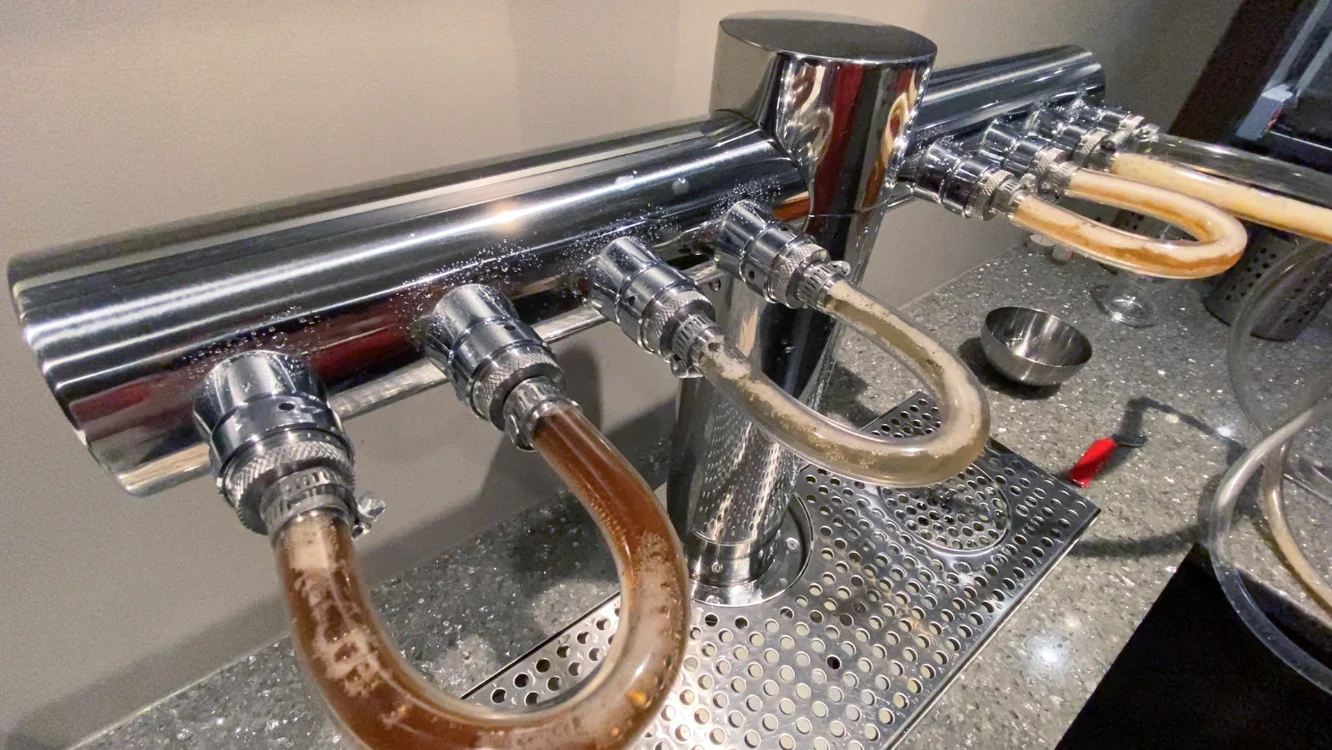
Damaged or Loose Connections
Damaged or loose connections within the kegerator line can lead to the formation of air bubbles. It is crucial to ensure that all connections in the system are secure and free from any damage or wear. Here are some potential issues to look out for:
- Cracked or Damaged Tubing: Inspect the keg line for any cracks, splits, or signs of damage. Damage to the tubing can allow air to enter the system and result in the formation of air bubbles. If you notice any compromised sections of tubing, replace them with new ones to ensure a tight and secure connection.
- Loose Fittings: Check all fittings, clamps, and connectors within the kegerator line to ensure they are properly tightened. Loose fittings can create gaps that allow air to seep into the system. Use a wrench or appropriate tool to secure all fittings, making sure they are snug and firmly in place.
- Worn-out O-Rings: O-rings are rubber gaskets or seals used to create a watertight connection between components. Over time, O-rings can wear out, become brittle, or shrink, resulting in loose connections. Inspect the O-rings in your kegerator system and replace them if needed to maintain a tight seal.
- Misaligned Connections: Ensure that all connections in the kegerator line are properly aligned. Misalignment can cause air to enter the system and create air bubbles. Straighten any kinks or bends in the tubing and make sure all connections are in line and properly seated.
Regularly inspecting the kegerator line for any damage or loose connections is essential to prevent air bubbles. When setting up or troubleshooting your kegerator, always double-check the tightness and alignment of all components. Address any issues promptly by repairing or replacing damaged parts, tightening loose fittings, or realigning connections. By ensuring secure and intact connections, you can minimize the risk of air bubbles and enjoy a smooth and uninterrupted beer pouring experience.
Temperature Fluctuations
Temperature fluctuations in the kegerator can lead to the formation of air bubbles in the kegerator line. Rapid changes in temperature can cause the release of dissolved gases in the beer, resulting in bubbles when dispensed. Here’s what you need to know about this potential cause:
- Thermodynamic Effects: When the temperature rises, the solubility of gases, including carbon dioxide, decreases. This can cause the carbonation in the beer to escape as bubbles. Temperature fluctuations can occur due to various factors, such as opening and closing the kegerator frequently or external environmental influences.
- Proper Insulation: Ensure that your kegerator is properly insulated to maintain a consistent temperature. Insulation helps to minimize temperature fluctuations, keeping the beer at the desired temperature and reducing the risk of air bubbles. Check the seals, gaskets, and insulation materials of your kegerator to ensure that they are in good condition and working effectively.
- Stable Temperature Control: Maintain a stable temperature in your kegerator by adjusting the thermostat or temperature control mechanism. Refer to the specific temperature recommendations for your beer style and make sure the kegerator is set to the appropriate temperature range. Avoid drastic temperature changes, as this can result in the release of dissolved gases and the formation of air bubbles.
- External Influences: Keep the kegerator away from direct sunlight, heat sources, and areas with significant temperature variations. External factors can impact the performance of the kegerator and result in temperature fluctuations. Place the kegerator in a cool and stable environment to minimize the risk of air bubbles caused by temperature changes.
Regularly monitor the temperature within your kegerator and make adjustments as needed. If you notice frequent and significant temperature fluctuations, consider troubleshooting the kegerator to identify any underlying issues. A properly insulated and temperature-controlled kegerator will help maintain the carbonation and minimize the occurrence of air bubbles in the kegerator line.
Line Length and Diameter
The length and diameter of the kegerator line can significantly impact the formation of air bubbles. Improper line length and diameter can create resistance, leading to trapped air and resulting in bubbles when pouring beer. Here are some key factors to consider:
- Line Length: The length of the kegerator line is an important consideration. If the line is too long, it can cause excess resistance and slow down the flow of liquid, potentially leading to air bubbles. If the line is too short, it can result in excessive pressure that may also cause foaming and bubbles. Consult your kegerator’s instructions or the recommendations of the beer supplier to determine the optimal length for your system.
- Line Diameter: The diameter of the kegerator line affects the flow rate and resistance. A narrower diameter can increase resistance and potentially cause air bubbles. Consider using a wider diameter line to facilitate smoother flow and reduce the chances of bubbles forming. Again, refer to the recommendations of your kegerator or beer supplier for the appropriate line diameter for your specific system.
- Balancing the System: Achieving the right balance between line length and diameter is key to minimizing air bubbles. The goal is to find the optimal combination that provides a steady flow without excessive resistance. Experiment with different line lengths and diameters while keeping track of the pour quality and the presence of bubbles. Adjust as necessary to achieve the best balance for your kegerator system.
- Proper Cleaning and Maintenance: Regularly clean and maintain the kegerator line to prevent any buildup of debris or residue that can affect the flow and contribute to the formation of air bubbles. Follow the manufacturer’s recommendations for cleaning procedures and use appropriate cleaning solutions for beer lines. Clean lines ensure a smooth and unobstructed flow of beer, reducing the likelihood of air bubbles.
By considering and optimizing the line length and diameter in your kegerator system, you can promote a smooth and consistent flow of beer while minimizing the risk of air bubble formation. Keep in mind that finding the right balance may require some experimentation and adjustments. Regular cleaning and maintenance are also crucial to ensure the longevity and performance of your kegerator line.
Read more: What To Line Air Fryer With
Troubleshooting and Resolving Air Bubble Issues
If you are experiencing air bubbles in your kegerator line, there are several troubleshooting steps you can take to identify and resolve the issue. Here are some common solutions to help you eliminate air bubble problems:
- Check for Loose or Damaged Connections: Inspect all connections in the kegerator line, including fittings, clamps, and connectors, to ensure they are properly tightened and free from damage. Tighten any loose connections and replace damaged components as necessary.
- Verify Proper Pressure Settings: Check the pressure settings on the CO2 regulator and ensure they are correctly adjusted based on the specific beer and carbonation level. Experiment with incremental adjustments until you find the optimal pressure that minimizes air bubbles while still providing a steady flow of beer.
- Clean and Maintain the CO2 Regulator: Regularly clean and maintain the CO2 regulator to prevent dirt or debris from disrupting the gas flow. Check for any signs of wear or malfunctions. If necessary, replace the regulator to ensure proper functionality.
- Inspect and Clean the Kegerator Line: Examine the kegerator line for any damage, such as cracks or splits, and replace any compromised sections. Regularly clean the line to remove any buildup that can obstruct the flow and contribute to air bubbles. Follow proper cleaning procedures and use recommended cleaning solutions.
- Ensure Proper Temperature Control: Check the temperature of your kegerator and make sure it is set within the recommended range for your beer. Maintain a stable temperature to minimize temperature fluctuations that can cause the release of dissolved gases. Proper insulation and placement of the kegerator can also help in maintaining consistent temperature levels.
- Consider Line Length and Diameter: Evaluate the length and diameter of your kegerator line. If necessary, make adjustments to optimize the flow and reduce resistance. Follow manufacturer recommendations or consult beer suppliers for guidance on the ideal line length and diameter for your specific system.
By following these troubleshooting steps, you can identify and address the potential causes of air bubbles in your kegerator line. Keep in mind that resolving air bubble issues may require a combination of these solutions, as multiple factors can contribute to the problem. Regular maintenance, proper cleaning, and attention to detail will help ensure a smooth and enjoyable beer pouring experience from your kegerator.
Conclusion
Air bubbles in the kegerator line can be a frustrating issue that affects the taste and quality of your beer. However, with a better understanding of the kegerator system and the factors that contribute to air bubble formation, you can effectively troubleshoot and resolve this problem.
Improper installation, incorrect pressure settings, dirty or faulty CO2 regulators, damaged or loose connections, temperature fluctuations, and line length/diameter issues are all potential culprits for air bubbles in your kegerator line. By addressing these factors, you can ensure a smooth and enjoyable beer pouring experience.
By properly installing the keg line, tightening connections, and maintaining a secure and watertight system, you can eliminate the potential for air leaks. Adjusting the pressure settings on the CO2 regulator according to the carbonation level and temperature of your beer will help achieve a steady flow without excess foam or air bubbles. Regular cleaning and maintenance of the CO2 regulator and kegerator line will prevent any debris or contamination that can disrupt flow and introduce bubbles.
Temperature control and stability within the kegerator are vital to minimizing air bubbles. Proper insulation and avoiding external temperature fluctuations will help maintain the optimal carbonation and avoid the release of dissolved gases. Additionally, considering the line length and diameter will ensure a smooth flow without excessive resistance and trapped air.
Through troubleshooting and implementing these solutions, you can effectively resolve air bubble issues in your kegerator line. Enjoy a perfectly poured, bubble-free beer with enhanced taste and carbonation.
Remember, regular maintenance and attention to detail are essential to the optimal performance of your kegerator. By keeping your system clean, properly installed, and well-maintained, you can continually enjoy the pleasures of fresh, draft beer from the comfort of your own home.
Frequently Asked Questions about What Causes Air Bubbles In The Kegerator Line
Was this page helpful?
At Storables.com, we guarantee accurate and reliable information. Our content, validated by Expert Board Contributors, is crafted following stringent Editorial Policies. We're committed to providing you with well-researched, expert-backed insights for all your informational needs.


0 thoughts on “What Causes Air Bubbles In The Kegerator Line”