Articles
What Type Of Nails For Vinyl Siding
Modified: October 28, 2024
Discover the best nails for vinyl siding in our informative articles. Learn about the different types and how to choose the right ones for your project.
(Many of the links in this article redirect to a specific reviewed product. Your purchase of these products through affiliate links helps to generate commission for Storables.com, at no extra cost. Learn more)
Introduction
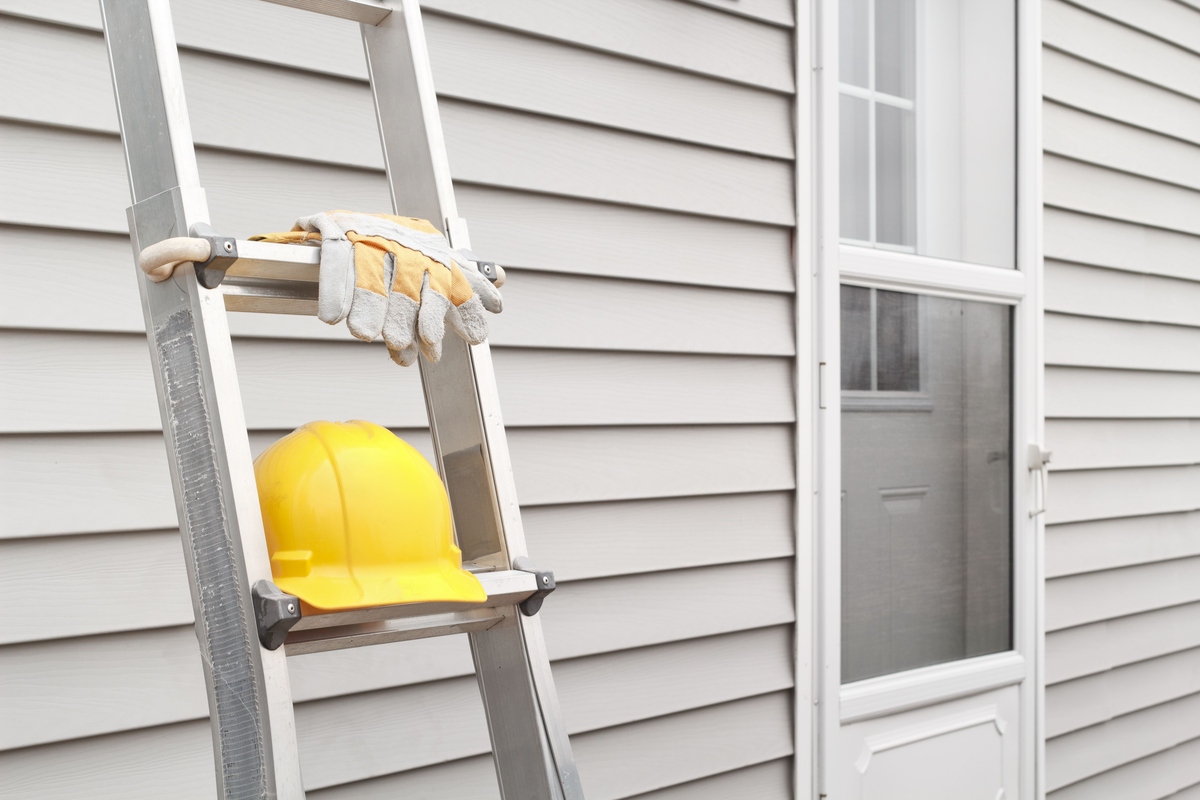
When it comes to installing vinyl siding, choosing the right type of nails is crucial for ensuring a secure and long-lasting installation. Nailing vinyl siding properly not only enhances its appearance but also prevents it from becoming loose or damaged due to wind, rain, or other external factors.
In this article, we will explore the various types of nails available for vinyl siding, the factors to consider when choosing them, and proper installation techniques for a seamless look. Whether you are a DIY enthusiast or a professional contractor, having a good understanding of the different options and best practices will help you achieve a successful vinyl siding project.
So let’s dive in and explore the world of nails for vinyl siding!
Key Takeaways:
- Choose the right nails for vinyl siding to ensure a secure, weather-resistant, and visually appealing installation. Consider material, length, and local building codes for a successful project.
- Proper installation techniques, such as surface preparation, correct nail positioning, and leaving room for expansion, are essential for a seamless and durable vinyl siding installation. Follow best practices for a professional finish.
Read more: How Many Nails Per Square Of Vinyl Siding
Benefits of Using Nails for Vinyl Siding
Using nails specifically designed for vinyl siding offers several key benefits that contribute to the overall quality and durability of the installation. Here are some of the advantages of using nails for vinyl siding:
- Secure Attachment: Nails provide a secure and reliable attachment method for vinyl siding panels. They hold the siding firmly in place, preventing it from shifting or coming loose.
- Weather Resistance: Nails for vinyl siding are typically made from materials such as stainless steel or galvanized steel, which are highly resistant to rust and corrosion. This ensures that the nails will maintain their strength and integrity even in harsh weather conditions.
- Compatibility: Nails designed for vinyl siding are specifically engineered to work with this type of material. They have the right length, shape, and strength to penetrate the siding without causing damage, ensuring a precise and seamless installation.
- Enhanced Aesthetics: Properly installed nails for vinyl siding are virtually invisible, resulting in a clean and polished appearance. This helps enhance the overall visual appeal of the siding, giving it a professional finish.
- Longevity: Vinyl siding is known for its durability, and using the appropriate nails further enhances its longevity. The nails securely hold the siding in place, preventing it from sagging or warping over time.
By choosing nails specifically designed for vinyl siding, you can take full advantage of these benefits and ensure a successful and long-lasting installation. It is important to select the right type and size of nails based on the specific requirements of your vinyl siding project.
Factors to Consider When Choosing Nails for Vinyl Siding
Choosing the right nails for your vinyl siding project is crucial for achieving a secure and professional installation. Here are some important factors to consider when selecting nails for vinyl siding:
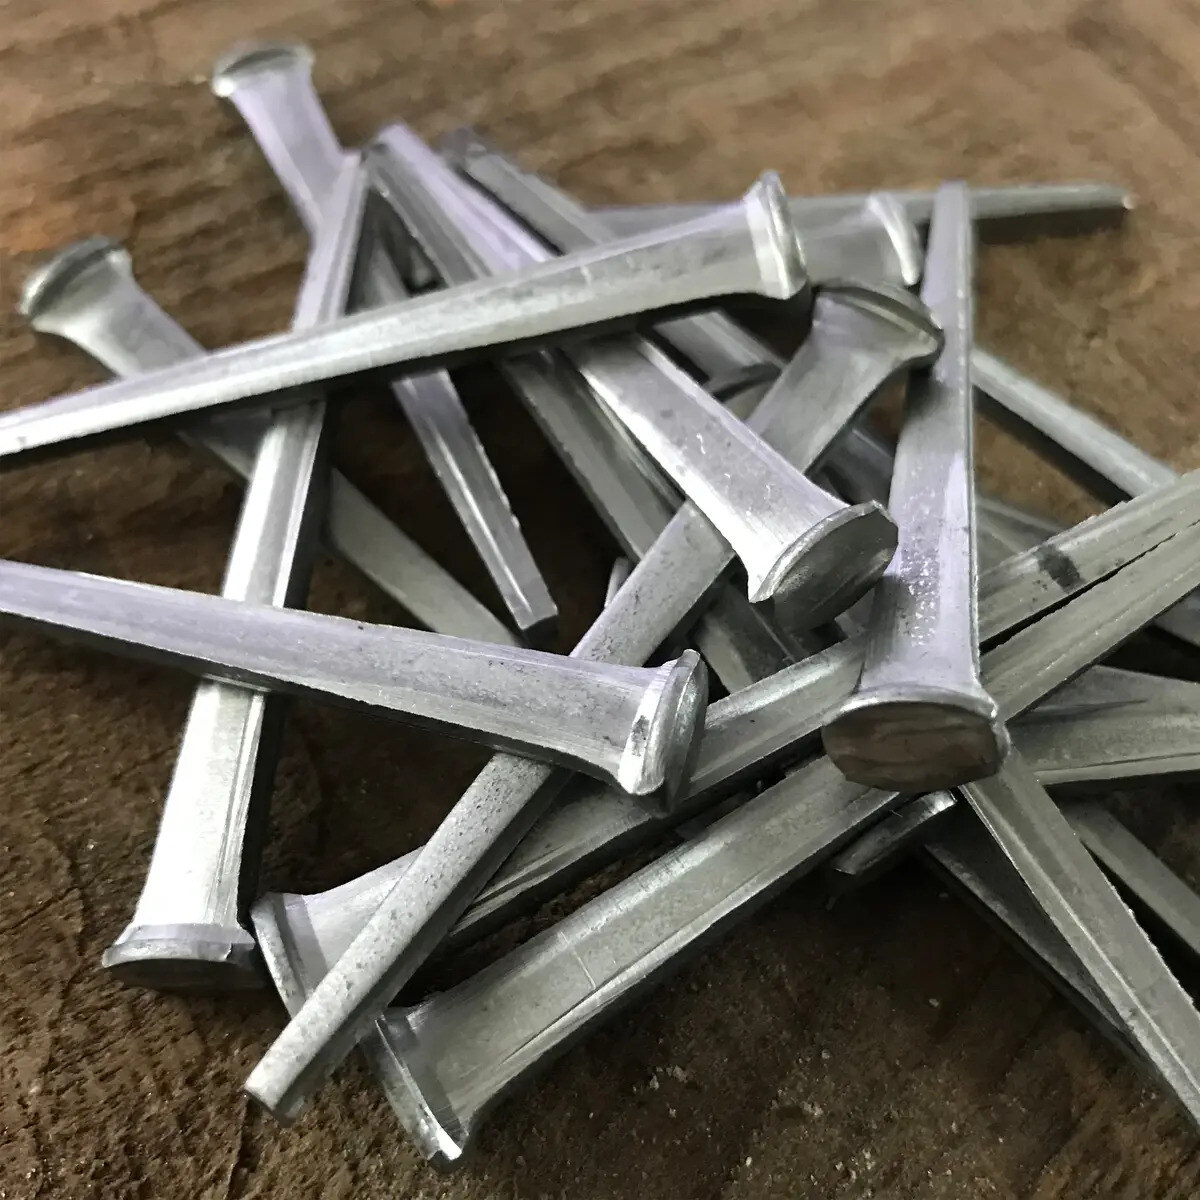
- Material: Opt for nails made from rust-resistant materials such as stainless steel or galvanized steel. These materials ensure that the nails will withstand exposure to the elements and maintain their strength over time.
- Length: The length of the nails is an essential consideration. Nails that are too short may not provide enough grip, while nails that are too long can penetrate the sheathing underneath, causing damage. It is important to choose nails that will securely fasten the siding without compromising the integrity of the sheathing.
- Head Type: The head of the nail should be compatible with vinyl siding. Nails with heads that are too large or too small may result in an uneven or bulging appearance. Choose nails with a head size that matches the slots or holes in the vinyl siding panels.
- Shank Type: Consider the shank type of the nails. Smooth shank nails provide a strong grip, while ring shank nails offer increased resistance to pull-out forces, making them ideal for high-wind areas.
- Quantity: Ensure that you have enough nails to complete the installation. It is recommended to consult the manufacturer’s guidelines or seek advice from a professional to determine the appropriate quantity based on the size and scope of your vinyl siding project.
- Local Building Codes: Always make sure to check your local building codes and regulations regarding nail penetration depth, material requirements, and any specific guidelines for vinyl siding installations. Adhering to these codes will ensure compliance and a safe installation.
By considering these factors, you can make an informed decision when choosing nails for your vinyl siding project. It is also advisable to consult with a professional or seek advice from your local hardware store to ensure that you select the most suitable nails for your specific needs.
Common Types of Nails for Vinyl Siding
There are several types of nails available for installing vinyl siding. Each type has its own unique characteristics and is specifically designed to provide a secure and long-lasting attachment. Here are some of the most common types of nails used for vinyl siding:
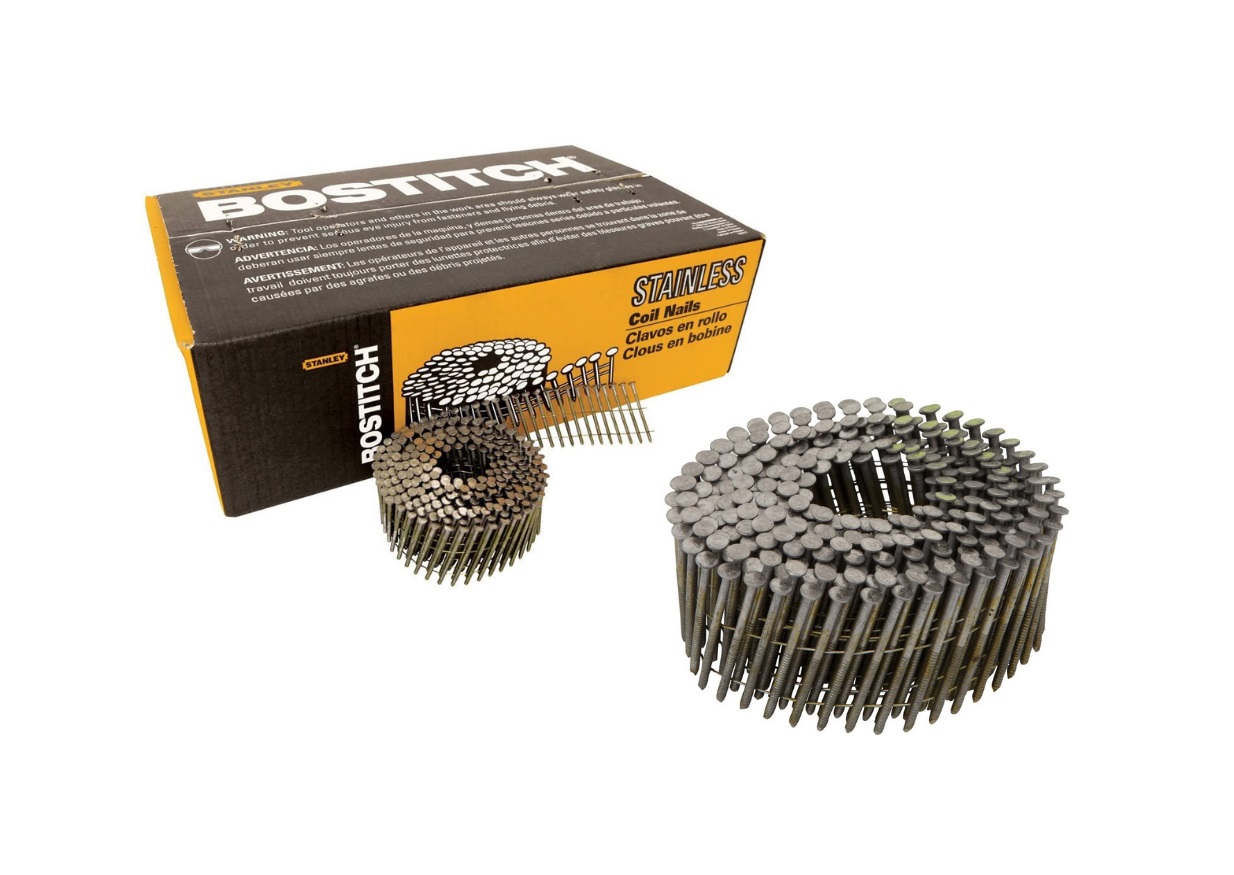
- Ring Shank Nails: These nails have a series of rings along the shank, which provides enhanced holding power. Ring shank nails are popular for their ability to resist pull-out forces, making them suitable for areas prone to high winds.
- Annular Thread Nails: Similar to ring shank nails, annular thread nails have a threaded design that enhances their grip. The threading increases the holding power and helps prevent the nail from backing out over time.
- Stainless Steel Nails: Stainless steel nails are highly resistant to rust and corrosion, making them an excellent choice for vinyl siding installations. They are durable and can withstand exposure to different weather conditions without compromising their strength.
- Galvanized Steel Nails: Galvanized steel nails are coated with a layer of zinc, which provides excellent corrosion resistance. These nails are commonly used for outdoor applications, including vinyl siding installations.
- Electro-Galvanized Nails: Electro-galvanized nails are treated with a thin layer of zinc through an electroplating process. While they offer some level of rust resistance, they are not as durable as stainless steel or galvanized steel nails.
When choosing the type of nail for your vinyl siding project, consider the specific requirements of your installation, such as the climate, wind conditions, and the overall aesthetic you wish to achieve. Consulting with a professional or seeking advice from a reputable supplier can help you make the best selection for your needs.
Remember, regardless of the type of nail you choose, it is essential to ensure that they are compatible with vinyl siding and meet the manufacturer’s recommendations for a proper installation.
Use hot-dipped galvanized or stainless steel nails for vinyl siding. These materials are resistant to rust and corrosion, ensuring a secure and long-lasting installation.
Recommended Nail Length for Vinyl Siding
Choosing the correct nail length is crucial for ensuring a secure and effective installation of vinyl siding. Using nails that are too short may not provide enough holding power, while nails that are too long can penetrate the sheathing, causing damage and compromising the integrity of the siding. Here are some guidelines for determining the recommended nail length for vinyl siding:
1. Check the Manufacturer’s Recommendations: The first step is to consult the manufacturer’s guidelines for the specific vinyl siding product you are using. Manufacturers typically provide recommendations for the appropriate nail length based on the thickness and profile of their siding panels.
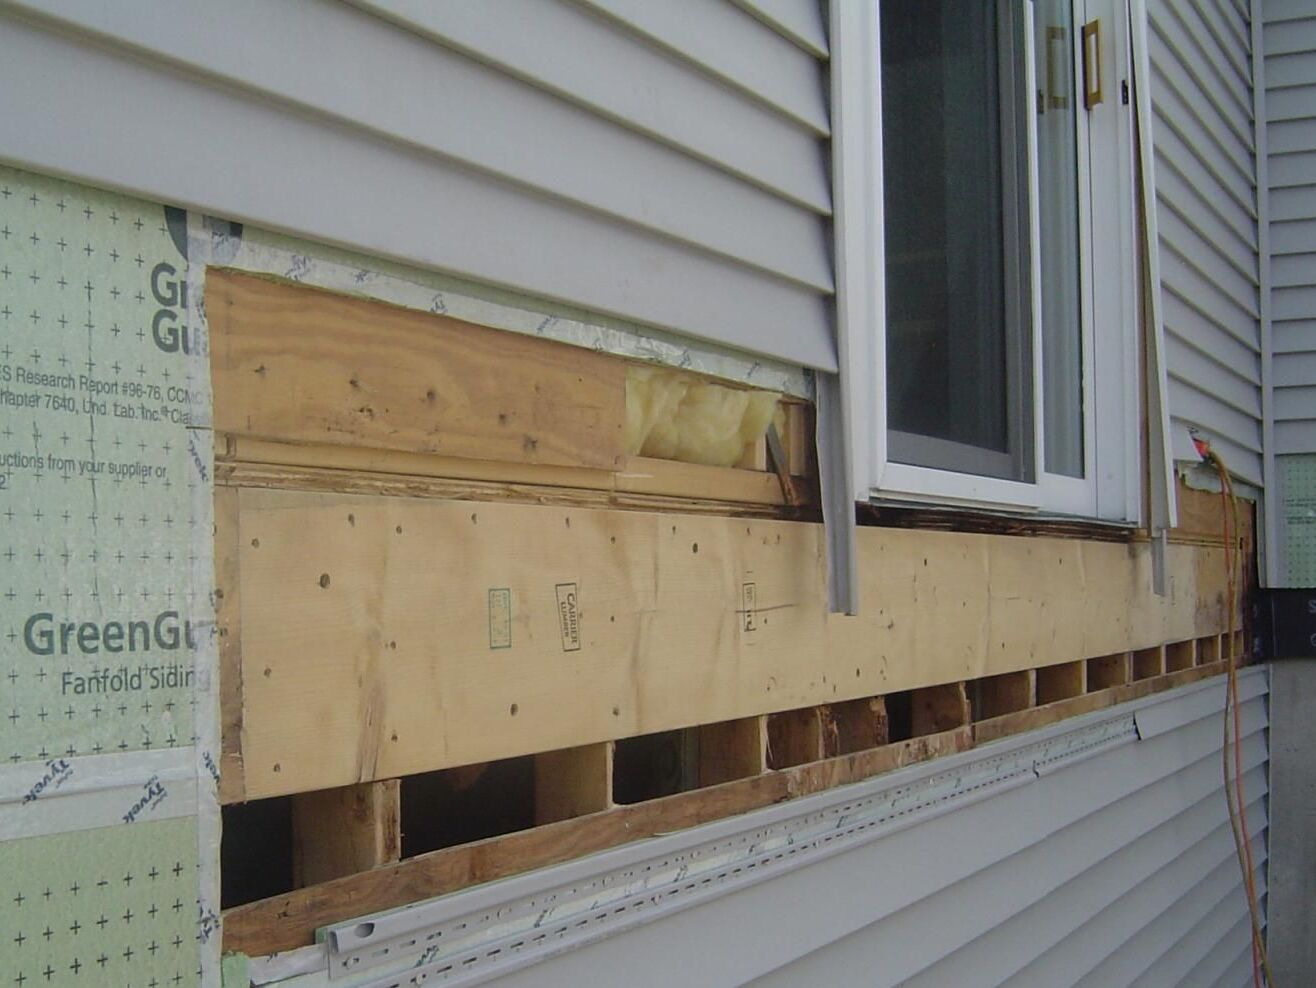
2. Consider the Sheathing Thickness: The length of the nails should take into account the thickness of the sheathing underneath the siding. If you are installing vinyl siding over existing sheathing, measure the thickness of the sheathing and add it to the recommended nail length provided by the manufacturer.
3. Account for Exterior Insulation: If you are installing vinyl siding over exterior insulation, you need to factor in the thickness of the insulation material. The nail length should be long enough to penetrate through the insulation and securely attach the siding to the sheathing.
4. Mind the Nailing Flange: Vinyl siding often has a nailing flange or a built-in strip with slots or holes for securing the panels to the wall. Ensure that the nail length is appropriate to reach and securely anchor the nailing flange to the sheathing.
5. Consult Professionals: When in doubt, it is always recommended to consult with professionals or seek advice from experienced contractors. They have the knowledge and expertise to determine the optimal nail length for your specific installation, taking into consideration the local climate, wind load requirements, and building codes.
Remember, using the correct nail length is crucial for the durability and appearance of your vinyl siding. Following the manufacturer’s recommendations, considering the sheathing thickness and exterior insulation, and seeking professional guidance will help ensure a successful installation.
Read more: What Is Vinyl Siding Made Of
Proper Installation Techniques for Nailing Vinyl Siding
Proper installation techniques are essential for achieving a seamless and long-lasting vinyl siding installation. Nailing vinyl siding requires precision and attention to detail to ensure a secure and professional finish. Here are some important techniques to follow:
- Prepare the Surface: Before nailing the vinyl siding, ensure that the surface is clean and free from debris. If necessary, repair any damaged or rotten sheathing and apply a moisture barrier to protect against water infiltration.
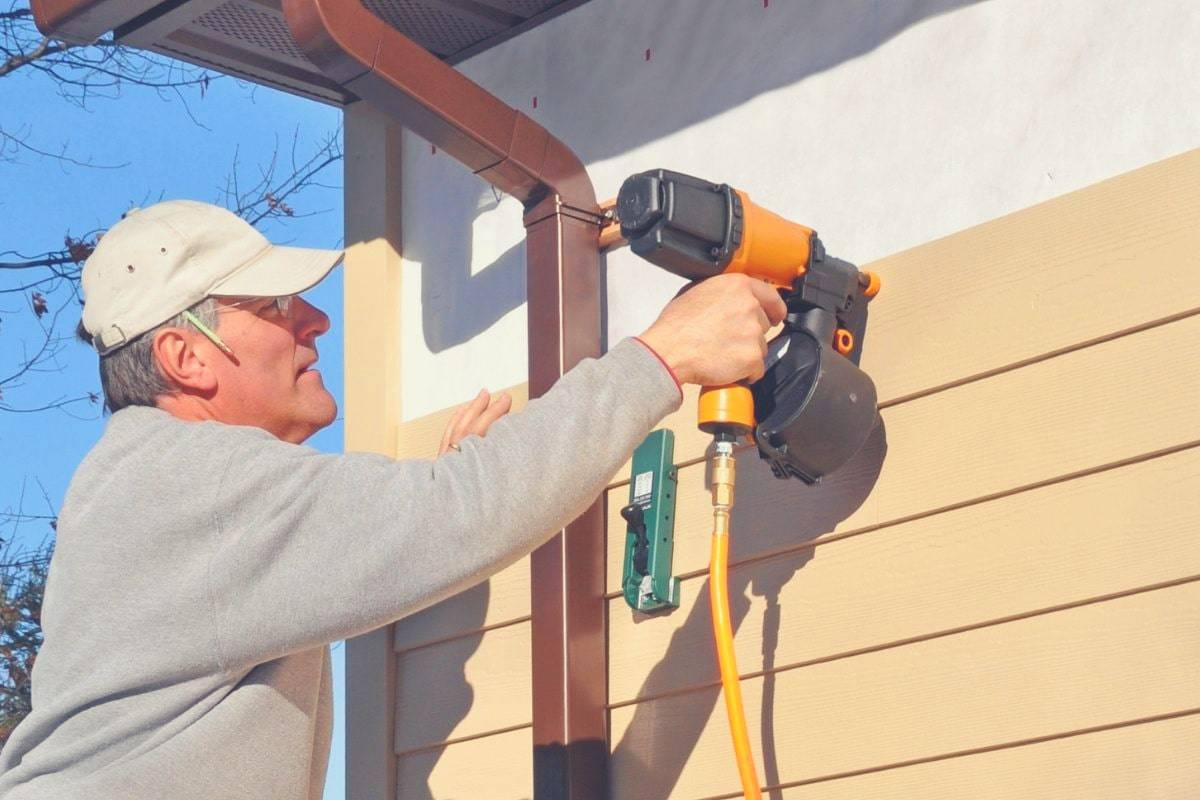
- Use the Right Tools: Use a vinyl siding gauge or a similar tool to maintain consistent overlap and align the siding panels properly. Additionally, ensure that you have a hammer or nail gun compatible with the chosen nails for smooth and efficient installation.
- Start at the Bottom: Begin installing the vinyl siding at the bottom of the wall, working your way upwards. Start with the starter strip, which provides a secure base for the first course of siding.
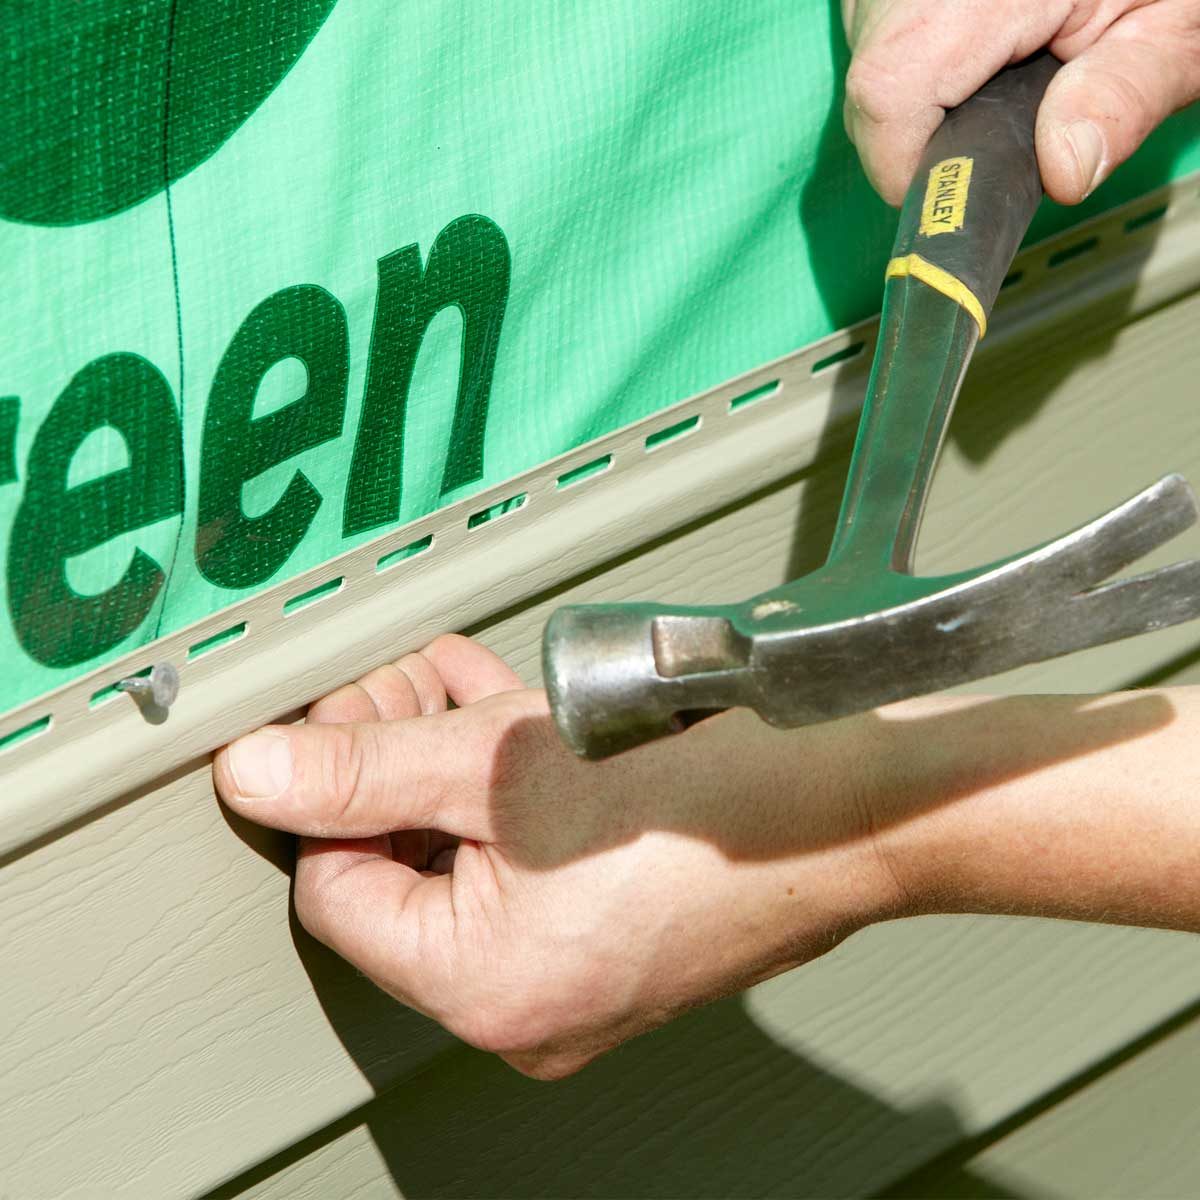
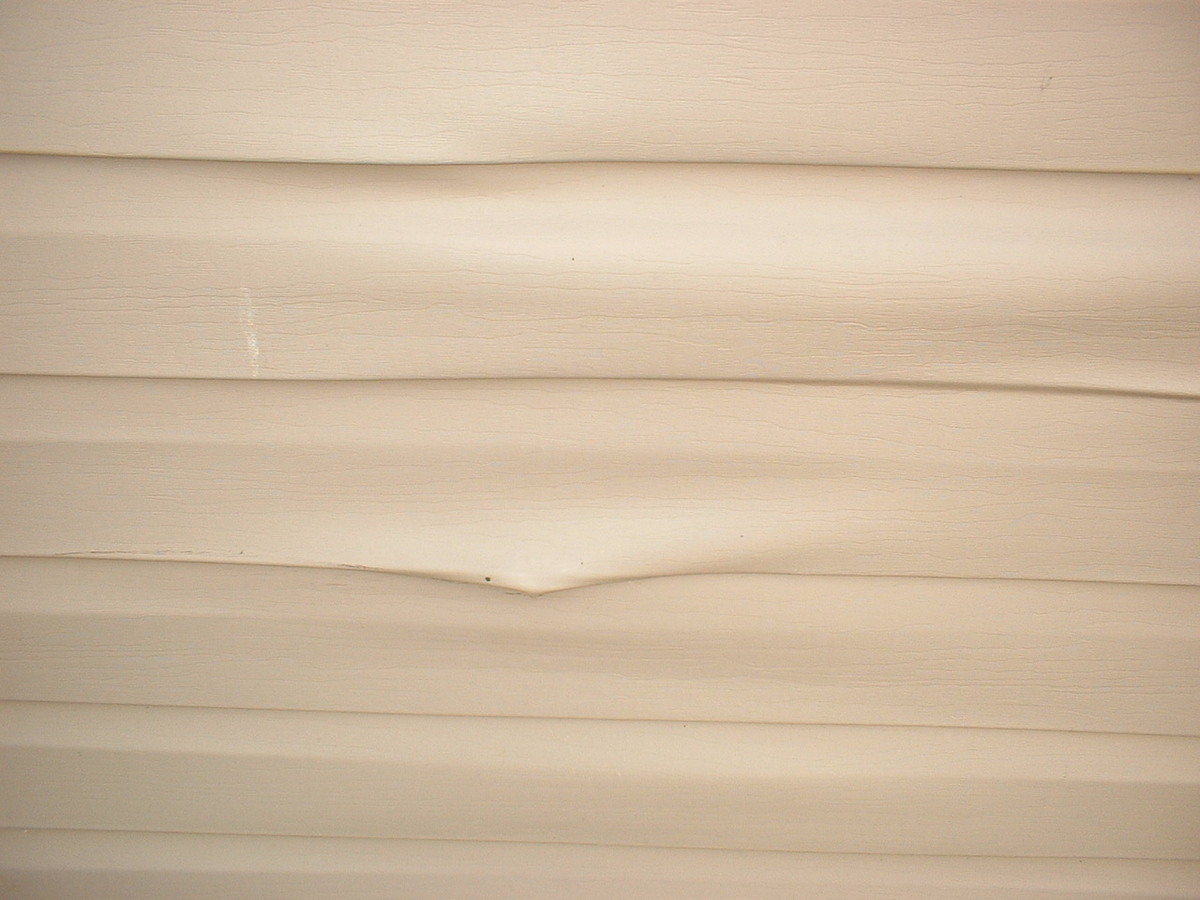
- Position the Nails Correctly: Position the nails in the center of the nail slots or holes provided on the siding panels. Do not drive the nails too tight; leave a small gap to allow for expansion and contraction of the vinyl siding due to temperature changes.
- Don’t Overdrive the Nails: Avoid overdriving the nails, as this can cause the siding to buckle or warp. The nails should be flush with the surface of the vinyl siding, providing a secure hold without damaging the material.
- Ensure Proper Panel Alignment: Pay attention to panel alignment and keep the panels level and straight as you attach them. Use a level or a straightedge to ensure that the siding is installed in a straight line.
- Leave Room for Expansion: Allow for expansion and contraction of the vinyl siding by leaving a gap of about 1/32 to 1/16 inch between the siding panels and the adjacent accessories, such as windows, doors, and trim.
- Trim with Care: When cutting and trimming the vinyl siding, use appropriate tools such as tin snips or a vinyl siding cutter. Make precise cuts to ensure accurate fit and minimal waste.
Following these proper installation techniques will help you achieve a visually appealing and structurally sound vinyl siding installation. It is important to refer to the manufacturer’s instructions and consult with professionals if needed to ensure that you adhere to the specific guidelines for your vinyl siding product.
Conclusion
Choosing the right nails and employing proper installation techniques are crucial for achieving a successful vinyl siding project. By selecting the appropriate type, length, and material of nails for your specific installation, you can ensure a secure attachment and enhance the longevity of your vinyl siding.
Using nails designed for vinyl siding offers numerous benefits, including a secure attachment, weather resistance, compatibility, enhanced aesthetics, and increased longevity. These nails are specifically engineered to work with vinyl siding, providing a seamless and professional finish.
When selecting nails for your vinyl siding project, consider factors such as the material, length, head and shank type, and local building codes. Consulting the manufacturer’s recommendations and seeking advice from professionals will help you make informed decisions and choose the most suitable nails for your installation.
Proper installation techniques, such as preparing the surface, using the right tools, positioning the nails correctly, and leaving room for expansion, are essential for achieving a seamless and secure vinyl siding installation. Following these techniques ensures a professional finish while allowing for the natural movements of the vinyl siding.
In conclusion, understanding the importance of nails for vinyl siding and implementing proper installation techniques is key to achieving a visually appealing, durable, and long-lasting vinyl siding installation. By investing time and effort in selecting the right nails and following best practices, you can enjoy the benefits of a beautiful and well-protected exterior for years to come.
Frequently Asked Questions about What Type Of Nails For Vinyl Siding
Was this page helpful?
At Storables.com, we guarantee accurate and reliable information. Our content, validated by Expert Board Contributors, is crafted following stringent Editorial Policies. We're committed to providing you with well-researched, expert-backed insights for all your informational needs.


0 thoughts on “What Type Of Nails For Vinyl Siding”