
Articles
How To Remove Hardie Board Siding
Modified: August 20, 2024
Learn the step-by-step process of removing Hardie board siding with our informative articles. Ensure a smooth and successful project with our expert tips and advice.
(Many of the links in this article redirect to a specific reviewed product. Your purchase of these products through affiliate links helps to generate commission for Storables.com, at no extra cost. Learn more)
Introduction
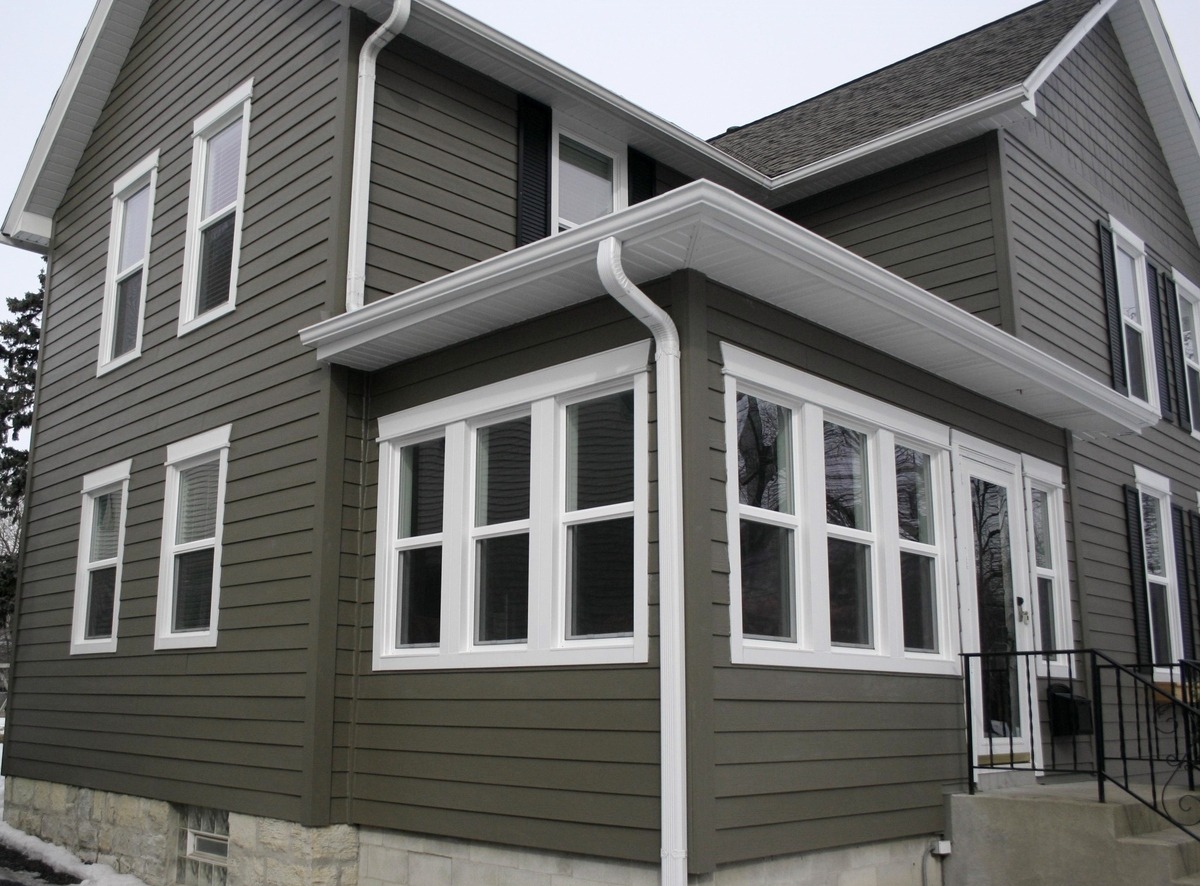
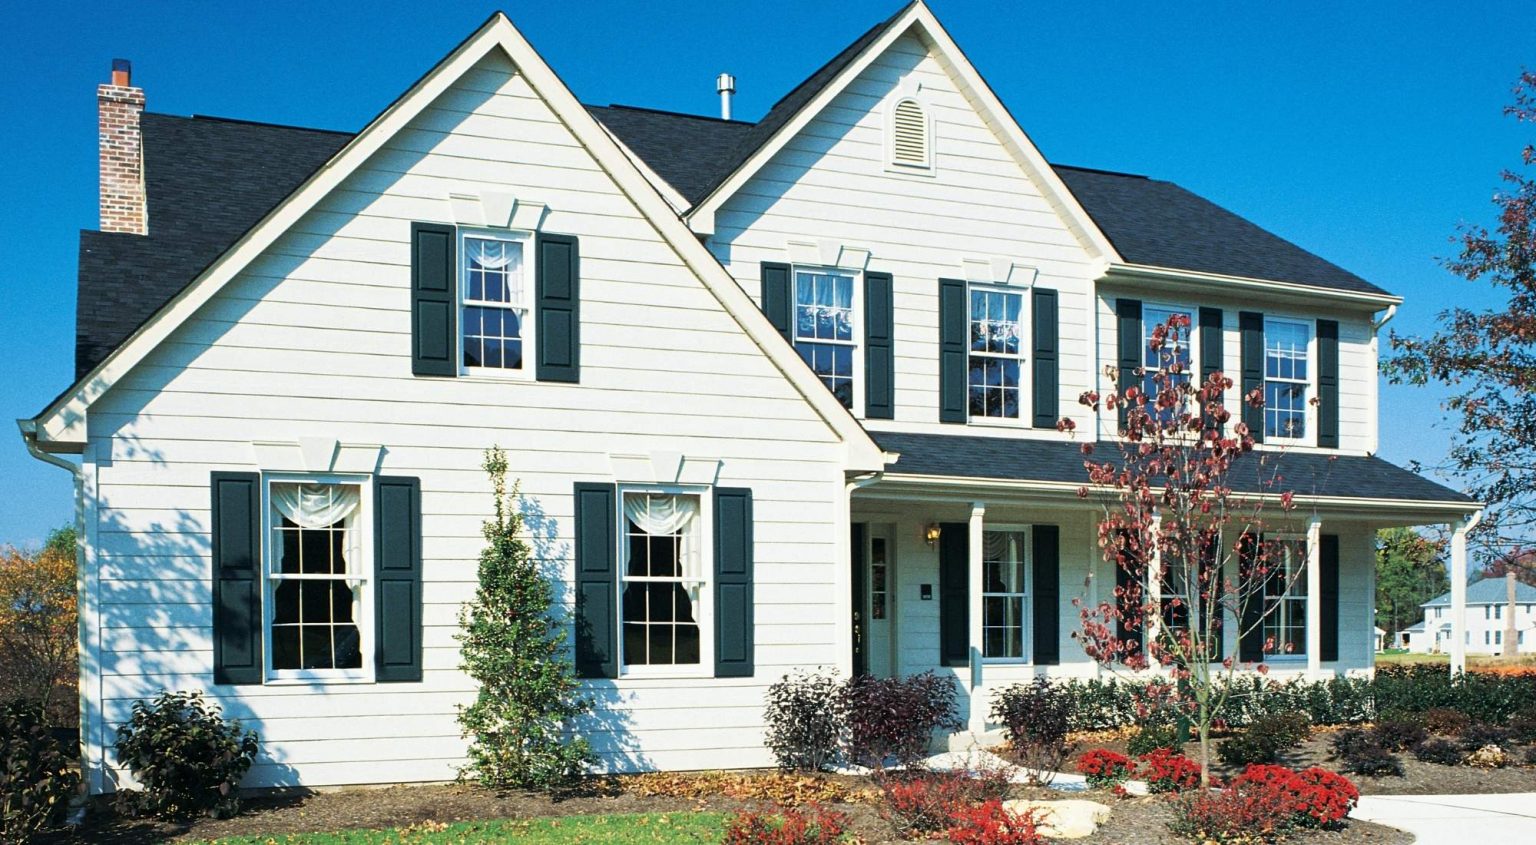
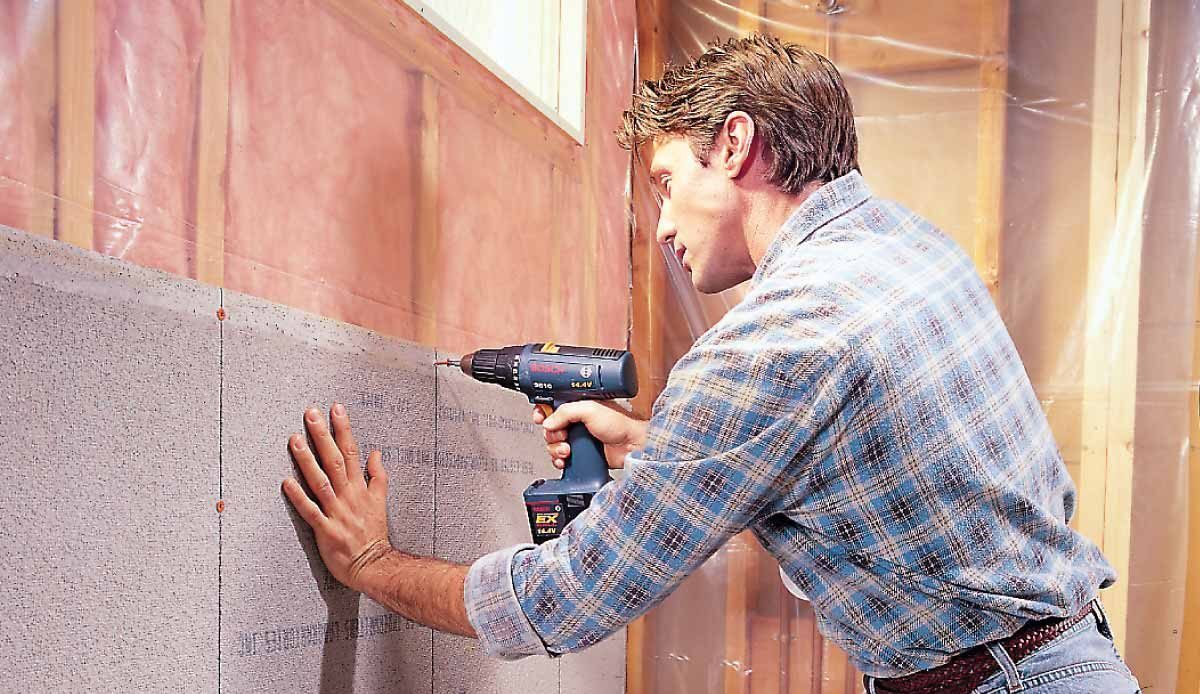
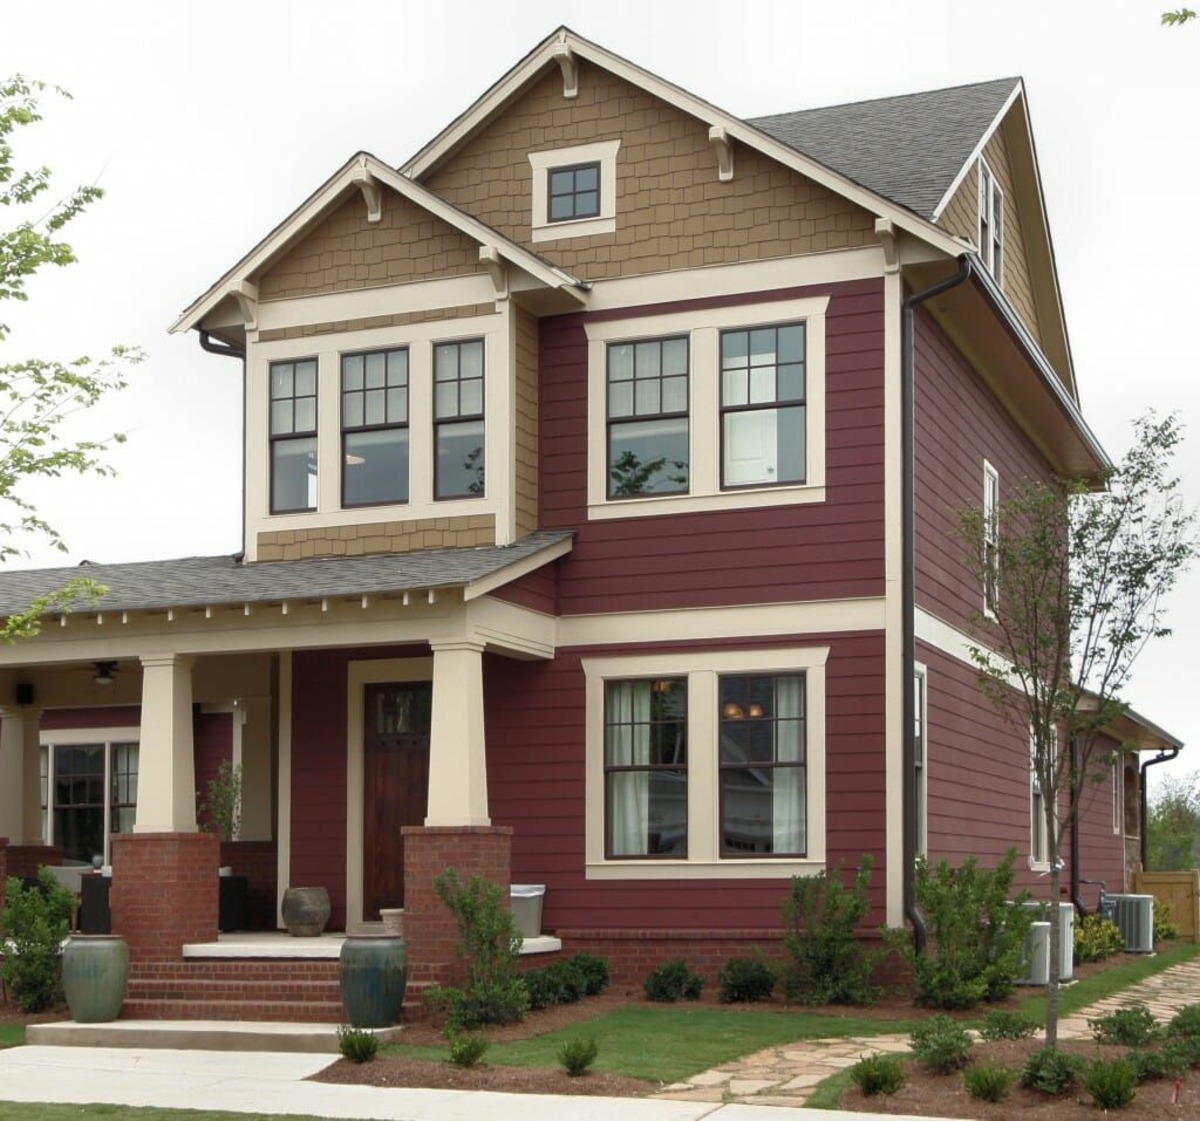
Hardie board siding, also known as fiber cement siding, is a popular choice among homeowners for its durability and low maintenance. However, there may come a time when you need to remove or replace your Hardie board siding, whether due to damage, a desire for a new look, or a need for repairs. While the task may seem daunting, with the right tools and some basic knowledge, you can successfully remove Hardie board siding on your own.
In this article, we will guide you through the step-by-step process of removing Hardie board siding while minimizing any potential risks or damage to your home. We will cover the tools and materials you will need, as well as provide detailed instructions on how to safely remove the siding panels, fasteners, and any trim or accessories. Additionally, we will offer tips on inspecting and repairing the underlying sheathing and replacing or repairing the flashing.
Before we begin, it’s important to note that removing Hardie board siding can be a labor-intensive task and may require some physical strength and stamina. It’s always a good idea to recruit a helper if possible, especially if you have a large area to work on.
Now, let’s gather our tools and get started on removing your Hardie board siding!
Key Takeaways:
- Safely and efficiently remove Hardie board siding by following a step-by-step process, prioritizing safety, and preparing the work area for a successful home improvement project.
- Consider professional assistance for sheathing inspection and flashing repair, and explore new siding installation options to enhance the appearance and protection of your home.
Read more: How To Cut Hardie Board Siding
Tools and Materials Needed
Before you begin the process of removing Hardie board siding, it’s important to gather all the necessary tools and materials. Having everything prepared in advance will make the job smoother and more efficient. Here’s a list of what you’ll need:
- Protective gear: Safety glasses, work gloves, and a dust mask
- Utility knife: For cutting through caulk and other sealants
- Pry bar: Used to remove trim and accessories
- Cordless drill: For removing nails or screws
- Siding removal tool: Helps release the siding from the fasteners
- Tin snips or a fiber cement saw: Used to cut through the siding panels
- Hammer: For removing any remaining nails or staples
- Flathead screwdriver: To pry off any remaining trim or accessories
- Pliers: For removing nails or staples that are difficult to reach
- Ladder or scaffolding: Depending on the height of your home
- Drop cloths or tarps: To protect the surrounding area from debris
- Replacement siding: If you plan on installing new siding
- Replacement trim and accessories: If needed
- Flashing: If you need to repair or replace it
- Sheathing repair materials: Such as plywood or insulation board
It’s important to have safety gear, such as glasses, gloves, and a dust mask, to protect yourself from any potential hazards or airborne particles. The utility knife will be useful for cutting through any caulk or other sealants that are holding the siding in place, while the pry bar will help you remove any trim or accessories that may be attached to the siding.
A cordless drill will come in handy for removing nails or screws, and a siding removal tool will make it easier to release the siding from the fasteners without causing damage. Tin snips or a fiber cement saw will be necessary for cutting through the siding panels, and a hammer and flathead screwdriver can be used to remove any remaining nails or staples.
Depending on the height of your home, you may need a ladder or scaffolding to reach the upper sections of the siding. Placing drop cloths or tarps around the work area will protect the ground from debris and make clean-up easier.
If you plan on installing new siding, make sure to have the replacement panels, trim, and accessories ready. Additionally, if you notice any damage to the flashing or underlying sheathing during the removal process, you may need to have replacement flashing and sheathing repair materials on hand.
Now that you have all the necessary tools and materials, you’re ready to move on to the next steps of removing Hardie board siding.
Step 1: Prepare the Work Area
Before you begin removing the Hardie board siding, it’s essential to prepare the work area to ensure a safe and organized environment. Follow these steps to properly prepare:
- Clear the surroundings: Remove any obstacles, such as furniture, potted plants, or decor, from the immediate vicinity of the area where you’ll be working. This will give you ample space to maneuver and minimize the risk of objects getting damaged.
- Protect landscaping: If there are delicate plants or shrubs near the work area, cover them with drop cloths or tarps to shield them from any potential debris or damage during the siding removal process.
- Secure loose items: Ensure that any loose items, like outdoor tools or toys, are safely stored away. This will prevent them from becoming hazards or distractions while you’re working.
- Set up drop cloths: Lay down drop cloths or tarps around the perimeter of the work area to catch any falling debris or dust. This will make the clean-up process much easier and protect the ground or floor from damage.
- Check weather conditions: It’s important to choose a day with dry weather conditions for the siding removal process. Rain or excessive moisture can make the siding slippery and increase the risk of accidents.
- Put on safety gear: Before you start working, ensure that you are wearing the appropriate safety gear. Put on safety glasses, work gloves, and a dust mask to protect your eyes, hands, and respiratory system from potential hazards and airborne particles.
- Secure a ladder or scaffolding: If the area you’ll be working on is high off the ground, make sure to secure a sturdy ladder or scaffolding. Ensure that it is positioned on a level surface and that it is stable before you begin climbing.
By taking the time to carefully prepare the work area, you will create a safe and organized space for the siding removal process. This will not only protect your property and surroundings but also help you work more efficiently and effectively.
Now that the work area is ready, you can move on to the next steps of removing your Hardie board siding.
Step 2: Remove Trim and Accessories
Once you have prepared the work area, the next step in removing Hardie board siding is to remove any trim and accessories that may be attached to the siding. Follow these steps to successfully remove trim and accessories:
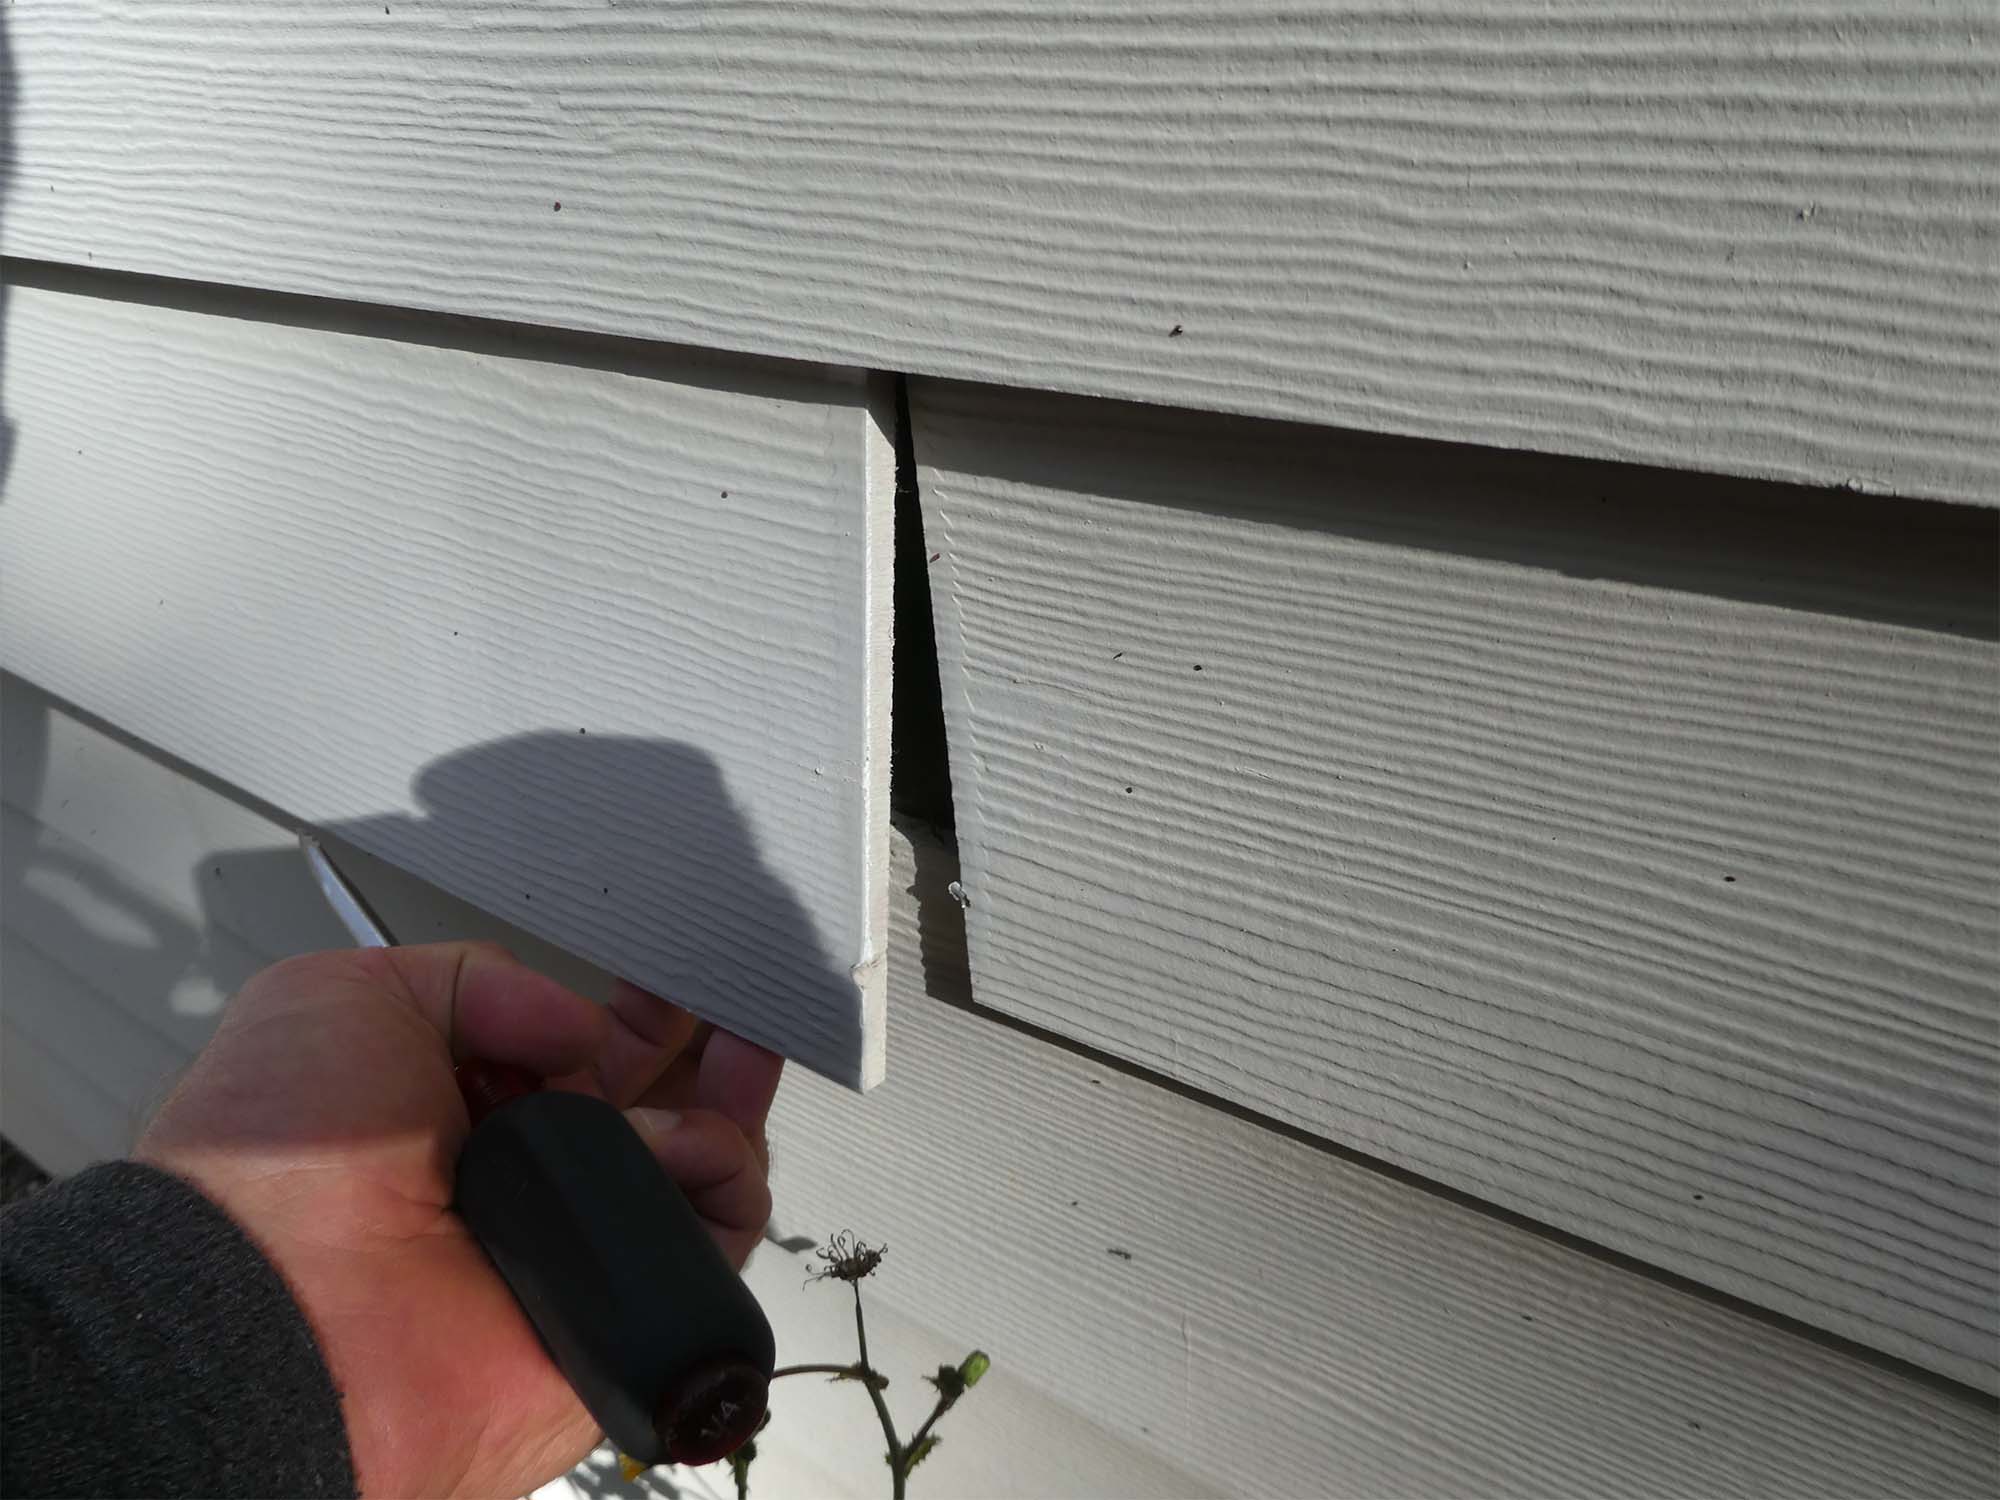
- Inspect the siding: Before removing any trim or accessories, carefully inspect the siding panels to identify any areas where they may be caulked or attached. Note any areas where there are visible nails or screws.
- Use a utility knife: Starting at the bottom of the siding, use a utility knife to cut through any caulk or sealants that may be holding the trim or accessories in place. This will help release them from the siding.
- Begin with trim: Begin removing the trim by inserting a pry bar between the trim and the siding. Gently pry the trim away from the siding, being careful not to damage the trim or the underlying siding. Work your way along the length or perimeter of the area, removing all the trim pieces.
- Remove other accessories: After removing the trim, inspect the siding for any other attached accessories, such as electrical fixtures, vents, or shutters. Use a screwdriver or pry bar to carefully remove them, keeping the fasteners in a safe place for reinstallation if needed.
Throughout the process of removing the trim and accessories, it’s important to work cautiously and avoid applying excessive force, as this may cause damage to the siding or the accessories themselves. Take your time and be patient, ensuring that all trim and accessories are detached before moving on to the next step.
By removing the trim and accessories first, you will have easier access to the siding panels and can proceed with their removal in the next step. Remember to keep track of any fasteners that you remove, as they may need to be reused or replaced during the installation of new siding, if applicable.
Now that the trim and accessories have been removed, you’re ready to move on to the next step: removing the nails or screws that fix the Hardie board siding in place.
Step 3: Remove Nails or Screws
With the trim and accessories removed, the next step in removing your Hardie board siding is to remove the nails or screws that secure the siding panels in place. Follow these steps to successfully remove the fasteners:
- Identify the fasteners: Take a close look at the siding panels and locate the nails or screws that are holding them in place. These fasteners are typically placed along the top edge of each panel, but they can also be found along the sides or bottom.
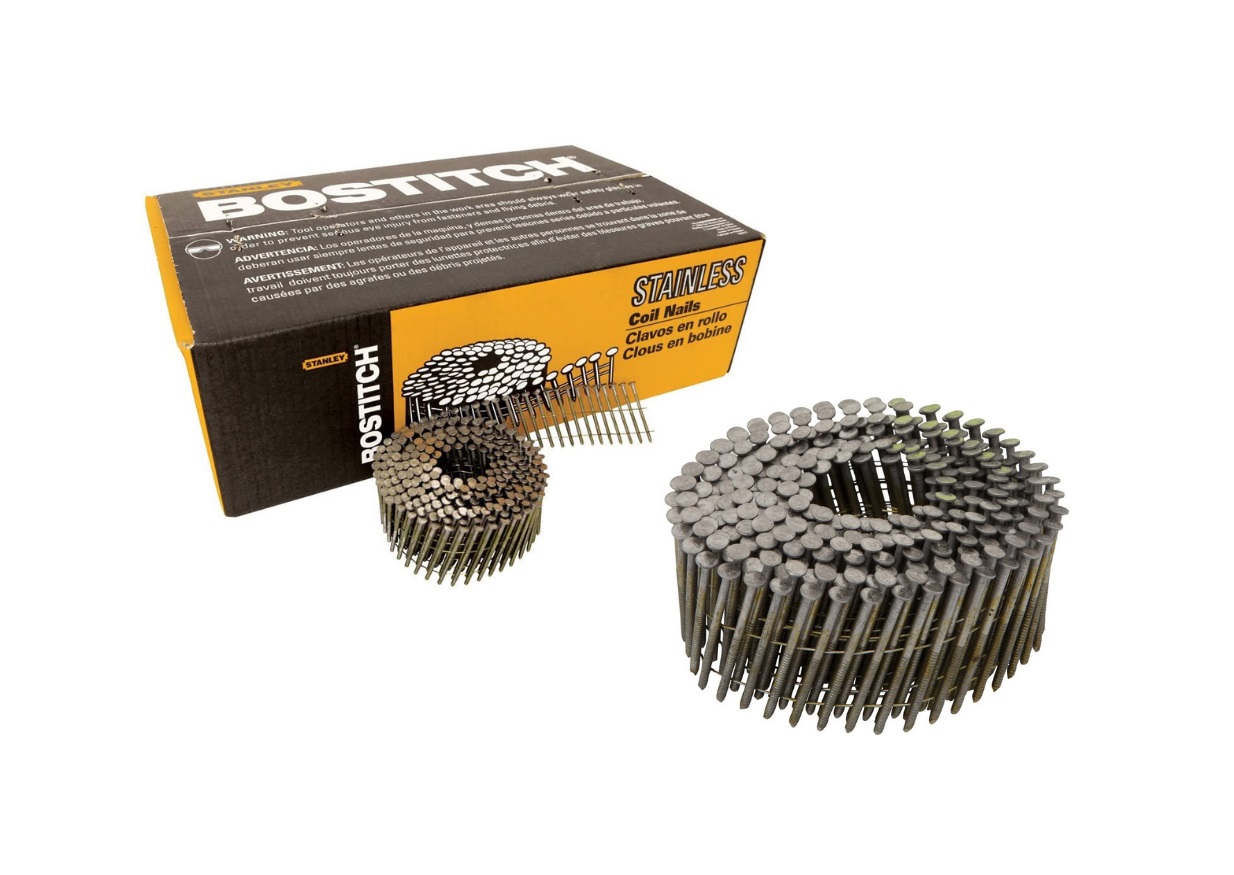
- Choose the right tool: Depending on the type of fasteners used, determine whether you need a cordless drill or a hammer for the removal process. If there are screws in the siding, use a compatible drill bit to remove them. If there are nails, use a hammer and a flathead screwdriver or pry bar.
- Remove screws: If your Hardie board siding is fastened with screws, insert the appropriate drill bit into your cordless drill. Set the drill to reverse mode and carefully unscrew each screw counterclockwise until it is completely removed. Keep the removed screws in a safe place for future use or disposal.
- Remove nails: If your siding is secured with nails, position the flathead screwdriver or pry bar under the head of each nail. Using a hammer, gently pry the nail out of the siding by applying upward pressure. Be cautious not to damage the surrounding siding during the process.
- Inspect for hidden fasteners: Occasionally, there may be nails or screws hidden beneath the overlapping panels. Inspect each panel carefully, especially near the seams, and remove any hidden fasteners that you come across.
Throughout the process of removing the nails or screws, it’s crucial to exercise caution and ensure that you remove each fastener completely from the siding. Leaving any nails or screws behind can interfere with the removal of the siding panels and potentially cause damage during the process.
By removing the nails or screws, you’ve now successfully detached the Hardie board siding from its fasteners. The next step is to cut and remove the siding panels, which we will cover in the following step.
Read more: How To Install Vertical Hardie Board Siding
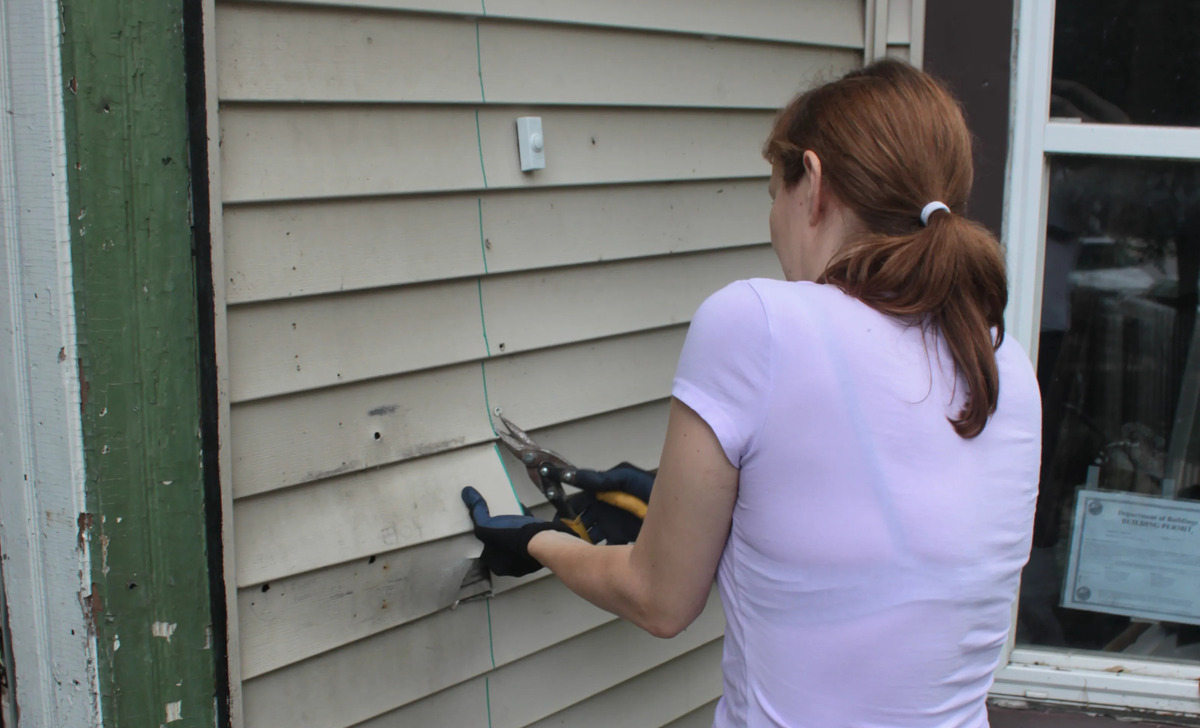
Step 4: Cut and Remove Siding Panels
With the fasteners removed, you’re now ready to cut and remove the Hardie board siding panels. Follow these steps to safely and effectively remove the panels:
- Measure and mark: Using a tape measure, determine the length of each siding panel you want to remove. Mark the measurement on the panel, ensuring that it aligns with the desired cutting line.
- Choose the right cutting tool: Depending on your preference and the amount of cutting required, you can use either tin snips or a fiber cement saw to cut through the siding panels. Tin snips are ideal for smaller sections, while a fiber cement saw is more efficient for larger cuts.
- Cut the panel: With your cutting tool of choice, carefully cut along the marked line on the siding panel. Exercise caution to ensure a clean and straight cut. Maintain a steady hand or use a saw guide for precision, especially if you’re utilizing a fiber cement saw.
- Remove the cut panel: Once the panel is cut, gently pull it away from the wall to detach it completely. Be mindful of any adhesive or sealant that may still be holding the panel in place, and take care to avoid any damage to the underlying sheathing.
- Continue with remaining panels: Repeat the measuring, marking, cutting, and removing process for each additional siding panel you intend to remove. Take your time and work systematically to ensure a clean and efficient removal process.
While cutting and removing the siding panels, it’s important to prioritize safety. Wear protective gloves and goggles to protect your hands and eyes from any potential hazards, including sharp edges or debris that may be released during the process.
As you remove each panel, set it aside in a safe location to prevent any damage. Properly dispose of the removed panels according to local regulations, as Hardie board siding should be handled and disposed of appropriately.
Once all the desired siding panels have been cut and removed, you can proceed to the next step, which involves removing any remaining fasteners that may still be attached to the wall.
When removing Hardie board siding, start by carefully prying off the trim pieces and then use a pry bar to gently loosen and remove the siding panels, being mindful of any nails or fasteners. Always wear protective gear and work with a partner for safety.
Step 5: Remove Remaining Fasteners
After removing the siding panels, it’s important to check for any remaining fasteners that may still be attached to the wall. Follow these steps to ensure a thorough removal of all fasteners:
- Inspect the wall: Carefully examine the area where the siding panels were attached to the wall. Look for any nails, screws, or staples that may still be present.
- Use a hammer or pliers: For nails or staples that are visible and accessible, use a hammer or pliers to grip and gently pull them out. Take care not to damage the underlying sheathing or other components of the wall.
- Remove hidden fasteners: Sometimes, fasteners may be hidden between overlapping panels or in hard-to-reach spots. Use a flashlight and closely inspect the area, using a pry bar or pliers to carefully remove any remaining hidden fasteners.
- Check for stripped screws: If there are any stripped screws that cannot be removed by traditional means, use a screw extractor to safely remove them. The extractor will grip the screw head and allow you to turn it counterclockwise for removal.
- Inspect the wall surface: Once all the fasteners have been removed, thoroughly inspect the wall surface for any remaining debris, adhesive, or sealant. Use a scraper or sandpaper to remove any stubborn residue and ensure a clean and smooth surface for future siding installation or other repairs.
During the process of removing the remaining fasteners, it’s important to work meticulously and take your time. Double-check each area to ensure that all fasteners have been removed, as any left behind could interfere with the installation of new siding or compromise the integrity of the wall.
By removing all the remaining fasteners, you have completed the process of detaching the Hardie board siding from the wall. The next step involves inspecting and repairing the sheathing, which we will explore in detail in the following step.
Step 6: Inspect and Repair Sheathing
After removing the Hardie board siding and remaining fasteners, it’s important to inspect the sheathing to ensure it is in good condition. Follow these steps to assess and repair the sheathing, if necessary:
- Thoroughly examine the sheathing: Carefully inspect the exposed sheathing for any signs of damage, rot, or water intrusion. Look for soft spots, mold, or discoloration, indicating potential issues.
- Address any signs of damage: If you notice any damaged areas in the sheathing, such as rot or water damage, take the necessary steps to repair the affected areas. This may involve replacing sections of plywood or insulation board.
- Repair or reinforce weakened areas: If the sheathing appears weak or compromised, take measures to reinforce it. This can be done by adding additional nails or screws to firm up loose sections or using construction adhesive to secure any loose or sagging sheathing panels.
- Ensure adequate insulation and weatherproofing: During the inspection, check that the sheathing is adequately insulated and that any necessary weatherproofing measures, such as house wrap or insulation, are in good condition. Address any deficiencies to ensure optimal energy efficiency and protection from the elements.
- Consider professional assistance: If you are unsure about the condition of the sheathing or how to properly repair it, it may be wise to consult a professional contractor or a qualified tradesperson to assess and address any issues.
Properly inspecting and repairing the sheathing is crucial for maintaining the structural integrity and weather resistance of your home. It also ensures a solid and secure foundation for future siding installation or other exterior improvements.
By addressing any damage or weaknesses in the sheathing, you can ensure that your home is well-protected and prepared for the next step: replacing or repairing any flashing that may be necessary.
Step 7: Replace or Repair Flashing
Flashing is an important component of the exterior wall system as it helps to prevent water penetration and protect vulnerable areas. After inspecting the sheathing, it’s essential to assess the condition of the flashing and replace or repair it as needed. Follow these steps to address any issues with the flashing:
- Inspect the existing flashing: Examine the flashing around windows, doors, corners, and any other areas where it is installed. Look for signs of damage, corrosion, or deterioration.
- Determine the extent of repair: If the flashing shows minor damage, such as small cracks or gaps, it may be possible to repair it with appropriate sealants or flashing tape. However, if the flashing is severely damaged or corroded, it is recommended to replace it entirely.
- Remove damaged flashing: Using a pry bar or a flathead screwdriver, carefully remove the damaged flashing. Take care to avoid causing any further damage to the surrounding siding, sheathing, or other components.
- Clean the area: After removing the damaged flashing, thoroughly clean the area to ensure proper adhesion of the new flashing or repair materials. Remove any dirt, debris, or old sealant from the surface.
- Replace or repair the flashing: Depending on the extent of the damage, install new flashing in the appropriate areas or repair the existing flashing. Follow the manufacturer’s instructions for proper installation or use an appropriate sealant or flashing tape to fix any cracks or gaps.
- Ensure proper integration: It’s essential to make sure that the flashing is properly integrated with the surrounding siding and sheathing to create a watertight seal. Ensure that the flashing overlaps the siding panels and that it is securely fastened in place.
- Inspect for proper functionality: After replacing or repairing the flashing, carefully inspect the area to ensure that it is functioning as intended. Look for any signs of water penetration or areas that may still require attention.
- Consider professional assistance: If you’re unsure about the condition of the flashing or the proper repair techniques, consulting a professional contractor or a qualified tradesperson can provide expert advice and ensure that the flashing is installed or repaired correctly.
Replacing or repairing the flashing is crucial for maintaining the integrity of your exterior walls and preventing water damage. By addressing any issues with the flashing, you minimize the risk of water infiltration and potential damage to the underlying structure of your home.
With the flashing repaired or replaced, you’re now ready to move on to the next step, which involves installing new siding if desired or necessary.
Read more: What Is Hardie Board Siding Made Out Of
Step 8: Install New Siding (Optional)
If you’ve decided to install new siding after removing the Hardie board siding, or if the previous siding was damaged beyond repair, follow these steps to install the new siding:
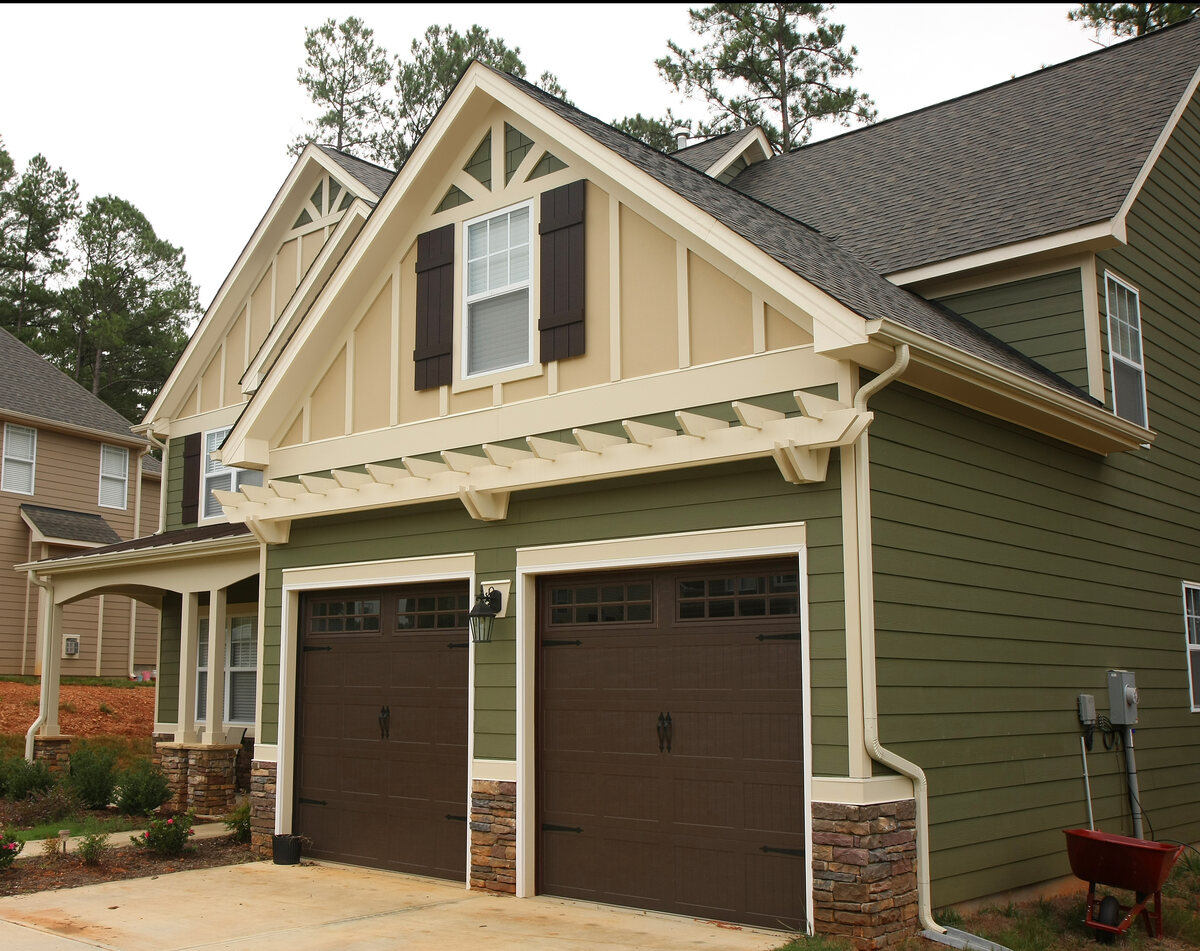
- Choose the appropriate siding: Select the type of siding that best suits your needs, preferences, and budget. Common options include vinyl, wood, fiber cement, or metal siding.
- Measure and cut the siding: Using a tape measure, carefully measure each section of the wall where the new siding will be installed. Use a saw or appropriate cutting tools to cut the siding panels to the required lengths.
- Prepare the sheathing: Before installing the new siding, ensure that the sheathing is clean, in good condition, and free from any debris or obstructions. Repair any damaged areas as necessary.
- Apply a weather barrier: Install a weather barrier, such as house wrap or building paper, to provide an additional layer of protection against moisture and improve energy efficiency.
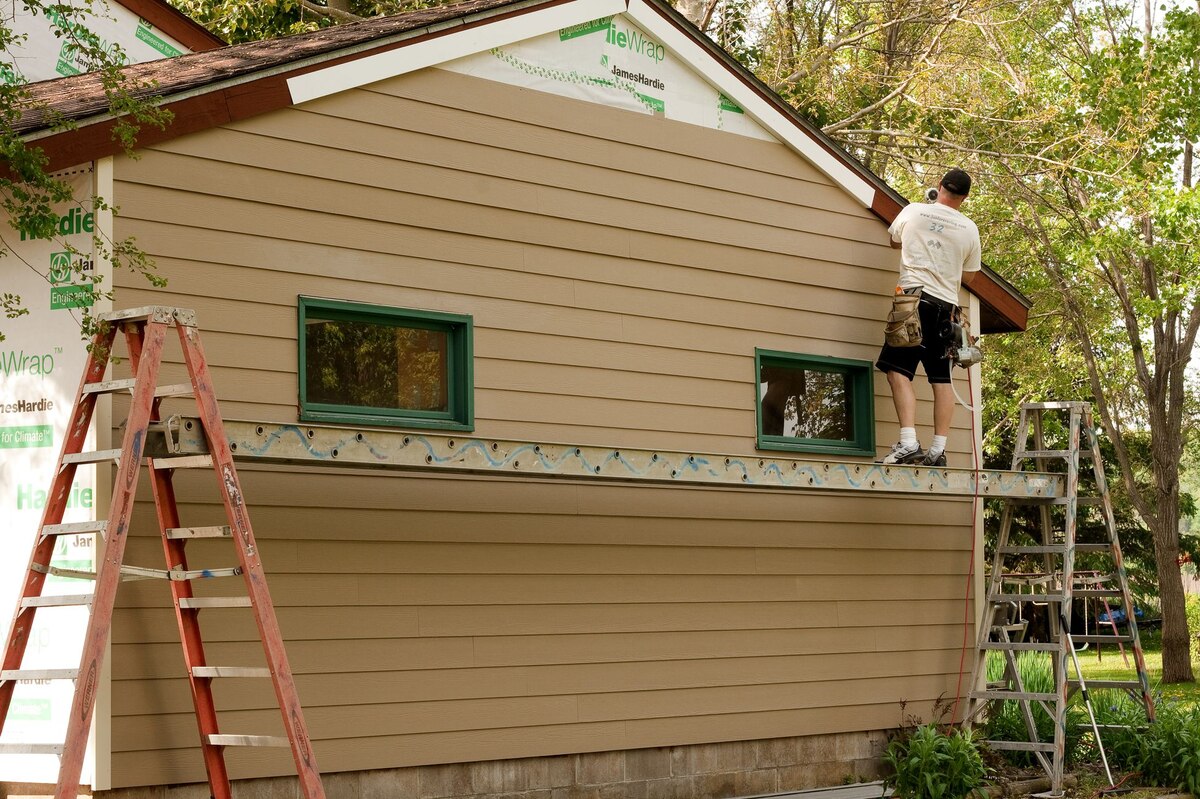
- Start at the bottom: Begin installing the new siding at the bottom of the wall and work your way up. Follow the manufacturer’s instructions for the particular type of siding you are installing.
- Secure the siding: Depending on the type of siding, secure it to the sheathing with appropriate fasteners, such as nails or screws. Ensure that each panel is level and properly aligned with the adjacent panels.
- Overlap the siding: Ensure that each panel overlaps the one below it to prevent water infiltration. Follow the recommended overlap measurements for the specific type of siding you’re installing.
- Install trim and accessories: Once the siding panels are in place, install the appropriate trim pieces and accessories to complete the look and provide a finished appearance. Secure them with recommended fasteners.
- Inspect and clean: After the new siding is installed, carefully inspect it for any visible gaps, damage, or improper installation. Make any necessary adjustments or repairs, and clean the siding as recommended by the manufacturer.
Installing new siding can be a complex task, so if you’re not experienced or confident in your abilities, it’s recommended to hire a professional contractor to ensure a proper installation. They have the expertise and specialized tools to complete the job efficiently and effectively.
Congratulations on completing the process of removing and potentially replacing your Hardie board siding. With proper maintenance and care, your new siding can enhance the appearance and protect the integrity of your home for years to come.
Remember to follow any local building codes and regulations, and consult a professional if you have any doubts or questions throughout the process.
Conclusion
Removing Hardie board siding may seem like a daunting task, but with the right tools, knowledge, and patience, it can be accomplished successfully. By following the step-by-step process outlined in this guide, you can safely and efficiently remove Hardie board siding from your home.
Throughout each step, it’s important to prioritize safety by wearing protective gear and working cautiously. Take the time to prepare the work area, remove trim and accessories, and carefully remove nails or screws that secure the siding panels. Cutting and removing the siding panels require precision, while inspecting and repairing the sheathing and replacing or repairing the flashing ensure the foundation for a well-protected home.
If you decide to install new siding, consider the various options and follow proper installation techniques to achieve the desired look and functionality. However, if installing new siding is not necessary, the previous steps can help you prepare the wall for other improvements or repairs.
Remember, if at any point during the process you feel unsure or overwhelmed, it’s always a good idea to consult a professional contractor who can provide guidance and expertise based on your specific situation.
By removing Hardie board siding with care and attention to detail, you can achieve your desired home improvement goals while maintaining the integrity, durability, and beauty of your property.
Now that you have the knowledge and understanding of how to remove Hardie board siding, you can confidently embark on this project and transform the appearance and functionality of your home.
Finished pulling off that Hardie board siding? Why stop there? Dive into our guide on home renovation, featuring the 10 best hardwood floors to transform any space. Ready for more hands-on tasks? Don't miss our insights on DIY home projects, where you'll learn to tackle upgrades just like a pro. Both articles are packed with practical tips to keep your renovation journey moving smoothly.
Frequently Asked Questions about How To Remove Hardie Board Siding
Was this page helpful?
At Storables.com, we guarantee accurate and reliable information. Our content, validated by Expert Board Contributors, is crafted following stringent Editorial Policies. We're committed to providing you with well-researched, expert-backed insights for all your informational needs.
0 thoughts on “How To Remove Hardie Board Siding”