Articles
How To Attach Cedar Siding
Modified: December 7, 2023
Learn how to attach cedar siding to your home with our helpful articles. Find step-by-step instructions and tips for a successful installation.
(Many of the links in this article redirect to a specific reviewed product. Your purchase of these products through affiliate links helps to generate commission for Storables.com, at no extra cost. Learn more)
Introduction
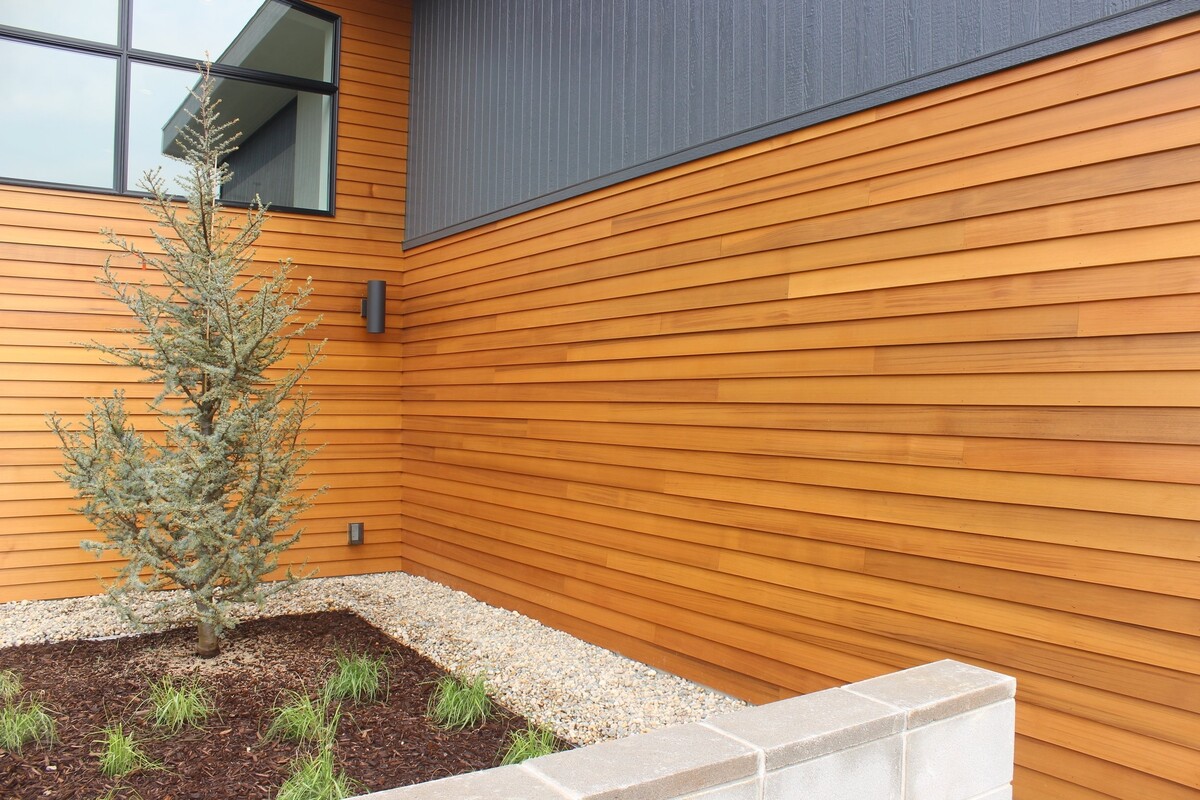
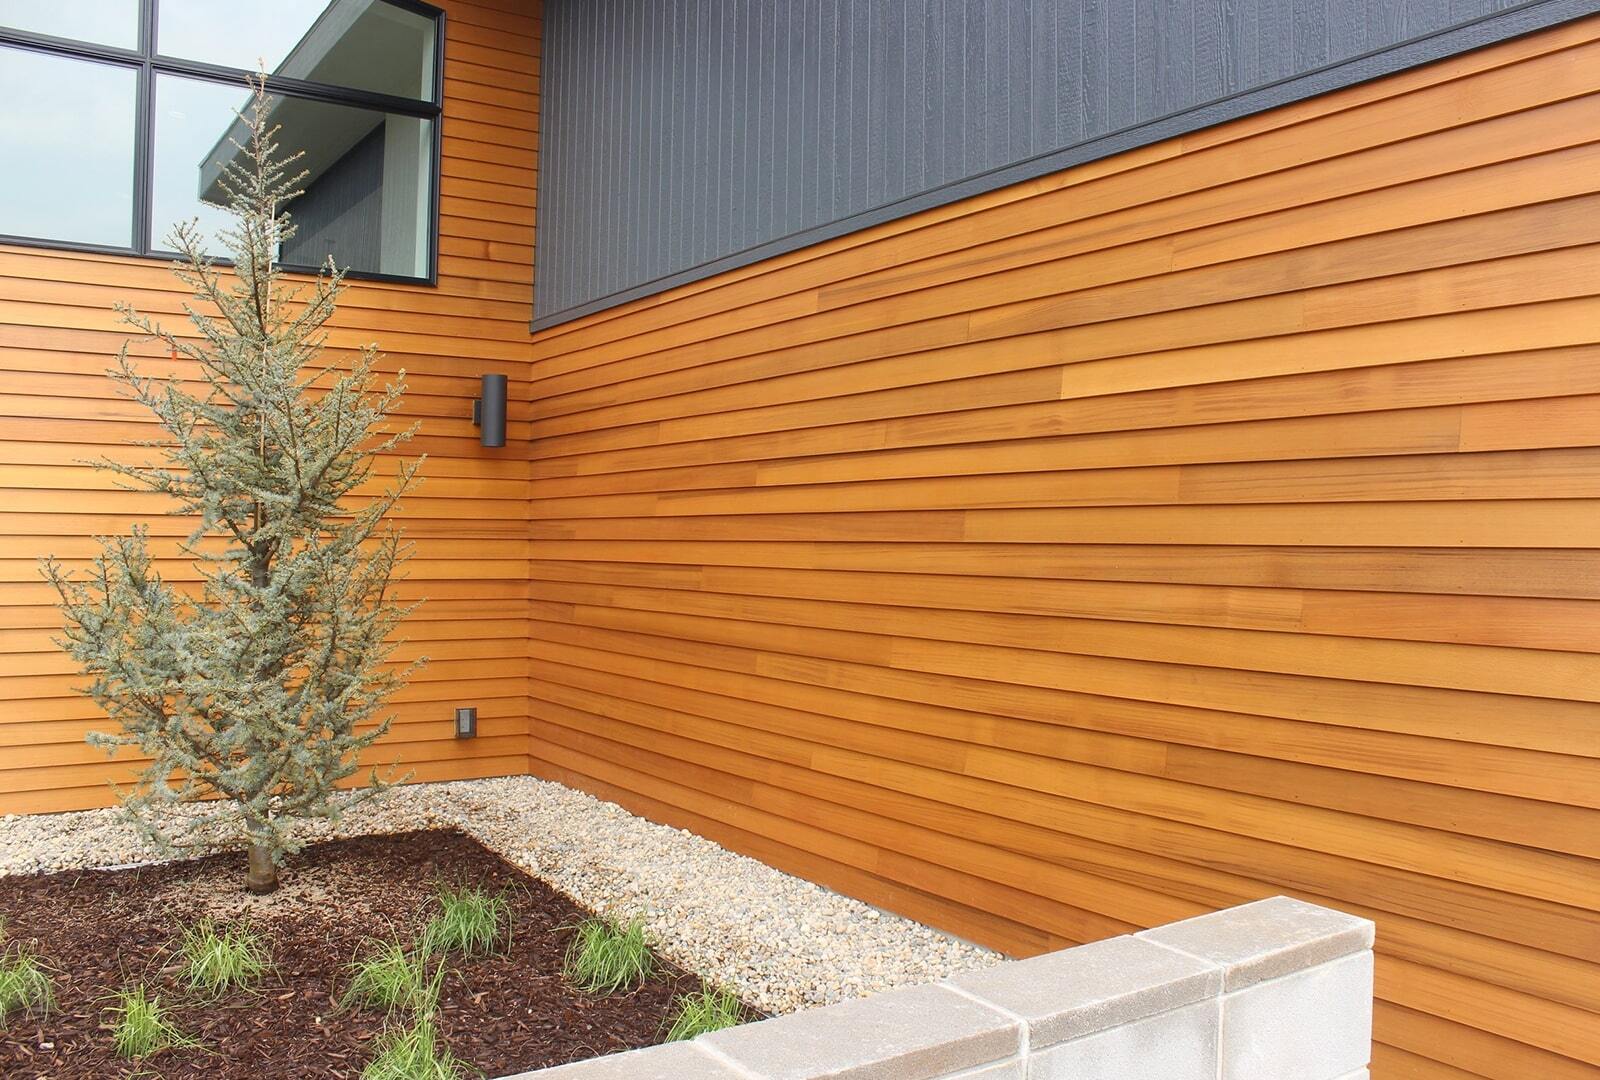
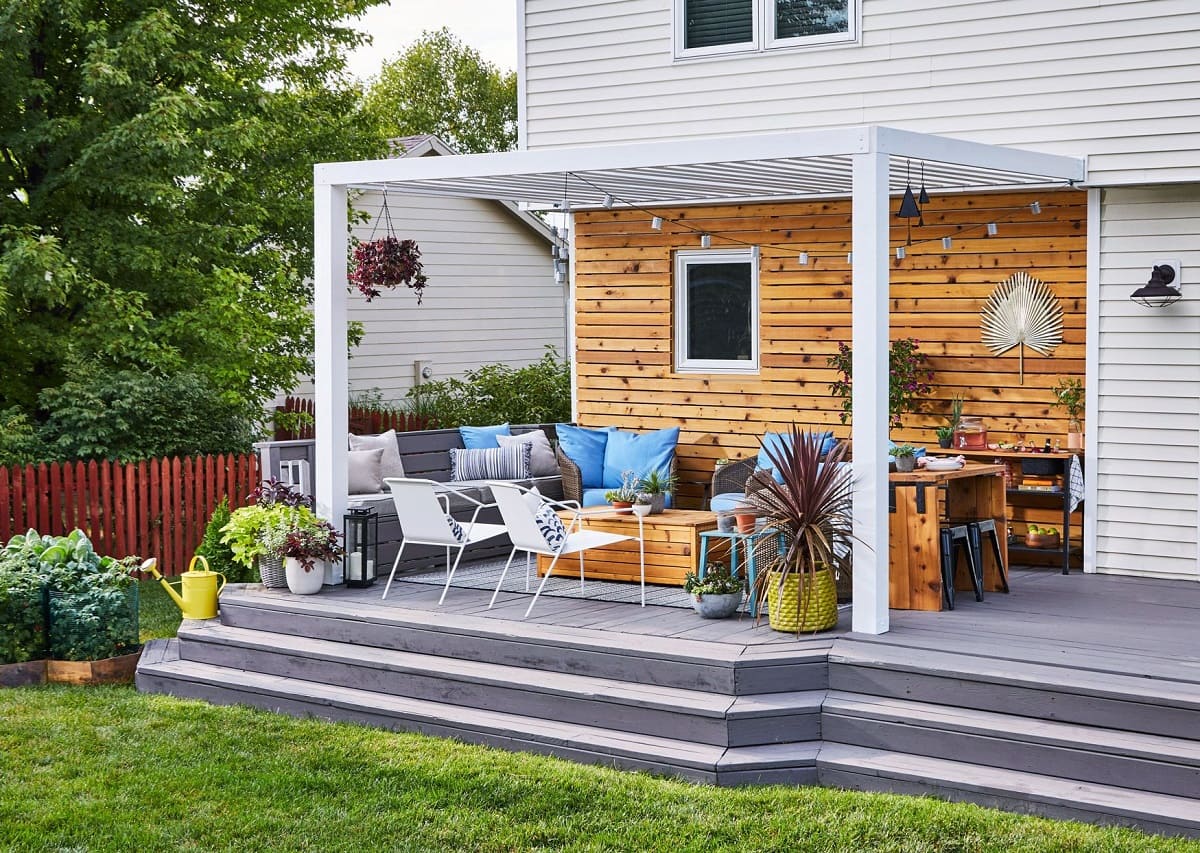
When it comes to enhancing the curb appeal of your home, attaching cedar siding can be a game-changer. Not only does cedar siding provide a beautiful and natural aesthetic, but it also offers durability and protection against the elements. Whether you’re looking to add charm to your exterior or replace worn-out siding, this step-by-step guide will walk you through the process of attaching cedar siding.
Before we dive into the details, let’s take a moment to go over the tools and materials you’ll need for this project.
Key Takeaways:
- Proper preparation is key to a successful cedar siding installation. From surface cleaning to precise measurements, attention to detail ensures a secure and long-lasting finish that enhances your home’s exterior.
- Adding a protective finish to your cedar siding not only enhances its natural beauty but also provides added durability and resistance against weathering. Regular maintenance will keep your siding looking vibrant for years to come.
Read more: How To Wash Cedar Siding
Tools and Materials Needed
Before you begin attaching cedar siding, gather the following tools and materials:
- Circular saw
- Tape measure
- Chalk line
- Nail gun or hammer
- Siding nails
- Cedar siding boards
- Starter strip
- Square
- Level
- Miter saw (for cutting angles)
- Protective eyewear
- Gloves
Make sure you have all the necessary tools and materials before you begin. This will help ensure a smooth and efficient installation process.
Step 1: Prepare the Surface
Before attaching cedar siding, it’s important to properly prepare the surface to ensure a secure and long-lasting installation. Follow these steps:
- Clean the surface: Remove any dirt, dust, or debris from the existing siding or wall surface. You can use a pressure washer or a scrub brush and mild detergent to clean the area thoroughly. Allow the surface to dry completely.
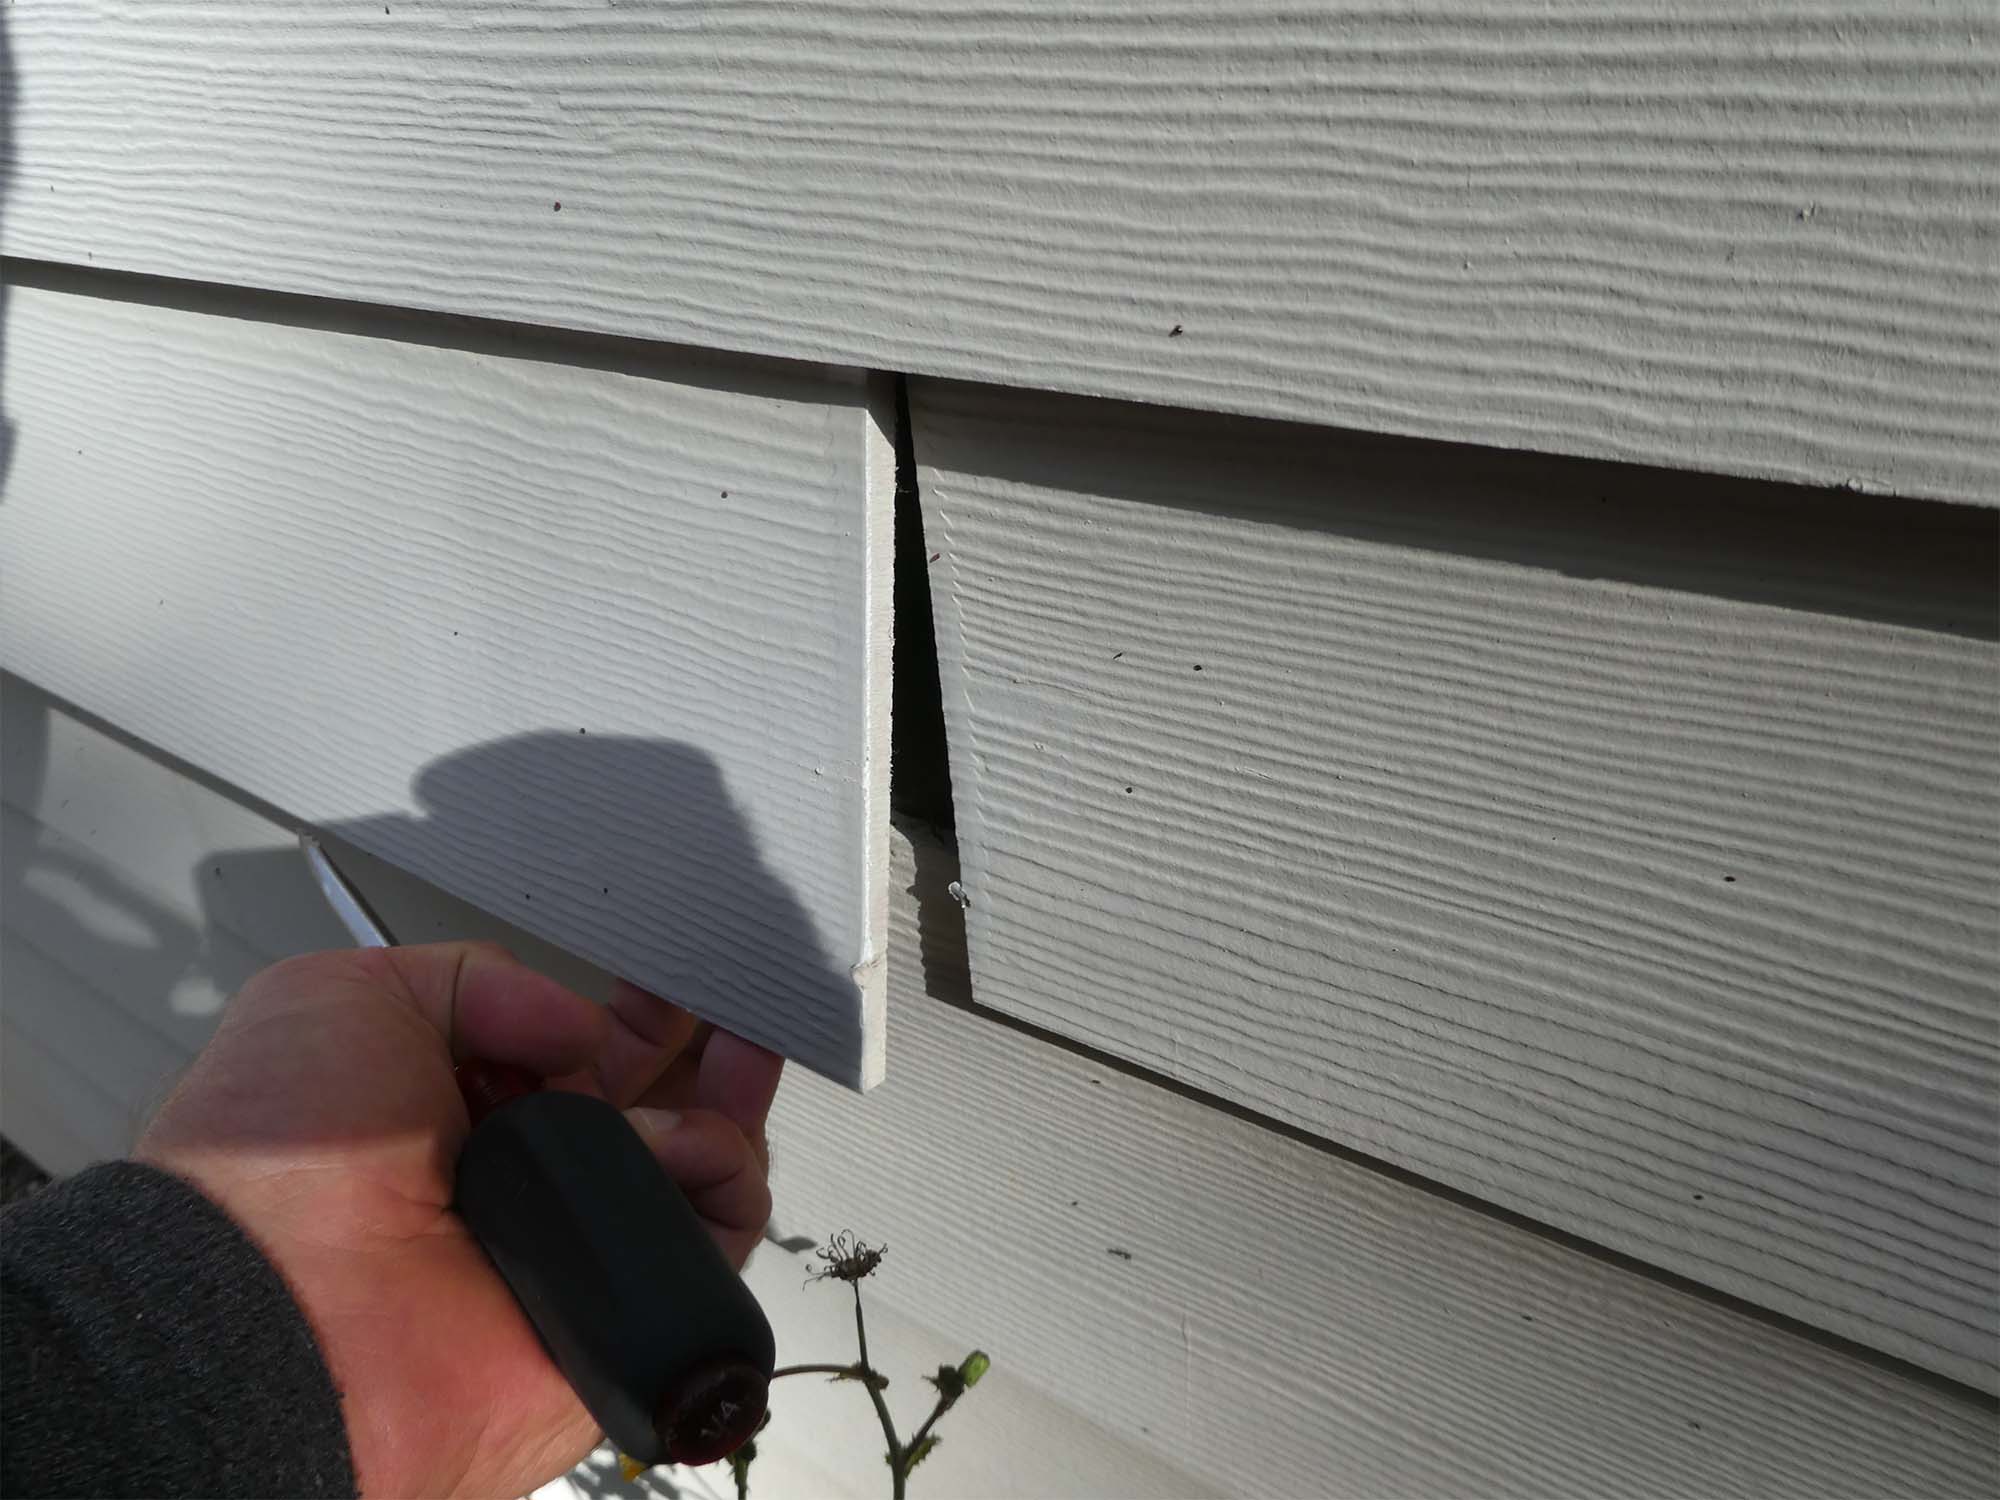
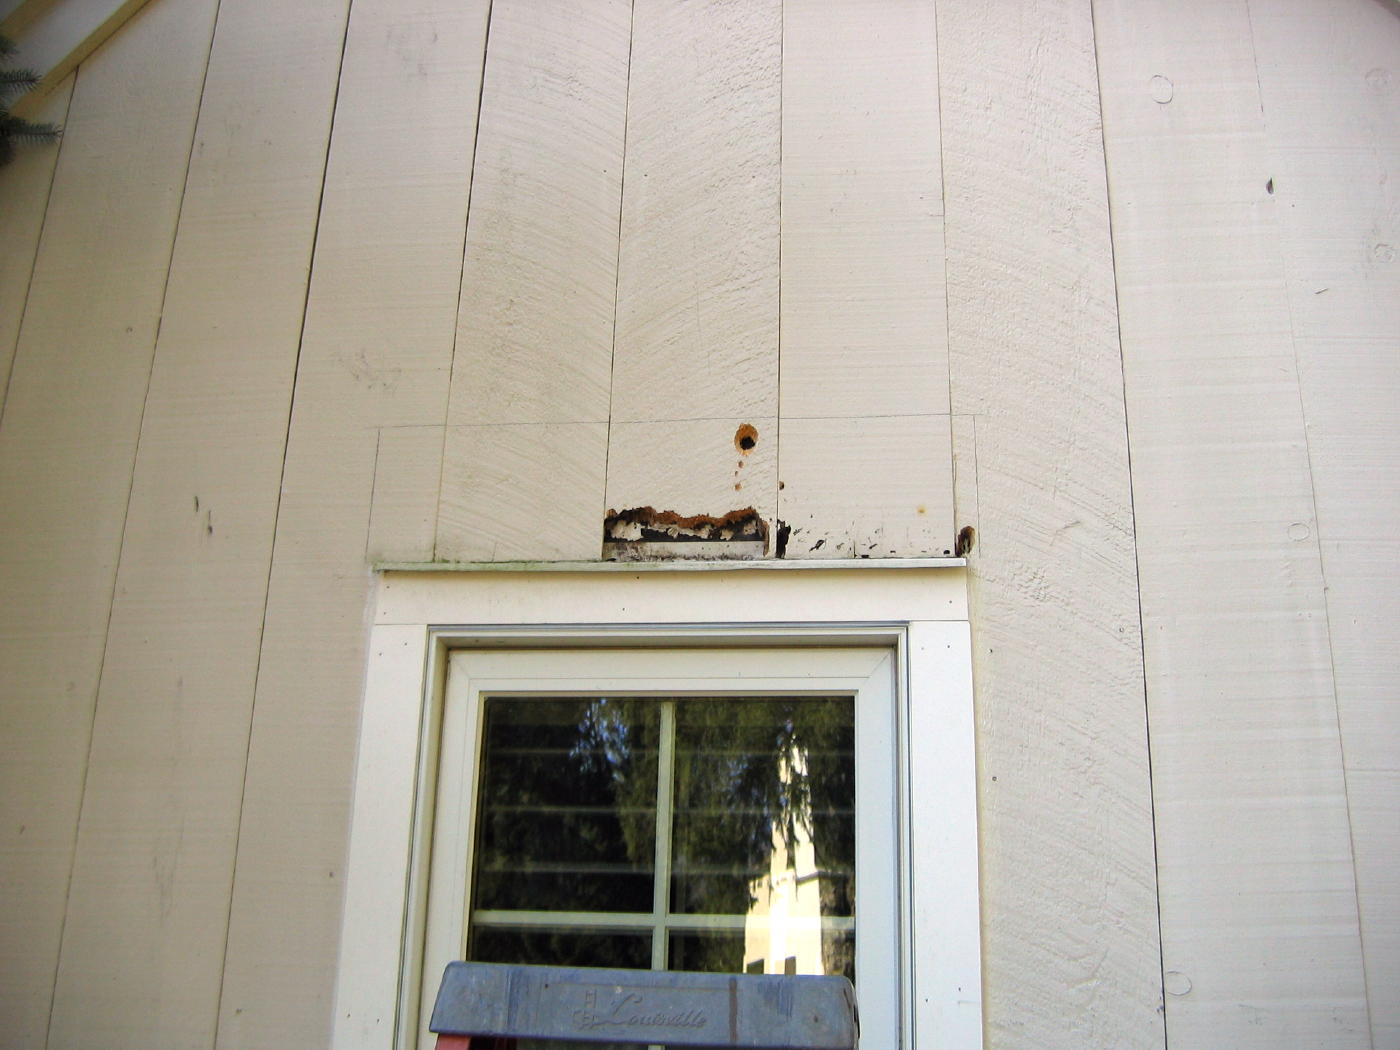
- Inspect for damage: Check for any damaged or rotten areas on the existing siding or wall. Replace any damaged sections before proceeding with the installation.
- Apply house wrap or moisture barrier: Prior to attaching cedar siding, it’s recommended to install a house wrap or moisture barrier. This will provide an extra layer of protection against moisture and ensure a more energy-efficient home. Follow the manufacturer’s instructions for proper installation.
By properly preparing the surface, you create a solid foundation for the cedar siding, allowing it to adhere securely and prevent moisture-related issues down the road.
Step 2: Measure and Cut the Cedar Siding
Accurate measurements and precise cutting are essential for a seamless and professional-looking cedar siding installation. Follow these steps to measure and cut the cedar siding:
- Measure the wall: Use a tape measure to determine the height and width of the wall where you will be installing the cedar siding. Take into account any openings, such as windows or doors.
- Calculate the number of boards: Divide the width of the wall by the width of the cedar siding boards. This will give you an approximate number of boards needed. Round up to ensure you have enough material.
- Cut the boards: Use a circular saw or miter saw to cut the cedar siding boards to the desired length. Measure each board carefully and mark the cutting line before making the cut. Remember to wear protective eyewear and gloves when operating power tools.
- Make angled cuts (if necessary): If you have corners or angled edges on your wall, you may need to make angled cuts on the cedar siding boards. Use a miter saw to accurately cut the boards at the correct angle. Use a square and level to ensure the cuts are precise.
By measuring accurately and cutting the cedar siding with precision, you’ll ensure a proper fit and smooth installation process.
Step 3: Apply the Starter Strip
Applying a starter strip is an important step in attaching cedar siding as it provides a secure base for the siding boards. Here’s how to apply the starter strip:
- Measure and cut the starter strip: Using a tape measure, measure the length of the wall where the first row of cedar siding will be placed. Cut the starter strip to match this length.
- Position the starter strip: Place the starter strip at the bottom of the wall, ensuring it is level. Use a level to check for straightness and make any adjustments necessary.
- Attach the starter strip: Using a nail gun or hammer, secure the starter strip to the wall. Place nails approximately every 12 inches to securely fasten the strip in place.
- Continue with additional starter strips: If your wall is wider than the length of a single starter strip, repeat the process of measuring, cutting, positioning, and attaching additional starter strips until the entire width of the wall is covered.
By properly installing the starter strip, you create a stable foundation for the cedar siding and ensure a clean and professional finish.
When attaching cedar siding, be sure to use stainless steel or hot-dipped galvanized nails to prevent rusting and staining of the wood. Pre-drill nail holes to prevent splitting and ensure a secure attachment.
Read more: How Much Is Cedar Siding
Step 4: Attach the First Piece of Cedar Siding
Now that the starter strip is in place, it’s time to attach the first piece of cedar siding. This initial piece sets the foundation for the rest of the siding installation. Follow these steps:
- Measure and cut the first piece: Measure the height of the wall, excluding the starter strip. Cut the first piece of cedar siding to match this height, ensuring a snug fit.
- Slide the first piece into place: Align the top edge of the first piece with the top edge of the starter strip. Slide the board into the starter strip, making sure it is level and plumb. Use a level to ensure accuracy.
- Attach the first piece: Using a nail gun or hammer, drive nails through the siding into the wall studs. Place nails every 16 inches vertically along the length of the board, ensuring a secure attachment. Avoid nailing too close to the edges to prevent splitting. Repeat this process for each board.
- Check for levelness: Periodically check for levelness as you attach the first piece and subsequent boards. Adjust as needed to ensure the siding remains straight and even.
By securely attaching the first piece of cedar siding and ensuring it is level, you establish a solid foundation for the rest of the siding installation.
Step 5: Install the Remaining Siding
With the first piece of cedar siding in place, you can now proceed with installing the remaining siding boards. Follow these steps to ensure a smooth and seamless installation:
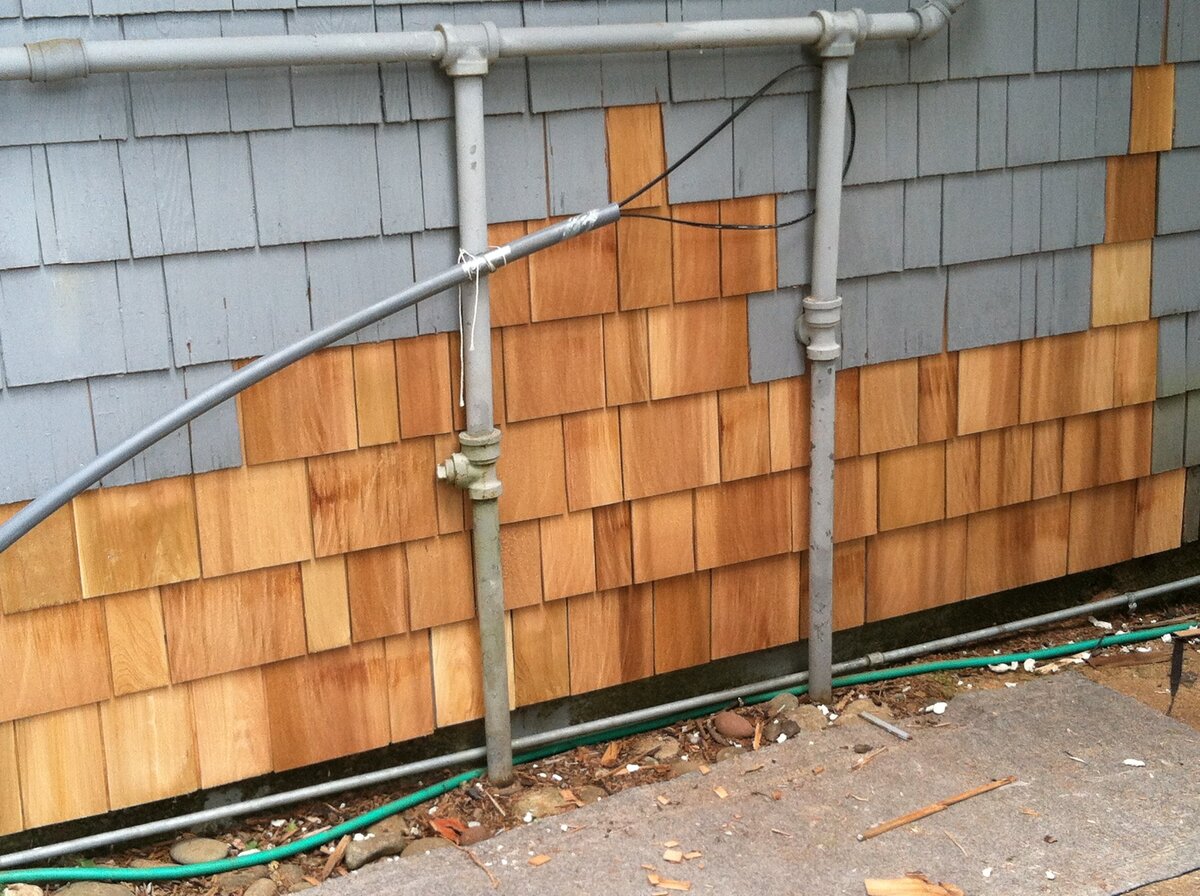
- Measure and cut the remaining siding boards: Measure the length of the wall, excluding the starter strip, and cut the remaining cedar siding boards to fit. Remember to account for any openings or corners.
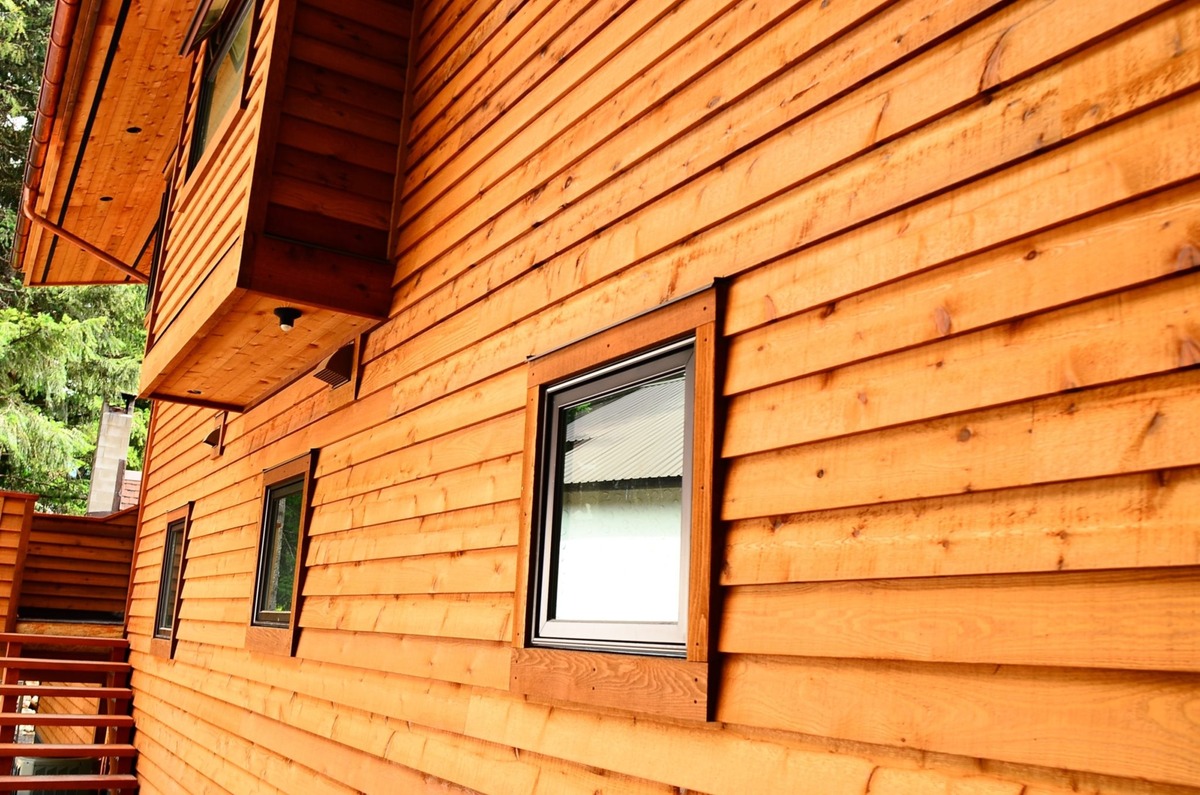
- Slide the siding boards into place: Slide each siding board into the previous one, overlapping the edge of the previous board. Ensure a snug fit and maintain an even gap between the boards for expansion and contraction.
- Attach the siding boards: Using a nail gun or hammer, secure each siding board to the wall studs. Drive nails into the thickest part of the boards, placing them every 16 inches vertically along the length of each board.
- Continue the process: Repeat the process of measuring, cutting, sliding, and attaching the remaining siding boards until the entire wall is covered. Periodically check for levelness and adjust as needed.
- Trim boards for corners and openings: For corners and openings, measure and cut siding boards at the appropriate angles to achieve a seamless appearance. Use a miter saw to make accurate cuts, ensuring a precise fit.
By carefully installing the remaining cedar siding boards and paying attention to detail, you will achieve a visually appealing and professional finish.
Step 6: Finish the Edges and Corners
Once the main portion of the cedar siding installation is complete, it’s time to focus on finishing the edges and corners for a polished look. Follow these steps to properly finish the edges and corners:
- Measure and cut trim boards: Measure the length needed for the trim boards and cut them to the appropriate size. Use a miter saw to achieve precise angles for corner trim pieces.
- Install corner trim: Position the corner trim pieces at the edges of the wall, ensuring they are flush with the siding boards. Attach them securely using a nail gun or hammer, driving nails into the wall studs.
- Add J-channel trim (if applicable): If you have windows or doors, you may need to install J-channel trim around the edges. Measure and cut the J-channel to fit around the openings, then secure in place with nails.
- Finish the top edge: Install a finishing trim piece along the top edge of the cedar siding to provide a clean and polished appearance. Cut the trim to fit and attach it using nails or screws, driving them into the studs.
- Seal any gaps: Inspect the edges and corners for any gaps between the siding boards. Fill these gaps with caulk or sealant to prevent moisture penetration and ensure a seamless finish.
By taking the time to properly finish the edges and corners of the cedar siding, you’ll achieve a professional and visually appealing result that adds charm to your home’s exterior.
Step 7: Apply a Protective Finish (Optional)
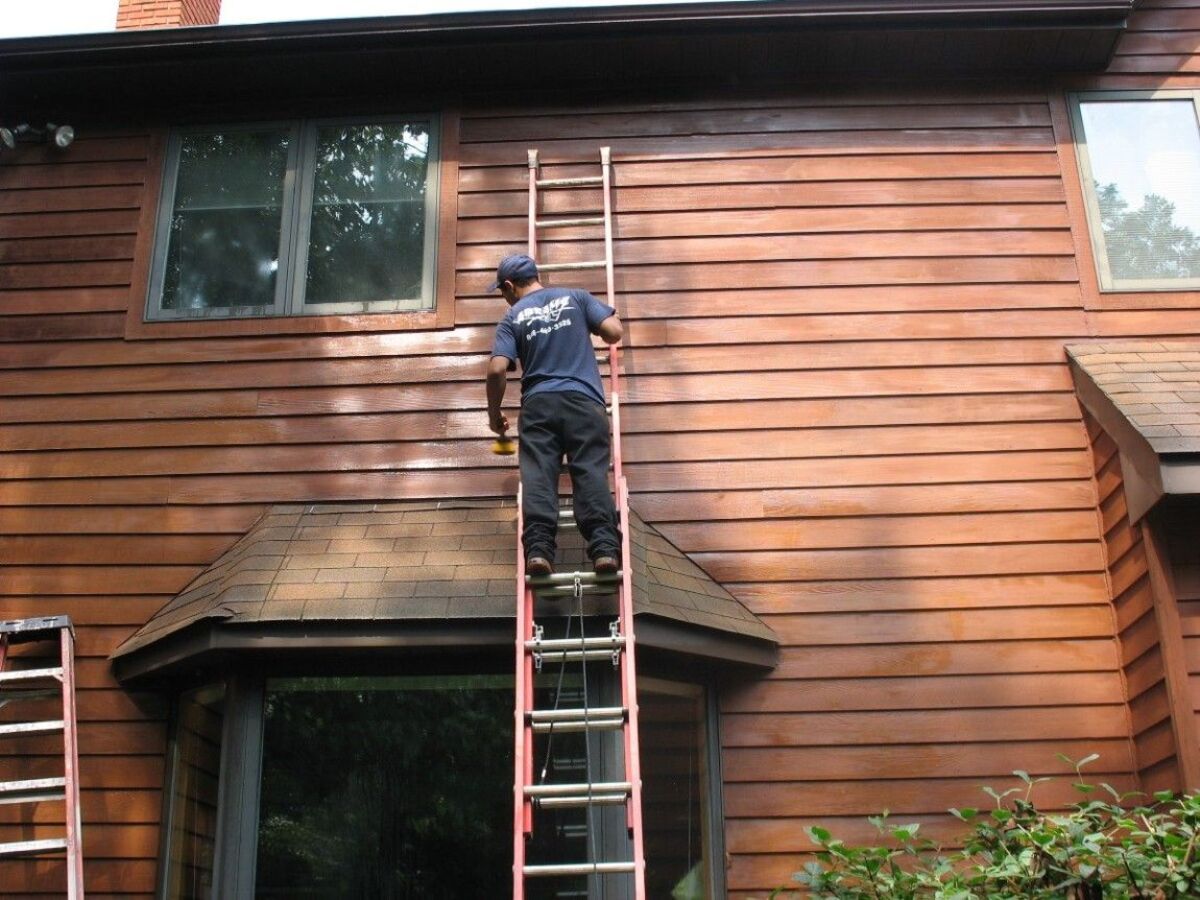
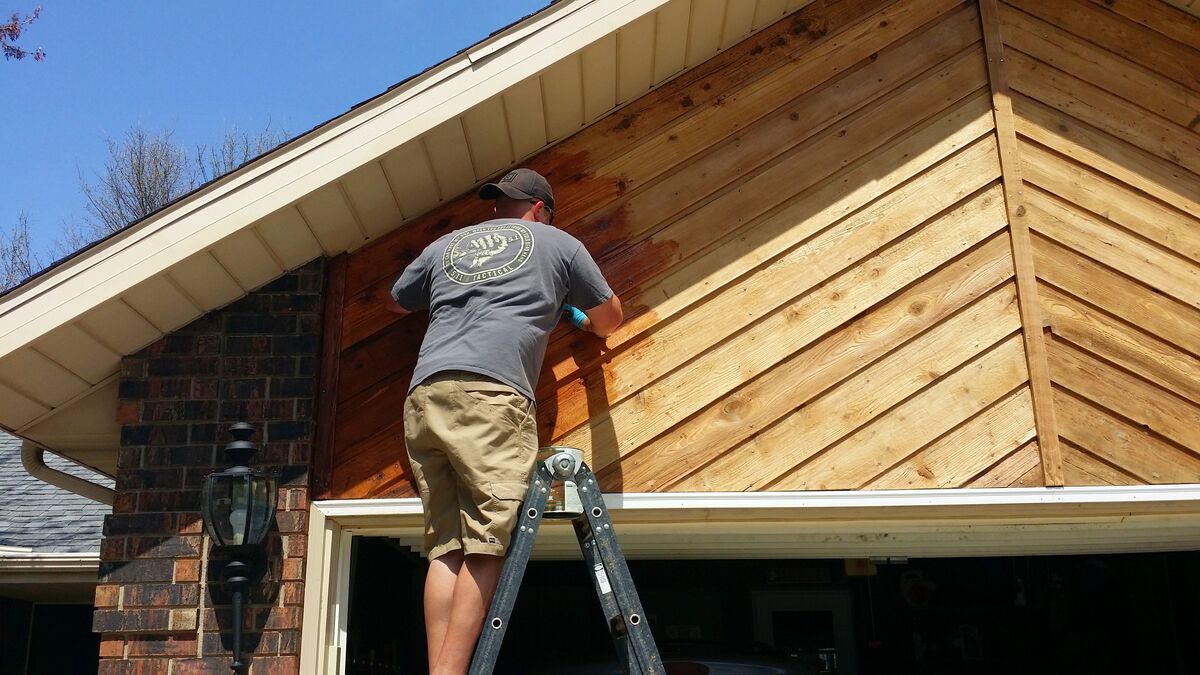
Applying a protective finish to your cedar siding is optional but highly recommended. A protective finish not only enhances the natural beauty of the wood but also provides added durability and resistance against weathering. Follow these steps to apply a protective finish:
- Clean the cedar siding: Before applying any finish, ensure that the cedar siding is clean and free from dust and debris. Use a mild detergent and water solution to gently wash the siding. Allow it to dry completely.
- Select a finish: There are various options for cedar siding finishes, including clear finishes that preserve the natural wood color or semi-transparent stains that add color while still allowing the grain to show through. Choose a finish that suits your aesthetic preference.
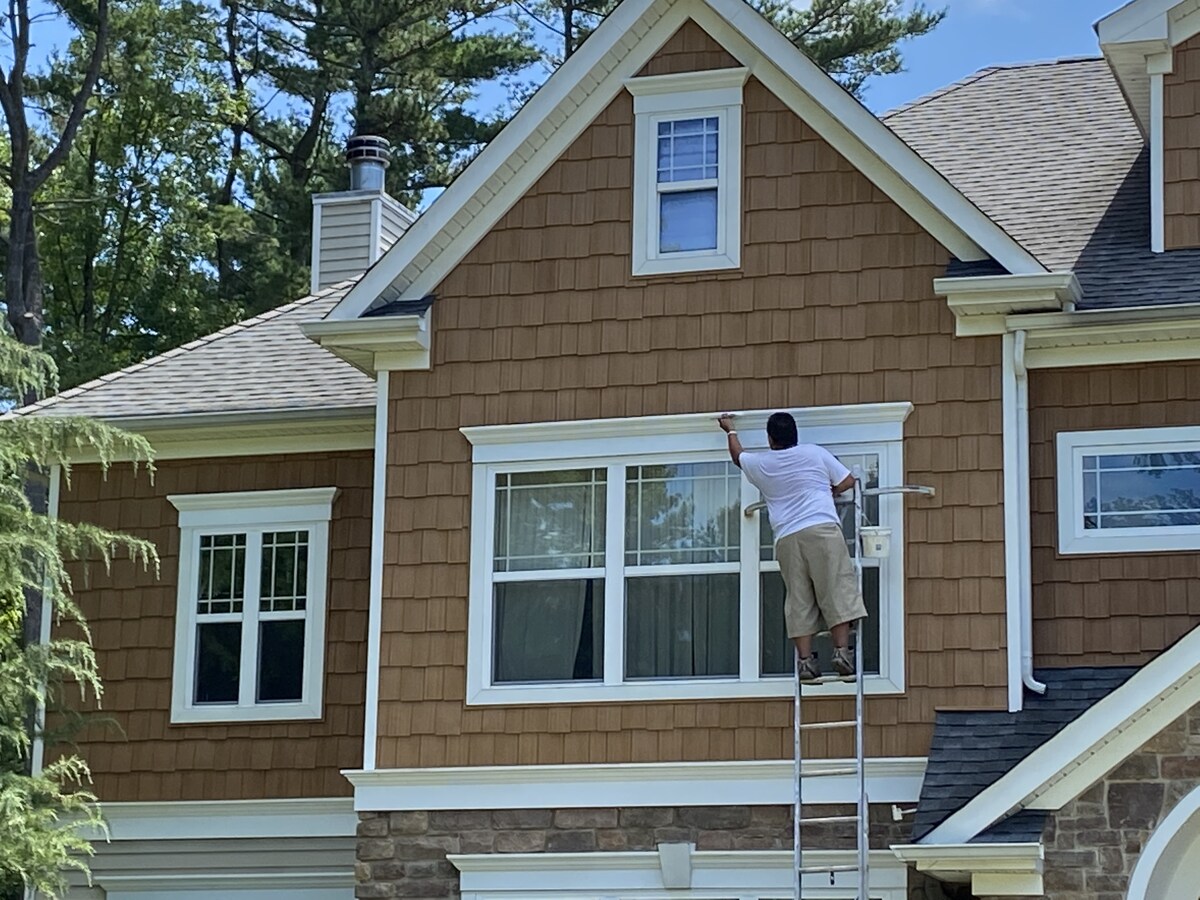
- Apply the finish: Using a brush, roller, or sprayer, apply the chosen finish to the cedar siding. Follow the manufacturer’s instructions for the best application method. Work in small sections and make sure to apply an even coat, allowing the finish to penetrate the wood fibers.
- Allow the finish to dry: After applying the finish, give it sufficient time to dry according to the manufacturer’s instructions. This will ensure that the protective coating properly bonds with the wood surface.
- Apply additional coats (if desired): Depending on the type of finish used, you may choose to apply multiple coats for enhanced protection or a richer color. Follow the recommended drying times between coats.
Applying a protective finish to your cedar siding not only adds beauty but also helps extend its lifespan and protects it from the elements. Regular maintenance, including periodic reapplication of the protective finish, will help keep your cedar siding looking vibrant for years to come.
Read more: How To Stain Cedar Siding
Conclusion
Attaching cedar siding is a rewarding home improvement project that can greatly enhance the appearance and durability of your home’s exterior. By following these step-by-step instructions, you can successfully install cedar siding and create a beautiful and long-lasting finish.
From preparing the surface to measuring and cutting the cedar siding, each step is crucial to achieving a professional result. The use of proper tools and materials, along with attention to detail, will ensure a seamless installation. Taking the time to finish the edges and corners and optionally applying a protective finish will further enhance the overall look and protect the wood from weathering.
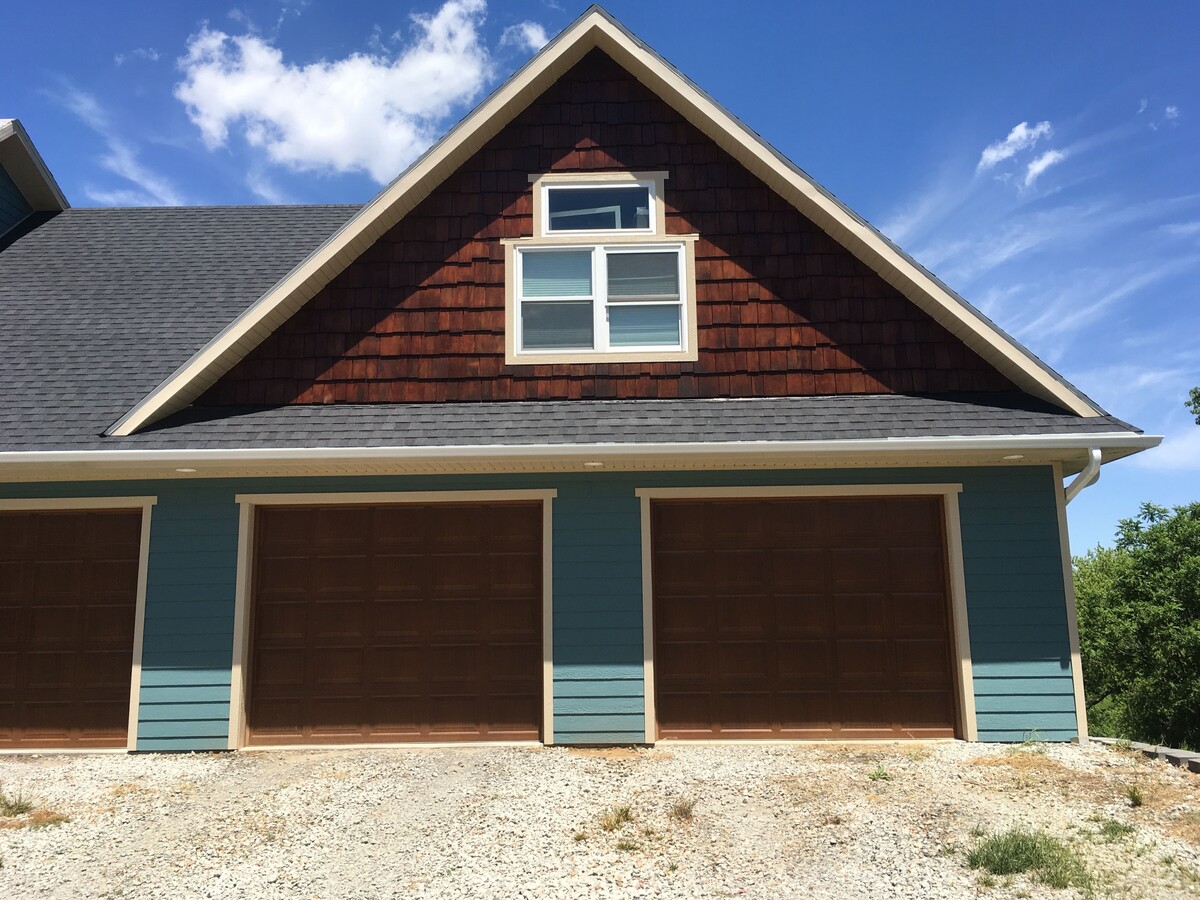
Whether you’re replacing worn-out siding or embarking on a new construction project, attaching cedar siding is a fantastic choice that adds charm and character to any home. The natural beauty of cedar, combined with its durability and resistance to decay, makes it an excellent investment for your exterior.
Remember to maintain your cedar siding by regular cleaning and periodic inspection to address any issues promptly. With proper care, your cedar siding will continue to provide beauty and protection for many years to come.
So, roll up your sleeves, gather your tools, and get ready to transform your home with the warmth and elegance of cedar siding. Happy installing!
Frequently Asked Questions about How To Attach Cedar Siding
Was this page helpful?
At Storables.com, we guarantee accurate and reliable information. Our content, validated by Expert Board Contributors, is crafted following stringent Editorial Policies. We're committed to providing you with well-researched, expert-backed insights for all your informational needs.
0 thoughts on “How To Attach Cedar Siding”