Home>Articles>What Parts Do I Need To Attach A Handheld Showerhead To An Existing Showerhead
Articles
What Parts Do I Need To Attach A Handheld Showerhead To An Existing Showerhead
Modified: October 19, 2024
Discover the essential articles you need to effortlessly attach a handheld showerhead to your existing showerhead. Transform your shower experience today!
(Many of the links in this article redirect to a specific reviewed product. Your purchase of these products through affiliate links helps to generate commission for Storables.com, at no extra cost. Learn more)
Introduction
Adding a handheld showerhead to your existing shower setup can greatly enhance your bathing experience. Not only does it offer the convenience of directing the water flow where you need it most, but it also makes tasks like rinsing off shampoo and cleaning the shower area much easier.
In order to attach a handheld showerhead to your existing showerhead, you will need to understand the different components involved and follow a few simple steps. This article will guide you through the process to ensure a successful installation.
Whether you’re looking to upgrade your shower or simply want to have the flexibility of a handheld showerhead, it’s important to know which parts you will need and how to properly install them. Let’s delve into the details and get started on transforming your shower experience.
Key Takeaways:
- Enhance your shower experience by attaching a handheld showerhead to your existing setup. Enjoy the convenience, flexibility, and customization it brings to your daily routine.
- Understanding the components, selecting the right showerhead, and proper installation are key to successfully upgrading your shower. Regular maintenance ensures long-lasting performance.
Read more: When Do I Need To Replace My Showerhead
Understanding the components
Before you start the installation process, it’s important to familiarize yourself with the various components involved in attaching a handheld showerhead to an existing showerhead. By understanding these parts, you’ll be better equipped to select the right ones and ensure a smooth installation.
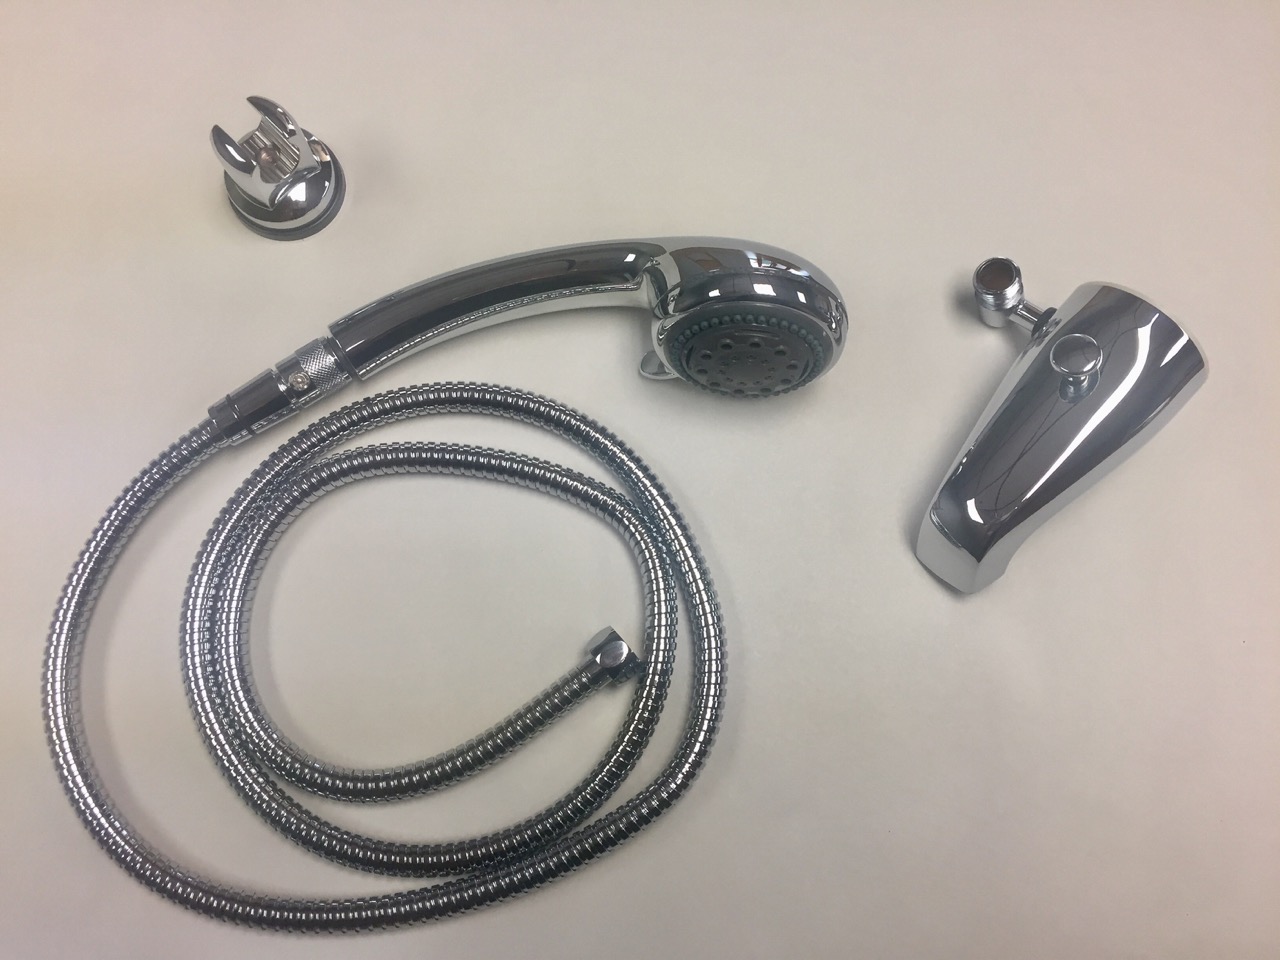
Here are the key components you need to be aware of:
- Handheld showerhead: This is the main component that you will be attaching to your existing showerhead. It typically consists of a handheld wand with a handle and a showerhead attachment.
- Showerhead holder: A showerhead holder is used to keep the handheld showerhead in place when it’s not being used. It attaches to the shower wall or existing showerhead arm and provides a convenient storage location.
- Showerhead arm: The showerhead arm is the pipe that connects the existing showerhead to the water supply. It can be adjusted to different angles and heights to provide optimal water flow.
- Hose: The hose connects the handheld showerhead to the water supply. It allows for flexibility and ease of use, as it can be stretched and directed in different directions.
- Connectors and adapters: Depending on your specific shower setup, you may need connectors and adapters to ensure compatibility between the existing showerhead, showerhead holder, and handheld showerhead. These pieces serve as the bridge that connects all the components together.
By understanding each of these components and how they fit together, you’ll have a clearer picture of what is required for the installation process. Now that we have a good understanding of the components, let’s move on to the next step: removing the existing showerhead.
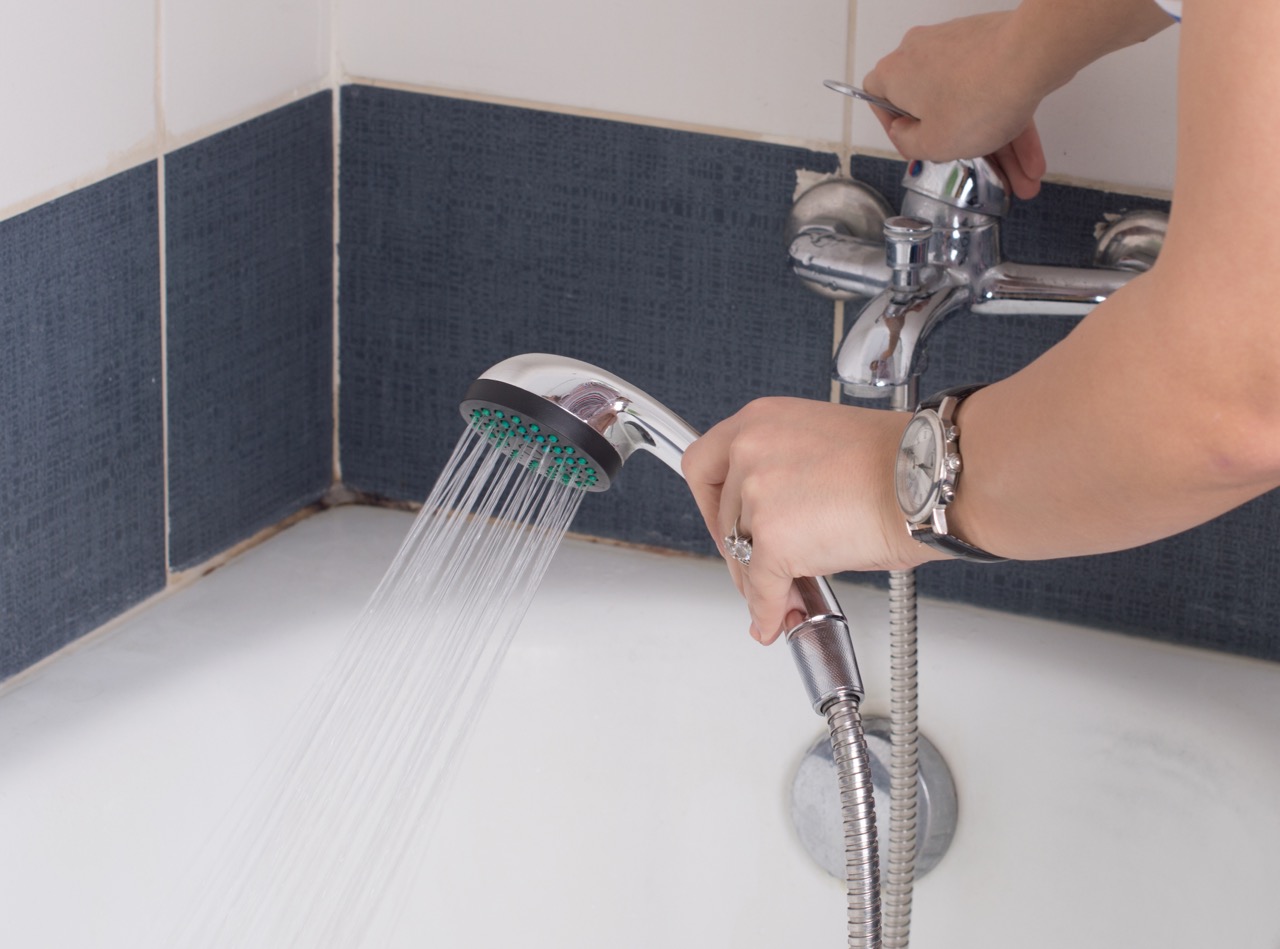
Removing the existing showerhead
Before you can attach a handheld showerhead to your existing shower, you will need to remove the current showerhead. This step is essential to ensure a proper installation and smooth transition to the handheld showerhead. Here’s how you can do it:
- Start by turning off the water supply to your shower. You can usually find the shut-off valve near the shower or in your main water supply area.
- Using an adjustable wrench or pliers, loosen the showerhead by turning it counterclockwise. Be careful not to apply too much force, as you don’t want to damage the shower arm.
- Once the showerhead is loose, continue to unscrew it by hand until it comes off completely. If there is any residual water, have a towel ready to catch it.
- Inspect the shower arm for any debris or old plumber’s tape. Clean it if necessary and remove any remnants of the old tape.
- If your existing showerhead had a rubber washer, you may want to replace it with a new one. This will help create a watertight seal when you attach the new handheld showerhead.
With the existing showerhead removed, your shower is now ready for the addition of a handheld showerhead. Before moving on, make sure the shower arm is clean and free from any obstructions. Now, let’s move on to selecting the right handheld showerhead that meets your needs.</p
Selecting the right handheld showerhead
When it comes to selecting the right handheld showerhead, there are a few factors to consider. By taking these into account, you can ensure that you choose a showerhead that meets your specific needs and preferences. Here’s what to consider:
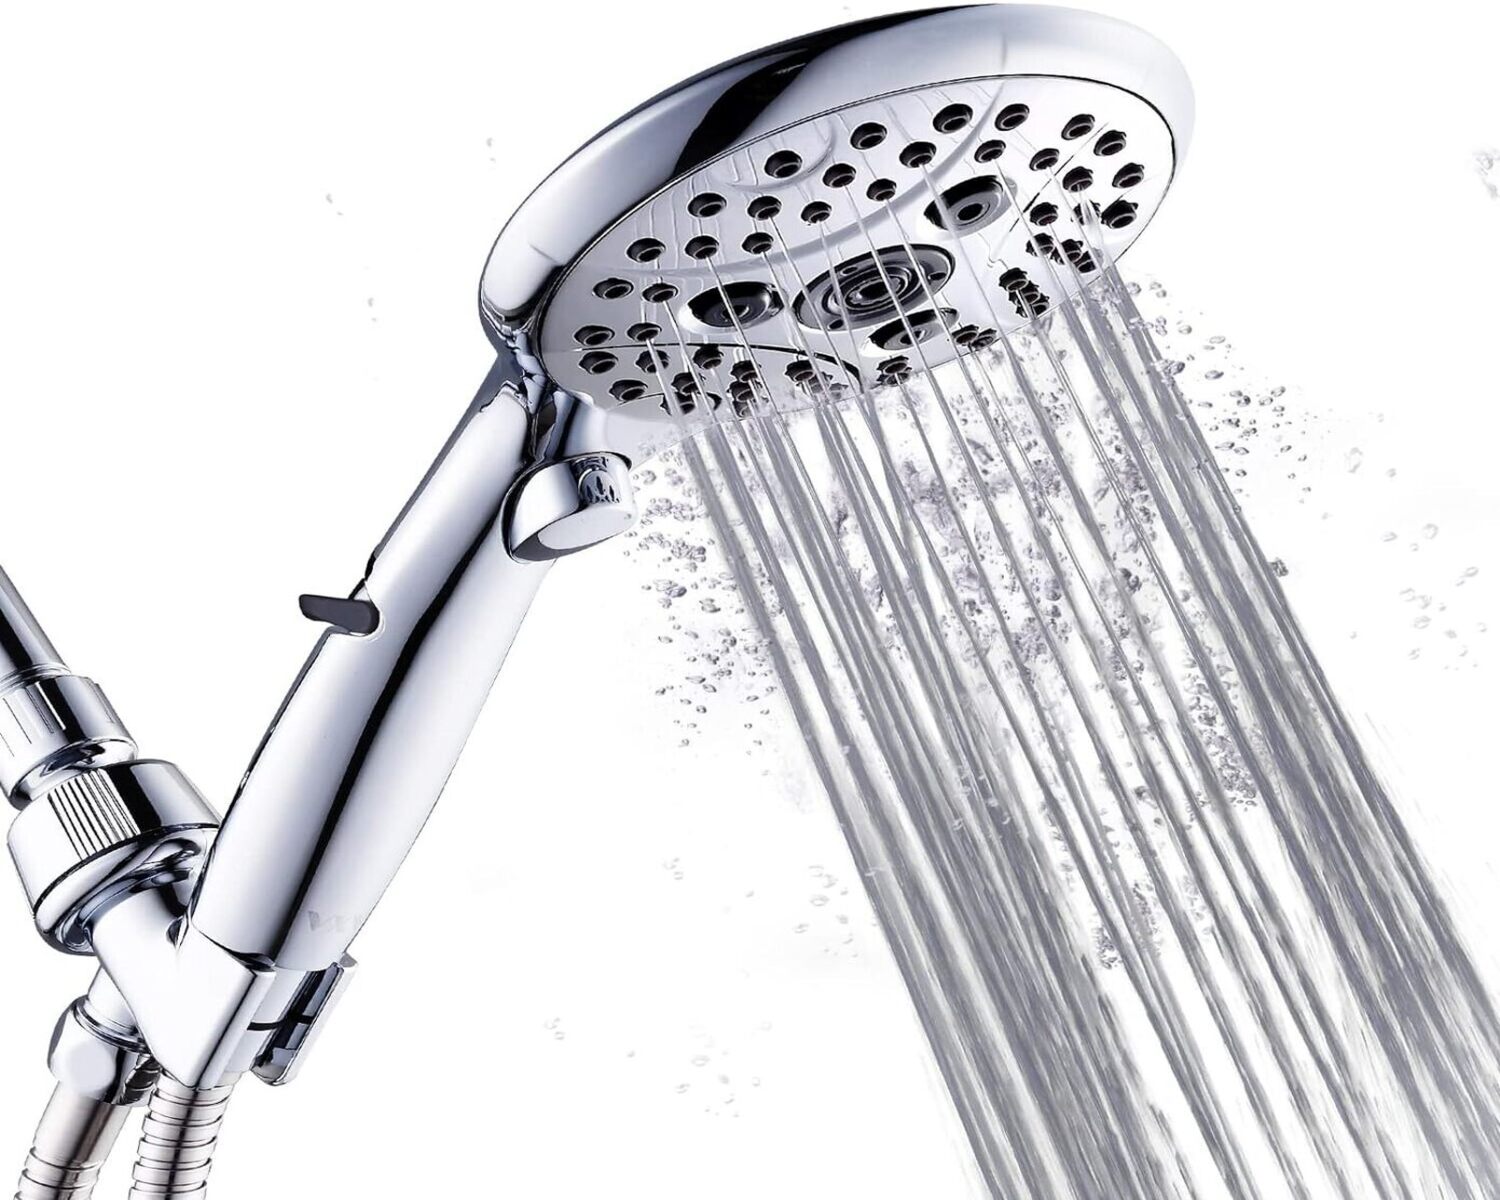
- Spray settings: Consider the different spray settings available with the handheld showerhead. Popular options include a wide spray, massage spray, rain spray, or a combination of these. Choose a showerhead that offers the spray patterns that you find most appealing.
- Water pressure: Take note of your water pressure and look for a handheld showerhead that is designed to work well with it. Some showerheads are specifically designed for low-pressure systems, while others are suitable for high-pressure systems.
- Hose length: Determine the ideal hose length that will provide you with the flexibility and reach you need. Consider the size of your shower and any specific areas you want to reach with the handheld showerhead.
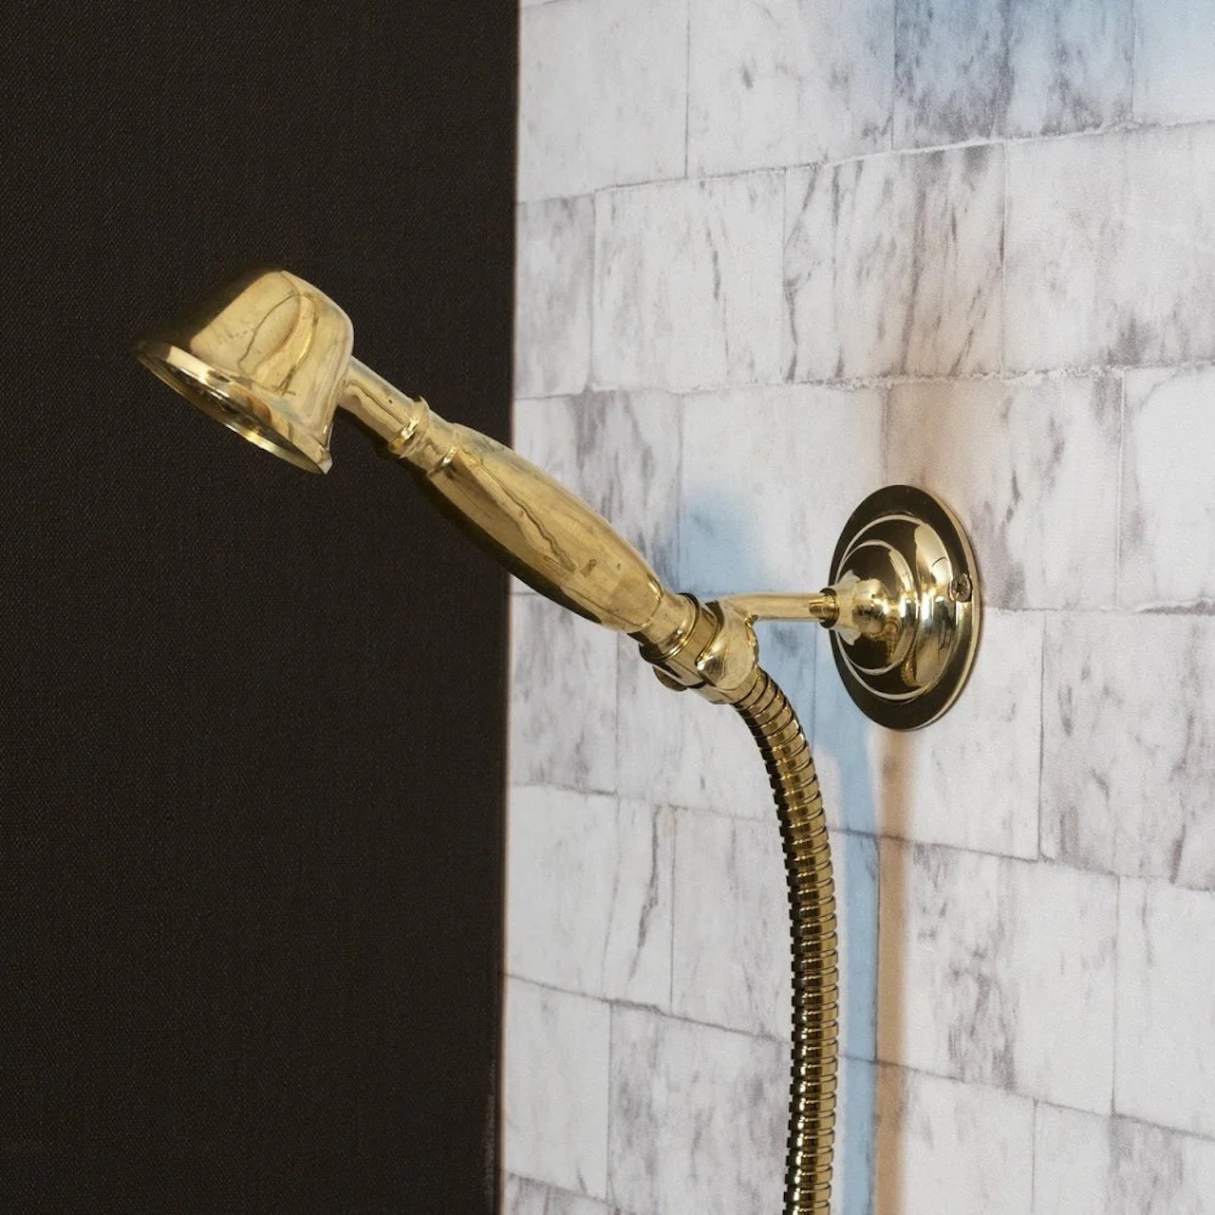
- Material and finish: Look for a high-quality showerhead with a durable material and finish. Popular options include chrome, stainless steel, or brushed nickel. Consider the aesthetics of your bathroom and choose a finish that complements your existing fixtures.
- Budget: Set a budget for your handheld showerhead purchase. There are options available at various price points, so determine how much you are willing to spend and find a showerhead that offers the features you desire within your budget.
It’s also a good idea to read customer reviews and ratings to get a sense of the showerhead’s performance and durability. Look for showerheads that have positive feedback and testimonials from other users.
Once you have found the perfect handheld showerhead, you can move on to the next step: determining any additional parts that may be required for the installation process. Let’s explore that in the next section.
You will need a handheld showerhead, a shower arm diverter, Teflon tape, and an adjustable wrench to attach a handheld showerhead to an existing showerhead. Make sure to follow the manufacturer’s instructions for installation.
Determining additional parts required
When attaching a handheld showerhead to your existing shower, you may need additional parts to ensure a proper and secure installation. The specific parts required will depend on the configuration of your shower and the compatibility of the components. Here are some additional parts you may need:
- Showerhead holder bracket: If your handheld showerhead did not come with a showerhead holder bracket, you may need to purchase one separately. This bracket will provide a stable and secure place to hang the handheld showerhead when it’s not in use.
- Shower arm diverter: A shower arm diverter is a valve that allows you to switch the water flow between the handheld showerhead and the existing showerhead. If you want to use both showerheads independently, you will need a diverter to control the water flow.
- Thread seal tape: Thread seal tape, also known as plumber’s tape, is used to create a watertight seal between threaded connections. It’s a good idea to have some on hand to ensure a leak-free installation.
- Connectors and adapters: Depending on the fittings and connections of your existing showerhead and shower arm, you may need connectors and adapters to ensure compatibility with the handheld showerhead. These can vary based on the specific brands and models involved.
To determine which additional parts you may need, it’s recommended to carefully read the product specifications and instructions for your handheld showerhead. These documents should provide guidance on any additional components required for installation.
If you are unsure about the compatibility or specific parts needed, it’s always a good idea to consult with a professional plumber or a knowledgeable expert at your local hardware store. They can help you identify the right parts and ensure a successful installation.
Once you have gathered all the necessary parts, you’re ready to move on to the next step: attaching the handheld showerhead. We’ll cover this process in detail in the following section.
Attaching the handheld showerhead
Now that you have gathered all the necessary components and additional parts, it’s time to attach the handheld showerhead to your existing shower. Follow these steps to ensure a proper installation:
- Start by applying thread seal tape to the threads of the shower arm. This will help create a tight seal and prevent any leaks.
- Take the handheld showerhead and attach it to the shower arm by twisting it clockwise. Ensure that it is securely tightened, but be careful not to overtighten as it may damage the threads.
- If you are using a showerhead holder bracket, attach it to the wall or existing showerhead arm according to the manufacturer’s instructions. Make sure it is at a comfortable height and angle for easy access.
- Connect one end of the hose to the handheld showerhead. Again, twist it clockwise to ensure a secure connection. If necessary, use an adjustable wrench to tighten it slightly.
- If you are using a shower arm diverter, attach it to the other end of the hose. This will allow you to switch the water flow between the handheld showerhead and the existing showerhead.
- If any connectors or adapters are needed, carefully follow the manufacturer’s instructions to attach them to the appropriate connections. Ensure that everything is properly tightened and secure.
Once all the components are attached, turn on the water supply to your shower and test the functionality of the handheld showerhead. Check for any leaks or drips around the connections and make any necessary adjustments to ensure a watertight seal.
It’s also a good idea to test the shower arm diverter, if applicable, to ensure that the water flow can be switched between the handheld showerhead and the existing showerhead smoothly.
With the handheld showerhead securely installed and functioning properly, you can now enjoy the convenience and versatility it brings to your showers. Keep in mind that regular maintenance and cleaning of the showerhead will prolong its lifespan and ensure optimal performance.
Now that you know how to attach a handheld showerhead to your existing shower, you can experience the benefits of a customizable and versatile showering experience. Enjoy the flexibility and relaxation that a handheld showerhead provides!
Testing the installation
After attaching the handheld showerhead to your existing shower, it is important to test the installation to ensure everything is working properly. Testing will allow you to identify any issues or leaks that need to be addressed before regular use. Follow these steps to test the installation:
- Turn on the water supply to your shower and check for any water leaks around the connections. Look for drips or water pooling at the showerhead, hose, or any other connection points. If you notice any leaks, carefully tighten the affected areas or reapply thread seal tape.
- Test the functionality of the handheld showerhead by turning it on and off, adjusting the water flow, and switching between different spray settings. Make sure the water pressure is adequate and the spray pattern meets your preferences.
- If you are using a shower arm diverter, verify that it smoothly switches the water flow between the handheld showerhead and the existing showerhead. Ensure that there are no leaks or water spraying from unintended outlets.
- Check the stability of the showerhead holder bracket. Ensure that it securely holds the handheld showerhead in place when not in use. Adjust the angle and height of the holder as needed for convenience and comfort.
- Inspect the hose for any kinks or twists that may restrict the water flow. Straighten out any kinks or reposition the hose to allow for smooth water flow without any limitations.
During the testing phase, it’s important to address any issues or concerns that arise. If you encounter persistent leaks, low water pressure, or any other problems, consult the manufacturer’s instructions or seek assistance from a professional plumber.
Once you are satisfied with the installation and everything is functioning properly without any leaks, you can now enjoy the benefits of your newly attached handheld showerhead. Take pleasure in the enhanced showering experience and the versatility it brings to your daily routine.
Regularly check the connections and components of the handheld showerhead to ensure they remain tight and secure over time. Additionally, clean the showerhead regularly to remove any mineral deposits and maintain optimal performance.
By thoroughly testing the installation and addressing any issues, you can ensure a long-lasting and hassle-free experience with your handheld showerhead.
Conclusion
Attaching a handheld showerhead to your existing shower can greatly enhance your bathing experience and provide you with added flexibility and convenience. By understanding the components involved, removing the existing showerhead, selecting the right handheld showerhead, determining additional parts needed, and properly attaching and testing the installation, you can achieve a successful and enjoyable upgrade.
Throughout the process, it’s important to pay attention to details, follow manufacturer’s instructions, and address any issues or leaks that may arise. Taking the time to properly install and test the handheld showerhead will ensure optimal performance and longevity.
With a wide range of options available in terms of spray settings, water pressure, hose length, and finishes, you can choose a handheld showerhead that suits your preferences and meets your specific needs. Consider factors such as budget, durability, and compatibility with your existing shower setup when making your selection.
Ultimately, attaching a handheld showerhead to your existing shower provides you with the convenience of directing the water flow where you need it most and makes tasks like rinsing off shampoo or cleaning the shower area much easier. It adds versatility and customization to your daily shower routine, enhancing both comfort and functionality.
Remember to regularly clean and maintain your handheld showerhead to ensure optimal performance and longevity. By doing so, you can enjoy the benefits of your upgraded shower for years to come.
So, go ahead and transform your shower experience by attaching a handheld showerhead to your existing setup. Embrace the convenience, versatility, and relaxation that it brings, making each shower an enjoyable and refreshing experience.
Frequently Asked Questions about What Parts Do I Need To Attach A Handheld Showerhead To An Existing Showerhead
Was this page helpful?
At Storables.com, we guarantee accurate and reliable information. Our content, validated by Expert Board Contributors, is crafted following stringent Editorial Policies. We're committed to providing you with well-researched, expert-backed insights for all your informational needs.


0 thoughts on “What Parts Do I Need To Attach A Handheld Showerhead To An Existing Showerhead”