Home>Articles>Where To Mount A Carbon Monoxide Detector In RV
Articles
Where To Mount A Carbon Monoxide Detector In RV
Modified: October 20, 2024
Discover where to properly mount a carbon monoxide detector in your RV with this informative article. Ensure your safety on the road.
(Many of the links in this article redirect to a specific reviewed product. Your purchase of these products through affiliate links helps to generate commission for Storables.com, at no extra cost. Learn more)
Introduction
Welcome to the world of recreational vehicles (RVs), where adventure and convenience blend seamlessly. Whether you are a seasoned RV enthusiast or just embarking on your first journey, one thing should always be a top priority: your safety. One crucial aspect of RV safety is protecting yourself and your loved ones from the silent threat of carbon monoxide (CO) poisoning.
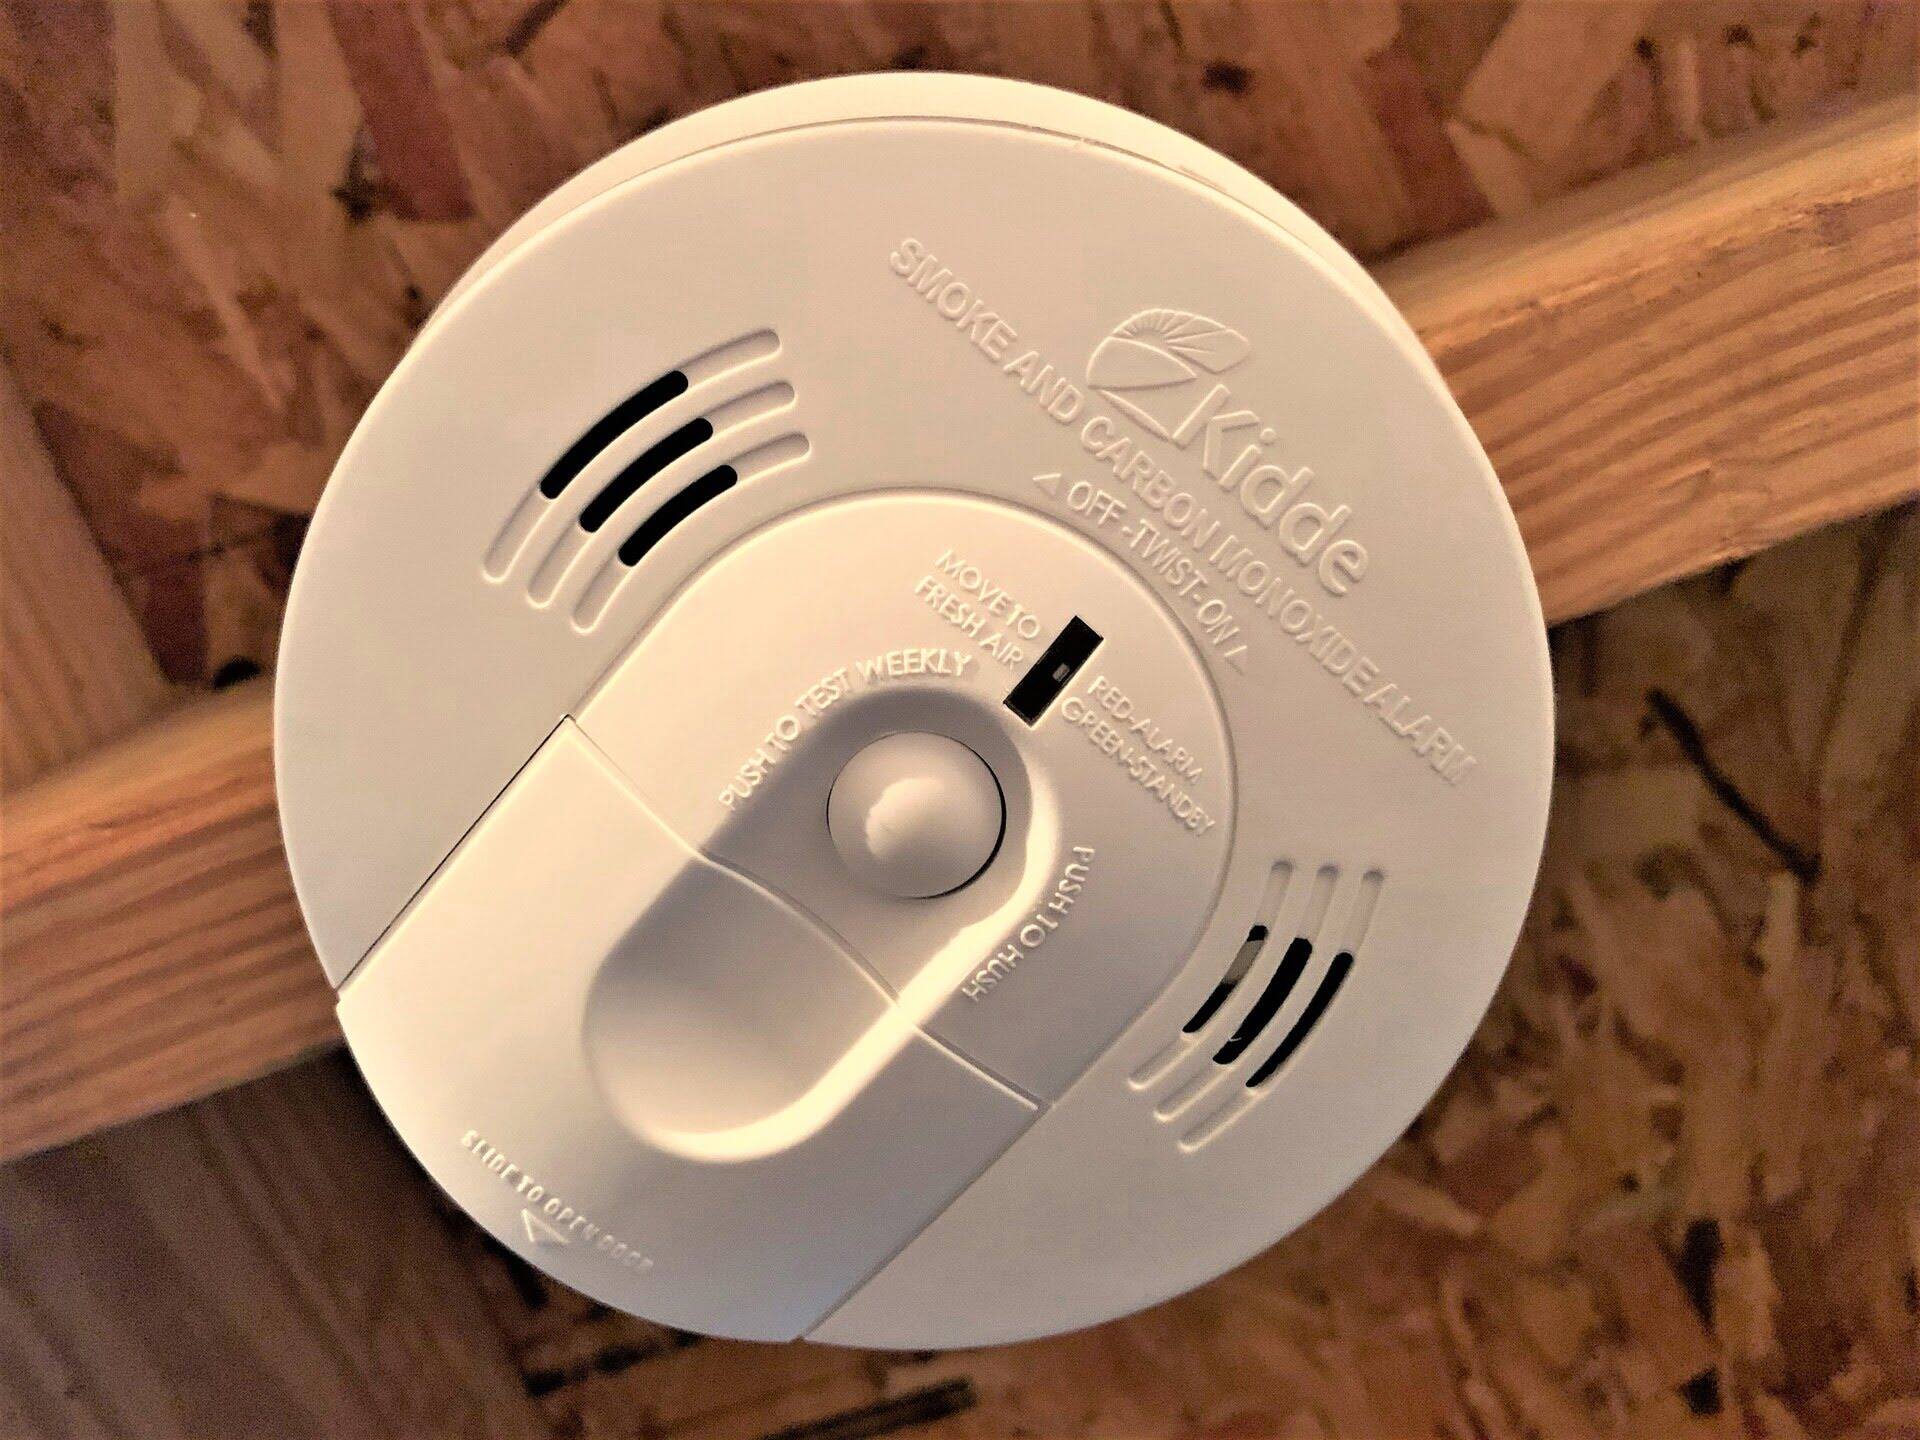
Carbon monoxide is a colorless, odorless, and tasteless gas that can be emitted from common RV appliances such as generators, furnaces, and stoves. Inhaling even small amounts of carbon monoxide can lead to symptoms such as headaches, dizziness, nausea, and in severe cases, death.
That’s why having a reliable carbon monoxide detector in your RV is essential. A carbon monoxide detector continuously monitors the air for the presence of this dangerous gas and alerts you if levels become unsafe. But it’s not just about having a detector; it’s also crucial to know where to properly mount it to ensure optimal performance and accurate readings.
In this article, we will delve into the various factors to consider when choosing a mounting location for your carbon monoxide detector in an RV. We will explore both the recommended mounting locations inside the RV and the considerations for exterior mounting. By following these guidelines, you can take a proactive approach to carbon monoxide safety and enjoy worry-free RV travel.
Key Takeaways:
- Properly mounting a carbon monoxide detector in your RV is crucial for optimal performance. Consider factors such as accessibility, proximity to appliances, and manufacturer recommendations to ensure accurate detection of carbon monoxide levels.
- Strategic placement of carbon monoxide detectors in key areas of your RV, such as the bedroom, living area, kitchen, and bathroom, is essential for comprehensive monitoring and early detection of potential carbon monoxide leaks. Regular testing and maintenance are vital for continued safety.
Importance of Carbon Monoxide Detectors in RVs
When it comes to RV safety, carbon monoxide detectors are a crucial component. The enclosed space of an RV can make it particularly susceptible to carbon monoxide buildup, especially if the vehicle is not adequately ventilated or if there is a malfunction in an appliance that produces carbon monoxide.
Carbon monoxide can quickly reach toxic levels without any visible or noticeable signs. This is why relying solely on your senses to detect its presence is extremely dangerous. A properly functioning carbon monoxide detector can provide early warning of elevated carbon monoxide levels, allowing you and your loved ones to escape potential harm.
Carbon monoxide detectors are designed to continuously monitor the air for the presence of this deadly gas. As soon as the detector senses elevated levels of carbon monoxide, it will emit a loud alarm, alerting everyone inside the RV to evacuate immediately. This early warning can be a matter of life and death, especially when carbon monoxide leaks occur during sleep.
Neglecting to install a carbon monoxide detector in your RV puts you at risk of carbon monoxide poisoning, which can have severe and even fatal consequences. Symptoms of carbon monoxide poisoning are often mistaken for other ailments, such as the flu, making it even more important to have a detector in place to identify the problem. The consequences of carbon monoxide poisoning can range from mild discomfort to permanent brain damage or death.
By investing in a reliable and properly installed carbon monoxide detector for your RV, you not only protect yourself and your passengers but also set an example for responsible RVing. It is important to prioritize safety and take proactive measures to prevent accidents and health hazards. A carbon monoxide detector is a small investment that can bring you peace of mind throughout your RV adventures.
Factors to Consider When Choosing a Mounting Location
Choosing the right mounting location for your carbon monoxide detector is crucial to ensure its effectiveness in detecting carbon monoxide levels accurately. Here are some factors to consider when selecting a suitable spot:
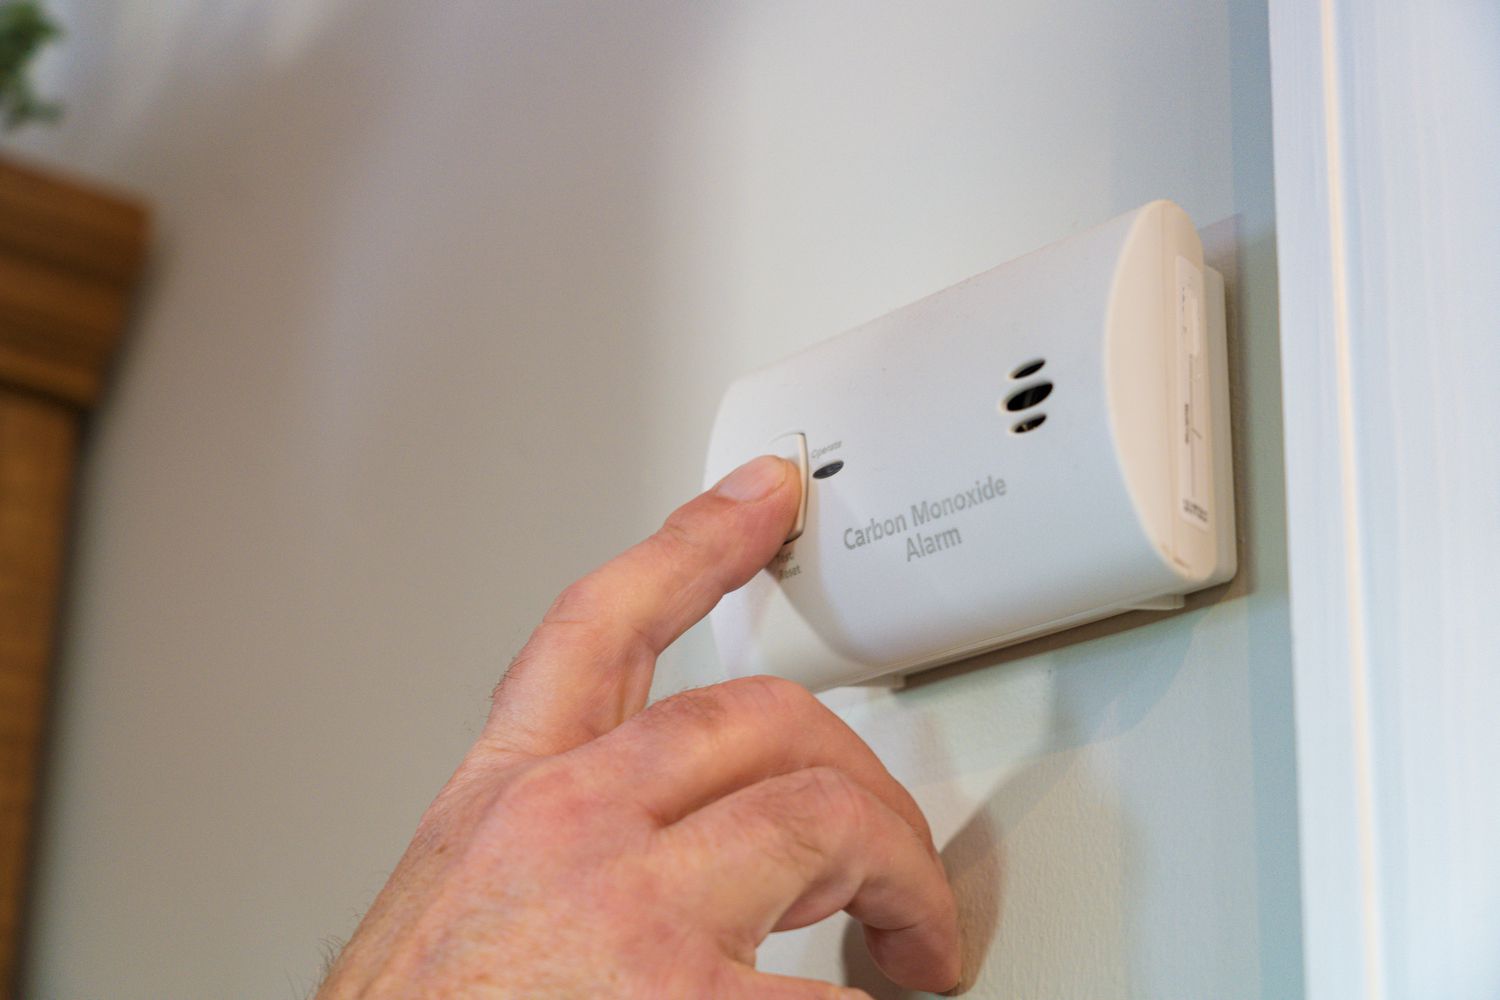
- Accessibility: The detector should be located in an easily accessible area, allowing you to quickly silence the alarm or check the display for information. Avoid mounting it in hard-to-reach or obstructed locations.
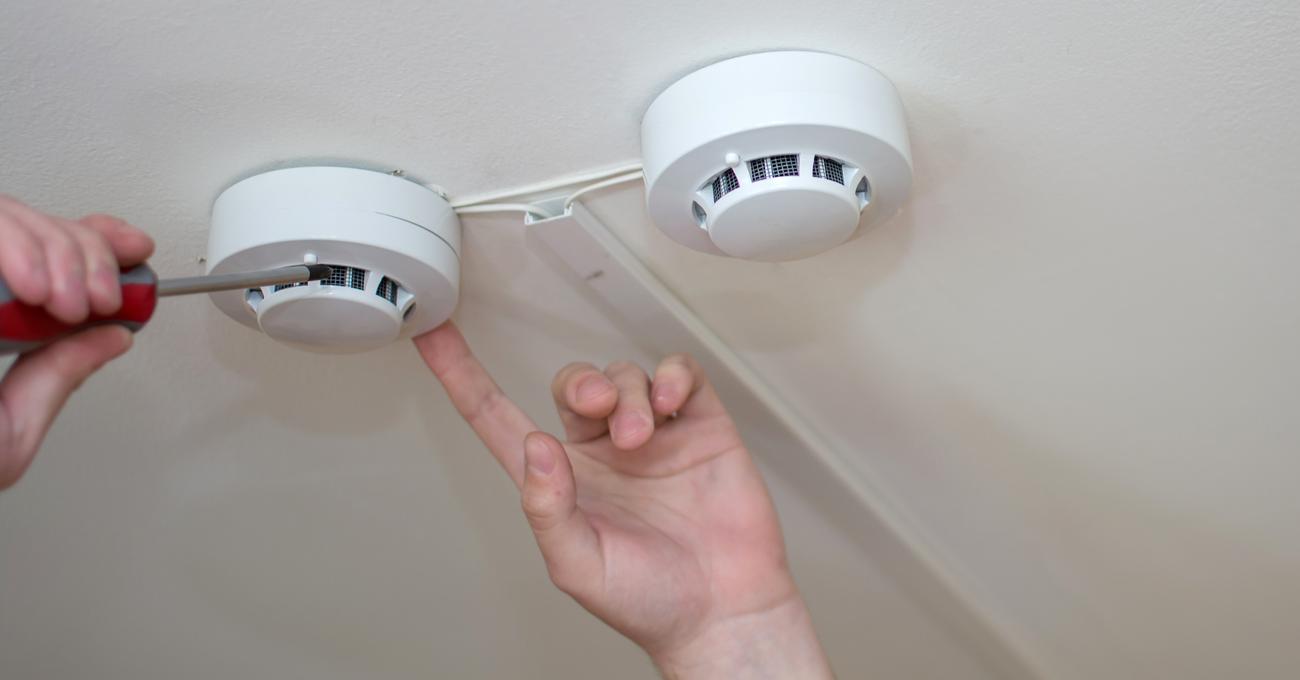
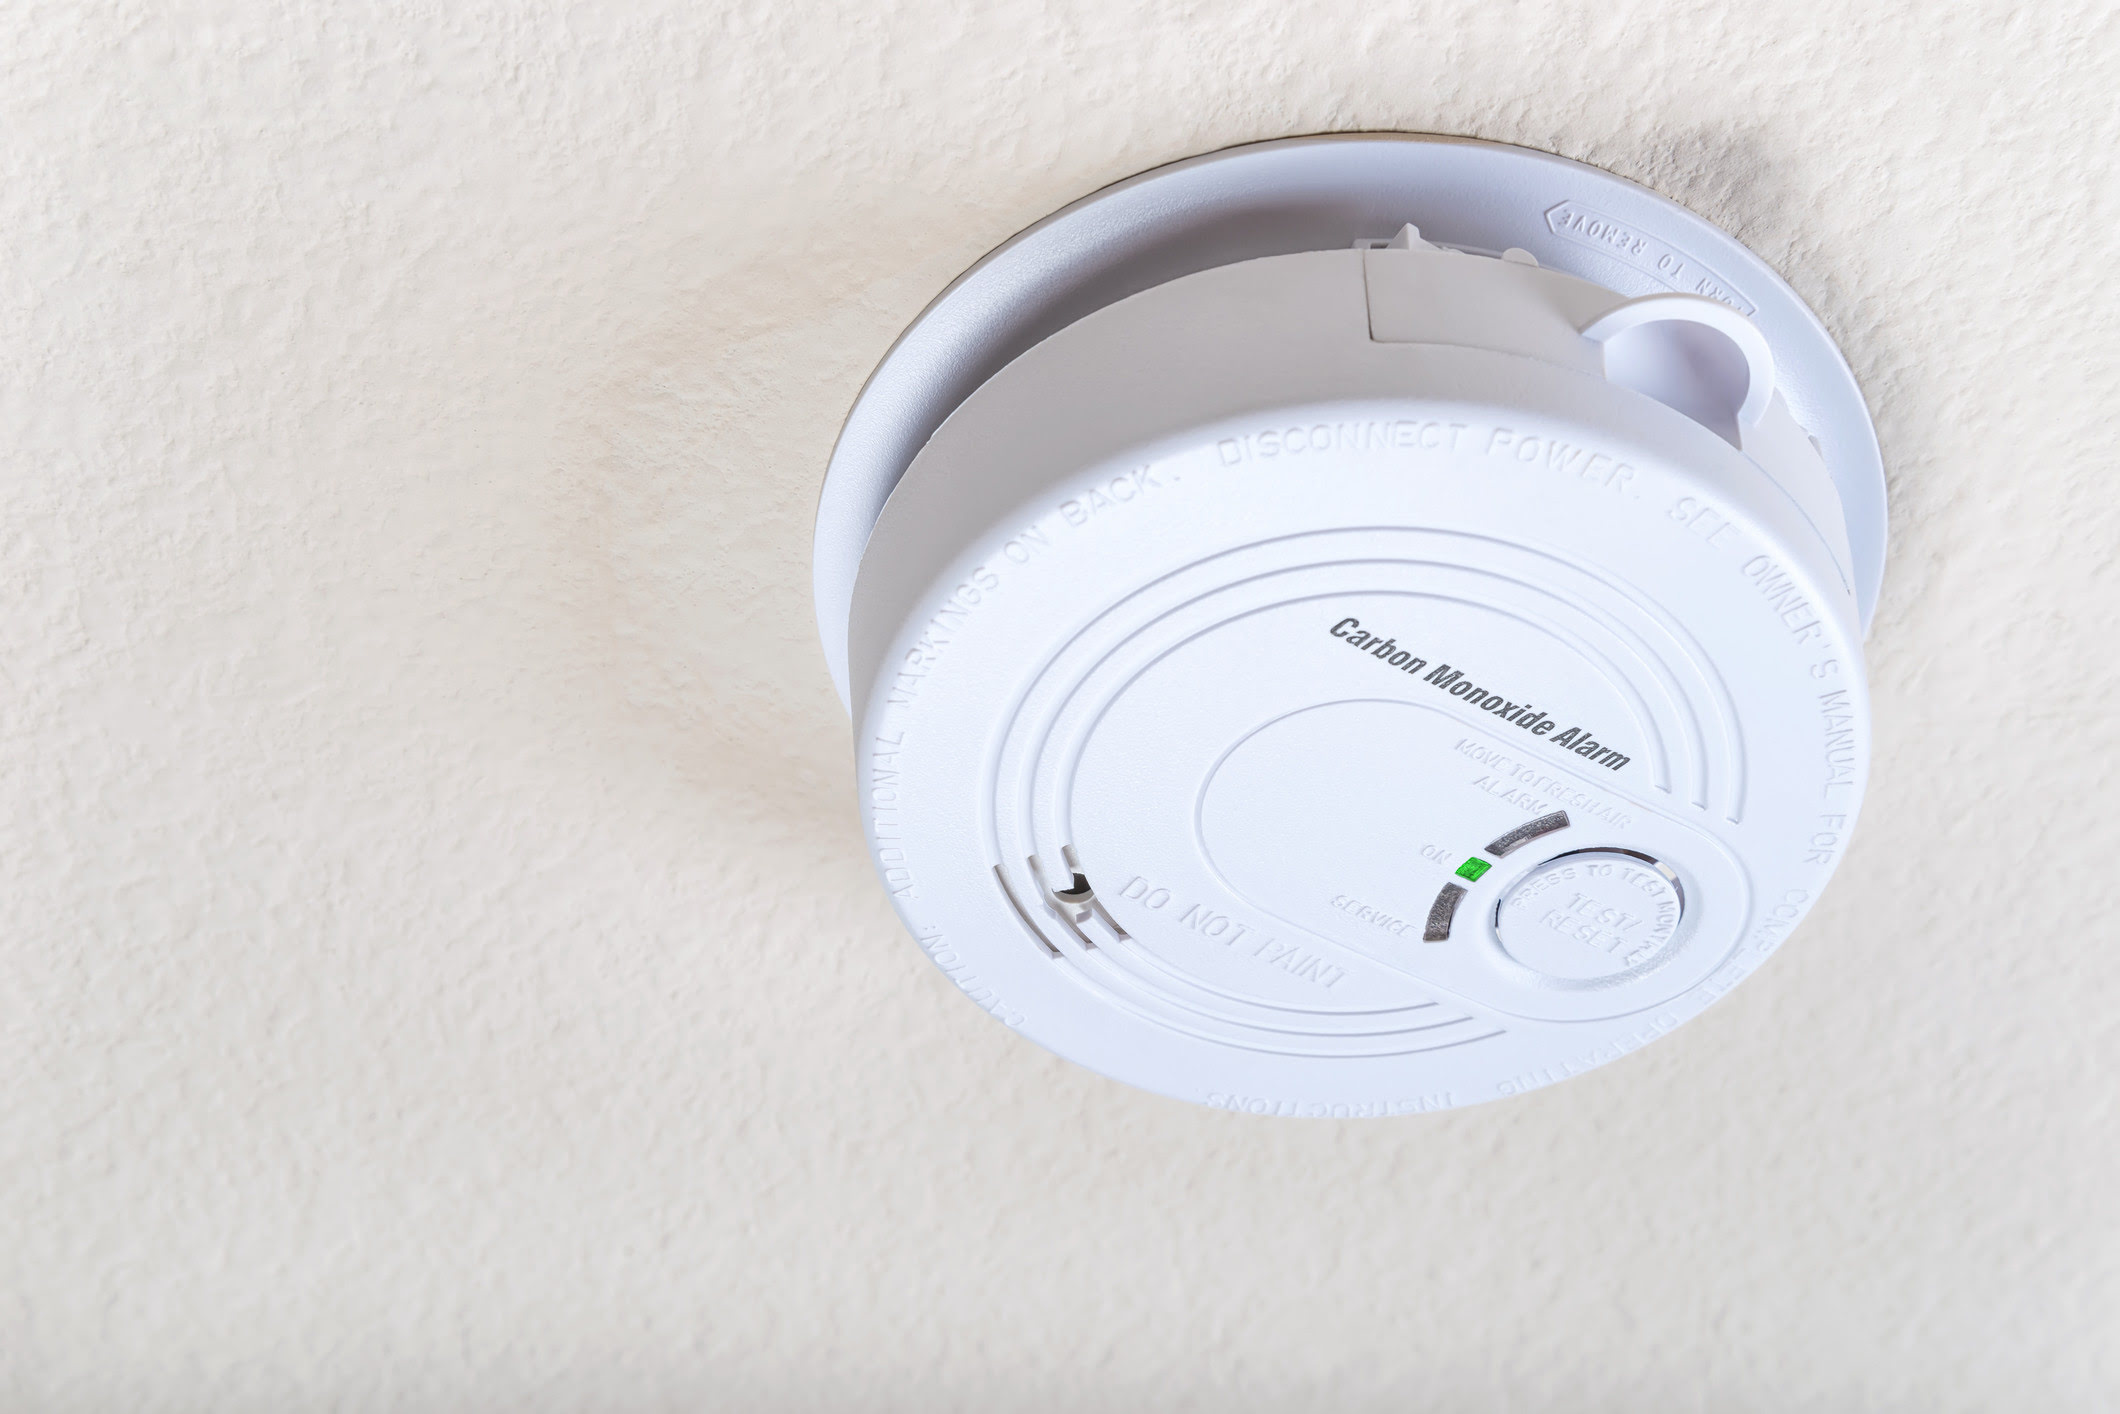
- Height: Mount the detector at a height that allows for effective air circulation while ensuring it is within the recommended range for detection. A wall-mounted detector should be placed at least 5 feet above the floor, while a ceiling-mounted detector should be positioned at least 6 inches from any wall.
- Proximity to Appliances: Consider the proximity of the mounting location to potential sources of carbon monoxide, such as the generator, furnace, or stove. Mount the detector in an area that allows for detection of any leaks or emissions from these appliances.
- Distancing from Moisture and Heat: Avoid mounting the detector in areas prone to excessive moisture or heat. These conditions can affect the performance and lifespan of the detector. Keep it away from areas such as bathrooms, kitchens, or direct sunlight.
- Stable Mounting Surface: Ensure the chosen location provides a stable surface for mounting the detector securely. Avoid mounting on surfaces that are prone to vibration or movement, as it can cause false alarms or even dislodge the detector.
- Visibility: Install the detector in a location where it can be easily seen by occupants of the RV. This ensures that everyone can quickly recognize and respond to the alarm.
- Manufacturer Recommendations: Follow the specific guidelines provided by the carbon monoxide detector manufacturer regarding mounting height, recommended locations, and any RV-specific considerations. These instructions are designed to optimize the detector’s performance.
Considering these factors will help you choose the most suitable mounting location for your carbon monoxide detector, ensuring accurate and timely detection of carbon monoxide levels in your RV. Keep in mind that different RV layouts and personal preferences may influence the final decision, but always prioritize safety when making your choice.
General Guidelines for Mounting a Carbon Monoxide Detector
Before diving into specific mounting locations, it’s important to understand some general guidelines for installing a carbon monoxide detector in your RV. These guidelines will help ensure the detector’s optimal performance:
- Use Multiple Detectors: For larger RVs or ones with multiple sleeping areas, it is recommended to install multiple carbon monoxide detectors. This helps provide comprehensive coverage and ensures that every occupant is protected, regardless of their location within the vehicle.
- Follow Manufacturer’s Instructions: Carefully read and follow the manufacturer’s instructions included with your carbon monoxide detector. These instructions will provide specific guidelines for installation, including any height or location recommendations.
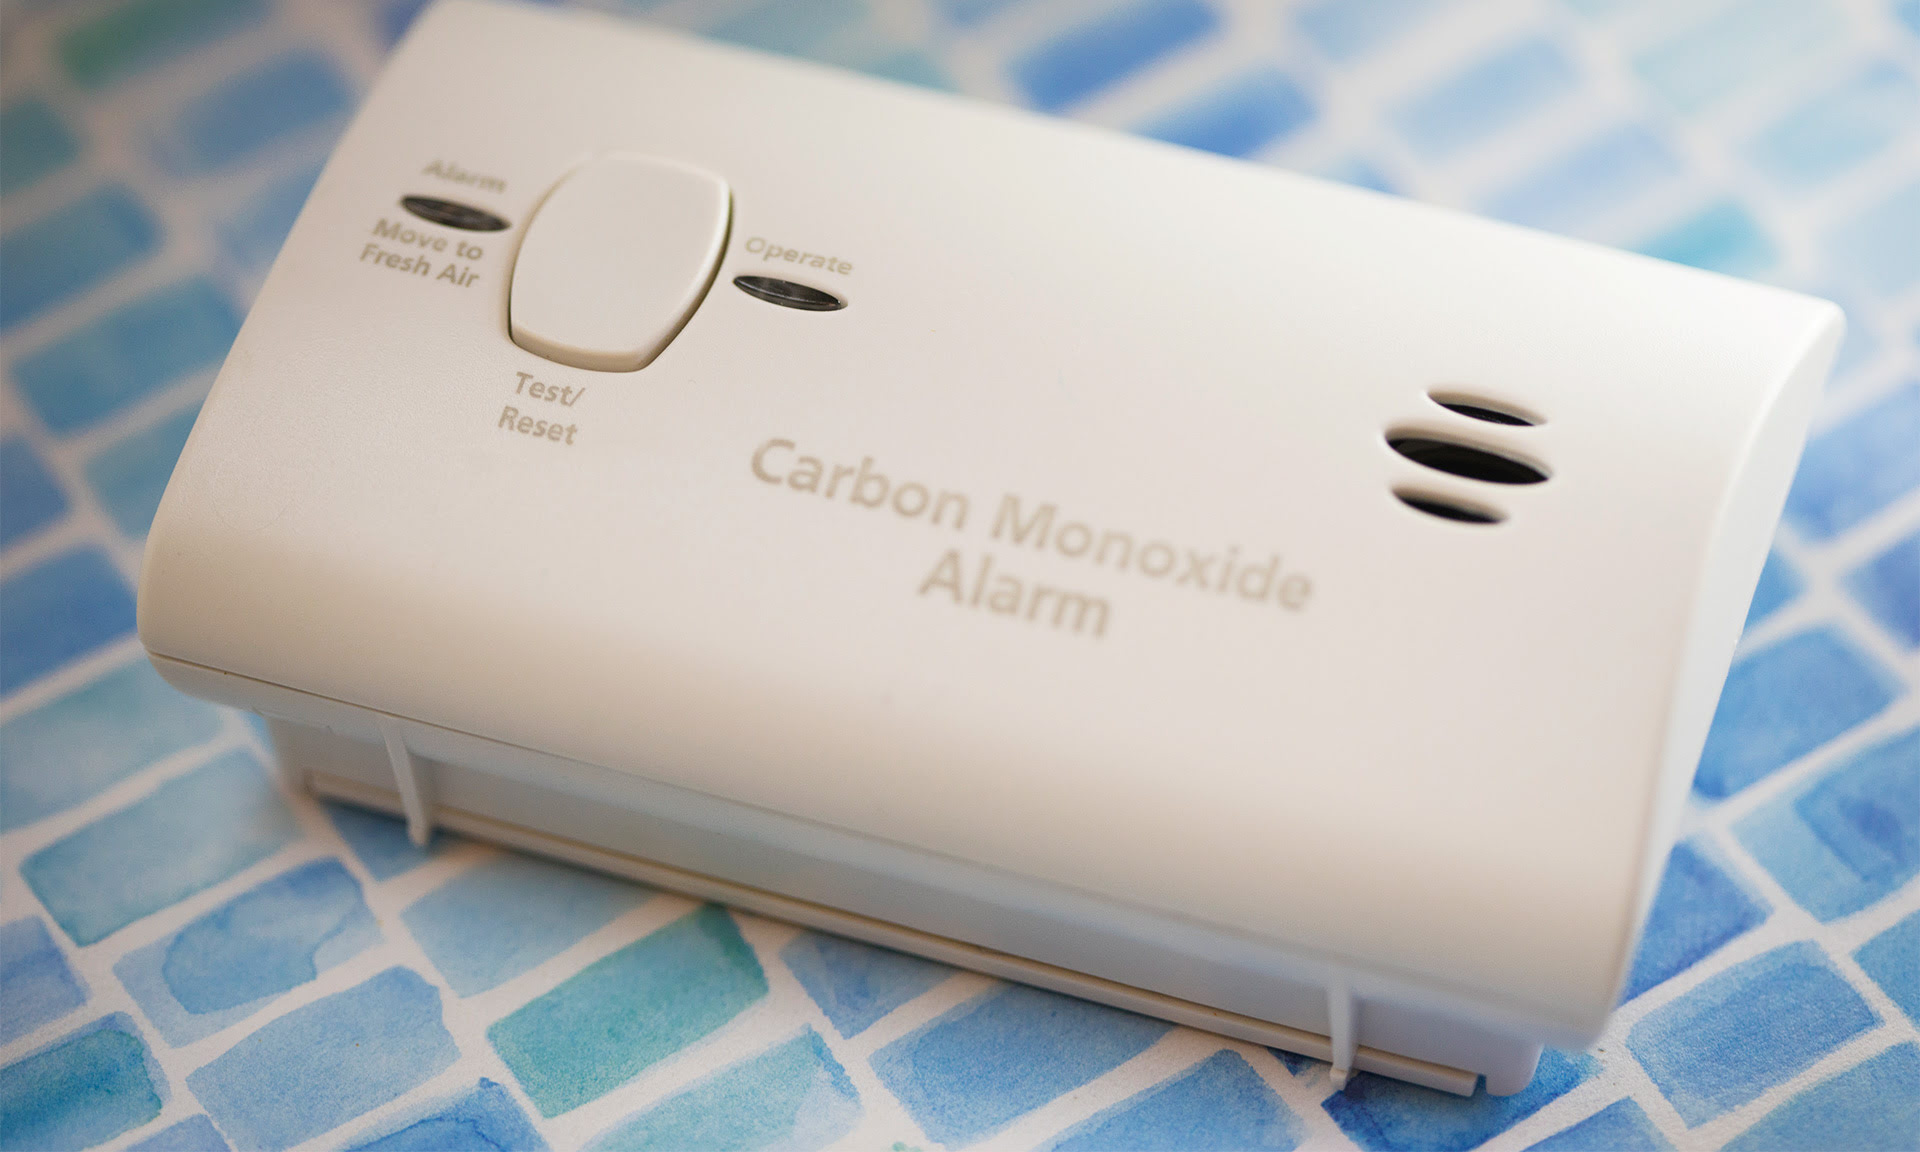
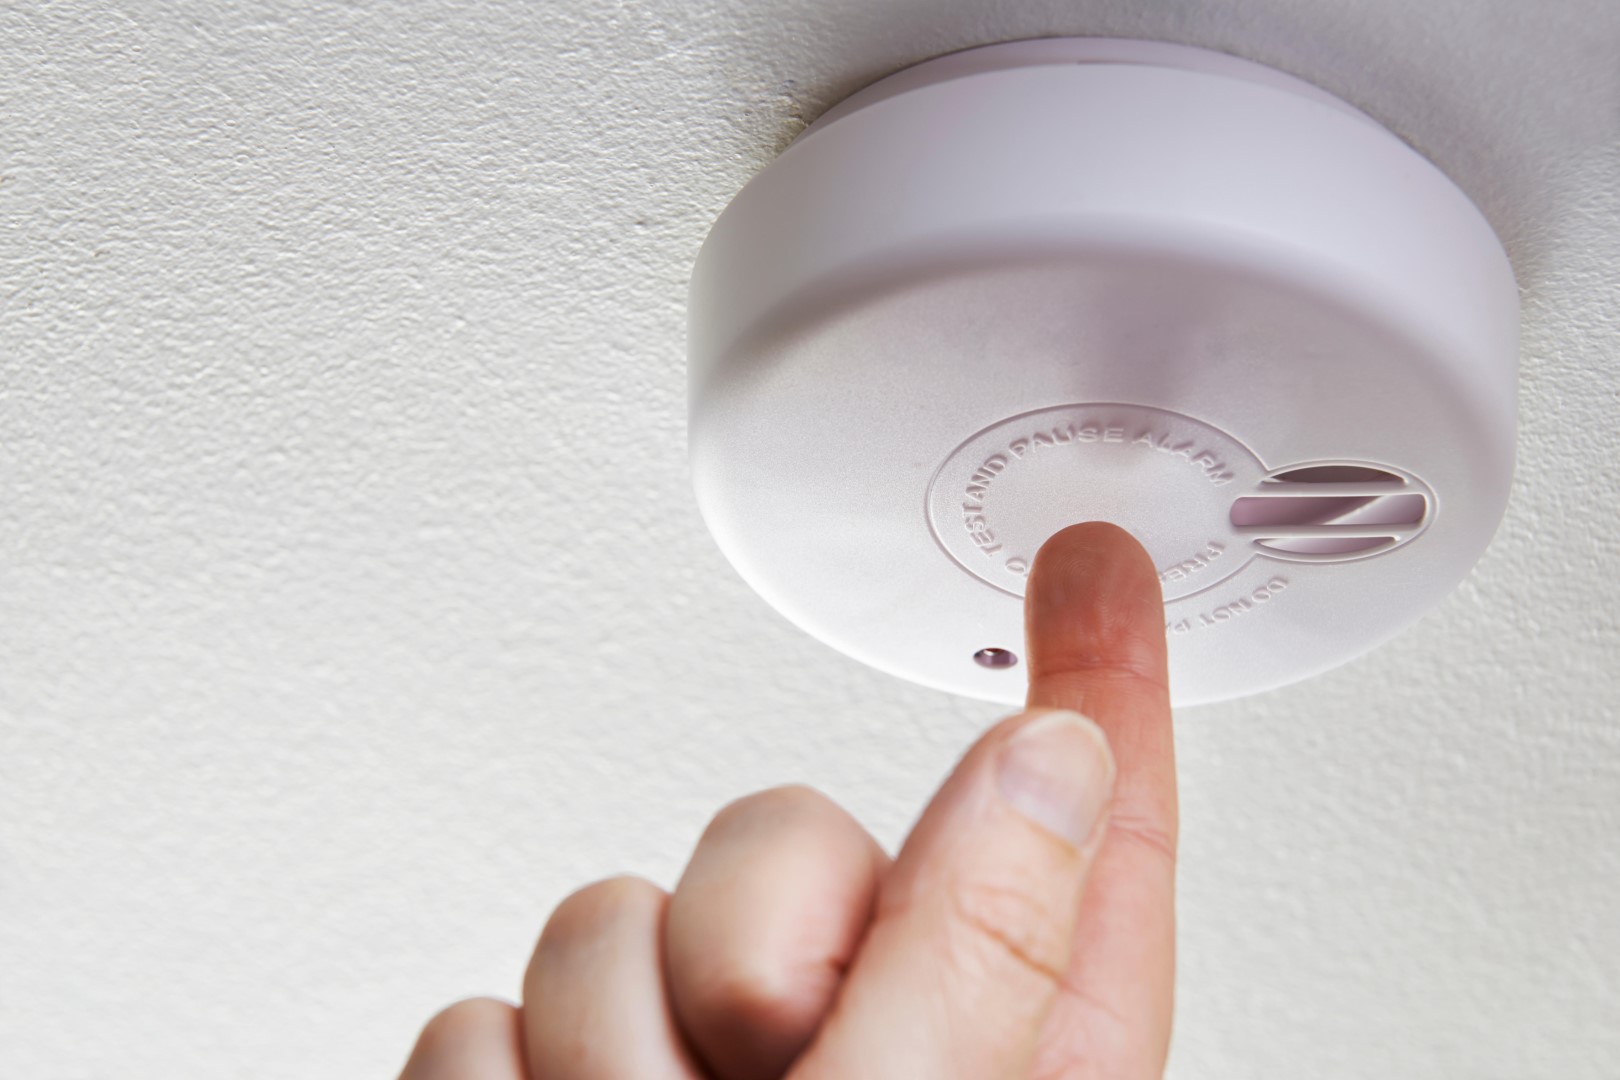
- Test Regularly: Test your carbon monoxide detector regularly to ensure it is functioning properly. Most detectors have a test button that allows you to verify the alarm sounds and the display works as intended.
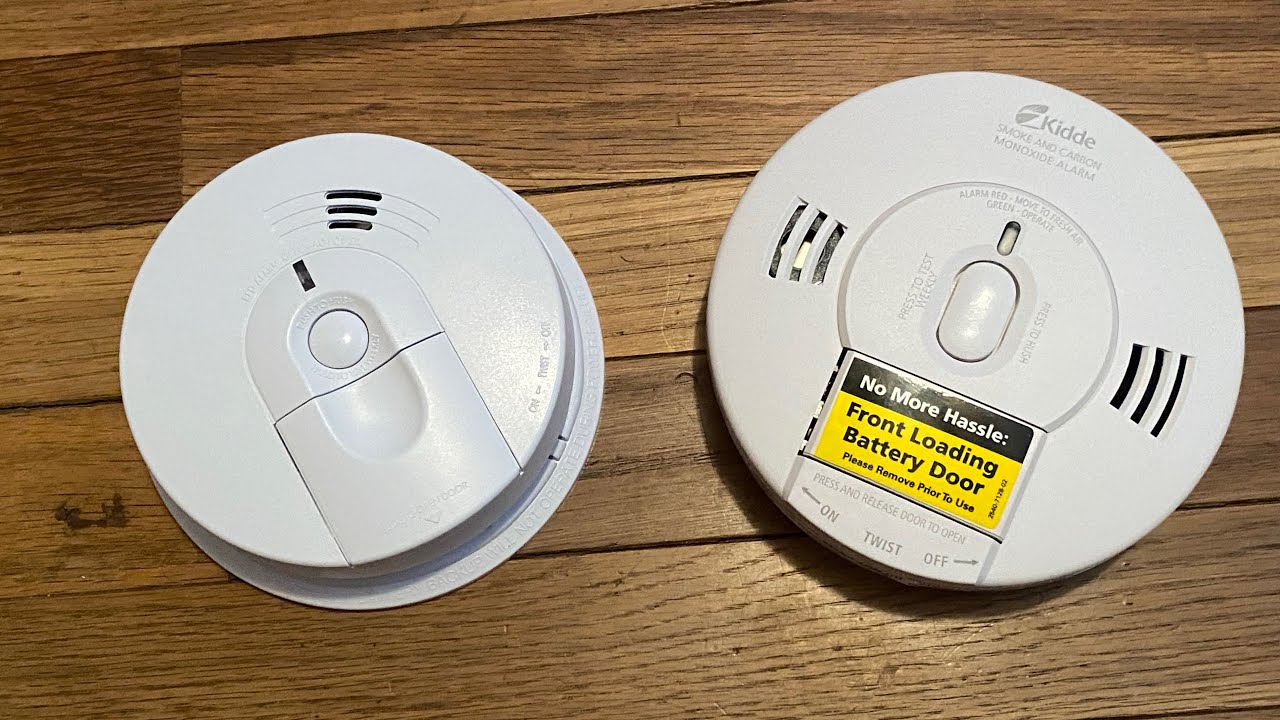
- Replace Batteries Promptly: Change the batteries in your carbon monoxide detector according to the manufacturer’s instructions or when the low battery signal alerts you. Keeping fresh batteries in your detector will ensure its continuous operation.
- Replace Detectors when Recommended: Carbon monoxide detectors have a lifespan, typically between 5 and 7 years. After this time, they may become less reliable. Check the manufacturer’s recommendation and replace the detector when necessary.
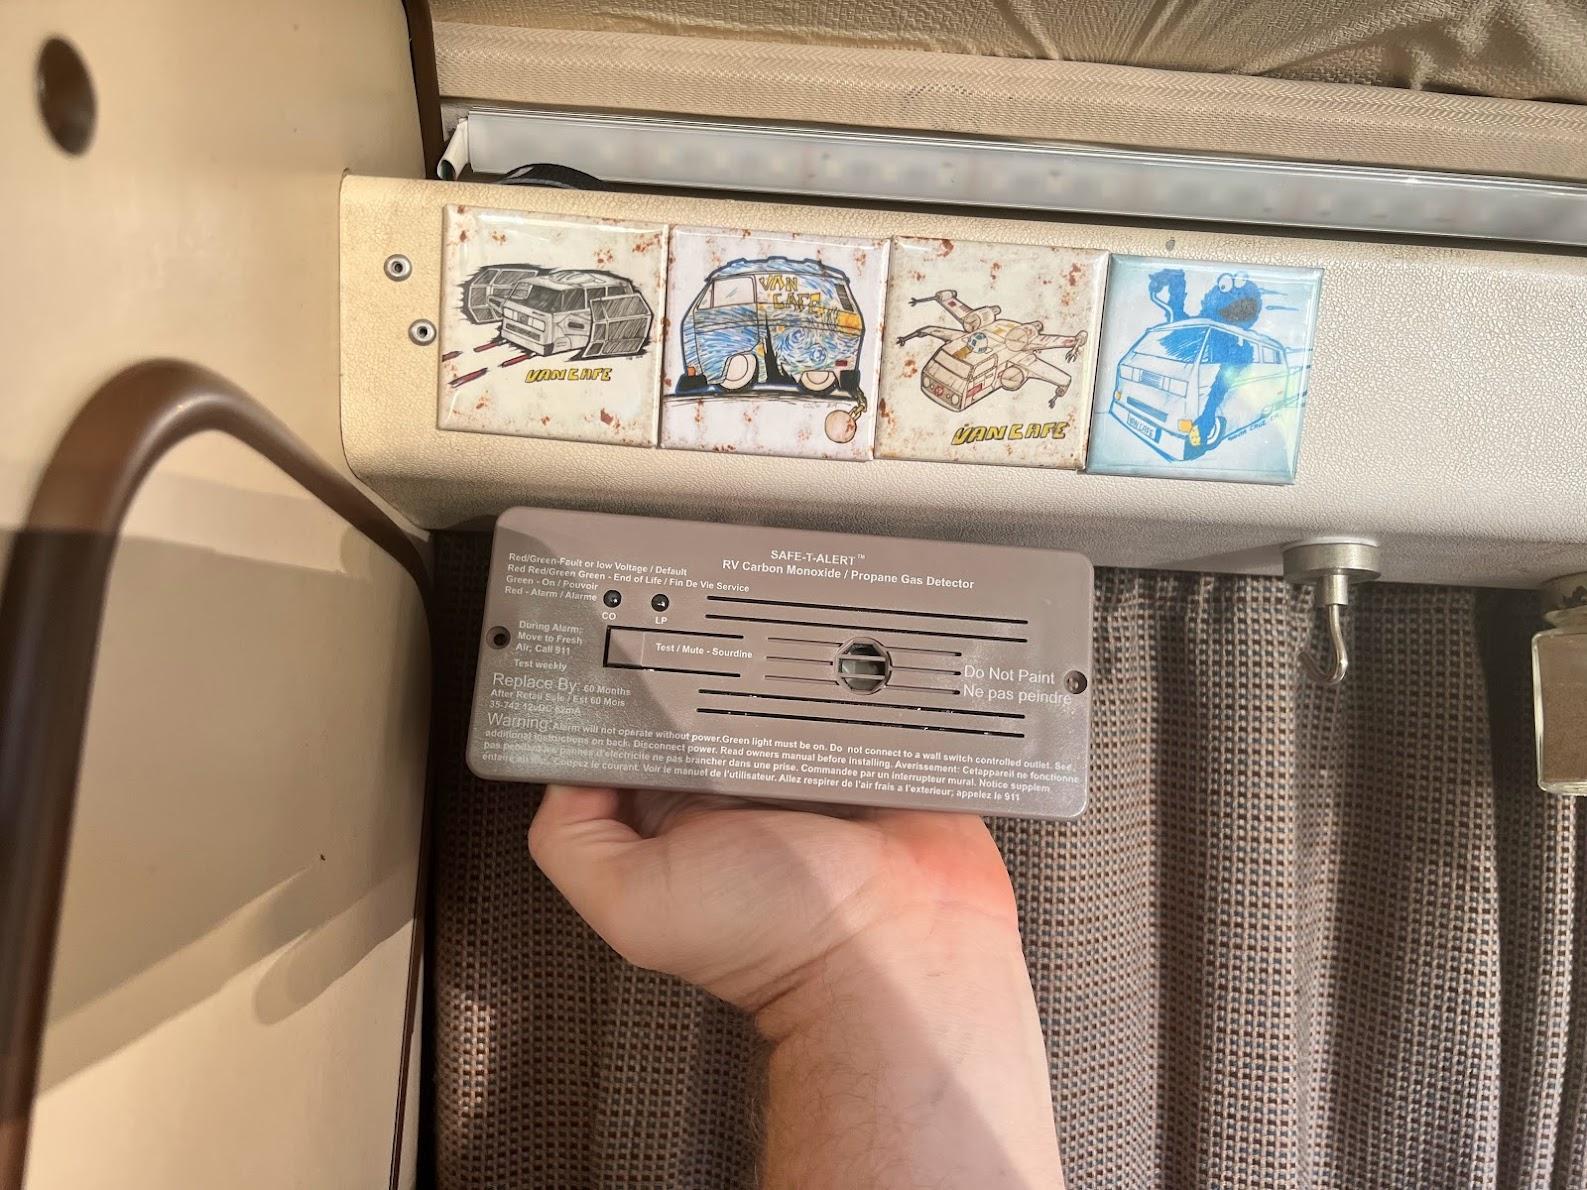
- Do Not Paint or Cover: Avoid painting or covering your carbon monoxide detector, as this can interfere with its sensors and reduce its effectiveness. Keep it clean and free from any obstructions.
- Keep Manual Accessible: Store the user manual for your carbon monoxide detector in a readily accessible location within your RV. This allows you to reference it whenever needed, especially for troubleshooting or maintenance purposes.
Following these general guidelines will help ensure that your carbon monoxide detector is properly installed and functioning optimally. Regular maintenance and adherence to manufacturer recommendations are essential to keeping yourself and your loved ones safe from the dangers of carbon monoxide in your RV.
Recommended Mounting Locations Inside the RV
When it comes to mounting your carbon monoxide detector inside your RV, it’s crucial to choose locations that provide optimal coverage and early detection. Here are some recommended mounting locations to consider:
2.1 Bedroom Area
Mounting a carbon monoxide detector in the bedroom area is crucial for ensuring the safety of sleeping occupants. Place the detector near or on the ceiling, preferably within 10 feet of the sleeping area. The proximity allows for early detection and quick response if carbon monoxide levels become hazardous. Avoid placing the detector too close to ventilation sources, as it may affect the accuracy of the readings.
2.2 Living Area
The living area of your RV is another critical location for a carbon monoxide detector. Mount it high on the wall or on the ceiling, ensuring it is within the manufacturer’s recommended height and at least 6 inches away from any wall. Consider placing the detector near appliances that can produce carbon monoxide, such as the furnace or generator area.
2.3 Kitchen Area
While the kitchen area may not be a typical source of carbon monoxide in an RV, it’s still important to install a carbon monoxide detector here. Mount it near the ceiling, but make sure it is away from cooking appliances or areas where steam is prevalent. Steam can trigger false alarms or interfere with the detector’s performance. Maintaining proper distance from potential sources of interference is key.
2.4 Bathroom Area
Although carbon monoxide leaks are less likely to occur in the bathroom area, installing a detector in or near the bathroom is still advisable. Carbon monoxide can enter the bathroom through ventilation systems or appliances located nearby. Mount the detector on the ceiling or high on the wall, away from direct sources of moisture such as showers or sinks.
Remember, these recommended mounting locations serve as a starting point, and you should always refer to the manufacturer’s instructions for specific considerations based on your particular carbon monoxide detector model. By strategically placing detectors in these key areas, you can significantly improve the safety of everyone inside your RV.
Read more: How To Replace A Carbon Monoxide Detector
1 Bedroom Area
When it comes to protecting the occupants of your RV while they sleep, the bedroom area is of utmost importance. Mounting a carbon monoxide detector in the bedroom area ensures early detection and alerts in the event of a carbon monoxide leak. Here are some guidelines for selecting the ideal location:
1. Ceiling Mount: Mounting the carbon monoxide detector on the ceiling in the bedroom area is highly recommended. This placement allows for the best coverage and detection of any rising carbon monoxide levels within the room. Ensure the detector is within the manufacturer’s recommended height range, typically around 5 feet above the floor.
2. Proximity to Sleeping Areas: Place the carbon monoxide detector within 10 feet of each sleeping area. This proximity ensures that anyone in the room can hear the alarm and evacuate quickly in the event of a carbon monoxide leak. The detector should be easily visible from the bed, allowing occupants to check its display for any alerts.
3. Avoid Obstructions: Choose a mounting location that is free from any obstructions such as curtains or furniture that could potentially block the detection of carbon monoxide. Keep the detector in plain sight and ensure that nothing hinders its functionality or obstructs the alarm sound from reaching the occupants.
4. Consider Ventilation: While it is important to keep the carbon monoxide detector away from direct sources of ventilation to avoid false alarms, ensure that the detector is still within the airflow of the bedroom space. This placement helps in detecting any carbon monoxide that may seep into the room through ventilation systems or nearby appliances.
5. Stay within Manufacturer Guidelines: Always consult the manufacturer’s guidelines for your specific carbon monoxide detector model. They may provide further recommendations or considerations for mounting the detector in the bedroom area of your RV, taking into account technical specifications or optimal placement.
By following these guidelines, you can ensure the carbon monoxide detector in the bedroom area of your RV is positioned for maximum effectiveness. Remember to test the detector regularly and replace the batteries as needed to maintain its functionality and keep your loved ones safe during their sleep.
2 Living Area
The living area of your RV is a central hub where you and your fellow travelers spend a significant amount of time. Mounting a carbon monoxide detector in this area is essential to protect everyone from potential carbon monoxide leaks. Here are some guidelines for choosing the ideal location:
1. Wall or Ceiling Mount: Mount the carbon monoxide detector on the wall or ceiling of the living area. The chosen location should allow for optimal coverage and early detection of carbon monoxide levels. Ensure the detector is within the manufacturer’s recommended height range, typically around 5 to 6 feet above the floor.
2. Proximity to Potential Sources: Consider the proximity of the mounting location to appliances that can produce carbon monoxide, such as the furnace, generator, or any other combustion-based devices. Mount the detector in an area where it can effectively detect any leaks or emissions from these appliances.
3. Visibility: Ensure that the carbon monoxide detector is easily visible from various points in the living area. This visibility allows occupants to quickly recognize and respond to any potential alarms. Mount the detector in a location where it is easily seen, such as near the entryway or in a central area of the living space.
4. Adequate Ventilation: Avoid placing the detector too close to ventilation sources, which could potentially affect the accuracy of its readings. While it’s important to have airflow in the living area, make sure the detector is positioned away from direct airflow to prevent false alarms triggered by air movement.
5. Stability: Choose a mounting location that provides a stable surface for securely attaching the carbon monoxide detector. Avoid mounting it on surfaces prone to vibration or movement, as this can lead to false alarms or dislodging of the detector.
6. Follow Manufacturer’s Recommendations: Always refer to the manufacturer’s instructions and guidelines specific to your carbon monoxide detector model. The manufacturer’s recommendations may include RV-specific considerations for proper placement and mounting height in the living area.
By following these guidelines, you can ensure that your carbon monoxide detector in the living area of your RV is strategically placed to provide optimal coverage and protection. Regularly test the detector to confirm its functionality, and keep the area well-ventilated to promote safe and enjoyable adventures in your RV.
3 Kitchen Area
The kitchen area in your RV may not be a typical source of carbon monoxide leaks, but it’s still vital to install a carbon monoxide detector to ensure the safety of everyone onboard. Here are some guidelines for choosing the ideal location for the detector in the kitchen area:
1. Ceiling Mount: Mount the carbon monoxide detector on the ceiling of the kitchen area. This placement allows for better coverage and detection of any potential carbon monoxide leaks that may arise from nearby appliances.
2. Distance from Cooking Appliances: Ensure the detector is mounted at a sufficient distance from cooking appliances such as stoves or ovens. This helps to avoid false alarms triggered by normal cooking activities or steam generated during meal preparation.
3. Proximity to Appliances: Although carbon monoxide leaks from kitchen appliances are rare, it’s still important to consider their proximity when choosing a mounting location. Place the detector in the kitchen area within a reasonable distance from appliances that could potentially produce carbon monoxide, such as gas-powered stoves or ovens.
4. Avoid Direct Exposure to Moisture: Keep the carbon monoxide detector away from areas where it may be directly exposed to moisture, such as above the sink or near the dishwasher. Excessive moisture can affect the performance of the detector and potentially lead to false alarms or damage.
5. Consider Ventilation: While it’s important to avoid placing the detector near direct sources of ventilation, ensure that it is still within the airflow of the kitchen area. This allows the detector to effectively detect any carbon monoxide that may enter the space through ventilation systems or nearby appliances.
6. Visibility: Mount the carbon monoxide detector in a location where it is easily visible from various points in the kitchen area. This visibility enables occupants to quickly identify and respond to any potential alarms or warnings.
7. Follow Manufacturer’s Recommendations: Always refer to the manufacturer’s instructions and guidelines specific to your carbon monoxide detector model. The manufacturer’s recommendations may provide additional considerations for proper placement and any RV-specific factors related to mounting the detector in the kitchen area.
By following these guidelines, you can ensure that your carbon monoxide detector in the kitchen area of your RV is strategically placed to provide optimal coverage and protection. Regularly test the detector to confirm its functionality, and maintain a safe and well-ventilated kitchen environment during your RV adventures.
Mount your carbon monoxide detector in a central location, such as the living area or hallway, to ensure it can detect CO throughout the RV. Avoid placing it near cooking appliances or drafty areas.
4 Bathroom Area
Although carbon monoxide leaks in the bathroom area of your RV are unlikely, it is still important to install a carbon monoxide detector in or near this space to ensure the safety of all occupants. Here are some guidelines for choosing the ideal location for the detector in the bathroom area:
1. Ceiling or High Wall Mount: Mount the carbon monoxide detector on the ceiling of the bathroom area or high on a wall. Placing it in a higher position ensures better coverage and detection of any potential carbon monoxide that may enter the space.
2. Maintain Distance from Steam: Keep the carbon monoxide detector at a reasonable distance from areas that generate steam, such as showers or hot tubs, as steam can interfere with the detector’s sensors and potentially trigger false alarms. This distance ensures accurate readings and reliable performance.
3. Avoid Direct Moisture Contact: Choose a mounting location that avoids direct contact with moisture. While RV bathrooms are designed to withstand moisture, excessive exposure can still impact the performance of the detector. Avoid mounting it directly above sinks, showers, or toilets.
4. Consider Ventilation: Although carbon monoxide leaks in the bathroom area are unlikely, it’s still important to consider the airflow in the space. Ensure that the detector is positioned where it can detect any carbon monoxide that may enter the bathroom through ventilation systems or nearby appliances.
5. Visibility: Mount the carbon monoxide detector in a location where it is easily visible from various points in the bathroom area. This allows occupants to quickly identify and respond to any potential alarms or warnings. Consider mounting it near the entrance or on a clear wall within the area.
6. Follow Manufacturer’s Recommendations: Always refer to the manufacturer’s instructions and guidelines specific to your carbon monoxide detector model. The manufacturer’s recommendations may provide further considerations for proper placement and any RV-specific factors related to mounting the detector in the bathroom area.
By following these guidelines, you can ensure that your carbon monoxide detector in the bathroom area of your RV is positioned for optimal coverage and protection. Regularly test the detector to confirm its functionality, and maintain a well-ventilated and moisture-controlled bathroom environment to enhance safety during your RV journeys.
Read more: How To Remove A Carbon Monoxide Detector
Considerations for Exterior Mounting
While the interior of your RV is typically the primary focus for carbon monoxide detector installation, there may be scenarios where exterior mounting becomes necessary or beneficial. Here are some considerations to keep in mind for exterior mounting:
1. Generator Compartment: If your RV has a separate generator compartment, consider mounting a carbon monoxide detector in this space. Generators can emit carbon monoxide, and having a detector nearby ensures early detection of any potential leaks. Mount the detector high up on the wall or ceiling of the compartment, ensuring it is visible and easily accessible for testing and maintenance.
2. Exhaust Ventilation: If your RV has an exhaust vent, such as for the stove or bathroom, you can consider mounting a carbon monoxide detector near the vent. This allows for monitoring of any carbon monoxide emissions that may escape through the vent. Ensure the detector is mounted securely and protected from direct exposure to rain, sunlight, or other elements that may affect its performance.
3. Underneath RV: Another potential exterior mounting location is underneath the RV. This option is especially useful if you have external storage compartments or compartments housing appliances that produce carbon monoxide, such as water heaters or furnaces. Mounting a detector in these areas helps detect any potential leaks before they enter the living spaces of the RV. Ensure the detector is protected from road debris, elements, and excessive moisture by using a suitable protective enclosure or housing.
4. Consider Weather Resistance: When selecting an exterior mounting location, ensure that the carbon monoxide detector is designed to withstand the outdoor elements. Look for detectors with weather-resistant features or consider using protective enclosures to shield the detector from rain, snow, UV rays, or extreme temperatures.
5. Accessibility: Regardless of the exterior mounting location, ensure that the carbon monoxide detector remains easily accessible for testing, battery replacement, and maintenance. Mount it at a height that allows for convenient access without the need for excessive reaching or climbing.
6. Follow Manufacturer’s Recommendations: Always consult the manufacturer’s guidelines for your specific carbon monoxide detector model. The manufacturer’s recommendations may include specific considerations or limitations for exterior mounting, as well as guidelines for proper installation and any necessary protective measures.
By considering these factors and following manufacturer recommendations, you can successfully mount a carbon monoxide detector exterior to your RV, providing an additional layer of security against carbon monoxide exposure. Regularly test the detector and inspect its condition to ensure reliable performance and continued protection for you and your fellow travelers.
Conclusion
Ensuring your safety and the safety of your loved ones is paramount whenever you embark on RV adventures. Carbon monoxide detectors play a crucial role in safeguarding against the invisible threat of carbon monoxide poisoning. By following the guidelines and considerations outlined in this article, you can properly mount your carbon monoxide detector in your RV for optimal performance and protection.
Remember, it is important to choose suitable mounting locations that provide maximum coverage, accessibility, and visibility. Install detectors in key areas such as the bedroom, living area, kitchen, and bathroom to ensure comprehensive monitoring throughout your RV. Also, make use of exterior mounting options when necessary, such as in the generator compartment or underneath the RV, to add an extra layer of protection.
Regularly test and maintain your carbon monoxide detectors, replacing batteries as needed and adhering to manufacturer guidelines. Take note of the lifespan of your detector and replace it when recommended to ensure continuous, reliable performance. Keep the user manual accessible for reference and remain vigilant in your RV safety practices.
Prioritizing the installation of carbon monoxide detectors in your RV is a responsible and proactive measure that promotes a safe and enjoyable travel experience. By taking these precautions, you can enjoy peace of mind, knowing that you are well-prepared to detect and respond to any potential carbon monoxide threats that may arise during your adventures.
Remember, safety should always be the top priority in RV travel. Take the necessary steps to protect yourself and your loved ones from the danger of carbon monoxide, and enjoy the freedom and excitement of the open road with peace of mind.
Frequently Asked Questions about Where To Mount A Carbon Monoxide Detector In RV
Was this page helpful?
At Storables.com, we guarantee accurate and reliable information. Our content, validated by Expert Board Contributors, is crafted following stringent Editorial Policies. We're committed to providing you with well-researched, expert-backed insights for all your informational needs.


0 thoughts on “Where To Mount A Carbon Monoxide Detector In RV”