Articles
How To Replace An RV Carbon Monoxide Detector
Modified: February 24, 2024
Learn how to replace an RV carbon monoxide detector with our insightful articles. Ensure your safety while on the road.
(Many of the links in this article redirect to a specific reviewed product. Your purchase of these products through affiliate links helps to generate commission for Storables.com, at no extra cost. Learn more)
Introduction
Welcome to our comprehensive guide on how to replace an RV carbon monoxide detector. Carbon monoxide is a colorless, odorless gas that can be deadly if not detected early. It is crucial to have a functioning carbon monoxide detector in your RV to protect yourself and your loved ones while on the road.
In this article, we will walk you through the step-by-step process of replacing a carbon monoxide detector in your RV. Whether your existing detector is malfunctioning or you simply want to upgrade to a newer model, this guide will provide you with all the information you need to complete the replacement successfully.
Before we begin, it’s essential to note that carbon monoxide detectors have a limited lifespan and should be replaced every five to seven years, depending on the manufacturer’s instructions. Regularly testing and replacing your carbon monoxide detector is crucial for your safety, so it’s crucial to follow the recommended guidelines.
Now, let’s dive into the step-by-step process necessary for replacing an RV carbon monoxide detector.
Key Takeaways:
- Regularly replacing your RV’s carbon monoxide detector every 5-7 years is crucial for safety. Follow the step-by-step guide to ensure a seamless and effective replacement process, providing peace of mind during your travels.
- Prioritize safety by testing the new carbon monoxide detector, double-checking the installation, and documenting the replacement date. Stay proactive in maintaining a safe living environment for you and your loved ones while on the road.
Read more: How To Replace A Carbon Monoxide Detector
Step 1: Gather the necessary tools and materials
Before you begin the process of replacing your RV carbon monoxide detector, it’s important to gather all the necessary tools and materials. Having everything ready beforehand will make the installation process smoother and more efficient. Here’s a list of what you’ll need:
- Screwdriver
- Wire cutters/strippers
- Electrical tape
- New carbon monoxide detector
- Batteries (if required by the new detector)
Make sure that your new carbon monoxide detector is compatible with your RV’s electrical system, and if batteries are needed, check the instructions for the specific battery type and quantity required.
It’s also a good idea to have a flashlight handy, as the installation process may involve working in dimly lit areas of your RV.
Once you have gathered all the necessary tools and materials, you’re ready to move on to the next step: finding the current carbon monoxide detector in your RV.
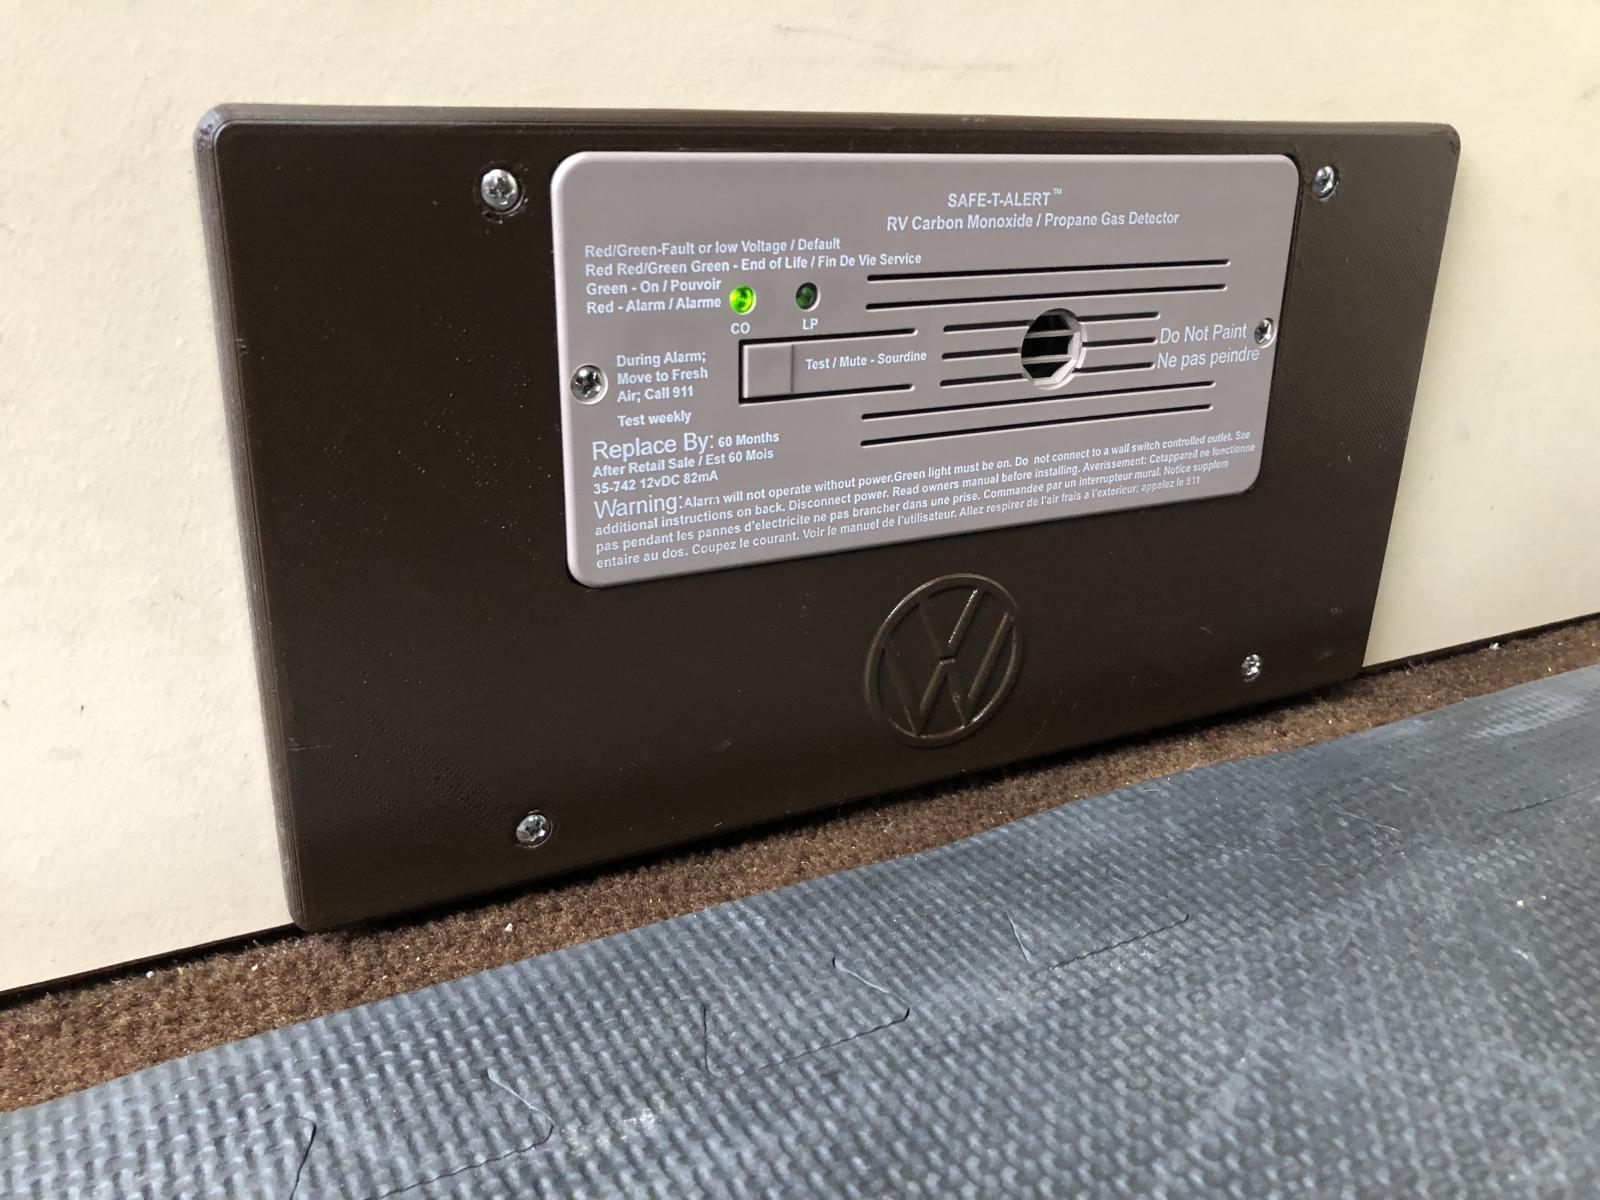
Step 2: Find the current carbon monoxide detector
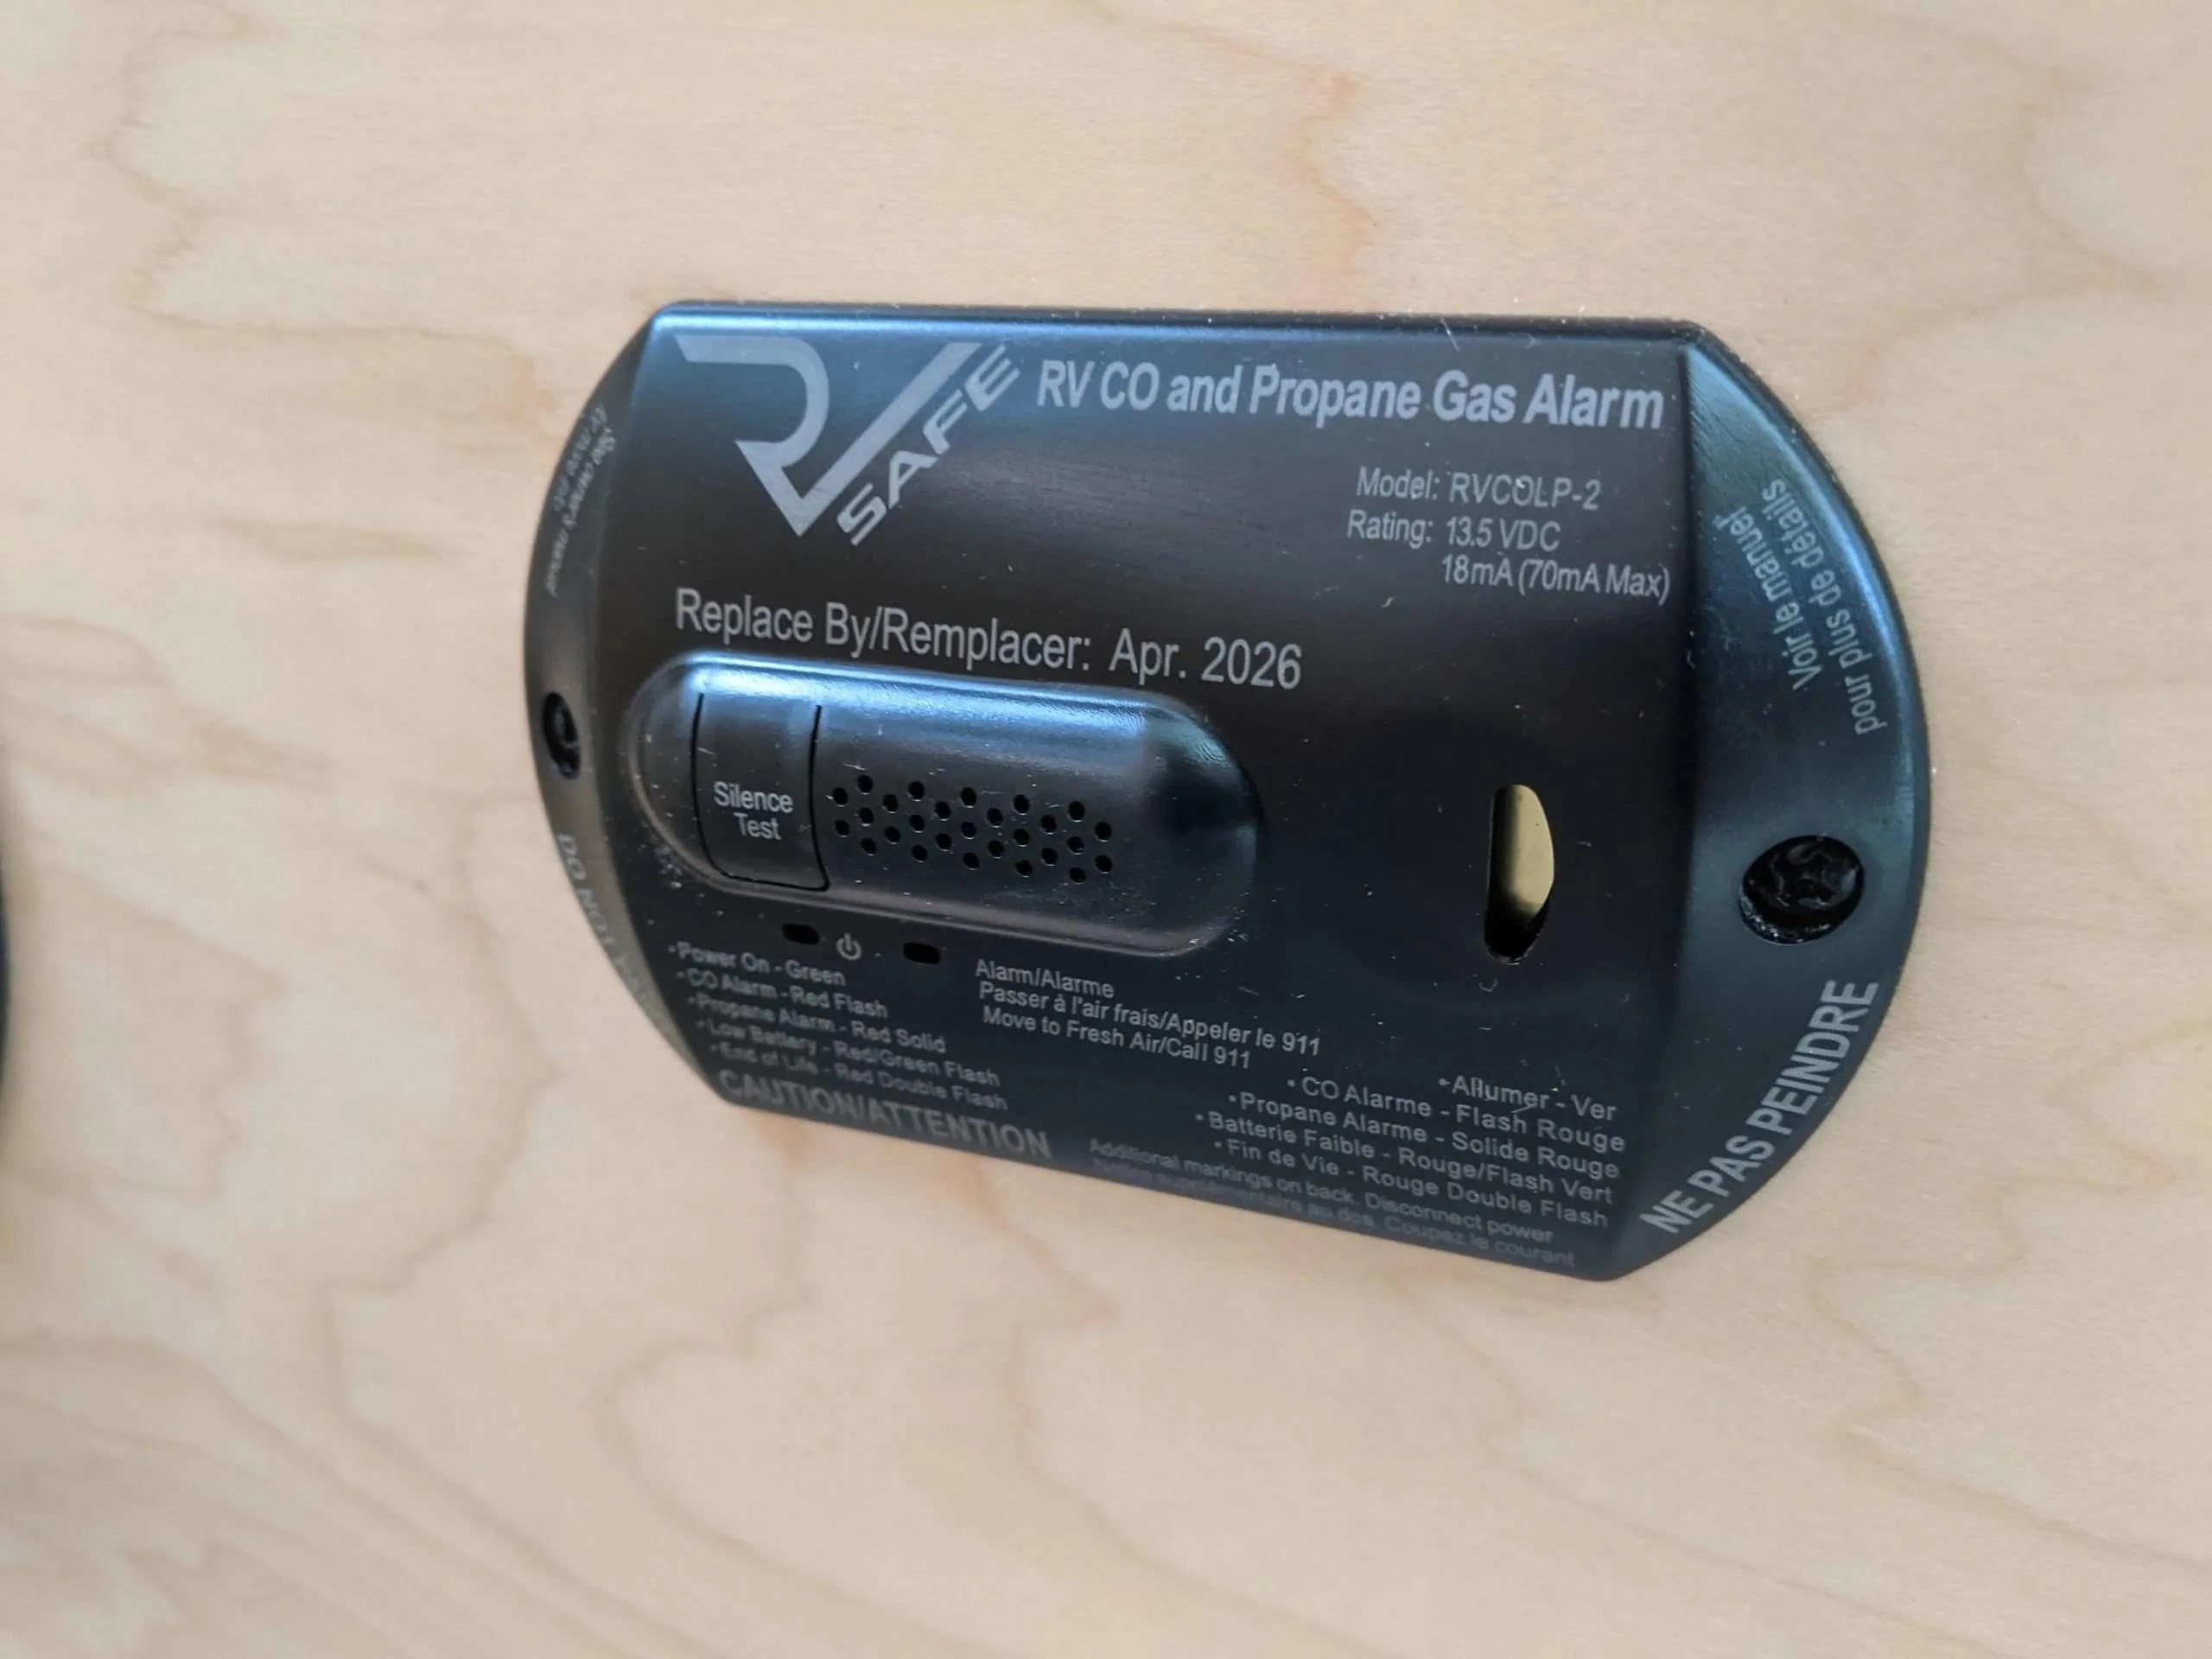
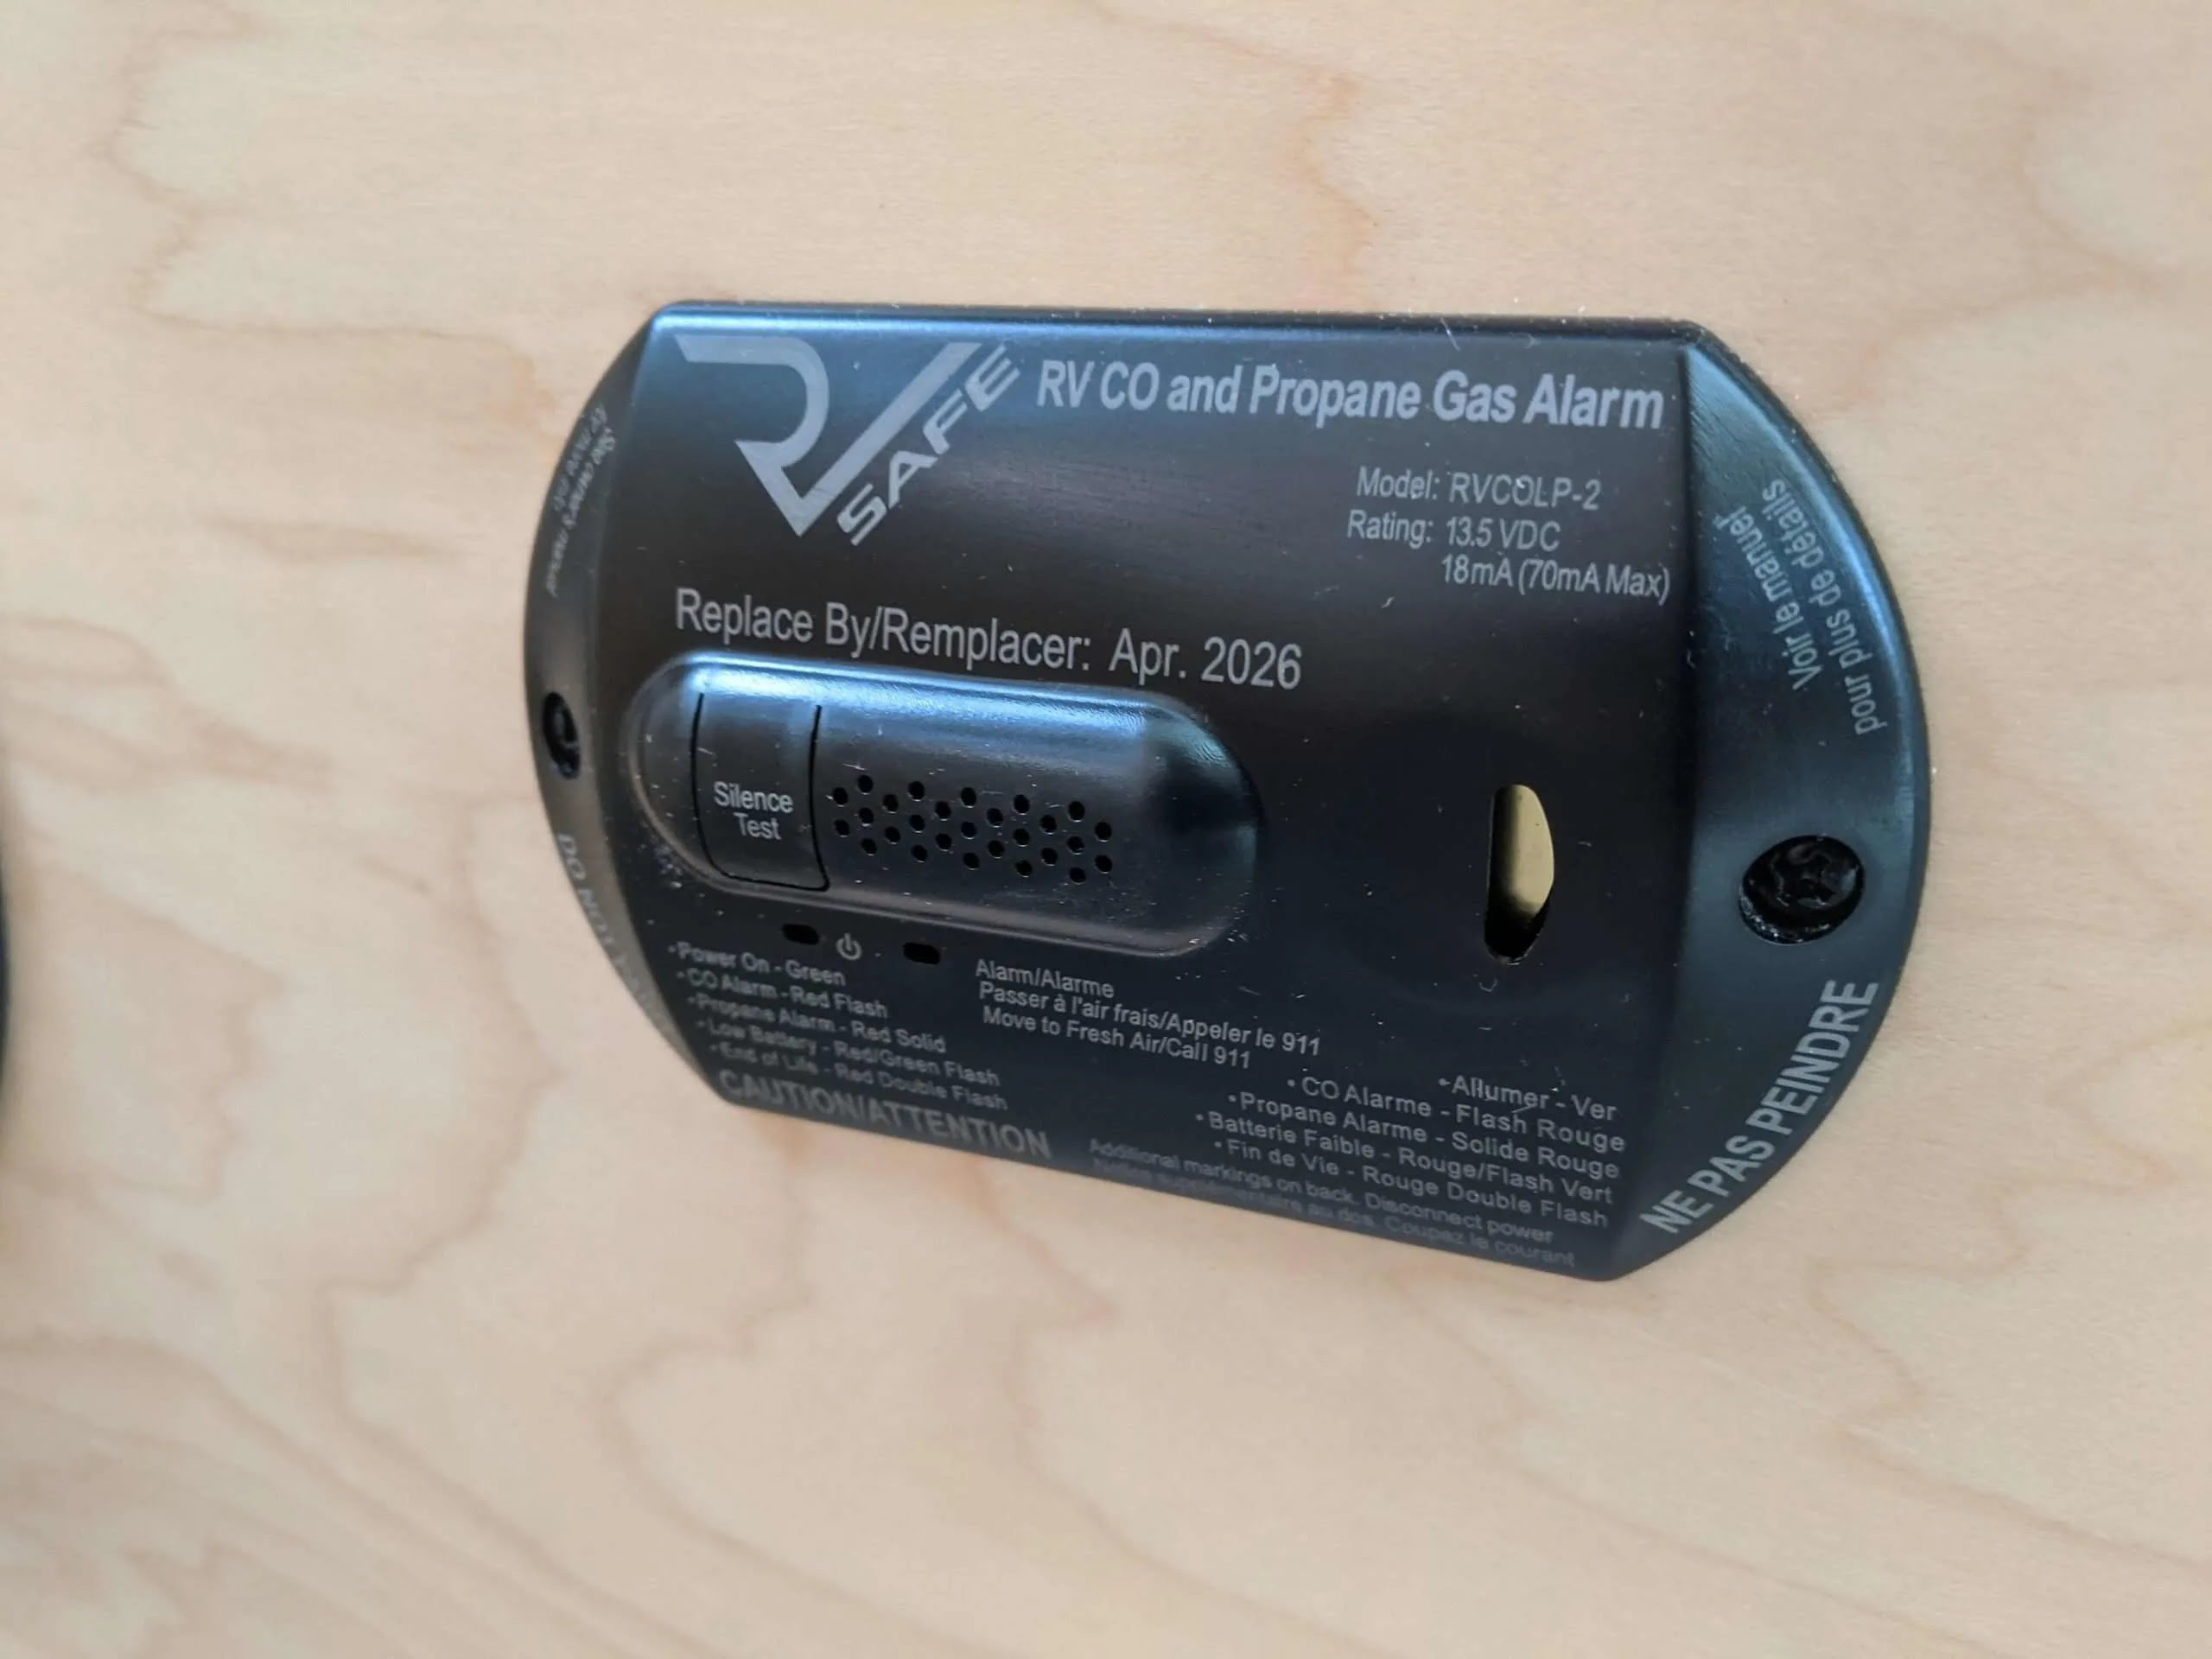
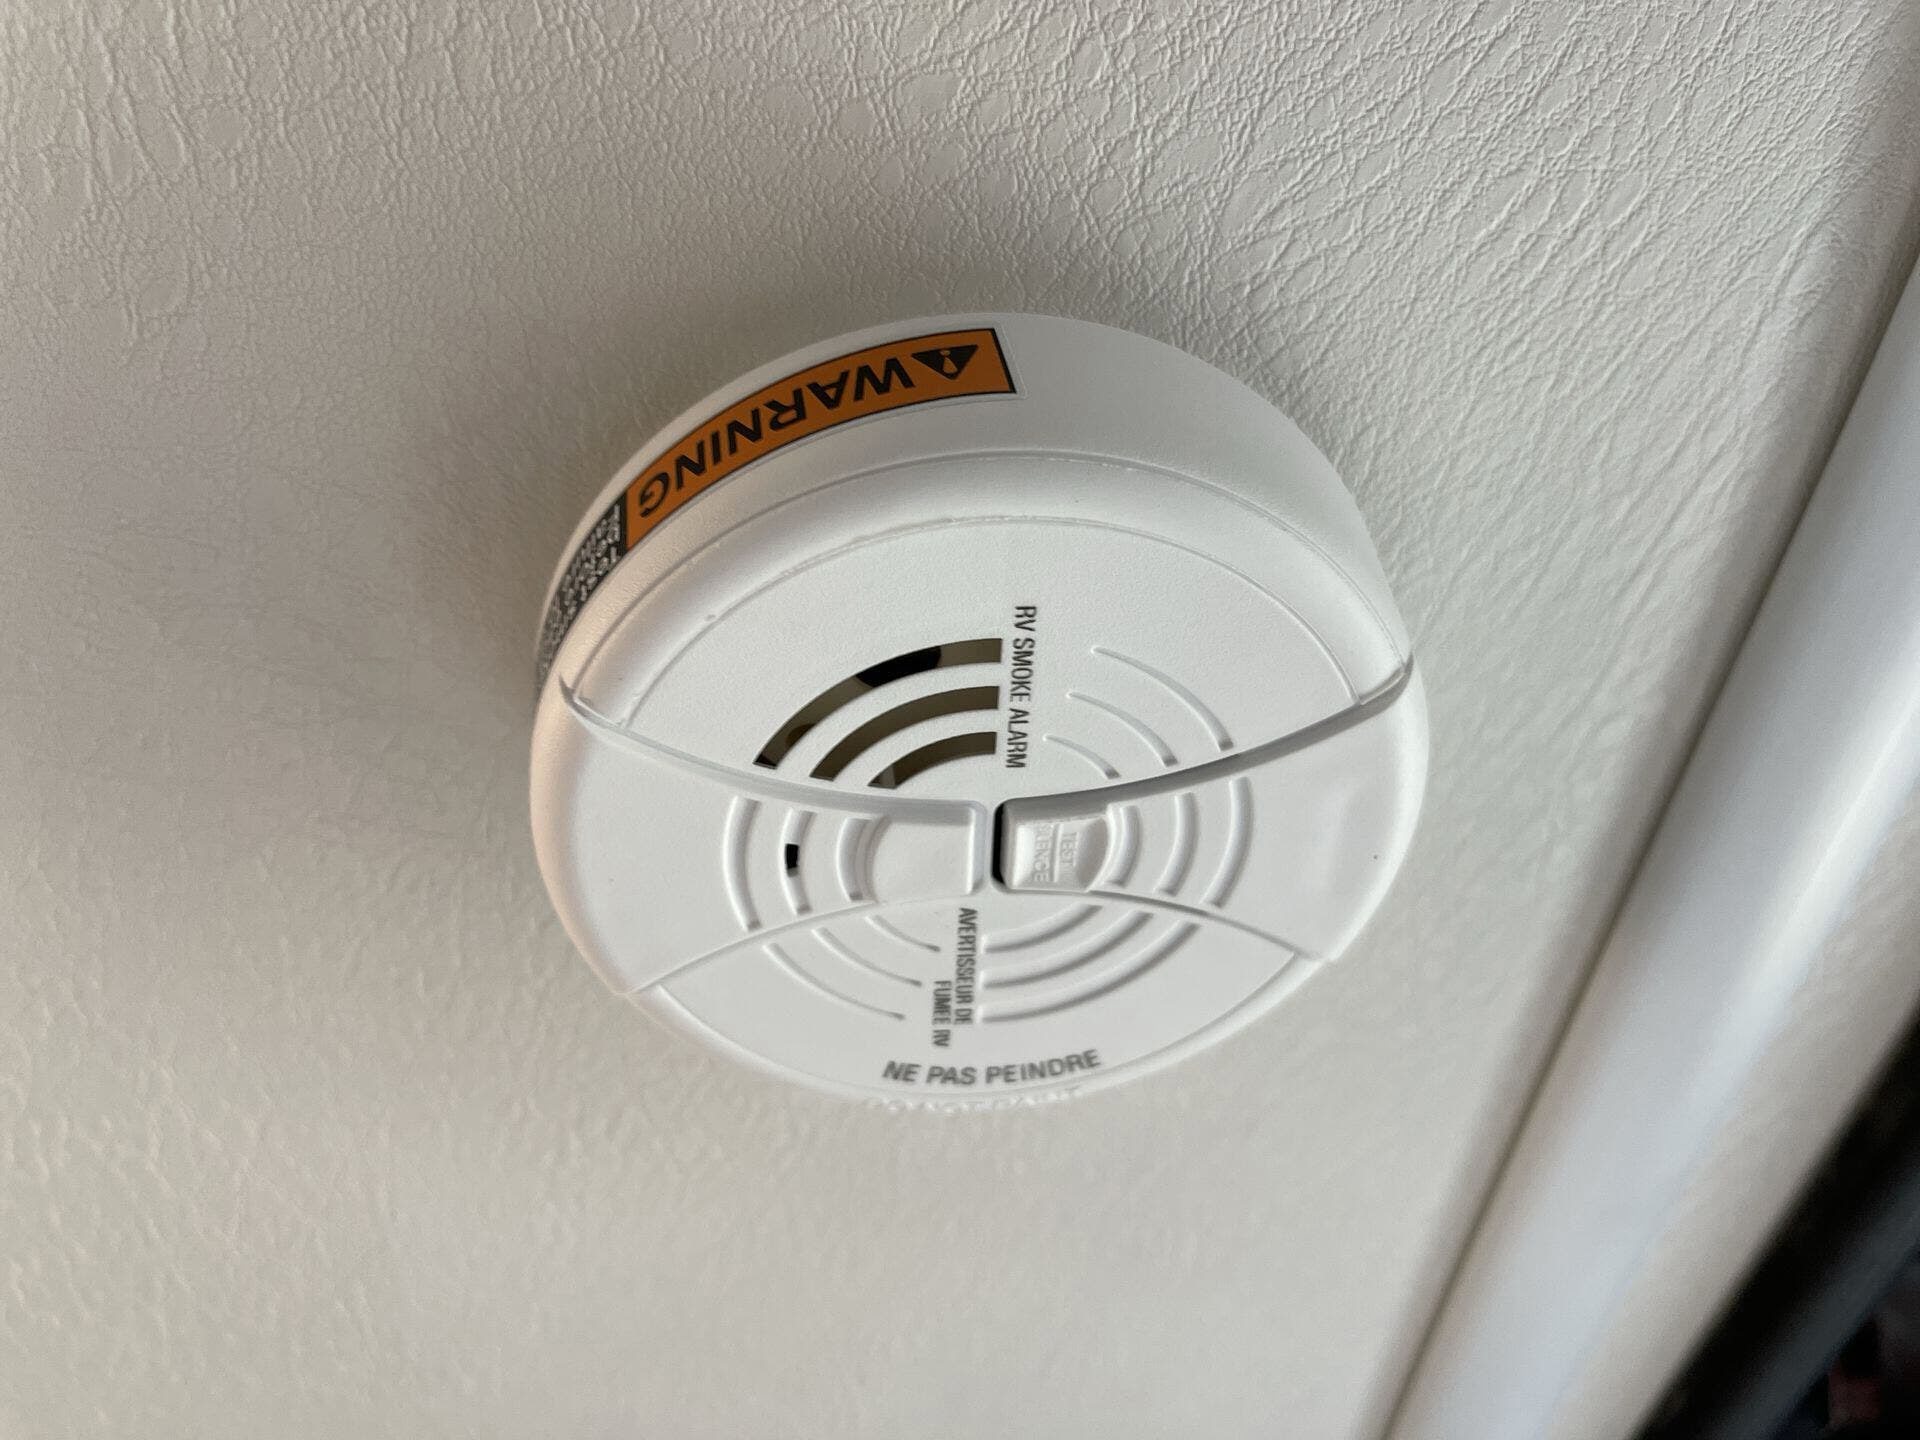
The next step in replacing your RV carbon monoxide detector is locating the existing one. Carbon monoxide detectors are typically installed in a central location within your RV to ensure maximum coverage and early detection of gas leaks.
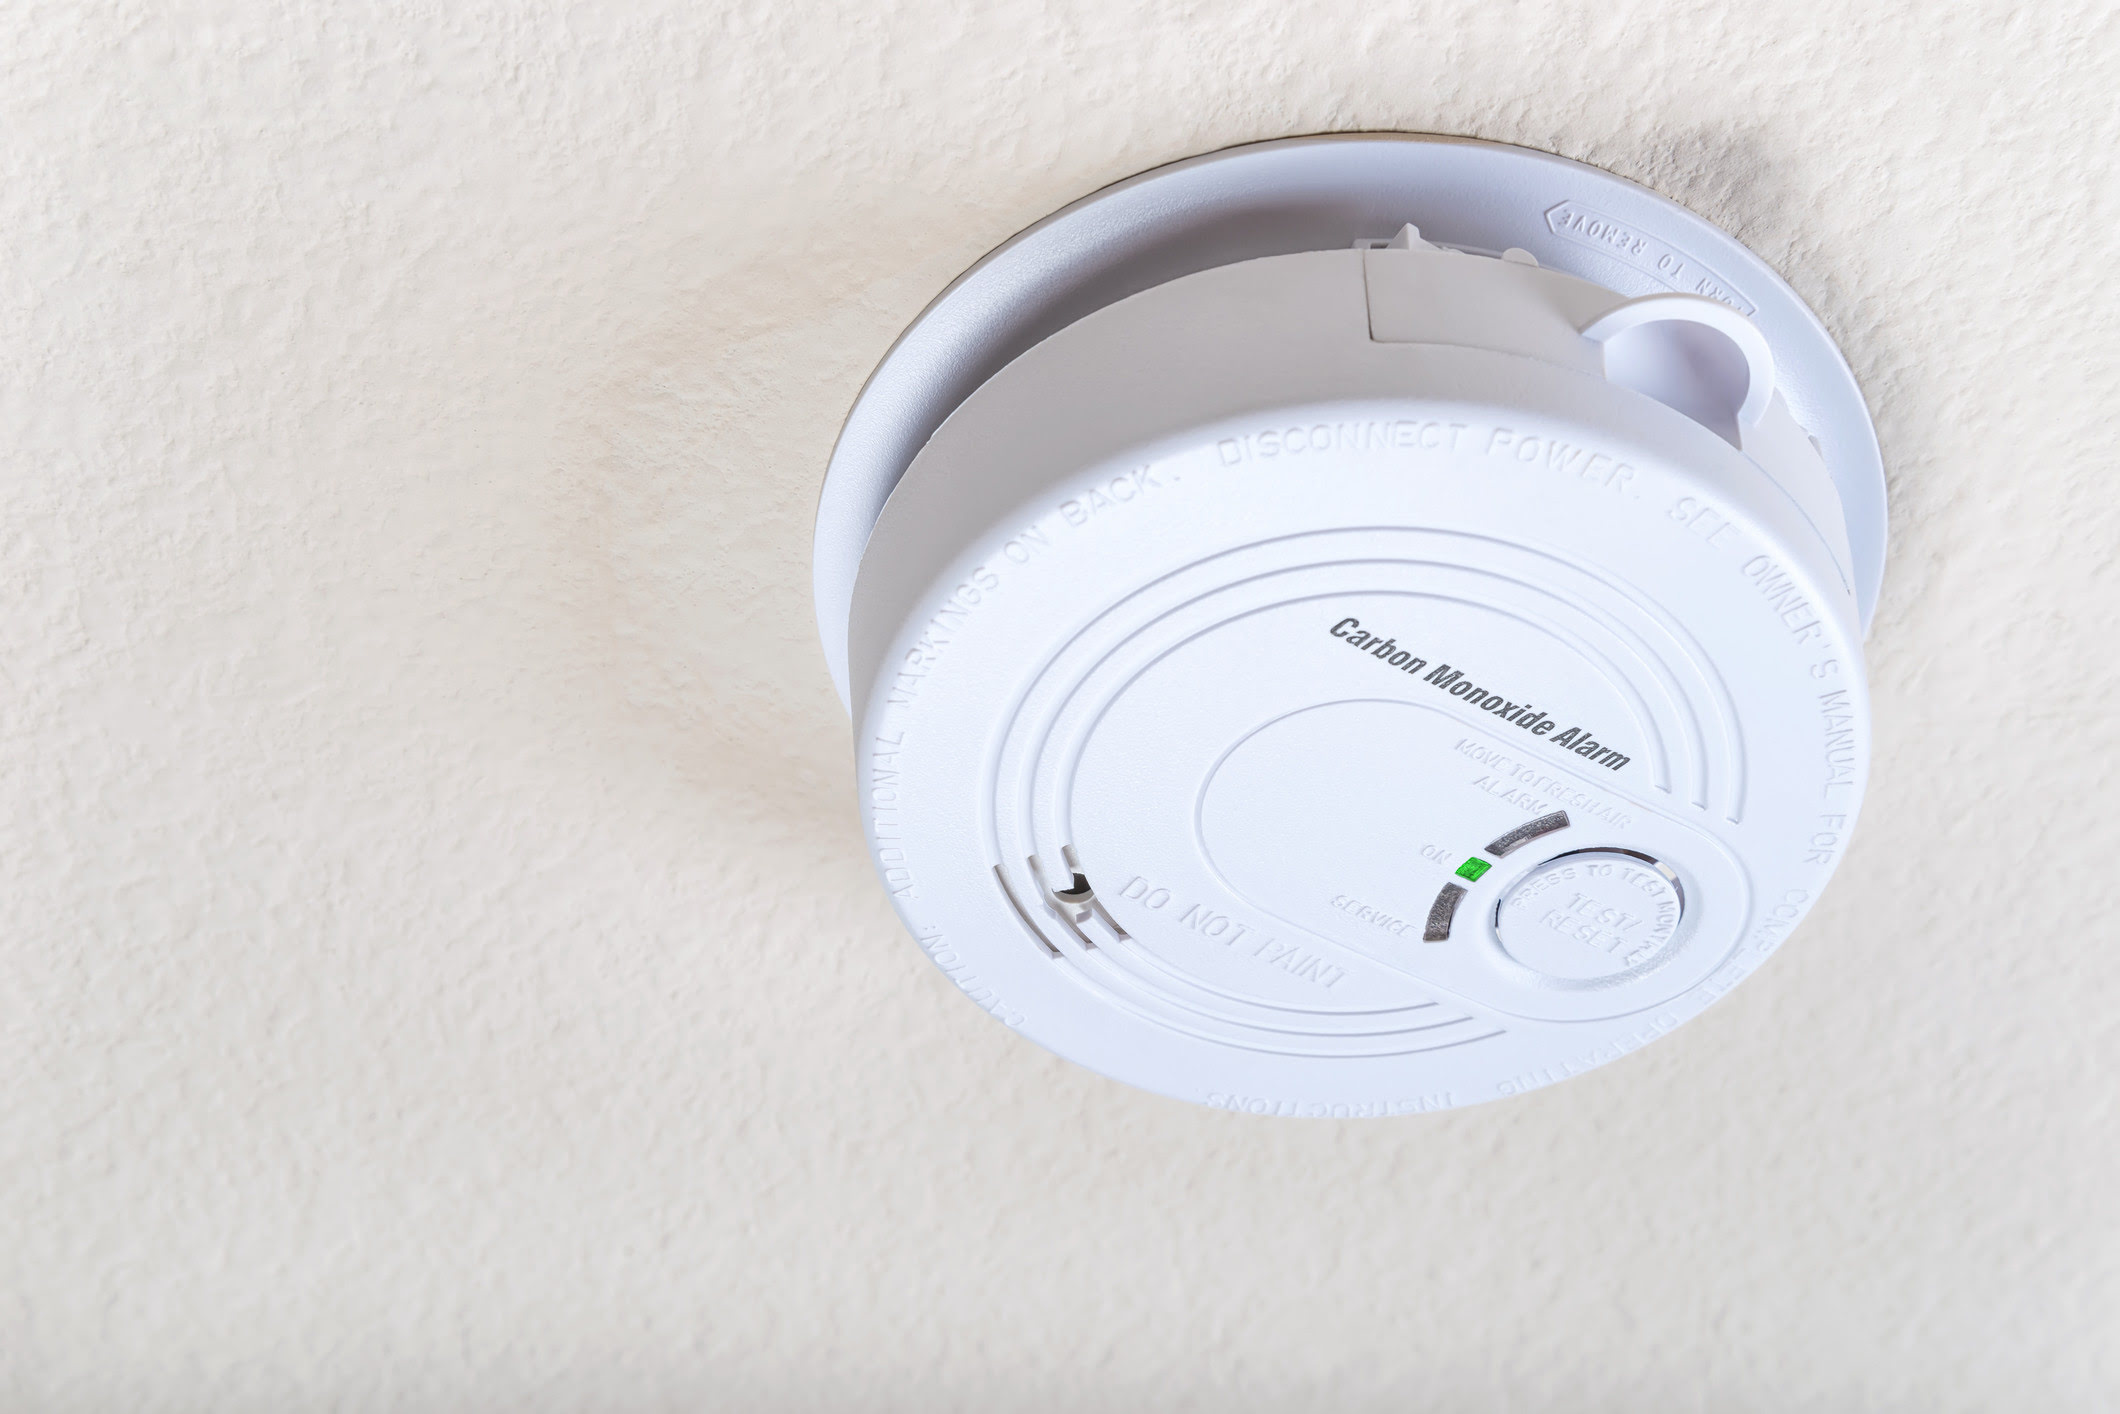
Start by visually inspecting your RV’s interior for the carbon monoxide detector. It is often mounted on a wall or ceiling, similar to a smoke detector. Check common areas such as the main living area, sleeping areas, and the kitchen. If you’re unable to locate the detector, consult your RV owner’s manual for its specific placement.
Once you find the carbon monoxide detector, take note of how it is connected to the RV’s electrical system. It may be hardwired or battery-operated. Understanding its current setup will help you disconnect and remove it properly in the following steps.
It’s important to mention that if you don’t already have a carbon monoxide detector in your RV, it’s highly recommended to install one for your safety. Follow the manufacturer’s instructions for the specific installation process.
With the current carbon monoxide detector located, we can now proceed to step 3, which involves disconnecting the power source.
Step 3: Disconnect the power source
Before you can remove the old carbon monoxide detector from your RV, it is crucial to disconnect the power source. This step ensures your safety and prevents any electrical mishaps during the replacement process.
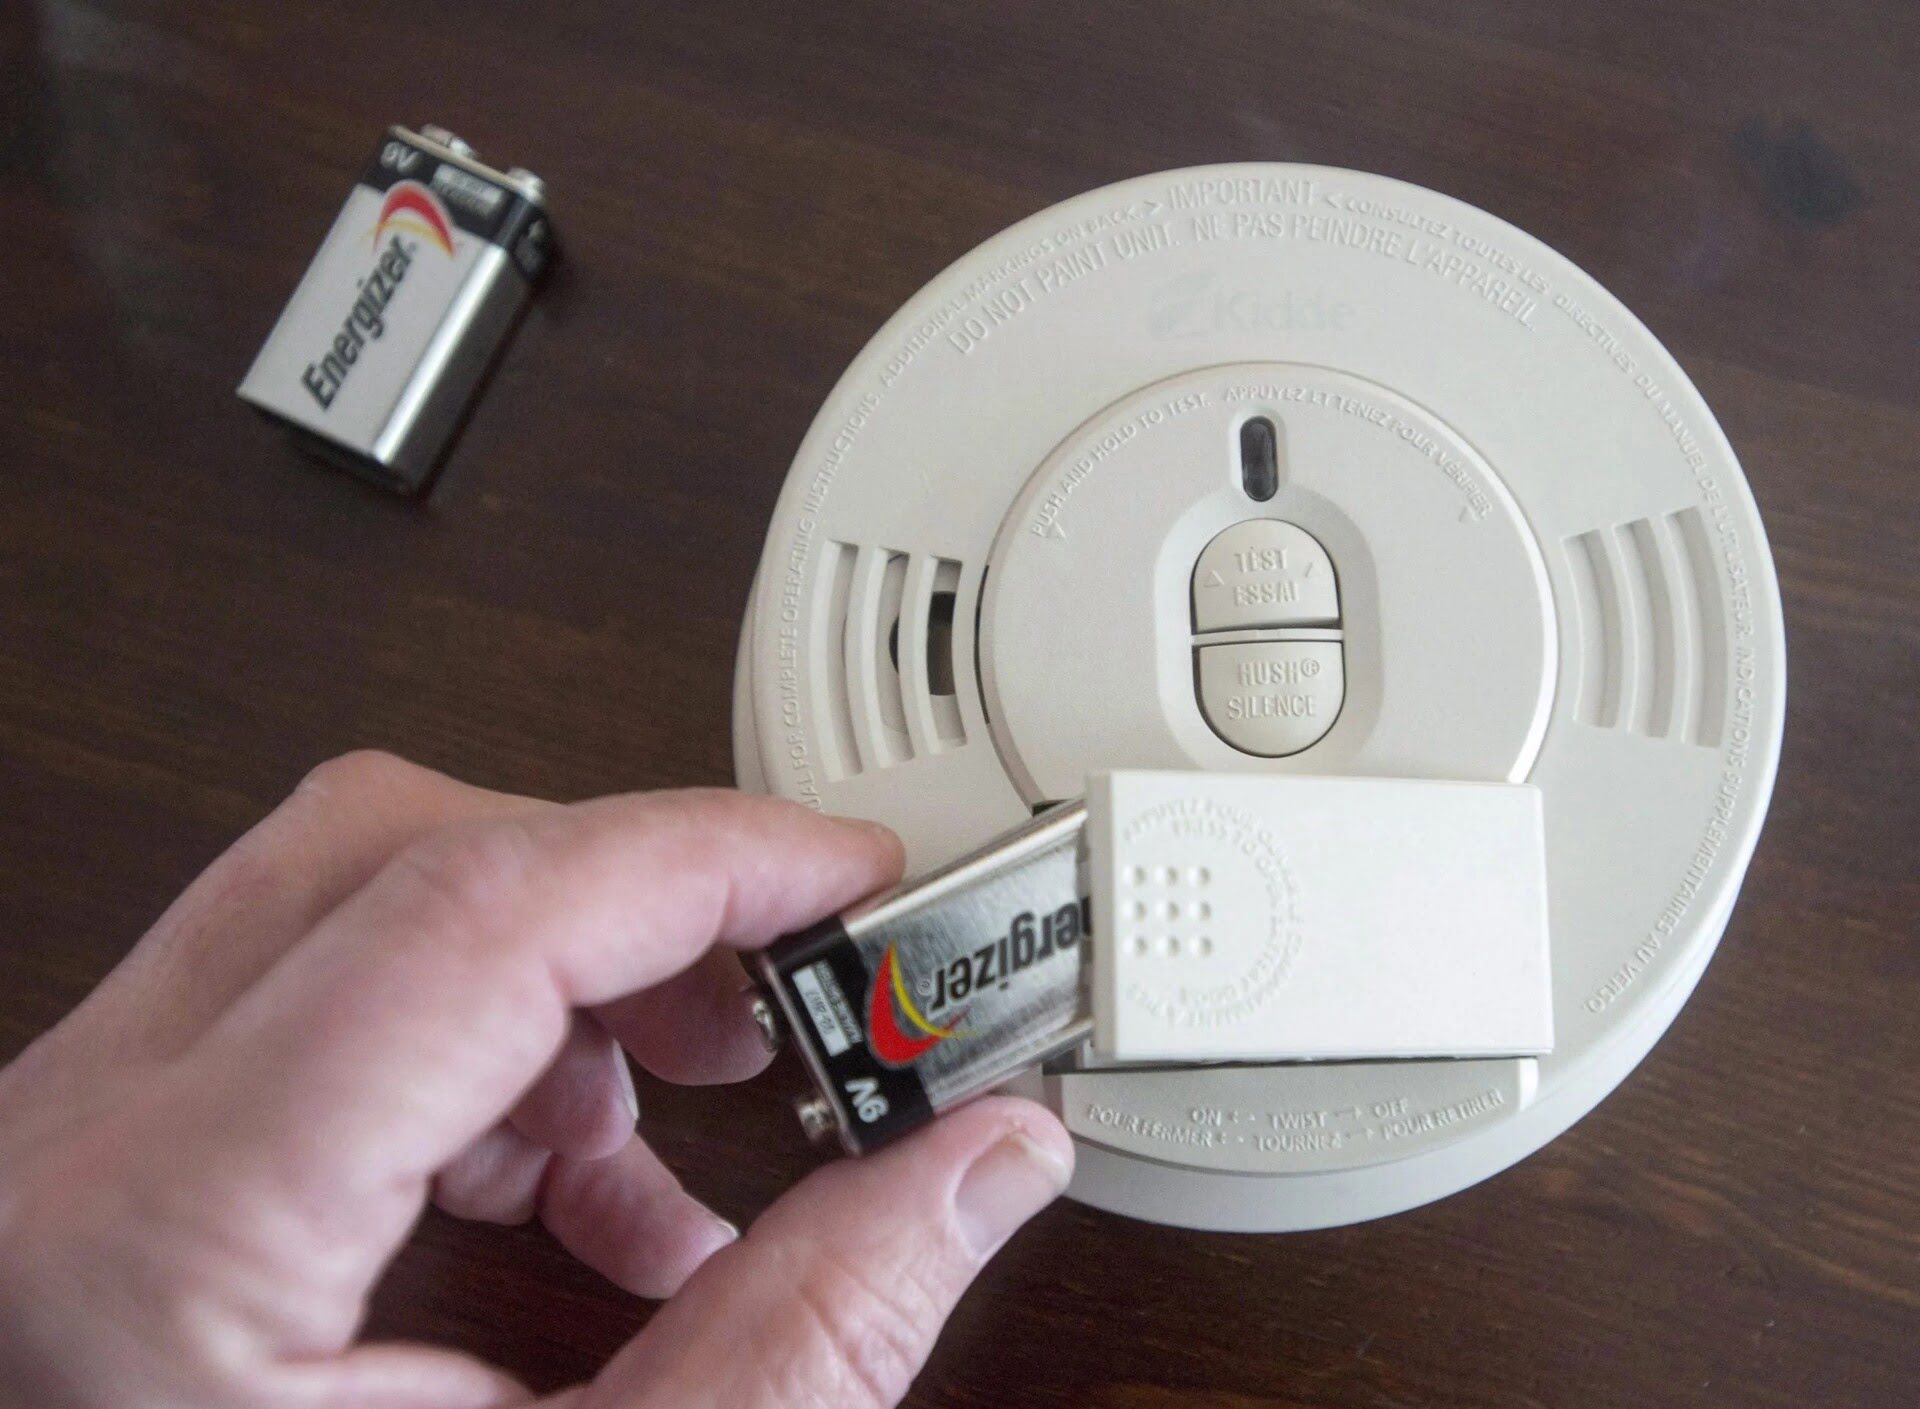
If your carbon monoxide detector is battery-operated, simply remove the batteries to cut off the power supply. Make sure to dispose of the old batteries properly and replace them with fresh ones if required by the new detector.
However, if your carbon monoxide detector is hardwired to your RV’s electrical system, you need to take additional precautions. First, locate the circuit breaker or fuse that controls the power supply to the carbon monoxide detector. Refer to your RV owner’s manual or consult with a professional if unsure.
Once you find the correct circuit breaker or fuse, switch it off or remove it, which will cut off the power supply to the detector. Confirm that the detector is no longer receiving power by checking its display or testing it using a voltmeter.
Safety is paramount during this step. Always ensure that you are following proper electrical safety measures and, if needed, seek assistance from a professional electrician to safely disconnect the power supply.
With the power source to the carbon monoxide detector disconnected, you can now move on to step 4, which involves removing the old detector from your RV.
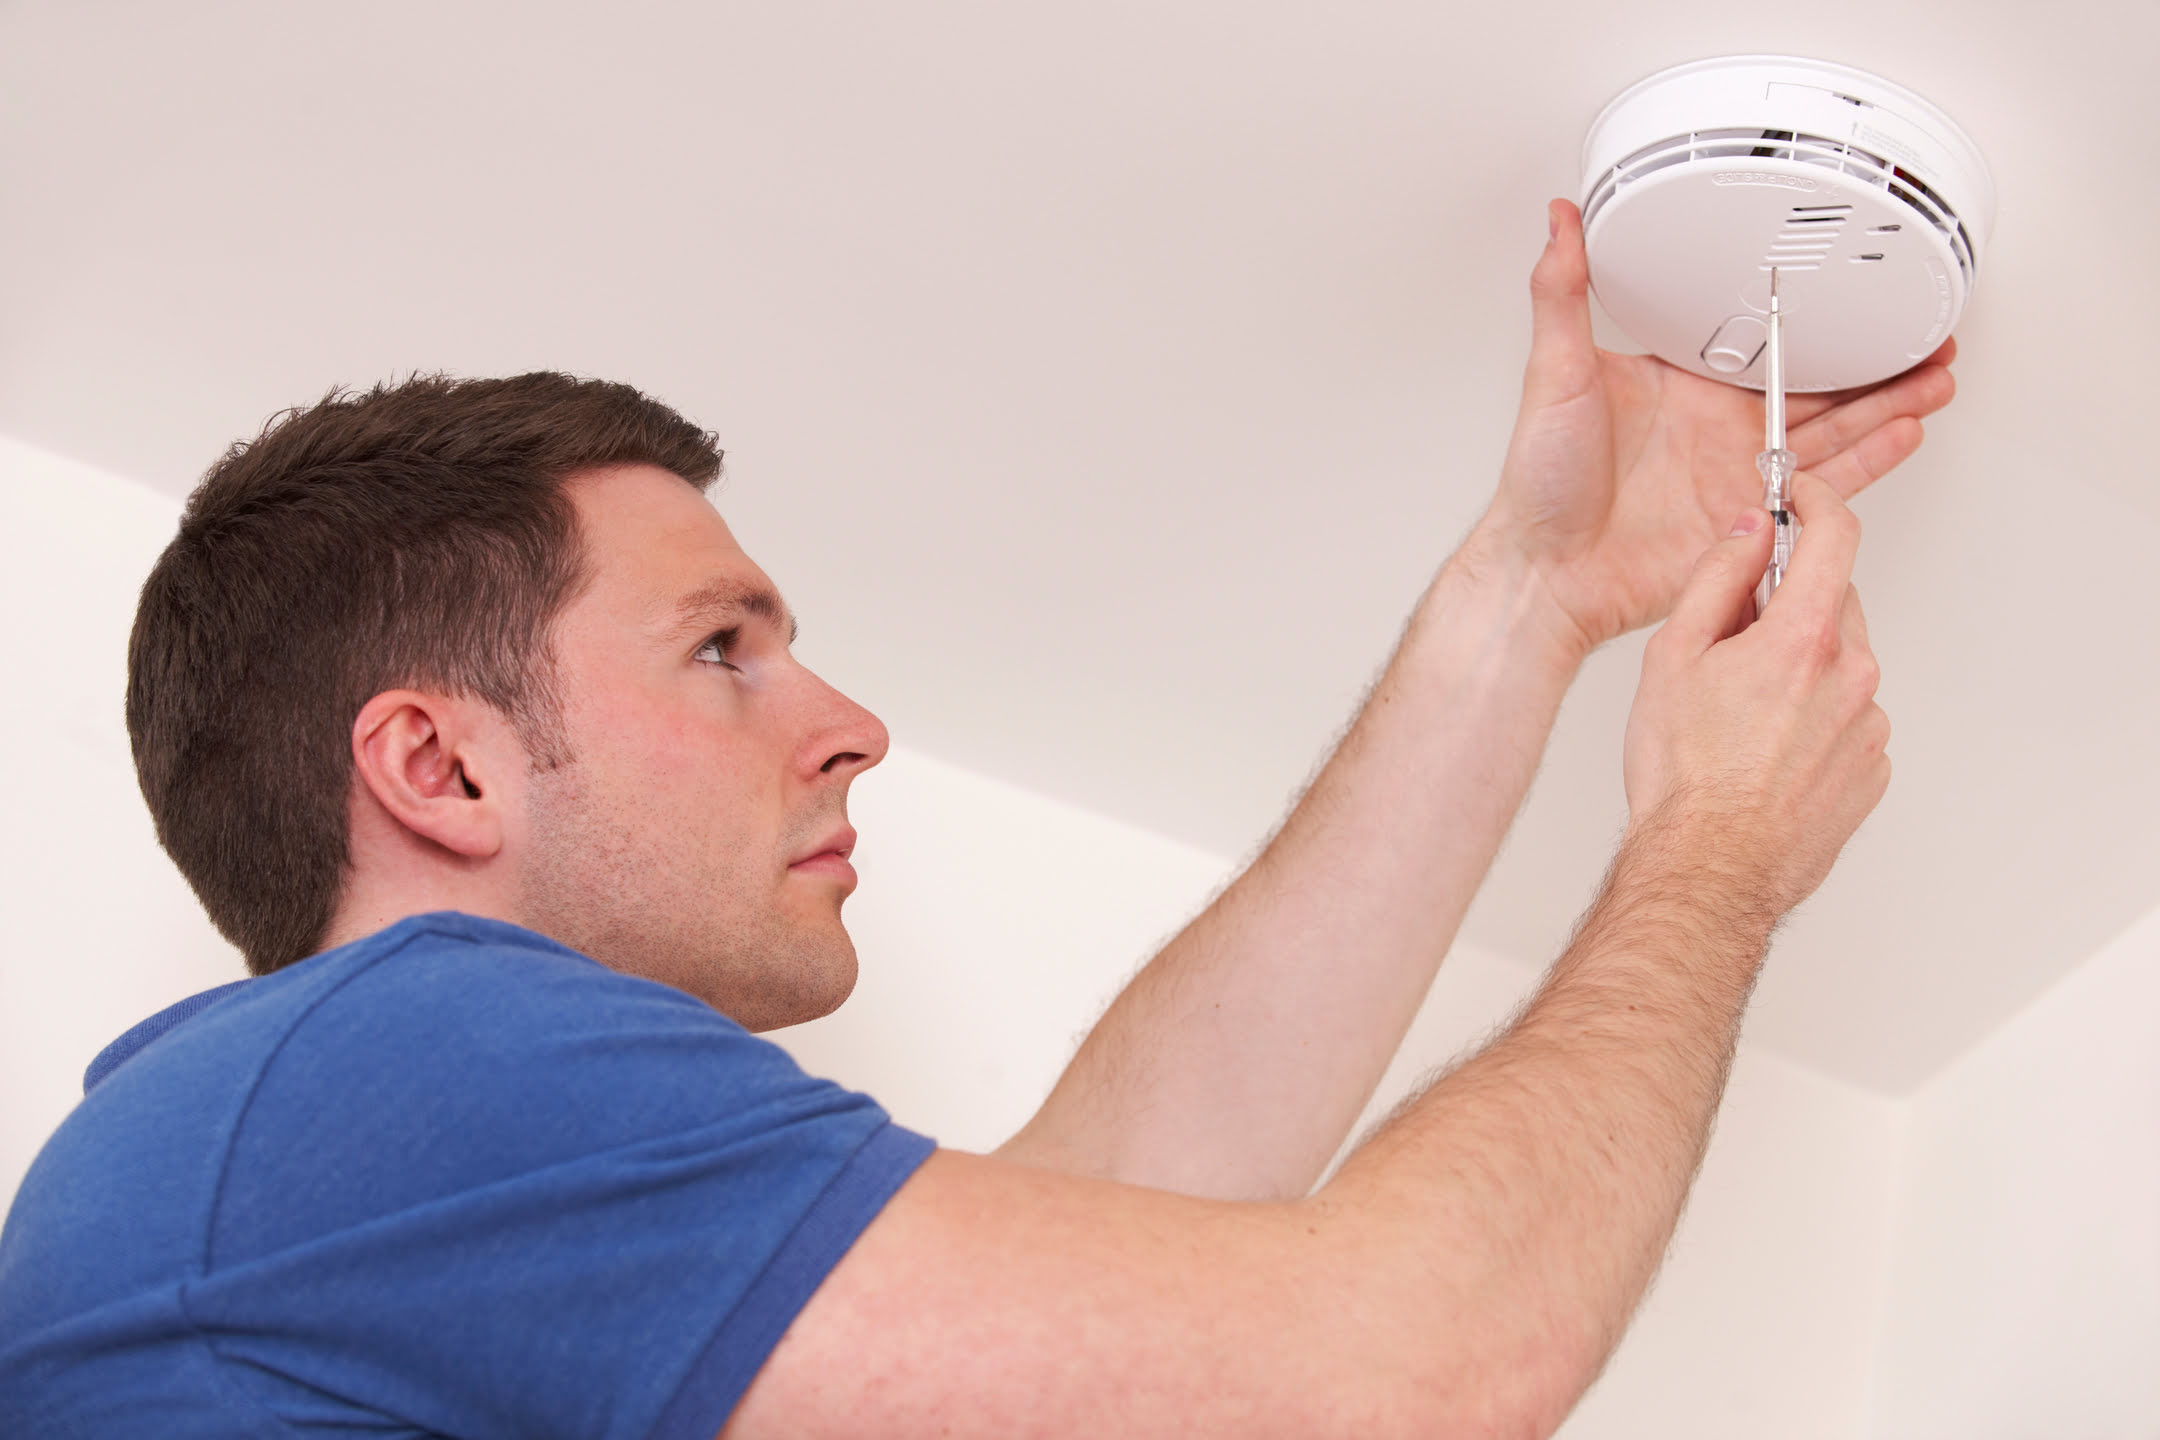
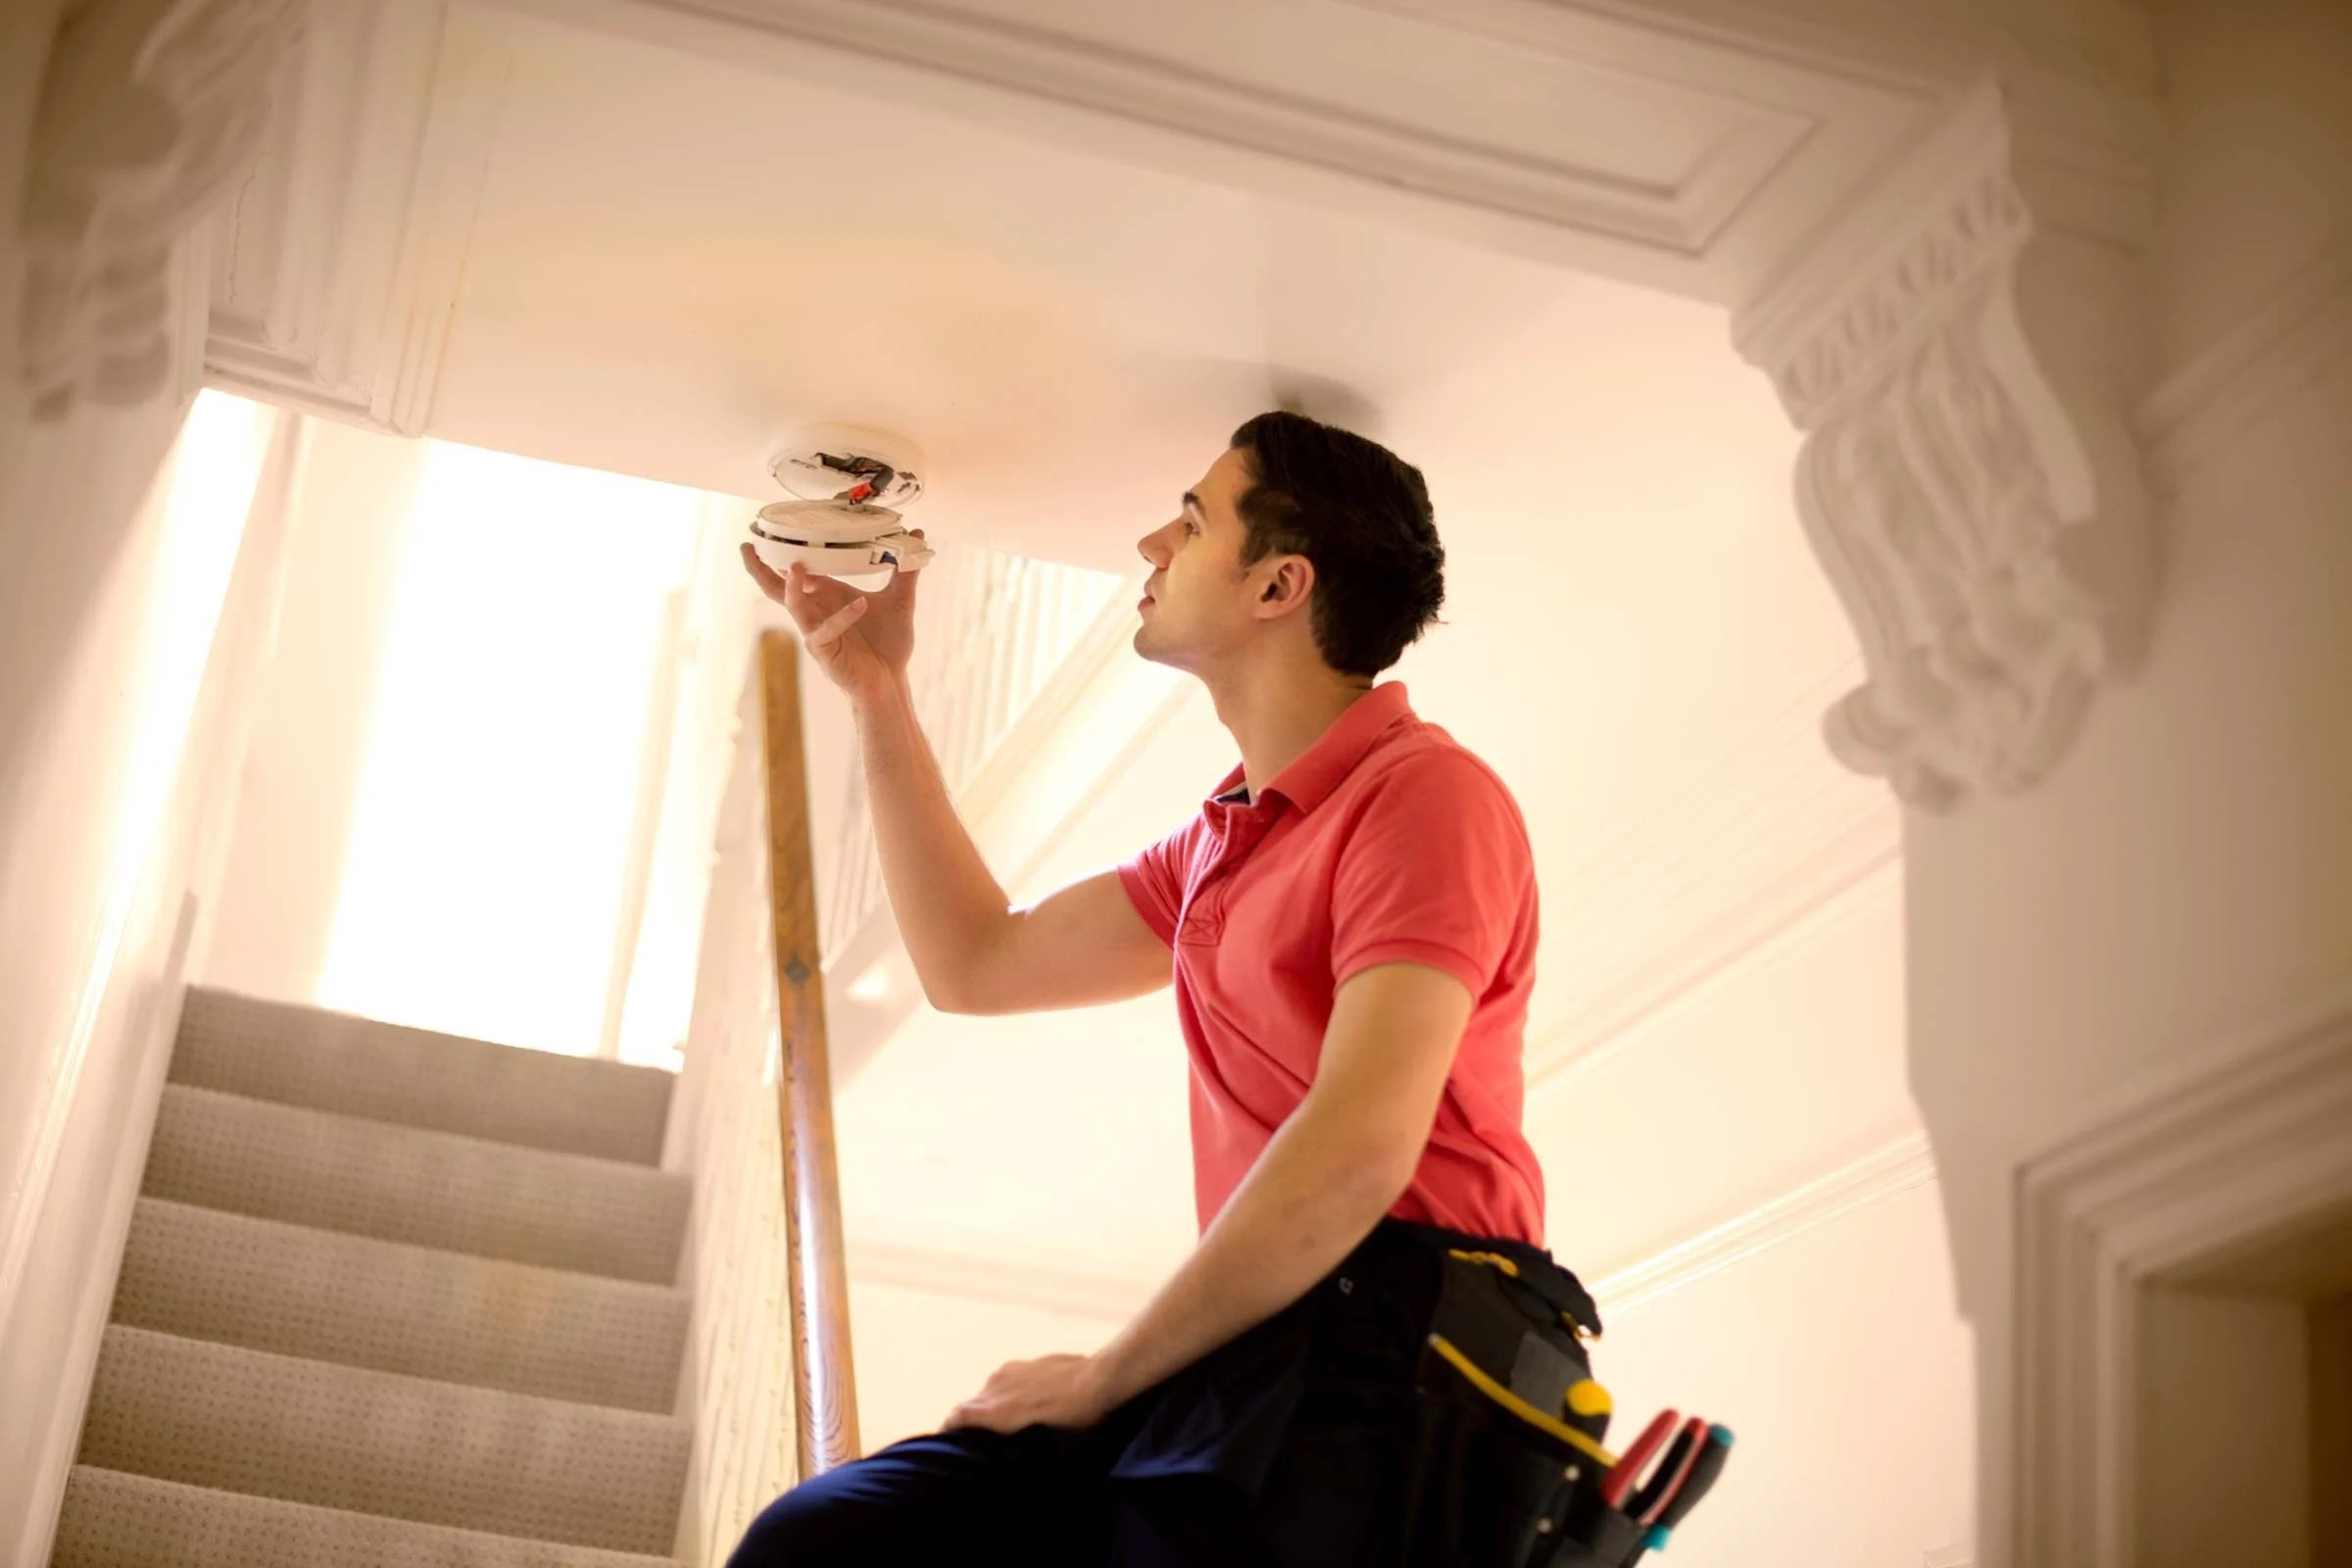
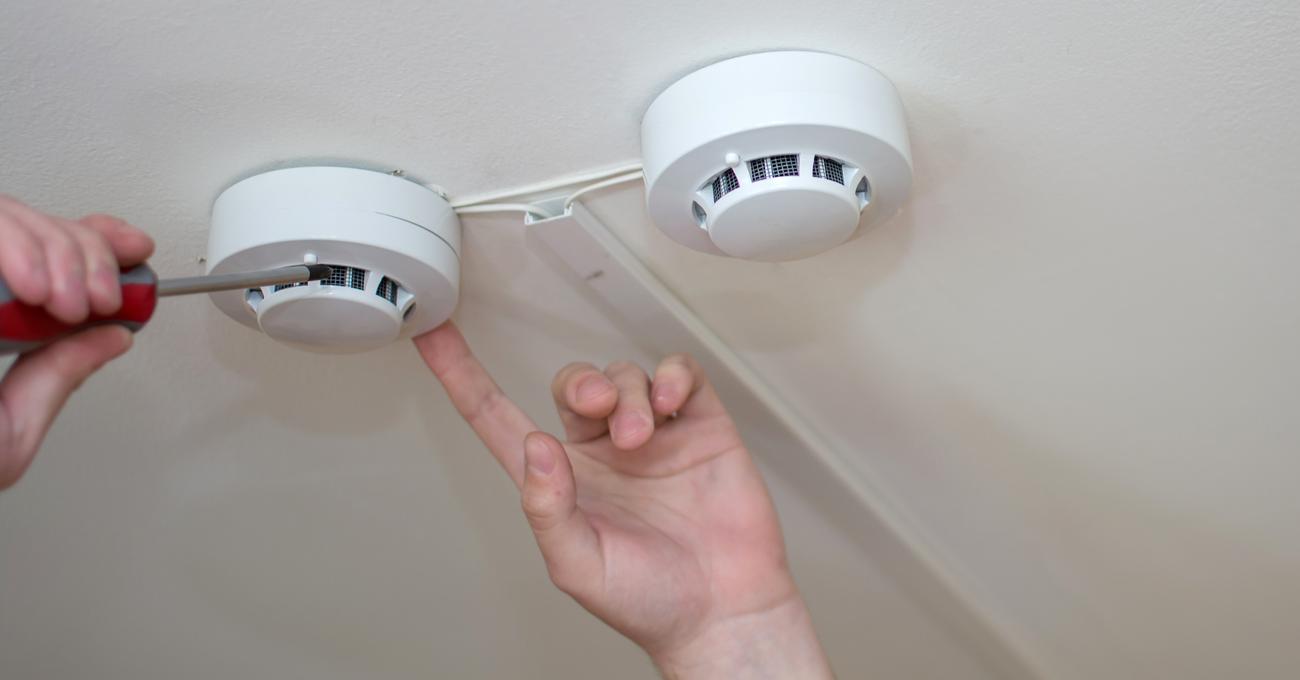
Step 4: Remove the old carbon monoxide detector
Now that the power source to the carbon monoxide detector has been disconnected, it’s time to remove the old detector from your RV. This step will involve carefully uninstalling the detector from its mounting location.
Begin by examining how the detector is attached to the wall or ceiling. Most carbon monoxide detectors are secured with screws or mounting brackets. Use a screwdriver or the appropriate tool to remove any screws holding the detector in place. If there are mounting brackets, gently release them to detach the detector.
As you remove the screws or brackets, be sure to support the weight of the detector to prevent it from falling or causing any damage. If necessary, have someone assist you in safely removing the detector.
Once the old detector is detached from the mounting location, carefully disconnect any wiring connected to it. If there are wire connectors, use wire cutters or strippers to release the connections. Take note of how the wires are connected, as you will need this information when installing the new detector.
Set aside the old carbon monoxide detector and any mounting hardware or screws. Ensure that the area is clean and free from any debris or dust before proceeding to the next step.
Now that the old detector has been successfully removed, it’s time to move on to step 5: installing the new carbon monoxide detector in your RV.
When replacing an RV carbon monoxide detector, make sure to turn off the power supply and carefully follow the manufacturer’s instructions for installation to ensure proper functioning and safety.
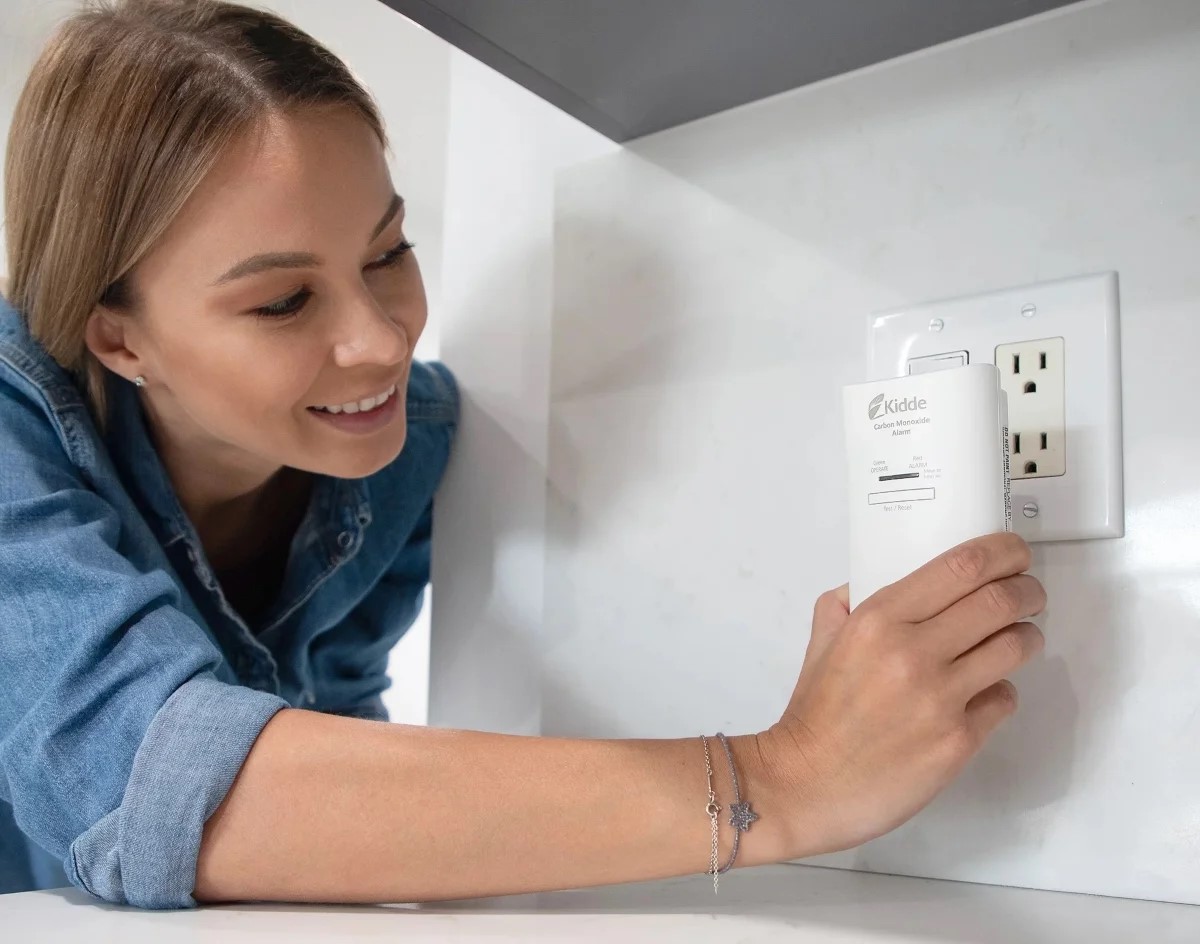
Step 5: Install the new carbon monoxide detector
With the old carbon monoxide detector removed, it’s time to install the new one in your RV. Follow these steps to ensure a seamless installation process:
- Read the manufacturer’s instructions: Before beginning the installation, carefully read the instructions provided by the manufacturer for your specific carbon monoxide detector model. Familiarize yourself with any specific requirements or recommendations.
- Position the new detector: Determine the ideal location to install the new carbon monoxide detector. Consider placing it in a central area of your RV that allows for optimal detection. Typically, this is near sleeping areas or the main living space.
- Mount the detector: Use the mounting brackets or screws provided with the new detector to secure it in place. Ensure it is mounted securely and flush against the wall or ceiling. Follow the manufacturer’s instructions for the appropriate installation method.
- Connect the wiring: If your new carbon monoxide detector requires wiring, refer to the notes you took during the removal of the old detector. Connect the corresponding wires to the appropriate terminals on the new detector. Double-check the connections to ensure they are secure.
- Secure the wiring: Once the wiring is connected, use electrical tape or wire connectors to secure and protect the connections. This will prevent any loose or exposed wiring, ensuring the safety and functionality of the detector.
- Double-check the installation: Before moving on, visually inspect the newly installed detector. Confirm that it is properly mounted, level, and securely connected. If there are any adjustments needed, make them now to ensure the detector is in the correct position.
Remember, it’s crucial to follow the manufacturer’s instructions and guidelines throughout the installation process. This will ensure that the new carbon monoxide detector is installed correctly and will function optimally to keep you safe while traveling in your RV.
With the new carbon monoxide detector installed, it’s time to move on to step 6: connecting the power source.
Step 6: Connect the power source
Now that the new carbon monoxide detector is securely installed in your RV, it’s time to connect the power source. This step will vary depending on the type of detector and your RV’s electrical system. Follow these guidelines to ensure a proper connection:
- Battery-powered detectors: If your new carbon monoxide detector is battery-powered, simply insert the required batteries into the designated compartment. Make sure to follow the manufacturer’s instructions for the correct battery type and orientation.
- Hardwired detectors: If your new detector is hardwired, refer to the notes you took during the removal of the old detector. Reconnect the corresponding wires to the appropriate terminals on the new detector. Use electrical tape or wire connectors to secure and protect the connections.
- Switch on the power supply: Once the wiring is securely connected, restore power to the carbon monoxide detector. If you disconnected the circuit breaker or removed a fuse, switch it back on or reinsert the fuse. This will supply power to the new detector.
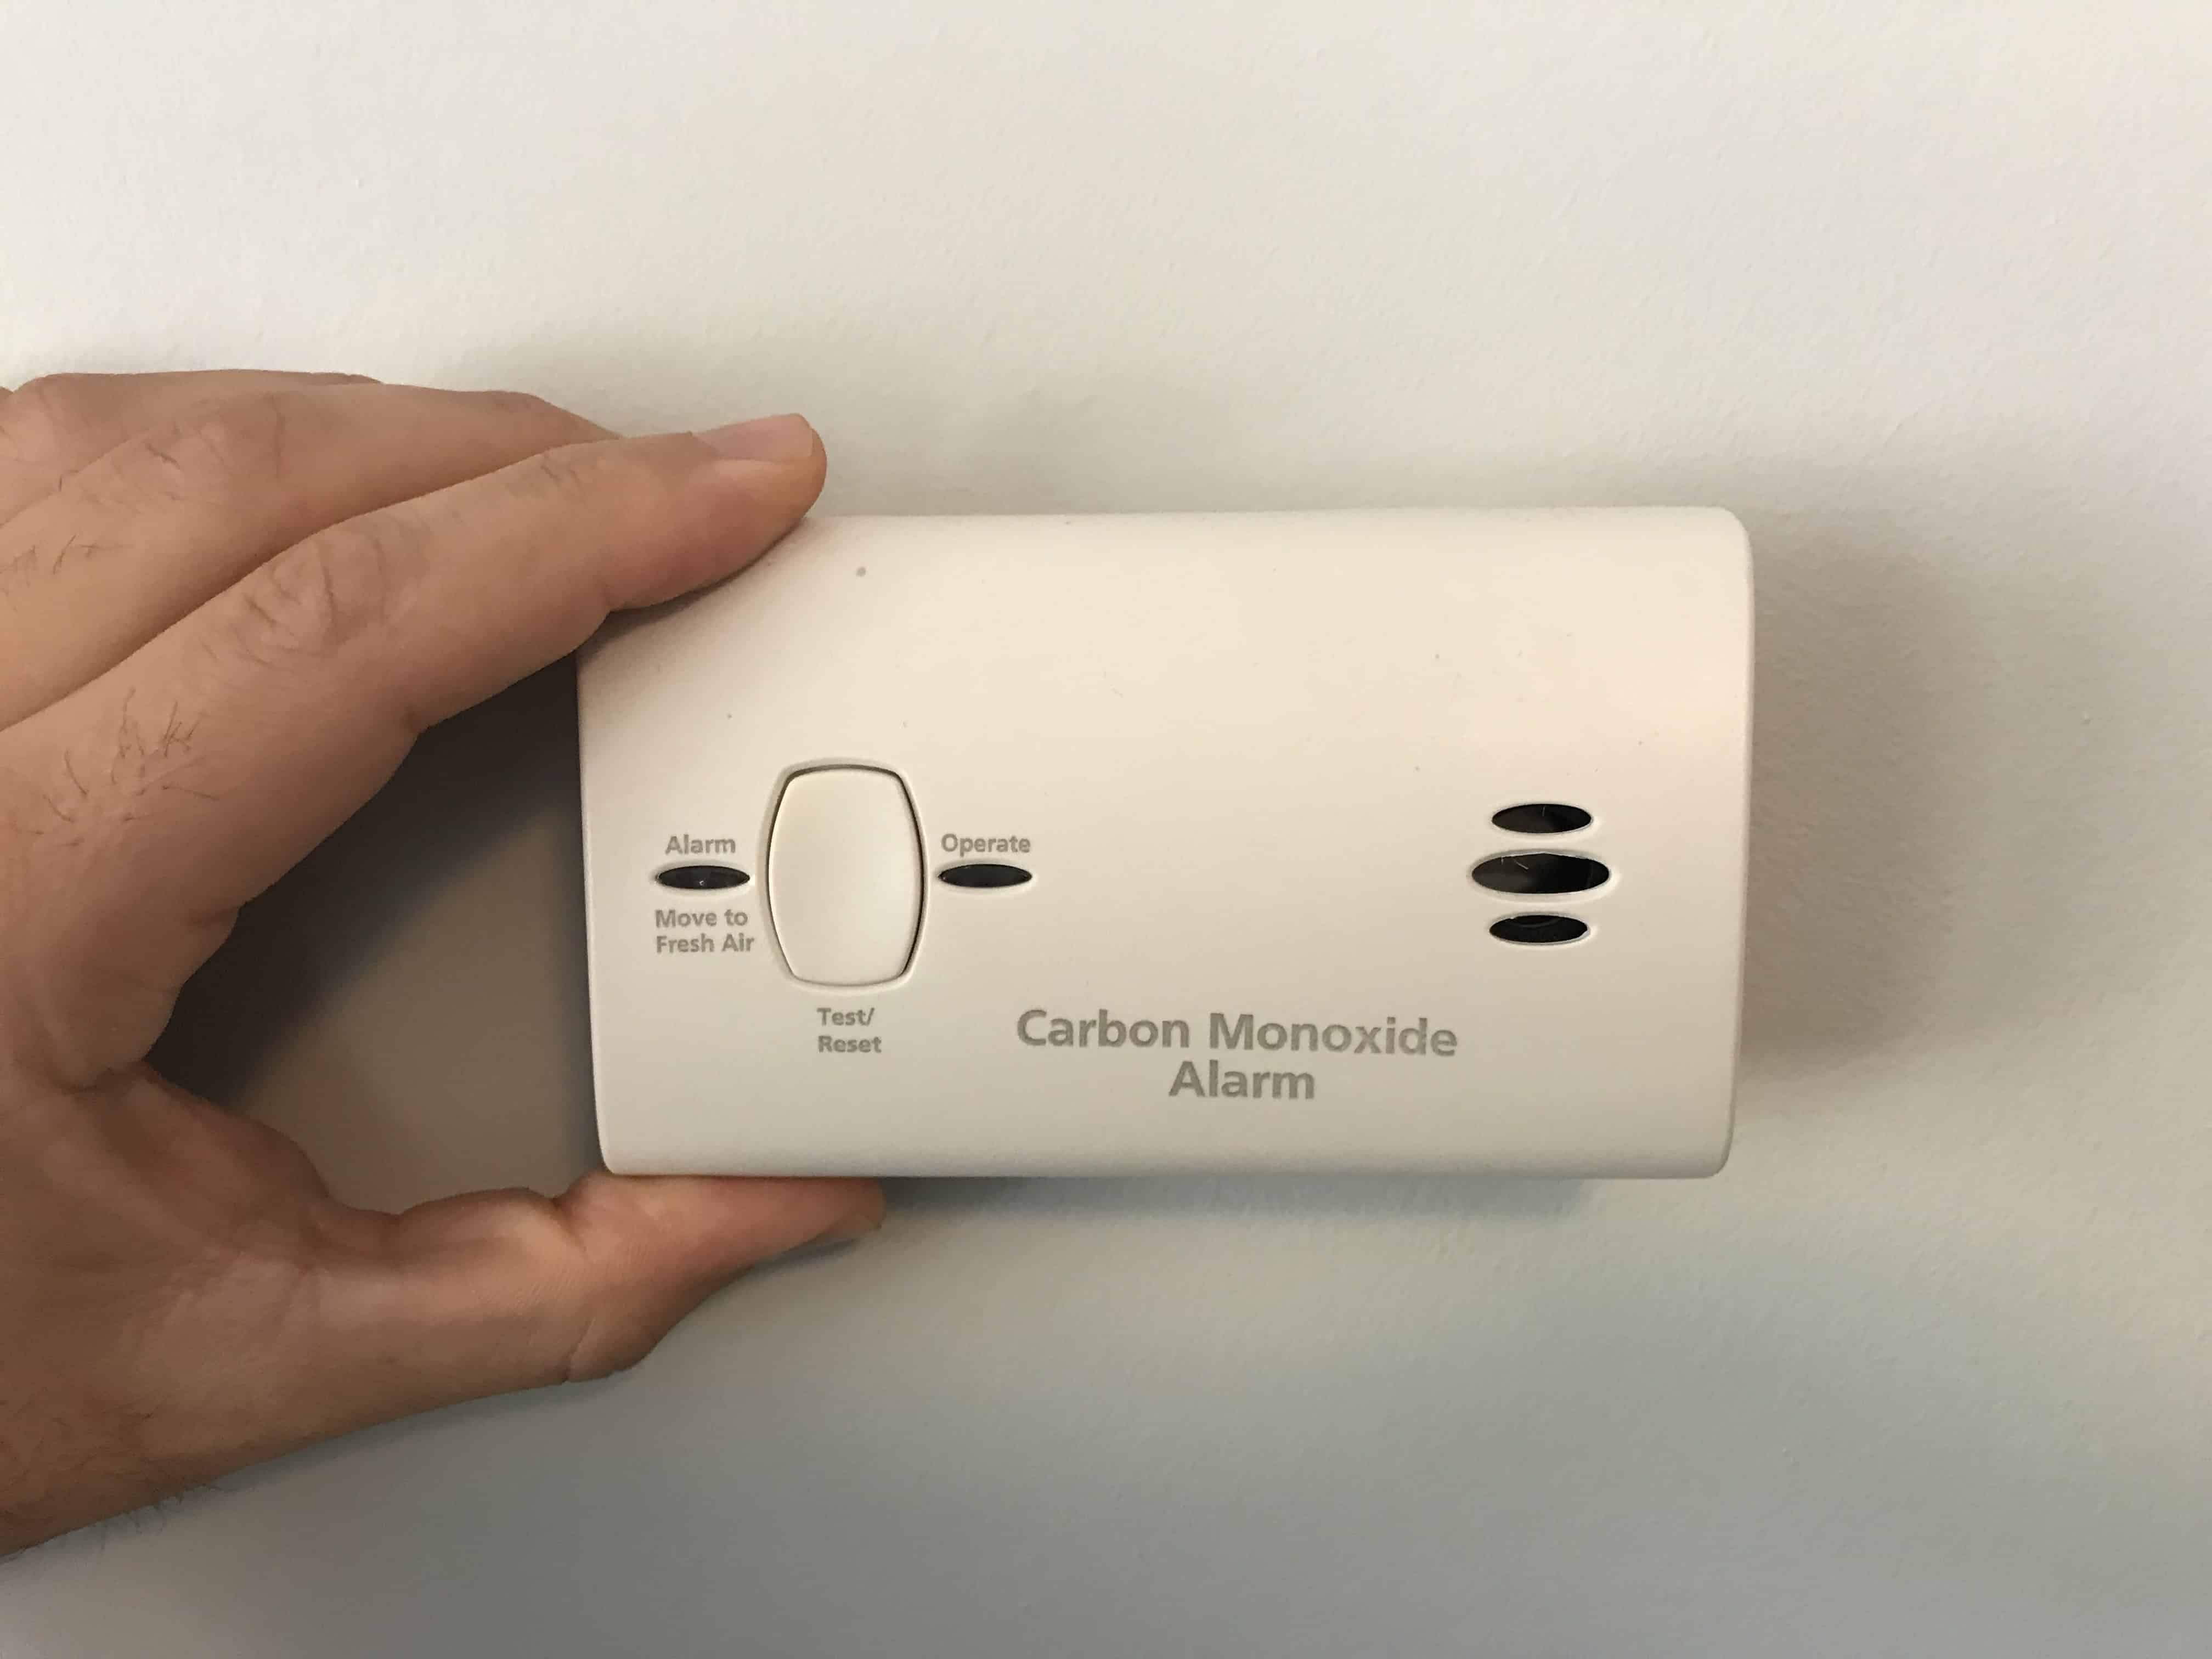
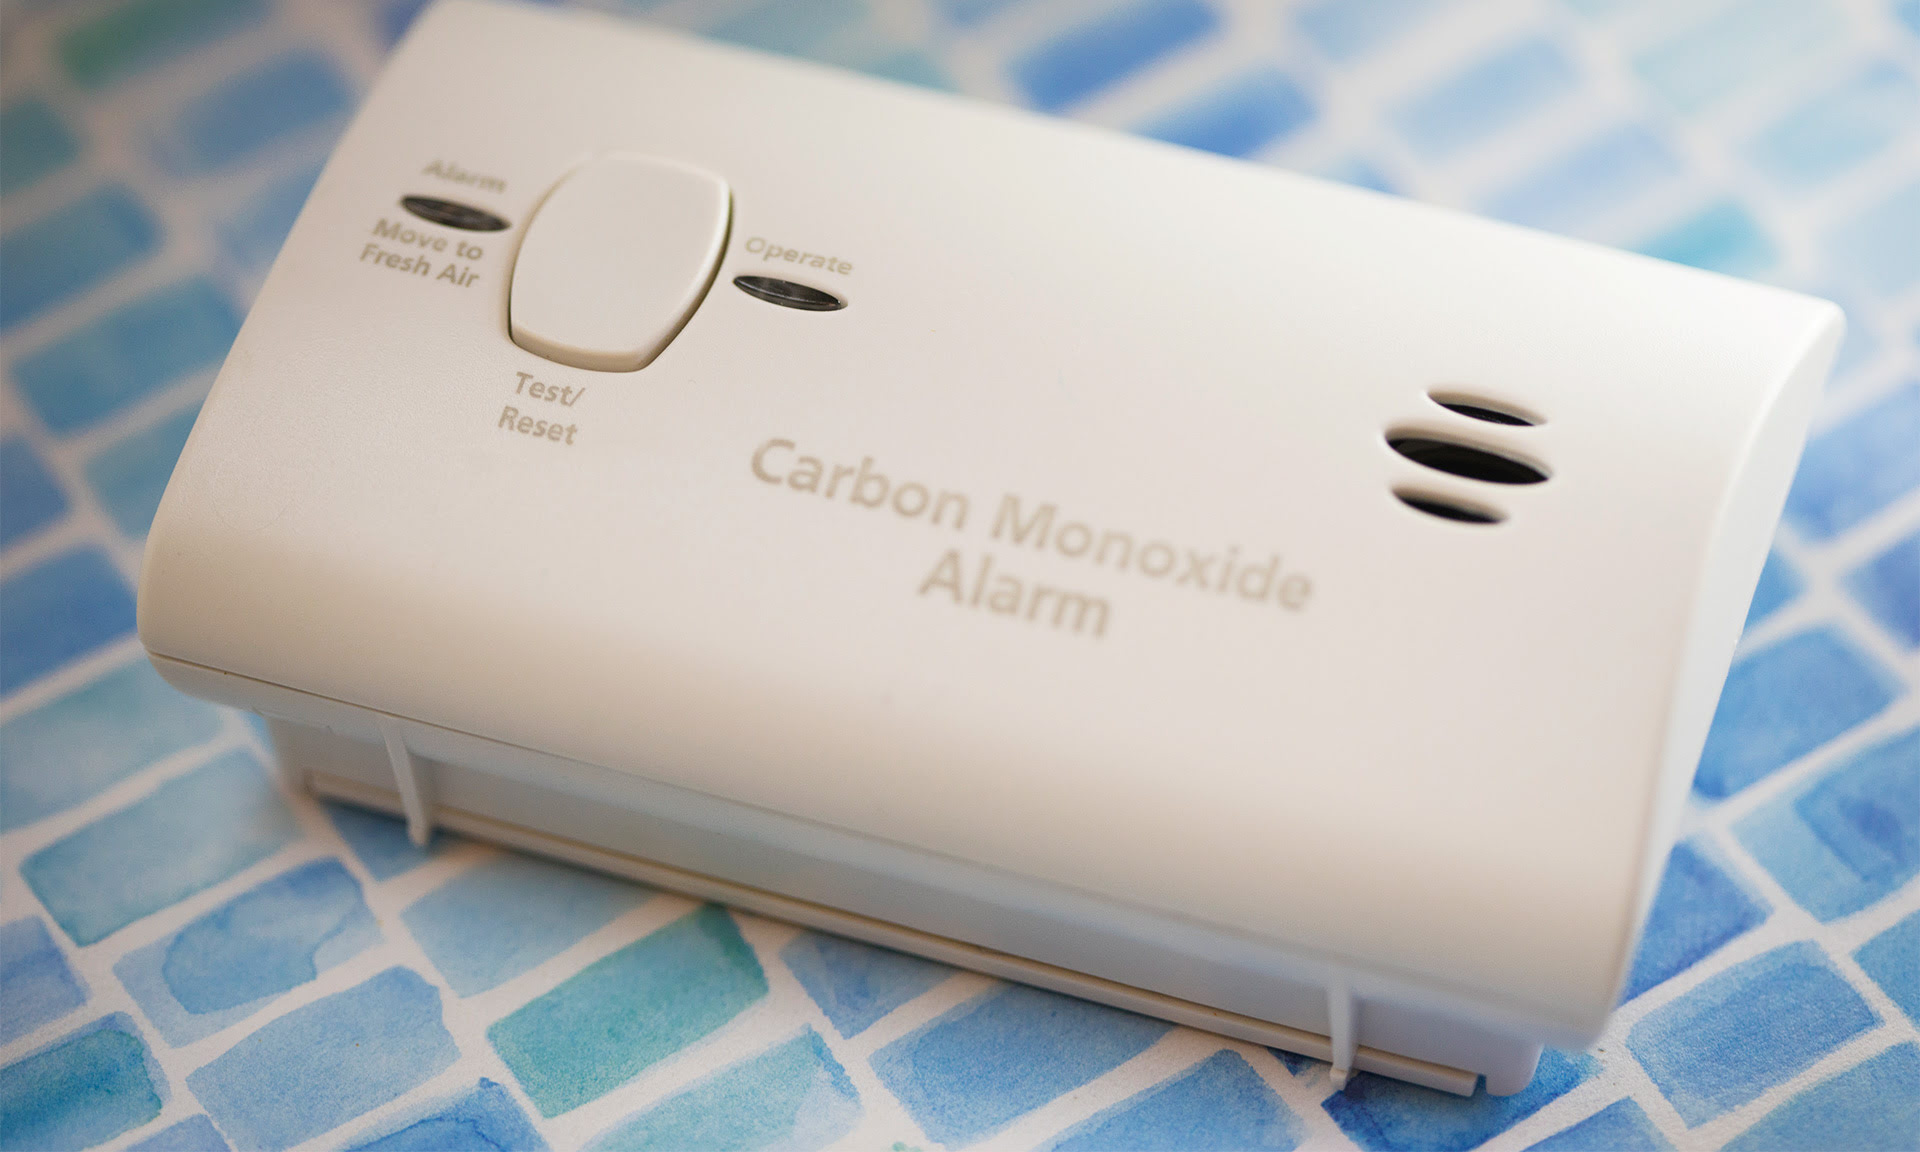
- Test the detector: With the power restored, test the new carbon monoxide detector to ensure it is functioning correctly. Follow the manufacturer’s instructions for the specific testing procedure. Typically, this involves pressing a test button on the detector and waiting for the alarm to sound or the indicator lights to activate.
- Verify functionality: After testing, verify that the carbon monoxide detector is working as intended. Check for proper display, clear indications of detection, and any additional features specific to your model.
It’s important to note that even if your new detector is hardwired, it may still have a battery backup option. Check the manufacturer’s instructions to determine if batteries are required for backup power and ensure they are installed if necessary.
Once you have successfully connected the power source to the new carbon monoxide detector, you can proceed to step 7: testing the detector to confirm its proper functioning.
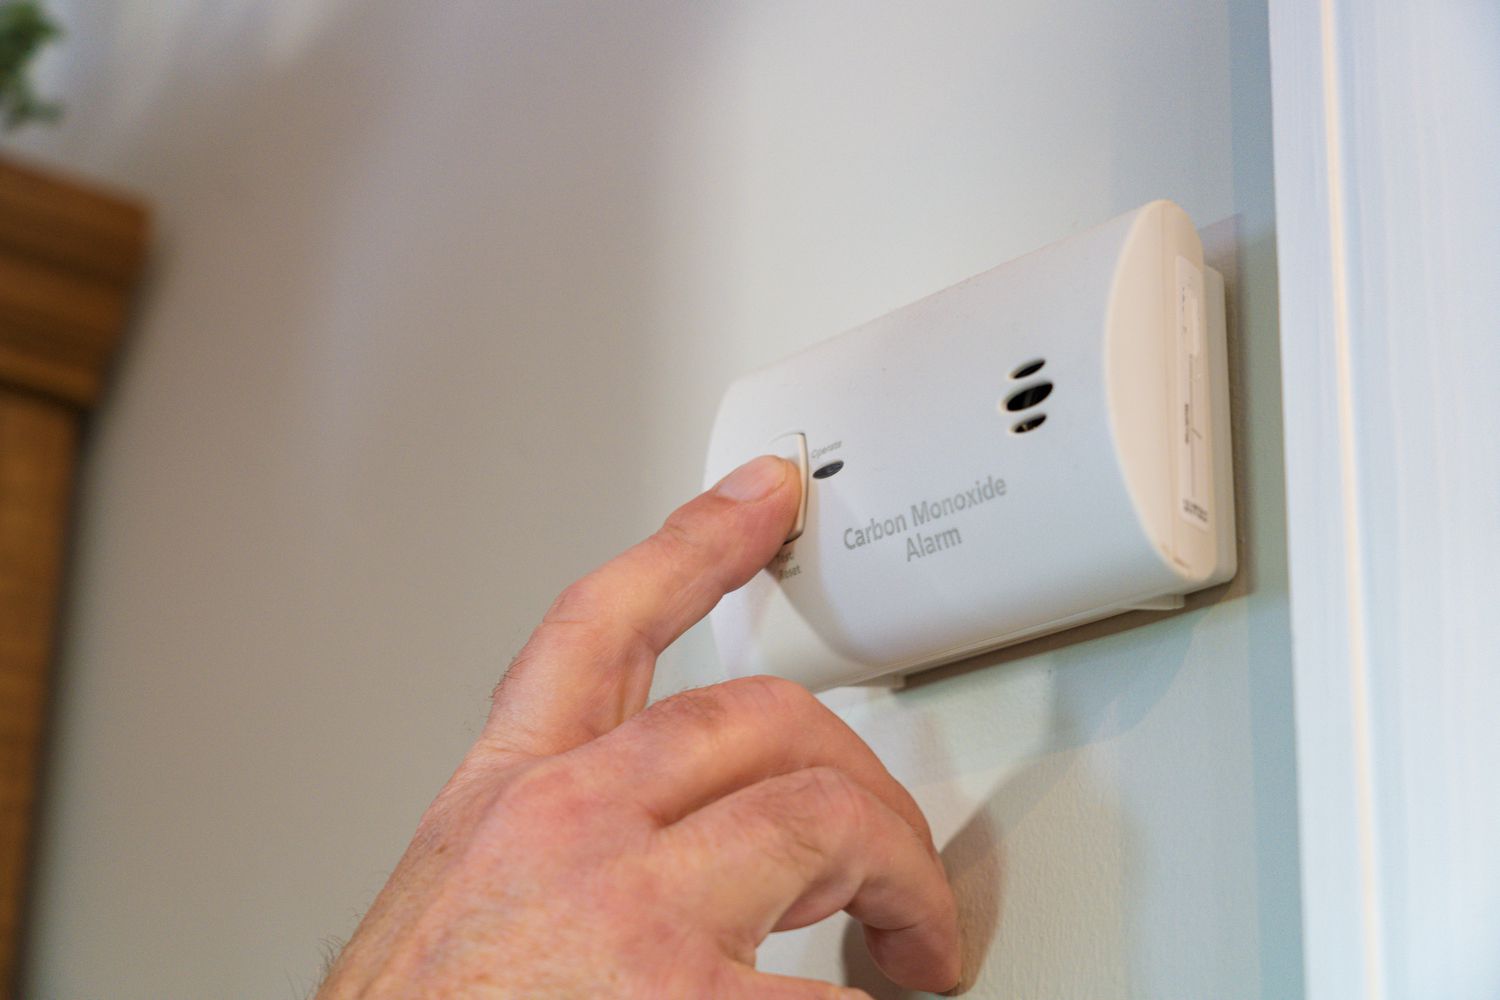
Step 7: Test the new carbon monoxide detector
With the power source properly connected to the new carbon monoxide detector, it’s crucial to test its functionality to ensure it will effectively detect and alert you to the presence of carbon monoxide. Follow these steps to test your new detector:
- Read the manufacturer’s instructions: Before testing the detector, carefully review the instructions provided by the manufacturer. Familiarize yourself with any specific testing procedures or recommendations outlined.
- Prepare the testing environment: To simulate the presence of carbon monoxide during the testing process, you can access a carbon monoxide testing spray or use the test button on the detector itself. Ensure that the testing area is well-ventilated and follow all safety guidelines provided by the manufacturer.
- Activate the test mode: Most carbon monoxide detectors have a designated test button or mode. Press and hold the button, or follow the instructions to activate the test mode. This will initiate a testing sequence that simulates the presence of carbon monoxide.
- Observe the detector’s response: During the test, pay close attention to the detector’s response. Look for audible alerts such as alarms or beeps and check the display for any visual indicators that confirm the detection of carbon monoxide.
- Confirm proper functioning: Once the test is complete, verify that the carbon monoxide detector has accurately detected the simulated carbon monoxide and responded accordingly. Ensure that all alarms, indicators, and functions are working as intended.
- Reset the detector: After testing, reset the carbon monoxide detector to return it to normal operation mode. Refer to the manufacturer’s instructions for the specific reset procedure.
Regularly testing your carbon monoxide detector is crucial for your safety. It is recommended to perform this test at least once a month and replace the batteries as needed. Additionally, always refer to the manufacturer’s instructions for any additional testing and maintenance recommendations.
Once you have tested the new carbon monoxide detector and confirmed its proper functioning, you can proceed to step 8: double-checking for proper installation.
Step 8: Double-check for proper installation
Before concluding the process of replacing your RV carbon monoxide detector, it is essential to double-check the installation to ensure that everything is properly set up and functioning correctly. Follow these steps to perform a final inspection:
- Examine the mounting: Inspect the new carbon monoxide detector’s placement and mounting. Ensure that it is securely attached to the wall or ceiling, with no loose or wobbly parts. Check that the detector is level and aligned properly.
- Inspect the wiring: Review the wiring connections you made during the installation. Make sure that all wires are correctly connected to the appropriate terminals and are tightly secured with electrical tape or wire connectors. Verify that there are no exposed or damaged wires.
- Check for obstructions: Ensure that there are no obstructions in front of or around the carbon monoxide detector that could impede its ability to detect carbon monoxide. Clear any objects or debris that could potentially block the detector’s air vents.
- Review the documentation: Refer to the manufacturer’s instructions and any related documentation for the specific model of carbon monoxide detector you installed. Confirm that you have followed all the recommended steps and guidelines throughout the installation process.
- Perform a final test: To reconfirm the reliability of your carbon monoxide detector, perform one last test. Follow the testing procedure outlined in the manufacturer’s instructions or activate the test mode. Ensure that the detector produces the expected alarms or indicators.
- Record the installation date: Document the date of installation for future reference and to keep track of the recommended replacement timeline for your carbon monoxide detector. This will help ensure that you stay proactive about maintenance and safety.
By carefully double-checking the entire installation, you can have peace of mind knowing that your new carbon monoxide detector is properly installed and functioning correctly. Regularly inspect and review its functionality to ensure its continued effectiveness in detecting carbon monoxide.
Congratulations! You have successfully replaced the carbon monoxide detector in your RV, providing a safer environment while traveling. Remember to regularly test and maintain the detector according to the manufacturer’s instructions to ensure ongoing protection from this silent but dangerous gas.
With the installation complete and the final inspection performed, you can now have confidence in the safety of your RV. Safe travels!
Conclusion
Ensuring the safety of you and your loved ones while traveling in your RV is of utmost importance. Replacing the carbon monoxide detector in your RV is a crucial step in maintaining a safe living environment. By following the step-by-step guide outlined in this article, you now have the knowledge and confidence to successfully replace your RV’s carbon monoxide detector.
Throughout the process, we emphasized the importance of reading the manufacturer’s instructions to understand the specific requirements and guidelines for your carbon monoxide detector model. Adhering to these instructions will ensure proper installation and operation of your new detector.
We started by gathering the necessary tools and materials, including a screwdriver, wire cutters, electrical tape, a new carbon monoxide detector, and replacement batteries if required. The next steps involved finding the current carbon monoxide detector, disconnecting the power source, removing the old detector, and installing the new one in its place. We then discussed connecting the power source and testing the new carbon monoxide detector to ensure its proper functioning.
Finally, we emphasized the importance of double-checking the installation, examining the mounting and wiring, clearing any obstructions, reviewing documentation, and performing a final test. Documenting the installation date and understanding the recommended maintenance guidelines will help keep your carbon monoxide detector in optimal working condition.
Remember to test your carbon monoxide detector regularly, replace batteries as needed, and be mindful of the recommended replacement timeline. Carbon monoxide is a silent and potentially deadly gas, so it’s crucial to prioritize the safety of yourself and your fellow travelers.
We hope this comprehensive guide has provided you with the necessary information and confidence to successfully replace your RV’s carbon monoxide detector. Stay safe and enjoy your travels with the peace of mind that you have taken an essential step in protecting your well-being.
Frequently Asked Questions about How To Replace An RV Carbon Monoxide Detector
Was this page helpful?
At Storables.com, we guarantee accurate and reliable information. Our content, validated by Expert Board Contributors, is crafted following stringent Editorial Policies. We're committed to providing you with well-researched, expert-backed insights for all your informational needs.

0 thoughts on “How To Replace An RV Carbon Monoxide Detector”