Articles
Why Do Ceiling Fans Make Noise
Modified: August 16, 2024
Discover the reasons behind the noise made by ceiling fans in our informative articles. Get tips on reducing noise for a quieter and more comfortable living space.
(Many of the links in this article redirect to a specific reviewed product. Your purchase of these products through affiliate links helps to generate commission for Storables.com, at no extra cost. Learn more)
Introduction
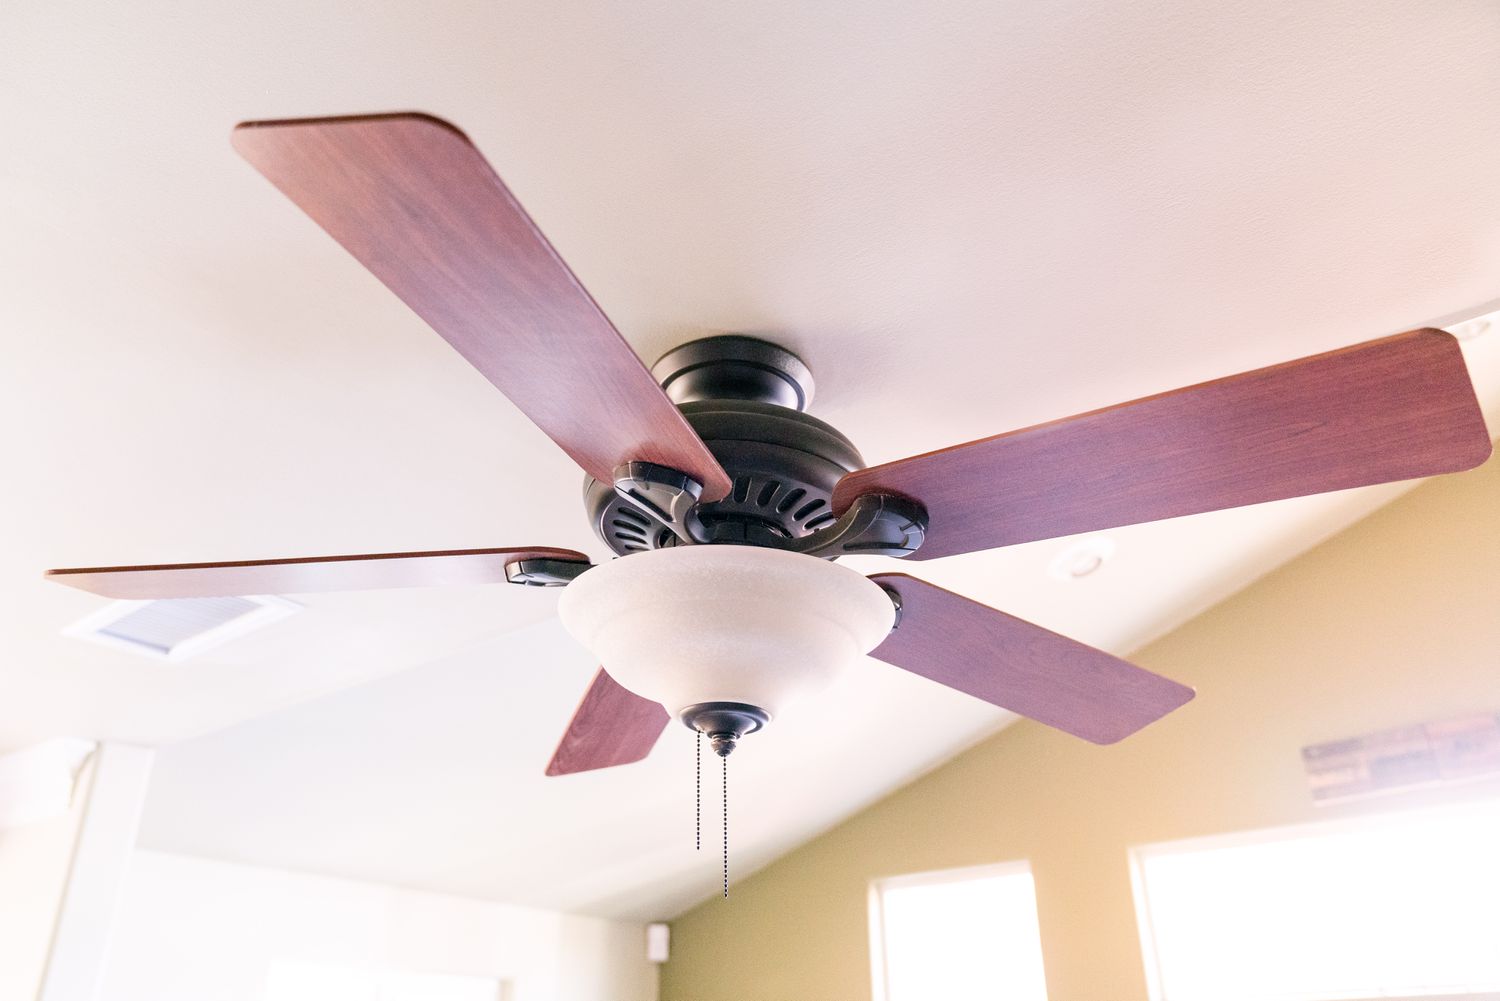
A ceiling fan is a common and practical addition to any home. With its ability to circulate air and provide a cooling breeze, it not only helps to create a comfortable environment but also reduces energy costs. However, one issue that many people experience with ceiling fans is the noise they produce. Whether it’s a constant hum, a rattling sound, or a squeaking noise, a noisy ceiling fan can be quite frustrating and disruptive.
Understanding the factors that contribute to ceiling fan noise can help you address the issue and restore the tranquility in your home. This article will explore the various elements that can cause a ceiling fan to make noise, and provide tips on how to troubleshoot and resolve these problems.
Key Takeaways:
- Understanding the factors contributing to ceiling fan noise, such as blade design, motor quality, and installation, can help you troubleshoot and address noise issues effectively, ensuring a peaceful and comfortable home environment.
- Regular maintenance, cleaning, and proactive troubleshooting, including balancing blades and tightening connections, are essential for keeping your ceiling fan running quietly and efficiently, minimizing noise disruptions in your home.
Read more: Why Does My Attic Fan Make Noise
Factors that Contribute to Ceiling Fan Noise
When it comes to ceiling fan noise, several factors can play a role in its occurrence. By understanding these factors, you can effectively identify and address the source of the noise. Here are some of the main contributors:
1. Blade Design and Angle
The design and angle of the blades are crucial in determining the airflow and noise level produced by a ceiling fan. If the blades are poorly designed or not pitched at the correct angle, it can lead to turbulent airflow, resulting in increased noise. Choosing a fan with well-designed, balanced blades can significantly reduce this issue.
2. Motor Quality and Type
The motor is the heart of a ceiling fan, and its quality and type can greatly influence the noise level. High-quality motors, typically with sealed bearings, tend to operate more quietly. On the other hand, lower-quality motors or those with worn bearings can produce rattling or buzzing sounds. Additionally, different motor types, such as direct current (DC) motors, are generally quieter than alternating current (AC) motors.
3. Mounting and Installation
The way a ceiling fan is mounted and installed can also impact its noise level. If the fan is not securely mounted or if there are loose components, it can result in vibrations and rattling noises. Proper installation, including tight and balanced mounting, can minimize these issues.
Read more: Why Do Ceiling Fans Go In Reverse
4. Age and Wear of the Fan
As with any mechanical device, ceiling fans can experience wear and tear over time. Worn-out parts, such as fan blades or motor bearings, can lead to increased noise. Additionally, older fans may not have the same noise-reducing technologies found in newer models. Regular maintenance and periodic replacement of worn components can help mitigate this issue.
5. Maintenance and Cleaning
Buildup of dust and debris on the blades can cause an imbalance and result in noise. Regular cleaning of the fan blades, as well as the motor housing and other components, can help maintain optimal performance and reduce noise. Lubricating the motor bearings can also prevent friction and reduce noise caused by a dry motor.
6. Vibrations and Balance Issues
Even a small imbalance in a ceiling fan can cause noticeable noise. This can occur if a blade is slightly bent or if the fan is not properly balanced. Vibrations can also be caused by loose screws or faulty installation. Proper balancing and tightening of all components can help eliminate vibrations and resulting noise.
By considering these factors, you can pinpoint the potential sources of noise in your ceiling fan and take appropriate steps to address them. In the following sections, we will discuss specific troubleshooting techniques for common noise problems.
Blade Design and Angle
The design and angle of the blades play a crucial role in both the performance and noise level of a ceiling fan. The shape, size, and pitch of the blades determine how effectively the fan moves air and how much noise it generates in the process.
Blade design has evolved over the years, with manufacturers using different materials and shapes to optimize airflow and reduce noise. The most common blade materials include wood, metal, and plastic. Each material has its own characteristics that can impact the fan’s noise level.
In terms of shape, curved or twisted blades are often designed to improve airflow efficiency while minimizing noise. Additionally, some blades feature serrated edges or other variations that help reduce turbulence and resulting noise.
The angle, or pitch, of the blades also affects the performance and noise level of the fan. Ceiling fans typically have a blade pitch of around 12-15 degrees, although this can vary depending on the specific model. A steeper blade pitch can create stronger airflow but may also generate more noise. Conversely, a shallower blade pitch may reduce noise but may not provide as much air movement.
When choosing a ceiling fan, it’s important to consider the blade design and angle to find a balance between efficient airflow and noise reduction. Opting for a fan with well-designed, balanced blades can significantly minimize noise while still maximizing airflow.
In some cases, you may already have a ceiling fan with noisy blades. If this is the case, there are a few potential solutions you can try:
- Cleaning: Dust and debris on the blades can create an imbalance and lead to noise. Regularly cleaning the blades with a soft cloth or brush can help prevent this issue.
- Balancing: If a blade is slightly bent or misaligned, it can cause vibrations and noise. Use a fan balancing kit or a small adhesive weight to correct any imbalance.
- Replacing: If the blades are damaged or worn, replacing them with new, high-quality blades can eliminate noise issues. Ensure that the replacement blades are compatible with your specific fan model.
By paying attention to the blade design and angle, as well as implementing proper maintenance and corrective measures, you can improve the performance and reduce the noise of your ceiling fan.
Read more: Why Do Central Heating Pipes Make Noise
Motor Quality and Type
The motor is the heart of a ceiling fan, responsible for driving the blades and generating airflow. The quality and type of motor used in a fan can have a significant impact on its noise level.
High-quality motors are designed to operate smoothly and quietly, minimizing vibrations and noise. These motors often incorporate advanced features, such as sealed bearings, to reduce friction and ensure seamless operation. Sealed bearings are designed to last longer and provide smoother rotation, resulting in quieter fan operation over time.
In contrast, lower-quality motors may produce more noise due to various reasons. Worn-out bearings can cause rattling or buzzing sounds, especially at higher fan speeds. Over time, dust and debris can accumulate in the motor housing, affecting its performance and noise level. Additionally, motors with lower-quality components may generate more internal friction, leading to increased noise.
Another factor to consider is the type of motor used in the ceiling fan. There are two common types: alternating current (AC) motors and direct current (DC) motors.
AC motors are the traditional type of motor used in ceiling fans. While they are reliable and widely available, they tend to be noisier compared to DC motors. AC motors operate at a fixed speed and may generate humming or buzzing sounds, especially at higher speeds. They are also more prone to voltage fluctuations, which can impact their performance and noise level.
DC motors, on the other hand, are known for their quiet operation and energy efficiency. These motors utilize electronic circuitry to convert AC power to DC power, allowing for greater control and variable speed settings. DC motors generate less internal friction, resulting in quieter fan operation. They can also operate at lower speeds without sacrificing airflow, making them ideal for bedrooms or areas where noise reduction is a priority.
When selecting a ceiling fan, consider opting for one with a high-quality motor, preferably with sealed bearings. Additionally, if noise reduction is a priority for you, a fan with a DC motor may be a suitable choice.
Regular maintenance of the motor is also crucial to ensure optimal performance and noise reduction. Keep the motor housing clean and free from dust and debris. If you notice any unusual noises or vibrations, it may be a sign of motor issues that require professional attention.
By investing in a ceiling fan with a high-quality motor and performing regular maintenance, you can enjoy a quieter and more comfortable environment in your home.
Mounting and Installation
The way a ceiling fan is mounted and installed can greatly impact its noise level and overall performance. Improper installation or loose components can lead to vibrations and rattling noises, detracting from the fan’s effectiveness and causing annoyance.
When installing a ceiling fan, it is important to ensure that it is securely mounted to the ceiling. A wobbly or unstable fan can create excessive vibrations, resulting in unwanted noise. Follow the manufacturer’s instructions carefully, using the appropriate mounting hardware and ensuring that all screws and fasteners are tightened securely.
Additionally, it is essential to choose the correct mounting option based on your ceiling type. Ceiling fans are typically designed for either flush mount installation or with the use of a downrod. Flush mount fans are installed directly against the ceiling, while downrod-mounted fans are suspended from a rod that extends down from the ceiling. Using the incorrect mounting option can lead to misalignment and increased noise.
During installation, make sure to inspect and tighten all electrical connections properly. Loose wires can create electrical arcing, which can cause buzzing or crackling noises. If you are unsure about electrical work, it is always recommended to hire a professional electrician to handle the installation process.
In some cases, the noise may not be caused by faulty installation but rather by the ceiling itself. If the structure of the ceiling is not sturdy or well-insulated, it can amplify vibrations and noise from the fan. In such situations, additional measures may need to be taken to minimize noise, such as adding rubber isolators or sound-absorbing materials between the fan and the ceiling.
Regularly inspecting the fan after installation is also important. Check for any loose screws or components and tighten them as needed. Over time, vibrations can cause parts to loosen, leading to increased noise. By performing routine checks and maintenance, you can prevent potential noise issues from developing.
By ensuring proper mounting and installation of your ceiling fan, you can minimize vibrations, eliminate unwanted noise, and enjoy a quieter and more comfortable environment in your home.
Age and Wear of the Fan
Just like any other mechanical device, ceiling fans can experience wear and tear over time. The age and condition of the fan can have a significant impact on its noise level. Older fans may lack the advanced noise-reducing technologies found in newer models, making them more prone to generating noise.
As a fan ages, various components can deteriorate or become worn, leading to increased noise. For example, the fan blades can become warped or unbalanced, resulting in vibrations and noise during operation. The motor bearings can also wear down, causing rattling or humming sounds.
In some cases, the noise may be due to loose or worn-out screws and fasteners. These components can become loose over time, causing vibrations and resulting noise. Regularly inspecting and tightening all screws and fasteners can help minimize these issues.
Fortunately, there are steps you can take to address noise issues related to the age and wear of a ceiling fan:
- Regular Maintenance: Performing regular maintenance on your fan can help prevent potential noise problems. Keep the fan clean by dusting the blades and motor housing regularly. Lubricating the motor bearings as per the manufacturer’s instructions can also help reduce friction and noise caused by a dry motor.
- Replacement Parts: If specific components of the fan, such as the blades, motor bearings, or screws, are worn or damaged, consider replacing them with new ones. Ensure that you use compatible replacement parts recommended by the manufacturer.
- Upgrade to a New Fan: If your fan is beyond repair or no longer meets your needs, upgrading to a new model can provide a quieter and more efficient airflow. Look for fans that incorporate noise-reducing technologies and high-quality components.
It’s worth noting that noisy fans due to age and wear may also be an indication of more significant underlying issues. If you have tried maintenance and replacement of worn parts, but the noise persists, it may be beneficial to consult a professional electrician or contact the manufacturer for further assistance.
By staying proactive with maintenance and addressing age-related wear and tear, you can prolong the lifespan of your ceiling fan and ensure that it continues to operate quietly and efficiently.
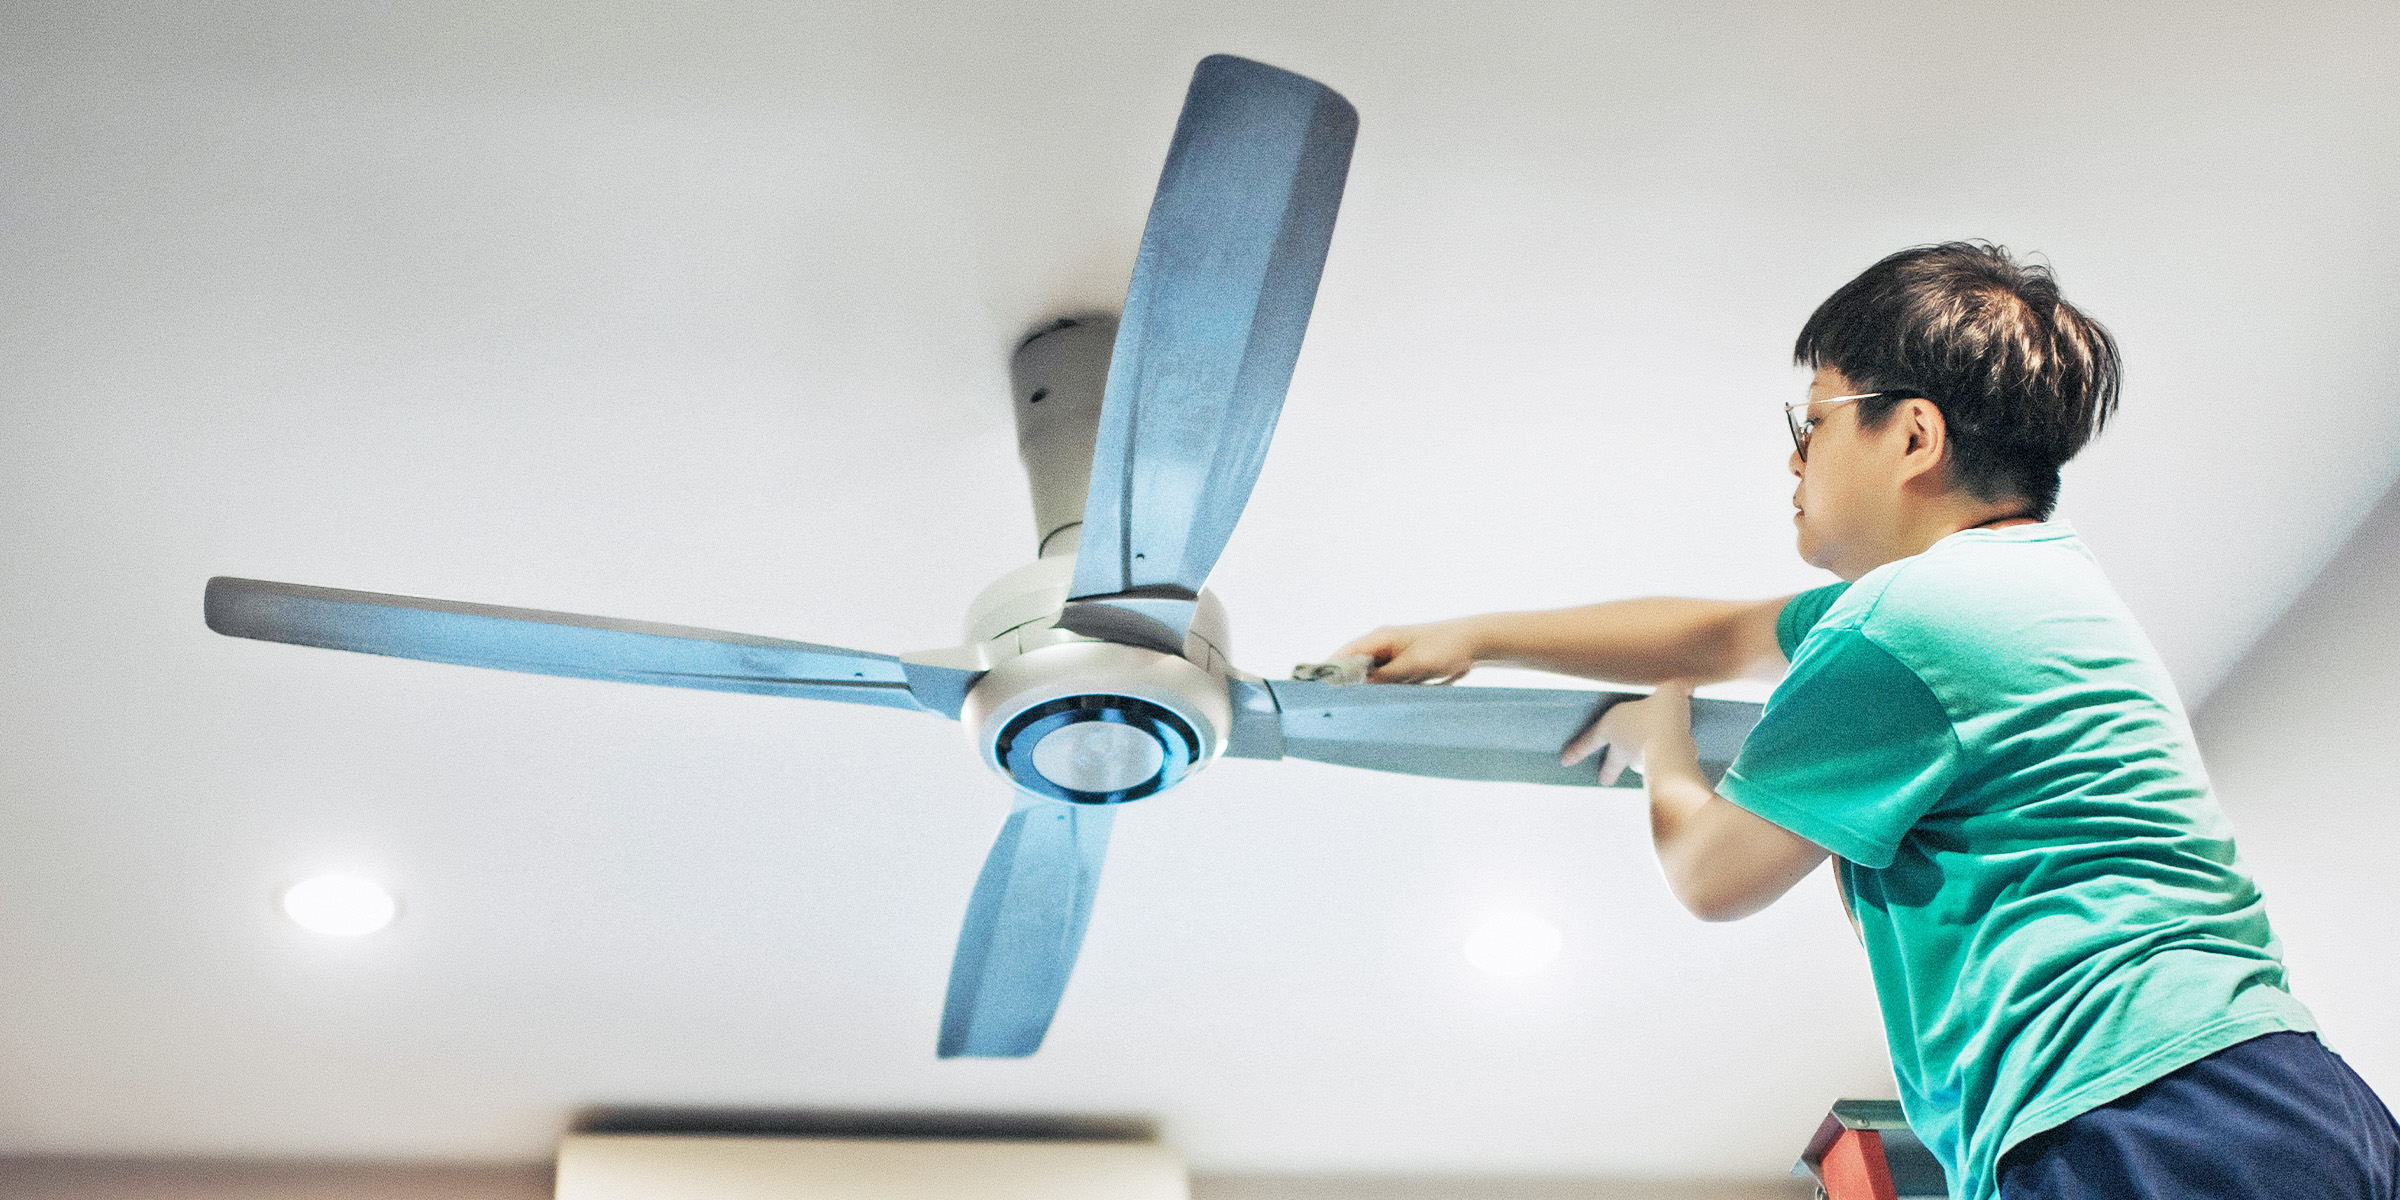
Maintenance and Cleaning
Maintaining a clean and well-maintained ceiling fan is essential for optimal performance and reduced noise. Dust and debris can accumulate on the blades and other fan components, causing imbalances and increasing noise during operation. By incorporating regular maintenance and cleaning into your routine, you can keep your ceiling fan running smoothly and quietly.
Here are some maintenance and cleaning tips for your ceiling fan:
Read more: Why Does Refrigerator Make Noise
1. Regular Dusting
Dust is one of the main culprits behind noisy ceiling fans. Dust particles can accumulate on the blades, disrupting the airflow and creating imbalances. Use a soft cloth or a gentle brush to remove dust from the top and bottom of each blade. Be thorough in your cleaning, paying attention to hard-to-reach areas and corners.
2. Cleaning the Motor Housing
In addition to the blades, the motor housing and other fan components can also collect dust and debris. Use a soft cloth or a vacuum cleaner with a brush attachment to gently remove dust from the motor housing and any other accessible parts. Be cautious while cleaning near the motor to prevent damage to the electrical components.
3. Lubricating the Motor Bearings
Lubricating the motor bearings can help reduce friction and noise caused by a dry motor. Consult the fan’s manual or manufacturer’s instructions for the recommended lubrication method and frequency. Typically, a few drops of lubricating oil applied to the bearings are sufficient. Ensure that you use a lubricant specifically designed for ceiling fans.
4. Tightening Connections
Regularly inspect all screws, nuts, and bolts and ensure that they are tightened securely. Over time, vibrations can cause these connections to loosen, leading to increased noise. Use a suitable screwdriver or wrench to tighten any loose connections, but be careful not to overtighten or strip the screws.
Read more: Why Do My Ceiling Fan Lights Flicker
5. Check for Misaligned Blades
Occasionally, the blades of a ceiling fan can become misaligned, resulting in vibrations and noise during operation. Visually inspect the blades to ensure that they are properly aligned and not bent. If you notice any misalignment, gently adjust the blades back into the correct position using your hands. Avoid applying excessive force to prevent damage.
By incorporating these maintenance and cleaning practices into your routine, you can keep your ceiling fan in optimal condition and minimize noise issues. Regular maintenance not only improves performance but also prolongs the lifespan of the fan, ensuring years of quiet and efficient operation in your home.
Vibrations and Balance Issues
Vibrations and balance issues are common culprits of noisy ceiling fans. Even a slight imbalance in the fan can create noticeable vibrations and result in irritating noises. Fortunately, there are steps you can take to identify and address these issues, restoring the smooth and quiet operation of your ceiling fan.
Here’s what you can do to tackle vibrations and balance issues:
1. Fan Blade Balance Check
Check the balance of your fan blades by performing a simple balance test. Start by turning off the fan and allowing it to come to a complete stop. Using a ruler or a blade balancing kit, measure the distance from the ceiling to the tip of each blade. If there is a significant difference in measurement, it indicates that the blades are unbalanced.
2. Balancing the Blades
If you determine that the fan blades are unbalanced, you can balance them using a blade balancing kit. These kits typically include adhesive weights that can be affixed to the blades to correct any imbalances. Follow the instructions provided with the kit to ensure proper installation. After balancing the blades, run the fan and observe if the vibrations and noise have reduced.
Read more: Why Is My Projector Making Noise
3. Tightening Screws and Connections
Loose screws and connections can also contribute to vibrations and noise in ceiling fans. Inspect all screws, nuts, and bolts, and tighten them as needed using a screwdriver or a wrench. Be careful not to overtighten, as it can cause damage to the fan components.
4. Check the Mounting Bracket
The mounting bracket that attaches the fan to the ceiling can also be a source of vibrations. Ensure that the bracket is securely fastened to the ceiling and that all screws and connections are tight. If you notice any looseness or movement, tighten the screws or seek professional assistance to ensure proper installation.
5. Use Fan Balancing Kits
If balancing the blades and tightening the connections do not resolve the vibrations and noise, you may consider using fan balancing kits. These kits include rubber or foam pads that can be placed between the mounting bracket and the ceiling to absorb vibrations. They can help alleviate vibrations and reduce noise caused by unbalanced fans.
It’s important to note that in some cases, persistent vibrations and noise may indicate more significant mechanical issues with your ceiling fan. If the problem persists despite your efforts to balance and tighten the fan, it may be advisable to consult a professional technician or contact the manufacturer for further assistance.
By taking proactive steps to address vibrations and balance issues, you can restore the smooth and quiet operation of your ceiling fan, allowing you to enjoy a peaceful and comfortable environment in your home.
Troubleshooting Common Noise Problems
While ceiling fans are designed to operate quietly, they can sometimes develop noise issues over time. Identifying the source of the noise and taking appropriate steps to resolve it can help restore the tranquility in your home. Here are some common noise problems you may encounter with ceiling fans and their troubleshooting solutions:
Read more: Why Is My HVAC Making Noise
1. Humming or Buzzing Noise
If your ceiling fan produces a constant humming or buzzing noise, it may be due to several factors:
- Ensure that the fan is securely mounted to the ceiling and all screws and connections are tight.
- Check if the fan is properly balanced. Use a blade balancing kit to correct any imbalances.
- Check the mounting bracket as it can cause vibrations. Ensure it is securely fastened to the ceiling.
- Consider using rubber or foam pads to absorb vibrations between the mounting bracket and the ceiling.
- Try adjusting the fan speed or changing the direction of the blades to see if it affects the noise level.
- If the noise persists, it may be due to internal motor issues. Contact a professional technician for further inspection.
2. Rattling or Clicking Noise
Rattling or clicking noises can be quite distracting. Here are some troubleshooting steps:
- Check for loose screws and connections. Tighten them as needed.
- Inspect the blades for any bends or warping. Straighten or replace damaged blades.
- Ensure that the fan blades do not come into contact with any nearby objects, such as lights or walls.
- Inspect the motor housing for any loose or worn-out parts. Replace or repair as necessary.
- If the noise persists, it may be due to motor issues. Consider contacting a professional for further assistance.
3. Squeaking or Grinding Noise
Squeaking or grinding noises can be quite annoying. Try the following troubleshooting steps:
- Apply a few drops of lubricating oil to the motor bearings to reduce friction. Follow the manufacturer’s instructions for the recommended lubrication method.
- Inspect the fan blades for any debris or dust buildup. Clean the blades thoroughly.
- Check for loose or damaged parts, such as the blade brackets or motor housing. Tighten or repair as needed.
- If the noise persists, it may indicate more serious internal mechanical issues. Consult a professional technician for further assessment.
Remember, troubleshooting and resolving noise problems with your ceiling fan require careful observation and taking appropriate steps. Regular maintenance, cleaning, and proper installation can go a long way in preventing noise issues from arising. If necessary, consult a professional electrician or contact the manufacturer for further assistance.
Conclusion
Noisy ceiling fans can be a nuisance, disrupting the peaceful ambiance of your home. However, by understanding the factors that contribute to ceiling fan noise and implementing the appropriate troubleshooting steps, you can effectively address and resolve these issues.
Factors such as blade design and angle, motor quality and type, mounting and installation, age and wear, maintenance and cleaning, and vibrations and balance all play a role in the noise produced by a ceiling fan. By considering these factors and taking proactive measures, you can enjoy a quiet and comfortable environment in your home.
Regular maintenance and cleaning are essential to keeping your ceiling fan running smoothly and quietly. Dusting the blades, cleaning the motor housing, lubricating the motor bearings, and tightening connections are all part of the maintenance routine that can help prevent noise issues from developing.
In cases where noise problems persist, troubleshooting steps such as balancing the blades, adjusting the fan speed, checking for loose screws and connections, and using rubber or foam pads for vibration absorption can help address specific noise problems effectively.
However, it’s important to note that if the noise continues despite your efforts, or if you suspect more serious mechanical issues, it’s advisable to seek professional assistance. Electricians or technicians experienced in ceiling fan repairs can help identify and resolve complex noise issues.
In conclusion, a quiet and well-functioning ceiling fan is achievable by understanding the factors contributing to noise, implementing regular maintenance, and taking appropriate troubleshooting steps. By maintaining and addressing noise problems promptly, you can ensure a peaceful and comfortable environment in your home, all while enjoying the benefits of a functioning ceiling fan.
Frequently Asked Questions about Why Do Ceiling Fans Make Noise
Was this page helpful?
At Storables.com, we guarantee accurate and reliable information. Our content, validated by Expert Board Contributors, is crafted following stringent Editorial Policies. We're committed to providing you with well-researched, expert-backed insights for all your informational needs.


0 thoughts on “Why Do Ceiling Fans Make Noise”