
Articles
How To Take Off Light Cover On Ceiling Fan
Modified: September 2, 2024
Learn how to easily remove the light cover from your ceiling fan with these helpful articles. Get step-by-step instructions and tips for a successful removal.
(Many of the links in this article redirect to a specific reviewed product. Your purchase of these products through affiliate links helps to generate commission for Storables.com, at no extra cost. Learn more)
Introduction
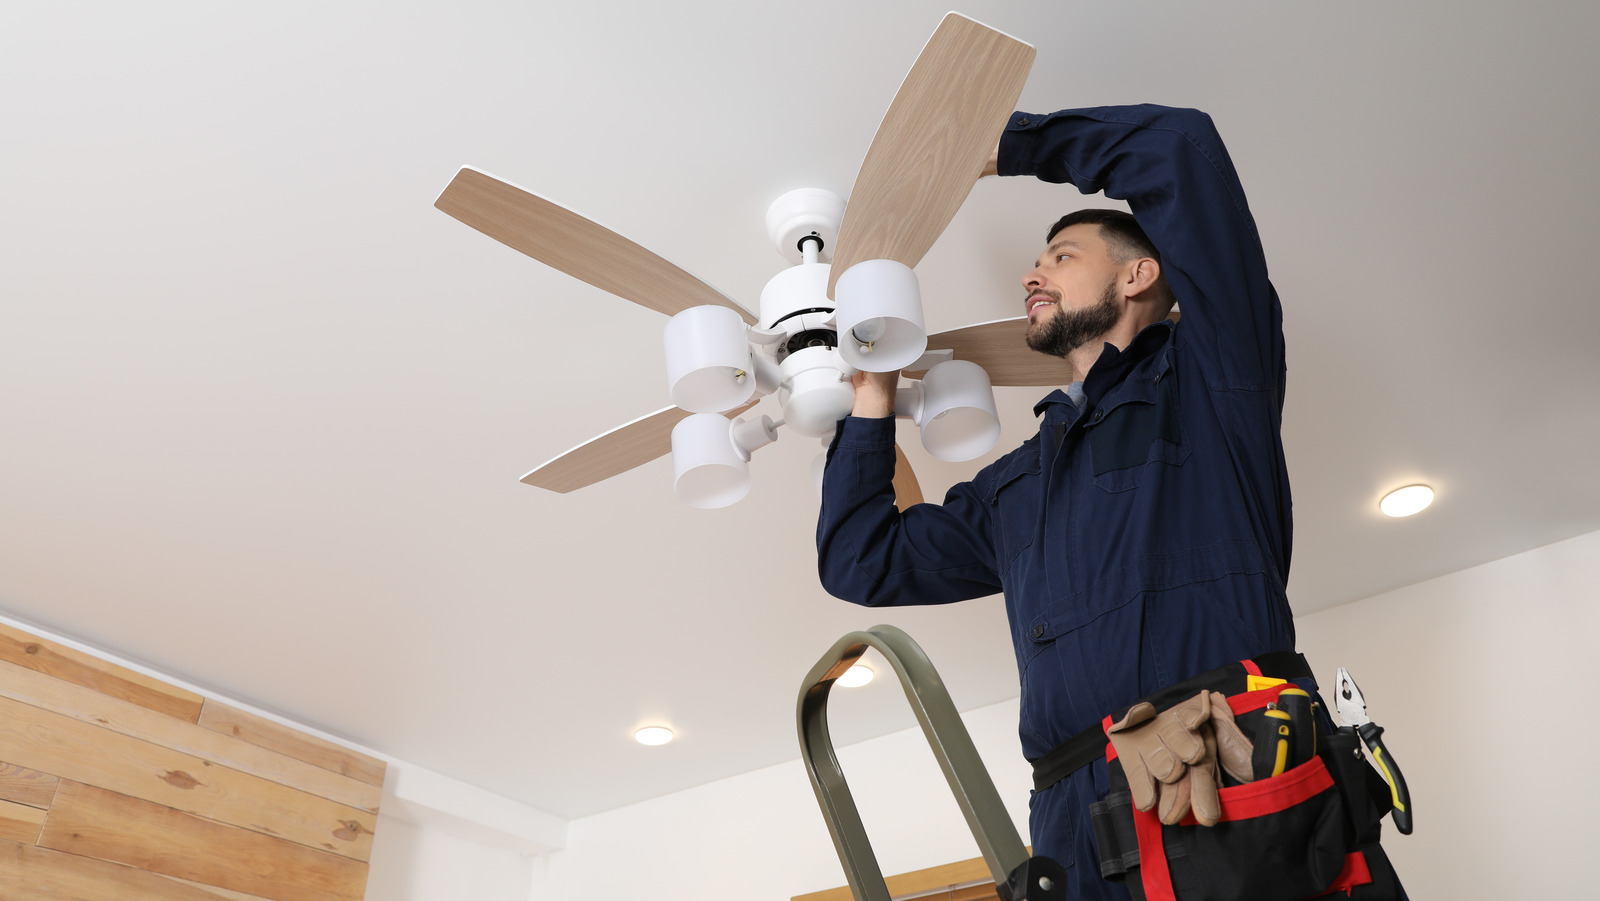
Welcome to this helpful guide on how to take off the light cover on a ceiling fan. Whether you are looking to clean the light cover or replace it with a new one, this step-by-step article will walk you through the process. With the right tools and a little bit of know-how, you’ll have that light cover off in no time.
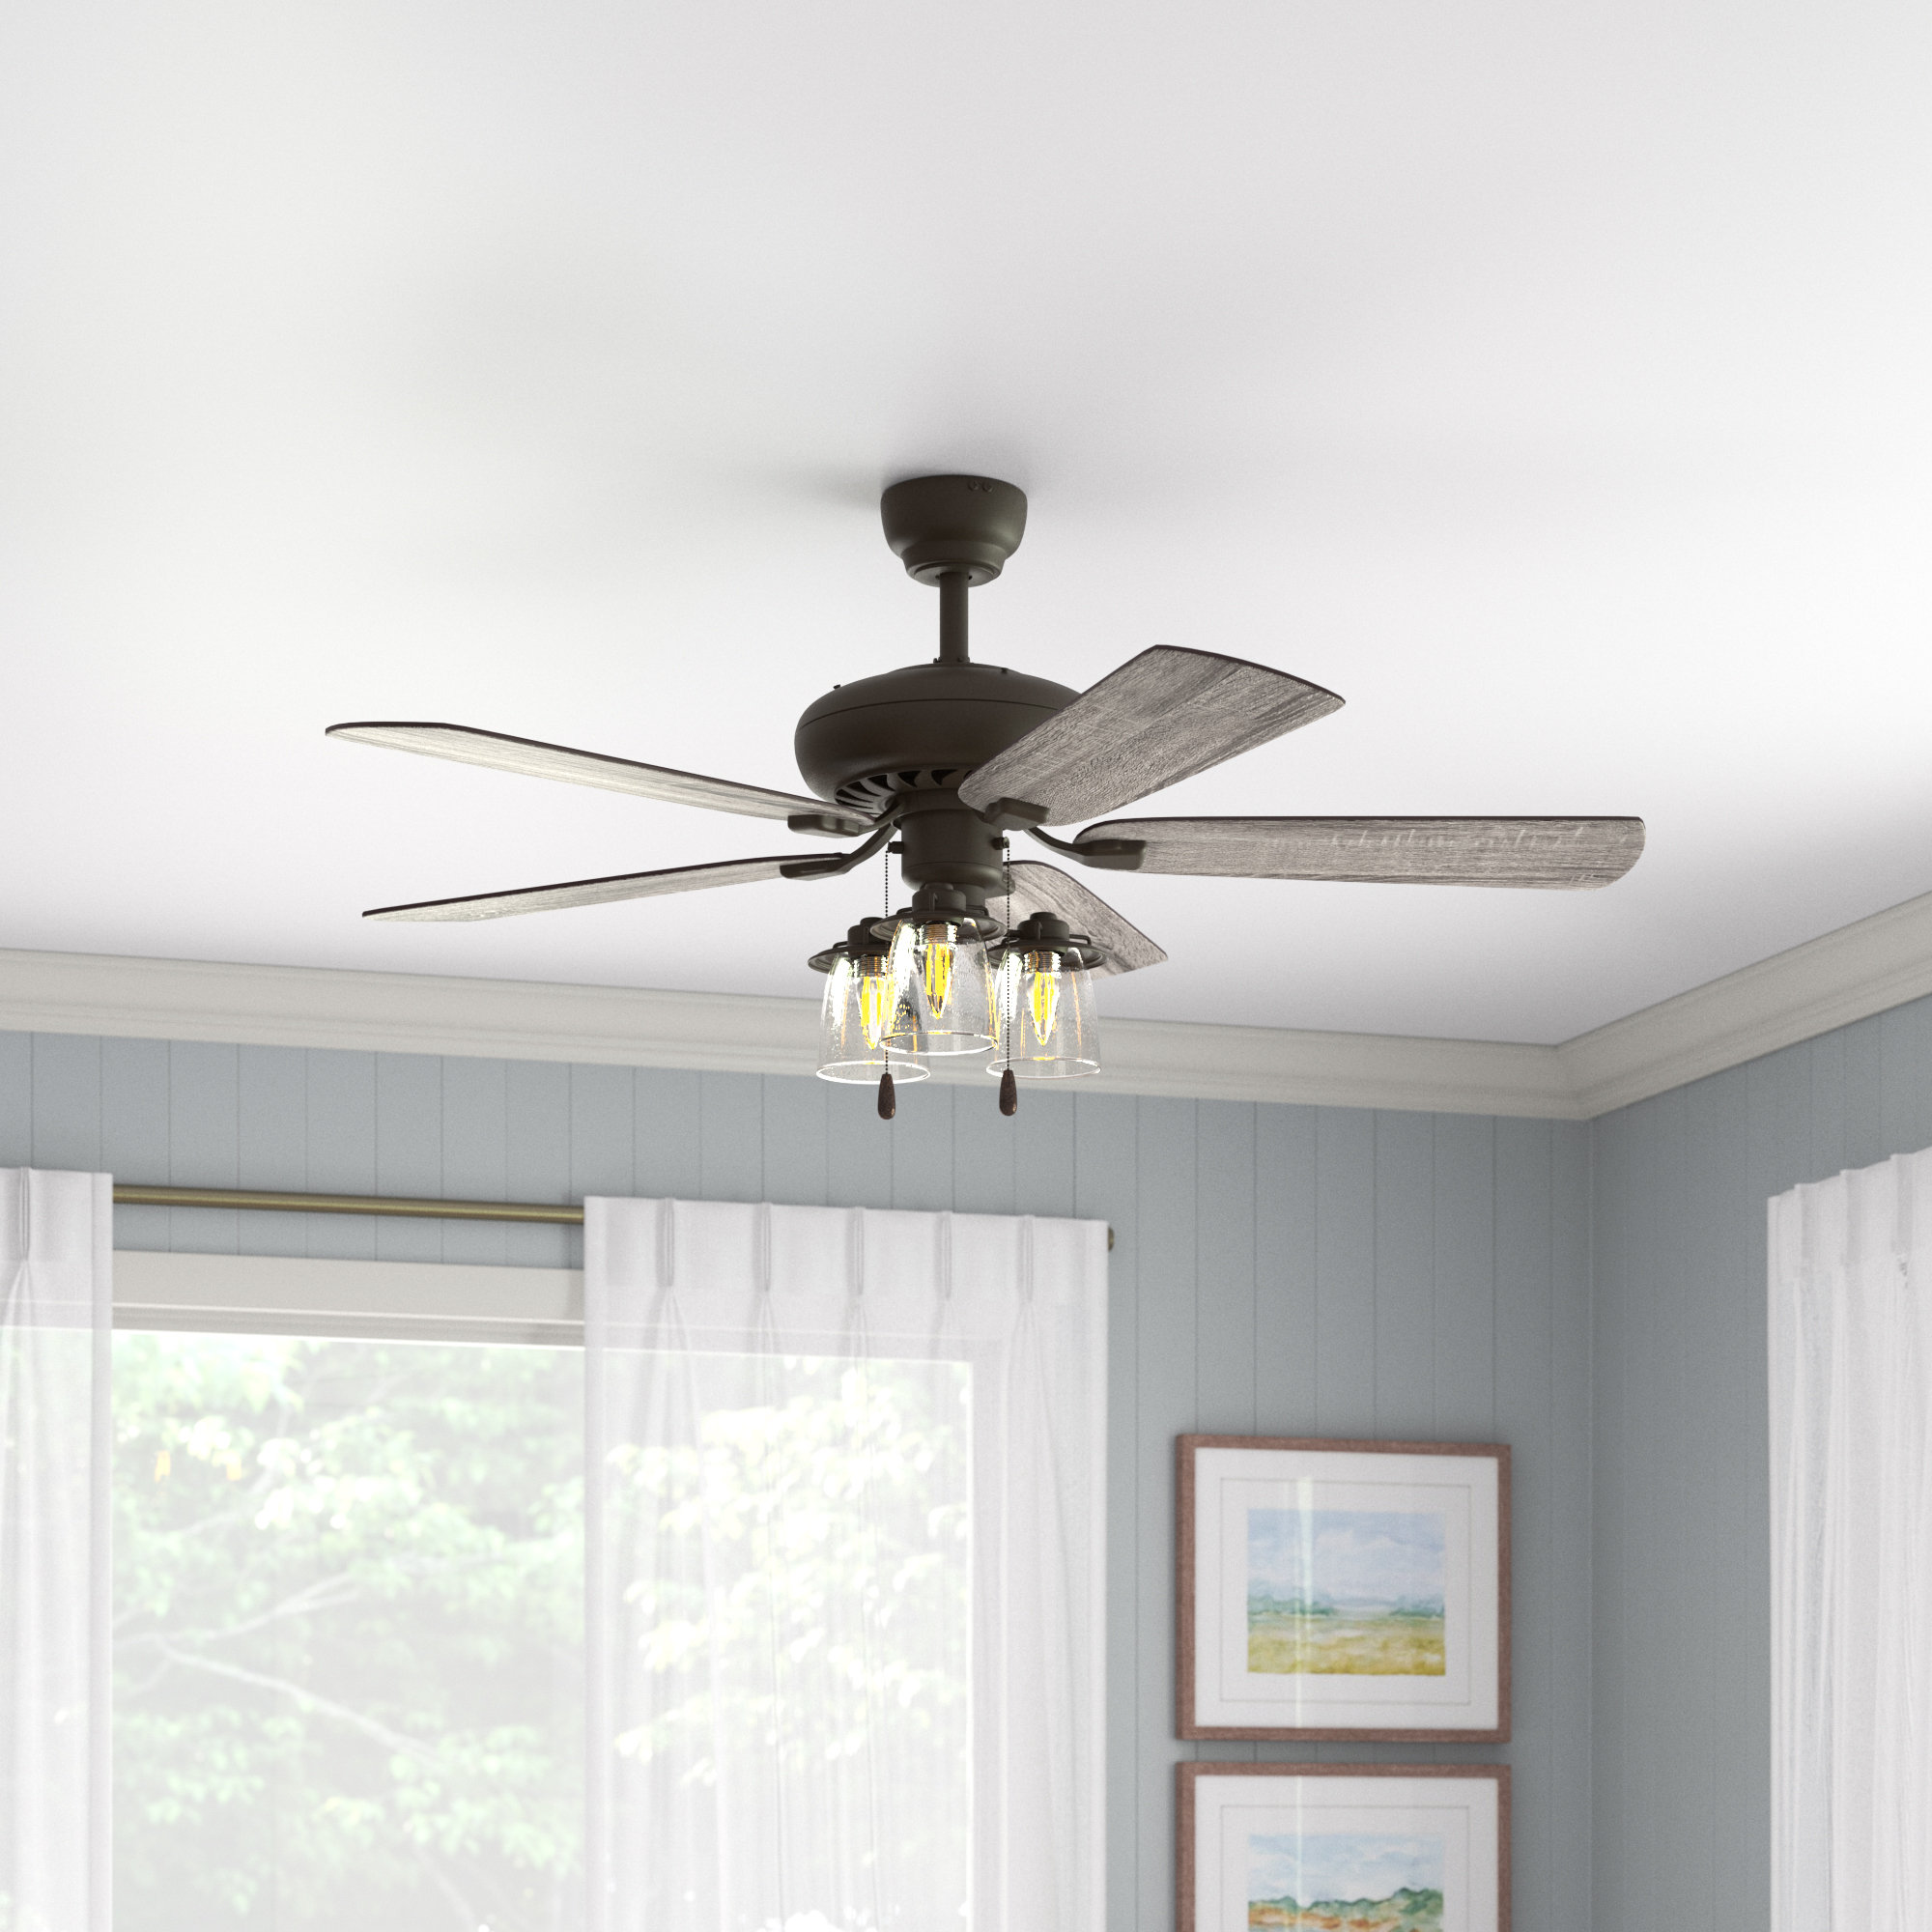
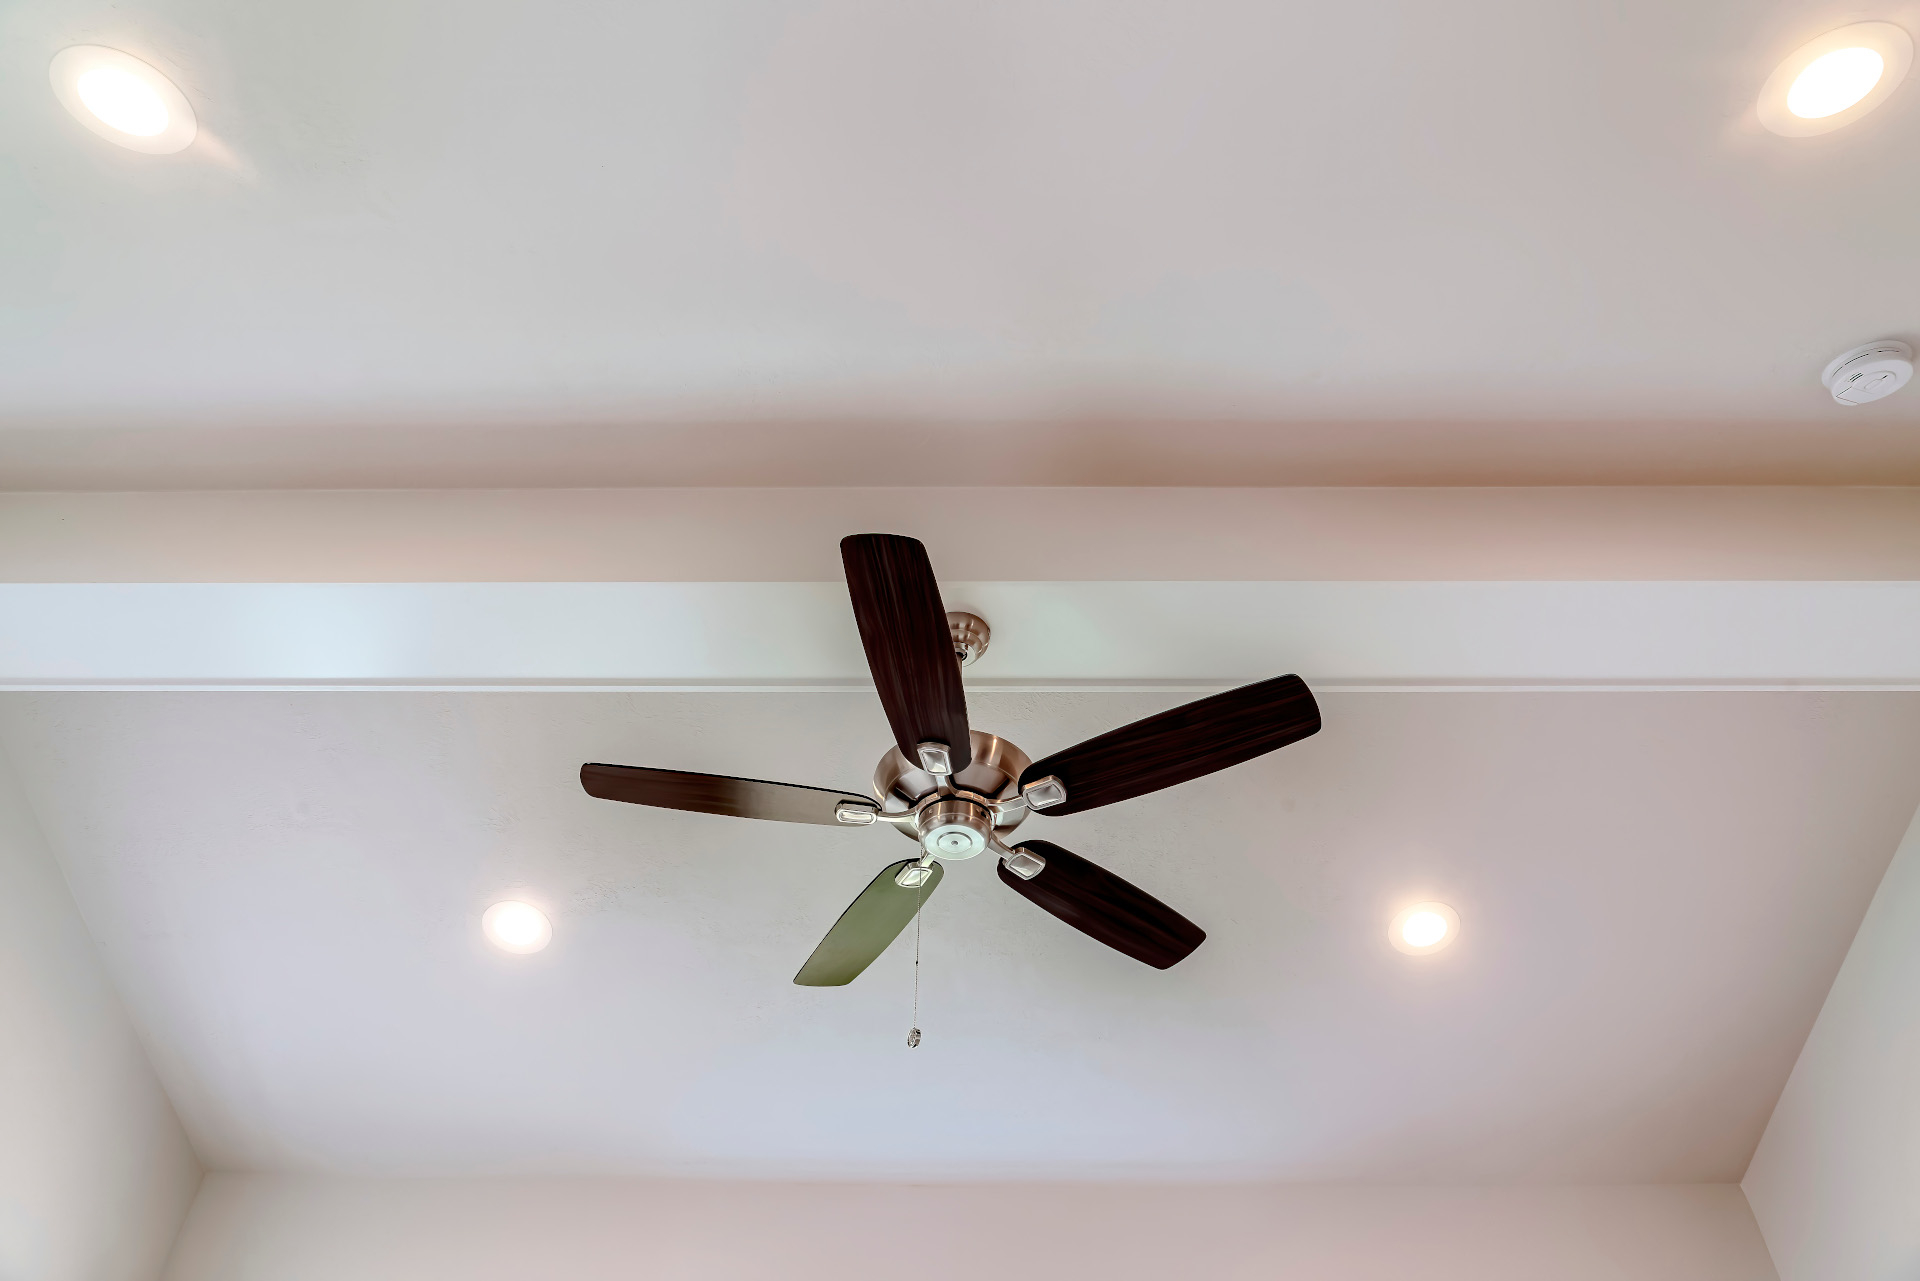
Ceiling fans are a popular fixture in many homes as they provide a cool breeze during the hot summer months and help circulate air throughout the room. They often incorporate a built-in light fixture, which adds to their functionality. However, over time, these light covers can gather dust, and in some cases, they may need to be replaced due to wear and tear or a desire to update the look of the fan.
Before you begin, it’s important to ensure you have the necessary tools and take a few safety precautions. Being prepared will make the process smoother and safer. So, let’s dive in and learn how to take off the light cover on your ceiling fan!
Key Takeaways:
- Easily remove and clean or replace the light cover on your ceiling fan by following simple steps and ensuring safety with the right tools and precautions.
- Refresh the look and functionality of your ceiling fan by safely detaching, cleaning or replacing, and reattaching the light cover, creating a cool and well-lit living space.
Read more: How To Take Off A Ceiling Light
Step 1: Prepare the necessary tools
Before you start the process of removing the light cover on your ceiling fan, it’s important to gather all the necessary tools. This will ensure that you have everything you need within reach and minimize any interruptions during the process. Here are the tools you’ll need:
- A stepladder or sturdy stool: Since most ceiling fans are mounted at a height, you will need a safe and secure platform to reach the light cover. Make sure the ladder or stool is stable and in good condition.
- A screwdriver or a drill with a compatible screwdriver bit: Depending on your specific ceiling fan model, you will either need a flathead or Phillips screwdriver. If your light cover is held in place with screws, a drill with a compatible screwdriver bit will make the process quicker and easier.
- Safety goggles or glasses: Safety should always be a top priority. Protect your eyes from any dust or debris that may fall during the removal process by wearing safety goggles or glasses.
- A soft cloth or microfiber towel: To prevent any scratches or damage to the light cover or the fan, have a soft cloth or microfiber towel ready. This will come in handy if you need to clean the light cover or handle it during the removal process.
- A dusting brush or vacuum cleaner: If you plan on cleaning the light cover while it’s removed, a dusting brush or a vacuum cleaner with a brush attachment can be helpful in removing any accumulated dust or debris.
Once you have gathered all the necessary tools, you’re ready to move on to the next step. So, let’s turn off the ceiling fan and ensure a safe working environment.
Step 2: Turn off the ceiling fan
Before you start working on removing the light cover, it’s crucial to ensure that the ceiling fan is turned off. This will prevent any accidental contact with the fan blades and reduce the risk of injury. Follow these steps to turn off the ceiling fan safely:
- Locate the wall switch or remote control that controls the fan. If you’re using a wall switch, flip it to the “off” position. If you’re using a remote control, press the power button to turn off the fan.
- Wait for the fan blades to come to a complete stop. This may take a few moments depending on the fan’s speed settings.
- Verify that the fan is indeed turned off by gently pulling on one of the blades. If it doesn’t move, you can proceed confidently.
By ensuring the ceiling fan is turned off, you eliminate the risk of the fan unexpectedly turning on while you’re working on removing the light cover. This step is essential for your safety.
Once you’re certain that the ceiling fan is off, you can move on to the next step, which involves removing any bulbs or lamp shades that may be attached to the light cover.
Step 3: Remove any bulbs or lamp shades
Now that the ceiling fan is turned off, it’s time to remove any bulbs or lamp shades that are attached to the light cover. This will make it easier to access the screws or clips holding the light cover in place. Follow these steps to safely remove the bulbs and lamp shades:
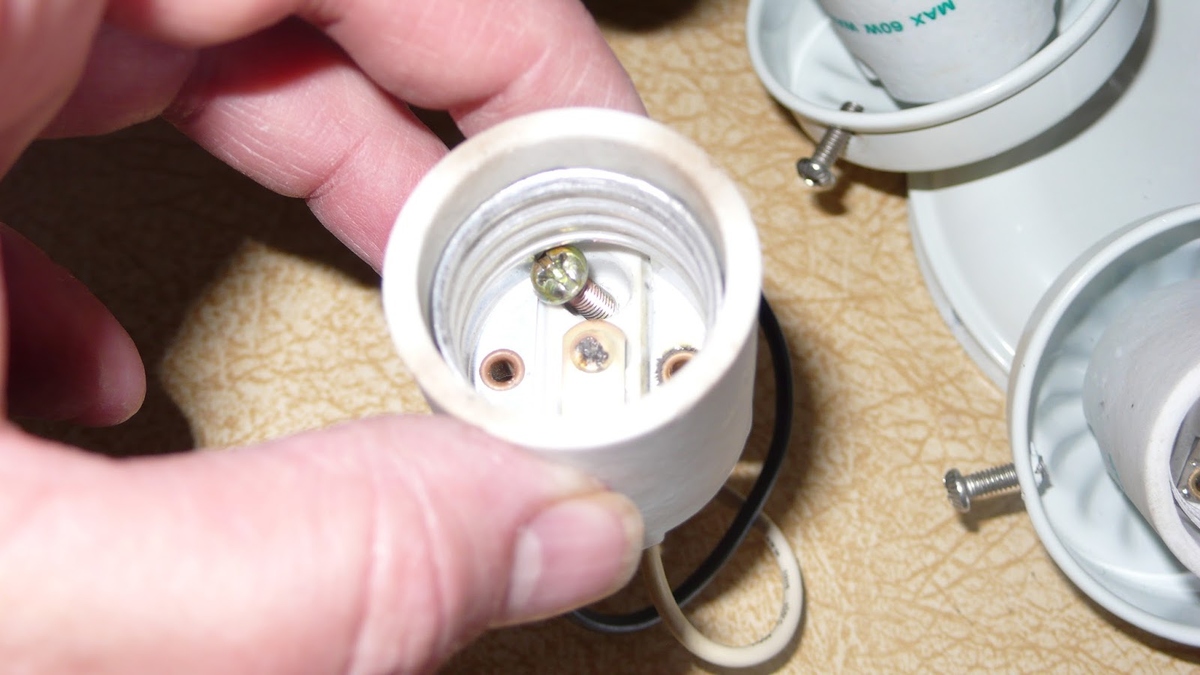
- If your ceiling fan has bulbs, let them cool down if they have been recently used. Hot bulbs can cause burns, so it’s important to wait until they have cooled down before touching them.
- If there are lamp shades covering the bulbs, gently twist them counterclockwise to unscrew them. Depending on your fan model, it may require a slight tug or twist to release them from the socket.
- Once the lamp shades have been removed, carefully unscrew the bulbs counterclockwise to detach them from the socket. Place the bulbs in a safe location to prevent them from breaking.
- If your ceiling fan uses different types of bulbs or has multiple sockets, remove all the bulbs accordingly.
By removing the bulbs and lamp shades, you create a clear pathway to access the light cover. It also prevents any accidental damage to the bulbs or lamp shades during the removal process.
Once you have safely removed the bulbs and lamp shades, it’s time to move on to the next step. In Step 4, we will locate and identify the screws or clips holding the light cover in place.
Step 4: Locate and identify the screws or clips holding the light cover
Now that the bulbs and lamp shades have been removed, it’s time to locate and identify the screws or clips that are holding the light cover in place. The exact method of attachment can vary depending on the model and design of your ceiling fan. Follow these steps to find and identify the screws or clips:
- Take a closer look at the light cover to see if there are any visible screws or clips. These are usually located around the perimeter or on the sides of the cover. Some light covers may have a combination of both screws and clips.
- If you notice screws, determine the type and size of the screw head. It could be a Phillips screw or a flathead screw. This will help you choose the appropriate screwdriver or screwdriver bit for removal later on.
- If your light cover has clips, inspect them to see if they can be easily unclipped. Some clips may require a gentle push or twist to release, while others may have a small latch that needs to be pressed down to unlock.
- If you have difficulty locating the screws or clips, refer to the ceiling fan’s user manual. It may provide specific instructions or illustrations on how to access and remove the light cover.
By identifying the screws or clips, you’ll have a better understanding of how the light cover is attached to the ceiling fan. This will prepare you for the next step, where we will focus on loosening and removing the screws or unclipping the light cover.
Before proceeding to Step 5, ensure that you have the necessary tools on hand, specifically the screwdriver or drill with a compatible screwdriver bit if screws are involved. Safety goggles or glasses should also be worn to protect your eyes during the removal process.
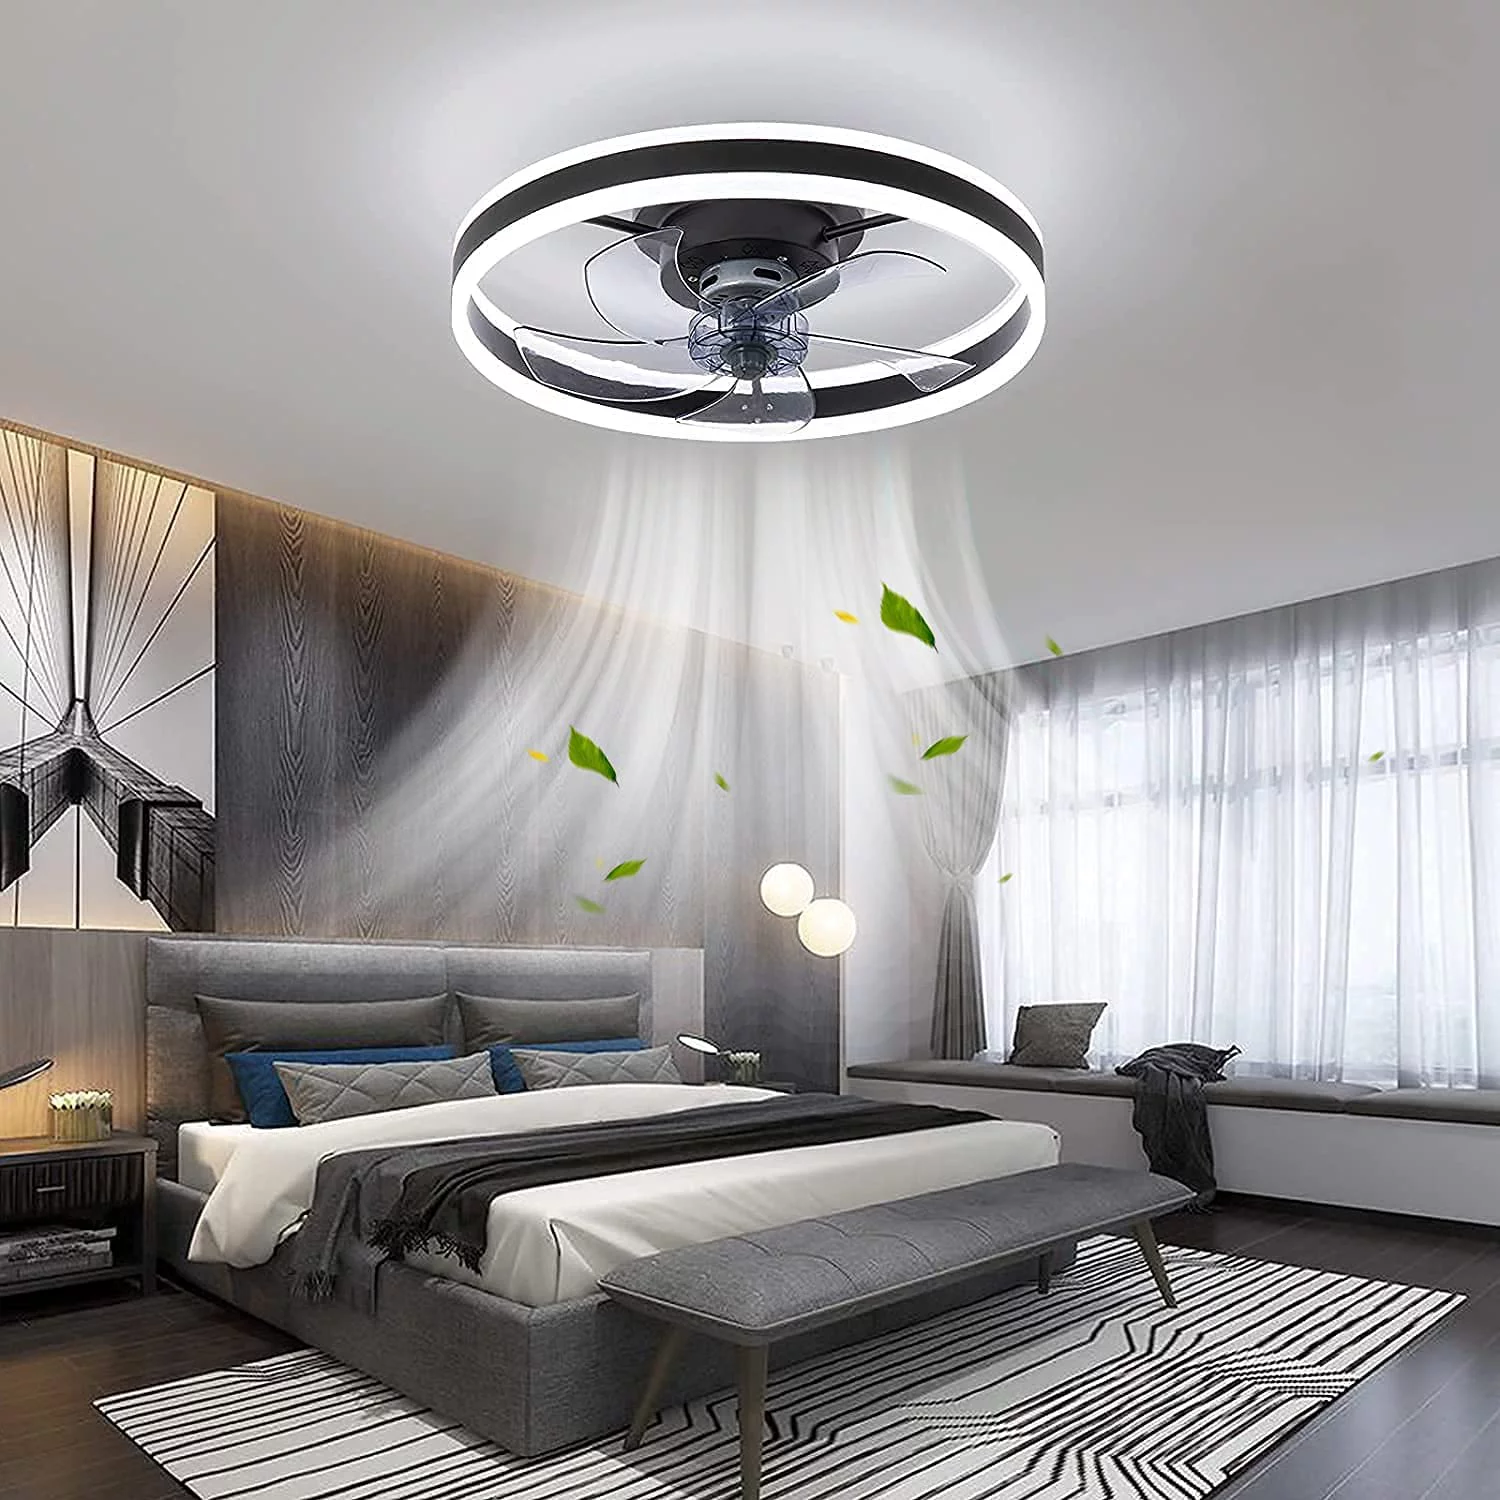
Read also: 10 Amazing Ceiling Fan Light Covers for 2025
Step 5: Loosen and remove the screws or unclip the light cover
Now that we know where the screws or clips are located, it’s time to loosen and remove them to detach the light cover from the ceiling fan. Follow these steps to safely remove the screws or unclip the light cover:
- If your light cover is held in place with screws, use the appropriate screwdriver or drill with a compatible screwdriver bit. Insert the screwdriver into the screw head and turn it counterclockwise to loosen the screws. Be sure to apply steady pressure and avoid using excessive force to prevent damage to the light cover or the ceiling fan.
- If your light cover is held in place with clips, gently push or twist the clips to release them. Some clips may have a small latch that needs to be pressed down while others may simply require a firm push or twist. Be cautious and take your time to avoid any accidents or damage.
- Continue removing the screws or unclipping the light cover until all attachments have been released. Keep the screws or clips in a safe place to prevent them from getting lost.
Once all the screws have been loosened or the clips have been released, the light cover should be free from the ceiling fan. Take care not to drop the light cover during this step, as it can potentially break or cause injury if mishandled.
In the next step, we will focus on carefully detaching the light cover from the ceiling fan to complete the removal process.
Before proceeding to Step 6, make sure you have a soft cloth or microfiber towel nearby to handle the light cover and to protect it from scratches or damage.
Use a screwdriver to remove the screws holding the light cover in place. Gently lower the cover and replace the bulb if needed. Be careful not to force or break the cover.
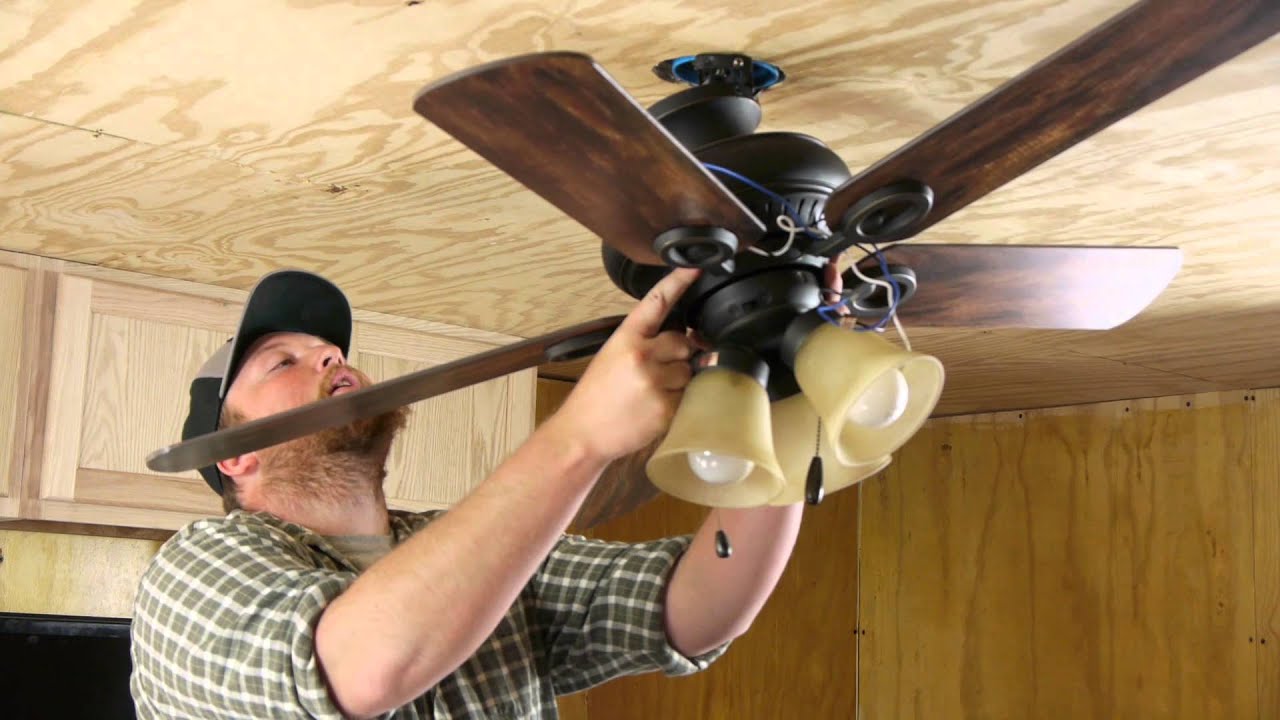
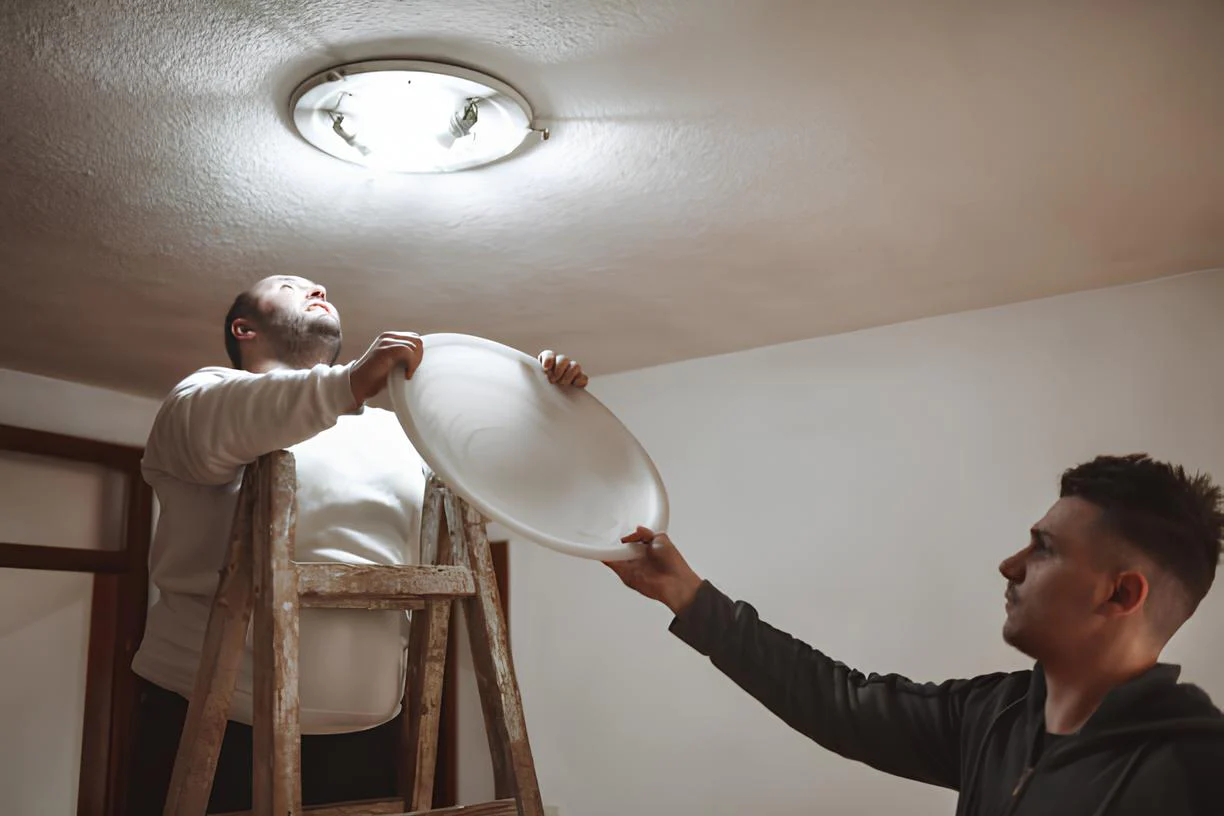
Step 6: Carefully detach the light cover from the ceiling fan
With the screws loosened or the clips released, it’s time to carefully detach the light cover from the ceiling fan. Follow these steps to ensure a smooth and safe removal process:
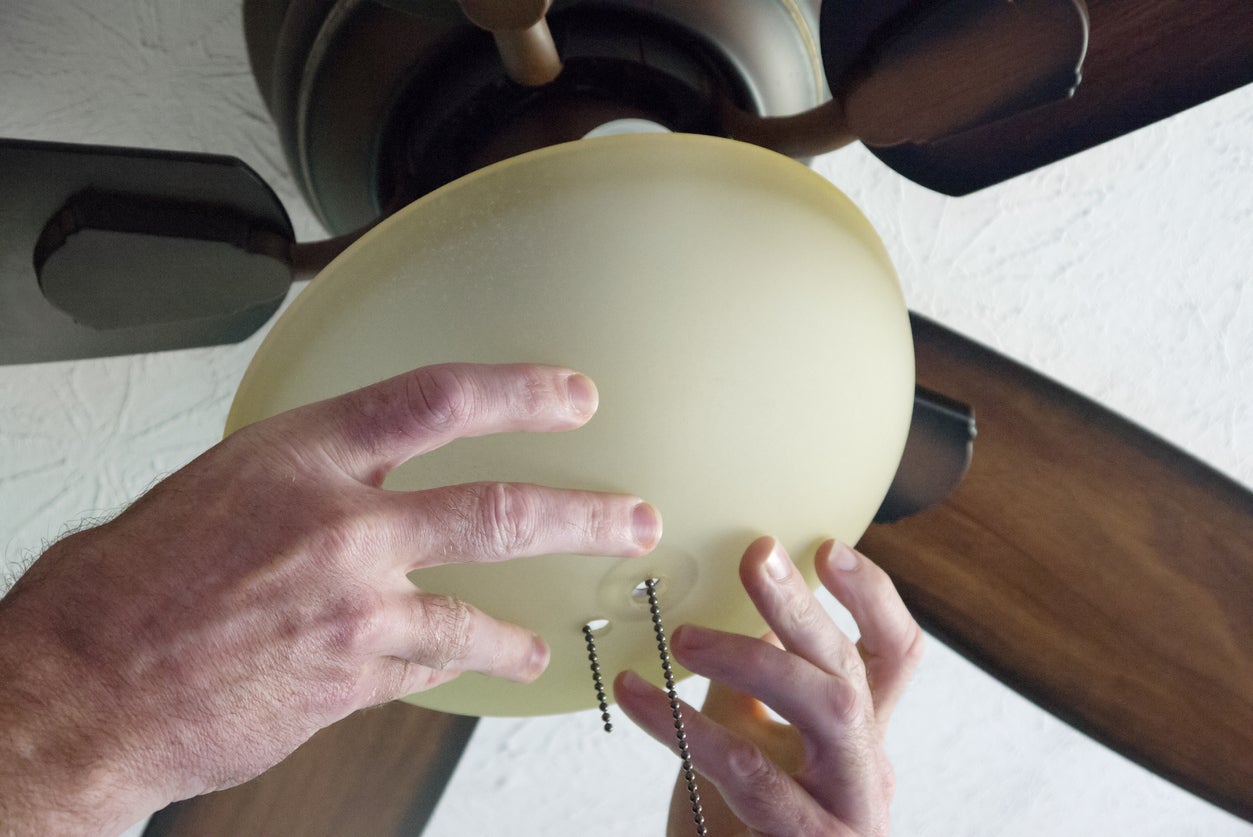
- Gently hold the light cover by its edges using a soft cloth or microfiber towel. This will provide a secure grip and help prevent any accidental slips or drops.
- Slowly lift the light cover away from the ceiling fan, applying even pressure on all sides. Take your time and be cautious to avoid any damage to the cover or the fan.
- As you lift the light cover, you may encounter resistance if there are any remaining attachments or if the cover has been secured tightly. If this happens, double-check for any missed screws or clips and ensure they have been fully loosened or released.
- If needed, gently wiggle or twist the light cover while lifting to help dislodge it from any remaining attachments. However, be careful not to apply excessive force as it can cause damage.
- Once the light cover is completely detached from the ceiling fan, carefully set it aside in a safe location. Take note of how the light cover was positioned so that you can easily reinstall it later if desired.
By following these steps and handling the light cover with care, you can remove it without any issues or accidents. Remember to keep the light cover in a secure location to prevent any damage while it’s not in use.
In the next step, we will discuss the option of cleaning or replacing the light cover before reattaching it to the ceiling fan.
Before moving on to Step 7, take a moment to assess the condition of the light cover and determine whether it requires cleaning or replacement.
Step 7: Clean or replace the light cover if desired
Now that the light cover has been safely removed from the ceiling fan, you have the option to clean it or replace it with a new one. This step allows you to refresh the look of your ceiling fan or address any dirt and dust that may have accumulated over time. Follow these steps to clean or replace the light cover:
Cleaning the light cover:
- Inspect the light cover for any dust, dirt, or debris. Depending on the material and finish of the cover, you can use a soft cloth, microfiber towel, or a gentle cleaning solution to wipe away any grime.
- If the light cover is made of glass or a similar translucent material, you can use glass cleaner or a mixture of mild soap and water to clean it. Avoid using abrasive cleaners or rough materials that can scratch or damage the cover.
- Gently wipe the entire surface of the light cover, both inside and outside, to ensure a thorough cleaning. Pay attention to any intricate details or corners that may require extra care.
- If there are stubborn stains or residue, let the cleaning solution sit on the cover for a few minutes before wiping it away. Rinse the cover with clean water and dry it completely before reinstalling it.
Replacing the light cover:
- If you wish to replace the light cover, measure its dimensions to ensure that the new cover you purchase will fit properly. Check with the manufacturer or consult the user manual for your ceiling fan model to find compatible replacement covers.
- Select a new light cover that matches your aesthetic preferences and complements the overall design of your ceiling fan and room.
- Follow the manufacturer’s instructions to attach the new light cover securely to the ceiling fan. Make sure to use the appropriate screws or clips and tighten them firmly without overtightening.
Whether you choose to clean or replace the light cover, this step allows you to maintain the appearance and functionality of your ceiling fan. Take your time to ensure that the light cover is clean or replaced to your satisfaction before moving on to the next step.
In Step 8, we will go over the process of reattaching the light cover to the ceiling fan.
Step 8: Reattach the light cover to the ceiling fan
After cleaning or replacing the light cover, it’s time to reattach it to the ceiling fan. Follow these steps to ensure a secure and proper installation:
- Inspect the surface of the ceiling fan where the light cover will be attached. Wipe away any dust or debris with a soft cloth or microfiber towel to ensure a clean and smooth surface for reinstallation.
- Hold the light cover by its edges, aligning it with the screw holes or clips on the ceiling fan. Take note of any markings or indicators that can help guide the alignment.
- If your light cover is held in place with screws, insert the screws into the screw holes on the ceiling fan and turn them clockwise to tighten. Use the appropriate screwdriver or drill with a compatible screwdriver bit for this step.
- If your light cover is held in place with clips, gently position the cover so that the clips align with their respective slots on the ceiling fan. Apply even pressure and push or twist the cover until the clips securely snap into place.
- Double-check that the light cover is properly aligned and securely attached to the ceiling fan. Give it a gentle tug or shake to ensure that it is stable and won’t come loose.
By following these steps, you can confidently reattach the light cover to the ceiling fan, ensuring a secure and functional installation. Take your time during this step to ensure that the light cover is aligned and attached correctly.
Once the light cover is reattached, you’re almost done! In the next step, we will focus on inserting the bulbs or lamp shades back in place to restore the lighting functionality of your ceiling fan.
Before moving on to Step 9, make sure you have the bulbs and lamp shades ready for insertion.
Read more: How To Take Down A Ceiling Fan
Step 9: Insert bulbs or lamp shades back in place
Now that the light cover is securely reattached to the ceiling fan, it’s time to complete the process by inserting the bulbs or lamp shades back in place. Follow these steps to restore the lighting functionality of your ceiling fan:
- If you had removed any lamp shades, make sure they are clean and free from any dust or debris. Gently position them over the bulbs and twist them clockwise to secure them in place. Ensure that they are properly aligned and level.
- If you had removed the bulbs, check their condition and ensure they are not damaged or burnt out. Align the base of each bulb with the socket and firmly insert them, turning clockwise until they are snugly in place. Be cautious not to overtighten.
- If your ceiling fan has multiple bulbs or different types of bulbs, repeat the previous step for each individual bulb or lamp shade until all the lighting components are in place.
- Once all the bulbs or lamp shades are inserted, turn on the ceiling fan and test the lighting functionality. Use the wall switch or remote control to power on the fan and ensure that the lights are working correctly.
By following these steps, you can successfully restore the lighting functionality of your ceiling fan. Take a moment to admire your work and ensure that the lights are providing the desired illumination.
Congratulations! You have successfully learned how to take off the light cover on your ceiling fan and reattach it, either by cleaning or replacing it. You can now enjoy a refreshed and well-functioning ceiling fan in your living space.
Remember, if you encounter any difficulties during the process or have any concerns, it’s always a good idea to consult the manufacturer’s instructions or seek professional assistance.
Thank you for following this step-by-step guide, and we hope it has been helpful. Stay cool and enjoy the refreshed look of your ceiling fan!
Conclusion
Taking off the light cover on a ceiling fan may seem like a daunting task, but with the right tools and guidance, it can be a straightforward process. By following the steps outlined in this guide, you can safely remove the light cover, clean or replace it if desired, and reattach it to your ceiling fan.
Throughout the process, it’s important to prioritize safety by ensuring that the fan is turned off and using the appropriate tools, such as a screwdriver or drill with a compatible screwdriver bit. Additionally, taking care when handling the light cover and avoiding excessive force can help prevent accidents and damage.
If you choose to clean the light cover, use gentle cleaning solutions and materials that are suitable for the specific material and finish of the cover. On the other hand, if you opt to replace the light cover, measure its dimensions and select a suitable replacement that aligns with your aesthetic preferences.
Once the light cover is reattached, don’t forget to insert the bulbs or lamp shades back in place to restore the lighting functionality of your ceiling fan. Test the lights to ensure that they are functioning correctly before enjoying the refreshed look and ambiance in your space.
Remember, if you ever encounter difficulties during the process or have concerns about your particular ceiling fan model, it’s always wise to consult the manufacturer’s instructions or seek professional assistance.
Thank you for following this comprehensive guide on how to take off the light cover on a ceiling fan. We hope it has been informative and helpful in achieving your desired result. Enjoy the improved aesthetics and functionality of your ceiling fan!
Now that you've mastered removing the light cover from your ceiling fan, why stop there? Dive into our guide on DIY home improvement for creative projects that transform your space with your own hands. Or, if your ceiling fan still acts up, check out our detailed guide on repairing ceiling fans to ensure smooth, efficient operation. Both guides are packed with practical tips and straightforward steps to help you enhance your home's functionality and comfort.
Frequently Asked Questions about How To Take Off Light Cover On Ceiling Fan
Was this page helpful?
At Storables.com, we guarantee accurate and reliable information. Our content, validated by Expert Board Contributors, is crafted following stringent Editorial Policies. We're committed to providing you with well-researched, expert-backed insights for all your informational needs.


0 thoughts on “How To Take Off Light Cover On Ceiling Fan”