
Articles
Wiring Your Home For Today’s Electronics
Modified: October 20, 2024
Discover the latest articles on wiring your home for today's electronics. Learn about the best practices, tips, and techniques to ensure your home is equipped for the digital age.
(Many of the links in this article redirect to a specific reviewed product. Your purchase of these products through affiliate links helps to generate commission for Storables.com, at no extra cost. Learn more)
Introduction
In today’s technology-driven world, electronics have become an integral part of our daily lives. From smart TVs and home audio systems to Wi-Fi routers and security cameras, our homes are filled with an array of electronic devices that require proper wiring for optimal performance. In this article, we will explore the importance of wiring your home for today’s electronics and provide valuable insights on how to plan and install the necessary wiring infrastructure.
Properly wiring your home for electronic devices is crucial for several reasons. First and foremost, it ensures that all your devices receive a reliable power supply. Without adequate electrical capacity and outlets, you may face issues such as voltage drops, power surges, and inadequate power distribution, which can lead to device malfunctions or even damage.
Additionally, efficient wiring allows for easy connectivity between devices and minimizes cable clutter, creating a clean and organized living space. Whether you’re setting up a home theater system, a home office with multiple computers, or a comprehensive smart home automation system, proper wiring ensures seamless communication between devices and enhances your overall user experience.
Before diving into the specifics of wiring for different electronic systems, it’s essential to assess your electronic needs and plan accordingly. Consider the types and number of devices you have or plan to install in the future. This could include TVs, gaming consoles, stereo systems, computers, printers, security cameras, smart home devices, and more. Identifying the locations where these devices will be placed will help determine the wiring routing and installation points.
One crucial aspect of wiring for today’s electronics is cable management. With multiple devices and cables running throughout your home, it’s important to organize and conceal them to maintain a tidy and visually appealing environment. Cable management options such as cable raceways, wall plates, and wire channels can help minimize cable clutter and protect cables from being damaged.
In the following sections, we will delve into the various aspects of wiring your home for today’s electronics, including electrical requirements, structured wiring systems, networking and internet wiring, audio and video wiring, home automation and control wiring, cable and satellite TV wiring, and security and surveillance system wiring. By understanding these essentials, you’ll be well-equipped to create a wiring infrastructure that optimizes the performance and functionality of your electronic devices.
Key Takeaways:
- Properly wiring your home for today’s electronics is crucial for ensuring reliable power supply, easy connectivity, and minimal cable clutter, creating a clean and organized living space.
- Structured wiring systems provide a centralized and organized approach to wiring, allowing for seamless connectivity between devices, while networking and internet wiring enable fast and reliable communication throughout your home.
Planning for Home Electronics
When it comes to wiring your home for today’s electronic devices, proper planning is essential. This involves assessing your electronic needs, determining the locations for electronic devices, and considering cable management options. Let’s explore each of these aspects in detail.
Assessing your electronic needs
To begin, take inventory of the electronic devices you currently own or plan to install in your home. Consider the types of devices, such as TVs, gaming consoles, computers, audio systems, and smart home devices. Determine the specific electrical and connectivity requirements for each device. This will help you understand the wiring infrastructure needed to support them.
For example, if you plan to set up a home theater system, you’ll need to allocate space for a TV or projector, speakers, and audio/video equipment. If you work from home and require a home office setup, you’ll need to consider the wiring needs for computers, printers, and other office equipment.
Determining the locations for electronic devices
Once you’ve assessed your electronic needs, you can determine the locations where each device will be placed. This step is crucial for planning the routing of wiring throughout your home. Take into account factors such as the proximity to power outlets, the availability of wall or ceiling space for mounting devices, and the accessibility for future maintenance or upgrades.
For example, if you plan to have a mounted TV in your living room, consider the location of the power outlet and any other connectivity requirements, such as HDMI or Ethernet cables. If you’re setting up a home office, ensure that there are enough power outlets and Ethernet ports available near your desk.
Considering cable management options
Cable management is an important consideration when wiring your home for electronic devices. With numerous cables snaking their way through your home, it’s essential to keep them organized and conceal them as much as possible. Not only does this improve the aesthetics of your living space, but it also reduces the risk of tripping hazards and minimizes cable damage.
There are various cable management options available, depending on your specific needs. Cable raceways, for example, are channels that attach to walls or baseboards and allow you to neatly route and hide cables. Wall plates with built-in cable management features can be used to conceal cables behind wall-mounted TVs or speaker systems. Wire channels or cord covers can be used to conceal longer cable runs along walls or floors.
Consider the layout and design of your home when choosing cable management solutions. Opt for options that seamlessly blend with your decor and allow for easy access to cables if necessary.
By carefully assessing your electronic needs, determining device locations, and considering cable management options, you can lay the foundation for a well-designed and efficient wiring system for your home electronics. In the next sections, we will delve into the specific electrical requirements, structured wiring systems, networking and internet wiring, audio and video wiring, home automation and control wiring, cable and satellite TV wiring, and security and surveillance system wiring.
Electrical Requirements for Home Electronics
Ensuring the proper electrical requirements for your home electronics is crucial for their safe and efficient operation. This involves taking into consideration the electrical capacity of your home, understanding voltage and power needs, and installing additional electrical outlets as necessary. Let’s explore each of these factors in detail.
Ensuring sufficient electrical capacity
Before wiring your home for electronic devices, it’s important to ensure that your electrical system has sufficient capacity to handle the increased load. Older homes may have outdated electrical systems that may not be equipped to handle the power requirements of today’s electronics.
If you suspect that your electrical system is insufficient, it’s best to consult a qualified electrician who can assess your home’s electrical capacity and make recommendations for any necessary upgrades. This may involve upgrading your electrical panel, increasing your service amperage, or installing dedicated circuits for high-powered devices.
Understanding voltage and power needs
Understanding the voltage and power needs of your electronic devices is essential for proper wiring. Most household devices operate on standard 120-volt AC power in the United States. However, some devices, such as appliances and specialized equipment, may require 240-volt power or higher.
It’s important to be aware of the voltage requirements of your devices and ensure that your electrical system can provide the necessary voltage. If you’re unsure about the voltage needs of a particular device, refer to the manufacturer’s specifications or consult a professional electrician.
In addition to voltage, it’s also important to consider the power requirements of your devices. Power is typically measured in watts, and different devices have varying power needs. It’s crucial to ensure that your electrical system can handle the combined power draw of all your devices to avoid overloading circuits and potential electrical hazards.
Installing additional electrical outlets
In many cases, existing electrical outlets may not be sufficient to accommodate all your electronic devices. It’s important to install additional outlets to ensure convenient access to power wherever you need it.
Consider the locations where you plan to place electronic devices and identify areas where additional outlets are needed. This may include living rooms, home offices, bedrooms, and entertainment areas. It’s a good idea to consult with a professional electrician to ensure that new outlets are installed safely and in compliance with local electrical codes.
When installing additional outlets, it’s also important to consider the number of devices you plan to connect and the types of devices. Some devices, such as computers and home theater systems, may require dedicated circuits to provide uninterrupted power and prevent electrical interference.
By ensuring sufficient electrical capacity, understanding voltage and power needs, and installing additional outlets as necessary, you can create a safe and reliable electrical infrastructure that supports all your home electronics. In the following sections, we will explore the specifics of structured wiring systems, networking and internet wiring, audio and video wiring, home automation and control wiring, cable and satellite TV wiring, and security and surveillance system wiring.
Read more: How To Store Wires
Structured Wiring Systems
Structured wiring systems form the backbone of a modern home’s electronic infrastructure. They provide a centralized and organized approach to wiring, allowing for efficient connectivity between various electronic devices and systems. In this section, we will discuss the importance of structured wiring, how to choose the right system, and the steps involved in installing a structured wiring panel.
Understanding structured wiring
Structured wiring refers to the installation of a comprehensive network of cables and related components throughout a home. This network serves as the foundation for the distribution of various electronic signals, such as internet, telephone, video, and audio, to different areas of the house.
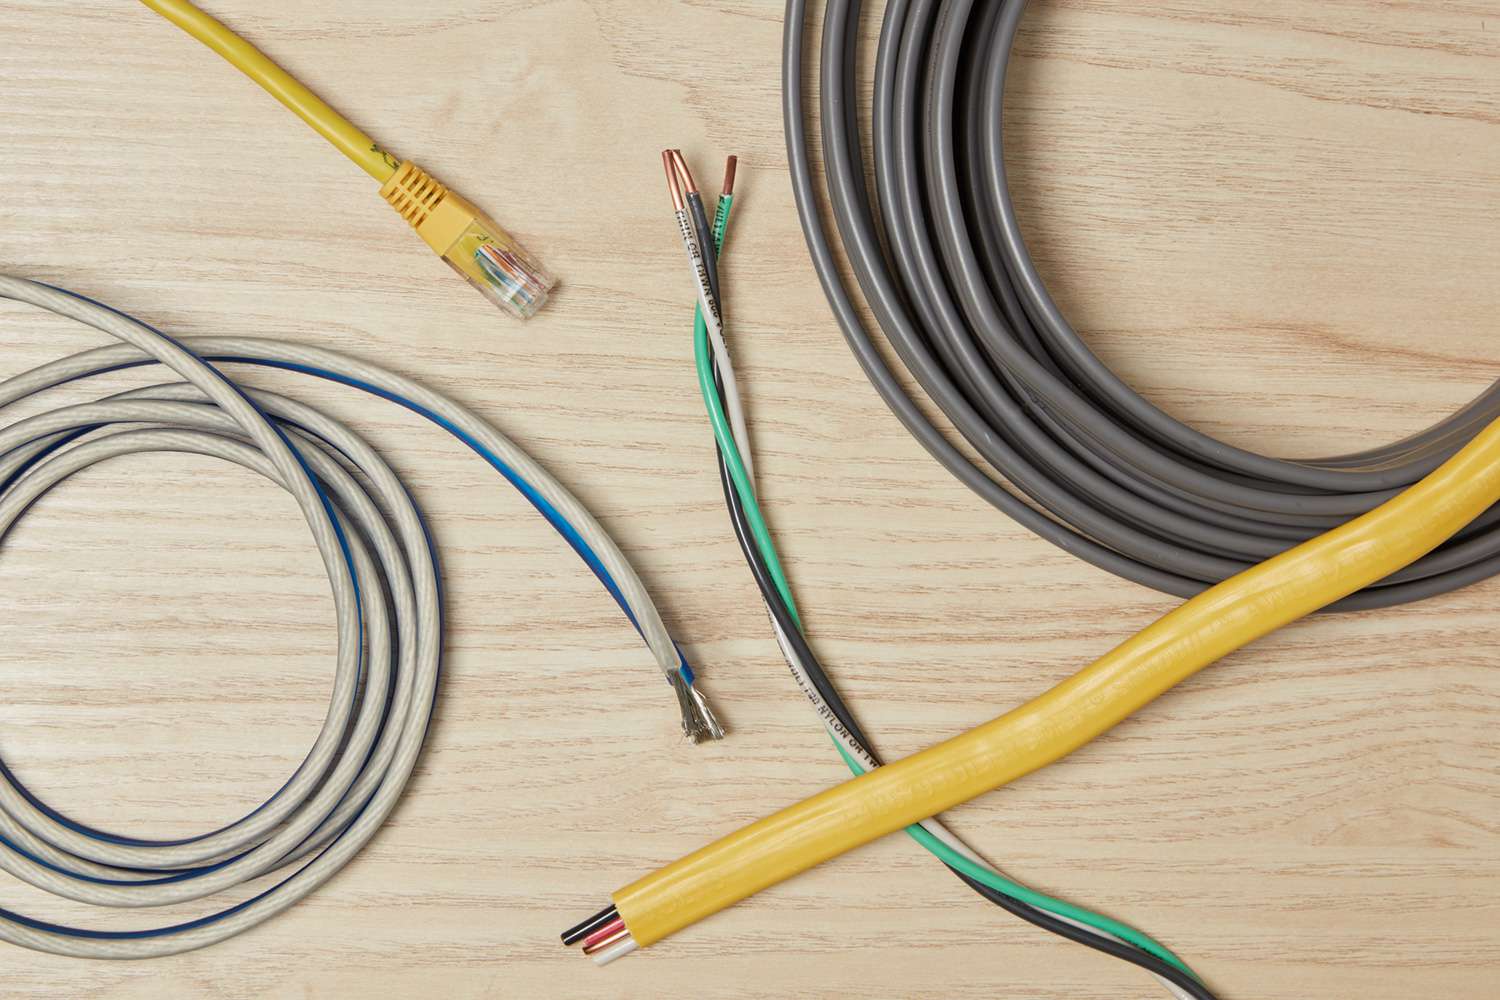
A structured wiring system typically includes various types of cables, such as Ethernet cables for networking, coaxial cables for video and TV distribution, and telephone cables for landline connections. These cables are run from a central location, usually a structured wiring panel, to individual outlets or devices throughout the house.
The benefits of structured wiring are numerous. It promotes flexibility and scalability, allowing for easy upgrades and additions of new devices or systems in the future. It also provides a clean and organized installation, reducing cable clutter and simplifying troubleshooting and maintenance.
Choosing the right structured wiring system
When selecting a structured wiring system for your home, it’s important to consider your specific needs and future requirements. Here are a few key factors to keep in mind:
- Compatibility: Ensure that the structured wiring system you choose is compatible with the electronic devices and systems you plan to integrate. For example, if you intend to set up a smart home automation system, make sure the wiring system supports the necessary protocols and interfaces.
- Scalability: Consider the potential for future expansion. Choose a system that can accommodate additional cables and devices as your needs evolve.
- Reliability: Look for a reputable brand that offers reliable and high-quality components. Read reviews and seek recommendations to help make an informed decision.
- Support and documentation: Ensure that the structured wiring system comes with proper documentation and support from the manufacturer. This will be helpful during installation and troubleshooting.
Installing a structured wiring panel
The structured wiring panel serves as the central hub for connecting all the cables and devices in a structured wiring system. Here are the steps involved in installing a structured wiring panel:
- Choose a suitable location for the panel, typically in a utility room or basement.
- Mount the panel securely on the wall, ensuring easy access for future maintenance.
- Route the various cables from different rooms to the panel location.
- Terminate the cables by connecting them to their respective ports or modules in the structured wiring panel. This can involve using punch-down blocks, keystone jacks, or patch panels.
- Label each cable for easy identification and organization.
- Test the connectivity and ensure proper signal transmission throughout the structured wiring system.
It’s crucial to follow proper wiring and safety guidelines during the installation process. If you’re not confident in your technical skills, it’s advisable to hire a professional installer who can ensure a proper and efficient setup.
By understanding the benefits of structured wiring, choosing the right system, and following the proper installation procedures, you can create a robust and reliable infrastructure for your home’s electronic systems. In the following sections, we will explore the specifics of networking and internet wiring, audio and video wiring, home automation and control wiring, cable and satellite TV wiring, and security and surveillance system wiring.
Networking and Internet Wiring
Setting up a reliable and efficient network is essential for connecting your devices to the internet and enabling seamless communication and data transfer. In this section, we’ll cover the basics of networking and internet wiring, including setting up a home network, running Ethernet cables, and installing Wi-Fi access points.
Setting up a home network
A home network allows your devices to communicate with each other and access the internet. To set up a home network, you’ll need a few components:
- Modem: This device connects to your internet service provider (ISP) and allows your network to access the internet.
- Router: The router serves as the central hub of your network, allowing devices to connect to each other and access the internet.
- Switch: If you have multiple devices to connect via Ethernet cables, a switch provides additional Ethernet ports for wired connections.
Follow the manufacturer’s instructions to connect your modem, router, and any additional switches. Once connected, configure the network settings according to your preferences and ISP requirements. This typically involves setting up a secure Wi-Fi network name (SSID) and password, as well as configuring any other network settings such as port forwarding or DNS settings.
Running Ethernet cables
Ethernet cables provide a fast and reliable wired connection for devices in your home network. Running Ethernet cables involves carefully planning the routing of cables from the central network location (where the router or switch is located) to the individual devices.
Start by determining the locations that require a wired connection, such as desktop computers, gaming consoles, or smart TVs. Identify the most discreet and efficient path for running the cables, considering factors such as wall studs, existing wiring, and the aesthetics of your space.
Measure and cut the Ethernet cables to the appropriate length, leaving a little extra for flexibility. Use cable clips or cable raceways to secure the cables neatly along the planned route, ensuring they are not pinched or damaged. If necessary, you may need to drill small holes or use cable management solutions to conceal the wiring.
Terminate the Ethernet cables with connectors (commonly RJ45 connectors) at both ends. This can be done using a punch-down tool or by crimping the connectors onto the cables. Follow proper wiring standards (such as T568A or T568B) to ensure compatibility and reliable connections.
Installing Wi-Fi access points
Wi-Fi access points (also known as wireless routers or wireless access points) provide wireless connectivity to devices in your home. They allow for wireless devices such as smartphones, tablets, and laptops to connect to your network without the need for Ethernet cables.
Choose the location for your Wi-Fi access points strategically. They should be placed in central areas of your home to ensure optimal coverage and reduce potential dead spots. Avoid placing access points near large obstacles or sources of interference, such as thick walls, metal objects, or microwaves.
Connect the Wi-Fi access points to your network using Ethernet cables. Follow the manufacturer’s instructions to set up and configure the access points. This may involve creating a separate Wi-Fi network (guest network) or adjusting the settings for optimal performance and security.
Ensure that your Wi-Fi network is secured with a strong password and encryption (such as WPA2), and consider enabling other security features like MAC address filtering or a firewall.
By setting up a home network, running Ethernet cables for wired connections, and installing Wi-Fi access points for wireless connectivity, you can create a robust and reliable network infrastructure for your home. In the next sections, we will explore the specifics of audio and video wiring, home automation and control wiring, cable and satellite TV wiring, and security and surveillance system wiring.
Audio and Video Wiring
Wiring your home for audio and video devices is essential to create an immersive entertainment experience. In this section, we’ll discuss the key aspects of audio and video wiring, including installing speaker wiring, connecting audio and video devices, and setting up a home theater system.
Installing speaker wiring
Installing speaker wiring is crucial for distributing audio signals throughout your home or dedicated entertainment area. To begin, determine the locations where you plan to install speakers, such as the living room, home theater, or outdoor areas.
Start by running speaker wires from your audio source (such as an A/V receiver) to each speaker location. Measure and cut the wires to the appropriate length, leaving a little extra for flexibility. Take care to avoid running wires near power lines or other sources of interference that could degrade audio quality.
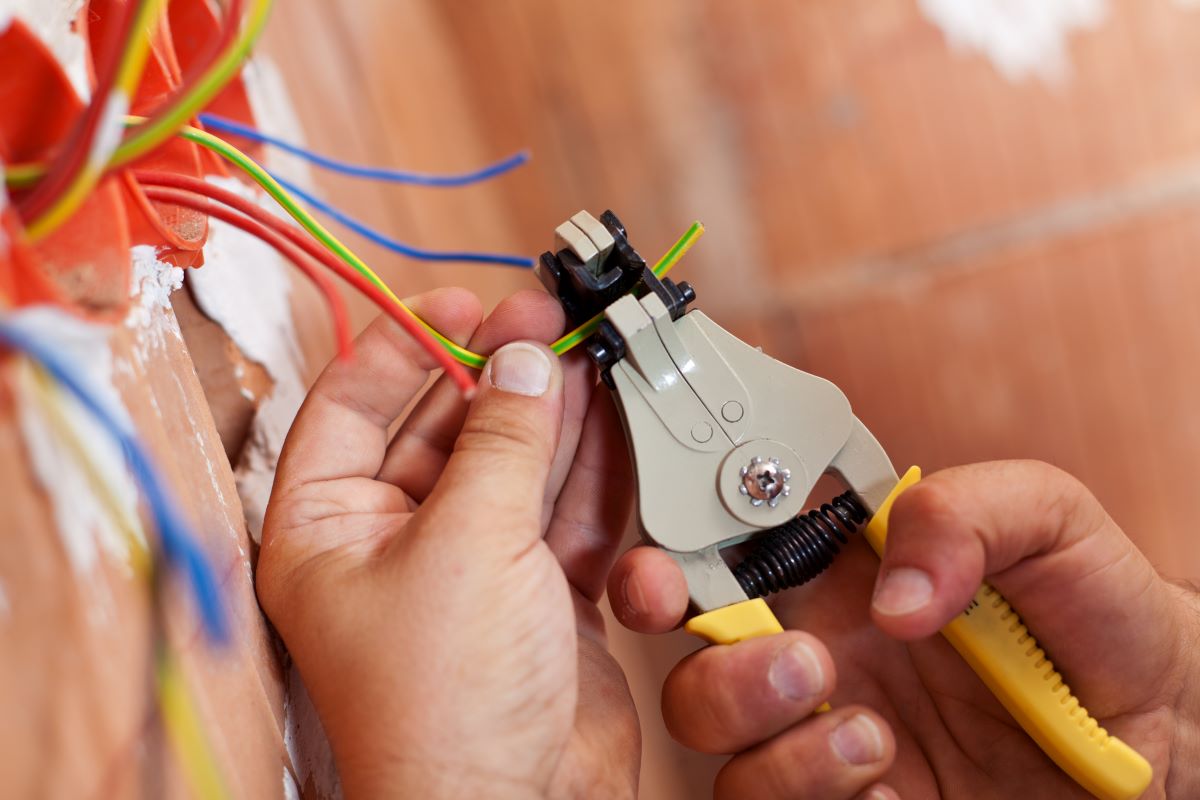
Once the wires are in place, strip the ends of the wires and connect them securely to the corresponding terminals on the speakers and the audio source. Use proper connectors or terminals, ensuring a tight connection for optimal audio performance.
Properly label each wire according to its location and connect them to the corresponding channels on your audio source. This allows for easy identification and troubleshooting in the future.
Connecting audio and video devices
Connecting audio and video devices involves properly hooking up devices like TVs, gaming consoles, Blu-ray players, and sound systems to create a seamless multimedia experience.
Start by identifying the appropriate cables for each connection. HDMI cables are commonly used for high-definition video and audio signals, while optical cables or RCA cables can be used for audio connections.
Connect the cables between the devices, ensuring that they are firmly plugged in and securely seated in the ports. Consult the device manuals if you are unsure about which ports to use or if specific settings are required for optimal performance.
When connecting audio devices, such as a soundbar or audio receiver, ensure that the audio settings are correctly configured on each device to ensure proper sound output and synchronization.
Setting up a home theater system
A home theater system creates an immersive movie-watching experience with surround sound and high-quality video. To set up a home theater system, consider the following steps:
- Position your TV or projection screen in the optimal location for viewing.
- Place speakers strategically around the room to create surround sound. This typically involves front left, front right, center, and rear speakers, as well as a subwoofer for low-frequency effects.
- Run speaker wires from the audio receiver to each speaker location, ensuring that they are properly connected and secured.
- Connect your source devices, such as a Blu-ray player or gaming console, to the audio receiver and TV using appropriate cables.
- Configure the audio settings on the receiver to optimize the surround sound experience.
- Calibrate the home theater system by running an auto-setup feature on the receiver, which adjusts speaker levels and sound settings based on your room’s acoustics.
Following these steps will enable you to create a captivating home theater experience with immersive audio and high-quality video. With proper audio and video wiring, your entertainment space will become the ultimate entertainment hub in your home.
In the next sections, we will explore the specifics of home automation and control wiring, cable and satellite TV wiring, and security and surveillance system wiring.
Read more: 30 Stunning Vintage Lamps To Buy Today
Home Automation and Control Wiring
Home automation and control wiring allows you to integrate and control various smart home devices, enhancing convenience, security, and energy efficiency. In this section, we will discuss the key aspects of home automation and control wiring, including integrating smart home devices, wiring for home automation systems, and installing control panels and switches.
Integrating smart home devices
Integrating smart home devices is at the heart of home automation. These devices range from smart thermostats and lighting systems to security cameras and voice assistants. Before wiring your home for automation, consider the devices you want to incorporate and their specific wiring requirements.
Some smart home devices connect wirelessly via protocols such as Wi-Fi, Bluetooth, or Zigbee, while others may require physical connections, such as Ethernet cables or power wiring. Depending on the devices, you may need to plan the wiring routes accordingly to provide power and connectivity.
Ensure that the devices you choose are compatible with each other and can be controlled through a centralized system, such as a hub or a smart home automation platform.
Wiring for home automation systems
Wiring for a home automation system typically involves running cables or wires to connect smart devices and sensors to a centralized control hub. This hub acts as the brain of your automation system, allowing you to control and monitor various devices from a single interface.
Common wiring requirements for home automation systems include:
- Power wiring: Some smart devices require a direct power connection. Ensure that you have proper electrical outlets or the ability to run power cables to these devices.
- Ethernet wiring: Devices that require a reliable internet connection, such as cameras or smart hubs, may need a wired Ethernet connection. Run Ethernet cables from the devices to your network router or switch.
- Control wiring: Some automation systems use low-voltage control wiring, such as Cat5e or Cat6 cables, to connect devices and control panels. These cables can carry signals for commands, sensor data, or communication between devices.
Carefully plan the routing of cables to ensure optimal performance and minimize visible wiring. Consider concealing cables inside walls, under floors, or using cable management solutions to maintain a clean and organized appearance.
Installing control panels and switches
Control panels and switches are essential components of a home automation system. They allow you to manage and control devices, set schedules, and customize settings. When installing control panels and switches, consider the following:
- Choose the appropriate locations for control panels, ensuring easy access and visibility. Common locations include key entryways, living areas, and bedrooms.
- Select switches and panels that are compatible with your chosen automation system and devices.
- Run appropriate control wiring from the control panels to the devices they will control. This may involve low-voltage control cables or wireless connections depending on the system.
- Ensure proper electrical connections and follow safety guidelines when installing switches and panels.
- Configure the control panels and switches according to your preferences and desired automation scenarios.
By wiring your home for home automation and control, you can create a seamlessly integrated smart home that offers convenience, energy efficiency, and enhanced security. As technology continues to advance, the possibilities for home automation are endless.
In the following sections, we will explore the specifics of cable and satellite TV wiring, and security and surveillance system wiring.
Read more: How To Remove Wired Security System
Cable and Satellite TV Wiring
Cable and satellite TV wiring is crucial for distributing television signals throughout your home and setting up a multi-room TV system. In this section, we will discuss key aspects of cable and satellite TV wiring, including running coaxial cables for cable TV, installing satellite TV wiring, and setting up a multi-room TV system.
Running coaxial cables for cable TV
Running coaxial cables is a common practice for connecting cable TV services to multiple rooms in your home. To run coaxial cables, follow these steps:
- Identify the locations where you want to have cable TV connections in each room.
- Plan the routing of the cables, considering factors such as avoiding electrical interference and minimizing visible cables.
- Measure and cut the coaxial cables to the appropriate length, leaving some extra for flexibility and ease of installation.
- Use cable staples, cable clips, or surface-mounted raceways to secure the cables along the planned route.
- Connect one end of the coaxial cable to the cable TV outlet or splitter in the main distribution area of your home.
- Connect the other end of the cable to the appropriate wall outlet or device in each room.
Ensure that the connections are tight and secure, and test each cable connection to confirm a clear TV signal in each room.
Installing satellite TV wiring
If you have satellite TV service, installing satellite TV wiring involves some additional considerations. Here’s what you need to do:
- Identify the optimal location for the satellite dish installation outside your home. Consult the satellite TV provider’s guidelines for proper placement and alignment.
- Run a coaxial cable from the satellite dish location directly to your satellite receiver. This cable carries the satellite signal to your receiver.
- If you’re installing the satellite receiver in a different location, run another coaxial cable from the receiver to your TV.
- Use appropriate connectors and splitters, if necessary, to connect multiple satellite receivers or TVs.
- Follow the manufacturer’s instructions for proper setup and activation of the satellite TV system.
Ensure that all cable connections are secure to maintain a reliable satellite TV signal. Consider using weatherproof connectors and a grounding block to protect against electrical surges and prevent damage to the equipment.
Setting up a multi-room TV system
Setting up a multi-room TV system allows you to watch TV channels in different rooms of your home. Here’s how you can accomplish this:
- Connect each TV to a cable TV outlet or satellite receiver using coaxial cables or HDMI cables, depending on the requirements of your setup.
- If using coaxial cables, ensure that each room has access to the main cable TV distribution area, either directly or through splitters.
- If using HDMI cables, consider installing HDMI over Ethernet extenders or a matrix switch to distribute high-quality video and audio signals to multiple TVs.
- Label and organize the cables to identify which cable corresponds to each room or TV. Proper labeling makes troubleshooting or modifications easier in the future.
By running coaxial cables for cable TV, installing satellite TV wiring, and setting up a multi-room TV system, you can enjoy seamless access to your favorite television content from anywhere in your home.
In the following section, we will explore the specifics of security and surveillance system wiring.
Security and Surveillance System Wiring
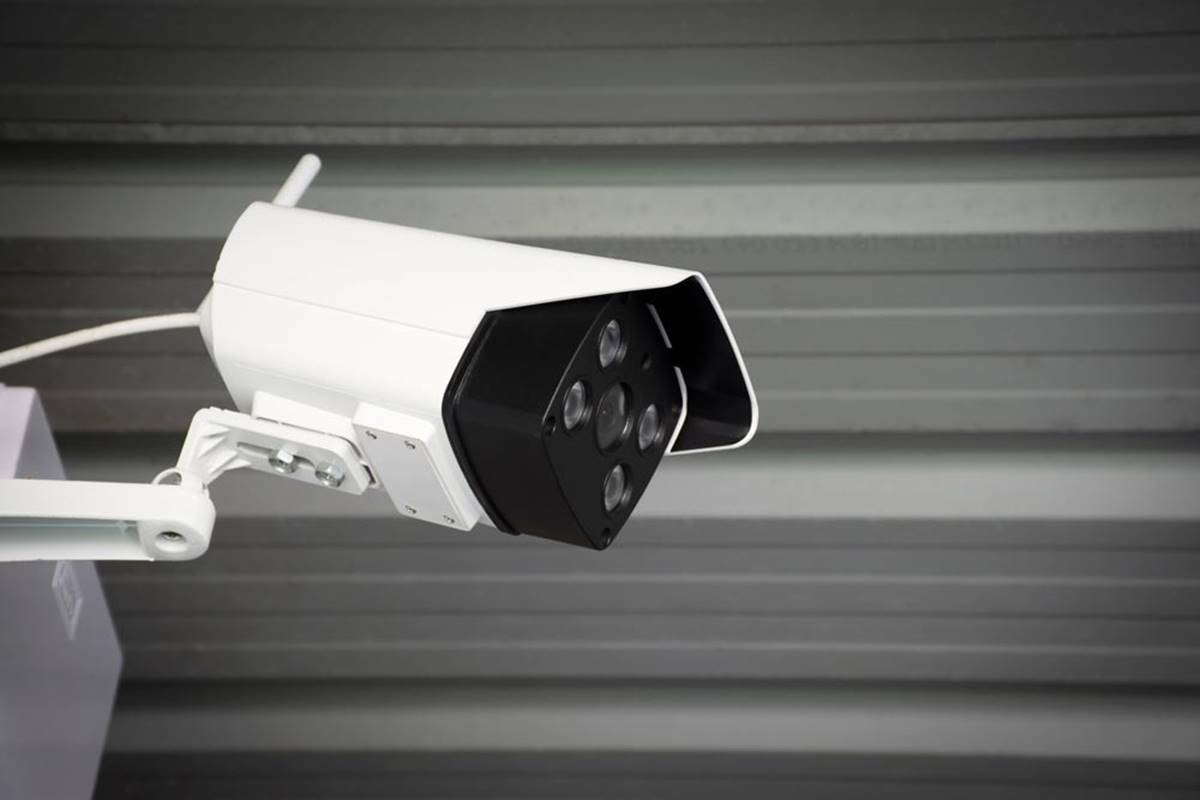
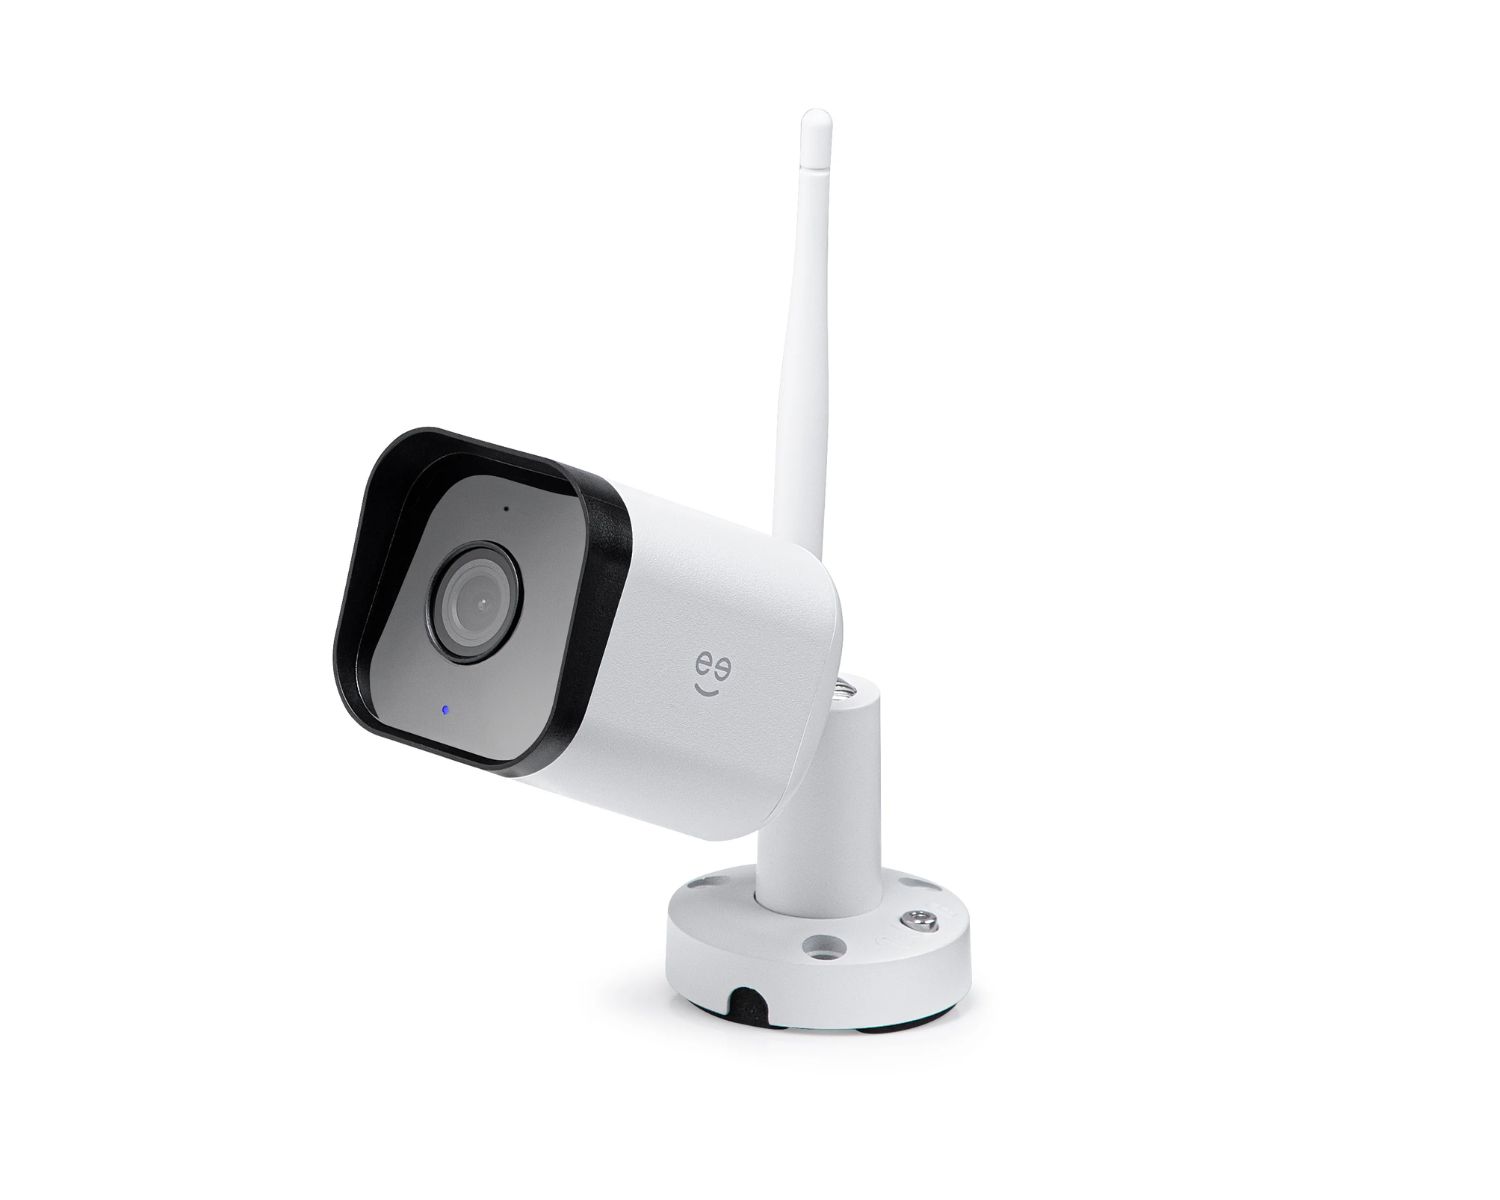
Wiring your home for a security and surveillance system is crucial for protecting your property and ensuring peace of mind. In this section, we will discuss key aspects of security and surveillance system wiring, including wiring for security cameras, installing a surveillance system, and connecting alarms and sensors.
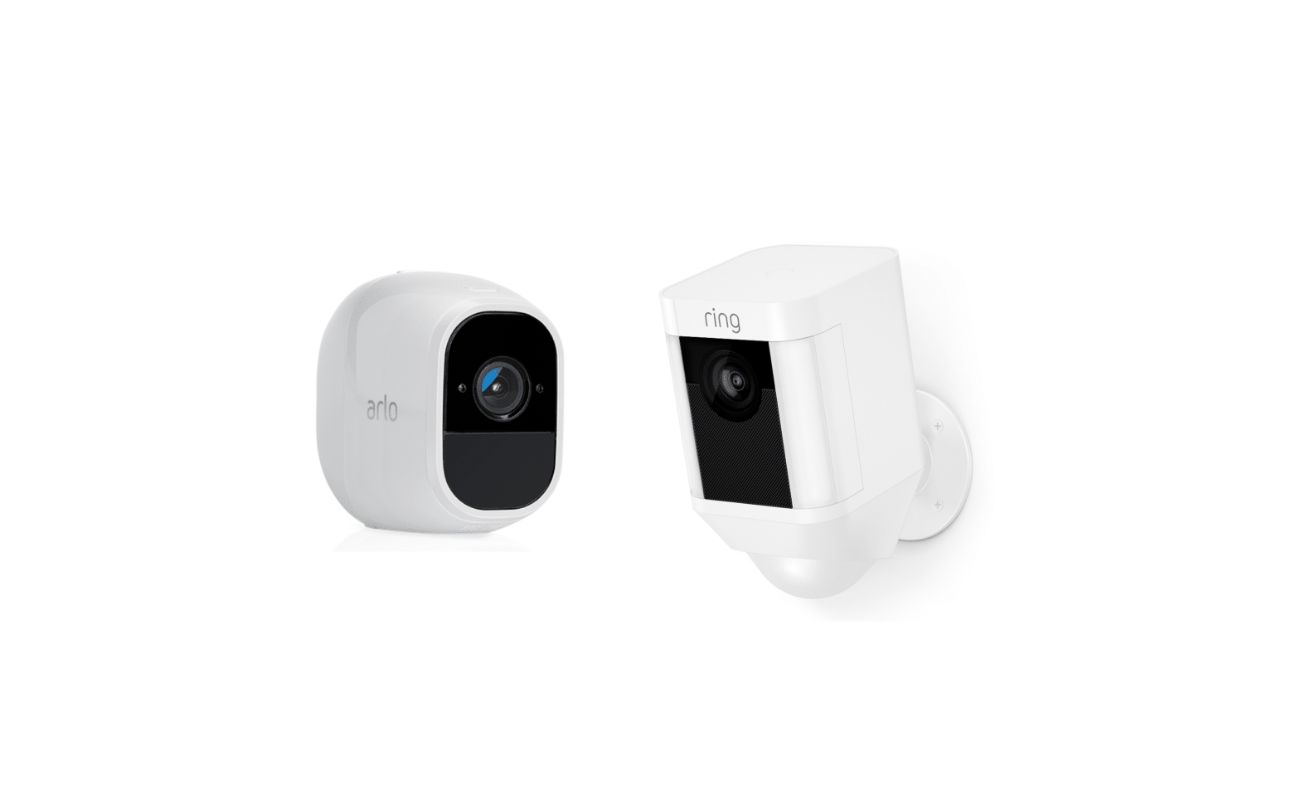
Wiring for security cameras
Wiring for security cameras involves running cables to connect the cameras to a central recording or monitoring system. Here are the steps to follow:
- Determine the locations where you want to install security cameras, such as entrances, perimeters, and other areas of interest.
- Plan the routing of the cables, considering factors such as the distance between the cameras and the recording system, and avoiding potential obstacles.
- Choose the appropriate type of cable for your cameras. The most common choice is coaxial cable with power (Siamese cable) or Ethernet cable (PoE) for IP-based cameras.
- Run the cables from the camera locations to the central recording or monitoring system, making sure to secure them along the route using cable clips or conduits.
- Connect the coaxial cables or Ethernet cables to the cameras and the recording or monitoring system, ensuring proper connections and tight fittings.
Properly adjust and position the cameras, and test the camera feeds on the recording or monitoring system to ensure clear and reliable video footage.
Installing a surveillance system
Installing a surveillance system involves setting up a centralized control and monitoring hub that integrates security cameras, recordings, and remote access. Here’s what you need to do:
- Choose a suitable location for the surveillance system’s recording or monitoring device. This may be a dedicated computer, network video recorder (NVR), or cloud-based system.
- Connect the surveillance system device to your network using Ethernet cables or establish a wireless connection, depending on the system’s requirements.
- Configure the surveillance system by following the manufacturer’s instructions. This involves setting up camera feeds, user accounts, storage options, and network settings.
- Ensure that the surveillance system is connected to a power source and has proper electrical grounding.
- Test the surveillance system by verifying camera feeds, adjusting settings, and confirming that recordings are being stored properly.
Regularly maintain and update your surveillance system to ensure optimal performance and security. Periodically check cameras, clean lenses, and update the software or firmware as recommended by the manufacturer.
Connecting alarms and sensors
In addition to security cameras, connecting alarms and sensors enhances the effectiveness of a security system. Here’s how to connect these devices:
- Select the appropriate type of alarm or sensor for your needs, such as motion sensors, door/window sensors, or glass break detectors.
- Plan the positioning and installation of these devices based on their specific requirements and the areas you want to monitor.
- Connect each alarm or sensor to the central control panel or hub of your security system following the manufacturer’s instructions.
- Ensure that each alarm or sensor is properly tested and calibrated to trigger the appropriate response, such as sounding an alarm, sending notifications, or activating surveillance cameras.
Regularly inspect and test your security system, including alarms and sensors, to ensure that they are functioning as expected. Replace batteries or components as needed.
By properly wiring for security cameras, installing a surveillance system, and connecting alarms and sensors, you can create a robust security solution that helps protect your home and loved ones.
Congratulations on completing the article series on wiring your home for today’s electronics! Armed with this knowledge, you can now confidently plan and implement the necessary wiring infrastructure to support your electronic devices, creating a harmonious and efficient living space.
Read more: What Time Is Nascar On Television Today?
Conclusion
Wiring your home for today’s electronics is a crucial step in creating a functional and enjoyable living environment. Through careful planning and consideration, you can establish a robust infrastructure that supports your electronic devices, enhances connectivity, and simplifies maintenance and troubleshooting. In this comprehensive article, we covered various aspects of wiring for home electronics, including electrical requirements, structured wiring systems, networking and internet wiring, audio and video wiring, home automation and control wiring, cable and satellite TV wiring, and security and surveillance system wiring. Let’s recap the key takeaways.
First and foremost, assessing your electronic needs and determining device locations are essential initial steps. Understanding the electrical capacity and voltage requirements of your devices ensures a reliable and safe power supply. Installing additional electrical outlets and organizing cables with cable management solutions minimize clutter and maximize efficiency in your space.
Structured wiring systems provide a centralized and organized approach to wiring, allowing for seamless connectivity between devices. When choosing a system, consider compatibility, scalability, reliability, and support from the manufacturer. Installing a structured wiring panel serves as the central hub for your structured wiring system.
Networking and internet wiring enable seamless communication between devices and internet access. Setting up a home network, running Ethernet cables, and installing Wi-Fi access points ensures fast and reliable connectivity throughout your home.
Audio and video wiring is crucial for creating an immersive entertainment experience. Installing speaker wiring, connecting audio and video devices, and setting up a home theater system allow you to enjoy high-quality sound and video in your living space.
Home automation and control wiring provide convenience and efficiency by integrating smart home devices and connecting control panels and switches. Consider the compatibility of devices, plan the wiring routes, and install control panels strategically for easy access.
Cable and satellite TV wiring allow for the distribution of television signals and the setup of multi-room TV systems. Running coaxial cables for cable TV, installing satellite TV wiring, and connecting multiple TVs bring entertainment to every corner of your home.
Security and surveillance system wiring ensures the protection of your home. Wiring for security cameras, installing a surveillance system, and connecting alarms and sensors create a comprehensive security solution.
By following the guidelines and tips provided in this article, you can confidently wire your home for today’s electronics. While it’s always best to consult professionals for complex installations, having a solid understanding of the fundamentals empowers you to create a tailored and efficient wiring infrastructure that enhances your home’s functionality and enjoyment.
Now you have the knowledge and tools to optimize your home’s wiring for a seamless and connected future. Embrace the possibilities, and enjoy the benefits that come with a well-designed and organized electronic ecosystem in your home.
Frequently Asked Questions about Wiring Your Home For Today's Electronics
Was this page helpful?
At Storables.com, we guarantee accurate and reliable information. Our content, validated by Expert Board Contributors, is crafted following stringent Editorial Policies. We're committed to providing you with well-researched, expert-backed insights for all your informational needs.



0 thoughts on “Wiring Your Home For Today’s Electronics”