Home>Home Security and Surveillance>How To Remove Wired Security System
Home Security and Surveillance
How To Remove Wired Security System
Modified: October 19, 2024
Learn how to remove your wired security system and upgrade to a more advanced home security and surveillance system. Protect your home with the latest technology and ensure peace of mind.
(Many of the links in this article redirect to a specific reviewed product. Your purchase of these products through affiliate links helps to generate commission for Storables.com, at no extra cost. Learn more)
Introduction
Welcome to this comprehensive guide on how to remove a wired security system. Whether you’re upgrading to a newer system, moving to a new home, or simply no longer in need of a security system, knowing how to properly remove a wired security system is essential. By following the steps outlined in this guide, you’ll be able to safely and effectively remove the system without causing any damage to your home.
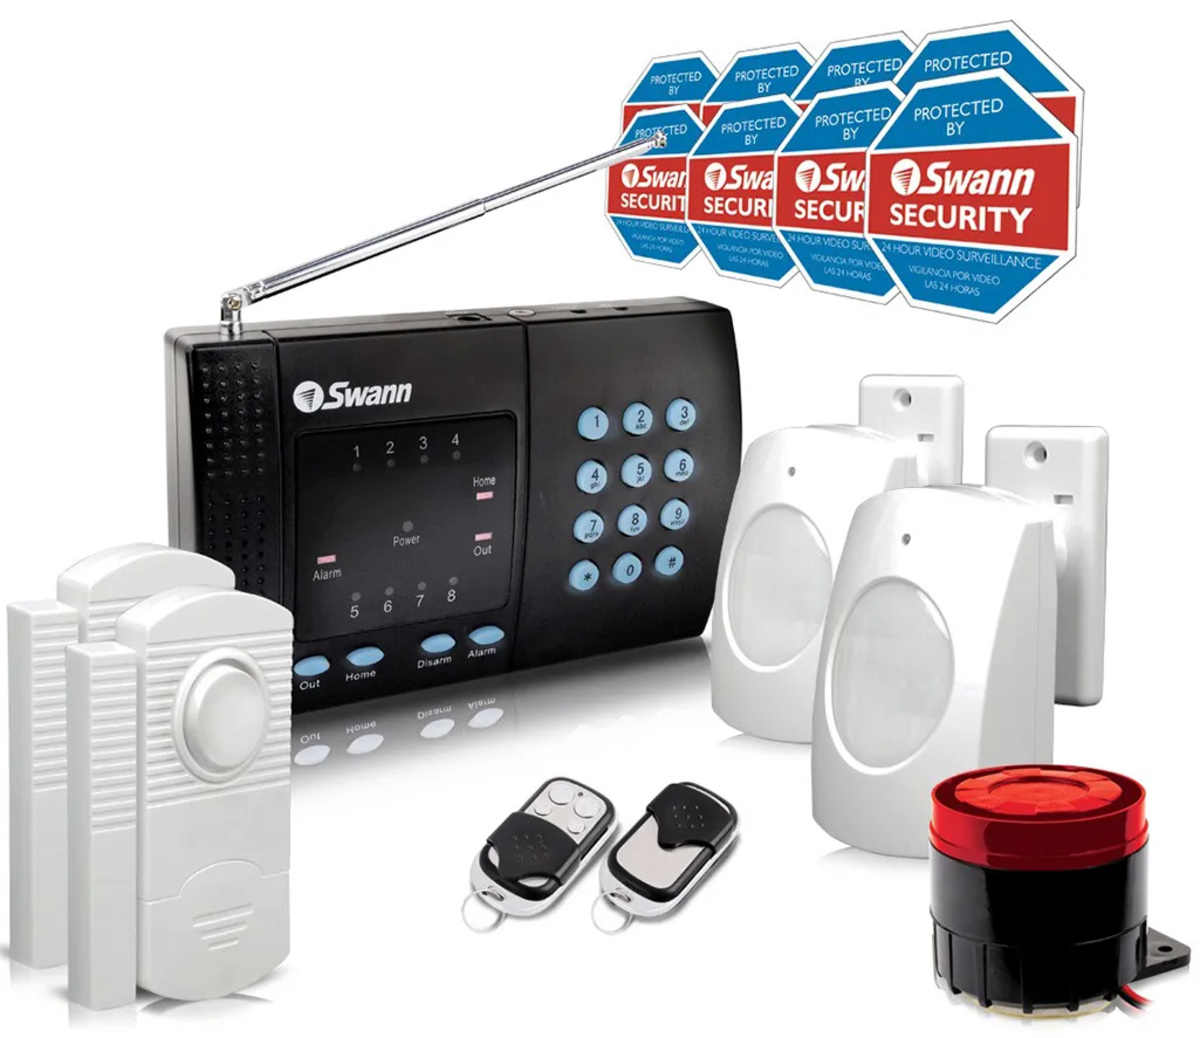
A wired security system consists of various components, including sensors, detectors, a control panel, keypad, and wiring. Removing these components requires careful planning and attention to detail. This guide will walk you through each step, providing clear instructions to ensure a smooth removal process.
Before we dive into the step-by-step process, it’s important to note that if you are not familiar with electrical systems or do not feel comfortable working with electrical wiring, it is highly recommended to hire a professional to perform the removal for you. Electrical work can be dangerous if not done properly, so your safety should always be the top priority.
Now, let’s get started with the first step: turning off the power.
Key Takeaways:
- Safely remove a wired security system by turning off the power, disconnecting components, and filling holes. Prioritize safety and consider professional assistance if unsure about any step.
- After removing a wired security system, organize and label components for future use. Explore alternative home security options like wireless systems or professional monitoring services.
Read more: How To Upgrade My Wired Security System
Step 1: Turn off the Power
The first step in removing a wired security system is to ensure that the power is turned off. This step is crucial for your safety and to avoid any potential electrical hazards.
Start by locating the main power source for the security system. In most cases, this will be a circuit breaker labeled specifically for the security system. If you’re unsure which breaker controls the system, you may need to consult the user manual or reach out to the manufacturer for guidance.
Once you have identified the correct breaker, switch it off to cut off the power supply to the security system. It’s important to note that some security systems may have a backup battery, so even if the power is turned off, there may still be residual electrical energy. To be extra safe, it’s recommended to unplug the main control panel from the power source.
After turning off the power, it’s a good idea to use a non-contact voltage tester to check for any live wires. This handy tool will help you ensure that there is no electrical current flowing through the system.
Once you have confirmed that the power is off, you can proceed to the next step: disconnecting the main control panel.
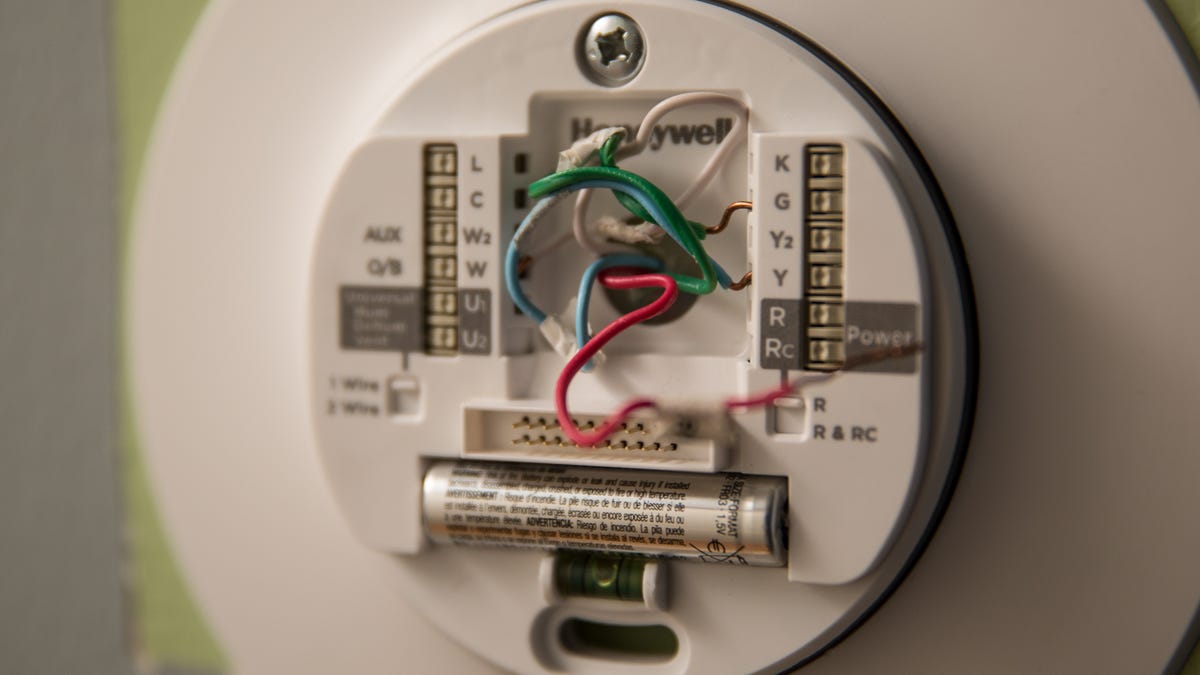
Step 2: Disconnect the Main Control Panel
Now that the power is turned off, it’s time to disconnect the main control panel of the wired security system. The control panel is typically the central hub where all the wires and connections converge.
Start by carefully removing the control panel’s cover. This may require unscrewing or unclipping the cover, depending on the model of your security system. Be sure to keep track of any screws or fasteners you remove so that you can easily reassemble the panel if needed.
Once the cover is removed, you’ll see a series of wires and connections inside. Take note of how each wire is connected to the control panel. You may want to document this with photos or diagrams to make reinstallation easier in the future.
Carefully disconnect each wire from the control panel. Depending on the type of connectors used, you may need to use a screwdriver or pliers to loosen the terminals and release the wires. Be gentle and avoid yanking or pulling on the wires, as this can damage them or the control panel.
As you disconnect each wire, it’s helpful to label or mark them to indicate their purpose. This will make it easier to identify each wire when it’s time to reinstall the system or if you plan to repurpose the wiring for a different use.
Once all the wires are disconnected, double-check to ensure that there are no remaining connections or loose wires. Once you’re satisfied that everything has been disconnected, you can proceed to the next step: removing the sensors and detectors.
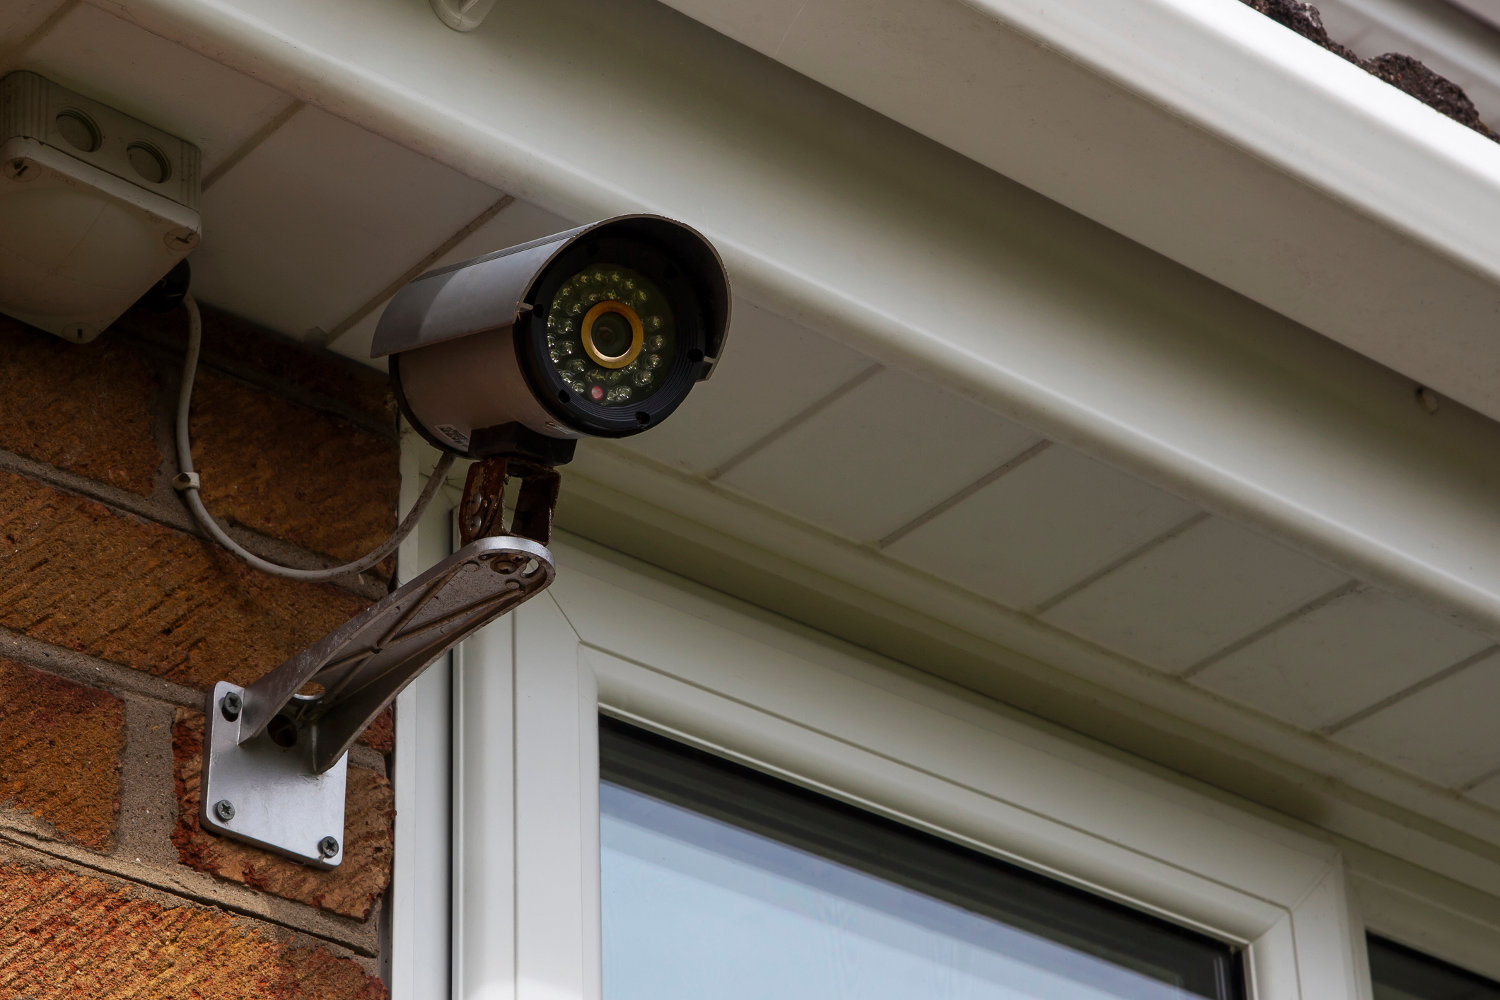
Step 3: Remove the Sensors and Detectors
Now that the main control panel is disconnected, it’s time to remove the sensors and detectors that are part of the wired security system. These components are typically installed throughout your home and are responsible for detecting any unauthorized entry or movement.
Start by identifying and locating each sensor or detector. Common types include door/window sensors, motion detectors, and glass break sensors. Carefully remove each sensor or detector from its mounting location, taking care not to damage the surrounding area.
Most sensors and detectors will be attached using screws or adhesive backing. If screws are used, simply unscrew them to detach the component from the wall or door/window frame. If adhesive backing is used, gently pry the sensor or detector away from the surface with a flat tool, such as a putty knife, taking care not to damage the paint or surface.
As you remove each sensor or detector, be mindful of any connecting wires. Depending on the system, these wires may be connected directly to the sensor or detector or run through the wall to the main control panel. If the wires are connected directly, gently disconnect them from the sensor or detector. If the wires run through the wall, you may need to trace them back to the main control panel for disconnection.
As you remove each sensor or detector, keep them organized and labeled for easy identification during reinstallation or if you plan to use them with a different system in the future.
Once all the sensors and detectors have been removed, you can proceed to the next step: removing the keypad and control panel.
Before removing a wired security system, make sure to disconnect the power source and backup battery to avoid any electrical hazards. Then, carefully remove the control panel and sensors, and properly dispose of any old wiring.
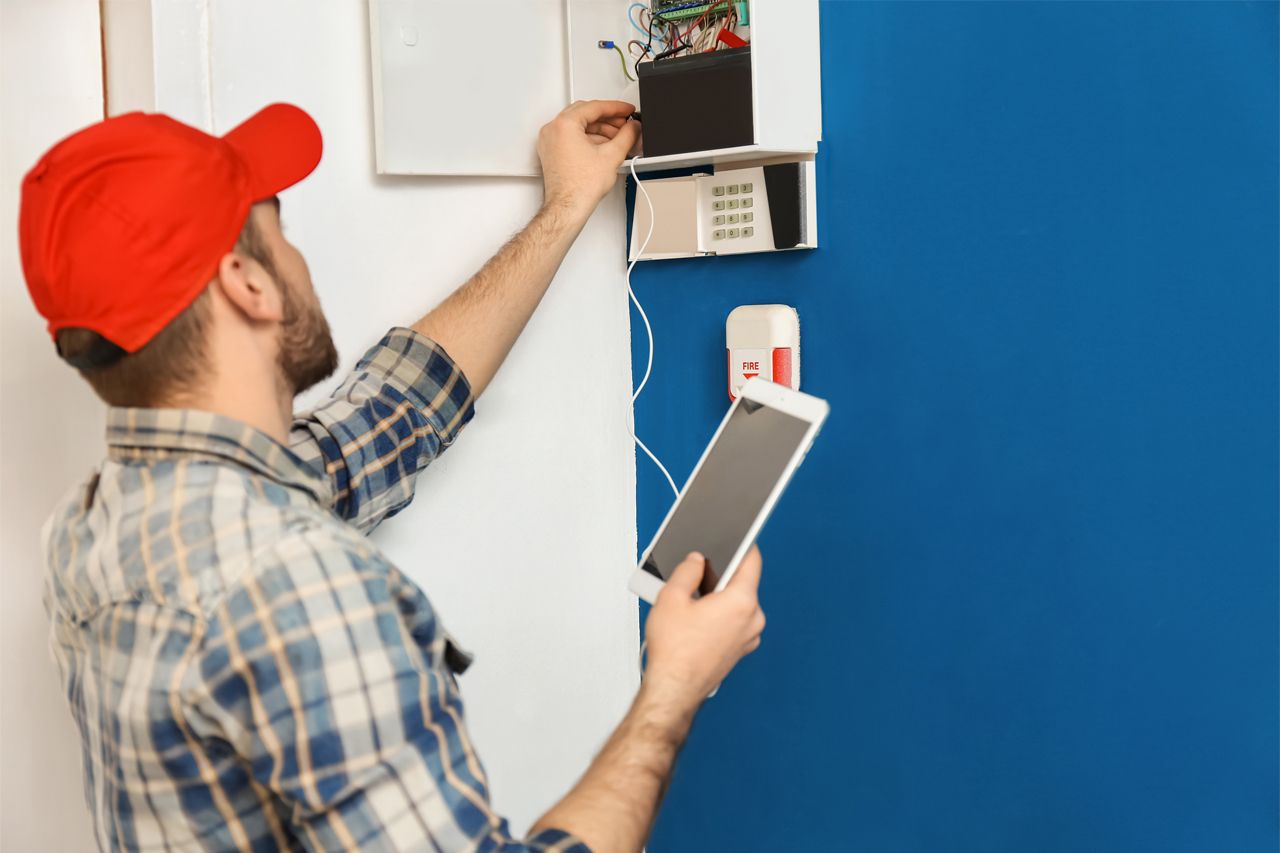
Step 4: Remove the Keypad and Control Panel
With the sensors and detectors removed, it’s time to tackle the keypad and control panel of the wired security system. The keypad serves as the interface for controlling and monitoring the system, while the control panel is the central processing unit.
Start by locating the keypad, which is typically installed near the main entrance or in a central location in your home. Depending on the installation method, the keypad may be mounted to the wall using screws or adhesive backing.
If screws are used, simply unscrew them to detach the keypad from the wall. If adhesive backing is used, gently pry the keypad away from the wall using a flat tool, being careful not to damage the wall or any wiring behind it.
Once the keypad is detached, check for any connecting wires. Like the sensors and detectors, the keypad may have wires directly connected to it or wires running through the wall to the control panel. Carefully disconnect any wires connected to the keypad, taking note of their colors or labeling for future reference.
Next, locate the control panel, which is typically installed in a utility room or closet. It may be housed in a metal or plastic enclosure. Remove the screws or fasteners that secure the control panel to the wall or other mounting surface.
When removing the control panel, be aware of any connecting wires. Disconnect any wires that are directly connected to the control panel, using caution to avoid damaging the wires or the panel itself.
As you remove the keypad and control panel, keep them organized and labeled for easy reference if you decide to reuse them or if you plan to install a new security system in the future.
Once the keypad and control panel are removed, you can proceed to the next step: removing the wiring.
Read more: How To Wire Home Security Camera System
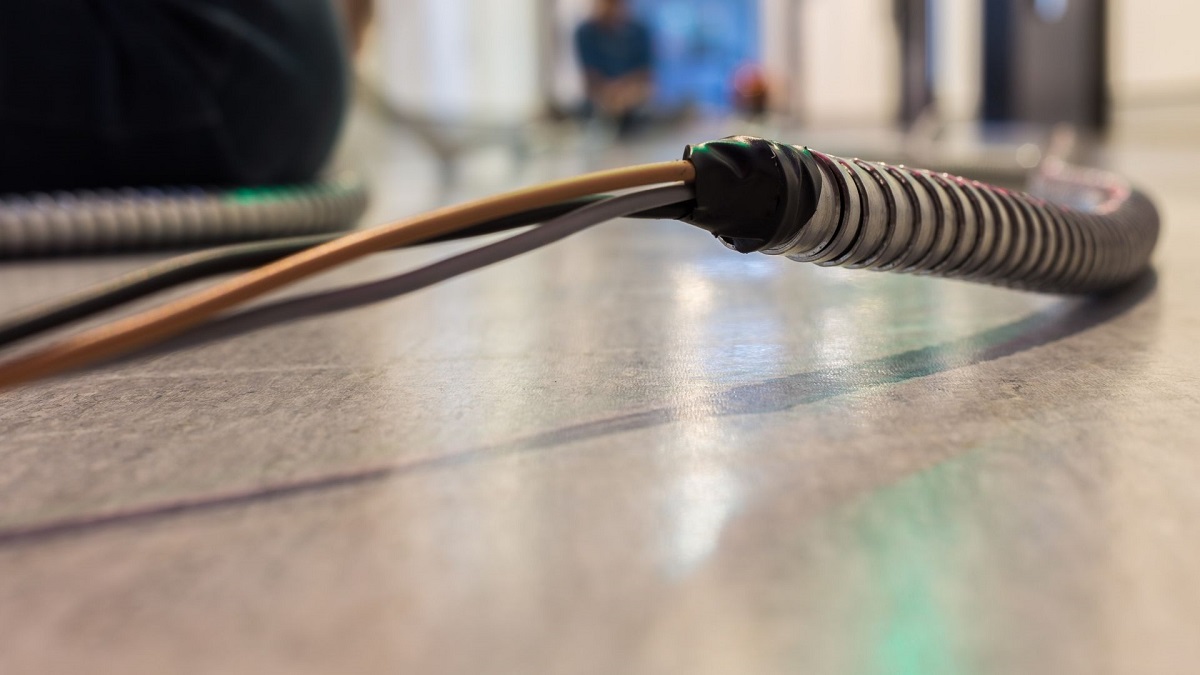
Step 5: Remove the Wiring
Now that the main components of the wired security system have been removed, it’s time to tackle the wiring. The wiring is an integral part of the system and may be routed throughout your home, connecting the various components to the main control panel.
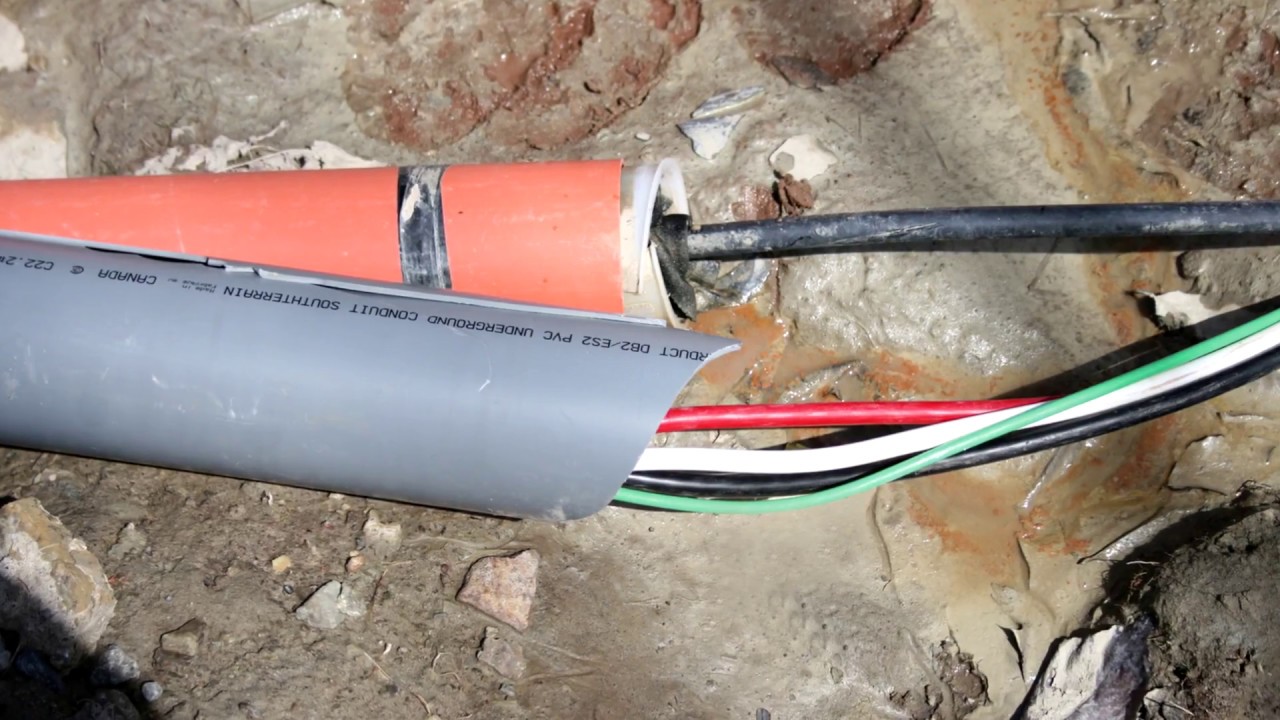
Start by identifying the wiring that was used for the security system. This may involve tracing the wires from the sensors, detectors, keypad, and control panel to see how they are interconnected. It’s important to approach this step with caution to avoid accidentally cutting or damaging any other electrical wires in your home.
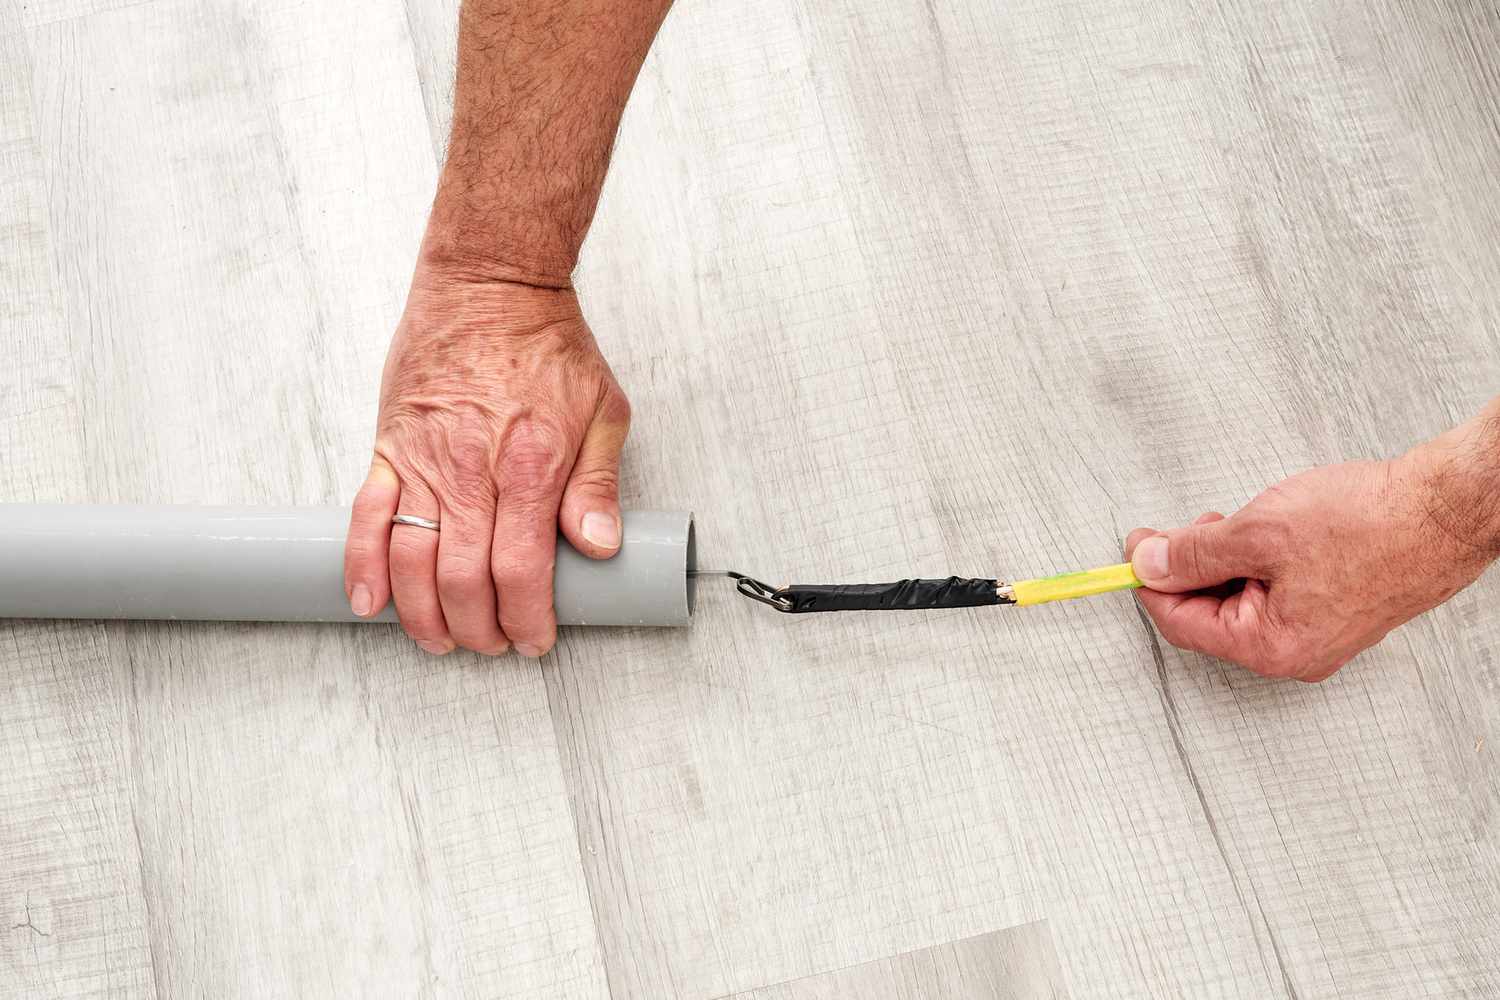
Once you have identified the security system wiring, you have a few options for removal. If the wiring was exposed and visibly routed along the walls or ceiling, you can carefully remove the staples or clips holding the wiring in place. Use a flat tool, such as a putty knife, to gently pry the staples or clips away from the surface.
If the wiring is concealed behind walls or within conduit, it may be more challenging to remove. In such cases, it is advisable to consult with a professional electrician who can accurately assess the situation and safely remove the wiring without causing any damage.
As you remove the wiring, take care to keep it organized and avoid tangling it with other wires or cables in your home. You can use cable ties or Velcro straps to bundle the wiring together for easier disposal or storage.
Once all the wiring associated with the security system has been removed, take a moment to inspect the surrounding areas for any visible damage or holes left behind. If necessary, patch any holes in the walls or ceiling using spackle or putty, and touch up the paint to restore the appearance of your home.
With the wiring removed and any necessary repairs completed, you have successfully removed the wired security system from your home.
In the next step, we will cover how to fill the holes and patch the walls to restore the aesthetics of your home.
Step 6: Fill the Holes and Patch the Walls
The final step in removing a wired security system is to fill the holes and patch the walls to restore the aesthetics of your home. This step is essential to ensure a seamless and professional-looking finish.
Start by assessing the holes left behind by removing the sensors, detectors, keypad, and control panel. Depending on the size and depth of the holes, you may need different materials for patching, such as spackle or joint compound.
If the holes are small and shallow, you can use spackle to fill them. Apply a small amount of spackle to a putty knife or a spatula, then press it into the hole, ensuring it fills the space completely. Smooth out the surface of the spackle using the putty knife or spatula, and let it dry according to the manufacturer’s instructions.
If the holes are larger or deeper, you may need to use joint compound instead of spackle. Joint compound is a thicker substance that can fill larger holes more effectively. Apply the joint compound using a putty knife or a trowel, smoothing it out and feathering the edges. Allow the joint compound to dry completely.
Once the spackle or joint compound has dried, you can sand the patched areas to create a smooth and even surface. Use a fine-grit sandpaper or sanding block, gently sanding the patched areas until they blend seamlessly with the surrounding wall. Be careful not to sand too aggressively, as this can damage the wall surface.
After sanding, wipe away any dust or debris from the patched areas using a clean, damp cloth. Allow the walls to dry completely before proceeding to the next step.
Finally, you can touch up the paint on the patched areas to match the color of the surrounding wall. Use a small brush or a roller to apply the paint, feathering the edges to achieve a seamless transition. Allow the paint to dry, and inspect the patched areas to ensure a consistent and professional appearance.
Congratulations! You have successfully filled the holes and patched the walls, restoring the aesthetics of your home after removing the wired security system.
Now that the removal process is complete, your home is ready for its next chapter. Whether you’re upgrading to a new security system or exploring alternative home security options, you have the peace of mind knowing that you have successfully removed the wired security system and left your home in its original condition.
Remember, if you encountered any difficulties during the removal process or if you’re unsure about any aspect, it’s always wise to consult with a professional for guidance and assistance.
Thank you for following this comprehensive guide. We hope it has been helpful, and we wish you the best in your home security endeavors!
Conclusion
Removing a wired security system may seem like a daunting task, but with the right knowledge and guidance, it can be accomplished smoothly and safely. By following the step-by-step instructions in this guide, you have learned how to turn off the power, disconnect the main control panel, remove the sensors and detectors, take out the keypad and control panel, remove the wiring, and fill the holes and patch the walls.
Throughout the process, it is important to prioritize safety and take any necessary precautions. If you are unsure about any step or do not feel comfortable working with electrical systems, it is always recommended to seek professional assistance. Your safety should always be the top priority.
Removing a wired security system allows you the flexibility to upgrade to a newer system, move to a new home, or explore alternative home security options. By following the steps outlined in this guide, you can ensure that the removal process is carried out efficiently and effectively, without causing any damage to your home.
Remember, proper organization and labeling of the components, such as wires, sensors, detectors, keypad, and control panel, will make reinstallation or future use much easier. Take the time to document the connections and keep the components organized for future reference.
Once the removal process is complete, you can enjoy a clean and unobstructed space. Take this opportunity to evaluate your home security needs and explore the various options available, such as wireless security systems, smart home security solutions, or professional security monitoring services.
Thank you for following this comprehensive guide on how to remove a wired security system. We hope it has provided you with valuable insights and guidance. Remember, if you have any doubts or concerns, it’s always a good idea to consult with a professional to ensure a successful and safe removal process.
Happy home security endeavors!
Frequently Asked Questions about How To Remove Wired Security System
Was this page helpful?
At Storables.com, we guarantee accurate and reliable information. Our content, validated by Expert Board Contributors, is crafted following stringent Editorial Policies. We're committed to providing you with well-researched, expert-backed insights for all your informational needs.