Home>Home Security and Surveillance>How To Splice The Wires For A Security Camera
Home Security and Surveillance
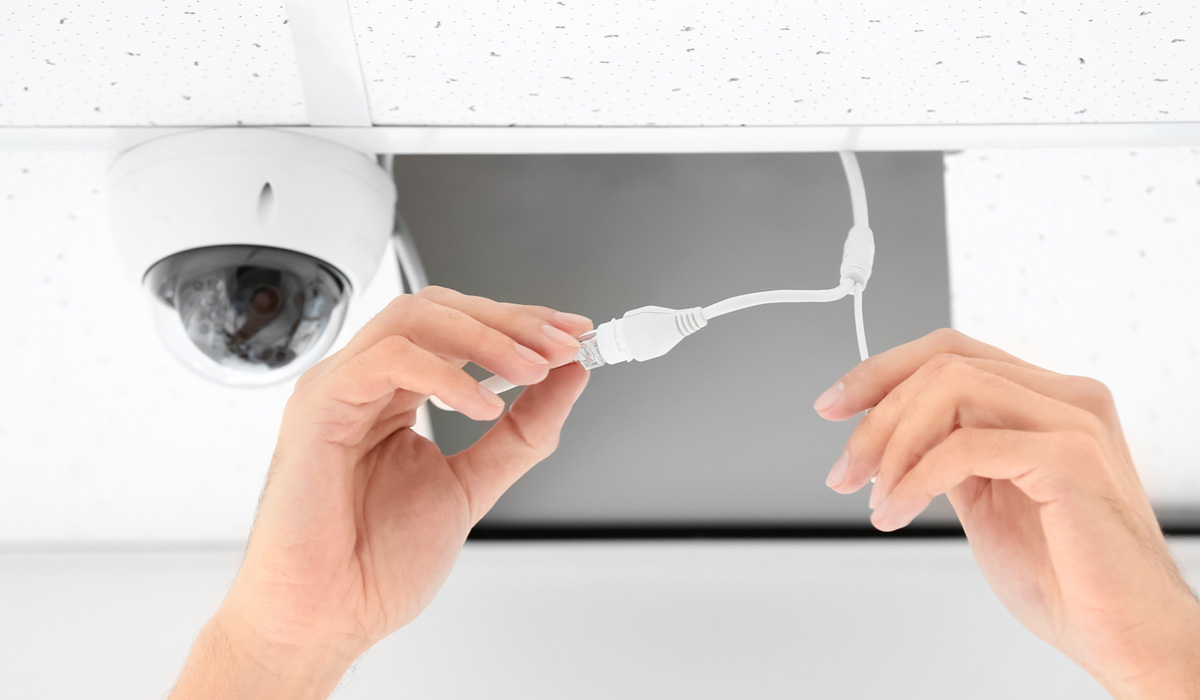
How To Splice The Wires For A Security Camera
Modified: October 19, 2024
Learn how to splice the wires for a security camera with our comprehensive guide. Improve your home security and surveillance with expert tips and techniques.
(Many of the links in this article redirect to a specific reviewed product. Your purchase of these products through affiliate links helps to generate commission for Storables.com, at no extra cost. Learn more)
Introduction
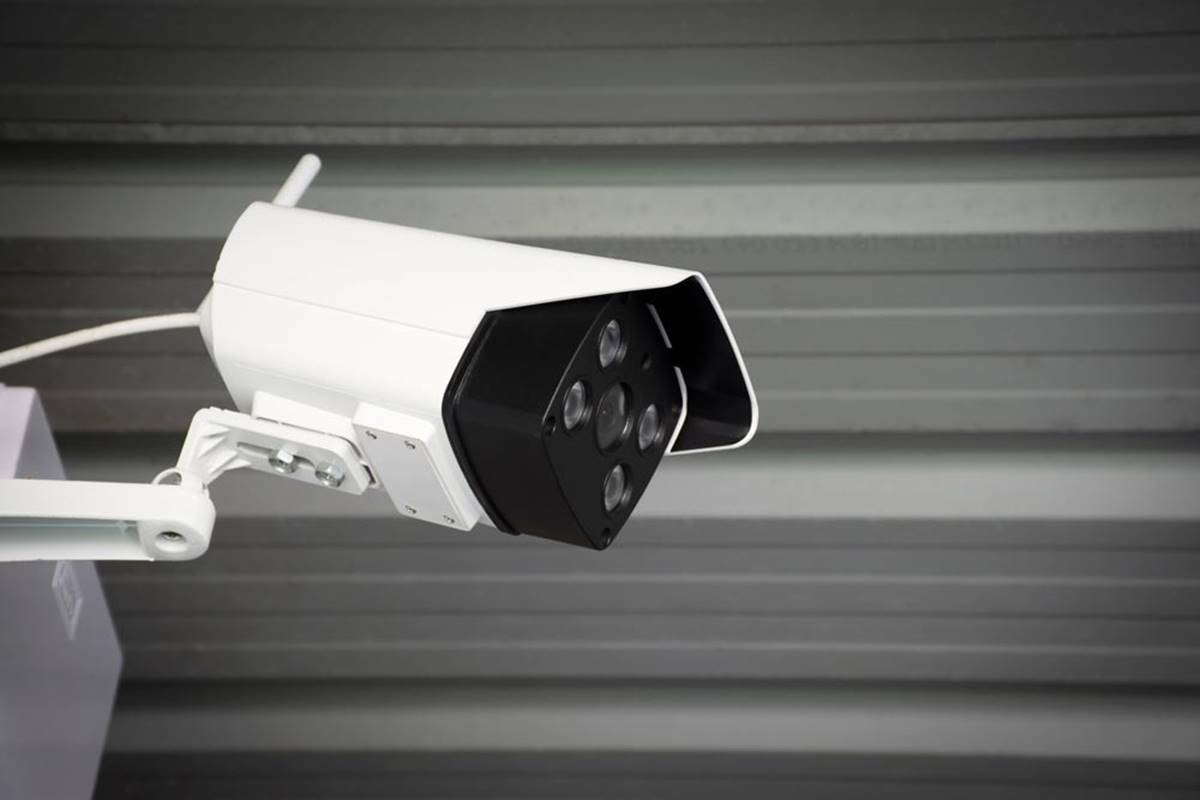
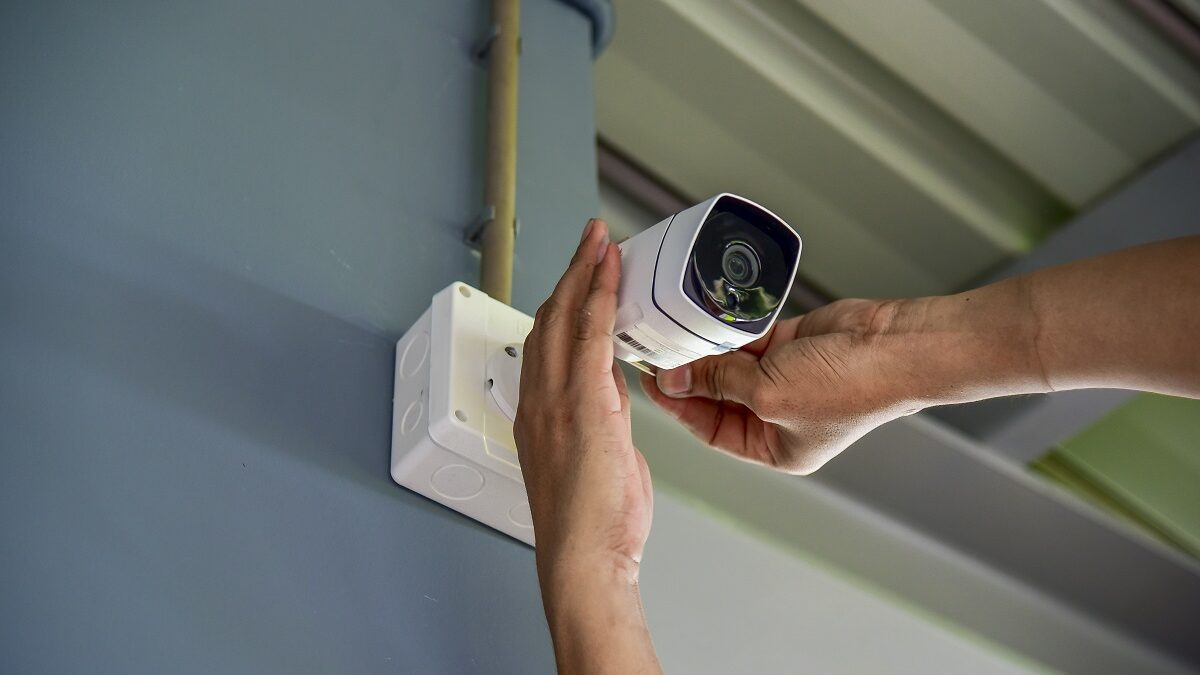
When it comes to home security and surveillance, nothing provides more peace of mind than a well-installed security camera system. However, there may be instances where you need to splice the wires for a security camera. Whether you are extending the cable length or repairing a damaged wire, knowing how to effectively splice the wires is essential to maintaining a reliable and secure camera system.
In this article, we will guide you through the process of splicing the wires for a security camera. We will cover the tools and materials you will need, as well as provide step-by-step instructions to ensure a successful splice. So, let’s dive in and learn how to splice the wires for your security camera.
Key Takeaways:
- Splicing wires for a security camera requires tools like wire cutters and electrical tape. Carefully identify, prepare, and secure the wires to ensure a reliable and safe connection.
- After splicing, test the connection by checking the video signal and camera functions. Insulate the spliced area with electrical tape or heat shrink tubing for added protection.
Read more: How To Splice Electrical Wire
Tools and Materials Needed
Before you begin splicing the wires for a security camera, it is important to gather all the necessary tools and materials. Here’s what you’ll need:
- Utility knife or wire stripper
- Wire cutters
- Electrical tape
- Wire nuts or crimp connectors
- Heat shrink tubing (optional)
- Electrical tape or zip ties for cable management
Having these tools and materials readily available will not only make the splicing process easier but also ensure a secure and professional-looking connection.
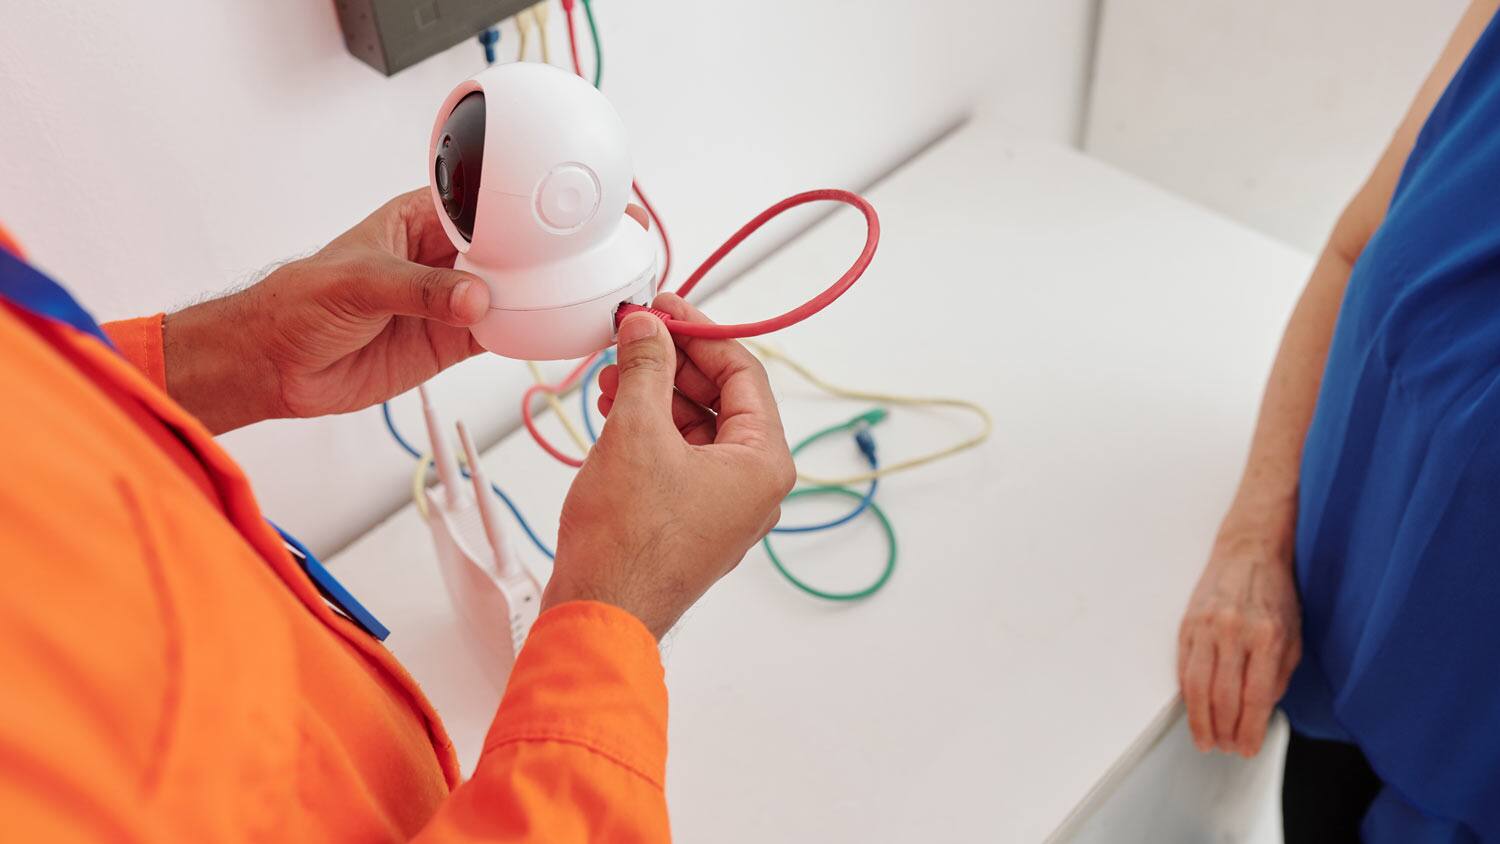
Step 1: Gather All the Necessary Equipment
Before diving into the splicing process, it’s important to gather all the necessary equipment for the task. This will help ensure a smooth and efficient process. Here’s a breakdown of what you’ll need:
- Security camera cables: Make sure you have the appropriate length and type of cables for your installation. These cables typically consist of two wires, one for power and one for video transmission.
- Wire stripper or utility knife: This tool will allow you to remove the outer insulation from the cables and expose the individual wire strands.
- Wire cutters: These will come in handy when trimming the excess wire length.
- Electrical tape: This is used to insulate and secure the spliced wires.
- Wire nuts or crimp connectors: These connectors will join the wires together securely and provide a reliable connection.
- Heat shrink tubing (optional): If you prefer a more professional and durable connection, heat shrink tubing can be used to further insulate the spliced wires.
- Electrical tape or zip ties for cable management: It’s important to keep the cables organized and secure. Use electrical tape or zip ties to bundle and secure the cables.
Once you have gathered all the necessary equipment, you’re ready to move on to the next steps of the splicing process.
Step 2: Identify and Prepare the Wires
Before you can splice the wires for your security camera, it is crucial to properly identify and prepare the wires. This step is essential to ensure a correct and secure connection. Follow these steps:
- Identify the power and video wires: Most security camera cables consist of two wires – one for power and one for video transmission. Identify which wire is which, as this will guide your splicing process.
- Inspect the wires for damage: Carefully examine the wires for any signs of damage such as cuts, fraying, or exposed copper. If you notice any damage, consider replacing the cable entirely to ensure a reliable connection.
- Plan the splice location: Determine where you will be making the splice. Ideally, choose a location where the splice will be protected from environmental factors such as moisture or excessive heat. This will help maintain the integrity of the connection.
By taking the time to properly identify and prepare the wires, you are setting a solid foundation for the splicing process. This attention to detail will help ensure a successful and long-lasting spliced connection.
Step 3: Strip the Insulation from the Wires
Once you have identified and prepared the wires, it’s time to strip the insulation from the wires. This step is essential to expose the individual wire strands for a proper splice. Follow these steps:
- Measure the length: Determine how much insulation you need to remove from the wires. This will depend on the type of connectors you are using and the length of the exposed wire needed for the splice.
- Use a wire stripper or utility knife: With the measurement in mind, use a wire stripper or utility knife to carefully strip away the outer insulation of each wire. Follow the manufacturer’s instructions for the appropriate settings or techniques when using a wire stripper.
- Expose the wire strands: After removing the outer insulation, you should see multiple wire strands within each wire. Gently twist or fan out the strands to ensure they are separated and ready for splicing.
It’s important to exercise caution and precision when stripping the insulation from the wires. Be careful not to nick or damage the wire strands as this can affect the quality of the splice. Take your time and ensure a clean and even strip.
When splicing wires for a security camera, make sure to use wire strippers to remove the insulation, twist the exposed wires together, and secure them with wire nuts or electrical tape. Always double check the connections to ensure a proper and secure splice.
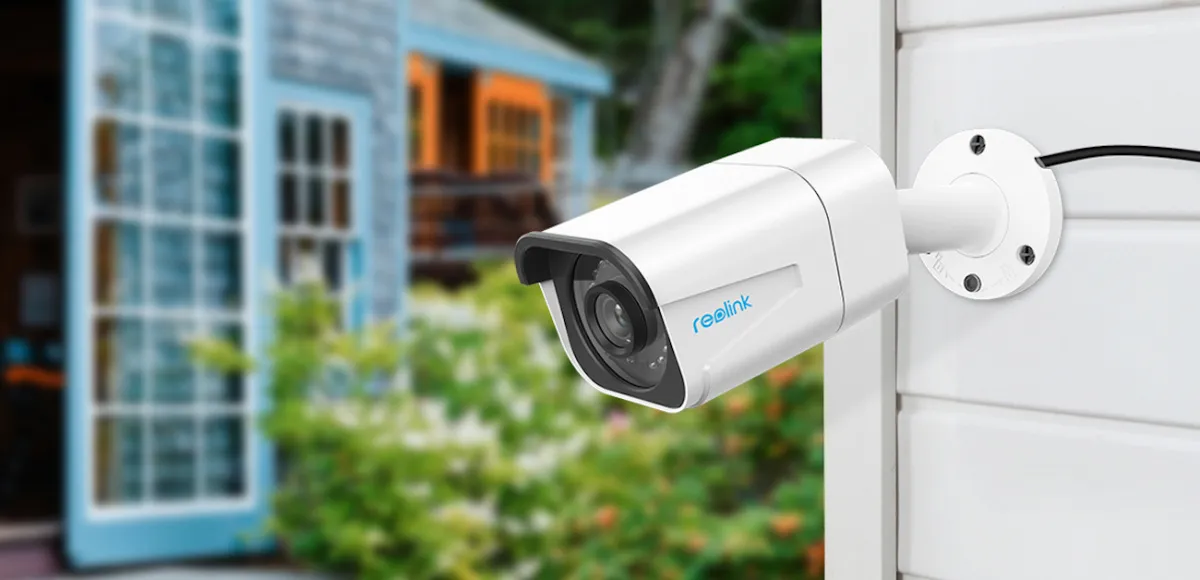
Read more: How To Wire Outdoor Security Cameras
Step 4: Twisting the Wires Together
With the insulation removed from the wires, it’s time to start the splicing process by twisting the wires together. This step is crucial in establishing a strong electrical connection. Follow these steps:
- Line up the stripped ends: Align the stripped ends of the wires so that they are parallel to each other.
- Twist the wires together: Firmly hold the wires while twisting them together in a clockwise motion. This helps to ensure a tight and secure connection.
- Continue twisting: Keep twisting the wires until you have a tight and solid connection. The twisted portion of the wires should be smooth and even.
During the twisting process, it is important to maintain a good grip on the wires to prevent them from unraveling. A well-twisted connection will provide better conductivity and minimize signal loss.
Note: If you’re working with multiple wires, such as connecting multiple security cameras to a single cable or junction box, make sure to match the corresponding wires and twist them together.
Once you have successfully twisted the wires together, you’re ready to move on to the next step of securing the spliced connection.
Step 5: Secure the Spliced Wires
After twisting the wires together, it’s crucial to secure the spliced connection to ensure its stability and reliability. Follow these steps to securely fasten the spliced wires:
- Trim any excess wire: Use wire cutters to trim any excess wire that is extending beyond the twisted portion. This will help create a neater and more manageable connection.
- Choose your method of securing: Depending on your preference and the materials available, there are multiple options for securing the spliced wires. Two common methods include using wire nuts or crimp connectors.
- Wire nuts: Place a wire nut over the twisted wires and twist it clockwise until it is securely fastened. Make sure all the exposed wire is encapsulated by the wire nut for proper insulation.
- Crimp connectors: Slide a crimp connector over the twisted wires and use a crimping tool to compress and secure the connector. This creates a strong, permanent connection.
- Perform a tug test: After securing the spliced wires, gently tug on them to ensure they are tightly held together. If they come loose, repeat the securing process to ensure a secure connection.
By properly securing the spliced wires, you can minimize the risk of loose connections, which can lead to signal loss, electrical shorts, and unreliable camera performance.
For added protection and durability, you may consider using additional methods such as heat shrink tubing or electrical tape to further insulate and secure the spliced wires.
With the spliced wires securely fastened, you’re ready to proceed to the next step of insulating the connection.
Step 6: Insulate the Spliced Wires
Insulating the spliced wires is a critical step in the splicing process as it protects the connection from environmental factors and prevents electrical hazards. Follow these steps to effectively insulate the spliced wires:
- Wrap with electrical tape: Begin by wrapping the exposed and secured spliced area with electrical tape. Start a few inches away from the splice and wrap the tape tightly in a spiral motion, overlapping each layer. Continue wrapping until you reach a few inches past the other end of the splice.
- Ensure complete coverage: Make sure that the spliced area is entirely covered with electrical tape. This will provide insulation and protect the connection from moisture and other potential damages.
- Confirm stability: Give the taped area a gentle tug to ensure that the tape is securely in place and that the spliced wires do not come apart.
It’s important to note that while electrical tape is a commonly used method for insulation, it may not provide long-term durability. If you require a more robust and long-lasting insulation method, consider using heat shrink tubing.
Heat shrink tubing is a material that, when heated, shrinks and tightly conforms to the spliced wires, providing excellent insulation and protection. To use heat shrink tubing, slide the tubing over the spliced area before securing the wires, and then heat it using a heat gun or lighter until it shrinks and tightly seals the connection.
By effectively insulating the spliced wires, you ensure the longevity and reliability of your security camera system, even in challenging environmental conditions.
With the spliced connection properly insulated, you’re ready to move on to the final step—testing the spliced connection.
Step 7: Test the Spliced Connection
Testing the spliced connection is the final step in the process of splicing the wires for your security camera. By conducting a thorough test, you can ensure that the connection is successful and that your camera system is functioning properly. Follow these steps to test the spliced connection:
- Power on the camera system: Turn on the power to your security camera system and allow it to initialize. Ensure that all necessary components, such as the camera, DVR, or monitor, are properly connected and powered.
- Check for video signal: Monitor the video feed from your security camera on the connected display device. Look for a clear and stable video signal with no distortion or flickering.
- Verify power supply: Ensure that the power supply to the camera is functioning as intended. Check for any signs of power loss or fluctuations. If you notice any issues, double-check the spliced connection and power source.
- Test camera functionality: Activate the necessary camera functions such as motion detection, night vision, or audio recording. Test each feature to ensure they are working properly. Monitor the camera feed to verify that the camera is capturing the desired area and producing high-quality images or video.
- Perform a long-term test: Allow the camera system to operate for an extended period, monitoring its performance periodically. Check for any signs of connection failure, loss of power, or degradation in video quality. If any issues arise, revisit the spliced connection and troubleshoot accordingly.
By conducting a comprehensive test on the spliced connection, you can identify and address any potential issues before they affect the overall performance and reliability of your security camera system.
If you encounter any difficulties during the testing phase or if the spliced connection does not pass the test, consider revisiting the previous steps to ensure that all the wires are properly stripped, twisted, secured, and insulated.
With the spliced connection successfully tested and verified, you can have confidence in the reliability and performance of your security camera system.
Read more: How To Hack Into A Wired Security Camera
Conclusion
Splicing the wires for a security camera is a fundamental skill for any homeowner or DIY enthusiast looking to install or repair their camera system. By following the step-by-step process outlined in this article, you can confidently splice the wires and ensure a reliable and secure connection.
Remember to gather all the necessary tools and materials before you begin. Identify and prepare the wires, and strip the insulation to expose the individual wire strands. Carefully twist the wires together, ensuring a tight and solid connection.
Secure the spliced wires using wire nuts or crimp connectors, and perform a tug test to confirm a secure connection. Insulate the spliced area with electrical tape or consider using heat shrink tubing for added protection.
Finally, test the spliced connection thoroughly to ensure that your security camera system is functioning properly. Check for a clear video signal, verify the power supply, and test the camera’s functionalities. Conduct a long-term test to monitor the system’s performance over time.
By following these steps and conducting a meticulous installation process, you can enjoy a reliable and effective security camera system, providing you with peace of mind and enhancing the safety of your home.
Remember, if you encounter any challenges or are uncertain about the splicing process, it is always best to consult with a professional or seek further guidance to ensure the job is done correctly.
Now that you have the knowledge and guidance to splice the wires for your security camera, it’s time to take action and enhance the security of your home. Happy splicing!
Frequently Asked Questions about How To Splice The Wires For A Security Camera
Was this page helpful?
At Storables.com, we guarantee accurate and reliable information. Our content, validated by Expert Board Contributors, is crafted following stringent Editorial Policies. We're committed to providing you with well-researched, expert-backed insights for all your informational needs.