Home>Home Security and Surveillance>How Is The Geeni Outdoor Camera Wired In
Home Security and Surveillance
How Is The Geeni Outdoor Camera Wired In
Modified: March 6, 2024
Learn how to wire in the Geeni outdoor camera for your home security and surveillance needs. Explore step-by-step instructions and expert tips.
(Many of the links in this article redirect to a specific reviewed product. Your purchase of these products through affiliate links helps to generate commission for Storables.com, at no extra cost. Learn more)
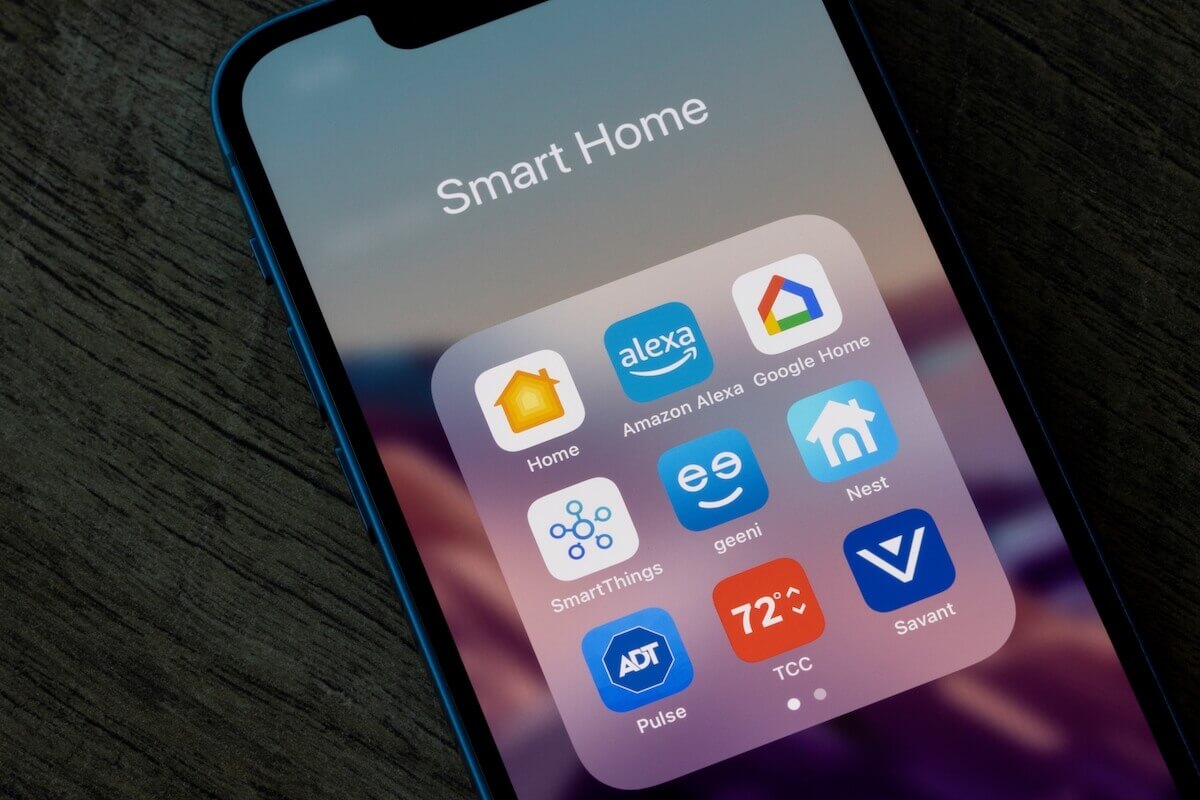
Introduction
Keeping our homes and loved ones safe is a top priority for many of us. With advancements in technology, home security systems and surveillance cameras have become increasingly popular. One such camera that has gained positive attention is the Geeni Outdoor Camera.
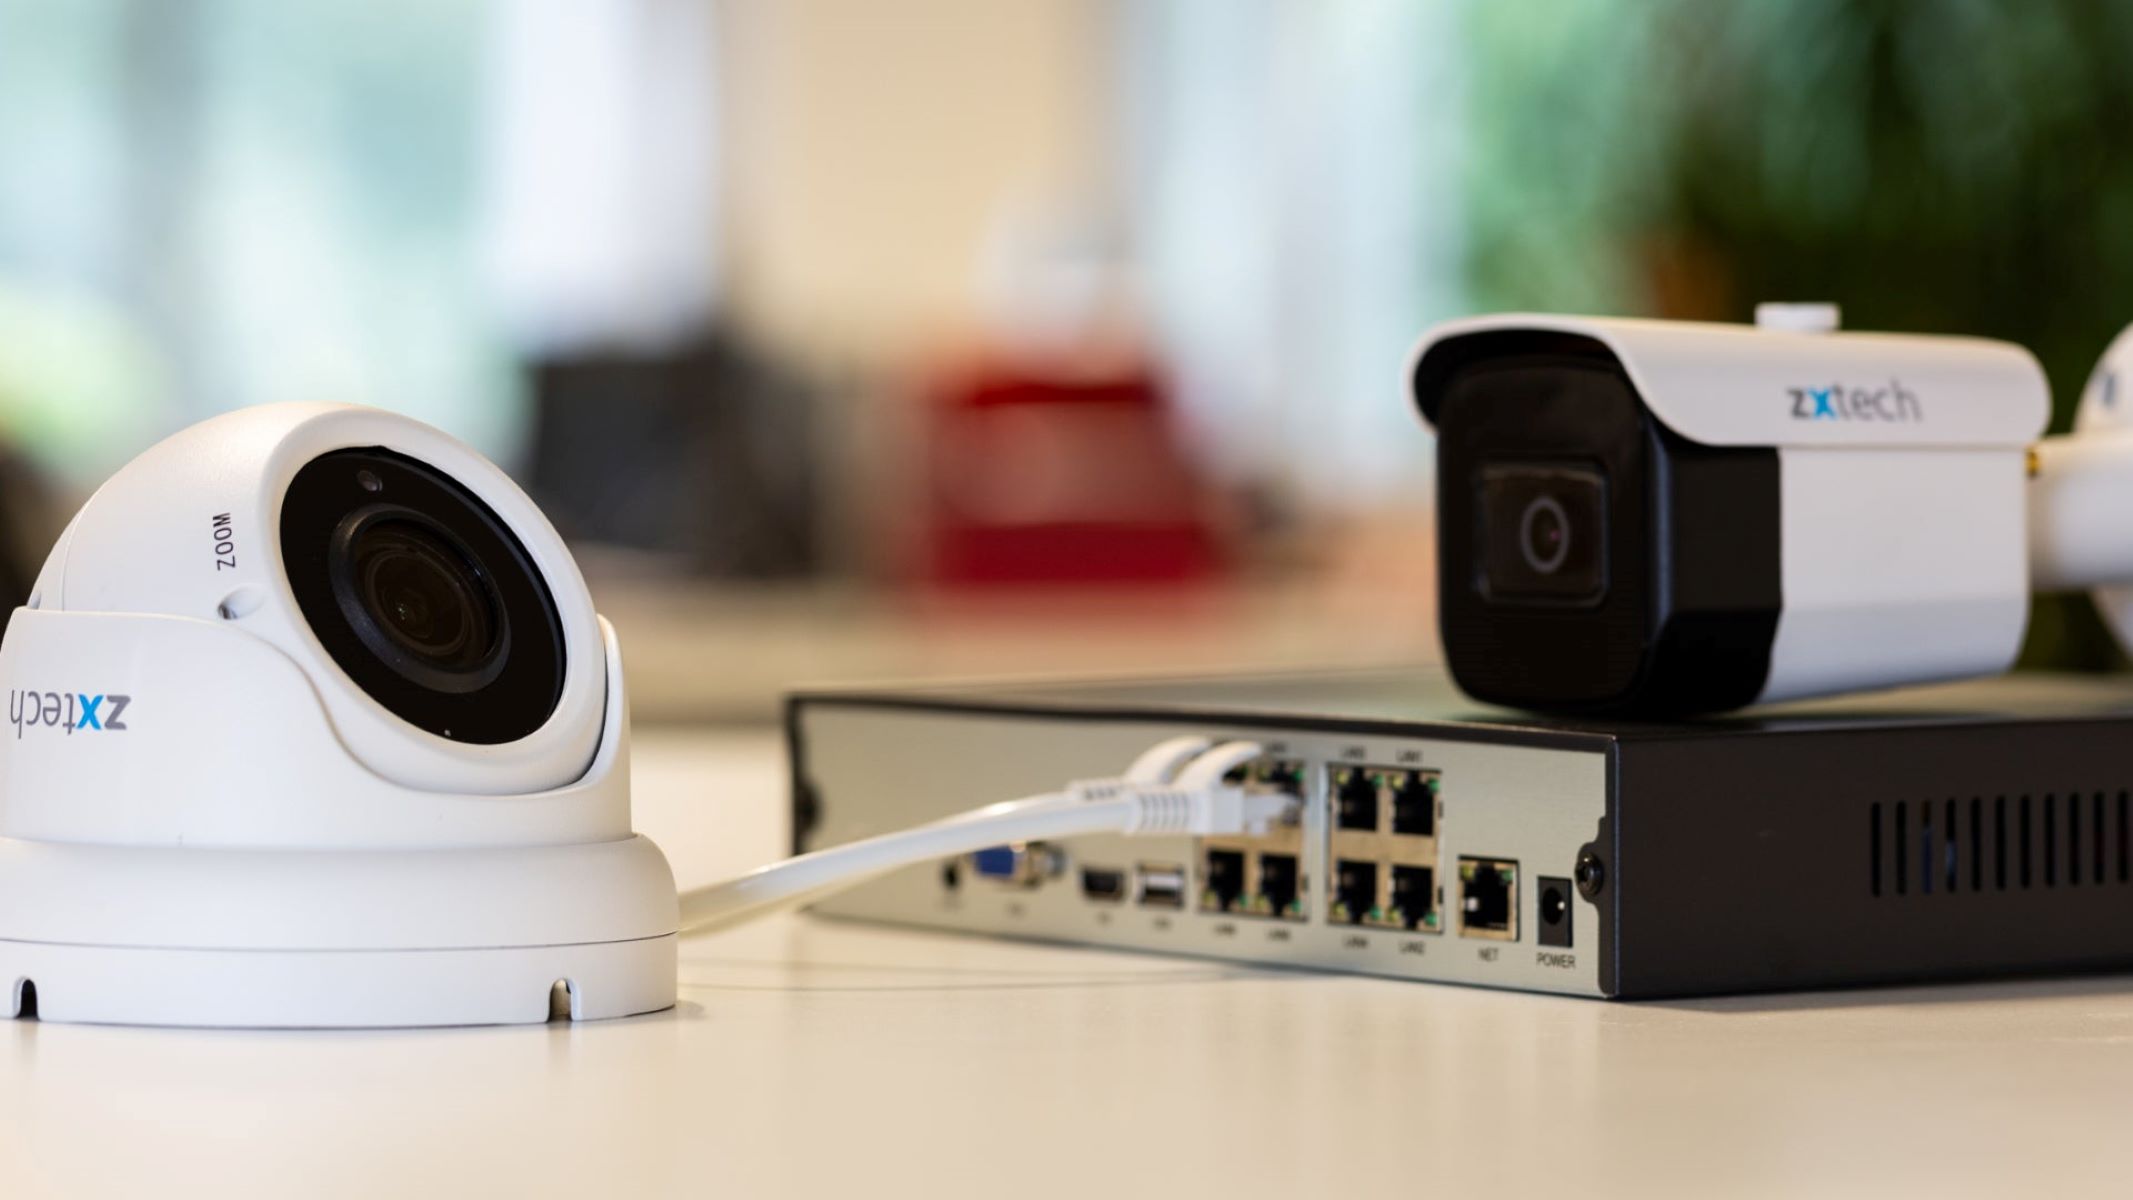
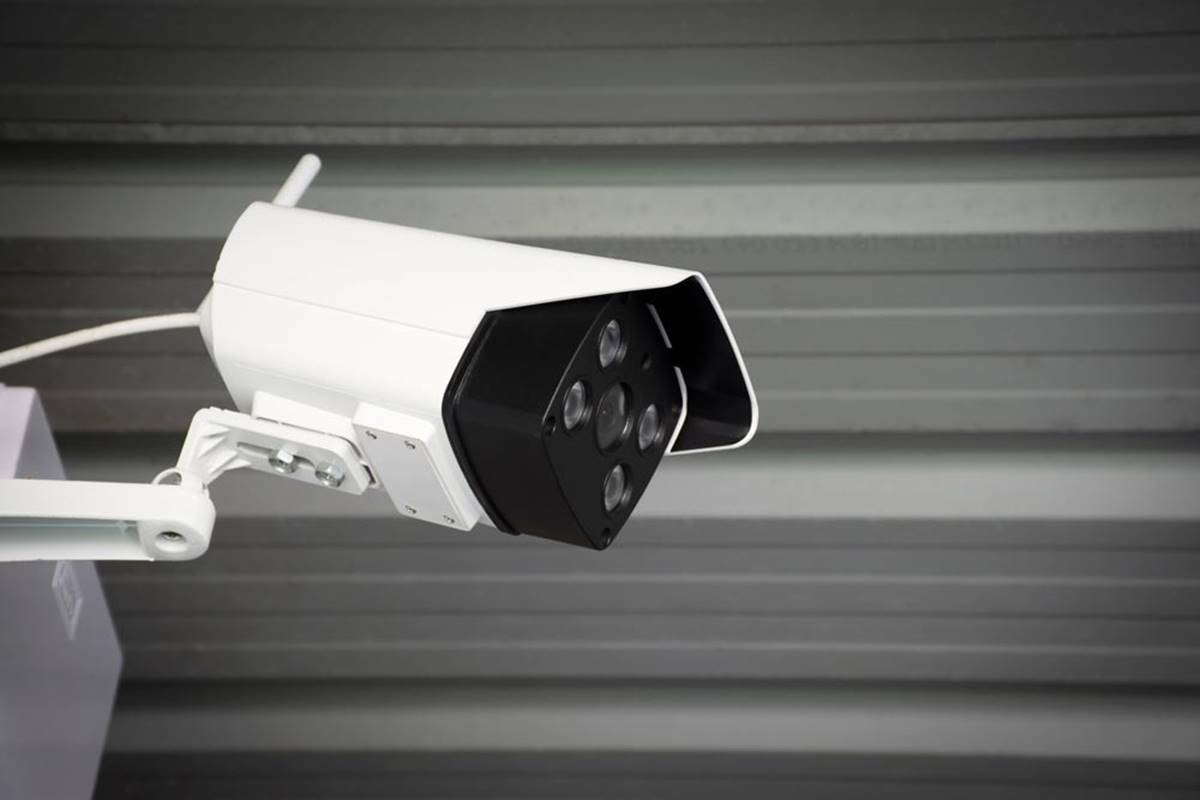
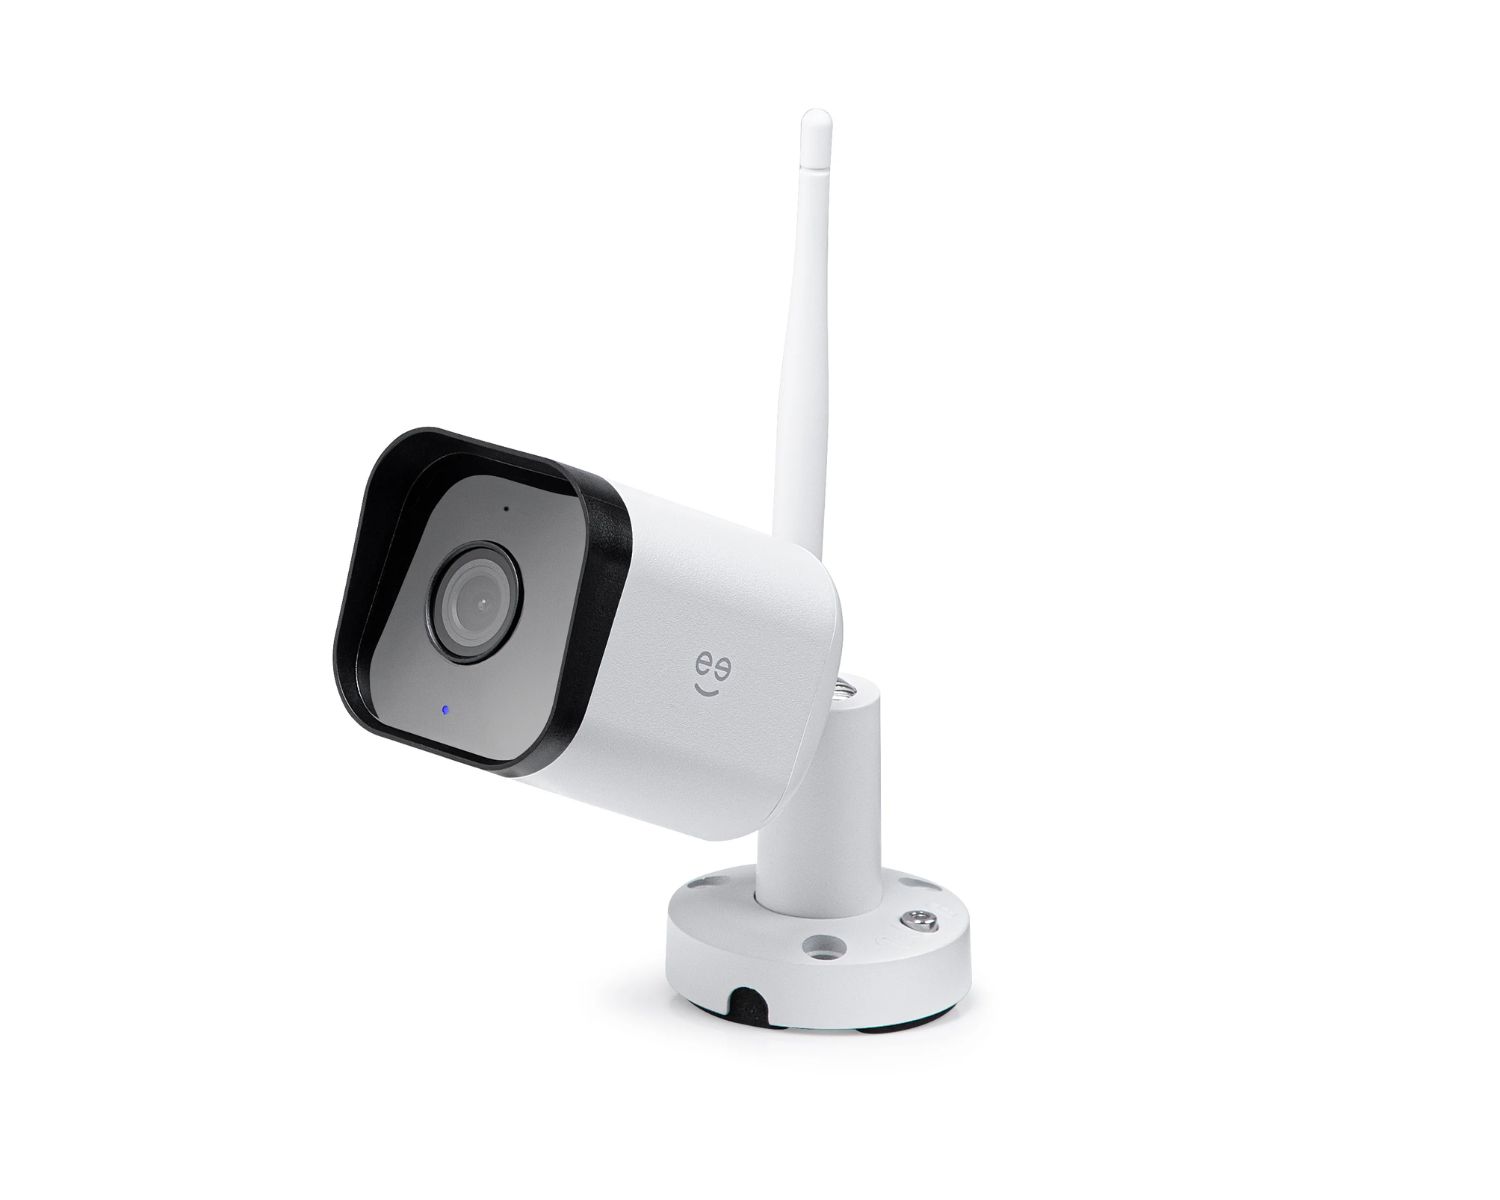
The Geeni Outdoor Camera is a wired security camera that provides robust surveillance capabilities to monitor and protect your home. With its high-definition video quality and smart features, it offers peace of mind by keeping a watchful eye on your property, both day and night.
In this article, we will guide you through the process of installing and wiring the Geeni Outdoor Camera. We will cover everything from unboxing the camera to connecting it to the Geeni app for easy remote access. So, let’s dive in and get started!
Note: Before you begin with the installation process, it’s essential to ensure that you have a stable internet connection and a smartphone or tablet with the Geeni app installed. This will allow you to control and monitor the camera’s feed remotely.
Key Takeaways:
- Installing the Geeni Outdoor Camera involves unboxing, choosing the right location, gathering tools, mounting, wiring for power, connecting to the app, and testing. It provides high-definition video quality and motion detection for enhanced home security.
- The Geeni Outdoor Camera offers peace of mind by allowing remote monitoring and alerts via the Geeni app. It’s important to regularly maintain and check the camera’s performance for optimal functionality and security.
Read more: How To Wire Outdoor Security Cameras
Step 1: Unboxing the Geeni Outdoor Camera
The first step in installing the Geeni Outdoor Camera is to unbox the package and familiarize yourself with the contents. When you open the box, you will find the following items:
- The Geeni Outdoor Camera
- Power adapter
- Mounting bracket
- Screws and anchors
- Installation guide
Take a few moments to carefully inspect each item and ensure that nothing is damaged or missing. If you notice any issues, it’s best to contact the manufacturer for assistance or a replacement.
Once you have confirmed that all the necessary components are present and in good condition, you can move on to the next step of the installation process.
Step 2: Choosing the Appropriate Location for Installation
Choosing the right location to install your Geeni Outdoor Camera is crucial for maximizing its effectiveness. Here are a few factors to consider when selecting the placement:
- Overview of the area: Assess the areas of your property that you want to monitor. Identify entry points, vulnerable spots, and high-traffic areas that require surveillance.
- Camera visibility: Ensure that the camera has a clear view of the desired coverage area. Avoid obstructions such as trees, bushes, or walls that may hinder its line of sight.
- Height and angle: Position the camera at a height and angle that provides optimal coverage. It’s generally recommended to install the camera at a height of around 9 to 10 feet, capturing a wide perspective of the area.
- Protection from the elements: Choose a location that is sheltered from direct exposure to rain, snow, or extreme weather conditions. This will help prolong the camera’s lifespan and ensure uninterrupted functionality.
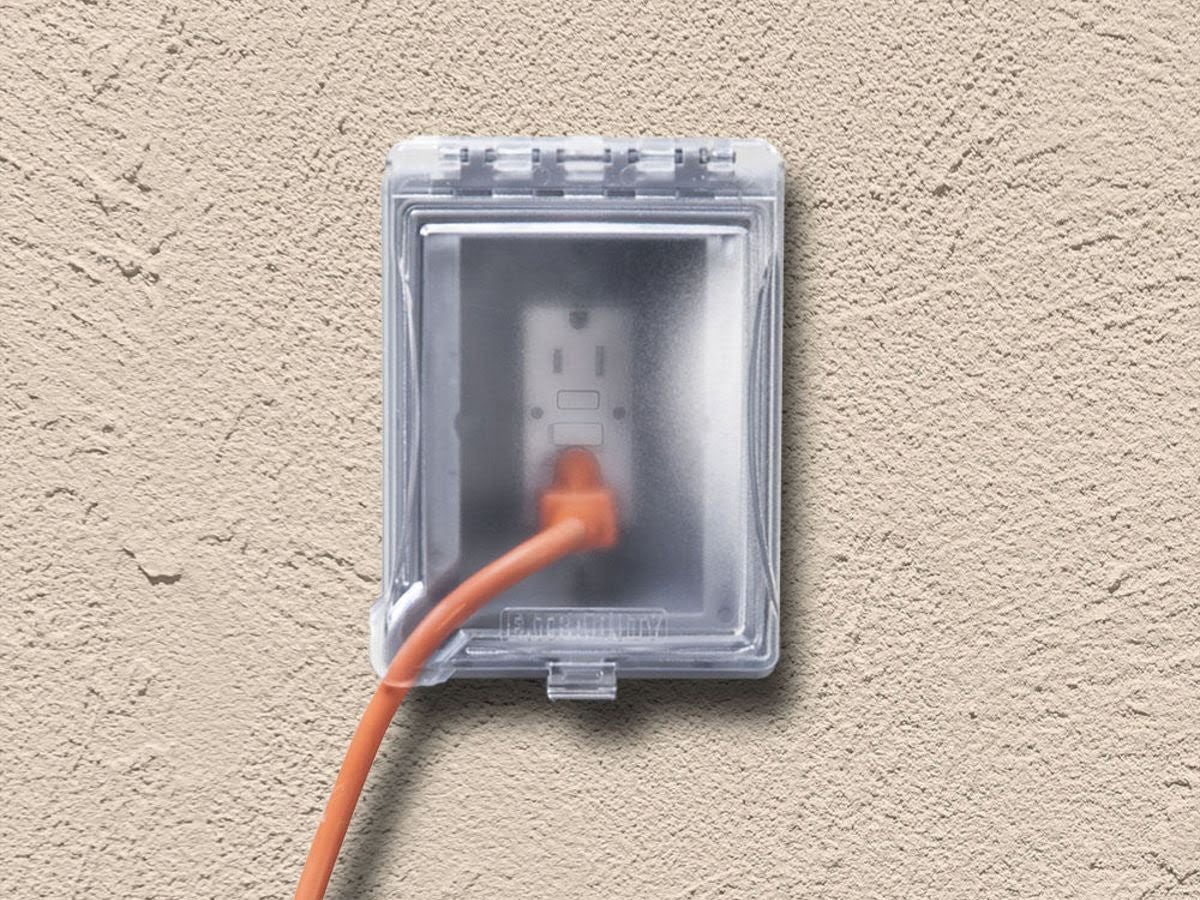
- Power supply accessibility: Consider the availability of a power source near the chosen installation spot. The Geeni Outdoor Camera requires a wired connection to a power outlet.
Once you have considered these factors, you’ll have a better understanding of where to position your Geeni Outdoor Camera. Take some time to finalize your decision before proceeding to the next step.
Step 3: Gathering Necessary Tools and Materials
Before you begin installing the Geeni Outdoor Camera, it’s important to gather all the necessary tools and materials. Here’s a list of items you will need:
- Drill
- Drill bits
- Screwdriver
- Level
- Tape measure
- Pencil or marker
- Power adapter
- Screws and anchors
Make sure your drill is charged or that you have a reliable power source nearby. Additionally, ensure that you have the correct drill bits and screwdriver head size for the screws provided with the camera.
Having a level will help you ensure that the camera is mounted straight, providing a clear and accurate perspective. A tape measure will come in handy when determining the appropriate distance for mounting the camera.
Finally, a pencil or marker will allow you to accurately mark the drilling points on the wall or surface where you intend to install the Geeni Outdoor Camera.
Once you have gathered all the necessary tools and materials, you’re ready to move on to the next step of the installation process.
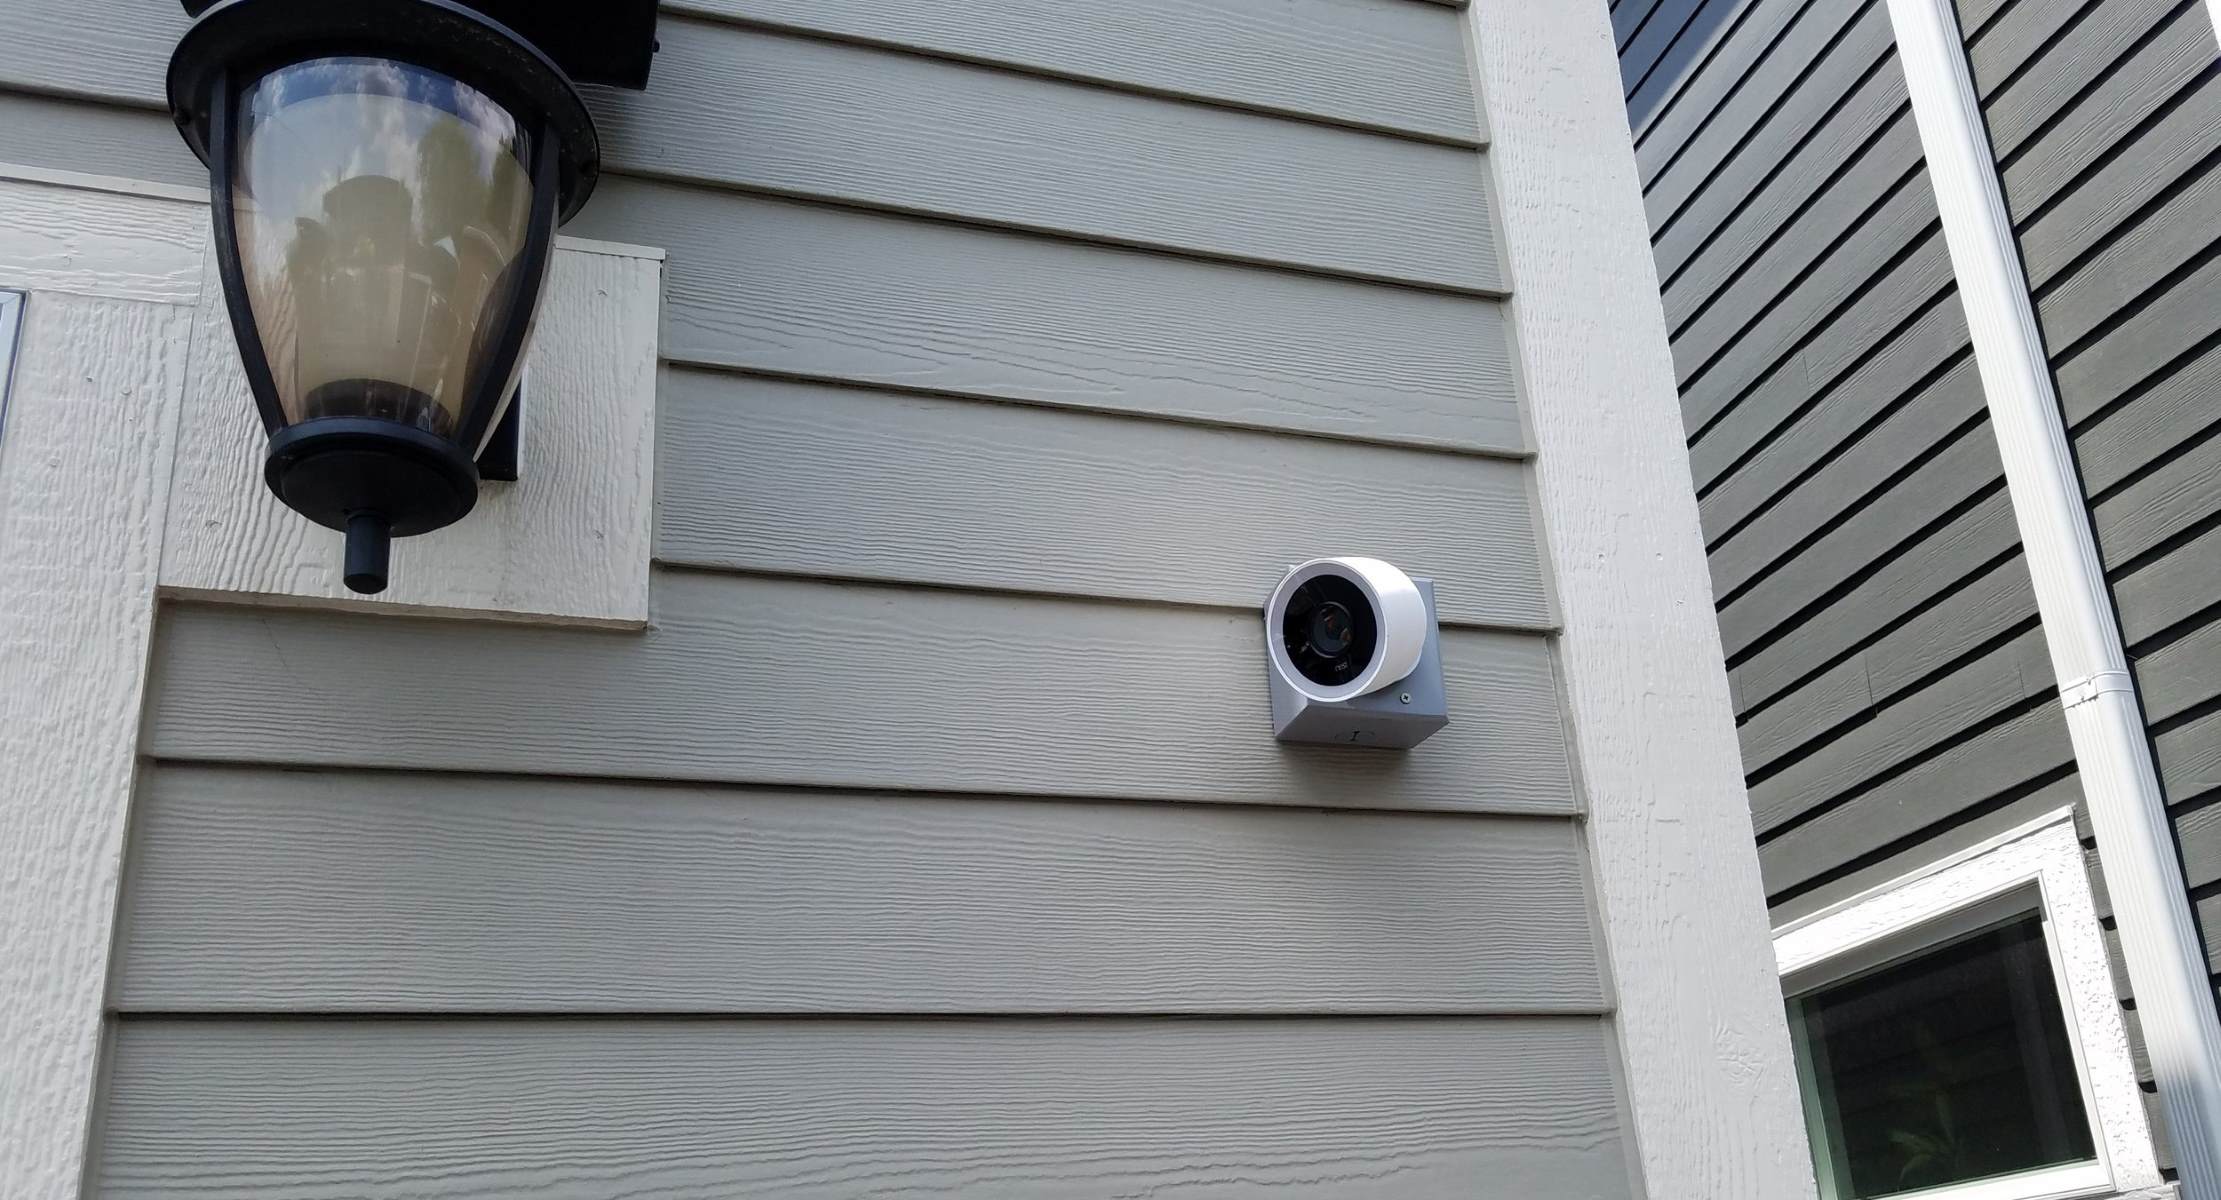
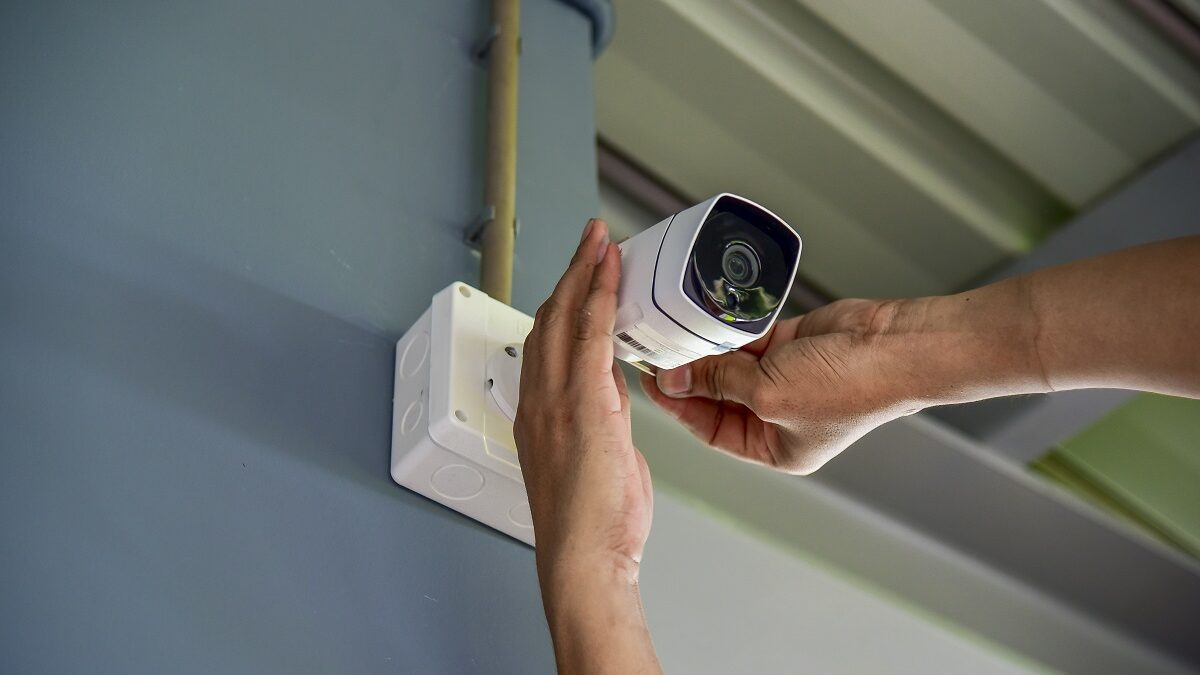
Step 4: Mounting the Geeni Outdoor Camera
Now that you have all the tools and materials ready, it’s time to mount the Geeni Outdoor Camera. Follow these steps:
- Using a tape measure, determine the desired height and position for the camera. Mark these points on the wall or surface with a pencil or marker.
- Using a drill with the appropriate drill bit, create holes at the marked points. Make sure the holes are deep enough to securely anchor the screws and mounting bracket.
- Insert the anchors into the drilled holes. This will provide additional stability and strength for the camera mount.
- Align the mounting bracket with the drilled holes and secure it in place using screws and a screwdriver. Make sure the bracket is level and firmly attached to the wall or surface.
- Attach the Geeni Outdoor Camera to the mounting bracket. Align the camera’s screw holes with the corresponding holes on the bracket, then use screws to secure it in place.
- Adjust the camera’s position and angle to ensure it is correctly aligned with the desired coverage area. Use a level to ensure the camera is straight.
It’s important to take your time and be precise during the mounting process to ensure the camera is securely attached and focused on the right area. Double-check that the camera is level and securely mounted before moving on to the next step.
With the Geeni Outdoor Camera now mounted, you’re ready to move on to the next step of the installation process, which involves wiring the camera for power.
When wiring the Geeni Outdoor Camera, make sure to follow the manufacturer’s instructions carefully to ensure proper installation. Use weatherproof connectors and secure the wiring to prevent damage from the elements.
Read more: How To Wire A Nest Outdoor Camera
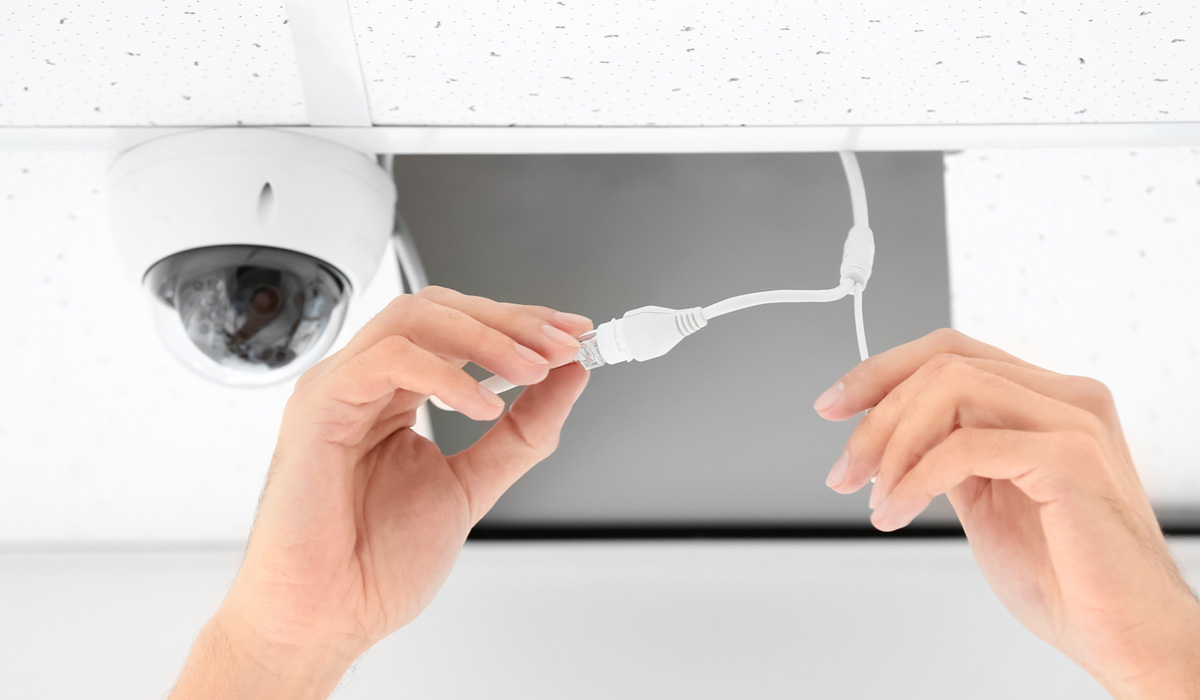
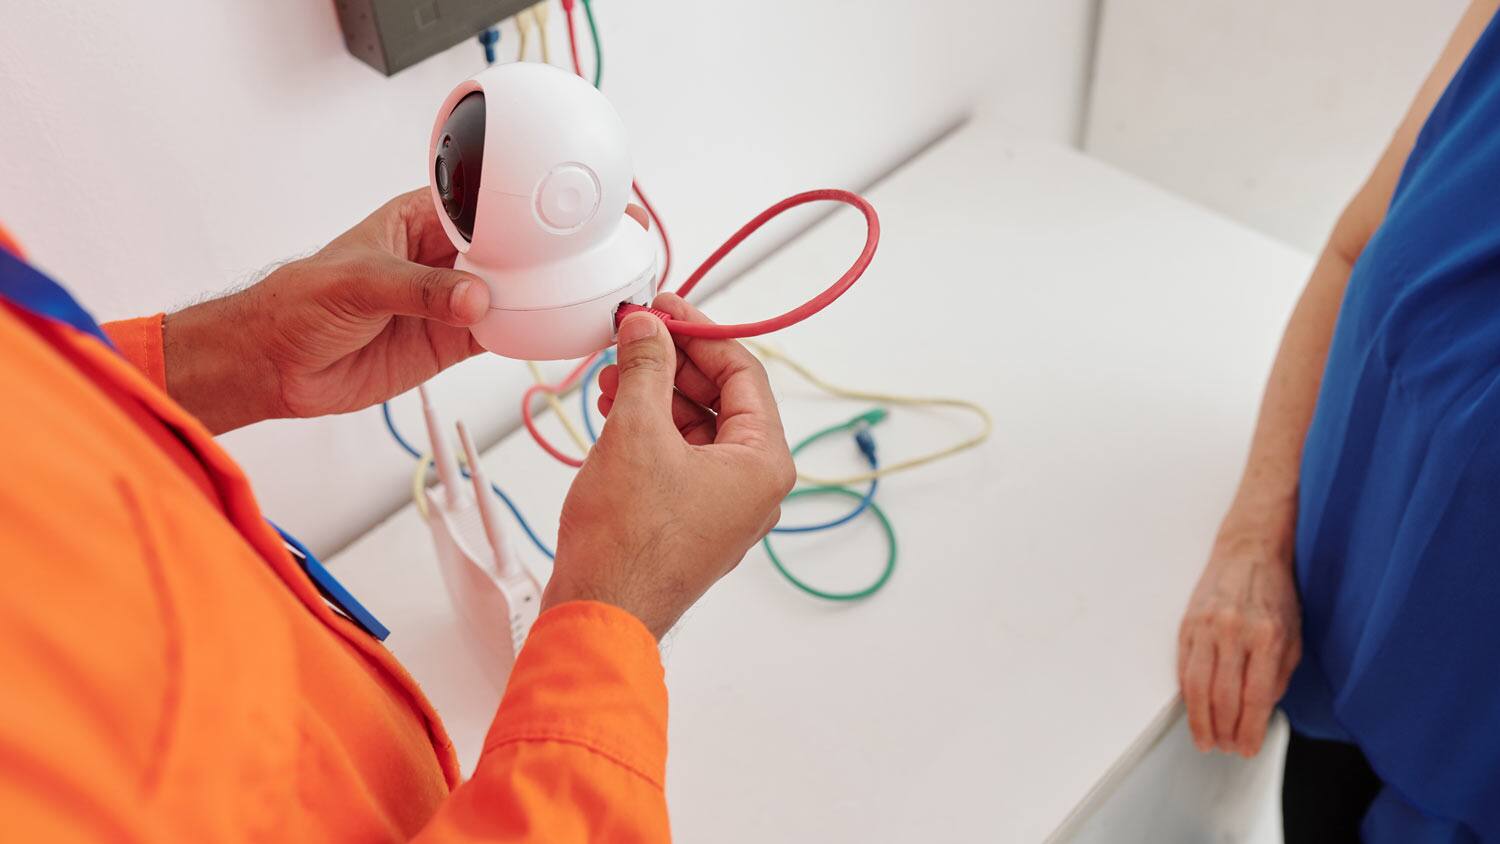
Step 5: Wiring the Geeni Outdoor Camera
Now that the Geeni Outdoor Camera is securely mounted, it’s time to wire it for power. Here’s how:
- Start by locating the power adapter that came with the camera. It should have a cable with a connector on one end and a plug on the other.
- Connect the cable from the power adapter to the corresponding power input on the Geeni Outdoor Camera. Ensure that it is firmly attached.
- Next, route the power cable from the camera to the power outlet. Make sure to keep the cable neat and organized along the way.
- If necessary, use cable clips or cable channels to secure and conceal the wiring, especially if it is exposed or running along a wall.
- Plug the power adapter into a nearby outlet. Ensure that the outlet is providing a stable power supply.
- Once the camera is powered, you should see indicator lights or hear a chime indicating that it is ready to be set up.
It’s important to ensure that the power supply is stable and reliable to avoid any interruptions in the camera’s performance. If the camera has an option for backup power or battery backup, consider using it as an additional precaution.
With the Geeni Outdoor Camera now wired for power, you’re ready to proceed to the next step, which involves connecting the camera to the Geeni app for easy access and control.
Step 6: Connecting the Camera to the Geeni App
Once the Geeni Outdoor Camera is wired and powered, the next step is to connect it to the Geeni app for seamless control and monitoring. Follow these steps:
- Ensure that your smartphone or tablet is connected to a stable Wi-Fi network.
- Download and install the Geeni app from the App Store or Google Play Store.
- Open the Geeni app and create a new account or log in if you already have an existing account.
- Follow the on-screen instructions to set up the app and pair the camera with your account. This usually involves scanning a QR code or entering a code manually.
- Once the camera is successfully paired, you can customize the settings according to your preferences. This includes adjusting motion detection sensitivity, setting up alerts, and enabling night vision.
- Take some time to explore the app’s features and familiarize yourself with its interface. You can view the camera’s live feed, access recorded footage, and control other aspects of the camera’s functionality.
- Additionally, you may have the option to integrate the camera with other smart devices or voice assistants for added convenience and automation.
By connecting the Geeni Outdoor Camera to the Geeni app, you can easily access and manage the camera’s settings from anywhere using your smartphone or tablet. This allows you to keep an eye on your property, receive alerts, and have peace of mind knowing that your home is protected.
With the camera successfully connected to the Geeni app, you’re one step away from completing the installation process. The final step involves testing the camera and adjusting any additional settings.
Step 7: Testing the Camera and Adjusting Settings
Now that the Geeni Outdoor Camera is installed and connected to the Geeni app, it’s time to test the camera and ensure everything is functioning as expected. Follow these steps:
- Open the Geeni app on your smartphone or tablet.
- Select the Geeni Outdoor Camera from the list of connected devices.
- Tap on the camera feed to view the live stream. Check if the video quality is clear and if the camera is capturing the desired coverage area.
- Test the camera’s motion detection feature by moving around in front of it. Check if you receive notifications or alerts for detected motion.
- Adjust the camera’s sensitivity settings if necessary. Depending on your preferences and the camera’s location, you may want to fine-tune the motion detection sensitivity to avoid false alerts.
- Explore other settings and features in the Geeni app, such as enabling night vision, adjusting the camera’s bitrate, or scheduling recording times.
- Take some time to familiarize yourself with the app’s recording options as well. Make sure you understand how to access and review recorded footage.
- If you encounter any issues or have questions about the camera’s settings, consult the user manual or reach out to Geeni’s customer support for assistance.
By testing the camera and adjusting the settings, you can ensure that the Geeni Outdoor Camera is optimized for your specific needs and provides reliable surveillance and security for your home.
Congratulations! You have successfully installed, wired, and set up the Geeni Outdoor Camera. With its high-definition video quality, motion detection capabilities, and remote access via the Geeni app, you can now enjoy enhanced peace of mind and better protect your home and loved ones.
Remember, regular maintenance and periodic checks on the camera’s performance are important to ensure its continued functionality. Stay vigilant and keep an eye on any updates or firmware upgrades from Geeni to make the most of your outdoor camera.
Enjoy the added security and convenience provided by the Geeni Outdoor Camera, and may you have many years of peace and safety in your home!
Conclusion
Installing a Geeni Outdoor Camera is a great step towards enhancing the security and surveillance of your home. By carefully following the steps outlined in this guide, you can successfully install, wire, and connect the camera to the Geeni app.
The Geeni Outdoor Camera offers high-definition video quality, motion detection, and remote access features, providing you with peace of mind and the ability to monitor your property from anywhere. With the camera securely mounted and connected, you can keep an eye on your home, deter potential intruders, and receive timely alerts for any suspicious activity.
Remember to choose an appropriate location for installation, gather the necessary tools and materials, and wire the camera for power. Connect the camera to the Geeni app, adjust the settings to your preferences, and test the camera’s functionality to ensure it meets your needs.
Regular maintenance and checks on the camera’s performance are essential for optimal functionality. Stay updated with any firmware upgrades or software updates provided by Geeni to keep your camera running smoothly and securely.
With the Geeni Outdoor Camera in place, you can have peace of mind knowing that your home is protected, whether you’re at work, on vacation, or simply relaxing in your living room.
Investing in a reliable security camera system is a proactive way to safeguard your loved ones, deter potential criminals, and maintain the security of your property. With the Geeni Outdoor Camera, you can rest assured that you’ve taken an important step towards protecting what matters most to you.
So go ahead, install your Geeni Outdoor Camera, and enjoy the added security and peace of mind it brings to your home environment. Stay vigilant, stay safe!
Frequently Asked Questions about How Is The Geeni Outdoor Camera Wired In
Was this page helpful?
At Storables.com, we guarantee accurate and reliable information. Our content, validated by Expert Board Contributors, is crafted following stringent Editorial Policies. We're committed to providing you with well-researched, expert-backed insights for all your informational needs.