Home>Construction & Tools>Building Materials>How To Mix Stucco
Building Materials
How To Mix Stucco
Published: January 17, 2024
Learn how to mix stucco with ease using common building materials. Our step-by-step guide will help you achieve professional results for your next project.
(Many of the links in this article redirect to a specific reviewed product. Your purchase of these products through affiliate links helps to generate commission for Storables.com, at no extra cost. Learn more)
Introduction
Read more: How To Use Pre-Mixed Stucco Patch
Introduction
Welcome to the world of stucco, where ancient building material meets modern construction techniques. Stucco has been used for centuries to create durable, weather-resistant, and visually appealing finishes for both interior and exterior walls. Whether you’re a seasoned contractor or a DIY enthusiast, mastering the art of mixing and applying stucco can open up a world of possibilities for enhancing the beauty and longevity of your architectural projects.
In this comprehensive guide, we’ll delve into the fundamentals of stucco, explore the essential materials and tools needed, walk through the precise steps of mixing and applying stucco, and discuss the crucial processes of curing and finishing. By the end of this journey, you’ll be equipped with the knowledge and confidence to embark on your stucco projects with skill and finesse.
So, let’s roll up our sleeves, grab our trowels, and uncover the secrets of mastering the art of stucco application.
Key Takeaways:
- Stucco is a durable and versatile building material that can protect structures from the elements and enhance their aesthetic appeal. By understanding its composition and mastering the mixing and application process, you can create enduring and beautiful architectural finishes.
- To successfully work with stucco, it’s crucial to gather the right materials and tools, mix the stucco with precision, apply it carefully, and ensure proper curing and finishing. This timeless building material offers a world of possibilities for architectural creativity and longevity.
Understanding Stucco
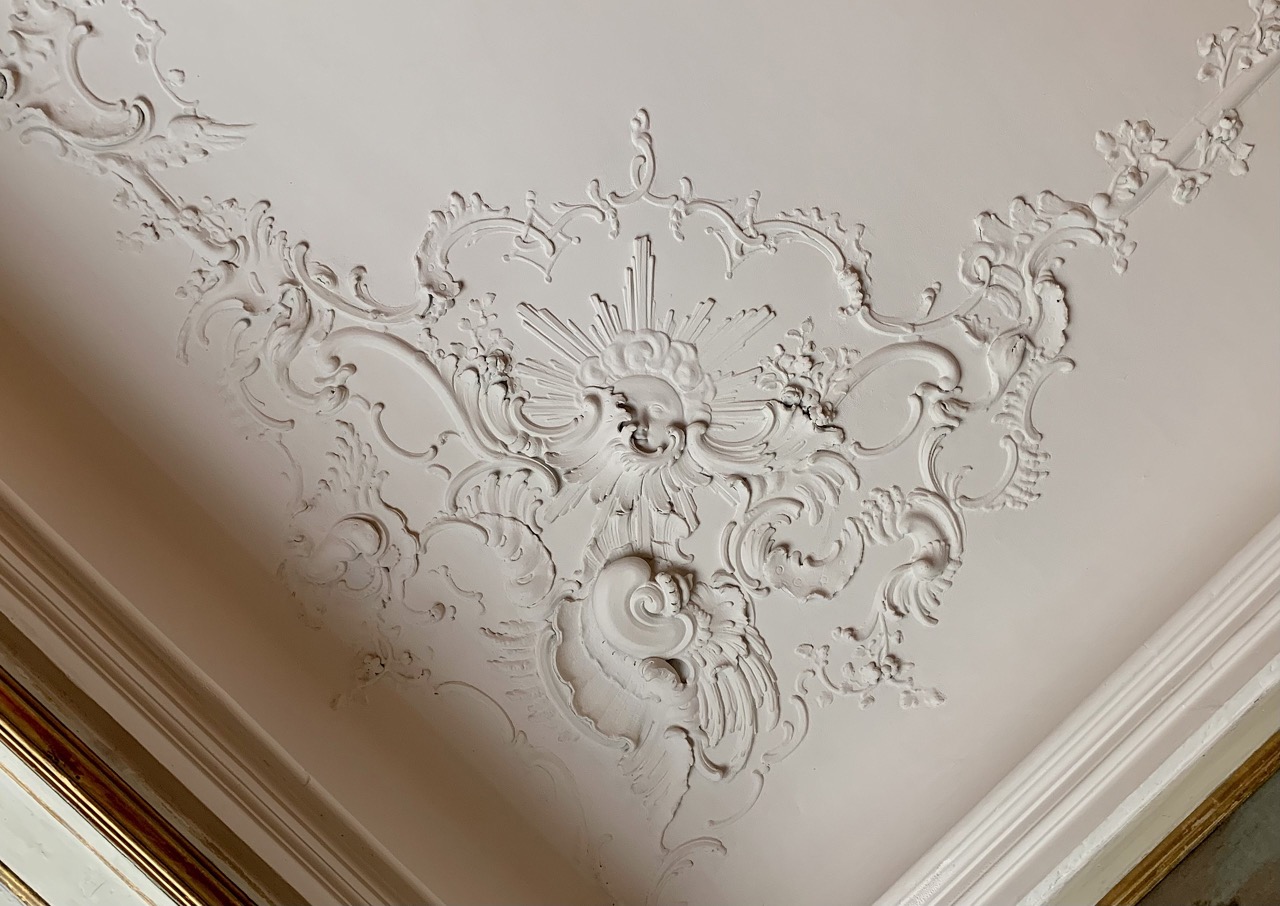
Before diving into the nitty-gritty of mixing and applying stucco, it’s essential to grasp the nature and characteristics of this versatile building material. Stucco, derived from the Italian word “stucco,” meaning “plaster,” is a time-tested blend of cement, lime, sand, and water. This composition yields a robust, breathable, and aesthetically pleasing finish that can adorn both residential and commercial structures.
One of the most remarkable qualities of stucco is its adaptability to various architectural styles and design preferences. Whether adorning the exterior of a Mediterranean villa, a modern urban dwelling, or a rustic countryside retreat, stucco effortlessly complements diverse aesthetics, thanks to its customizable textures and the ability to receive pigmented finishes.
Moreover, stucco isn’t just a pretty face; it’s a formidable shield against the elements. When expertly applied, stucco forms a protective barrier that shields buildings from moisture infiltration, wind-driven rain, and UV radiation. This durability makes stucco an ideal choice for withstanding the rigors of diverse climates, from scorching desert sun to coastal humidity.
Furthermore, stucco’s fire-resistant properties add an extra layer of safety to structures, providing peace of mind to occupants and builders alike. Its non-combustible nature makes it a valuable asset in fortifying the structural integrity of buildings, particularly in regions prone to wildfires.
Understanding the composition, adaptability, and protective capabilities of stucco lays a solid foundation for mastering its application. Now, let’s explore the essential materials and tools needed to embark on your stucco journey.
Materials and Tools Needed
Embarking on a stucco project requires a carefully curated arsenal of materials and tools to ensure a seamless and successful application. Here’s a comprehensive list of the essentials:
Materials:
- Cement: The backbone of stucco, cement provides structural strength and durability to the finish. Opt for high-quality Portland cement for optimal results.
- Lime: Hydrated lime acts as a plasticizer, enhancing workability and adhesion while contributing to the flexibility and breathability of the stucco.
- Sand: Select clean, well-graded sand to achieve the desired texture and ensure proper bonding with the cement and lime.
- Fibers: Incorporating synthetic or natural fibers into the mix improves crack resistance and overall cohesion, especially in large-scale applications.
- Water: High-quality, clean water is crucial for achieving the optimal consistency and hydration of the stucco mix.
- Bonding Agent: Utilize a bonding agent to enhance adhesion between the existing substrate and the new stucco layer, promoting a robust bond.
- Pigments (optional): If desired, pigments can be added to the mix to imbue the stucco with vibrant, lasting color.
Read more: How To Stucco A Foundation
Tools:
- Mixing Tools: A sturdy wheelbarrow or mixing tub, along with a hoe or mixing drill, is essential for blending the stucco components thoroughly.
- Applicator Tools: Traditional hand trowels, plastering hawks, and floats facilitate the smooth and uniform application of stucco onto the substrate.
- Protective Gear: Safety goggles, gloves, and a dust mask are imperative for safeguarding against potential hazards during mixing and application.
- Measuring Devices: Accurate measuring cups or buckets ensure precise proportions of the stucco ingredients, crucial for achieving consistent quality.
- Masonry Brushes: These brushes aid in dampening the substrate and applying bonding agents before stucco application.
- Scarifiers and Scrapers: These tools are employed for preparing and roughening the substrate to promote proper adhesion.
Equipped with these materials and tools, you’re poised to embark on the next crucial phase: mixing the stucco with precision and finesse. Let’s delve into the art of creating the perfect stucco mix.
Mixing Stucco
Mastering the art of mixing stucco is akin to crafting the perfect recipe – precision, technique, and quality ingredients are paramount. Here’s a step-by-step guide to achieving a flawless stucco mix:
1. Gather Your Ingredients
Before diving into the mixing process, ensure that you have all the necessary materials and tools at your disposal. Double-check the quantities of cement, lime, sand, fibers, and water as per your project’s specifications.
2. Prepare the Mixing Area
Select a well-ventilated and spacious area for mixing the stucco. Lay down a tarp or plastic sheet to contain the mix and facilitate easy cleanup. Ensure that all mixing tools and containers are clean and free of debris.
Read more: How To Inspect Stucco
3. Measure and Combine
Accurately measure the cement, lime, and sand according to the predetermined mix ratio. Typically, a common ratio is 1 part cement, 1/4 to 1/2 part lime, and 3 to 4.5 parts sand. Gradually combine these dry ingredients in a wheelbarrow or mixing tub, ensuring thorough integration.
4. Integrate Fibers and Pigments
If incorporating fibers for added strength or pigments for coloration, now is the time to introduce them into the mix. Follow the manufacturer’s guidelines for the appropriate fiber dosage, and add pigments sparingly to achieve the desired hue.
5. Add Water Methodically
With the dry components homogeneously blended, introduce water gradually while continuously mixing. Aim for a workable consistency – not too wet or dry. The ideal stucco mix should hold its form without being overly stiff or runny.
6. Achieve Uniformity
Thoroughly mix the components until a uniform, lump-free texture is achieved. Use a hoe, mixing drill, or trowel to ensure that all ingredients are fully incorporated, and the mix exhibits a cohesive, creamy texture.
Read more: How To Stucco A Chimney
7. Test and Adjust
Perform a small-scale application test to assess the workability and adhesion of the stucco mix. Make any necessary adjustments to the water content or additional ingredients to achieve the desired consistency and performance.
By meticulously following these steps and exercising precision in the mixing process, you’ll produce a high-quality stucco mix ready for application. Now, let’s transition to the pivotal phase of applying the stucco onto the designated surface with finesse and expertise.
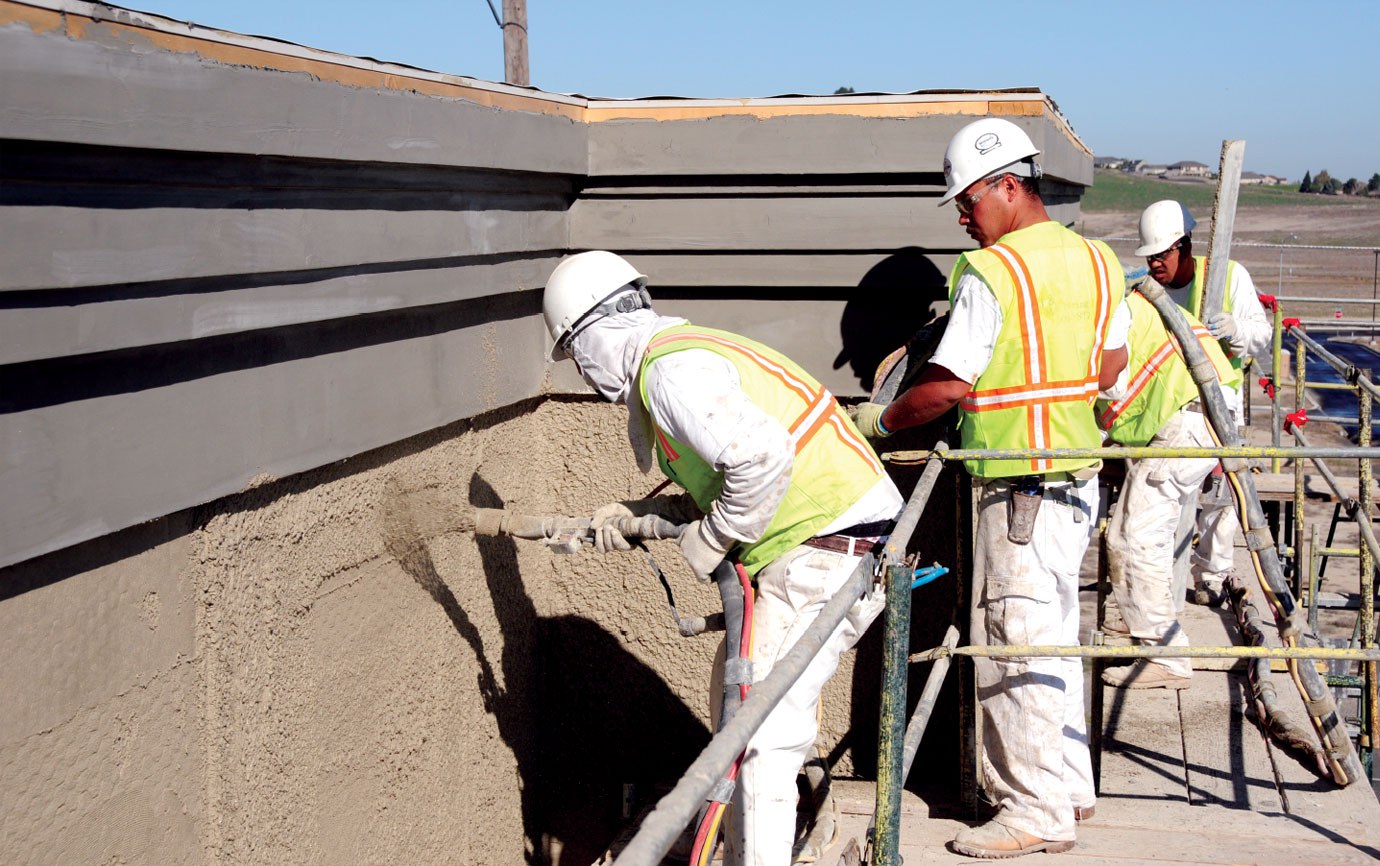
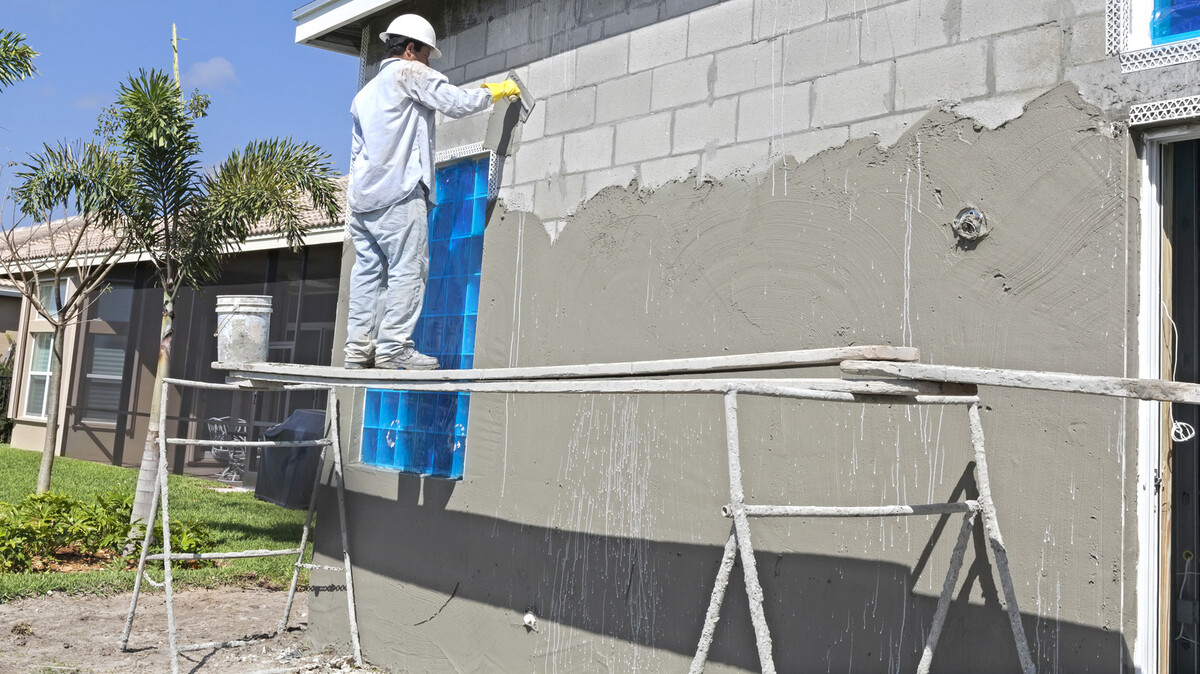
Applying Stucco
With the perfectly mixed stucco at your disposal, it’s time to embark on the transformative process of applying this venerable building material onto your chosen surface. Whether adorning a new construction or rejuvenating an existing structure, the application of stucco demands precision, patience, and a keen eye for detail. Here’s a comprehensive guide to executing a flawless stucco application:
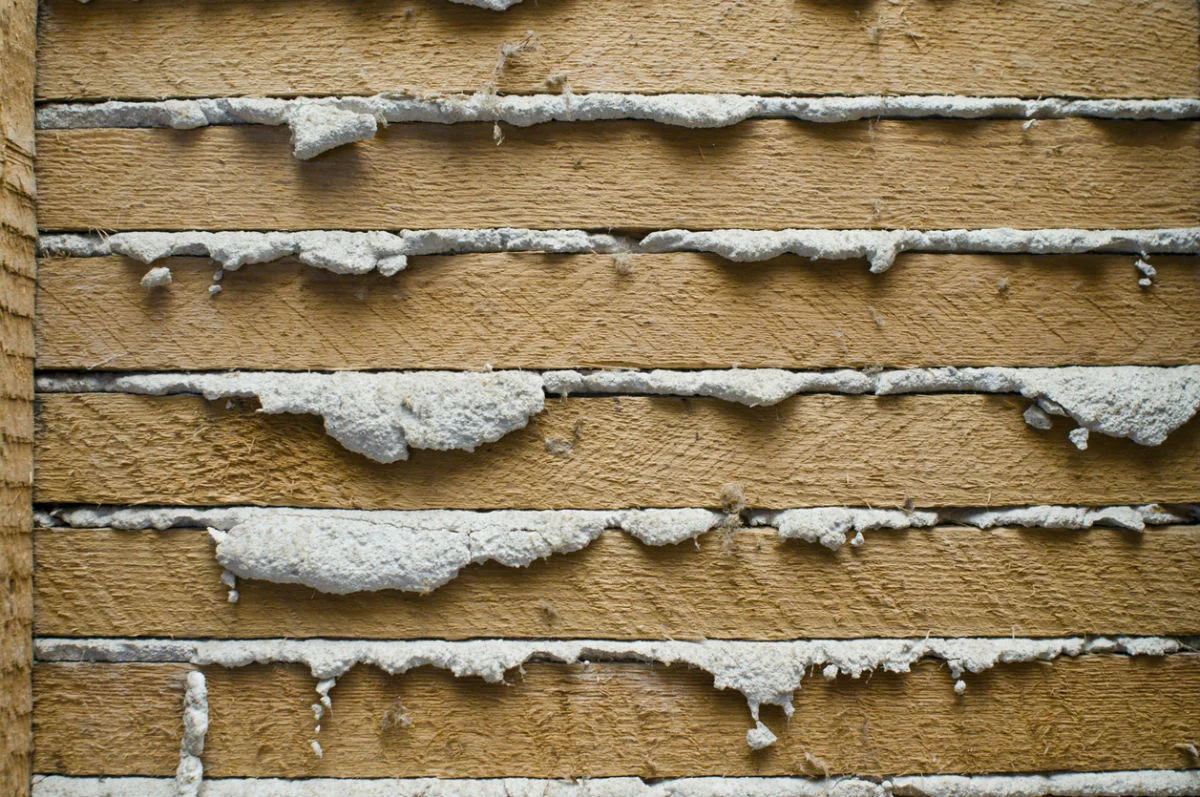
1. Prepare the Substrate
Before applying stucco, the substrate must be meticulously prepared to ensure optimal adhesion and longevity of the finish. Clean the surface of dust, debris, and contaminants, and dampen it slightly to promote a strong bond with the stucco mix.
2. Apply Bonding Agent
Utilize a high-quality bonding agent to prime the substrate, enhancing the stucco’s adhesion and minimizing the risk of delamination. Follow the manufacturer’s instructions for the application and drying time of the bonding agent.
Read more: How To Seal Stucco
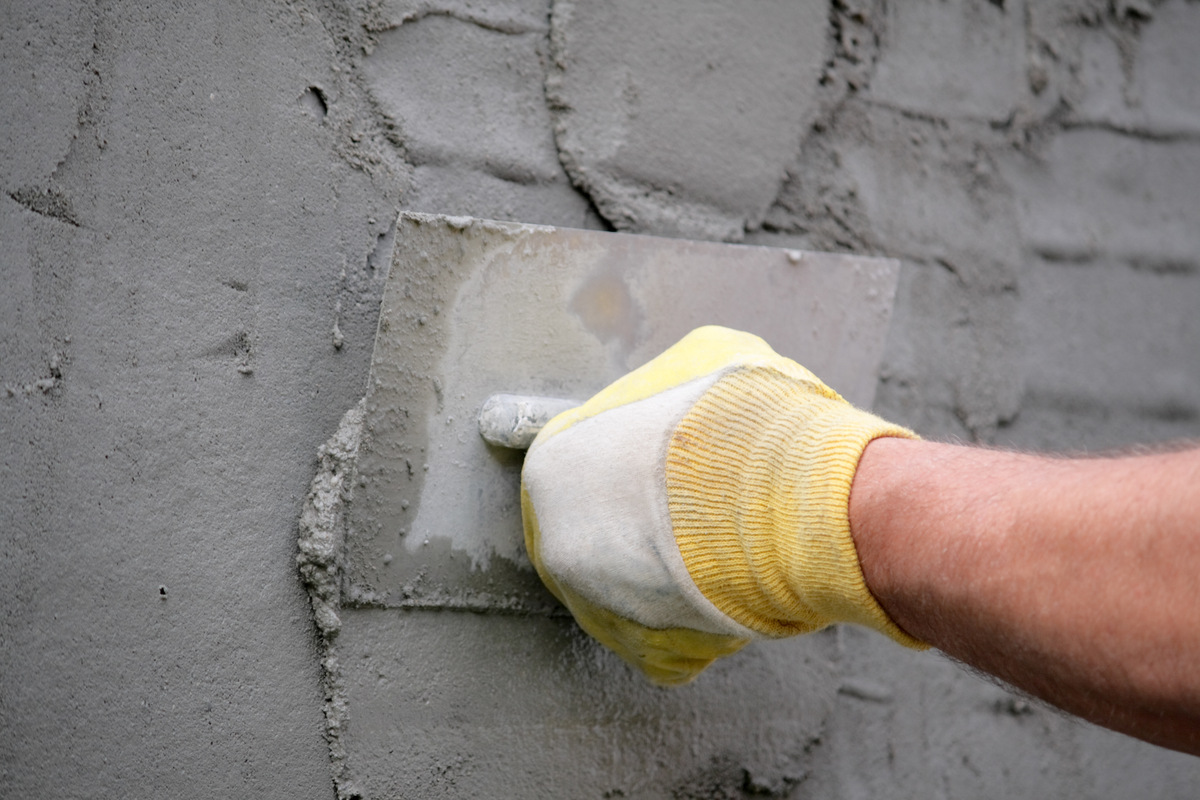
3. Load the Hawk and Trowel
Transfer a suitable amount of stucco onto the plastering hawk, readying it for application. With the stucco loaded on the hawk, use the trowel to gather and apply an even layer onto the substrate, ensuring consistent thickness and coverage.
4. Employ the Three-Coat Method
For traditional stucco applications, the three-coat method is commonly employed. The first coat, known as the scratch coat, is applied with a uniform thickness and scored to enhance the adhesion of subsequent layers. The second coat, or brown coat, provides additional thickness and smoothness. Finally, the finish coat, often textured or colored, completes the stucco application, imparting the desired aesthetic.
5. Employ Proper Technique
Utilize a combination of horizontal and vertical strokes with the trowel to achieve an even, uniform surface. Pay close attention to achieving the desired texture and contours, ensuring that the stucco adheres securely to the substrate without air pockets or voids.
6. Address Joints and Corners
Carefully address joints, corners, and edges to ensure seamless integration and structural integrity. Employ specialized tools, such as corner trowels, to achieve crisp, clean lines and uniform thickness at these critical junctures.
Read more: How To Cut Stucco
7. Allow for Proper Curing
After the stucco is applied, facilitate proper curing by misting the surface periodically and protecting it from rapid drying or exposure to extreme weather conditions. Adhering to the recommended curing duration is vital for the stucco to achieve its full strength and durability.
By meticulously following these steps and techniques, you’ll execute a stucco application that not only enhances the aesthetic appeal of your structure but also fortifies it against the elements. Now, let’s explore the crucial processes of curing and finishing to complete the stucco application journey.
Curing and Finishing
As the freshly applied stucco begins its transformation from a wet mixture to a resilient, enduring finish, the processes of curing and finishing play pivotal roles in ensuring its longevity and visual appeal. Here’s a comprehensive guide to navigating these crucial stages with finesse and expertise:
1. Prioritize Proper Curing
After the stucco application, diligent curing is essential to allow the material to achieve its full strength and durability. Begin by lightly misting the stucco surface with water multiple times a day to prevent rapid drying. This gradual moisture retention aids in the hydration and crystallization of the cement, fostering a robust bond and minimizing the risk of cracking.
2. Shield from Environmental Stressors
During the initial curing phase, shield the stucco from direct sunlight, strong winds, and excessive moisture. Implementing temporary shading and protective measures, such as breathable tarps or windbreaks, safeguards the stucco from environmental stressors, promoting an optimal curing environment.
Read more: How To Mix Fragrances For Candles
3. Monitor and Adjust
Regularly monitor the curing process, adjusting the misting frequency and protective measures based on the prevailing weather conditions. Aim to sustain a consistently damp surface without allowing standing water to accumulate, striking a delicate balance for effective curing.
4. Embrace the Patina of Time
As the stucco cures and matures, it undergoes a gradual transformation, developing a subtle patina that enhances its visual allure. Embrace this evolution, recognizing it as a testament to the stucco’s resilience and enduring beauty.
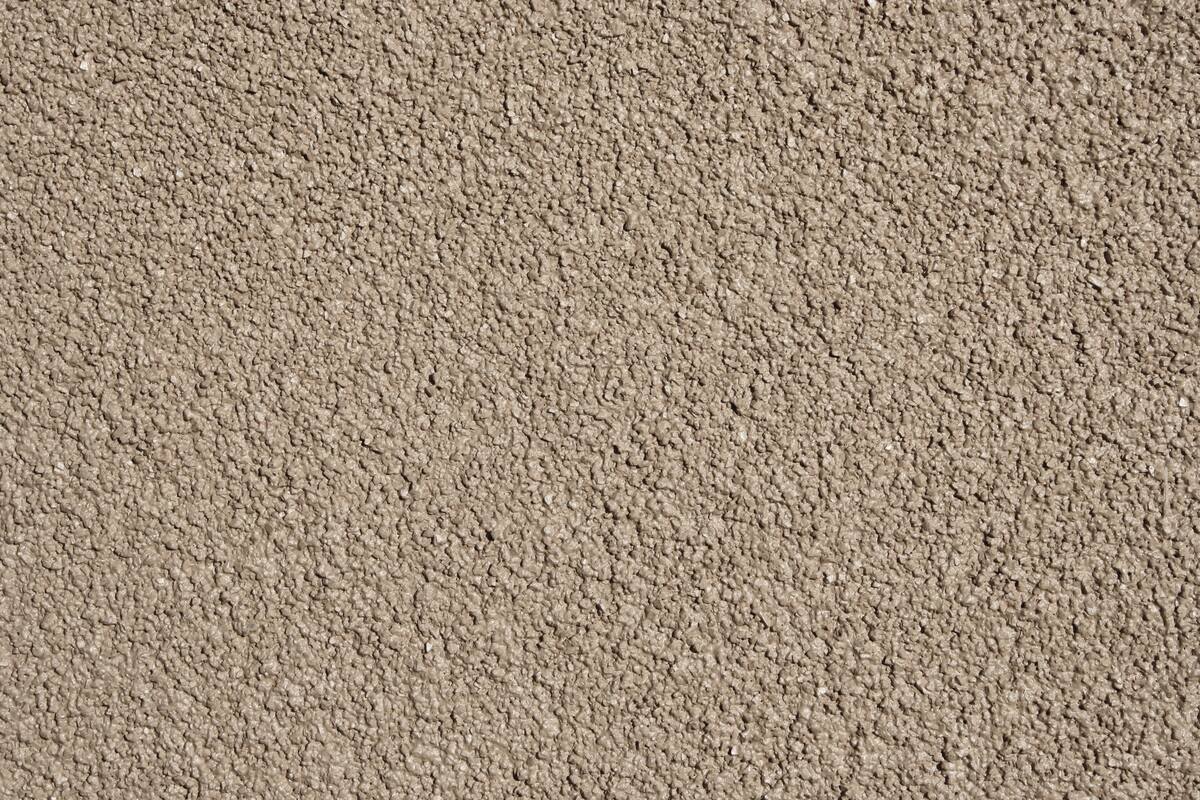
5. Consider Decorative Finishes
Once the stucco has fully cured, explore the realm of decorative finishes to further elevate its aesthetic impact. From textured patterns to integral coloration, a myriad of finishing options allows you to customize the stucco to harmonize with your architectural vision.
6. Maintain and Protect
Following the completion of the curing and finishing processes, prioritize ongoing maintenance and protection to uphold the stucco’s integrity. Regular inspections, proactive repairs, and protective coatings, when necessary, fortify the stucco against the passage of time and environmental factors.
By meticulously tending to the crucial phases of curing and finishing, you’ll not only ensure the structural resilience of the stucco but also elevate its visual allure, transforming it into a timeless architectural asset. With these fundamental principles at your disposal, you’re equipped to embark on your stucco projects with confidence and finesse, enriching your architectural endeavors with the enduring charm of this venerable building material.
Read more: How To Anchor Into Stucco
Conclusion
Congratulations! You’ve embarked on a captivating journey into the realm of stucco, unraveling its timeless allure and mastering the art of application. Armed with a deep understanding of stucco’s composition, protective capabilities, and aesthetic versatility, you’ve delved into the essential materials and tools, honed the craft of mixing and applying stucco, and navigated the pivotal phases of curing and finishing with finesse.
As you venture forth with newfound expertise, remember that stucco isn’t merely a building material; it’s a testament to the enduring legacy of architectural craftsmanship. Its ability to harmonize with diverse design styles, fortify structures against the elements, and evolve gracefully over time underscores its timeless appeal.
Whether you’re adorning a modern edifice with a sleek stucco finish, infusing a Mediterranean villa with rustic charm, or revitalizing a historic structure with timeless elegance, stucco stands as a versatile ally, ready to bring your architectural visions to life.
So, as you pick up your trowel and gaze upon the blank canvas of your next stucco project, remember the wisdom and insights garnered on this journey. Approach each application with precision, patience, and a reverence for the transformative power of this venerable building material.
May your stucco endeavors be marked by enduring beauty, structural resilience, and a seamless fusion of artistry and craftsmanship. With each stucco application, you contribute to a timeless legacy, leaving an indelible mark on the architectural tapestry of the world.
Now, go forth and let the timeless allure of stucco weave its magic into your architectural masterpieces, elevating them with its enduring charm and unwavering strength.
Frequently Asked Questions about How To Mix Stucco
Was this page helpful?
At Storables.com, we guarantee accurate and reliable information. Our content, validated by Expert Board Contributors, is crafted following stringent Editorial Policies. We're committed to providing you with well-researched, expert-backed insights for all your informational needs.


0 thoughts on “How To Mix Stucco”