Home>Construction & Tools>Building Materials>How To Use Pre-Mixed Stucco Patch
Building Materials
How To Use Pre-Mixed Stucco Patch
Modified: October 20, 2024
Learn how to efficiently apply pre-mixed stucco patch for quick and easy repairs. Find the best building materials for your project.
(Many of the links in this article redirect to a specific reviewed product. Your purchase of these products through affiliate links helps to generate commission for Storables.com, at no extra cost. Learn more)
Introduction
Welcome to the world of home improvement, where the satisfaction of repairing and enhancing your living space can be immensely rewarding. In the realm of building materials, pre-mixed stucco patch holds a special place as a versatile and effective solution for addressing imperfections in your walls or ceilings. Whether you're a seasoned DIY enthusiast or a novice looking to embark on your first home repair project, understanding how to use pre-mixed stucco patch is a valuable skill that can elevate the aesthetic appeal of your living environment.
In the following sections, we will delve into the intricacies of utilizing pre-mixed stucco patch, from comprehending its composition to mastering the application process. By the end of this guide, you will be equipped with the knowledge and confidence to seamlessly integrate pre-mixed stucco patch into your home maintenance repertoire.
So, let's roll up our sleeves and embark on this enlightening journey through the realm of pre-mixed stucco patch application. Whether you're addressing hairline cracks, small holes, or uneven surfaces, this comprehensive guide will equip you with the expertise to achieve a flawless finish and breathe new life into your living space.
Key Takeaways:
- Pre-mixed stucco patch is a convenient and versatile material made of cement, sand, and additives. It’s easy to use, comes in different textures and colors, and is perfect for repairing cracks and imperfections in walls and ceilings.
- To use pre-mixed stucco patch, prepare the surface by cleaning and roughening it, apply the patch carefully, smooth and finish it, then allow it to cure before painting. This process ensures a flawless and professional repair.
Read more: When Was Stucco First Used
Understanding Pre-Mixed Stucco Patch
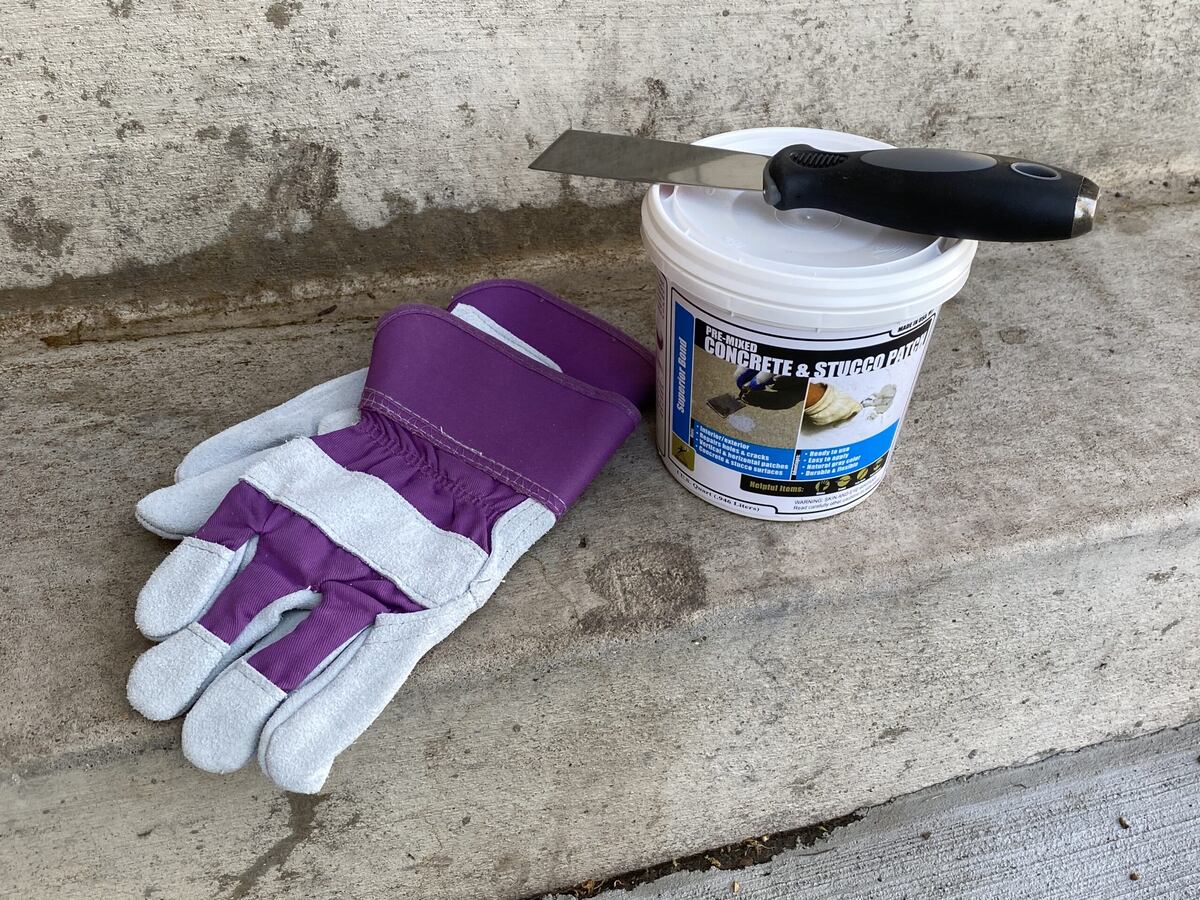
Before delving into the application process, it’s essential to grasp the fundamental characteristics of pre-mixed stucco patch. This versatile material is specifically designed to repair and smooth imperfections in interior and exterior surfaces, offering a convenient solution for homeowners and professionals alike.
Pre-mixed stucco patch typically consists of a blend of Portland cement, sand, and other additives that enhance its adhesive and cohesive properties. This composition ensures that the patch adheres effectively to various surfaces, providing a durable and long-lasting solution for addressing cracks, holes, and blemishes.
One of the key advantages of pre-mixed stucco patch is its ease of use. Unlike traditional stucco mixes that require precise blending and proportioning, pre-mixed stucco patch comes ready to use, eliminating the need for extensive preparation. This convenience makes it an ideal choice for DIY enthusiasts seeking a straightforward and efficient solution for minor surface repairs.
Furthermore, pre-mixed stucco patch is available in a range of textures and colors, allowing you to seamlessly match the existing surface for a cohesive and seamless finish. Whether you’re working on a textured ceiling or a smooth wall, there’s a pre-mixed stucco patch variant that can harmonize with the surrounding surface, ensuring a professional and aesthetically pleasing result.
By understanding the composition and versatility of pre-mixed stucco patch, you can approach your repair or renovation projects with confidence, knowing that you have a reliable and effective material at your disposal. In the subsequent sections, we will explore the step-by-step process of preparing, applying, and finishing pre-mixed stucco patch to achieve impeccable results.
Surface Preparation
Before applying pre-mixed stucco patch, thorough surface preparation is crucial to ensure optimal adhesion and a seamless finish. Begin by inspecting the area to be repaired, identifying any loose debris, dust, or contaminants that may hinder the patching process. Use a stiff-bristled brush or a vacuum with a brush attachment to remove any loose particles and create a clean, debris-free surface.
If the surface exhibits greasy or oily residues, it’s essential to clean it using a mild detergent or a solution of water and vinegar. This will eliminate any substances that could compromise the adhesion of the pre-mixed stucco patch. After cleaning, allow the surface to dry completely before proceeding with the patching process.
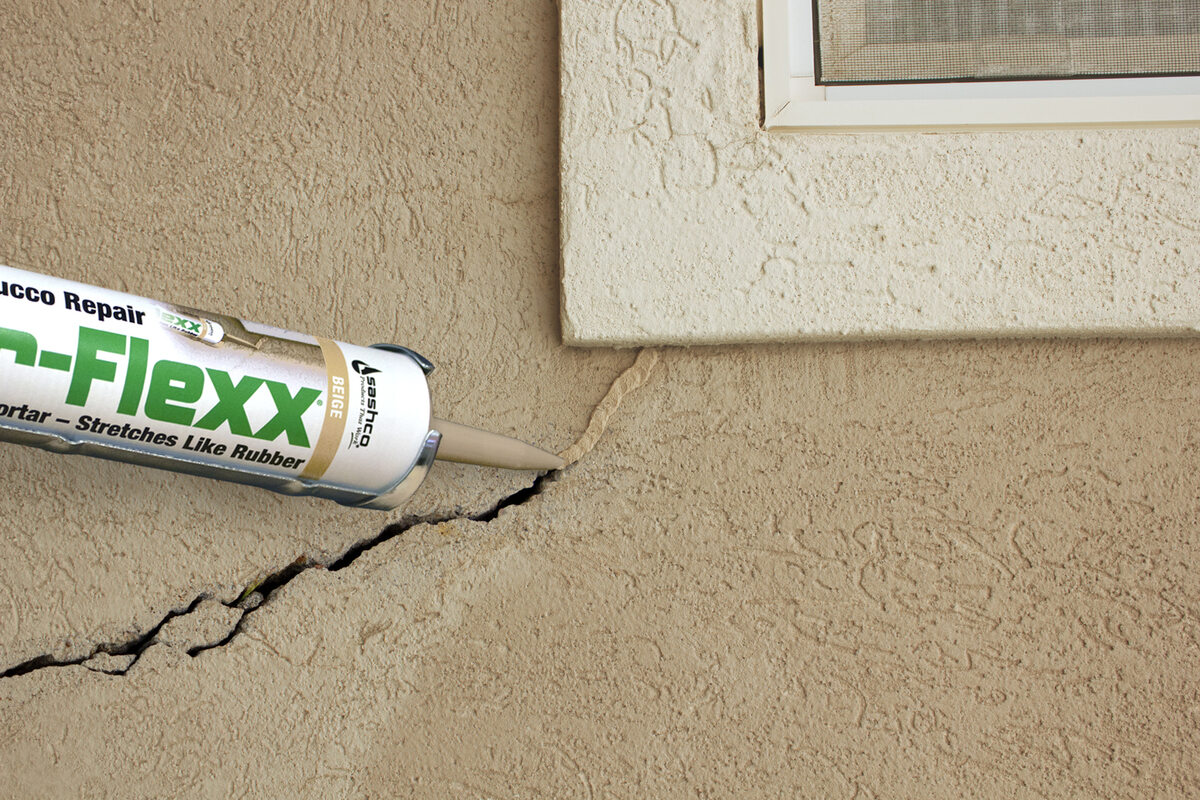
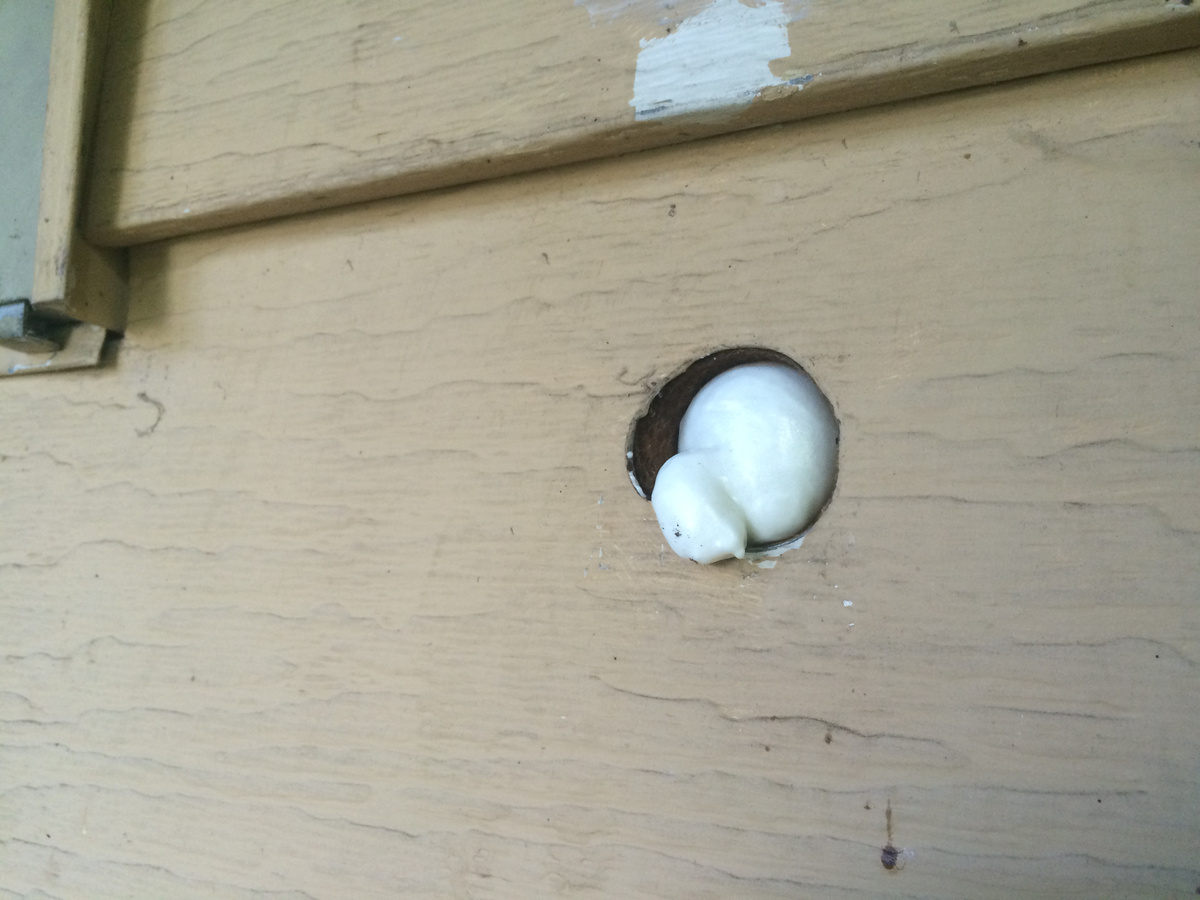
For areas with hairline cracks or minor imperfections, consider using a putty knife or a similar tool to widen the crack slightly. This allows the pre-mixed stucco patch to penetrate and adhere more effectively, minimizing the likelihood of the crack reappearing over time. Once the crack or imperfection has been widened, remove any dust or debris resulting from the widening process.
For larger holes or voids, it may be necessary to use a wire brush or sandpaper to roughen the edges of the damaged area. This promotes better adhesion and ensures that the pre-mixed stucco patch bonds securely to the surrounding surface. After roughening the edges, use a clean, damp cloth to remove any residual dust or debris, preparing the area for the application of the patching material.
By meticulously preparing the surface before applying pre-mixed stucco patch, you create an optimal foundation for a successful repair. The attention to detail during this preparatory phase sets the stage for a seamless and durable finish, ensuring that the repaired area blends seamlessly with the surrounding surface.
Applying Pre-Mixed Stucco Patch
With the surface meticulously prepared, it’s time to embark on the application of pre-mixed stucco patch. Begin by thoroughly mixing the patching material in its container using a stirring stick or a similar implement. This ensures that any settled components are uniformly incorporated, resulting in a consistent texture and composition.
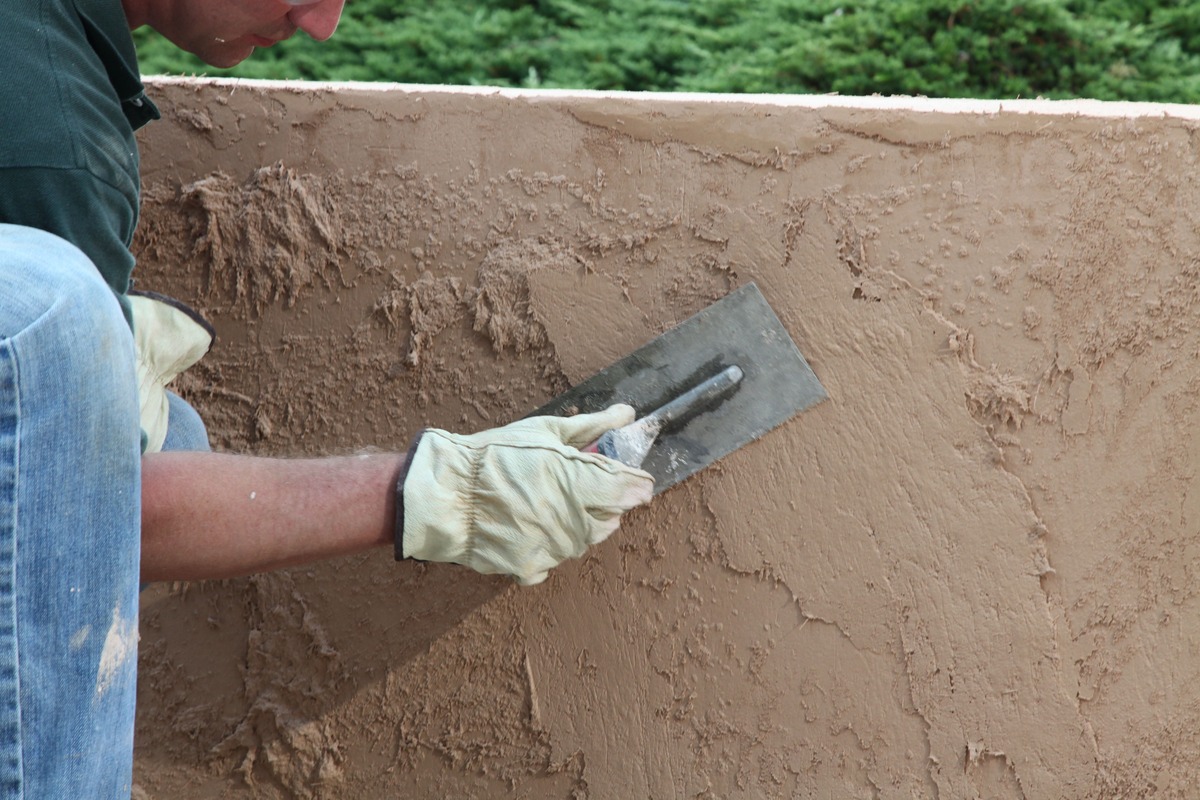
Once the pre-mixed stucco patch is thoroughly mixed, use a putty knife or a trowel to scoop a moderate amount of the material onto the tool. Apply the patch to the prepared surface, pressing it firmly into cracks, holes, or imperfections to ensure complete coverage and adhesion. For larger voids, apply the patching material in layers, allowing each layer to dry before adding subsequent coats, if necessary.
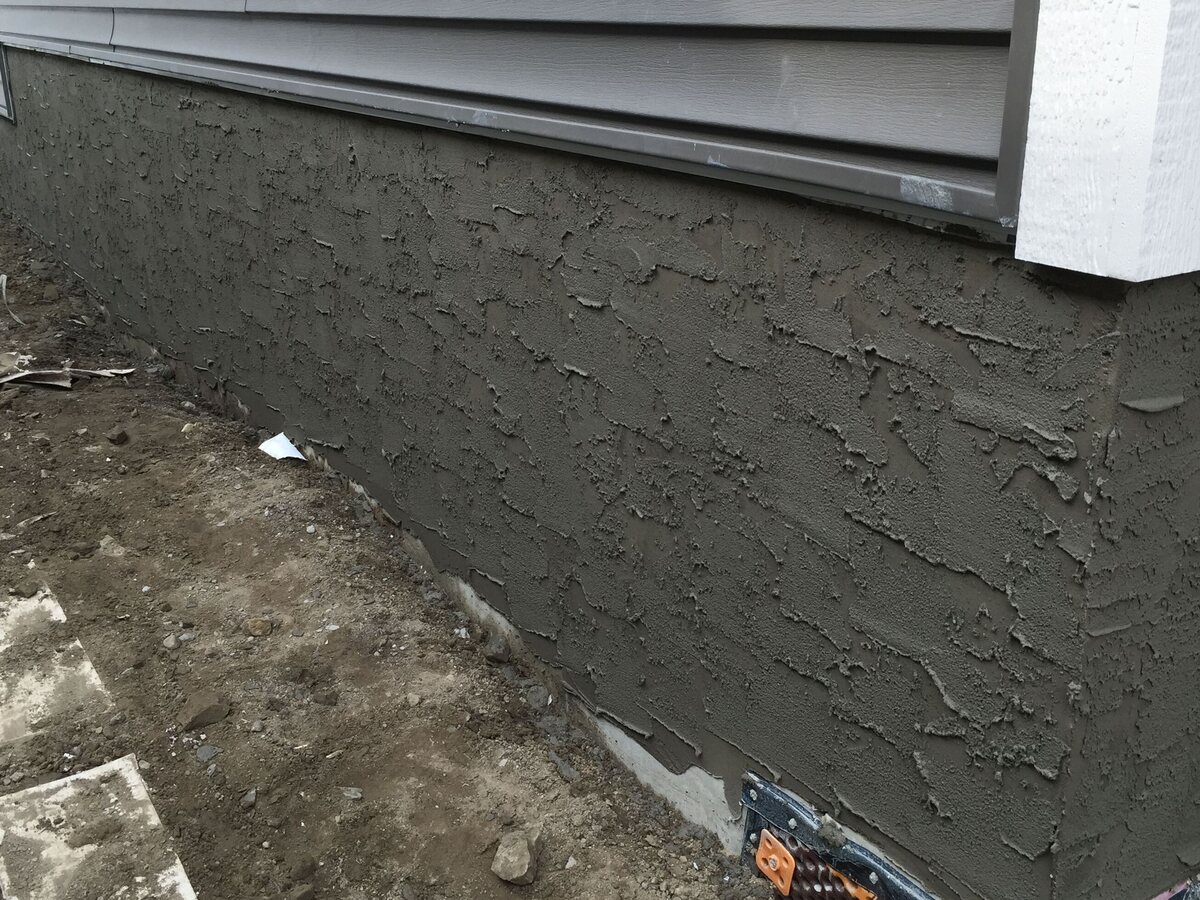
When applying pre-mixed stucco patch to textured surfaces, such as stippled ceilings or decorative walls, strive to replicate the existing texture for a cohesive finish. This can be achieved by using specialized texturing tools or techniques to match the surrounding surface, ensuring that the repaired area seamlessly integrates with its environment.
As you apply the pre-mixed stucco patch, strive for a smooth and even finish, minimizing the need for extensive sanding and shaping during the subsequent stages. Pay attention to the depth and thickness of the patch, aiming to achieve a level surface that aligns with the surrounding area. This meticulous approach sets the stage for a streamlined finishing process, ultimately leading to a flawless end result.
By methodically applying pre-mixed stucco patch with precision and attention to detail, you lay the groundwork for a successful repair that seamlessly integrates with the existing surface. The next phase involves smoothing and refining the patched area to achieve a professional and visually appealing outcome.
When using pre-mixed stucco patch, make sure to clean the area thoroughly before applying the patch. Use a trowel to spread the patch evenly and feather the edges to blend with the existing stucco. Allow the patch to dry completely before painting or finishing.
Smoothing and Finishing
After the pre-mixed stucco patch has been applied, the focus shifts to refining the surface to achieve a seamless and professional finish. Begin by allowing the patching material to dry according to the manufacturer’s recommendations, ensuring that it cures thoroughly before proceeding with the smoothing and finishing process.
Once the patch is dry, inspect the surface for any unevenness or rough areas. Utilize a fine-grit sandpaper or a sanding block to gently smooth the patched area, blending it with the surrounding surface. Exercise caution during this process, aiming to achieve a level and uniform surface without over-sanding or compromising the integrity of the patch.
For textured surfaces, such as those with a stippled or patterned finish, it may be necessary to recreate the texture using specialized tools or techniques. This step is crucial for ensuring that the repaired area seamlessly integrates with the existing surface, creating a cohesive and visually appealing result.
Following the smoothing process, it’s advisable to wipe the patched area with a damp cloth to remove any residual dust or particles. This not only enhances the visual appeal of the repaired surface but also prepares it for the final phase of the process: painting.
Before applying paint, ensure that the patched area is completely clean and dry. If necessary, use a primer to prepare the surface for painting, promoting adhesion and uniformity. Select a high-quality paint that matches the surrounding surface, and apply it evenly to the patched area, extending slightly beyond the repair to seamlessly blend the new paint with the existing surface.
By meticulously smoothing and finishing the patched area, you elevate the overall aesthetic of the surface, achieving a seamless integration that enhances the visual appeal of your living space. With the application and finishing phases complete, the final step involves allowing the patch to cure thoroughly before enjoying the revitalized and flawlessly repaired surface.
Read more: Why Is Stucco Used In Florida
Curing and Painting
As the pre-mixed stucco patch undergoes the curing process, it’s essential to allow ample time for the material to set and achieve its full structural integrity. Refer to the manufacturer’s guidelines for the recommended curing duration, ensuring that the patch is given adequate time to dry and solidify before proceeding with the painting phase.
During the curing period, it’s advisable to maintain a well-ventilated and moderately humid environment, as excessive moisture or dryness can impact the curing process. Additionally, refrain from applying excessive pressure or stress to the patched area during this critical phase, allowing the material to cure undisturbed and undamaged.
Once the pre-mixed stucco patch has thoroughly cured, the surface is primed for painting. Begin by selecting a high-quality paint that closely matches the color and finish of the surrounding area. This ensures a seamless and cohesive visual result, concealing the repaired area and creating a harmonious integration with the existing surface.
Prior to painting, it’s beneficial to apply a coat of primer to the patched area, promoting adhesion and uniformity. This preparatory step enhances the longevity and visual consistency of the paint application, ensuring a professional and enduring finish.
When painting the cured pre-mixed stucco patch, utilize smooth and even brush or roller strokes to achieve a uniform coating. Extend the paint slightly beyond the repaired area to seamlessly blend it with the surrounding surface, creating a visually cohesive result that conceals the repair and enhances the overall aesthetic appeal of the surface.
By allowing the pre-mixed stucco patch to cure thoroughly and executing the painting process with precision and attention to detail, you achieve a flawless and durable repair that seamlessly integrates with the existing surface. With the final coat of paint applied, step back and admire the transformation, reveling in the revitalized and visually appealing surface that reflects your meticulous attention to detail.
Conclusion
Congratulations on mastering the art of utilizing pre-mixed stucco patch to address imperfections and revitalize your living space. By embarking on this insightful journey, you’ve gained a comprehensive understanding of the composition, application, and finishing of pre-mixed stucco patch, equipping yourself with the expertise to achieve impeccable results.
From meticulous surface preparation to the seamless integration of the patched area with the surrounding surface, you’ve embraced a methodical and detail-oriented approach that ensures a professional and visually appealing outcome. By adhering to the recommended techniques and best practices, you’ve elevated your home maintenance capabilities, empowering yourself to tackle future repair and renovation projects with confidence and precision.
As you admire the flawlessly repaired surface, take pride in the transformation you’ve orchestrated, infusing new life and vitality into your living environment. The seamless integration of the pre-mixed stucco patch exemplifies your dedication to maintaining a visually stunning and well-maintained home, reflecting your discerning eye for detail and commitment to excellence.
With your newfound expertise in utilizing pre-mixed stucco patch, you possess a valuable skill set that transcends mere home repair; it embodies a dedication to craftsmanship and the pursuit of perfection. As you embark on future projects, whether minor touch-ups or substantial renovations, carry forward the knowledge and proficiency you’ve acquired, knowing that you have the capability to transform imperfections into flawless, visually captivating surfaces.
As you conclude this enlightening journey, take a moment to appreciate the impact of your newfound expertise. The seamless and professional results you’ve achieved with pre-mixed stucco patch serve as a testament to your commitment to excellence and your ability to transform your living space into a showcase of impeccable craftsmanship and attention to detail.
Armed with this newfound mastery, you’re poised to embark on future projects with confidence, knowing that you possess the knowledge and skill to elevate your living space to new heights of visual splendor and enduring quality.
Frequently Asked Questions about How To Use Pre-Mixed Stucco Patch
Was this page helpful?
At Storables.com, we guarantee accurate and reliable information. Our content, validated by Expert Board Contributors, is crafted following stringent Editorial Policies. We're committed to providing you with well-researched, expert-backed insights for all your informational needs.


0 thoughts on “How To Use Pre-Mixed Stucco Patch”