Home>Construction & Tools>Building Materials>How To Finish Stucco Texture
Building Materials
How To Finish Stucco Texture
Modified: March 2, 2024
Learn how to finish stucco texture with the right building materials. Find expert tips and techniques for achieving a flawless stucco finish.
(Many of the links in this article redirect to a specific reviewed product. Your purchase of these products through affiliate links helps to generate commission for Storables.com, at no extra cost. Learn more)
Introduction
Welcome to the world of stucco, where timeless elegance meets durable functionality. If you're looking to add character and charm to your home's interior or exterior, mastering the art of stucco application is a skill worth acquiring. Whether you're a seasoned DIY enthusiast or a homeowner embarking on your first stucco project, this comprehensive guide will walk you through the process of achieving a flawless stucco texture finish.
Stucco, derived from the Latin word "stucco," meaning rough or uneven plaster, has been adorning structures for centuries, dating back to ancient civilizations. Its versatility and ability to withstand diverse climates have contributed to its enduring popularity. From the rustic allure of a Spanish hacienda to the classic elegance of a Mediterranean villa, stucco has the power to transform any architectural style into a work of art.
In this guide, we'll delve into the intricate details of finishing stucco texture, from understanding the nature of stucco to the step-by-step application process. You'll learn how to prepare the surface, apply the base coat, create captivating textures, add finishing touches, and ensure proper curing and sealing. By the end of this journey, you'll possess the knowledge and confidence to achieve a professional-grade stucco finish that will stand the test of time.
So, roll up your sleeves, unleash your creativity, and get ready to embark on a stucco adventure that will elevate the aesthetic appeal and durability of your living space. Let's dive into the captivating world of stucco texture and discover the art of turning ordinary surfaces into extraordinary works of art.
Key Takeaways:
- Stucco texture offers diverse finishes, from smooth and sleek to rugged and rustic, allowing for customized surfaces that enhance the visual and tactile experience of any space.
- Proper surface preparation, precise application of base coat, creative texture creation, and meticulous curing and sealing are essential for achieving enduring and visually captivating stucco finishes.
Understanding Stucco Texture
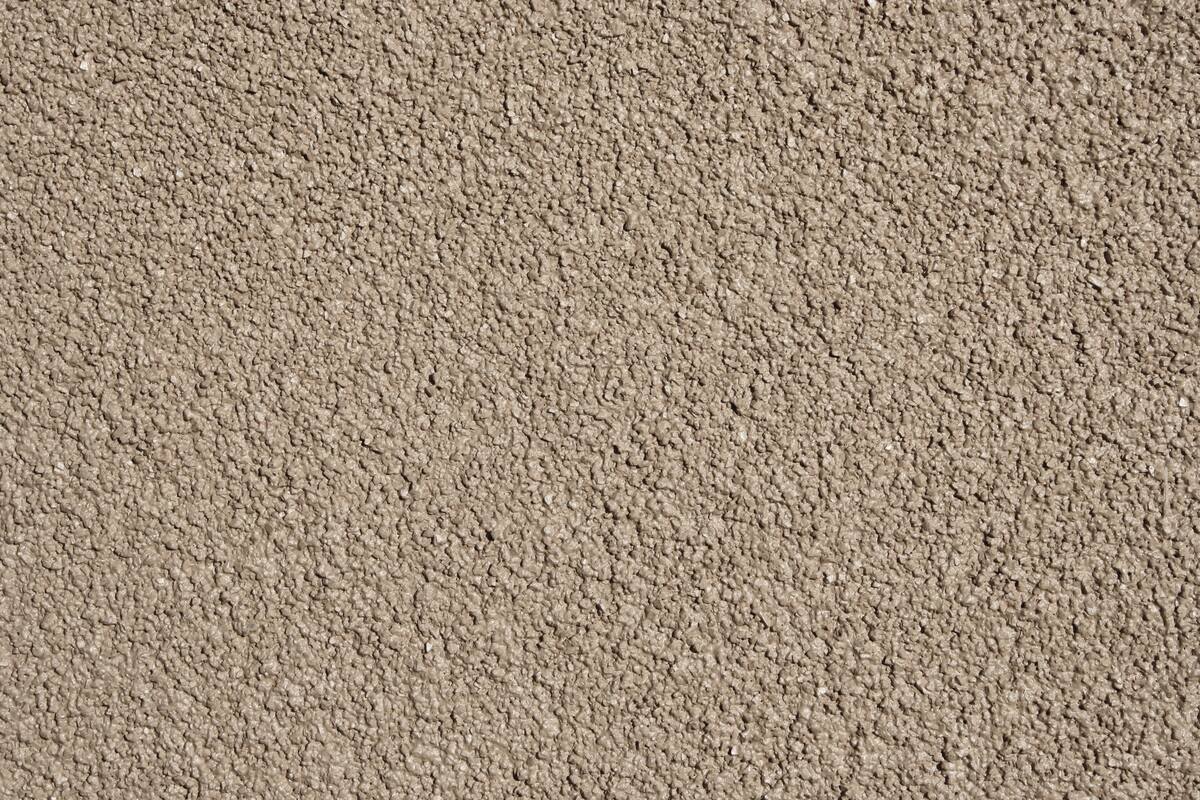
Before delving into the hands-on application of stucco texture, it’s essential to grasp the fundamental characteristics and variations of this versatile material. Stucco, a composite material typically comprised of cement, sand, lime, and water, offers a robust and visually appealing finish for both interior and exterior surfaces. Its composition allows for a remarkable degree of customization, enabling a wide array of textures to be achieved, from smooth and sleek to coarse and rustic.
The texture of stucco is a defining feature that can significantly influence the overall aesthetic and tactile experience of a surface. By manipulating the application technique and tools, you can create a diverse range of textures, including but not limited to:
- Smooth Finish: Characterized by a seamless, polished surface, this texture exudes a contemporary and refined allure, ideal for modern architectural styles.
- Spanish Lace: This classic texture features elegant swirls and patterns, evoking a sense of old-world charm and sophistication.
- Dash Finish: With its granular and irregular appearance, the dash finish adds a rugged and textured dimension to surfaces, perfect for achieving a rustic or Mediterranean aesthetic.
- Coarse Finish: Embracing a more pronounced and rugged texture, the coarse finish imbues surfaces with a tactile depth, often complementing traditional and rustic design themes.
Understanding the diverse textures of stucco empowers you to tailor the finish to harmonize with the architectural style and design vision of your project. Moreover, each texture possesses unique light-reflective qualities, further influencing the visual impact and ambiance of the space.
By familiarizing yourself with the intricacies of stucco texture, you’ll be prepared to embark on the creative journey of applying, shaping, and refining the surface to achieve the desired visual and tactile effects. With this knowledge as your foundation, you’re ready to explore the art of preparing the surface for stucco application, the crucial first step in the transformative process of stucco texture finishing.
Preparing the Surface
Before diving into the application of stucco, meticulous surface preparation is paramount to ensure a flawless and enduring finish. The surface serves as the canvas upon which the texture will be sculpted, making it essential to address any imperfections and establish a stable foundation for the stucco application.
The following steps outline the crucial process of preparing the surface for stucco texture:
- Clean and Repair: Begin by thoroughly cleaning the surface to remove any dirt, debris, or existing coatings. Inspect the area for cracks, holes, or other damages, and repair them using a suitable patching compound. Ensuring a smooth and uniform surface is essential for achieving a professional-grade stucco finish.
- Apply Bonding Agent: To promote strong adhesion between the substrate and the stucco, apply a bonding agent or primer as per the manufacturer’s recommendations. This crucial step enhances the bond and longevity of the stucco finish, particularly on non-porous surfaces.
- Moistening the Substrate: Prior to applying the base coat, lightly moisten the substrate with water. This helps prevent premature drying of the stucco mixture, promoting better adhesion and reducing the risk of cracking.
- Protective Measures: Take necessary precautions to protect adjacent surfaces, landscaping, and architectural features from unintended contact with the stucco. Cover windows, doors, and delicate elements to prevent the accumulation of stucco on these areas.
By meticulously executing these preparatory measures, you set the stage for a successful stucco application, ensuring that the texture adheres firmly, remains structurally sound, and exhibits a visually captivating finish. With the surface meticulously prepared, you’re now ready to embark on the next phase: applying the base coat, a pivotal step in the process of achieving a stunning stucco texture finish.
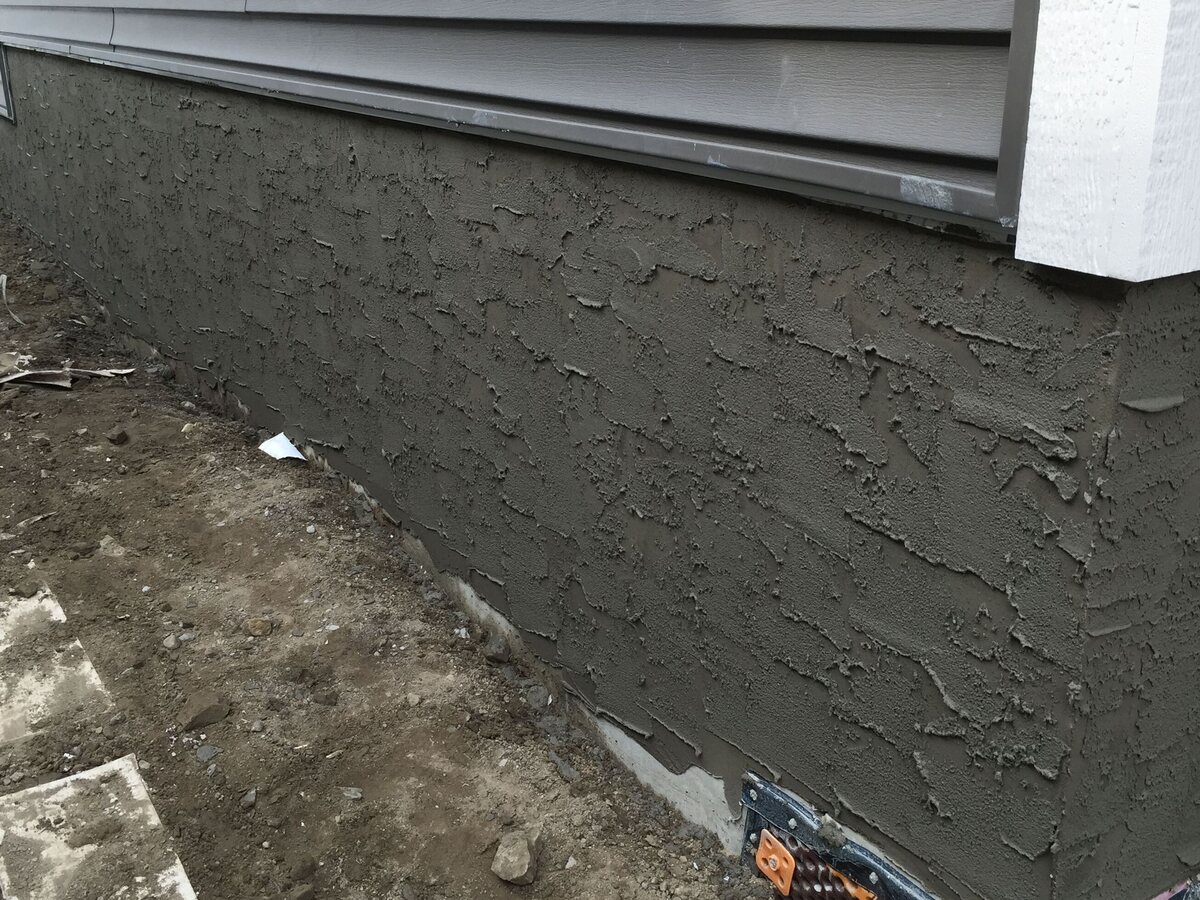
Applying the Base Coat
The base coat serves as the foundation upon which the stucco texture will be crafted, providing structural integrity and a receptive surface for the subsequent layers. This critical phase demands precision and attention to detail to ensure a robust and uniform base for the texture application.
The following steps outline the process of applying the base coat for stucco texture:
- Mixing the Base Coat: Prepare the base coat mixture according to the manufacturer’s specifications, typically combining cement, sand, and lime in the appropriate proportions. Consistency is key, so ensure thorough mixing to achieve a smooth and workable blend.
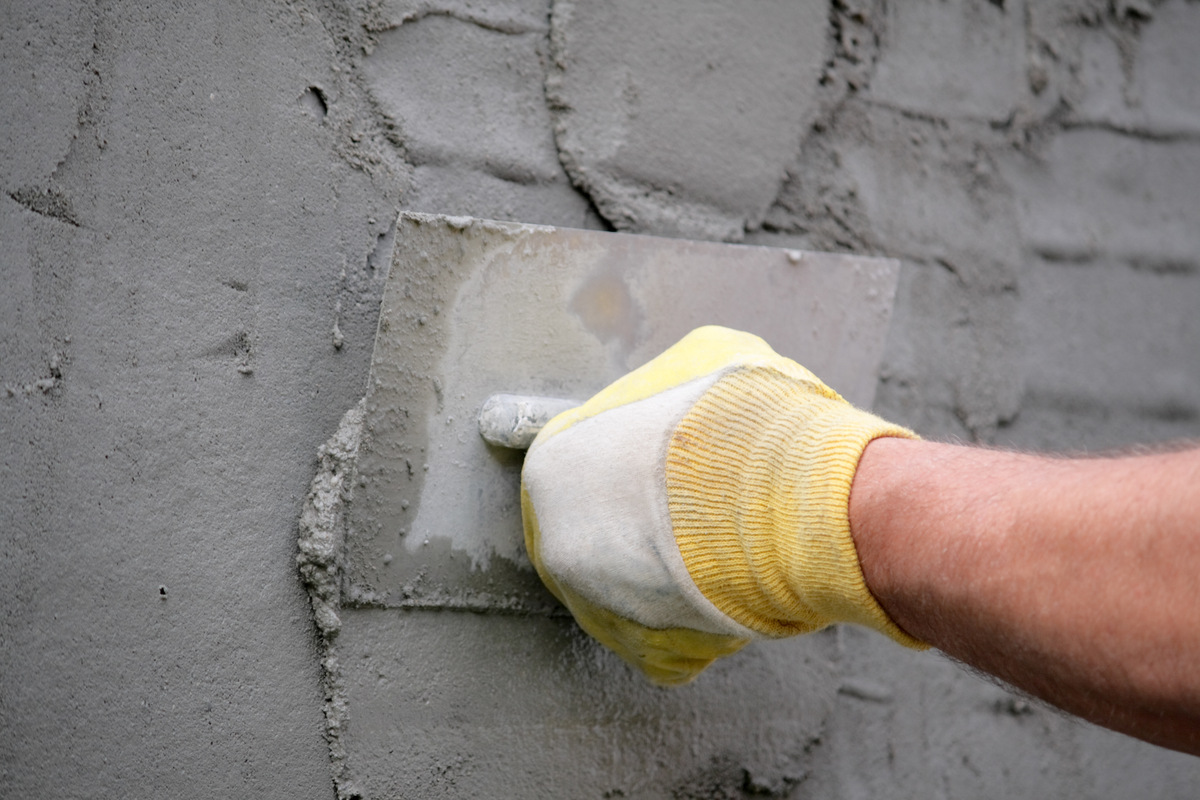
- Application Technique: Using a trowel, apply the base coat to the prepared surface in a uniform thickness, typically ranging from 3/8 to 1/2 inch. Work methodically, covering the entire surface with even strokes to create a consistent base layer.
- Creating Grooves: While the base coat is still wet, create horizontal grooves using a notched trowel or a combing tool. These grooves enhance the bond between the base coat and the subsequent layers, promoting overall cohesion and strength.
- Curing Time: Allow the base coat to cure to the appropriate degree before proceeding to the texture application. Follow the manufacturer’s guidelines regarding curing time and environmental conditions to ensure optimal strength and adhesion.
By meticulously executing these steps, you establish a solid and receptive foundation for the stucco texture, setting the stage for the creative and transformative phase of sculpting captivating textures. With the base coat in place, you’re now prepared to explore the art of creating diverse and visually engaging stucco textures, each imbuing surfaces with character and allure.
When finishing a stucco texture, make sure to apply the final coat evenly and smoothly using a trowel. Keep the trowel at a consistent angle to achieve a uniform texture.
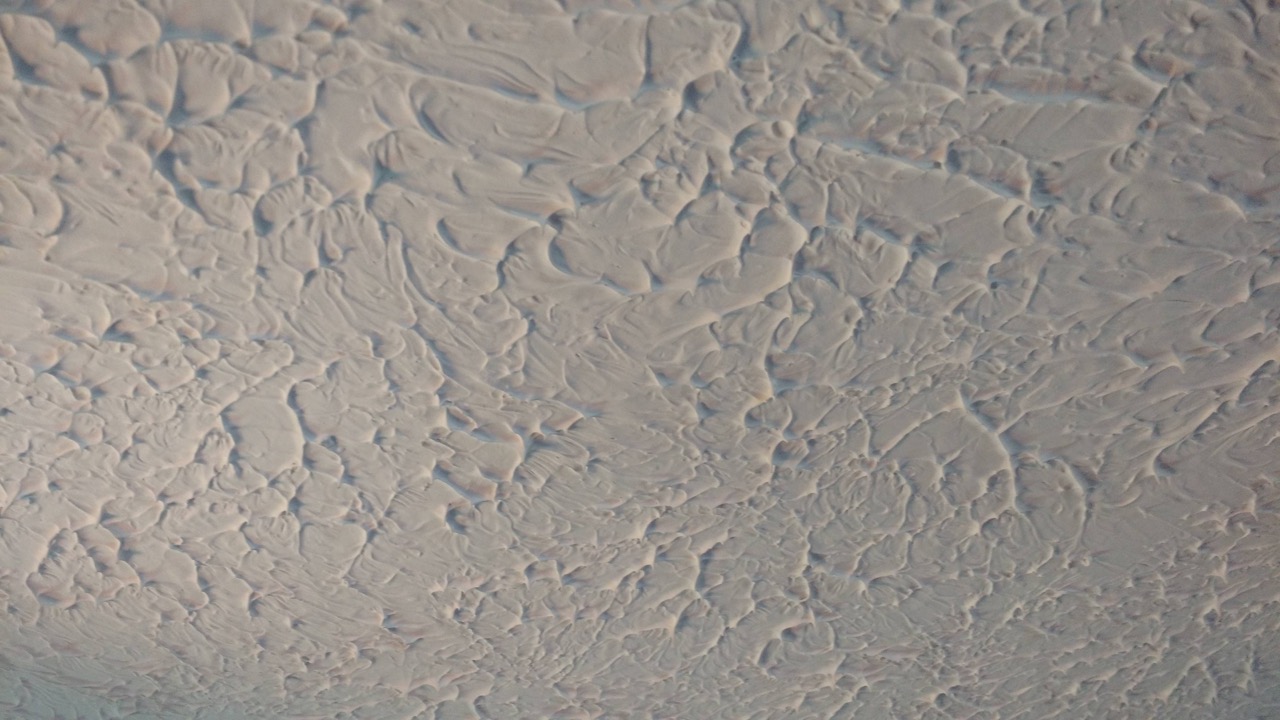
Creating the Texture
With the base coat providing a stable canvas, the stage is set for the artistic and transformative process of crafting captivating stucco textures. This phase invites creativity and precision, allowing you to imbue surfaces with character, depth, and visual intrigue through the artful manipulation of the stucco mixture.
The following techniques offer a glimpse into the diverse methods of creating stucco textures, each contributing to a distinct visual and tactile experience:
- Float Finish: This technique involves using a float, a flat or sponge-like tool, to create a smooth and uniform texture. By gently gliding the float over the base coat, you can achieve a sleek and refined finish, ideal for contemporary and minimalist design aesthetics.
- Knockdown Texture: By applying the stucco with a trowel and then lightly knocking it down with a trowel or a specialized knockdown knife, you can create a textured surface with subtle undulations, adding visual interest and depth.
- Dash and Lace Textures: Utilizing a flicking or swirling motion with a trowel, you can create dash or lace textures, each characterized by granular or intricate patterns, evoking a sense of timeless elegance and rustic charm.
- Custom Creations: Embrace your creativity by experimenting with various tools and techniques to craft custom textures, from bold and pronounced patterns to subtle and organic motifs, allowing your artistic vision to come to life on the textured surface.
Each texture technique offers a unique visual and tactile experience, enabling you to tailor the finish to complement the architectural style and design narrative of the space. By meticulously shaping and refining the stucco mixture, you can infuse surfaces with a captivating interplay of light and shadow, adding depth and dimension to the overall aesthetic.
As you explore the art of creating stucco textures, allow your creativity to flourish, embracing the opportunity to imbue surfaces with a personalized and visually engaging finish. With the textures meticulously crafted, you’re now poised to add the finishing touches, elevating the stucco surface to a state of enduring beauty and allure.
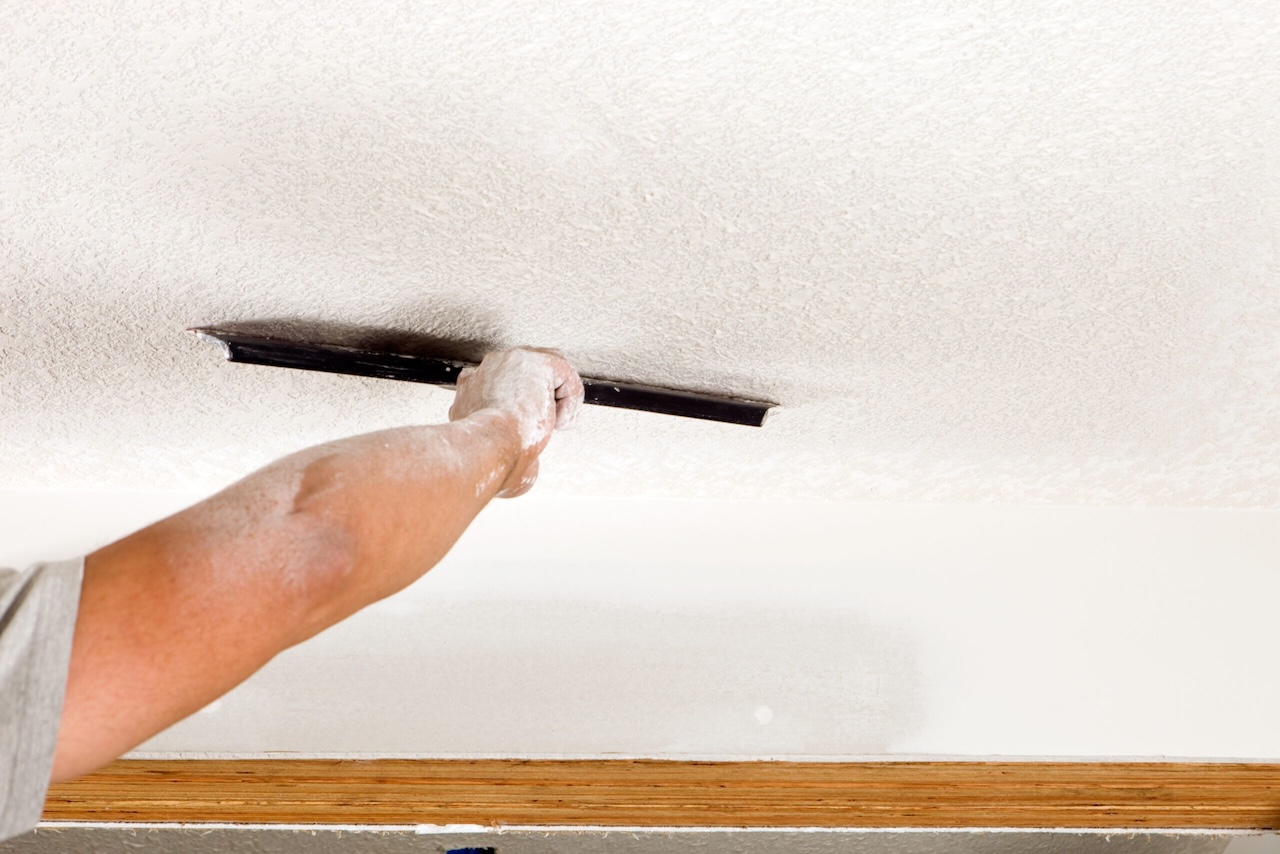
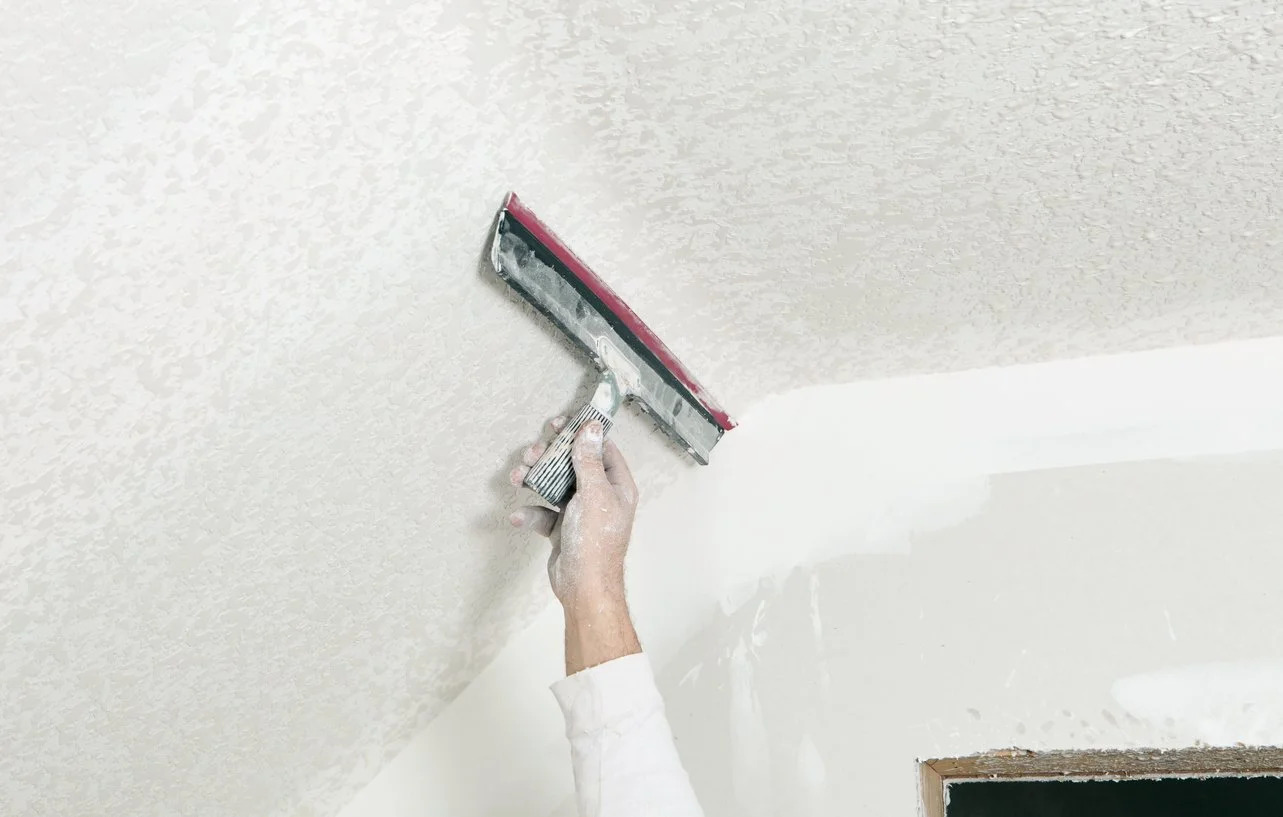
Read more: How To Remove A Textured Ceiling
Finishing Touches
As the stucco texture begins to take shape, the final phase of the finishing process presents an opportunity to refine and enhance the visual appeal of the textured surface. These finishing touches serve to elevate the texture, ensuring a cohesive and polished aesthetic that harmonizes with the surrounding environment.
The following steps encapsulate the essential elements of adding finishing touches to the stucco texture:
- Trim and Edging: Pay attention to the edges and trim surrounding the textured surface, ensuring clean and precise lines. Neatly trim and shape the edges to create a seamless transition between the stucco texture and adjacent surfaces, such as door frames, windowsills, and architectural features.
- Color Integration: Explore the option of integrating color into the stucco texture to further enhance its visual impact. Whether through integral pigments mixed into the stucco or subsequent painting, color can accentuate the texture’s nuances and contribute to the overall ambiance of the space.
- Architectural Details: Embrace the opportunity to accentuate architectural details through the stucco texture, highlighting elements such as columns, arches, and decorative moldings. Thoughtful integration of the texture with architectural features can amplify the visual interest and grandeur of the space.
- Seamless Transitions: Ensure seamless transitions between different sections of the textured surface, maintaining a consistent texture and visual coherence throughout. Attention to detail in these transitions contributes to a unified and harmonious aesthetic.
By meticulously attending to these finishing touches, you refine the stucco texture, elevating it from a mere surface treatment to a cohesive and visually captivating feature within the space. The attention to detail and precision in these final steps contribute to the overall impression of quality and craftsmanship.
With the finishing touches artfully applied, the stucco texture embodies a sense of enduring beauty and sophistication, seamlessly integrating with the architectural context while adding a touch of timeless elegance to the space. As the finishing touches enhance the texture’s allure, the subsequent phase of curing and sealing ensures the longevity and resilience of the stucco finish.
Curing and Sealing
Upon completing the application of the stucco texture and its finishing touches, the crucial phase of curing and sealing ensures the longevity, resilience, and enduring beauty of the textured surface. Proper curing and sealing procedures are essential to safeguard the stucco finish against environmental elements and maintain its visual appeal over time.
The following steps outline the pivotal process of curing and sealing the stucco texture:
- Curing Time: Allow the stucco texture to cure gradually, following the manufacturer’s recommendations for curing time and environmental conditions. Adequate curing time is vital to ensure the development of strength and durability within the stucco finish.
- Moisture Control: Monitor and control moisture levels during the curing process to prevent rapid drying, which can compromise the integrity of the stucco. Utilize misting or protective coverings to regulate moisture and promote uniform curing.
- Sealing Application: Once the stucco texture has sufficiently cured, consider applying a quality sealant to enhance its resistance to moisture, UV exposure, and general wear. Select a sealant appropriate for stucco surfaces and apply it according to the manufacturer’s guidelines.
- Regular Maintenance: Establish a routine maintenance schedule to preserve the stucco texture’s integrity and visual appeal. Periodic cleaning and inspection can prevent the accumulation of dirt, mold, or other contaminants that may detract from the texture’s allure.
By diligently adhering to these curing and sealing practices, you fortify the stucco texture, ensuring its ability to withstand the rigors of time and environmental factors while retaining its captivating aesthetic qualities. The meticulous attention to curing and sealing contributes to the long-term beauty and resilience of the stucco finish, allowing it to endure as a timeless and enduring feature within the architectural space.
As the stucco texture completes the journey from application to curing and sealing, it stands as a testament to the harmonious fusion of artistry and durability, enriching the architectural canvas with its captivating presence. With the completion of the curing and sealing process, the stucco texture emerges as a resilient and visually captivating feature, ready to adorn and enrich the living environment for years to come.
Conclusion
Congratulations on embarking on the enriching journey of mastering the art of stucco texture finishing. Throughout this comprehensive guide, we’ve traversed the intricate process of transforming ordinary surfaces into enduring works of art, imbued with character, allure, and resilience. From understanding the nuances of stucco texture to the meticulous application of base coats, the creation of captivating textures, and the essential steps of curing and sealing, you’ve delved into the multifaceted realm of stucco finishing with confidence and creativity.
Stucco, with its timeless elegance and enduring functionality, offers a canvas for artistic expression and architectural enhancement. By mastering the art of stucco texture finishing, you’ve acquired a skill that transcends mere surface treatment, allowing you to sculpt and refine spaces with a touch of craftsmanship and aesthetic finesse.
As you venture forth into your stucco projects, whether adorning exterior facades, accentuating interior walls, or embellishing architectural details, carry with you the knowledge and passion cultivated through this guide. Embrace the creative freedom to experiment with textures, colors, and techniques, allowing your artistic vision to unfold and enrich the living environment.
Remember, the art of stucco texture finishing is a harmonious blend of artistry and practicality, where enduring beauty meets structural integrity. With each stroke of the trowel and each carefully curated texture, you have the power to transform spaces, evoke emotions, and leave an indelible mark on the architectural canvas.
As you apply the principles and techniques outlined in this guide, infuse each stucco texture with a touch of your unique creativity and passion, allowing the finished surfaces to resonate with your personal style and vision. Let the allure of stucco texture become a testament to your dedication to craftsmanship and the timeless appeal of enduring architectural finishes.
May your stucco endeavors be marked by creativity, precision, and the fulfillment that comes from turning ordinary surfaces into extraordinary works of art. Embrace the transformative power of stucco texture finishing, and let your imagination flow freely as you embark on the captivating journey of sculpting enduring beauty with stucco.
Frequently Asked Questions about How To Finish Stucco Texture
Was this page helpful?
At Storables.com, we guarantee accurate and reliable information. Our content, validated by Expert Board Contributors, is crafted following stringent Editorial Policies. We're committed to providing you with well-researched, expert-backed insights for all your informational needs.


0 thoughts on “How To Finish Stucco Texture”