Articles
How To Stucco A Ceiling
Modified: August 22, 2024
Learn step-by-step how to stucco a ceiling with our informative articles. Achieve a beautiful textured finish for your home.
(Many of the links in this article redirect to a specific reviewed product. Your purchase of these products through affiliate links helps to generate commission for Storables.com, at no extra cost. Learn more)
Introduction
Welcome to our comprehensive guide on how to stucco a ceiling. Stucco ceilings have long been a popular choice for homeowners due to their durability, unique texture, and ability to cover imperfections. Whether you are looking to update the look of your home or are starting a new construction project, stucco ceilings can add a touch of elegance and character to any space.
In this article, we will walk you through the step-by-step process of stuccoing a ceiling. From gathering the necessary materials to applying the final coat and adding texture, we will cover every aspect of the project. By following our instructions and tips, you can achieve a professional-looking stucco ceiling that will impress anyone who enters your home.
Before we dive into the process, let’s briefly discuss what exactly stucco is. Stucco is a mixture of cement, sand, and water that is applied to surfaces to create a hard, durable, and textured finish. It has been used for centuries in various forms of construction, and its popularity has endured due to its versatility and longevity.
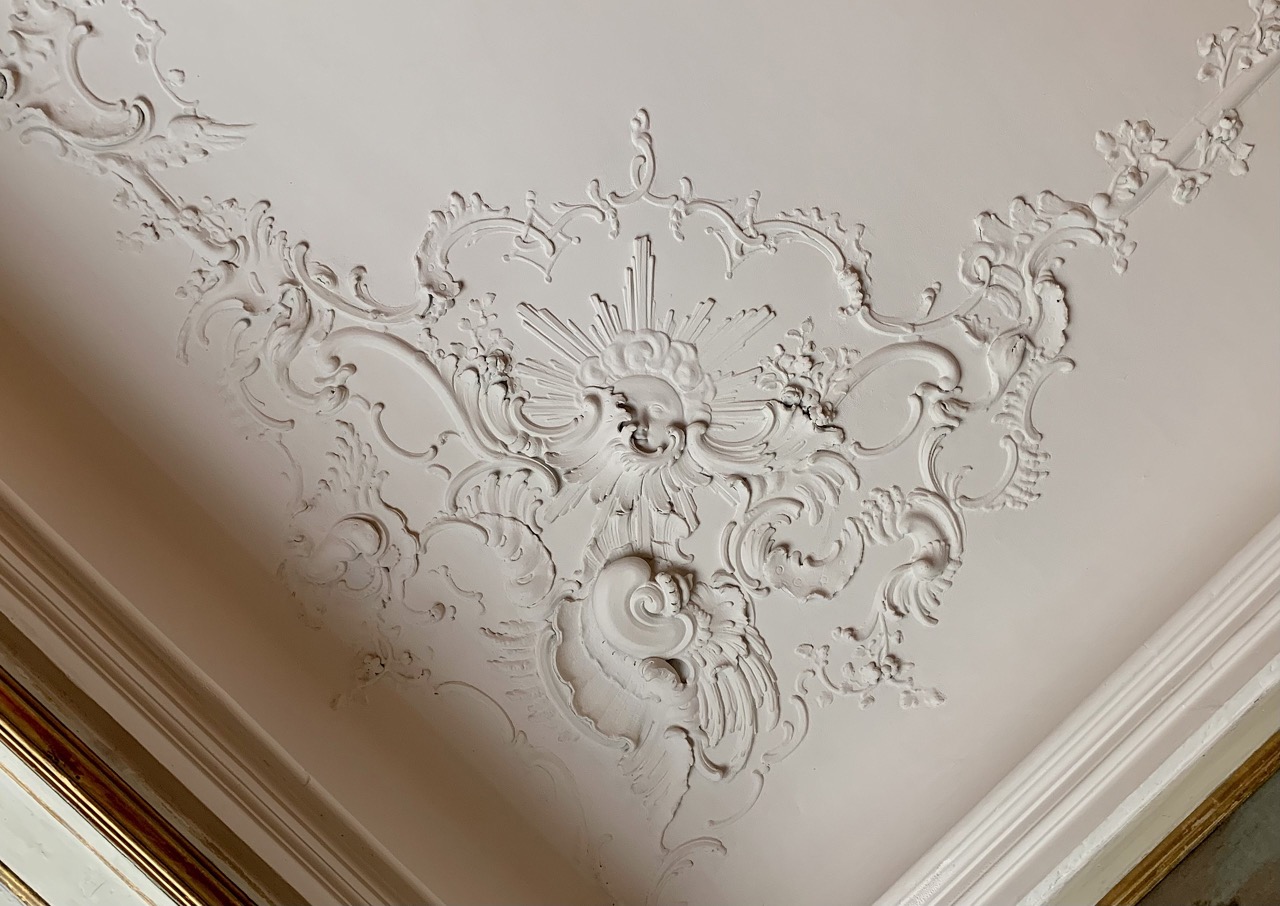
Stucco ceilings, also known as textured or popcorn ceilings, have a distinctive appearance characterized by a rough, bumpy texture. This texture not only adds visual interest but also helps to hide any imperfections or flaws in the ceiling surface. Stucco ceilings are commonly used in both residential and commercial settings, and they can be found in a variety of architectural styles.
Now that we have a basic understanding of what stucco ceilings are, let’s move on to the materials you will need for the project. Gathering all the necessary supplies beforehand will ensure a smooth and efficient process.
Key Takeaways:
- Transform your space with a visually appealing and durable stucco ceiling. Follow the step-by-step process, from preparation to adding texture, for a rewarding and satisfying home improvement project.
- Achieve a professional-looking stucco ceiling by carefully following instructions, paying attention to detail, and allowing proper drying and finishing. Enjoy the unique texture and durability it brings to your space.
Read more: How To Paint A Stucco Ceiling
Materials Needed
Before you begin stuccoing your ceiling, it’s important to gather all the necessary materials. Having everything on hand will save you time and make the process more efficient. Here is a list of the materials you will need:
- Stucco mix: This is the main ingredient and comes in powder form. Make sure to choose a high-quality stucco mix that suits your desired texture and finish.
- Water: You will need water to mix with the stucco powder. The amount of water needed will depend on the specific instructions provided by the manufacturer.
- Tarp or drop cloth: To protect the surrounding area from any splatters or debris, lay down a tarp or drop cloth on the floor and any furniture that cannot be moved.
- Painter’s tape: Use painter’s tape to cover any light fixtures, vents, or edges of the ceiling that you want to keep free from stucco.
- Ladder or scaffolding: Depending on the height of your ceiling, you will need either a ladder or scaffolding to reach the entire surface.
- Trowel: A trowel is essential for applying and spreading the stucco mixture on the ceiling. Choose a trowel that feels comfortable in your hand and has a smooth surface.
- Mixing bucket: Use a large, sturdy bucket for mixing the stucco and water. Make sure it is clean and free from any contaminants.
- Protective gear: Stucco can be messy, so it’s important to wear appropriate protective gear. This includes safety goggles, a dust mask, and gloves to protect your eyes, lungs, and hands.
- Texturing tools: If you want to create a specific texture on your stucco ceiling, consider using texturing tools such as a texture roller, brush, or sponge.
- Primer: Before applying the stucco, it’s recommended to use a primer to ensure a better bond and prevent any moisture issues.
- Paint and paintbrushes: Once the stucco has dried, you may choose to paint the ceiling. In that case, you will need paint and appropriate paintbrushes.
Make sure to gather all the materials before you start the stuccoing process. This will help you maintain a steady workflow and avoid any unnecessary delays.
Preparing the Ceiling
Before you can begin applying stucco to your ceiling, it’s important to properly prepare the surface. Here are the steps to follow in order to prepare the ceiling:
- Clean the ceiling: Use a broom or vacuum cleaner to remove any dust, dirt, or loose particles from the ceiling surface. This will ensure better adhesion of the stucco mixture.
- Repair any damages: Inspect the ceiling for any cracks, holes, or other damages. Use a patching compound or joint compound to fill in these imperfections. Smooth the patched areas with sandpaper once they are dry.
- Protect the surrounding area: Cover the walls, floor, and any furniture with a tarp or drop cloth to prevent them from getting stained or damaged during the stuccoing process.
- Apply painter’s tape: Use painter’s tape to cover any edges or areas of the ceiling that you want to keep free from stucco. This will create clean lines and prevent any accidental spills.
- Prime the ceiling: Applying a primer to the ceiling before stuccoing is highly recommended. The primer will improve the adhesion of the stucco mixture and provide a smoother finish. Follow the manufacturer’s instructions for applying the primer.
- Ensure proper ventilation: Stuccoing can be a messy and dusty process, so it’s important to have adequate ventilation in the room. Open windows and use fans to improve air circulation and help the drying process.
By following these steps, you will create a clean and smooth surface for the stucco mixture to adhere to. Properly preparing the ceiling is crucial for achieving a professional-looking stucco finish that will last for years to come.
Applying the First Coat
Now that you have prepared the ceiling, it’s time to start applying the first coat of stucco. This coat, also known as the scratch coat, will provide the base for your stucco texture. Follow these steps to apply the first coat:
- Mix the stucco: Follow the instructions provided by the manufacturer to mix the stucco powder with water in a mixing bucket. Use a trowel or drill with a mixing attachment to achieve a smooth and consistent texture.
- Dampen the ceiling: Before applying the stucco, dampen the entire ceiling surface with water. This will help create a better bond between the stucco and the ceiling.
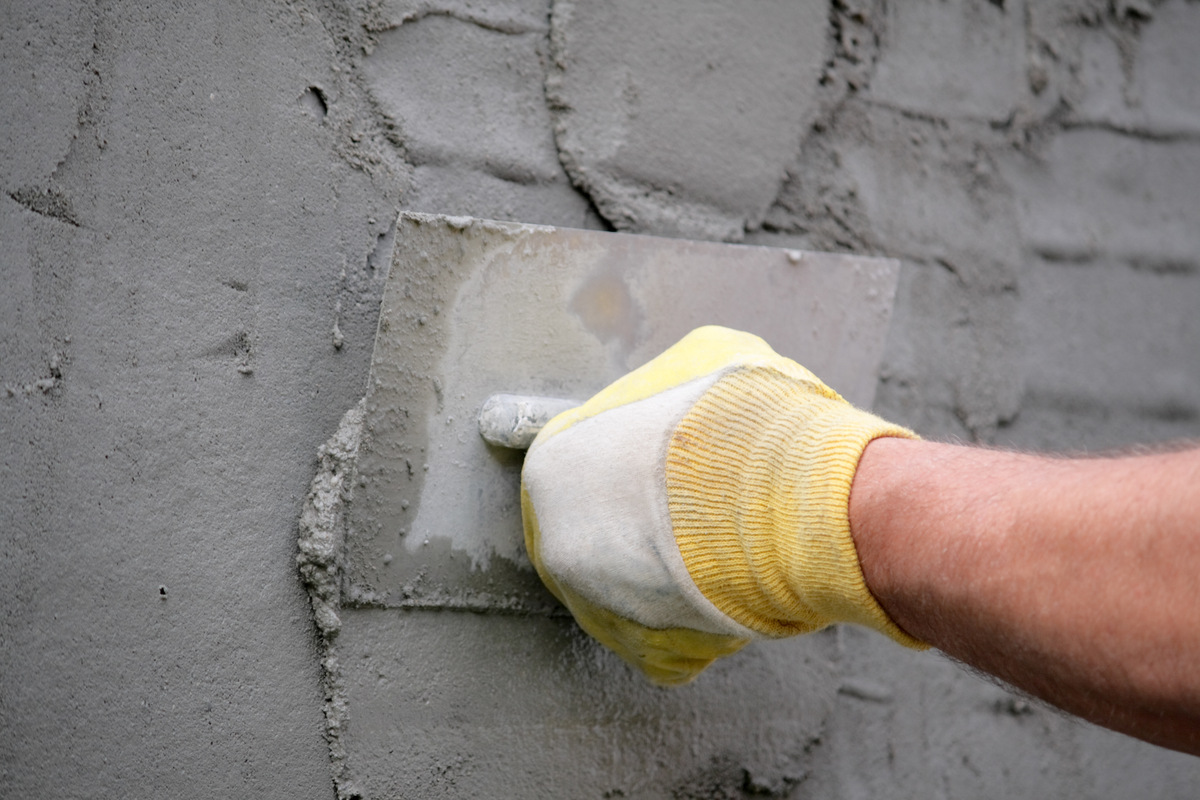
- Load the trowel: Scoop a generous amount of stucco onto your trowel. Hold the trowel at a slight angle to the ceiling surface, ensuring that the stucco adheres to the ceiling and spreads evenly.
- Apply the stucco: Start applying the stucco to the ceiling using a sweeping motion. Work in small sections, applying the stucco evenly and overlapping each section slightly for a seamless finish. Use the trowel to spread and level the stucco as you work.
- Create scratch marks: Once the stucco is applied, use a scratcher or a trowel to create scratches or grooves in the surface. This will help the second coat adhere properly and create a better texture.
- Allow the first coat to dry: Let the first coat of stucco dry for the recommended amount of time, usually 24 to 48 hours. This will ensure that it is fully cured and ready for the next coat.
During the application process, make sure to work systematically and maintain a consistent thickness. Take breaks as needed, but try to work efficiently to minimize any drying inconsistencies between sections.
Remember, the first coat is only the base layer, so it doesn’t need to be perfect. Even if there are slight imperfections or unevenness, they can be addressed in the subsequent coats. Focus on achieving an even coverage and creating the necessary texture for the final finish.
Once the first coat is completely dry, you’re ready to move on to applying the second coat of stucco.
When stuccoing a ceiling, make sure to properly prepare the surface by cleaning and priming it before applying the stucco. This will ensure a smooth and long-lasting finish.
Applying the Second Coat
With the first coat of stucco dry and the ceiling surface prepared, it’s time to move on to applying the second coat. This coat, also known as the brown coat or leveling coat, will help smooth out any imperfections and provide a solid foundation for the final texture. Follow these steps to apply the second coat:
- Prepare the stucco mixture: Mix another batch of stucco in the mixing bucket, following the manufacturer’s instructions. Make sure the consistency is similar to the first coat, smooth and workable.
- Dampen the first coat: Before applying the second coat, lightly mist the surface of the first coat with water. This will help improve the adhesion of the second coat to the first one.
- Load the trowel: Scoop a generous amount of stucco onto your trowel and hold it at a slight angle to the ceiling. Start applying the stucco to the ceiling, working in small sections.
- Spread and level the stucco: Use the trowel to spread and level the stucco evenly across the ceiling. Focus on smoothing out any rough spots or uneven areas from the first coat.
- Check for consistency: As you work, periodically step back and check the consistency of the stucco. Make sure it is even and at the desired thickness. Adjust accordingly if needed.
- Create a uniform surface: Use the trowel to create a smooth and level surface for the final texture. Pay attention to any ridges or lines and blend them into the surrounding areas.
- Allow the second coat to dry: Similar to the first coat, allow the second coat to dry for the recommended time, usually 24 to 48 hours. This will ensure that it is fully cured and ready for the next steps.
It’s important to take your time during the application process, ensuring that the second coat is as smooth and even as possible. The goal is to create a level surface that will serve as the base for the desired texture.
Once the second coat of stucco is dry, it’s time to move on to adding the texture to your ceiling. This is where you can get creative and personalize the look of your stuccoed ceiling.
Read more: How To Stucco A Foundation
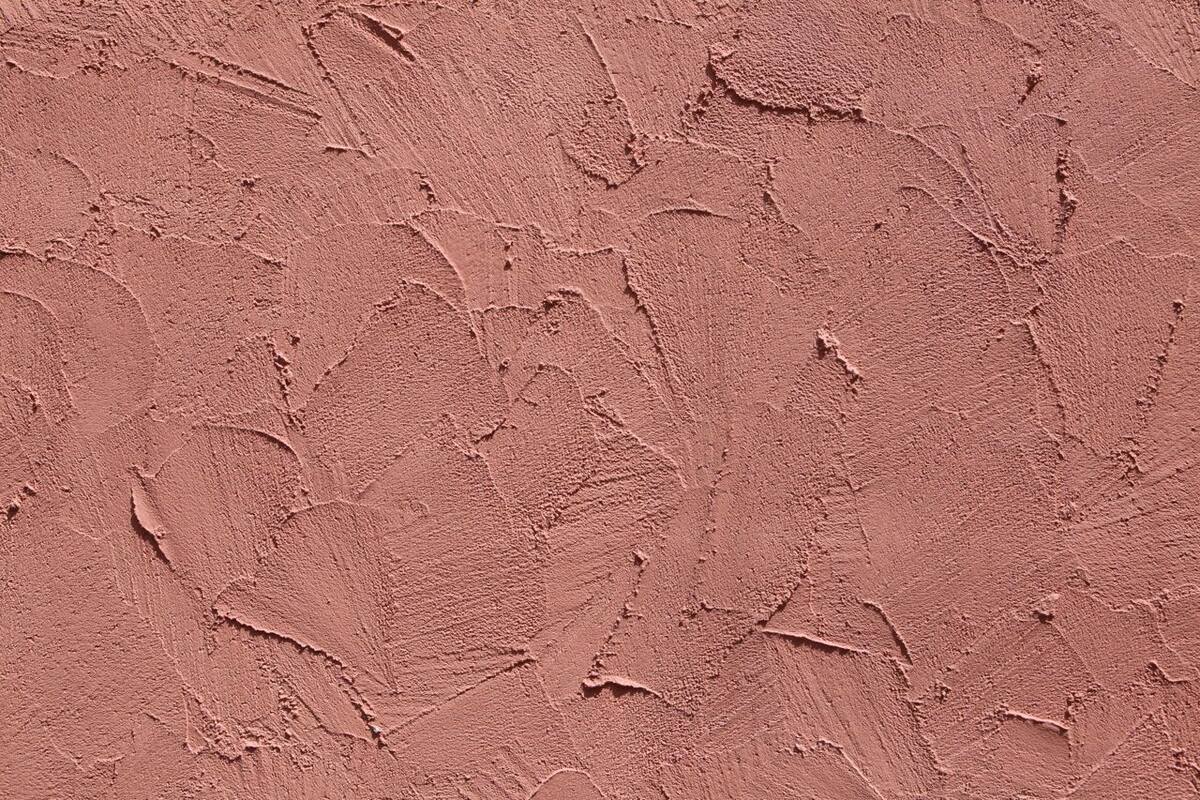
Adding Texture
Adding texture to your stuccoed ceiling is where you can truly make it your own and enhance its visual appeal. While stucco ceilings are often associated with a rough, bumpy texture, there are various techniques you can use to achieve different effects. Here are some popular methods for adding texture to your stuccoed ceiling:
- Texture roller: A texture roller is a tool with a patterned surface that is rolled across the stuccoed ceiling. This creates a consistent texture throughout the entire surface. Choose a roller with the desired pattern and roll it gently over the stucco, applying even pressure.
- Brush technique: Using a stiff bristle brush or a texture brush, create patterns or swirls in the stucco surface. Dip the brush into water and lightly drag it across the stucco, making deliberate strokes to create the desired texture.
- Sponge technique: Another method is using a sponge to create a unique texture. Lightly dampen a sponge and press it into the wet stucco surface, gently lifting it to create a stippled or sponge-like texture.
- Comb technique: For a more uniform and defined texture, you can utilize a comb or a notched trowel. Drag the comb or trowel through the wet stucco, creating parallel lines or patterns.
- Custom techniques: Don’t be afraid to get creative and experiment with different tools and techniques to achieve a texture that suits your taste. You can try using different combs, brushes, or even create your own tools to create a unique texture.
As you add texture to your stuccoed ceiling, pay attention to the consistency and uniformity of the texture. Make sure that the texture is applied evenly across the entire surface, and blend any areas where different techniques were used to create a seamless look.
Once you are satisfied with the texture, allow it to dry completely. The drying time will vary depending on the thickness of the texture and the environmental conditions. It’s important to be patient and not rush the drying process to ensure a durable and long-lasting finish.
Now that you’ve added texture to your stuccoed ceiling, all that’s left is to allow the texture to dry and move on to the final steps of the process.
Drying and Finishing
Once you have applied the texture to your stuccoed ceiling, the final step is to allow it to dry and finish the surface. This will ensure that your stuccoed ceiling is sturdy, visually appealing, and ready for any further enhancements or paint. Follow these steps to properly dry and finish your stuccoed ceiling:
- Allow sufficient drying time: The drying time for your stuccoed ceiling will depend on various factors such as the thickness of the texture, humidity, and temperature. It’s important to allow ample time for the stucco to dry and cure before moving on to the next step.
- Avoid touching or disturbing the surface: While the stucco is drying, it’s crucial to refrain from touching or disturbing the surface. This can cause damage or create imperfections in the texture. Additionally, keep pets and children away from the area to prevent any accidental disruptions.
- Inspect for any final touch-ups: Once the stucco is completely dry, inspect the surface for any areas that may require touch-ups or further refinements. Use sandpaper or a trowel to smooth out any rough spots or unevenness in the texture. Take your time to ensure a seamless and visually pleasing finish.
- Apply any desired paint or finish: If you wish to add color to your stuccoed ceiling, now is the time to apply paint. Choose a high-quality paint that is suitable for stucco surfaces and apply it evenly using a paintbrush or roller. Follow the manufacturer’s instructions for drying time and any additional coats if needed.
- Clean up and enjoy your stuccoed ceiling: Once the paint has dried, remove the painter’s tape and clean up any remaining debris or protective coverings. Take a step back and admire your newly stuccoed and finished ceiling. Enjoy the enhanced visual appeal and unique texture it brings to your space.
Remember, proper drying and finishing are crucial to achieving a long-lasting and visually appealing stuccoed ceiling. Take the time to allow the stucco to dry thoroughly and pay attention to any touch-ups or refinements needed before applying paint or any other finishes.
Now that you have completed the drying and finishing process, you can sit back and enjoy your beautifully stuccoed ceiling for years to come.
Conclusion
Congratulations on successfully stuccoing your ceiling! By following the step-by-step process outlined in this guide, you have transformed your ceiling into a visually appealing and durable surface. Stucco ceilings not only add character and uniqueness to your space but also help to hide imperfections and provide a long-lasting finish.
Throughout this article, we covered the materials needed for the project, the importance of properly preparing the ceiling, and the steps to apply the first and second coats of stucco. We also discussed various techniques for adding texture to your stuccoed ceiling and the final steps of drying and finishing.
While stuccoing a ceiling may seem like a challenging task, with the right materials, preparation, and techniques, it can be a rewarding and satisfying project. Remember to take your time, follow the instructions carefully, and pay attention to detail to achieve the best results.
Now that you have a beautifully stuccoed ceiling, you can further enhance it by adding lighting fixtures, painting it, or incorporating other decorative elements that complement your space’s overall aesthetics.
We hope this comprehensive guide has provided you with the knowledge and confidence to successfully stucco your ceiling. Enjoy the unique texture, durability, and visual appeal that your stuccoed ceiling brings to your home or any other space you choose to incorporate it into. Happy stuccoing!
Once you've mastered stuccoing your ceiling, why not delve deeper into other ceiling solutions that could dramatically alter your space's acoustics and aesthetics? If you're curious about different ceiling types, our next read on acoustic ceilings is a must. Not only will it shed light on their functional benefits, but you'll also understand how they can transform any room into a serene and sound-controlled environment.
Frequently Asked Questions about How To Stucco A Ceiling
Was this page helpful?
At Storables.com, we guarantee accurate and reliable information. Our content, validated by Expert Board Contributors, is crafted following stringent Editorial Policies. We're committed to providing you with well-researched, expert-backed insights for all your informational needs.


0 thoughts on “How To Stucco A Ceiling”