Home>Construction & Tools>Building Materials>How To Remove A Brick Wall
Building Materials
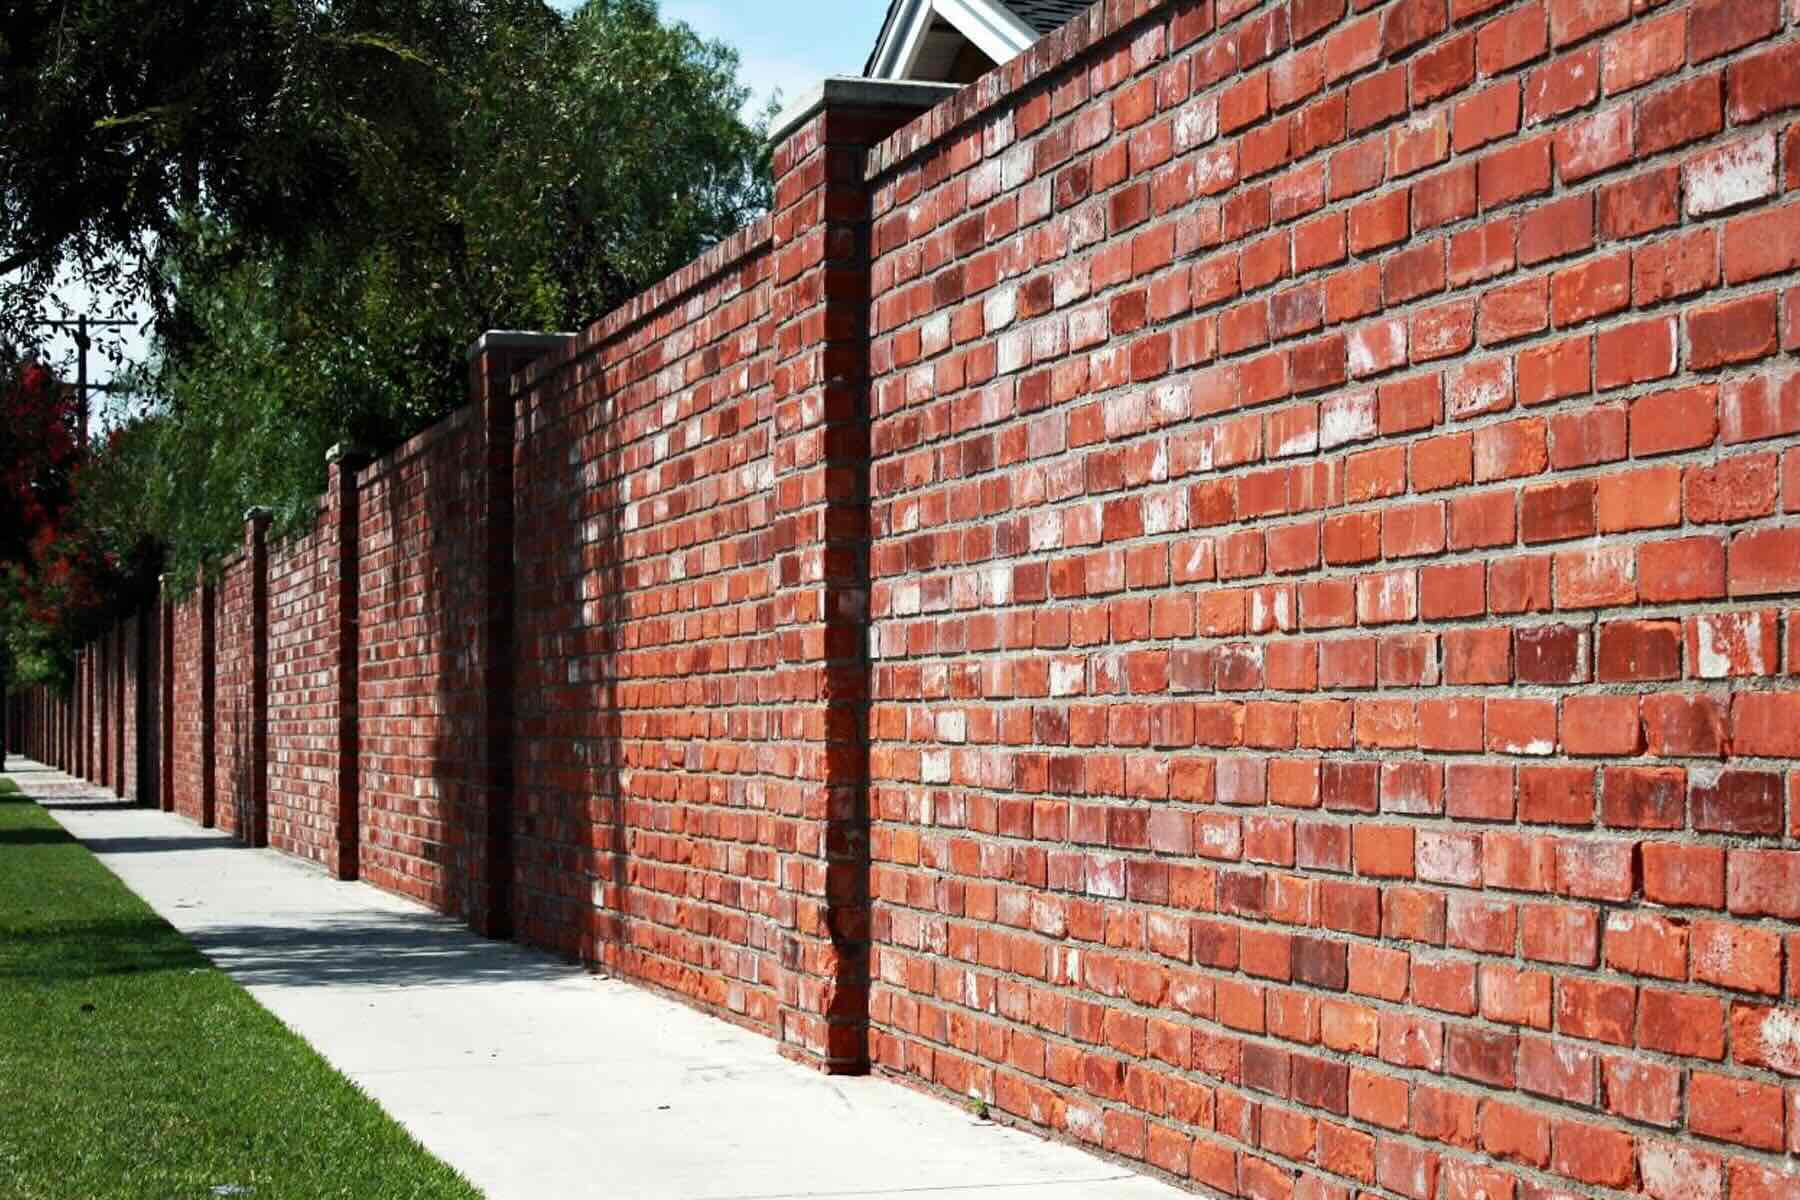
How To Remove A Brick Wall
Modified: March 25, 2024
Learn the best techniques for removing a brick wall safely and efficiently. Discover the tools and building materials needed for the job.
(Many of the links in this article redirect to a specific reviewed product. Your purchase of these products through affiliate links helps to generate commission for Storables.com, at no extra cost. Learn more)
Introduction
Removing a brick wall can be a daunting task, but with the right tools and know-how, it can be accomplished efficiently and safely. Whether you’re renovating your home, making way for a new structure, or simply looking to change the aesthetic of your space, understanding the process of removing a brick wall is essential. In this comprehensive guide, we’ll walk you through the step-by-step process of removing a brick wall, from gathering the necessary tools and equipment to cleaning up the area afterwards.
Before embarking on this project, it’s crucial to approach it with careful planning and preparation. By following the correct procedures, you can ensure that the task is completed with precision and without causing damage to surrounding areas. So, roll up your sleeves and let’s dive into the process of safely and effectively removing a brick wall.
Key Takeaways:
- Removing a brick wall requires careful planning, the right tools, and a methodical approach to ensure safety and efficiency. From preparing the work area to dislodging the mortar and removing the bricks, each step is crucial for a successful outcome.
- By following the step-by-step process, you’ll gain valuable insights into the meticulous and precise nature of brick wall removal. Prioritizing safety, organization, and attention to detail sets the stage for a seamless and efficient removal process.
Read more: How To Remove Plaster From A Brick Wall
Step 1: Gather the necessary tools and equipment
Before starting the process of removing a brick wall, it’s essential to gather the appropriate tools and equipment. Having the right tools at your disposal will not only make the task more manageable but also contribute to the overall safety of the project. Here’s a list of the essential tools and equipment you’ll need:
- Safety gear: Prioritize safety by wearing protective gear, including safety goggles, work gloves, a dust mask, and sturdy work boots. These items will shield you from potential hazards such as flying debris, dust, and sharp edges.
- Hammer and chisel: A brick hammer and chisel are indispensable for breaking and chipping away at the mortar and bricks. Opt for a brick hammer with a chisel end, designed specifically for masonry work.
- Power drill: A power drill equipped with a masonry bit will facilitate the process of creating holes in the mortar for easier removal.
- Sledgehammer: A heavy-duty sledgehammer will aid in breaking apart larger sections of the wall, allowing for more efficient removal.
- Cold chisel: This tool is ideal for precise and controlled chiseling, especially in tight spaces or corners.
- Wheelbarrow: A wheelbarrow will come in handy for transporting debris and bricks away from the work area.
- Protective sheeting: Use heavy-duty plastic sheeting to protect the surrounding area from dust and debris, especially if the wall is located indoors.
- Container for debris: Have a sturdy container or skip on hand for the disposal of bricks and debris.
By ensuring that you have these tools and equipment ready, you’ll be well-prepared to tackle the next steps in the process of removing a brick wall. With safety at the forefront and the right tools in hand, you’re setting the stage for a successful and efficient project.
Step 2: Prepare the work area
Preparing the work area is a crucial preliminary step before commencing the removal of a brick wall. This process involves safeguarding the surrounding space, ensuring structural stability, and creating an organized environment for the task at hand. Here are the key components of preparing the work area:
- Clear the surroundings: Remove any furniture, decorations, or obstacles near the brick wall to create ample working space. This will prevent any potential damage to items and allow for unobstructed access to the wall.
- Protective coverings: Use heavy-duty plastic sheeting or drop cloths to cover the floor and nearby surfaces. This will safeguard against dust, debris, and potential damage during the wall removal process.
- Support structures: Assess the structural integrity of the surrounding walls and areas adjacent to the one being removed. Reinforce any adjoining walls or structures if necessary to prevent unintended damage during the demolition process.
- Secure utilities: Identify and shut off any utilities, such as electrical outlets, wiring, or plumbing, that may be present in or near the wall. This precaution is essential for safety and to prevent damage to utility lines.
- Establish a debris disposal area: Designate a specific area for the disposal of debris, bricks, and other materials. This will streamline the cleanup process and ensure that the work area remains organized throughout the project.
- Communication and safety: If working with a team, establish clear communication and safety protocols. Ensure that everyone involved is aware of the tasks at hand and adheres to safety guidelines throughout the removal process.
By meticulously preparing the work area, you are not only creating a safe and organized environment for the brick wall removal but also laying the groundwork for a smooth and efficient project. With these preparations in place, you’re ready to move on to the next steps of the removal process with confidence and clarity.
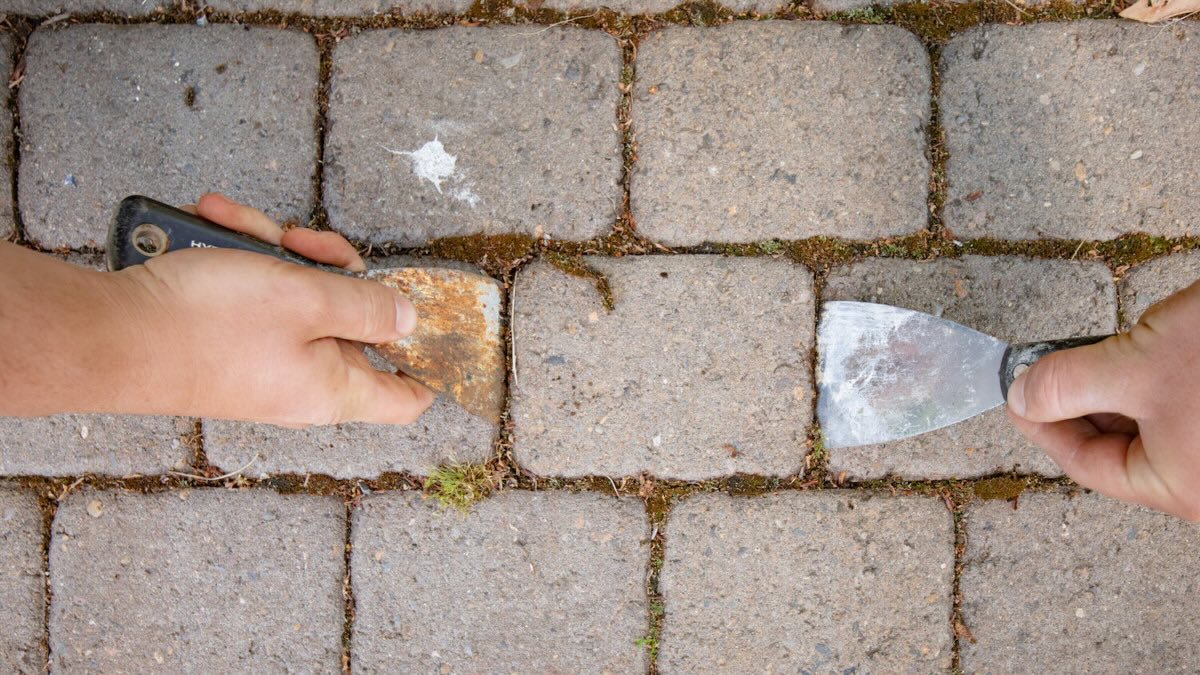
Step 3: Remove the mortar
Removing the mortar is a critical phase in the process of dismantling a brick wall. The mortar, which holds the bricks together, must be carefully dislodged to facilitate the subsequent removal of the bricks. Here’s a detailed guide on how to effectively remove the mortar:
- Assess the mortar condition: Before beginning the removal process, assess the condition of the mortar. If the mortar is already deteriorating or loose, it may require less effort to remove.
- Create starting points: Use a power drill equipped with a masonry bit to create holes in the mortar along the vertical and horizontal joints. This will provide starting points for the removal process.
- Utilize the chisel and hammer: With the holes in place, carefully insert a chisel into the mortar joint and gently tap it with a hammer to break the bond between the mortar and bricks. Work systematically along the joints to gradually dislodge the mortar.
- Employ a cold chisel for precision: In areas where the space is limited or the mortar is stubborn, a cold chisel can be used to delicately chip away at the mortar without damaging the bricks.
- Dispose of the removed mortar: As the mortar is dislodged, collect and dispose of it in the designated debris area. This will maintain a tidy and organized work environment.
- Inspect and clean the joints: Once the majority of the mortar is removed, inspect the joints for any residual mortar. Use a wire brush or a small chisel to clean the joints thoroughly, ensuring that they are free from debris and ready for the next phase of brick removal.
By methodically removing the mortar, you are preparing the brick wall for the subsequent phase of brick removal, ensuring that the process is carried out with precision and care. With the mortar effectively dislodged, you’re now ready to proceed to the next crucial step in the brick wall removal process.
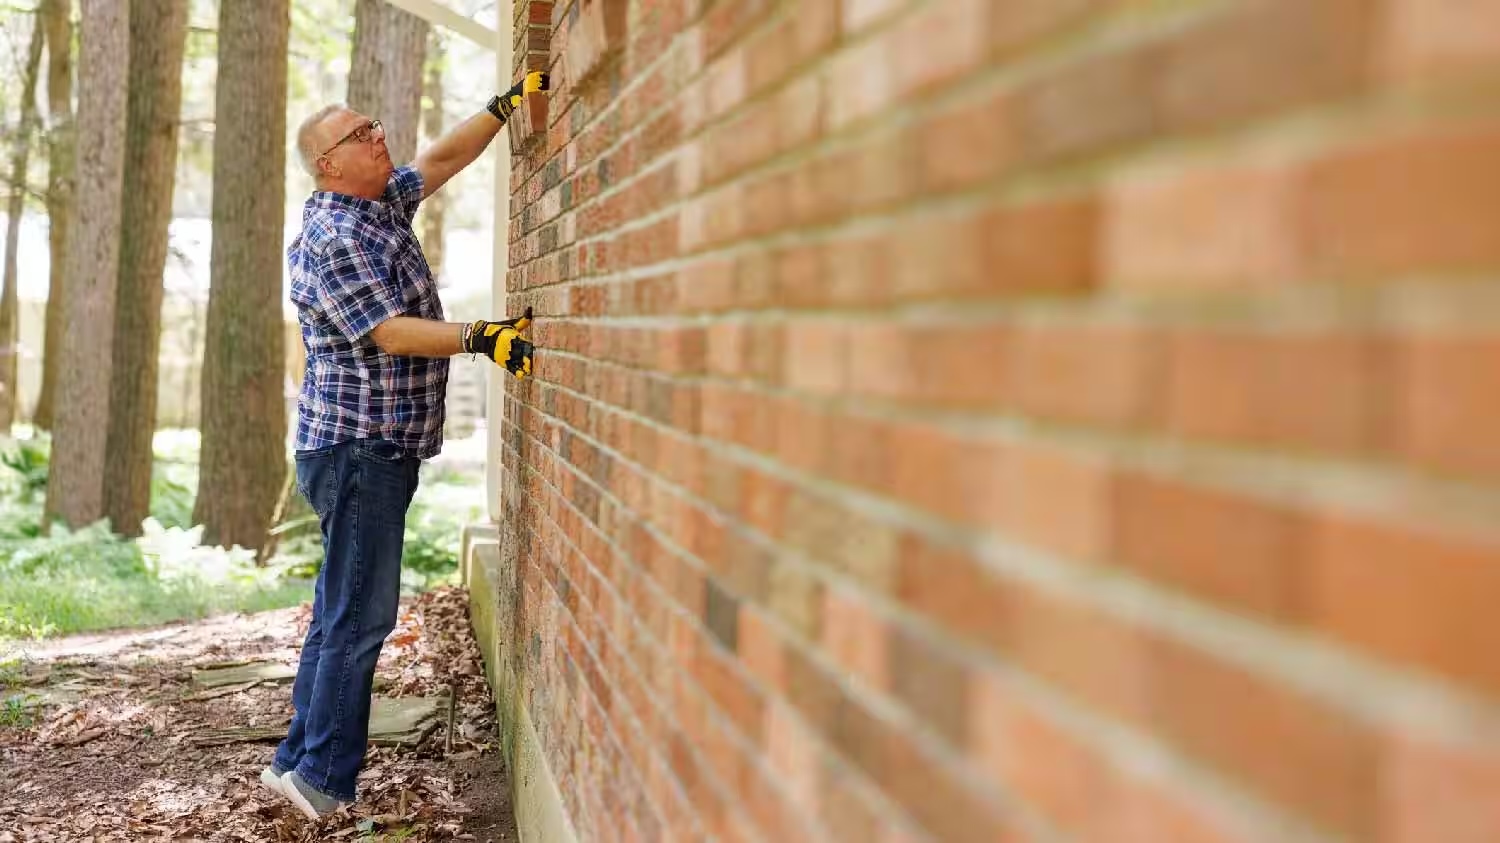
Before removing a brick wall, make sure to wear safety goggles and gloves. Use a sledgehammer to carefully break the mortar between the bricks, then remove the bricks one by one. Dispose of the debris properly.
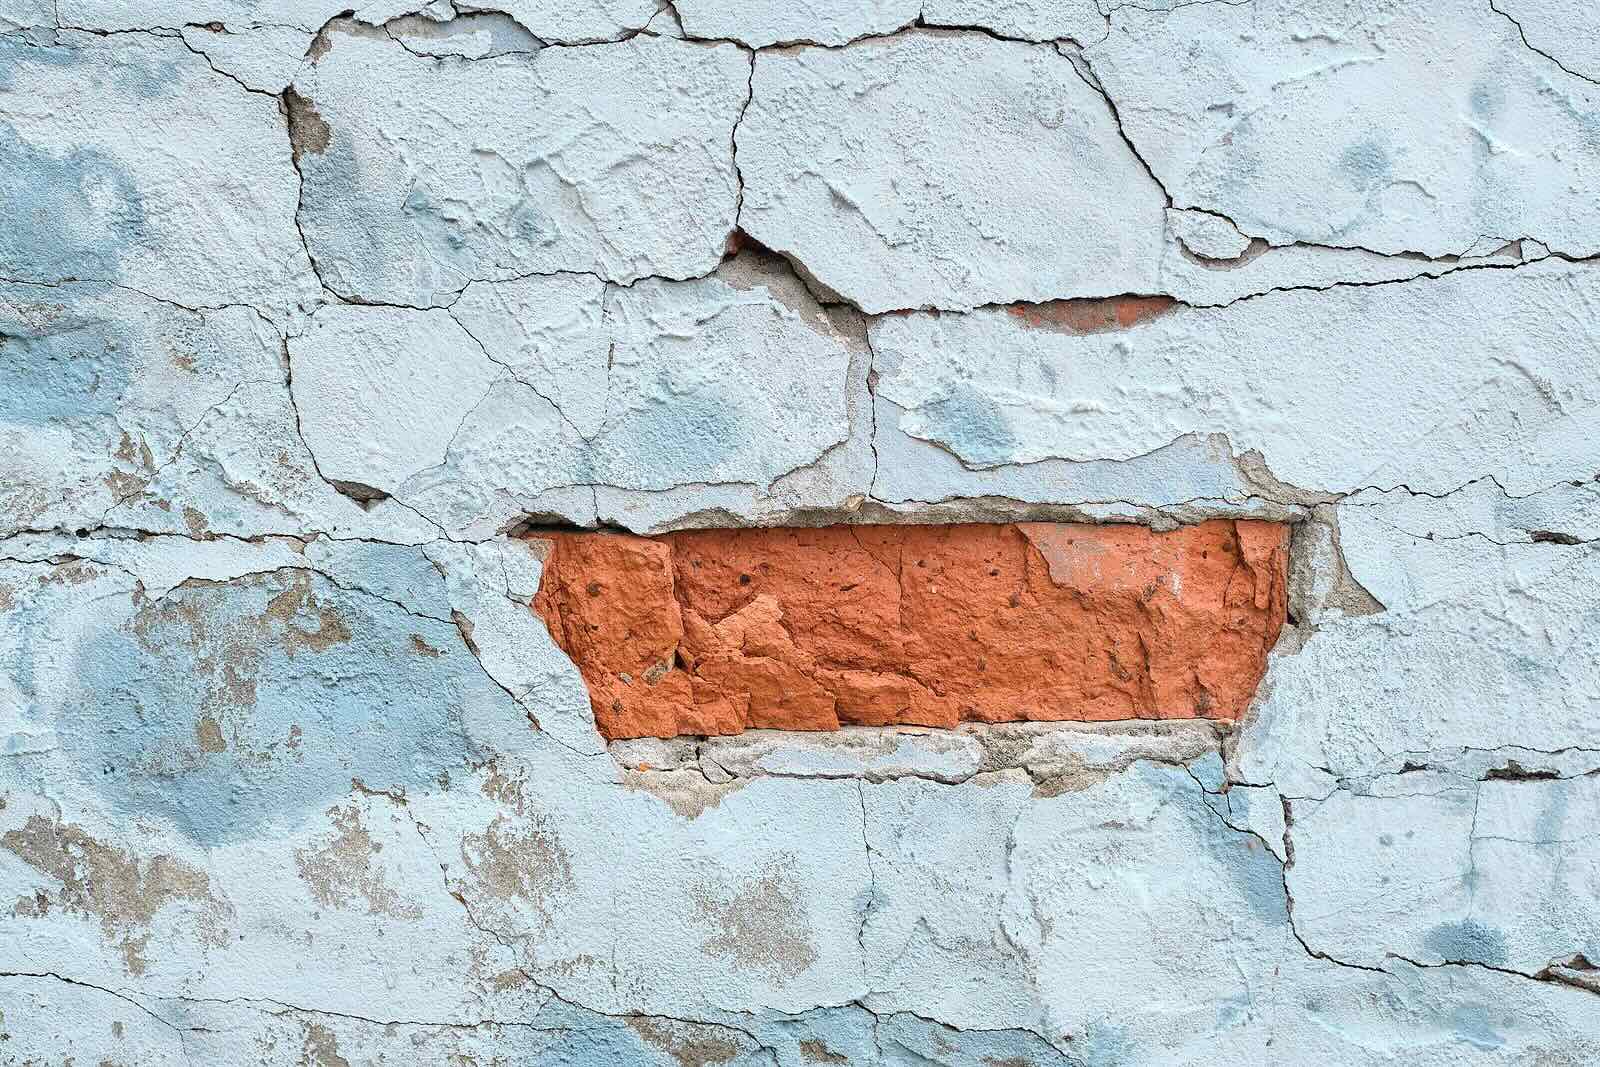
Step 4: Remove the bricks
With the mortar successfully removed, the next step involves the careful extraction of the bricks from the wall. This phase demands attention to detail and a methodical approach to ensure the safe and efficient removal of the bricks. Here’s a comprehensive guide on how to effectively remove the bricks from a wall:
- Assess the brick condition: Before proceeding, assess the condition of the bricks. Look for any signs of damage, cracks, or instability, as these may affect the removal process.
- Start from the top: Begin at the top row of bricks and work your way down. This approach prevents the risk of destabilizing the lower rows as you remove the upper ones.
- Use a chisel and hammer: Insert a chisel at the joint beneath the brick and carefully tap it with a hammer to loosen the brick from its position. Work along the mortar joints to gradually dislodge each brick.
- Handle with care: Exercise caution when removing the bricks to avoid breakage or injury. Lift each brick gently and place it in the designated debris area for disposal.
- Inspect for stubborn bricks: In some cases, certain bricks may be firmly attached due to residual mortar or other factors. Use a chisel or small pry bar to carefully dislodge these stubborn bricks without causing damage to surrounding areas.
- Dispose of removed bricks: As the bricks are removed, ensure they are promptly disposed of in the designated area to maintain a tidy and safe work environment.
By following these steps, you can systematically remove the bricks from the wall, ensuring that the process is carried out with precision and care. With the bricks successfully extracted, you’re now ready to move on to the final phase of the brick wall removal process.
Read more: How To Remove Chalk From Brick Wall
Step 5: Clean up the area
Once the bricks have been removed and the wall has been dismantled, the final step involves thorough cleanup to ensure that the work area is left in a safe and tidy condition. Proper cleanup not only enhances safety but also paves the way for any subsequent construction or renovation work. Here’s a detailed guide on how to effectively clean up the area after removing a brick wall:
- Clear debris and remnants: Begin by clearing the work area of any remaining debris, including loose mortar, brick fragments, and dust. Use a broom and dustpan to collect these remnants for disposal.
- Inspect for residual mortar: Check the surrounding surfaces and floors for any residual mortar or dust. Use a vacuum or a stiff brush to remove these remnants and ensure a clean working environment.
- Dispose of debris: Ensure that all debris, including bricks, mortar, and other materials, is promptly disposed of in the designated area. If necessary, arrange for the proper disposal of these materials in accordance with local regulations.
- Clean and inspect the area: Once the debris has been removed, thoroughly clean the surfaces and floors in the vicinity of the removed wall. Inspect for any damage or marks and address them accordingly.
- Restore utilities: If any utilities were shut off during the preparation phase, such as electrical outlets or plumbing, ensure that they are safely restored to their functional state.
- Prepare for the next steps: If the wall removal is part of a larger renovation or construction project, prepare the area for the next phase of work. This may include leveling the surface, addressing structural requirements, or preparing for the installation of new features.
By meticulously cleaning up the area, you are not only ensuring a safe and organized environment but also preparing the space for any subsequent construction or renovation work. With the work area now cleaned and restored, you’ve successfully completed the process of removing a brick wall, setting the stage for the next steps in your project.
Conclusion
Removing a brick wall is a task that demands careful planning, the right tools, and a methodical approach. By following the step-by-step process outlined in this guide, you’ve gained valuable insights into the meticulous and precise nature of brick wall removal. From gathering the necessary tools and preparing the work area to removing the mortar, extracting the bricks, and cleaning up the space, each step plays a crucial role in ensuring a successful outcome.
Throughout this journey, you’ve prioritized safety, organization, and attention to detail, laying the groundwork for a seamless and efficient removal process. By adhering to safety protocols, safeguarding the surrounding areas, and methodically disassembling the wall, you’ve not only achieved the task at hand but also set the stage for any subsequent construction, renovation, or transformation of the space.
As you reflect on this process, consider the newfound knowledge and skills you’ve acquired. Whether you’re a seasoned DIY enthusiast or embarking on your first renovation project, the experience of removing a brick wall has equipped you with valuable insights and practical abilities that extend beyond this specific task.
With the work area now cleared and the debris responsibly disposed of, you’re ready to embark on the next phase of your project, be it creating an open-concept space, constructing a new feature, or refreshing the aesthetic of your environment. The completion of this task marks a significant milestone, and the knowledge gained from this endeavor will undoubtedly serve you well in future projects and endeavors.
So, as you take a moment to admire the transformed space and the accomplishment of successfully removing a brick wall, remember the meticulous approach, the attention to detail, and the sense of satisfaction that comes with mastering a task that once seemed daunting. With this newfound expertise, you’re well-prepared to take on the next challenge and continue shaping your surroundings according to your vision and aspirations.
Frequently Asked Questions about How To Remove A Brick Wall
Was this page helpful?
At Storables.com, we guarantee accurate and reliable information. Our content, validated by Expert Board Contributors, is crafted following stringent Editorial Policies. We're committed to providing you with well-researched, expert-backed insights for all your informational needs.


0 thoughts on “How To Remove A Brick Wall”