Home>Construction & Tools>Building Materials>What Is A Brick Jointer
Building Materials
What Is A Brick Jointer
Modified: October 19, 2024
Learn about the purpose and usage of a brick jointer in building materials. Discover how it helps create clean and professional-looking mortar joints.
(Many of the links in this article redirect to a specific reviewed product. Your purchase of these products through affiliate links helps to generate commission for Storables.com, at no extra cost. Learn more)
Introduction
Welcome to the world of masonry, where precision and craftsmanship converge to create enduring structures. In the realm of bricklaying, attention to detail is paramount, and the tools of the trade play a pivotal role in achieving flawless results. One such tool, the brick jointer, holds a significant place in the toolkit of masons and DIY enthusiasts alike.
As we delve into the realm of brick jointers, we will uncover their purpose, types, and the art of using them effectively. Whether you are a seasoned professional or an aspiring enthusiast, understanding the ins and outs of this indispensable tool will undoubtedly enrich your knowledge and proficiency in the art of bricklaying.
Join us on this journey as we unravel the nuances of the brick jointer, exploring its significance and the myriad benefits it offers. Let's embark on a captivating exploration of this essential tool, delving into its intricacies and shedding light on its indispensable role in the world of masonry.
Key Takeaways:
- A brick jointer is a crucial tool in masonry that shapes and strengthens mortar joints between bricks, enhancing both the structural integrity and visual appeal of the finished brickwork.
- Using a brick jointer offers benefits such as uniform joint widths, tailored aesthetic effects, and time efficiency, empowering craftsmen to achieve professional-quality, visually striking brickwork with precision and artistry.
Read more: What Does A Jointer Do In Woodworking
Definition of a Brick Jointer
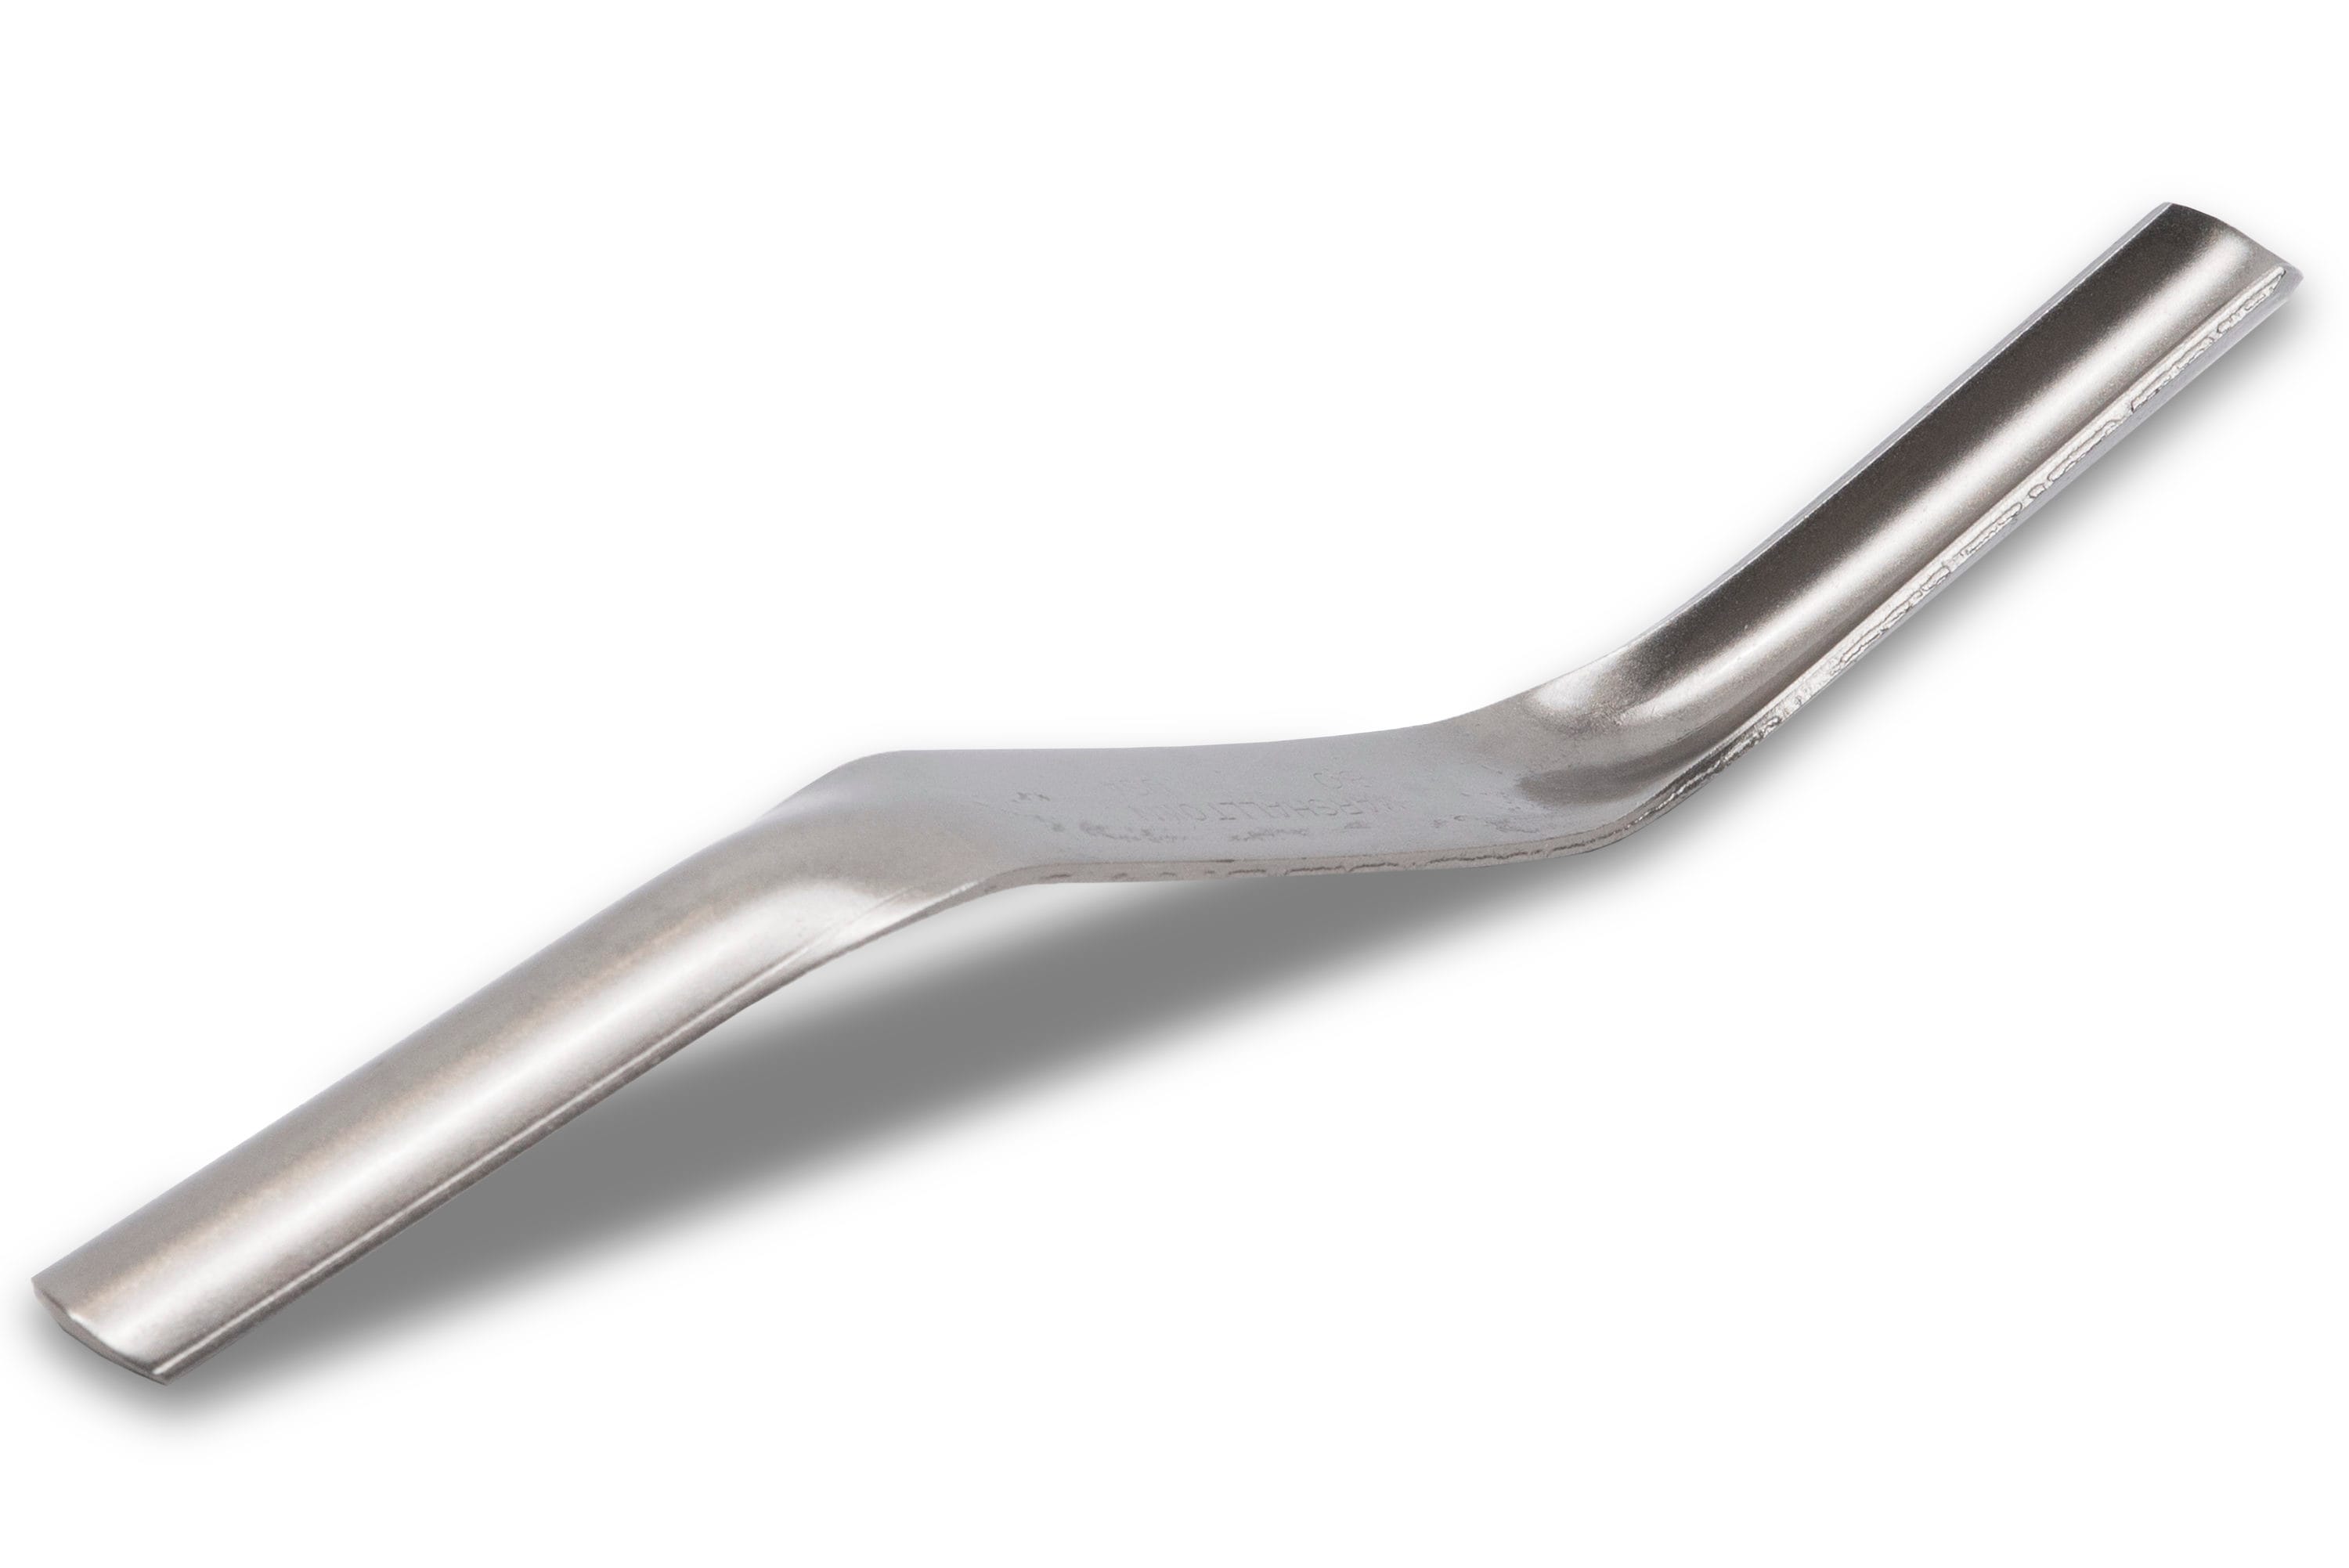
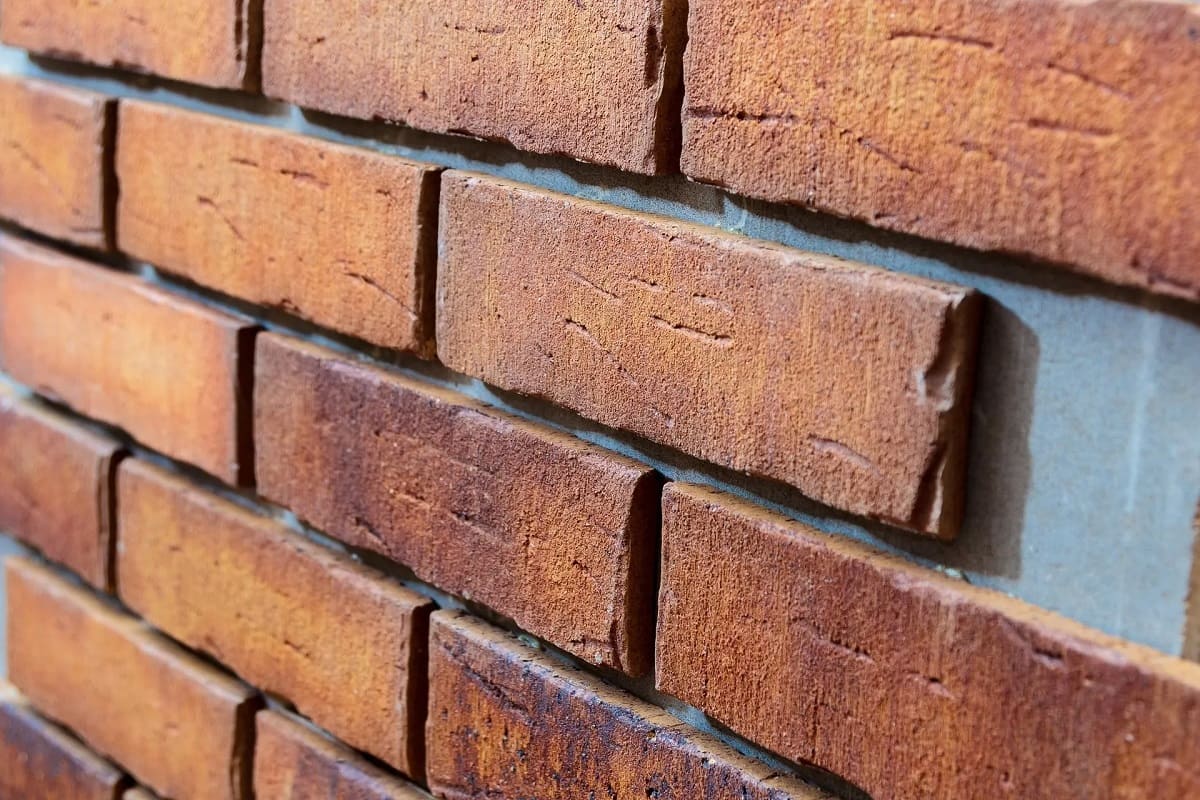
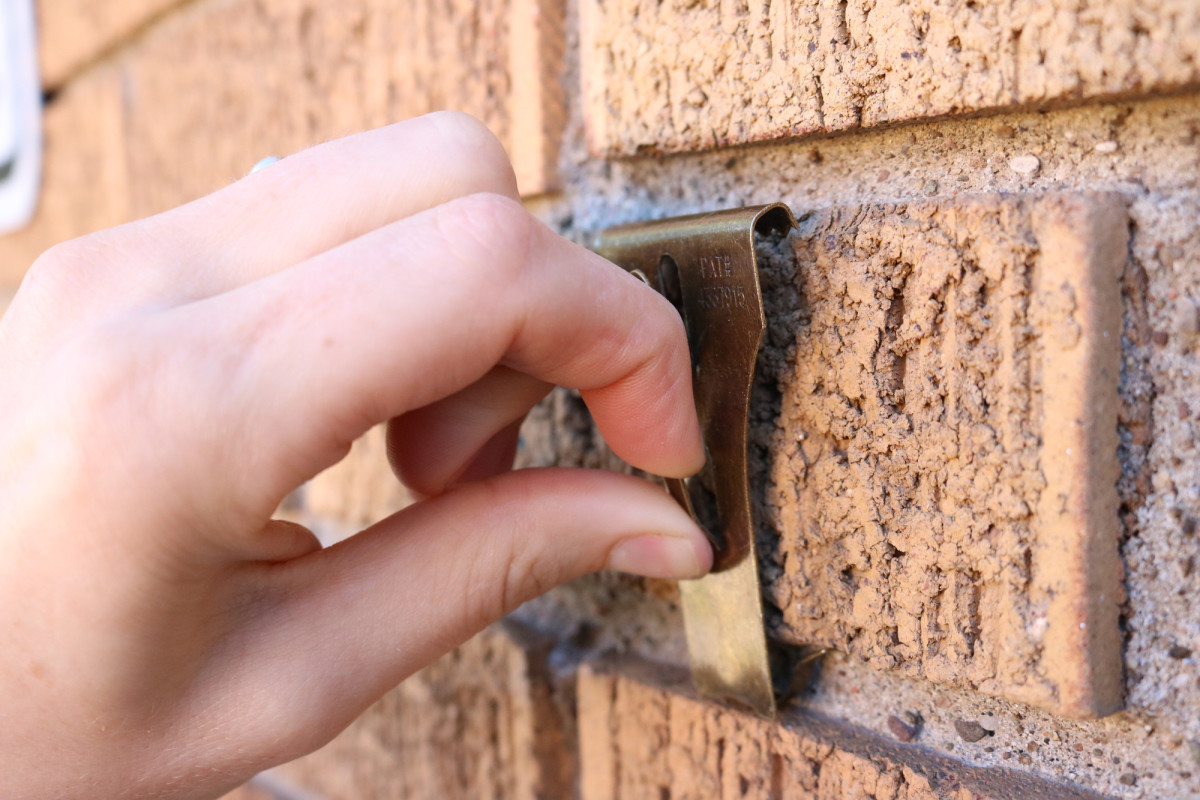
At its core, a brick jointer is a simple yet indispensable tool used in the field of masonry to create uniform and aesthetically pleasing joints between bricks. Also known as a brick jointer tool or a mortar jointer, it is designed to shape and finish the mortar joints between bricks, enhancing both the structural integrity and visual appeal of the finished masonry work.
Typically made of steel, the brick jointer features a smooth, rounded or pointed end that is used to press and shape the mortar within the joints. This process not only ensures a consistent joint width but also compacts the mortar, contributing to the overall strength and durability of the brickwork. The opposite end of the tool may feature a different size or shape, allowing for versatility in joint dimensions and styles.
Brick jointers come in various sizes to accommodate different joint widths, and they are available in a range of profiles to suit specific aesthetic preferences and project requirements. Whether it’s creating a traditional concave joint, a striking V-shaped joint, or a contemporary flush joint, the brick jointer empowers masons to achieve diverse and visually captivating results.
As a cornerstone of masonry craftsmanship, the brick jointer exemplifies the meticulous attention to detail that defines the art of bricklaying. Its role in refining the appearance and structural integrity of brickwork cannot be overstated, making it an indispensable tool for anyone seeking to achieve excellence in the craft of masonry.
Types of Brick Jointers
Brick jointers come in a variety of types and sizes, each catering to specific joint widths and desired profiles. The diverse range of brick jointers empowers masons and enthusiasts to tailor their mortar joints to suit architectural styles, personal preferences, and project requirements. Let’s explore some of the common types of brick jointers and their unique characteristics:
1. Concave Brick Jointer:
The concave brick jointer, also known as a round jointer, features a semi-circular or convex profile that creates a classic, rounded finish within the mortar joints. This type of jointer is widely used in traditional brickwork and imparts a timeless, elegant appeal to the finished masonry.
2. Flat Brick Jointer:
As the name suggests, the flat brick jointer is characterized by a straight, flat profile that produces a clean, flush finish within the mortar joints. This type of jointer is favored for contemporary and minimalist designs, offering a sleek and seamless aesthetic to the brickwork.
Read more: What Is A Brick
3. V-Shaped Brick Jointer:
The V-shaped brick jointer, also referred to as a pointed jointer, creates distinctive, angular joints that add depth and visual interest to the brickwork. This type of jointer is often used to accentuate the individual bricks, lending a dynamic and textured appearance to the overall masonry.
4. Grapevine Brick Jointer:
The grapevine brick jointer features a unique, decorative profile that imparts a vine-like pattern within the mortar joints. This type of jointer adds a touch of artistry and intricacy to the brickwork, making it a popular choice for ornamental and custom masonry designs.
These are just a few examples of the diverse array of brick jointers available, each offering distinct possibilities for customizing and enhancing the visual impact of brickwork. By selecting the appropriate type and size of brick jointer, masons and DIY enthusiasts can elevate their craftsmanship and bring their creative visions to life with precision and artistry.
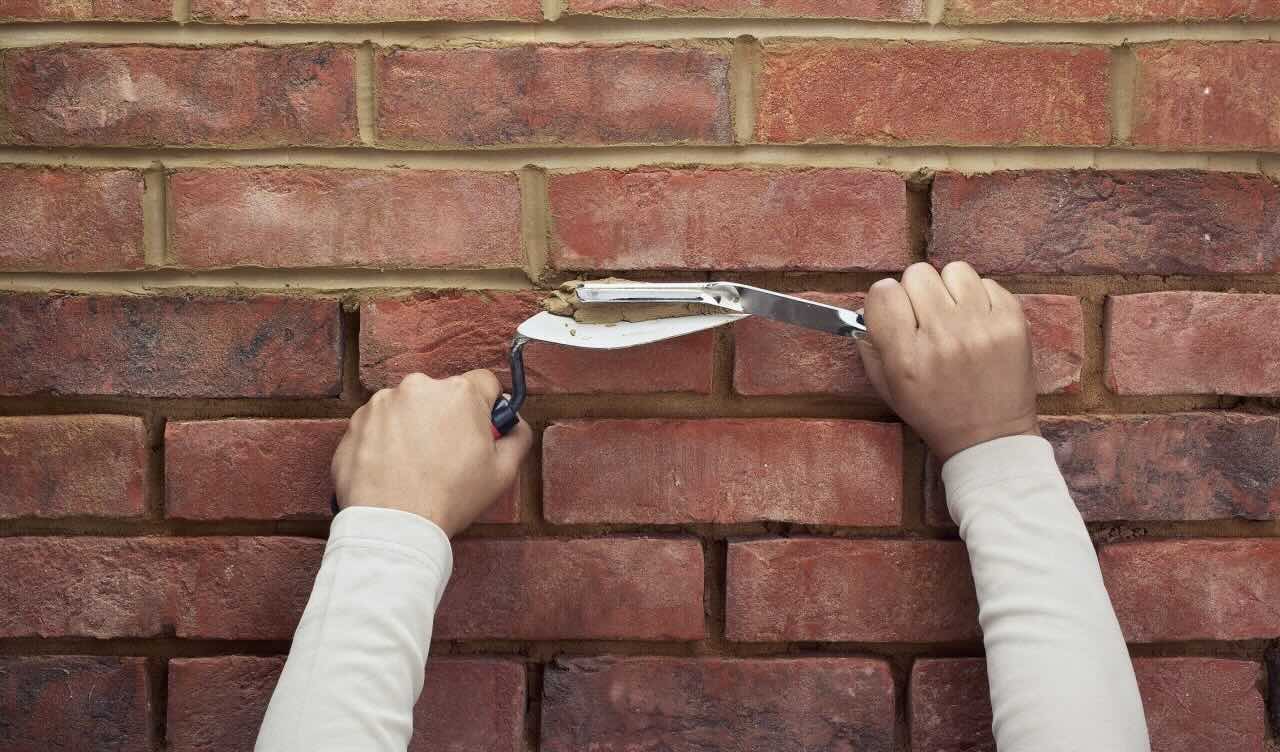
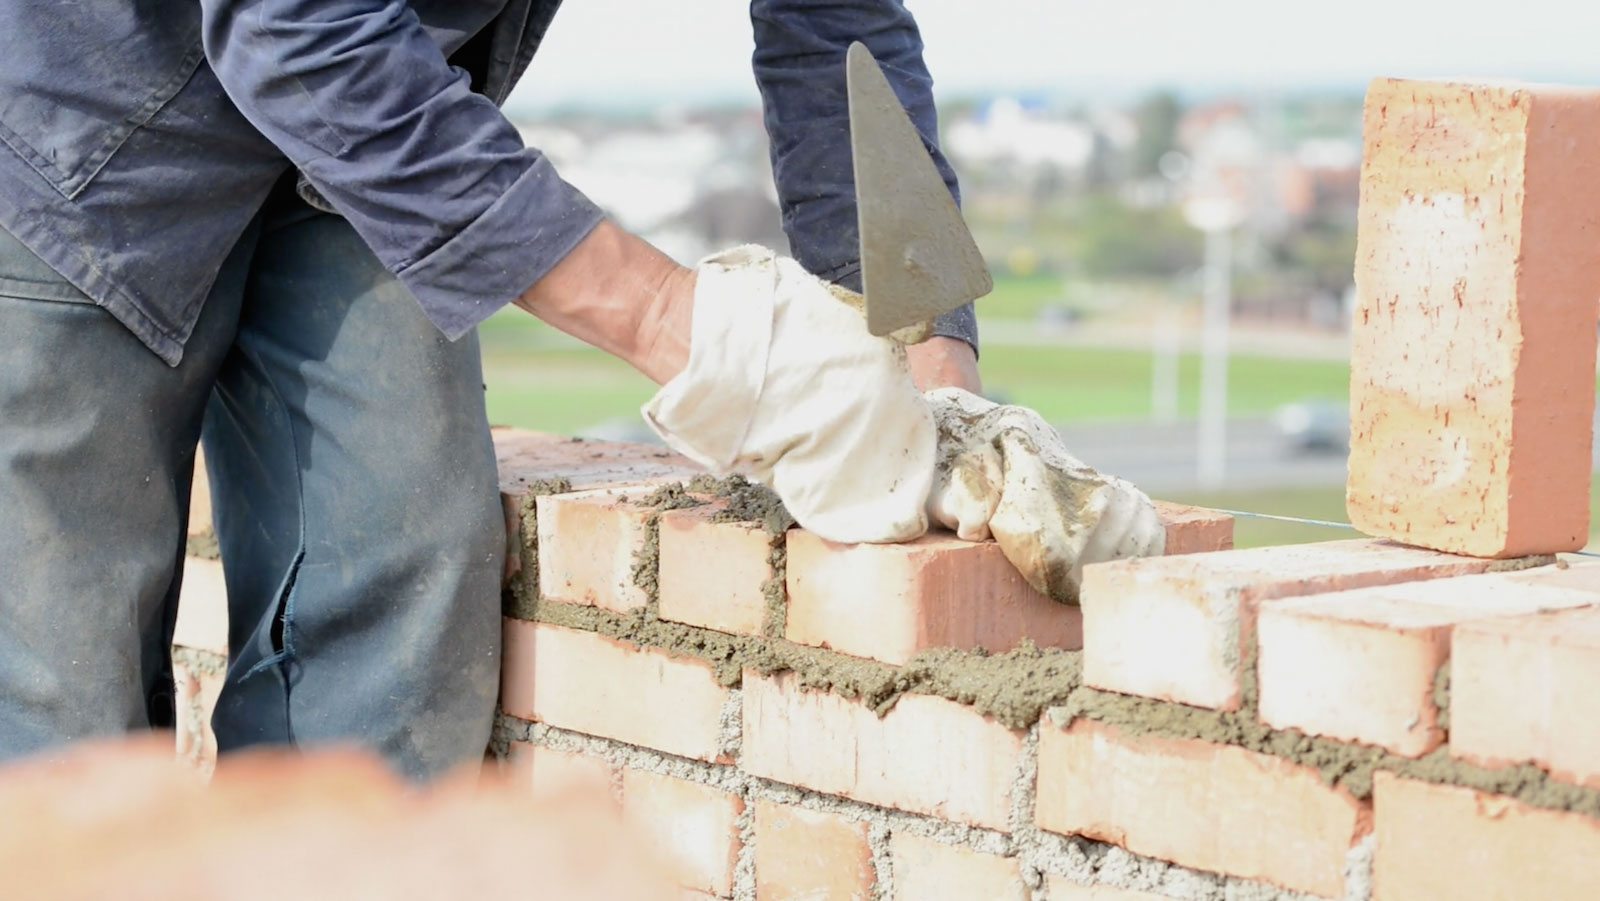
How to Use a Brick Jointer
Mastering the art of using a brick jointer is essential for achieving professional-looking mortar joints and impeccable brickwork. Here’s a step-by-step guide to effectively using a brick jointer:
1. Prepare the Work Area:
Ensure that the bricks are securely in place and that the mortar has set to a workable consistency. It’s important to have a clean and organized work area to facilitate precise jointing.
Read also: 13 Best Masonry Jointer For 2025
2. Select the Appropriate Jointer:
Choose the brick jointer that corresponds to the desired joint width and profile for the specific project. The right jointer will ensure that the mortar joints align with the intended design and aesthetic vision.
3. Position the Jointer:
Hold the brick jointer firmly at a slight angle, allowing one end to rest against the brick and the other to protrude into the mortar joint. The angle will facilitate smooth and controlled movement along the joint.
4. Shape the Joint:
Gently press the jointer into the mortar, starting at one end of the joint and moving steadily along its length. Apply consistent pressure to compact the mortar and achieve a uniform finish. The choice of jointer profile will determine the shape of the resulting joint.
5. Clean the Excess Mortar:
As you progress along the joint, any excess mortar that accumulates on the jointer can be wiped away with a brush or trowel. This will help maintain the cleanliness and precision of the jointing process.
Read more: What Is A Brick Rowlock
6. Repeat the Process:
Continue using the brick jointer along each mortar joint, ensuring a consistent and aesthetically pleasing finish throughout the brickwork. Take care to maintain a steady hand and smooth, fluid movements for optimal results.
7. Allow the Mortar to Set:
Once the joints have been shaped and finished with the brick jointer, allow the mortar to set and cure according to the manufacturer’s recommendations. This will ensure the durability and longevity of the brickwork.
By following these steps and exercising precision and care, artisans and enthusiasts can harness the full potential of the brick jointer, elevating their masonry projects with impeccable joints and visually striking brickwork.
Benefits of Using a Brick Jointer
The utilization of a brick jointer in masonry work offers a multitude of benefits, ranging from structural reinforcement to aesthetic enhancement. Let’s explore the advantages of using a brick jointer and the value it brings to the craft of bricklaying:
1. Enhanced Structural Integrity:
By compacting and shaping the mortar within the joints, a brick jointer contributes to the structural stability of the brickwork. The uniformity and density of the joints achieved with a brick jointer bolster the overall strength and durability of the masonry.
Read more: What Is A Brick Tie
2. Uniform Joint Width:
A brick jointer ensures consistent joint widths throughout the masonry, creating a visually appealing and professional finish. This uniformity contributes to the precision and balance of the brickwork, elevating its aesthetic appeal.
3. Tailored Aesthetic Effects:
With a diverse range of profiles available, brick jointers enable artisans to customize the appearance of mortar joints to suit specific architectural styles and design preferences. Whether aiming for a classic, contemporary, or ornamental look, the brick jointer empowers craftsmen to achieve their desired aesthetic effects.
4. Time and Labor Efficiency:
Using a brick jointer streamlines the jointing process, allowing for efficient and consistent finishing of mortar joints. This not only saves time but also reduces the physical strain associated with manual jointing methods, enhancing overall productivity.
5. Professional-Quality Finish:
Brick jointers enable masons and DIY enthusiasts to attain a level of precision and finesse that is characteristic of professional craftsmanship. The clean, refined joints achieved with a brick jointer elevate the overall quality and visual impact of the brickwork.
Read more: What Is A Brick Facade
6. Artistic Expression:
For artisans seeking to infuse creativity and artistry into their masonry projects, the brick jointer serves as a versatile tool for expressing unique design elements and decorative patterns within the mortar joints. This artistic freedom adds a distinctive touch to the finished brickwork.
Embracing the use of a brick jointer not only elevates the quality and aesthetics of bricklaying but also empowers craftsmen to realize their creative visions with precision and finesse. The myriad benefits offered by this essential tool underscore its indispensable role in the art of masonry.
Conclusion
In the realm of masonry, the brick jointer stands as a testament to the meticulous artistry and precision that define the craft of bricklaying. From shaping mortar joints to enhancing the structural integrity and visual appeal of brickwork, the brick jointer plays a pivotal role in the creation of enduring and aesthetically captivating structures.
As we’ve explored the definition, types, usage, and benefits of the brick jointer, it becomes evident that this seemingly simple tool holds immense significance in the world of masonry. Its ability to create uniform, aesthetically pleasing joints, tailored to specific design preferences, underscores its versatility and indispensability in both traditional and contemporary bricklaying practices.
Whether employed by seasoned professionals or passionate DIY enthusiasts, the brick jointer embodies the marriage of functionality and artistry, allowing artisans to transform raw materials into architectural masterpieces. Its role in refining the details and elevating the quality of brickwork exemplifies the commitment to excellence that defines the masonry trade.
As we conclude our exploration of the brick jointer, let’s carry forward an appreciation for the craftsmanship and precision it represents. Whether used to create timeless, rounded joints or sleek, modern finishes, the brick jointer stands as a symbol of the enduring tradition and innovation woven into the fabric of masonry.
Let the brick jointer serve as a reminder of the artful fusion of tradition and ingenuity, inspiring us to uphold the standards of excellence and creativity in the timeless craft of bricklaying.
Frequently Asked Questions about What Is A Brick Jointer
Was this page helpful?
At Storables.com, we guarantee accurate and reliable information. Our content, validated by Expert Board Contributors, is crafted following stringent Editorial Policies. We're committed to providing you with well-researched, expert-backed insights for all your informational needs.

0 thoughts on “What Is A Brick Jointer”