Home>Construction & Tools>Building Materials>How To Use Tapcons In Brick
Building Materials
How To Use Tapcons In Brick
Modified: October 20, 2024
Learn how to use tapcons in brick for secure fastening and reliable construction projects. Find tips and techniques for working with building materials.
(Many of the links in this article redirect to a specific reviewed product. Your purchase of these products through affiliate links helps to generate commission for Storables.com, at no extra cost. Learn more)
Introduction
So, you've got a project that involves securing something to a brick surface. Whether it's installing outdoor lighting, mounting a fixture, or affixing a bracket, you need a reliable and sturdy fastening solution. This is where Tapcons come into play. Tapcons are versatile and powerful concrete screws that provide a secure anchor in brick, concrete, and masonry. In this guide, we'll walk you through the process of using Tapcons in brick, from preparation to installation, ensuring that your project is executed with precision and durability.
When it comes to attaching objects to brick, it's crucial to choose the right fastener to ensure a strong and long-lasting hold. Tapcons are specifically designed for this purpose, offering exceptional holding power and ease of installation. By understanding the steps involved in using Tapcons and following the correct procedures, you can achieve a professional and reliable outcome for your project. Let's dive into the details of what Tapcons are, how to prepare the brick surface, choosing the right Tapcon, drilling the pilot hole, and installing the Tapcon securely. Additionally, we'll provide some valuable tips and safety precautions to ensure a successful and safe installation process. So, grab your tools and let's get started on mastering the art of using Tapcons in brick applications.
Key Takeaways:
- Tapcons are powerful concrete screws designed for securing objects to brick surfaces. They create their own threads, offer exceptional holding power, and are resistant to corrosion, making them a reliable choice for both indoor and outdoor applications.
- To use Tapcons in brick applications, meticulously prepare the surface, choose the right Tapcon based on brick thickness and load requirements, drill a precise pilot hole, and install the Tapcon securely. Adhering to safety precautions and best practices ensures a successful and durable attachment.
Read more: How To Use A Grill Brick
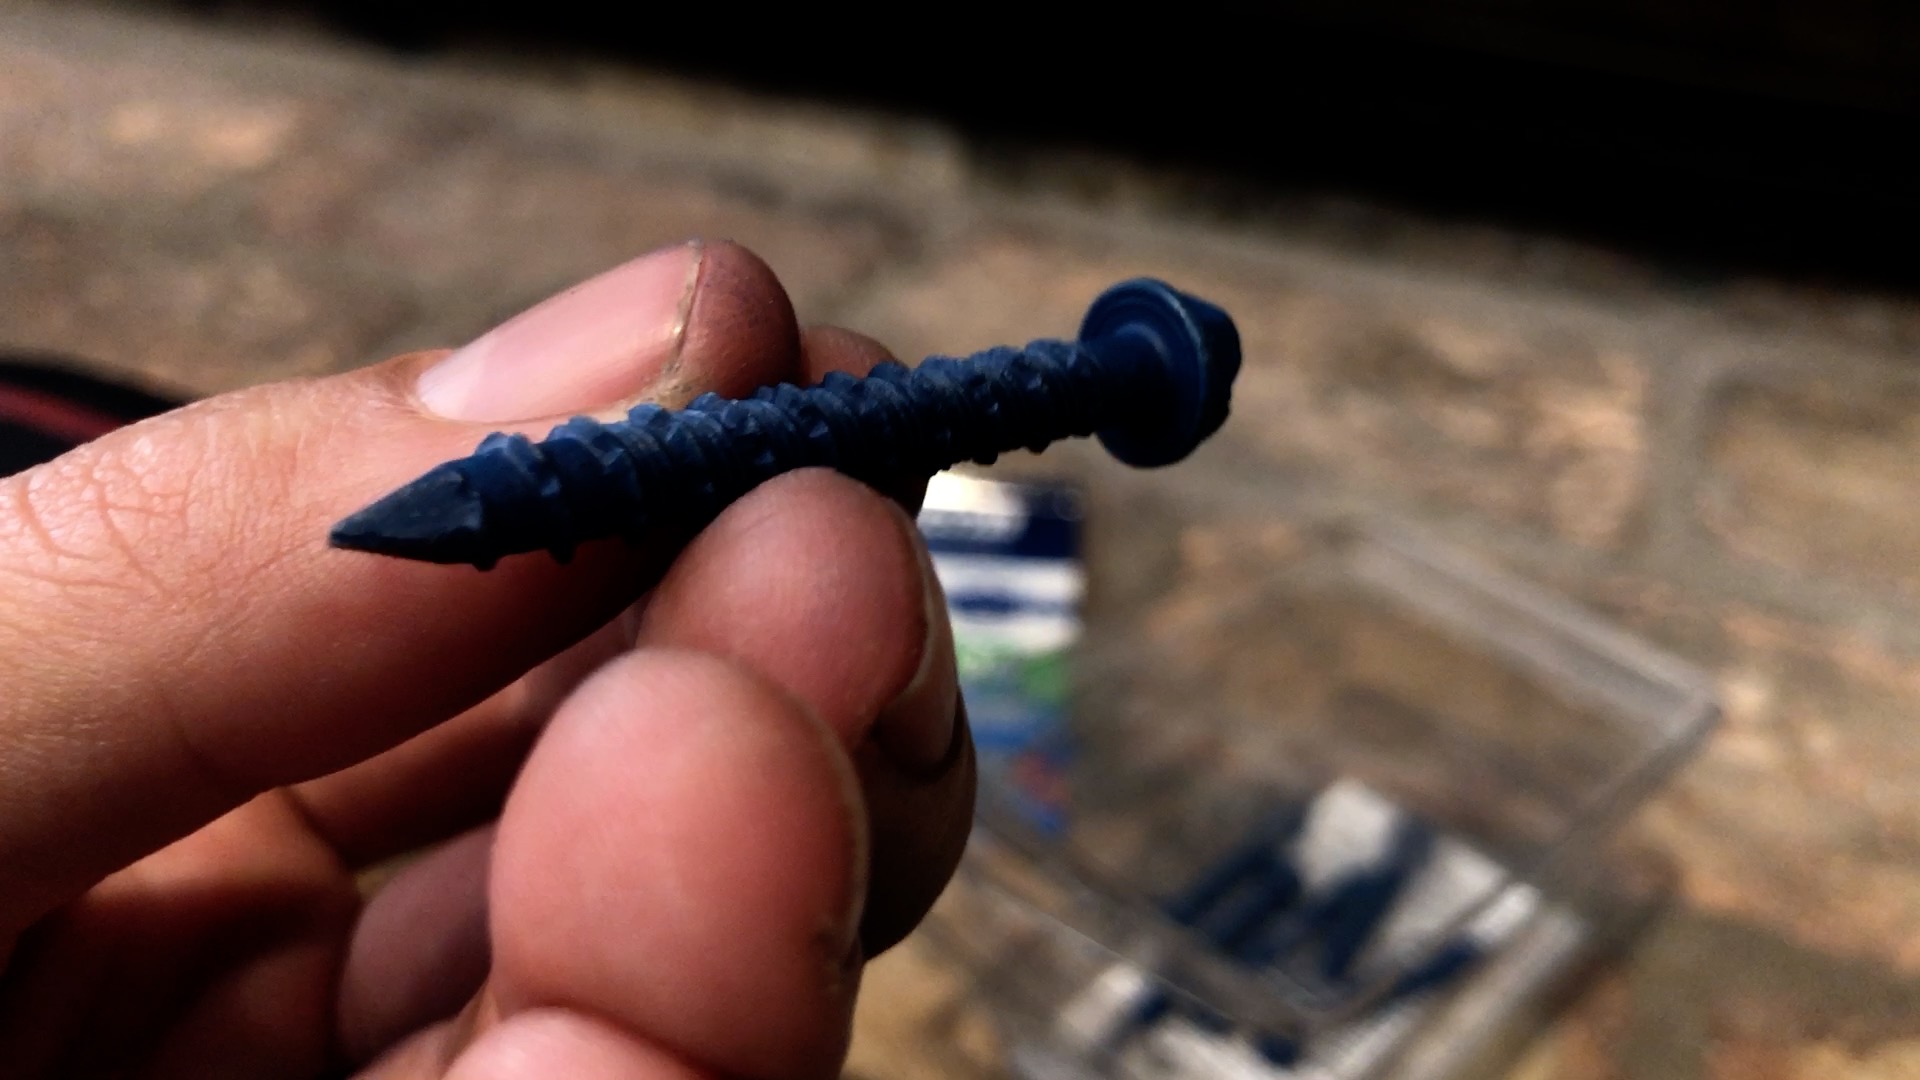
What are Tapcons?
Tapcons, also known as concrete screws, are versatile and reliable fasteners designed for use in concrete, brick, and masonry. These screws feature a unique thread design and advanced drilling technology, allowing them to create their own threads within the base material, providing exceptional holding power. Tapcons are commonly made of high-quality steel and are available in various lengths and diameters to accommodate a wide range of applications.
One of the key features of Tapcons is their ability to create a secure and durable hold without the need for additional anchors or inserts. This makes them a popular choice for attaching fixtures, brackets, electrical boxes, and other objects to brick surfaces. Additionally, Tapcons are resistant to corrosion, making them suitable for both indoor and outdoor applications.
When using Tapcons, it’s essential to select the appropriate length and diameter based on the thickness and weight of the material being fastened to the brick. The correct sizing ensures that the Tapcon engages with sufficient depth in the base material, providing optimal strength and stability.
Tapcons are available in both hex-head and flat-head styles, offering flexibility in terms of the desired finish and appearance of the installed fixture. The hex-head Tapcons are suitable for applications where the head will be visible, providing a neat and professional finish. On the other hand, flat-head Tapcons are designed to be countersunk into the material, allowing for a flush and seamless appearance.
These versatile fasteners are known for their ease of installation, requiring only a drill and a hammer to set them in place. Their self-tapping design eliminates the need for pre-drilling and allows for quick and efficient installation, saving time and effort.
Overall, Tapcons are a go-to choice for securing objects to brick surfaces due to their exceptional strength, corrosion resistance, and straightforward installation process. In the next sections, we’ll explore the steps involved in preparing the brick, choosing the right Tapcon, drilling the pilot hole, and securely installing the Tapcon to achieve a reliable and long-lasting hold.
Preparing the Brick
Before diving into the process of using Tapcons, it’s crucial to ensure that the brick surface is properly prepared to facilitate a secure and effective installation. Preparing the brick involves assessing the condition of the surface, selecting the appropriate tools, and taking necessary precautions to optimize the anchoring process.
First and foremost, examine the brick surface to identify any potential obstacles or irregularities that may impact the installation of the Tapcon. Look for any protruding mortar, debris, or surface imperfections that could hinder the flush placement of the fixture or object being attached. Using a wire brush or a stiff bristle brush, thoroughly clean the area where the Tapcon will be installed to remove any dust, dirt, or loose particles. This ensures a clean and debris-free surface, allowing the Tapcon to make solid contact with the brick for a secure hold.
Next, determine the location and layout of the fixtures or objects to be attached to the brick. Mark the positions where the Tapcons will be inserted, ensuring proper spacing and alignment based on the dimensions of the fixture or object. Using a pencil or marker, make clear and visible markings on the brick to guide the drilling and installation process.
When preparing the brick, it’s essential to choose the right drill bit for creating the pilot holes. The drill bit size should correspond to the diameter of the Tapcon being used, typically indicated on the Tapcon packaging or product specifications. Selecting the correct drill bit ensures that the pilot holes are precisely sized to accommodate the Tapcon, promoting a snug fit and optimal anchoring strength.
Prior to drilling, don a pair of safety goggles to protect your eyes from any debris or particles that may be dislodged during the drilling process. Additionally, consider using a dust mask to prevent inhalation of brick dust and wear work gloves to safeguard your hands while handling tools and materials.
By meticulously preparing the brick surface, selecting the appropriate tools, and prioritizing safety measures, you set the stage for a successful Tapcon installation. With the brick surface primed and ready, you can proceed with confidence to choose the right Tapcon and initiate the drilling process for secure and reliable fastening.
Choosing the Right Tapcon
When it comes to using Tapcons in brick applications, selecting the correct Tapcon is pivotal to achieving a secure and durable installation. The right Tapcon should be chosen based on the thickness and composition of the brick, as well as the weight and nature of the fixture or object being attached.
Tapcons are available in various lengths and diameters to accommodate different brick thicknesses and load requirements. To determine the appropriate length of the Tapcon, measure the total thickness of the fixture or object being fastened, along with the depth of the brick. The selected Tapcon should provide sufficient engagement into the brick while allowing ample length for the fixture or object to be securely fastened.
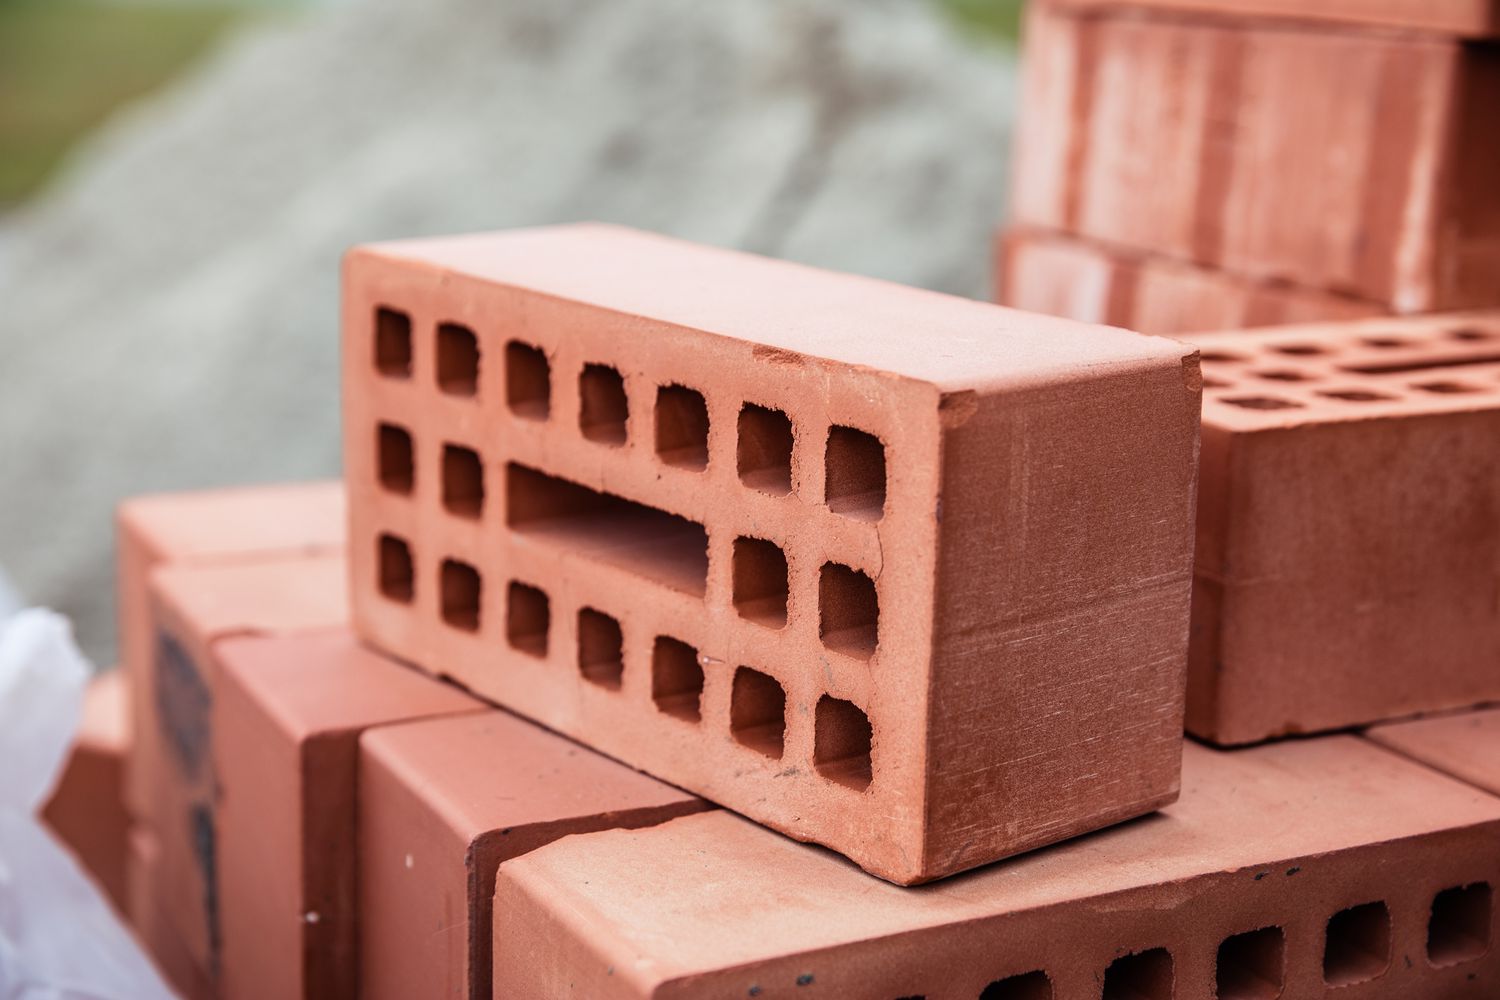
Consider the composition of the brick when choosing the Tapcon. For standard brick made of clay or shale, a standard Tapcon designed for concrete and masonry applications is suitable. However, if the brick is particularly dense or abrasive, consider opting for a Tapcon specifically engineered for hard masonry to ensure optimal performance and anchoring strength.
Assess the weight and load requirements of the fixture or object to be attached. Heavy-duty fixtures or objects may necessitate the use of thicker and longer Tapcons to accommodate the increased load and provide enhanced stability. It’s essential to refer to the manufacturer’s guidelines for the fixture or object to determine the recommended Tapcon specifications for secure attachment to brick surfaces.
Additionally, consider the environmental conditions to which the Tapcons will be exposed. For outdoor applications or areas prone to moisture, it’s advisable to choose Tapcons with corrosion-resistant coatings to prevent rust and degradation over time. The corrosion resistance ensures the longevity and reliability of the installed Tapcons, especially in outdoor environments where exposure to the elements is inevitable.
Before proceeding with the installation, ensure that you have the appropriate tools and equipment for handling and setting the Tapcons. A power drill with the correct drill bit size, along with a hammer for driving the Tapcons, is essential for a smooth and efficient installation process.
By carefully considering the thickness and composition of the brick, the load requirements of the fixture or object, and the environmental factors, you can confidently select the right Tapcon for your specific application. With the appropriate Tapcon in hand, you are ready to proceed to the next crucial step: drilling the pilot hole for the Tapcon installation.
Drilling the Pilot Hole
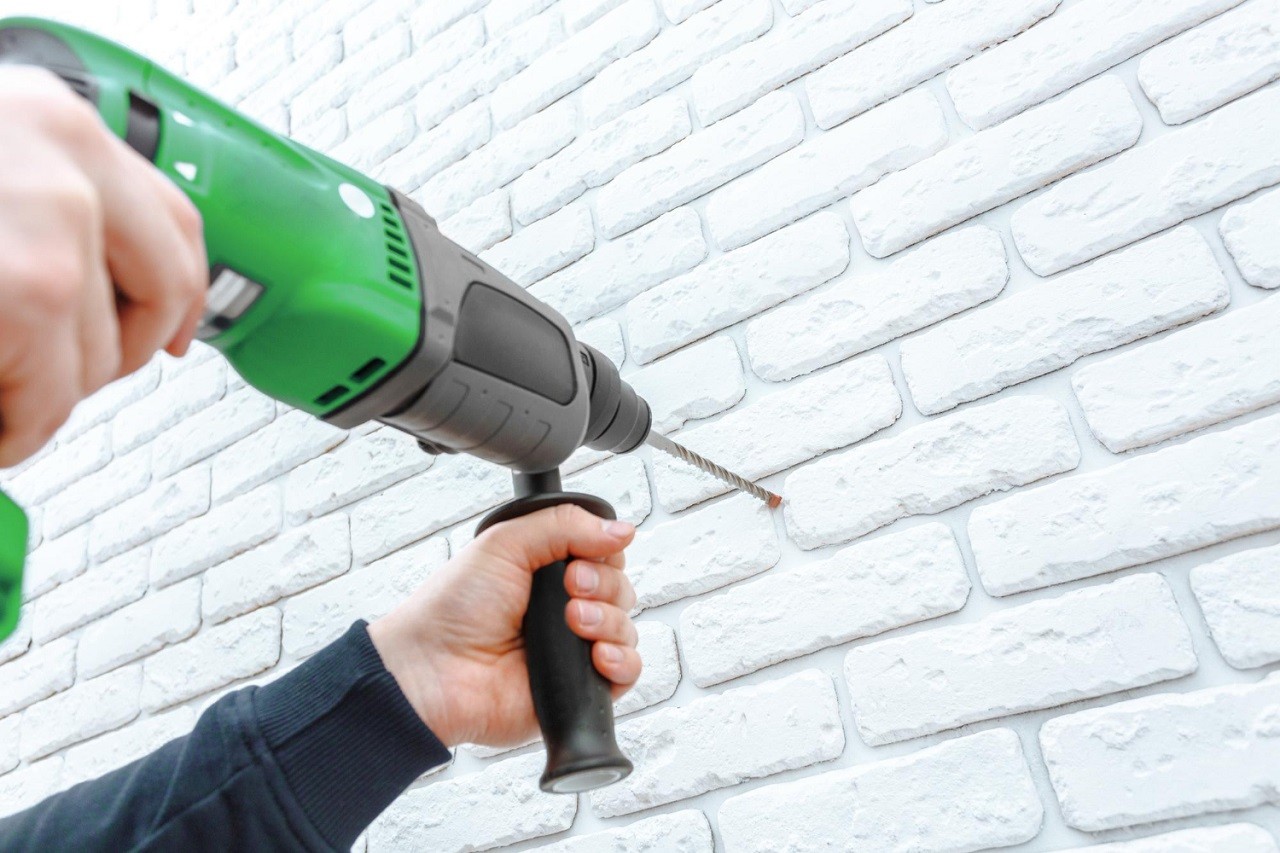
Drilling the pilot hole is a critical step in the process of using Tapcons in brick applications, as it sets the foundation for secure and reliable fastening. The pilot hole serves as a guide for the Tapcon, allowing it to penetrate the brick surface with precision and establish a strong anchoring point. To ensure a successful installation, it’s essential to approach the drilling process with care and attention to detail.
Before drilling the pilot hole, equip your power drill with a carbide-tipped masonry drill bit that corresponds to the diameter of the Tapcon being used. The drill bit size is typically specified on the Tapcon packaging or product information. Using a drill bit of the appropriate size is crucial for creating a pilot hole that accommodates the Tapcon and facilitates a snug and secure fit.
Position the drill bit at the marked location on the brick surface, aligning it with the intended placement of the Tapcon. Hold the drill steady and perpendicular to the surface, ensuring that it is level and straight to prevent any deviation in the drilling angle. Apply gentle pressure and begin drilling at a slow and consistent speed to allow the drill bit to penetrate the brick gradually.
As you drill, periodically withdraw the drill bit to clear away any accumulated dust and debris from the pilot hole. This helps maintain the clarity and integrity of the pilot hole, allowing the Tapcon to engage with the brick effectively. Continue drilling until the desired depth is reached, ensuring that the pilot hole matches the length of the Tapcon to accommodate its full engagement in the brick.
During the drilling process, it’s important to wear safety goggles to protect your eyes from any debris or particles that may be generated. Additionally, consider using a dust mask to prevent inhalation of brick dust and wear work gloves to safeguard your hands while handling the drill and materials.
Upon completing the pilot hole, inspect it to ensure that it is clean, free of obstructions, and accurately sized to accommodate the Tapcon. The pilot hole should provide a precise and snug fit for the Tapcon, setting the stage for a secure and reliable installation.
With the pilot hole drilled to the appropriate depth and diameter, you are now ready to proceed to the final step: installing the Tapcon securely in the brick surface. This marks the culmination of the preparation and drilling process, bringing you closer to achieving a robust and enduring attachment of the fixture or object to the brick.
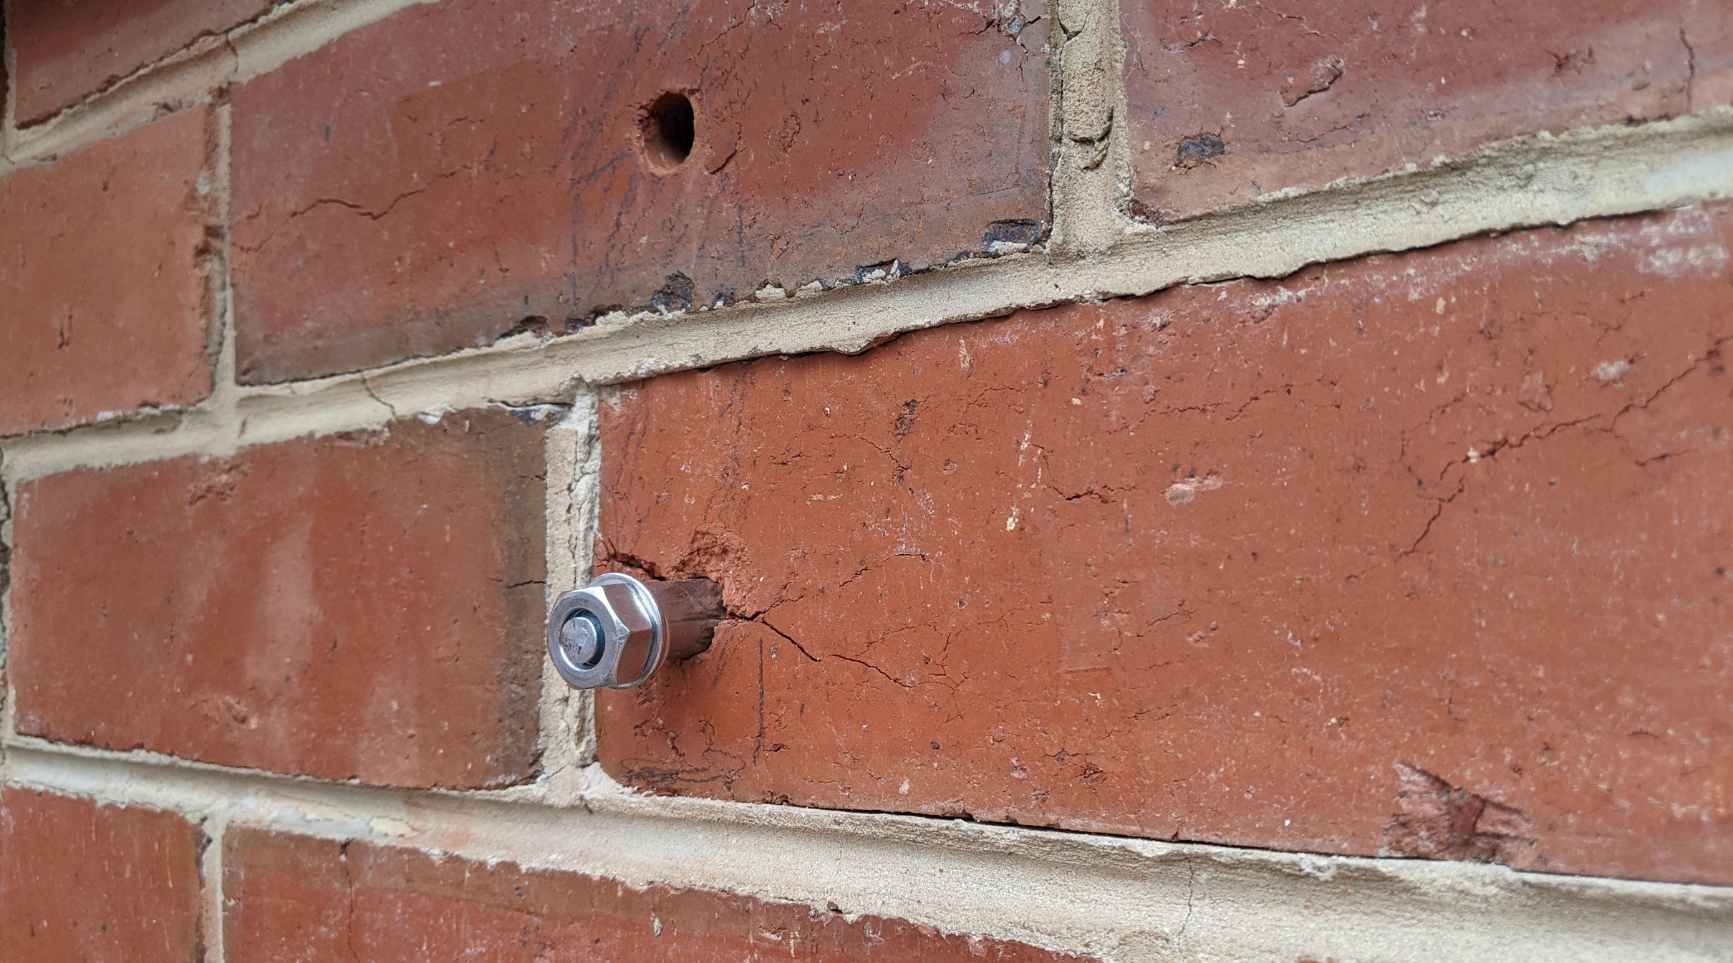
When using tapcons in brick, make sure to drill a hole using a hammer drill and masonry bit that is slightly smaller than the tapcon diameter. Then, insert the tapcon into the hole and tighten it with a screwdriver or drill.
Read more: How To Use Brick Acid
Installing the Tapcon
With the pilot hole drilled and the brick surface prepared, it’s time to proceed with the installation of the Tapcon. This pivotal step involves driving the Tapcon into the pilot hole, ensuring a secure and durable fastening of the fixture or object to the brick surface. By following the proper installation procedure, you can achieve a reliable hold and a professional finish for your project.
Begin by inserting the selected Tapcon into the pilot hole, ensuring that it sits flush with the surface of the fixture or object being attached. Using a hammer, gently tap the head of the Tapcon to initiate its penetration into the pilot hole. The initial tapping helps the Tapcon to grip the brick and establish its threading within the base material.
Once the Tapcon is set in place, equip your power drill with a suitable screwdriver bit that matches the head style of the Tapcon, whether it’s a hex head or a flat head. Secure the bit in the drill chuck and position it over the head of the Tapcon, ensuring a firm and stable grip on the screwdriver bit.
Engage the power drill at a low speed and apply steady pressure as you drive the Tapcon into the pilot hole. It’s crucial to maintain a straight and perpendicular angle while driving the Tapcon to prevent stripping the threads or compromising the integrity of the installation. Exercise caution and avoid excessive force, allowing the Tapcon to thread smoothly and securely into the brick.
As the Tapcon nears its final depth, pay close attention to the torque and resistance experienced during the installation. Once the Tapcon is fully seated and flush with the surface, cease the drilling and remove the screwdriver bit from the head of the Tapcon. The installed Tapcon should exhibit a tight and secure hold, anchoring the fixture or object firmly to the brick surface.
Inspect the installed Tapcon to ensure that it is snug and flush with the surface, providing a professional and finished appearance. Verify that the fixture or object is securely fastened and exhibits minimal movement or play, indicating a robust and reliable attachment.
Upon completing the installation process, step back and admire your handiwork, knowing that the fixture or object is securely and durably anchored to the brick surface. The successful installation of the Tapcon signifies the culmination of your efforts, resulting in a professional and steadfast attachment that will withstand the test of time.
By following the steps outlined in this guide, you have mastered the art of using Tapcons in brick applications, achieving a secure and reliable installation that meets the highest standards of quality and durability. With the fixture or object securely fastened, you can take pride in a job well done and enjoy the confidence of a long-lasting and steadfast attachment to the brick surface.
Tips and Safety Precautions
As you embark on the journey of using Tapcons in brick applications, it’s essential to keep in mind a set of valuable tips and safety precautions to ensure a smooth and secure installation process. By adhering to these guidelines, you can enhance the effectiveness of the installation and prioritize the safety of both yourself and the surrounding environment.
Tips for Using Tapcons in Brick Applications:
- Choose the appropriate Tapcon length and diameter based on the thickness and composition of the brick, as well as the load requirements of the fixture or object being attached.
- Thoroughly clean the brick surface and mark the drilling locations with precision to facilitate a seamless and accurate installation process.
- Use a power drill with a carbide-tipped masonry drill bit that matches the diameter of the Tapcon for creating precise and well-sized pilot holes.
- Wear safety goggles, a dust mask, and work gloves to protect your eyes, respiratory system, and hands during the drilling and installation process.
- Ensure that the Tapcon is driven into the pilot hole at a straight and perpendicular angle to prevent damage to the threads and ensure a secure fit.
- Inspect the installed Tapcon to verify its flush and snug placement, indicating a successful and professional attachment.
Safety Precautions for Tapcon Installation:
- Handle power tools and equipment with care, following the manufacturer’s guidelines and safety instructions for the drill and other tools used in the installation process.
- Be mindful of potential hazards and obstructions in the surrounding area, ensuring a clear and unobstructed workspace for drilling and installing the Tapcons.
- Secure the fixture or object being attached to prevent movement or displacement during the installation of the Tapcons, minimizing the risk of accidents or damage.
- Dispose of any debris or waste materials generated during the installation process in a responsible manner, maintaining a clean and organized work environment.
- Store Tapcons and related materials in a dry and secure location to prevent exposure to moisture and environmental factors that could compromise their integrity.
- Seek professional assistance or guidance if you encounter challenges or uncertainties during the Tapcon installation process, prioritizing safety and precision in the execution of the project.
By incorporating these tips and safety precautions into your Tapcon installation endeavors, you can navigate the process with confidence, efficiency, and a steadfast commitment to safety and quality. With a keen focus on best practices and safety measures, you can achieve exceptional results and a reliable attachment of fixtures and objects to brick surfaces, ensuring long-term durability and peace of mind.
Read more: What Bit To Use To Drill Into Brick
Conclusion
Mastering the art of using Tapcons in brick applications empowers you to achieve secure and professional installations, whether it’s mounting fixtures, attaching brackets, or securing objects to brick surfaces. By understanding the nuances of preparing the brick, choosing the right Tapcon, drilling the pilot hole, and installing the Tapcon securely, you can elevate your projects with precision and durability.
Tapcons, with their self-tapping design and exceptional holding power, offer a reliable and straightforward solution for anchoring fixtures and objects to brick, concrete, and masonry. Their versatility and ease of installation make them a go-to choice for both indoor and outdoor applications, providing a robust and enduring hold that withstands the test of time.
As you embark on Tapcon installations, remember the importance of meticulous preparation, accurate sizing, and attention to safety measures. By adhering to best practices and safety guidelines, you can navigate the installation process with confidence and precision, ensuring a successful outcome and a steadfast attachment of fixtures and objects to brick surfaces.
With the installation completed, take pride in your accomplishment, knowing that the fixtures and objects are securely fastened and poised to serve their intended purposes with resilience and stability. The successful use of Tapcons in brick applications signifies your commitment to quality and craftsmanship, yielding results that stand the test of time.
As you continue to explore the possibilities of using Tapcons in various projects, carry forward the knowledge and expertise gained from this guide, infusing each installation with precision, durability, and a touch of professional finesse. With Tapcons as your trusted allies, you can embark on future endeavors with the confidence of achieving secure and enduring attachments to brick surfaces, elevating the quality and longevity of your projects.
Frequently Asked Questions about How To Use Tapcons In Brick
Was this page helpful?
At Storables.com, we guarantee accurate and reliable information. Our content, validated by Expert Board Contributors, is crafted following stringent Editorial Policies. We're committed to providing you with well-researched, expert-backed insights for all your informational needs.


0 thoughts on “How To Use Tapcons In Brick”