Home>Dining>Table Decor>How To Make Burlap Table Runners With Lace
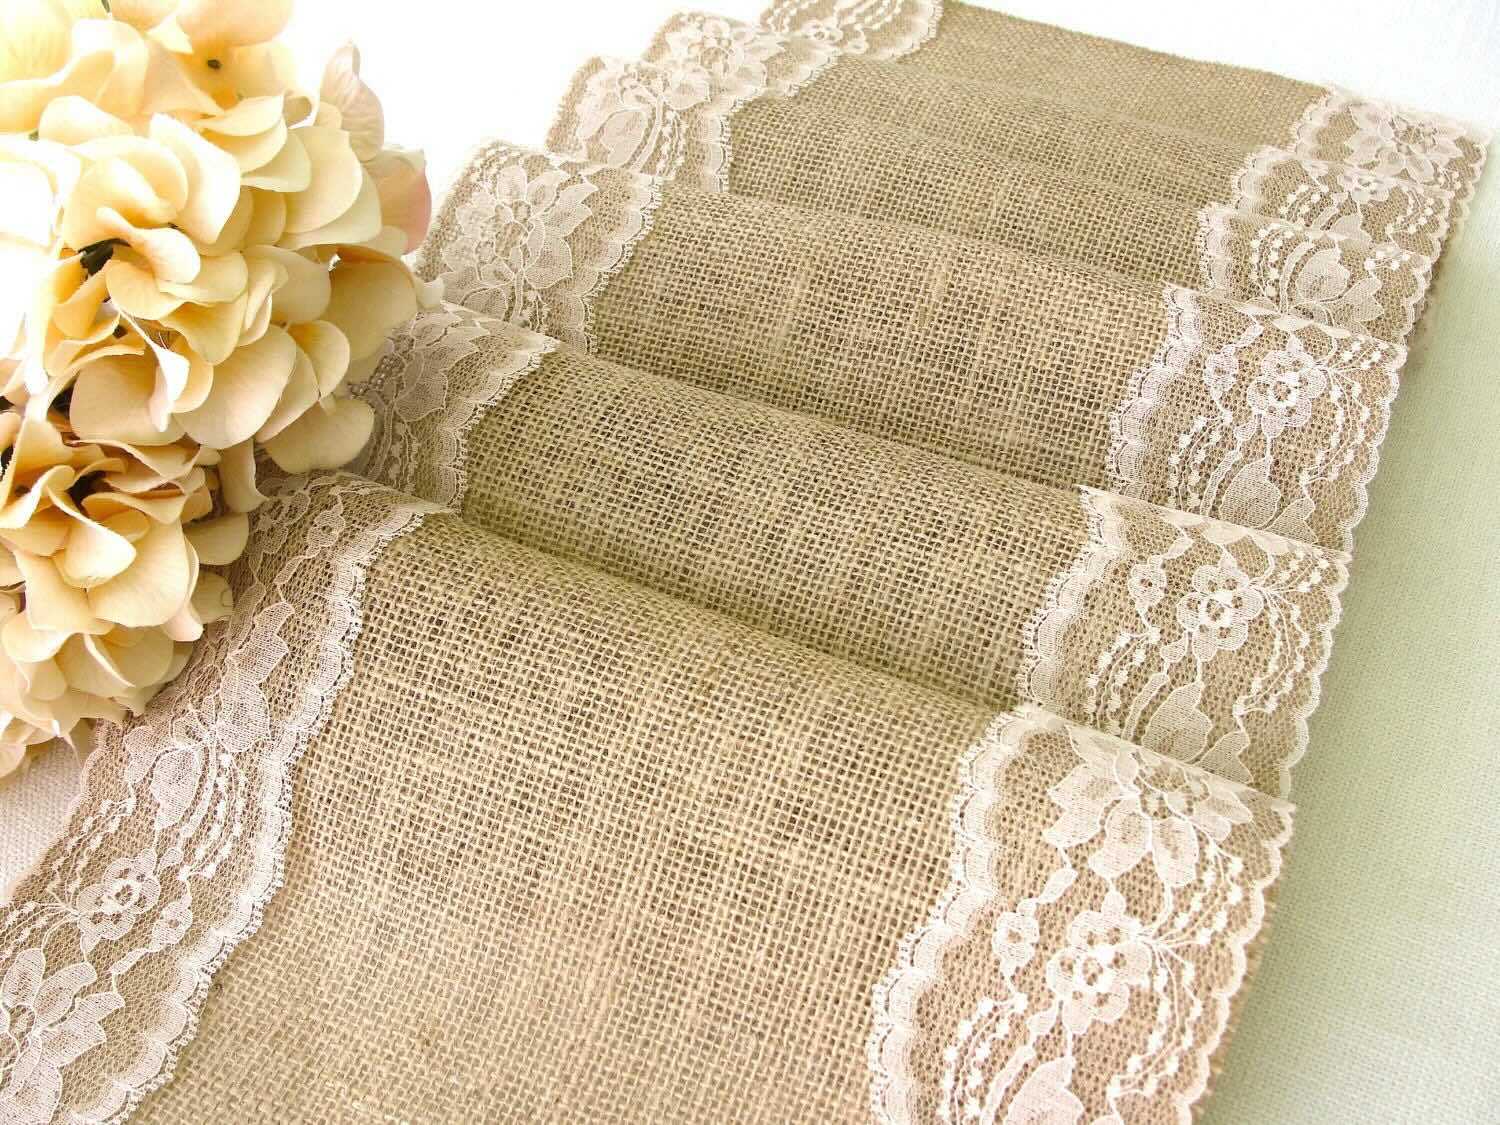

Table Decor
How To Make Burlap Table Runners With Lace
Modified: December 7, 2023
Discover how to make beautiful burlap table runners with lace to elevate your table decor. Transform your dining experience with this simple and stylish DIY project.
(Many of the links in this article redirect to a specific reviewed product. Your purchase of these products through affiliate links helps to generate commission for Storables.com, at no extra cost. Learn more)
Introduction
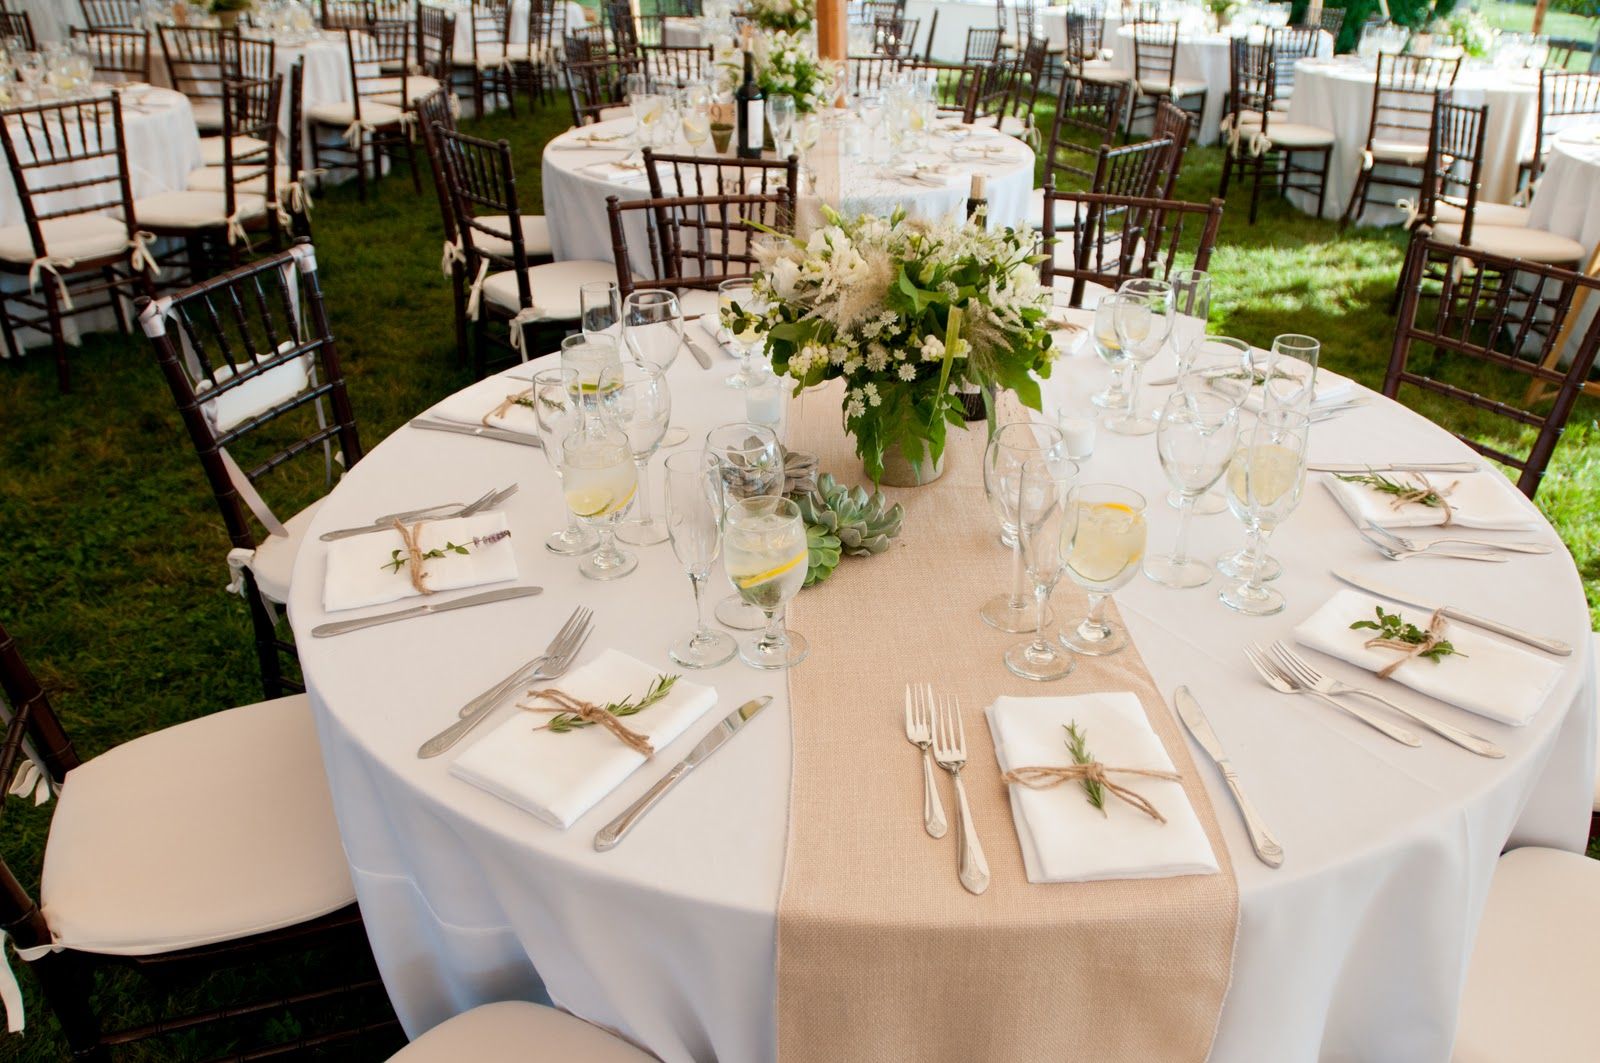
Welcome to a guide on how to make beautiful burlap table runners with lace! If you are looking to add a touch of rustic charm and elegance to your dining table or event décor, burlap table runners are the perfect choice. They provide a rustic and natural look, while the addition of lace adds a delicate and feminine touch. Whether you are hosting a wedding reception, a dinner party, or simply want to update your table settings for everyday use, making your own burlap table runners with lace allows you to customize them to your desired size and style.
In this step-by-step guide, we will take you through the process of creating burlap table runners with lace. You will learn how to measure and cut the burlap, secure the edges, attach the lace trim, and add those final finishing touches. So, let’s gather our materials and dive into this crafty project!
Key Takeaways:
- Create personalized burlap table runners with lace to add rustic charm and elegance to your dining table or event decor. Customize the size and style to match your personal taste and impress your guests with your unique table decor.
- Secure the raw edges of the burlap fabric to prevent fraying and ensure a polished look. Attach the lace trim securely for added durability, and consider adding embellishments to personalize your burlap table runners.
Materials Needed
Before we begin, let’s gather the materials you’ll need to create your burlap table runners with lace:
- Burlap fabric: Choose a high-quality burlap fabric in the desired color and width for your table runner.
- Lace trim: Select a lace trim that complements the color and style of your burlap. Ensure that the length of the lace matches the width of your burlap fabric.
- Ruler or measuring tape: This will help you accurately measure and cut the fabric.
- Fabric scissors: Use sharp fabric scissors to cut the burlap and trim.
- Sewing pins: These will help you secure the fabric and lace in place while sewing.
- Sewing machine or needle and thread: Depending on your preference and skill level, you can use a sewing machine or hand-sew the burlap and lace.
- Iron and ironing board: You will need these to remove any wrinkles and create crisp edges on the burlap fabric.
- Fabric glue (optional): If you prefer not to sew, you can use fabric glue to attach the lace trim to the burlap fabric.
Once you have gathered these materials, you are ready to begin creating your beautiful burlap table runners with lace. Now, let’s move on to the step-by-step process.
Step 1: Measure and Cut the Burlap
The first step in creating your burlap table runners with lace is to measure and cut the burlap fabric to your desired size. Follow these steps:
- Measure your table: Start by determining the length and width of your table. This will help you decide how long and wide you want your table runner to be.
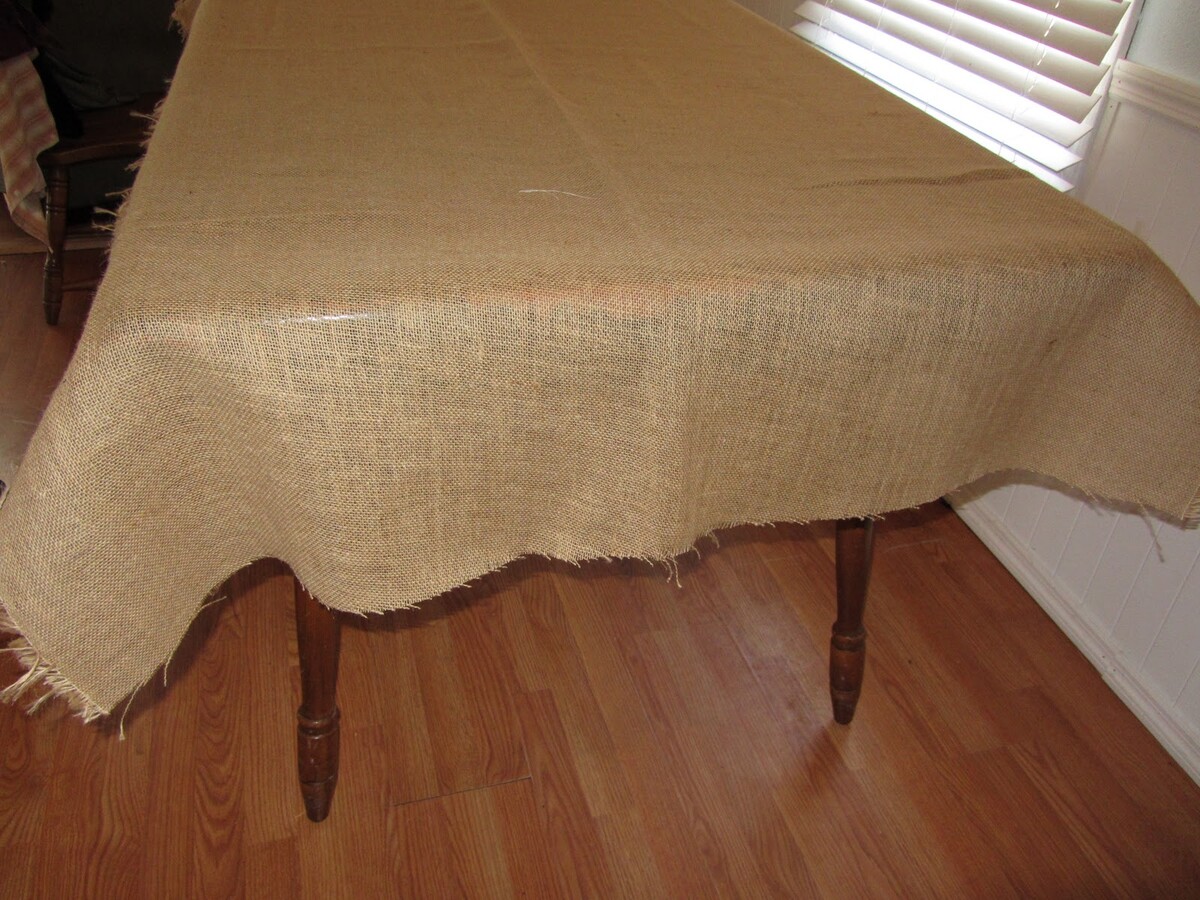
- Add overhang: Once you have the measurements for your table, add an additional 6-12 inches to each side. This extra fabric will create a lovely overhang on your table.
- Mark and cut: Using a ruler or measuring tape, mark the measurements on the burlap fabric. Ensure that the lines are straight and even. Use fabric scissors to carefully cut along the marked lines.
Remember to cut in a straight line to ensure that your table runner has clean edges. Burlap can be a bit unruly, so take your time to cut carefully and precisely.
Note: If you are making multiple table runners, repeat this process for each piece of burlap fabric.
Once you have cut your burlap fabric to the desired size, move on to the next step, where we will secure the raw edges.
Step 2: Secure the Burlap Edges
Now that you have cut your burlap fabric to the desired size, it’s time to secure the raw edges to prevent fraying. Follow these steps:
- Iron the edges: Start by ironing the edges of the burlap fabric to create crisp and clean lines. Set your iron to a low heat setting and gently press the edges. Be careful not to apply too much heat, as burlap can be sensitive to high temperatures.
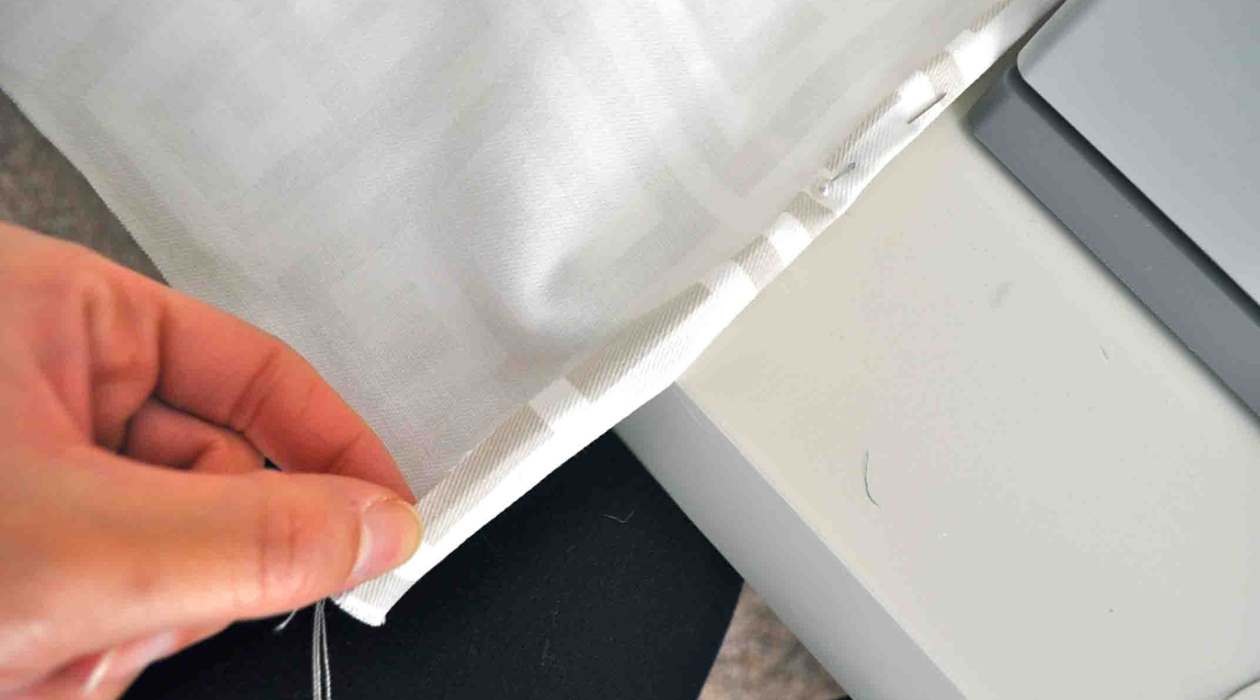
- Fold and pin: After ironing, fold over each edge of the burlap fabric by about ½ inch to create a clean hem. Use sewing pins to hold the folded edges in place.
- Sew the hem: If you are using a sewing machine, sew along the folded edges of the burlap fabric, about ¼ inch from the edge. Alternatively, if you prefer to hand-sew, use a needle and thread to create a simple running stitch along the folded edges. This will secure the hem and prevent fraying.
- Remove the pins: Once you have sewn the hem, carefully remove the sewing pins.
By securing the raw edges of the burlap fabric, you ensure that your table runner will have a neat and polished look. This step also helps to prevent fraying, allowing your table runner to last longer.
With the edges of your burlap fabric secured, we can now move on to attaching the lace trim in the next step.
When cutting burlap for a table runner, use a rotary cutter and a straight edge to ensure clean, straight lines. This will give your runner a professional and polished look.
Step 3: Attach the Lace Trim
Adding lace trim to your burlap table runners will add a beautiful and delicate touch. Let’s go through the steps to attach the lace trim:
- Measure the lace trim: Lay the lace trim along one edge of the burlap fabric and measure the length needed. Cut the lace trim to match the length of the burlap fabric.
- Align the lace trim: Place the cut lace trim along the edge of the burlap fabric, ensuring that the lace aligns with the fabric perfectly and there are no gaps or overlaps.
- Pin the lace trim: Use sewing pins to securely attach the lace trim to the burlap fabric. Place the pins at regular intervals along the edge of the lace trim.
- Prepare your sewing machine: If you are using a sewing machine, set it up with the appropriate thread color and stitch settings.
- Sew the lace trim: Starting at one end of the lace trim, carefully stitch along the edge, securing the lace to the burlap fabric. Keep the stitches neat and straight, sewing close to the edge of the lace trim.
Note: If you prefer not to sew, you can use fabric glue or a hot glue gun to attach the lace trim to the burlap fabric. Apply the glue evenly along the edge of the lace trim and press it firmly onto the burlap fabric. Allow the glue to dry completely before moving on to the next step.
Repeat these steps for each edge of the burlap fabric, attaching the lace trim to all sides. Take your time to ensure that the lace trim is evenly attached and securely in place.
Now that the lace trim is attached, let’s move on to securing it in the next step.
Read more: How To Store Shoe Laces
Step 4: Secure the Lace Trim
Once you’ve attached the lace trim to your burlap table runner, it’s important to secure it to ensure it stays in place. Follow these steps to secure the lace trim:
- Inspect the attachment: Carefully examine the lace trim to ensure that it is securely stitched or glued to the burlap fabric. Check for any loose or uneven areas.
- Trim loose threads: If there are any loose threads or excess lace, use fabric scissors to carefully trim them. This will give your table runner a clean and polished appearance.
- Optional: Reinforce with stitching: If you’ve used fabric glue to attach the lace trim, you may want to reinforce it with stitching for added durability. Using a sewing machine or needle and thread, stitch along the edge of the lace trim, securing it firmly to the burlap fabric.
By securing the lace trim, you ensure that it withstands regular use and stays in place. This step also adds a professional touch to your burlap table runners.
With the lace trim secured, we’re almost done! Let’s move on to the final step where we add those finishing touches to complete the look.
Step 5: Add Finishing Touches
Now that your burlap table runner with lace is almost complete, let’s add some finishing touches to make it even more special:
- Iron the table runner: Lay the table runner flat and carefully iron it on a low heat setting. This will help to remove any wrinkles and create a smooth and polished look.
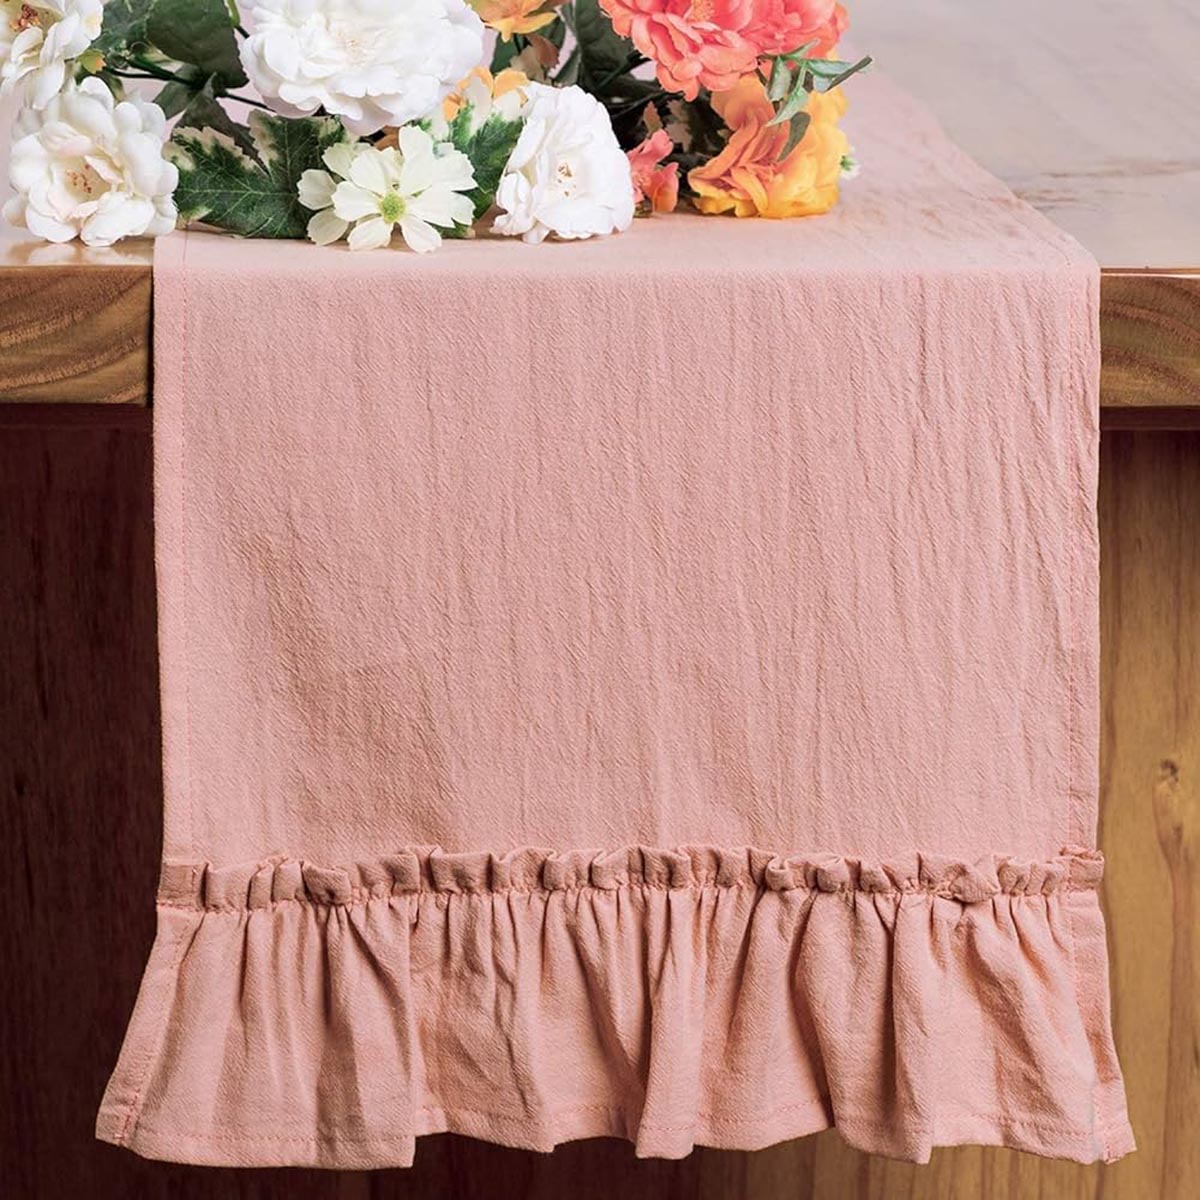
- Optional: Embellishments: If desired, you can add additional embellishments to your table runner to personalize it further. Consider attaching fabric flowers, ribbons, or other decorative elements that match your event or home decor theme.
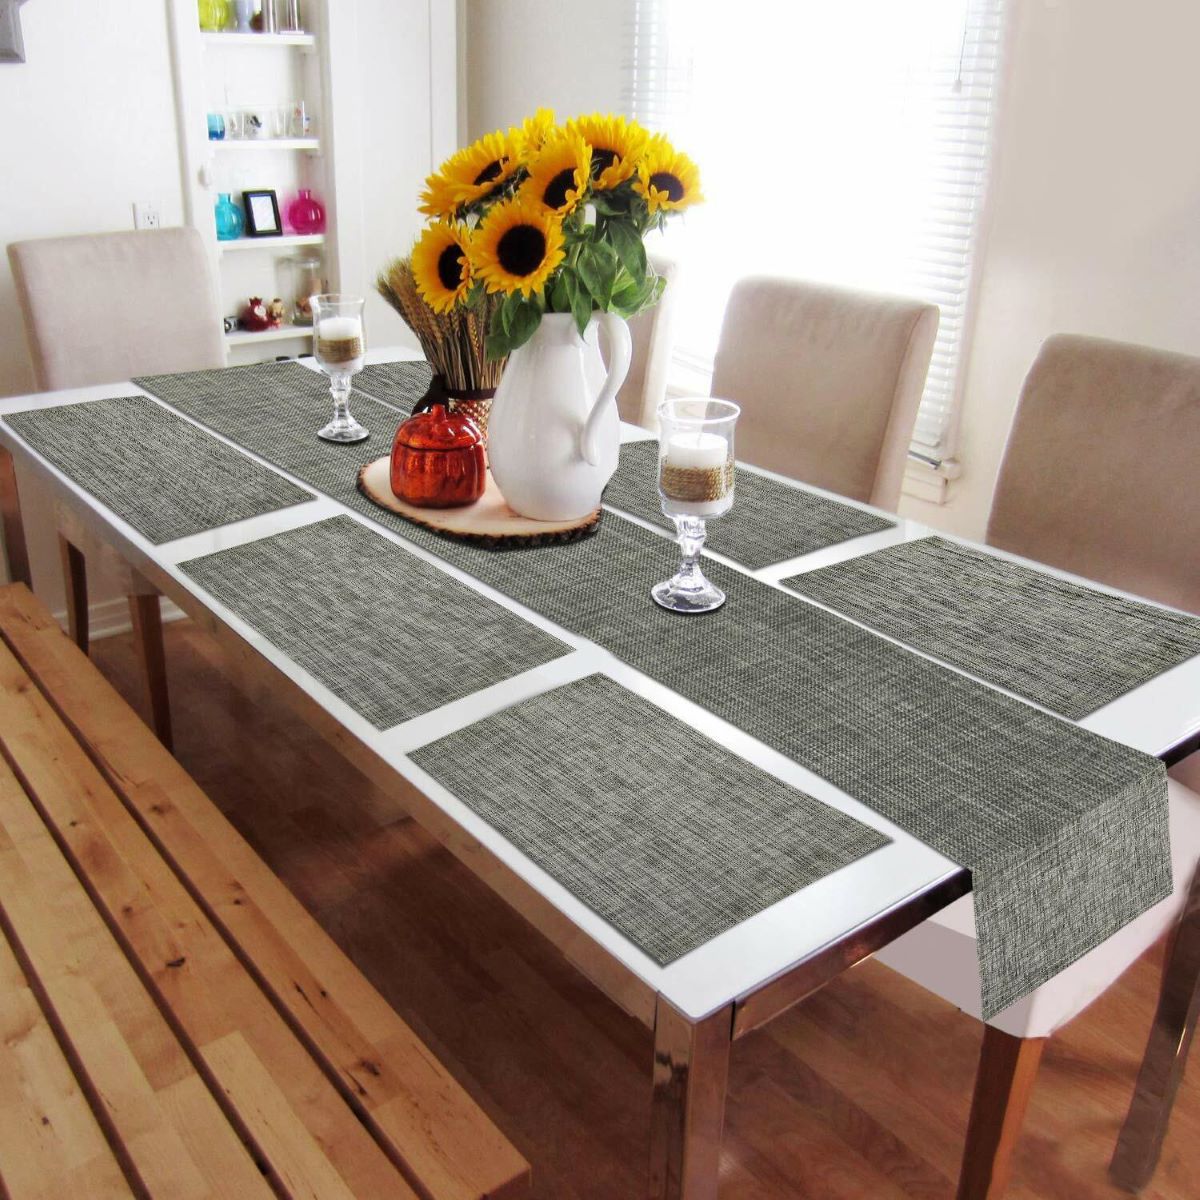
- Setting the table: Once your table runner is ready, place it on your dining table or event space. Pair it with coordinating tableware, centerpieces, and other decor elements to create a cohesive and stylish look.
Remember to regularly care for your burlap table runner by spot cleaning it as needed and storing it in a cool and dry place when not in use. This will help to maintain its beauty and longevity.
Congratulations! You have successfully created your own burlap table runner with lace. Enjoy the rustic charm and elegance it brings to your dining table or event space.
By following these step-by-step instructions, you can easily create beautiful burlap table runners with lace that will impress your guests and enhance your table decor. Get creative and experiment with different lace designs and colors to match your personal style or the theme of your event.
Now it’s time to gather your materials and start crafting your own stunning burlap table runners with lace. Have fun and happy creating!
Conclusion
Congratulations on completing your journey to create beautiful burlap table runners with lace! These DIY table runners are a wonderful addition to any dining table or event decor, adding a touch of rustic charm and elegance. By following the step-by-step instructions outlined in this guide, you have learned how to measure and cut the burlap, secure the edges, attach the lace trim, and add those final finishing touches.
Creating your own burlap table runners allows you to customize them to match your personal style and the theme of your event. Whether you are hosting a wedding reception, a dinner party, or simply want to add a touch of rustic flair to your everyday table settings, these table runners are the perfect choice.
Remember to gather high-quality burlap fabric and select a lace trim that complements it. Take your time with each step, paying attention to detail to achieve the best results. Whether you choose to sew or use fabric glue, the key is to ensure that the lace trim is securely attached and that the raw edges of the burlap are properly hemmed to prevent fraying.
Once your burlap table runners with lace are complete, don’t forget to add those extra finishing touches such as ironing out any wrinkles and considering additional embellishments to personalize your creations. By taking proper care of your table runners and storing them carefully, you will be able to enjoy their beauty for many events and gatherings to come.
We hope you have found this guide helpful in creating your burlap table runners with lace. Now, it’s time to showcase your creativity and decorate your table with these stunning custom-made runners. Get ready to wow your guests with your unique and stylish table decor!
Happy crafting!
Frequently Asked Questions about How To Make Burlap Table Runners With Lace
Was this page helpful?
At Storables.com, we guarantee accurate and reliable information. Our content, validated by Expert Board Contributors, is crafted following stringent Editorial Policies. We're committed to providing you with well-researched, expert-backed insights for all your informational needs.


0 thoughts on “How To Make Burlap Table Runners With Lace”