Home>Dining>Tableware>How Can You Construct A Dining Room Table?
Tableware
How Can You Construct A Dining Room Table?
Modified: September 2, 2024
Learn how to construct a stylish dining room table with our step-by-step guide. Choose the perfect tableware to complement your design.
(Many of the links in this article redirect to a specific reviewed product. Your purchase of these products through affiliate links helps to generate commission for Storables.com, at no extra cost. Learn more)
Introduction
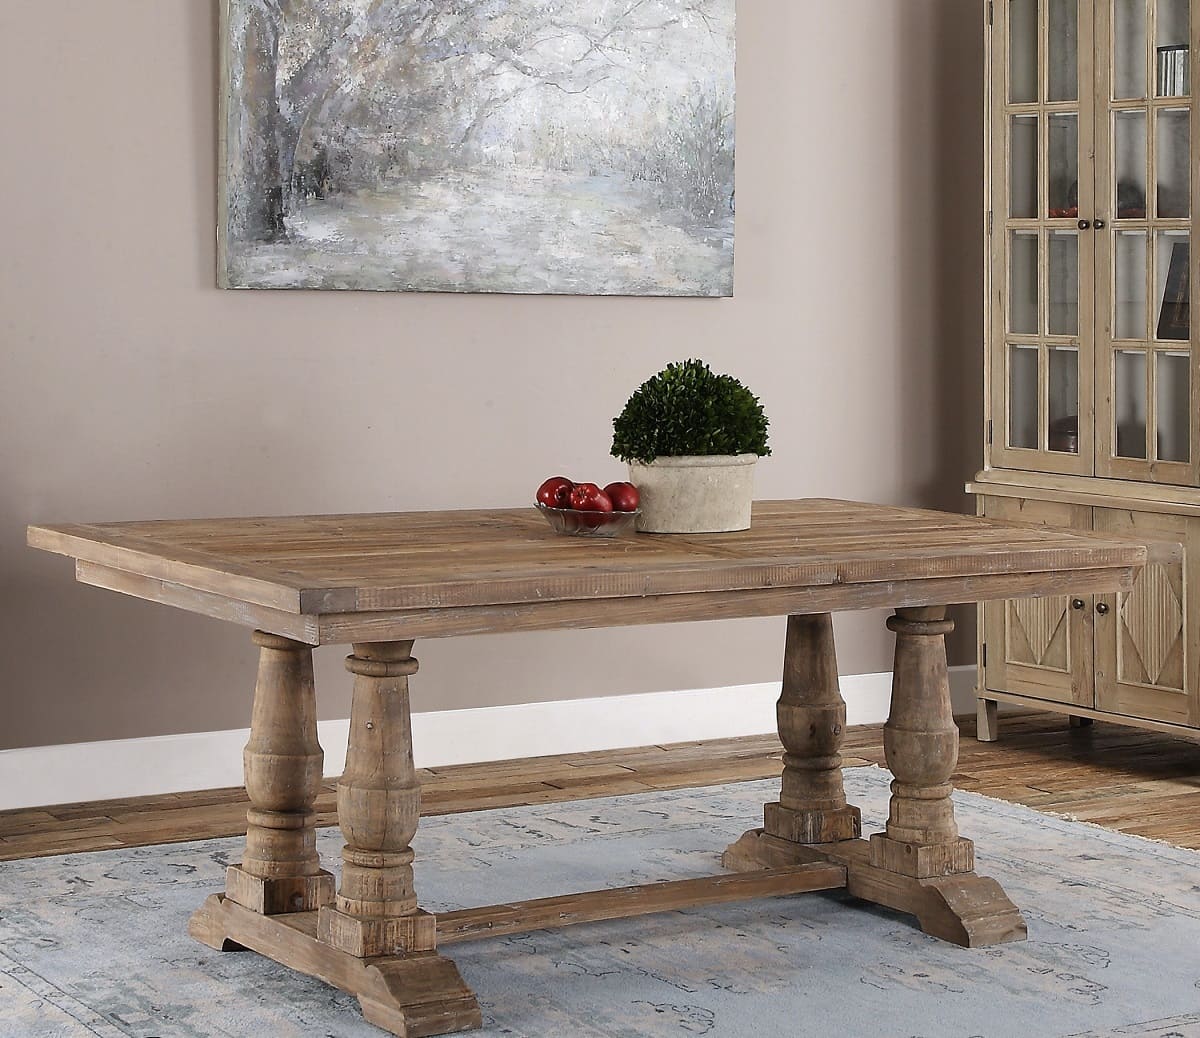
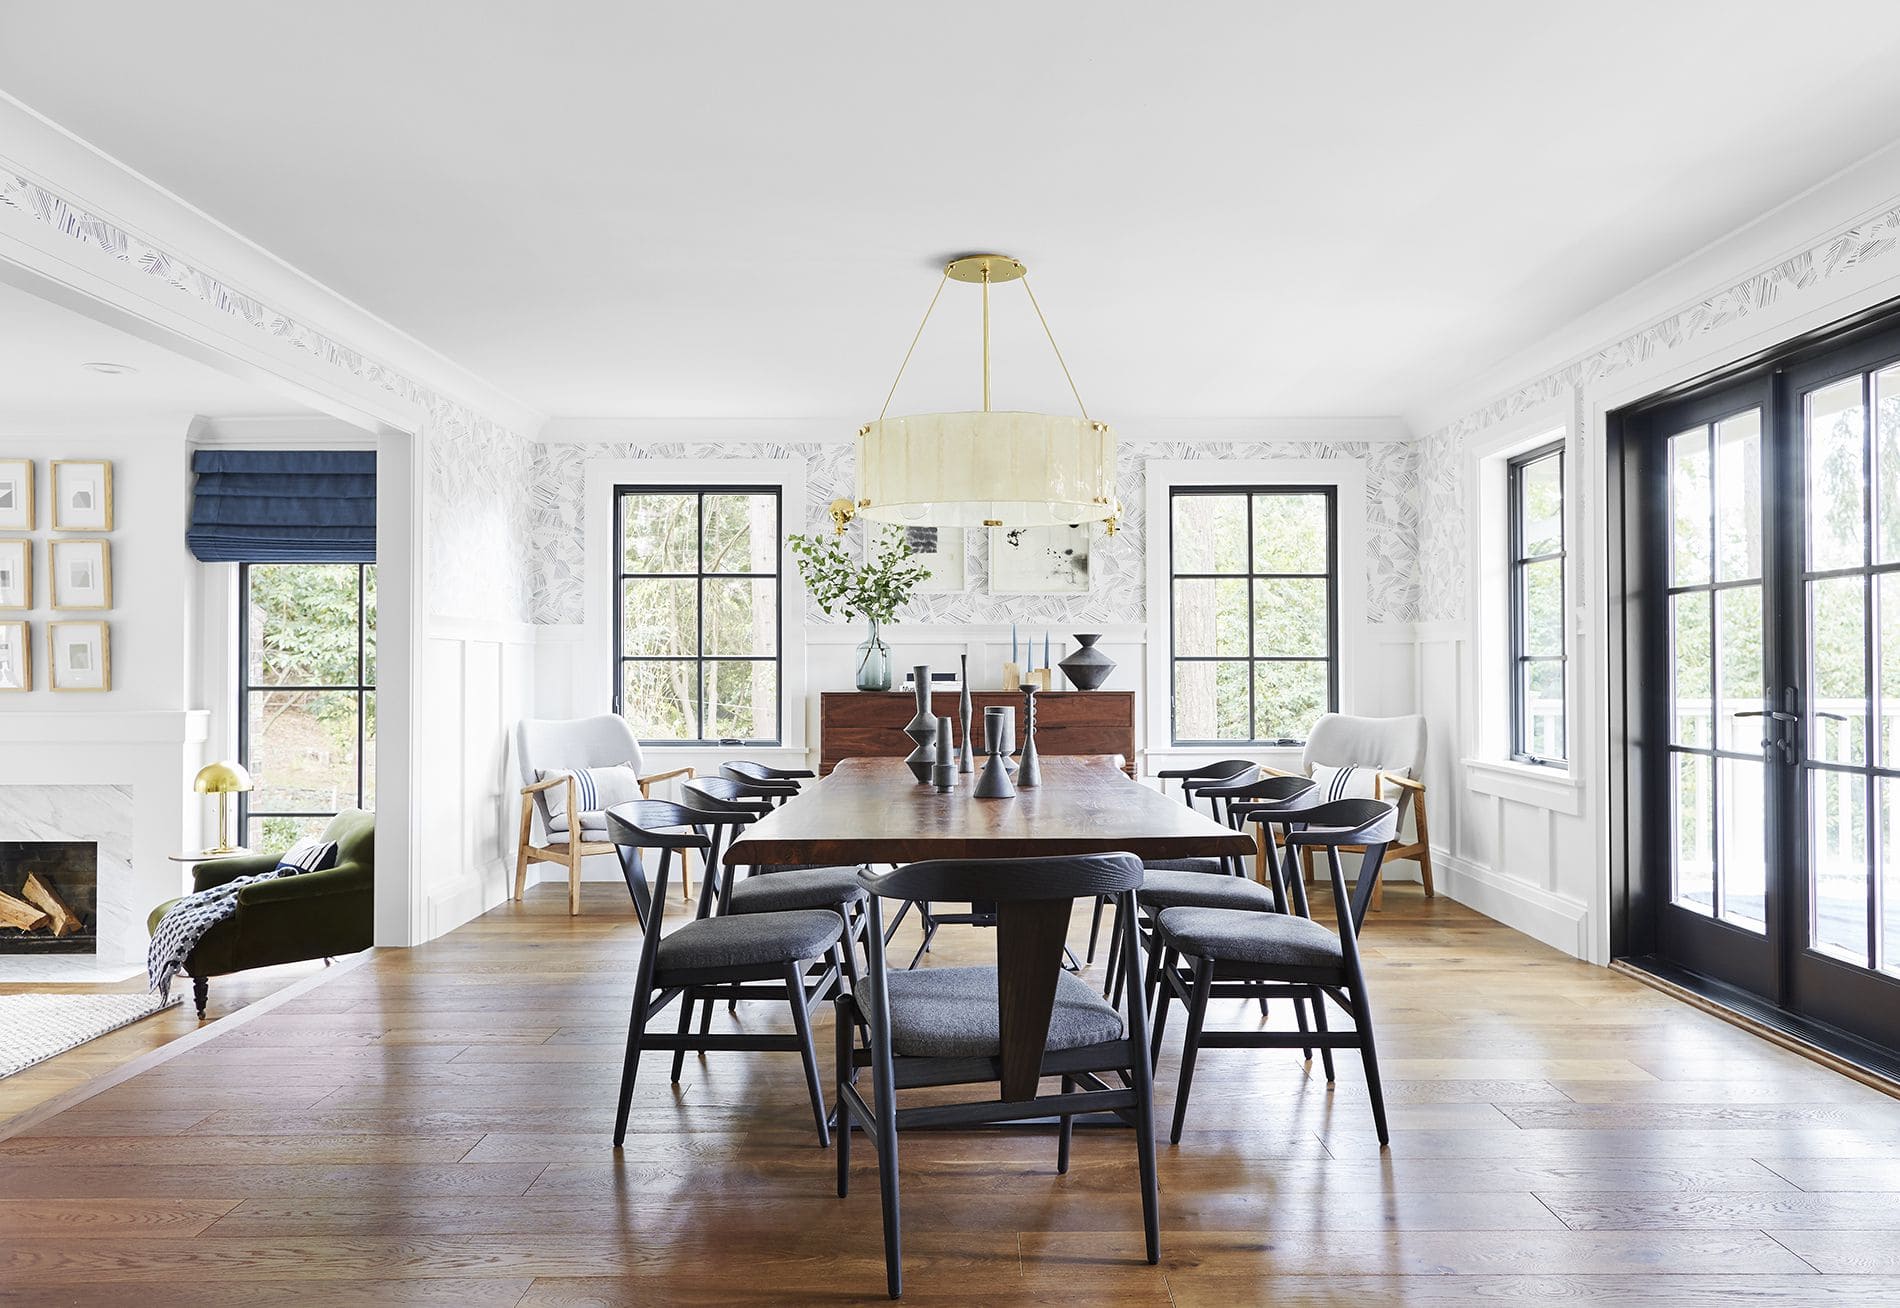
Welcome to the world of tableware! Whether you’re a passionate home cook, a professional chef, or someone who simply loves to host dinner parties, having a well-crafted and beautiful table is essential. A dining room table serves as the centerpiece in creating a warm and inviting atmosphere for family and friends to gather around. But have you ever wondered how these tables are constructed?
In this article, we will explore the process of constructing a dining room table from scratch. We will delve into the materials and tools needed, as well as the steps involved in planning, measuring, cutting, sanding, and assembling the various components. By the end of this guide, you will have a comprehensive understanding of what it takes to create a stunning dining room table that will be the envy of your guests.
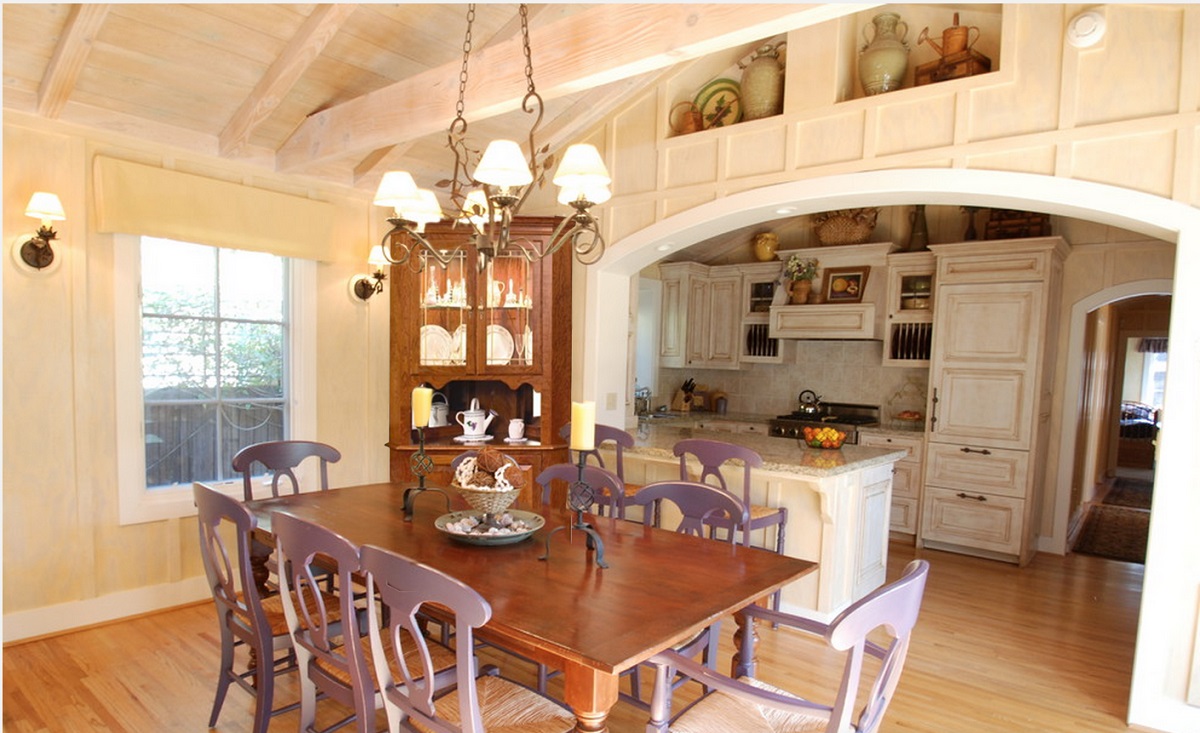
Before we dive into the process, let’s briefly discuss the importance of tableware. A beautifully set table not only enhances the overall dining experience but also reflects your personal style and taste. The right tableware can elevate a meal, making it more enjoyable and memorable. From elegant dinnerware to stylish glassware and flatware, every piece plays a role in creating a cohesive and visually appealing table setting.
When it comes to constructing a dining room table, there are several factors to consider. The size, shape, and design of the table will depend on your personal preferences, available space, and the overall aesthetic of your home. The materials used, whether it’s solid wood, metal, or a combination of both, will also impact the final look and durability of the table.
Now, let’s gather our materials and tools and begin the journey of constructing your very own dining room table. Get ready to unleash your creativity and craftsmanship!
Key Takeaways:
- Constructing a dining room table involves careful planning, precise measurements, and skilled craftsmanship. From selecting materials to adding finishing touches, the process creates a stunning centerpiece for memorable gatherings.
- Tableware selection is crucial in enhancing the dining experience and reflecting personal style. Pairing the newly constructed dining room table with the perfect dinnerware, glassware, and accessories creates a visually appealing and cohesive table setting.
Read more: How Can You Clean Fabric Dining Room Chairs?
Materials and Tools Needed
Before embarking on the construction process, it’s important to gather all the necessary materials and tools. Here’s a list of what you’ll need:
Materials:
- Wood: Choose a high-quality wood that suits your style and budget. Popular options include oak, maple, cherry, and walnut.
- Hardware: Select appropriate screws, bolts, and brackets based on the design and size of the table.
- Wood Glue: A strong and reliable wood glue is essential for securing joints and ensuring stability.
- Finish: Decide on the finish you prefer, such as varnish, stain, or paint, to protect the wood and enhance its appearance.
- Sandpaper: Purchase sandpaper in various grits for smoothing out rough surfaces and achieving a polished finish.
- Wood Filler: To fill in any gaps or imperfections in the wood before applying the finish.
Tools:
- Measuring Tape: Accurate measurements are crucial for ensuring a well-fitted and proportionate table.
- Saw: A table saw or a circular saw will be needed for cutting the wooden planks to size.
- Miter Saw: This tool is useful for making angled cuts, especially if you plan on incorporating decorative elements.
- Orbital Sander: An orbital sander will make the sanding process faster and more efficient.
- Clamps: Clamps are necessary for securing pieces together while the glue dries.
- Drill: A power drill is essential for creating holes and driving screws.
- Chisels: Chisels will come in handy for more intricate joinery work.
- Router: If you wish to add decorative edges or profiles to your table, a router is a valuable tool.
- Paintbrushes: Use paintbrushes to apply the finish, whether it’s varnish, stain, or paint.
Ensure that you have all the necessary materials and tools before you start the construction process. This will save you time and frustration as you progress through each stage of building your dining room table. Now that we have everything we need, let’s move on to the first step: planning and measurement.
Step 1: Planning and Measurement
Proper planning and precise measurements are the foundation for a successful construction project. Before you begin cutting wood or assembling any components, take the time to carefully plan out your dining room table and ensure accurate measurements. Follow these steps to get started:
1. Determine the Size and Shape:
Consider the available space in your dining area and determine the ideal size and shape for your table. Common shapes include rectangular, square, and round. Keep in mind the number of people you want to accommodate and any specific design elements you wish to incorporate.
2. Prepare a Blueprint:
Create a detailed blueprint or sketch of your table, including dimensions for the tabletop, legs, and any additional features. This will serve as a visual guide throughout the construction process.
3. Measure and Mark the Wood:
Using a measuring tape, carefully measure and mark the dimensions on the wooden planks according to your blueprint. Double-check your measurements to ensure accuracy and make adjustments if necessary.
4. Cut the Wood:
Once the planks are marked, use a table saw or circular saw to cut them to the desired dimensions. Take your time and use caution when using power tools, ensuring that your cuts are straight and precise.
5. Label the Pieces:
To avoid confusion during assembly, label each piece of wood with corresponding markings referenced in your blueprint. This will make it easier to identify which piece goes where.
By carefully planning and measuring your dining room table, you’ll have a solid foundation for the rest of the construction process. With the wood cut and labeled, you’re ready to move on to the next step: cutting the wood components.
Step 2: Cutting the Wood
Once you have completed the planning and measurement phase, it’s time to move on to cutting the wood components for your dining room table. This step requires precision and accuracy to ensure that all pieces fit together seamlessly. Follow these steps to cut the wood:
1. Set Up a Safe Cutting Area:
Find a spacious and well-lit area to set up your cutting station. Ensure that the area is clear of clutter and provides enough room for maneuvering large pieces of wood.
2. Use the Appropriate Saw:
Depending on your design and the type of cut required, choose the appropriate saw for the task. A table saw or a circular saw is commonly used for straight cuts, while a miter saw is ideal for making angled or beveled cuts.
3. Follow the Cutting Lines:
Refer to your blueprint and carefully follow the marked cutting lines on the wood. Take your time and make precise cuts, ensuring that they are straight and accurate.
4. Practice Safety Precautions:
Wear safety goggles to protect your eyes from wood chips and dust. Use a push stick or clamp when necessary to keep your hands safe and maintain control over the wood while cutting.
5. Double-Check the Cuts:
After making each cut, double-check the wood pieces to ensure the dimensions are correct. Use a square or measuring tape to verify that the angles and lengths are accurate.
By carefully cutting the wood according to your blueprint, you’ll create the foundation for your dining room table. Remember to take your time and prioritize safety throughout the cutting process. Once all the wood components are cut, you’re ready to move on to the next step: sanding the surfaces.
Step 3: Sanding the Surfaces
After cutting the wood components for your dining room table, it’s important to smooth out the surfaces to create a polished and professional finish. Sanding not only enhances the appearance of the wood but also removes any rough edges or imperfections. Follow these steps to effectively sand the surfaces:
Read more: How To Construct Dining Room Chairs
1. Gather the Necessary Tools:
Before you begin sanding, gather the required tools, including an orbital sander, sandpaper in various grits (starting from coarse to fine), and a sanding block for hard-to-reach areas.
2. Start with Coarse Grit Sandpaper:
Begin by using coarse grit sandpaper (around 80 or 100 grit) to smooth out any rough surfaces or uneven edges. Hold the sander firmly and move it in the direction of the wood grain, applying even pressure.
3. Gradually Switch to Finer Grits:
As you progress, switch to finer grit sandpaper (such as 150, 220, and finally 320 grit) to achieve a smooth and refined finish. This process gradually removes the previous grit’s scratches, leaving you with a beautifully sanded wood surface.
4. Sand in Sections:
Work on one section of the wood at a time, ensuring that you sand evenly and avoid concentrating on one area for too long. This helps to maintain a consistent finish throughout the table.
5. Pay Attention to Detail:
Use a sanding block or sandpaper to reach into corners and tight spaces that the orbital sander couldn’t reach. It’s essential to sand these areas as well for a seamless and professional look.
6. Remove Dust Between Grit Changes:
After each sanding session, wipe down the wood surfaces with a clean cloth or use a vacuum to remove any dust and debris. This ensures a clean working area for the next sanding session.
Sanding the surfaces of your dining room table may take some time and patience, but the end result will be well worth it. Once you are satisfied with the smoothness and evenness of the wood, you are ready to move on to the next step: assembly and joinery.
Step 4: Assembly and Joinery
With the wood components cut and sanded, it’s time to assemble your dining room table. The assembly process involves joining the pieces together to create a sturdy and stable structure. Follow these steps for successful assembly and joinery:
1. Arrange the Wood Pieces:
Lay out the wood pieces according to your blueprint, ensuring that you have a clear view of how they fit together. This will help you visualize the assembly process and make any necessary adjustments.
2. Apply Wood Glue:
Using a brush or a small applicator, apply wood glue to the mating surfaces of the wood pieces. Make sure to distribute the glue evenly to create a strong bond.
3. Secure with Clamps:
Use clamps to hold the wood pieces together while the glue dries. Apply light pressure to ensure a tight fit, but be careful not to overtighten and cause damage to the wood.
4. Insert Fasteners:
If necessary, insert screws, bolts, or brackets to reinforce the joints and add extra stability. Make sure to choose the appropriate fasteners based on the type of wood and the desired level of support.
5. Check for Alignment:
Using a level or measuring tape, check that the table is properly aligned and the legs are even. Adjust the clamps or fasteners as needed to achieve the desired alignment.
Read more: How Can You Clean A Wooden Dining Table?
6. Allow Time for Drying:
Follow the manufacturer’s instructions for the wood glue to dry completely. This may take several hours or even overnight, so be patient and avoid moving or applying pressure to the table during this time.
By carefully following these steps, you can ensure that your dining room table is securely assembled and structurally sound. The joinery and assembly process is critical in creating a table that will withstand everyday use and stand the test of time. Once the glue has dried and the joints are secure, it’s time to move on to the final step: adding finishing touches.
Step 5: Adding Finishing Touches
Now that your dining room table is assembled, it’s time to put the final touches on it to enhance its appearance and protect the wood. Adding a finish to the table not only adds beauty but also helps to seal and protect the wood from moisture, stains, and general wear and tear. Follow these steps to add the finishing touches:
1. Prepare the Surface:
Start by ensuring that the surface is clean and free of any dust or debris from the assembly process. Wipe it down with a damp cloth and allow it to dry completely.
2. Choose a Finish:
Determine the type of finish you want for your table, such as varnish, stain, or paint. Consider the desired look and the level of protection you want for the wood. Follow the manufacturer’s instructions for the specific finish you choose.
Read more: How Can You Select Suitable Dining Chairs?
3. Apply the Finish:
Use a paintbrush or a clean cloth to apply the finish to the wood surfaces. Work in the direction of the wood grain and apply even coats, allowing each coat to dry before applying the next. Follow the recommended number of coats for optimal results.
4. Sand Between Coats:
For a smooth and flawless finish, lightly sand the surface between each coat of finish. Use a fine-grit sandpaper or steel wool to remove any imperfections or brush strokes. Wipe away any dust before applying the next coat.
5. Allow Drying Time:
Once you have applied the desired number of coats, allow the finish to dry completely. This may take several hours or even days, depending on the type of finish used. Keep the table in a well-ventilated area during the drying process.
6. Add Final Touches:
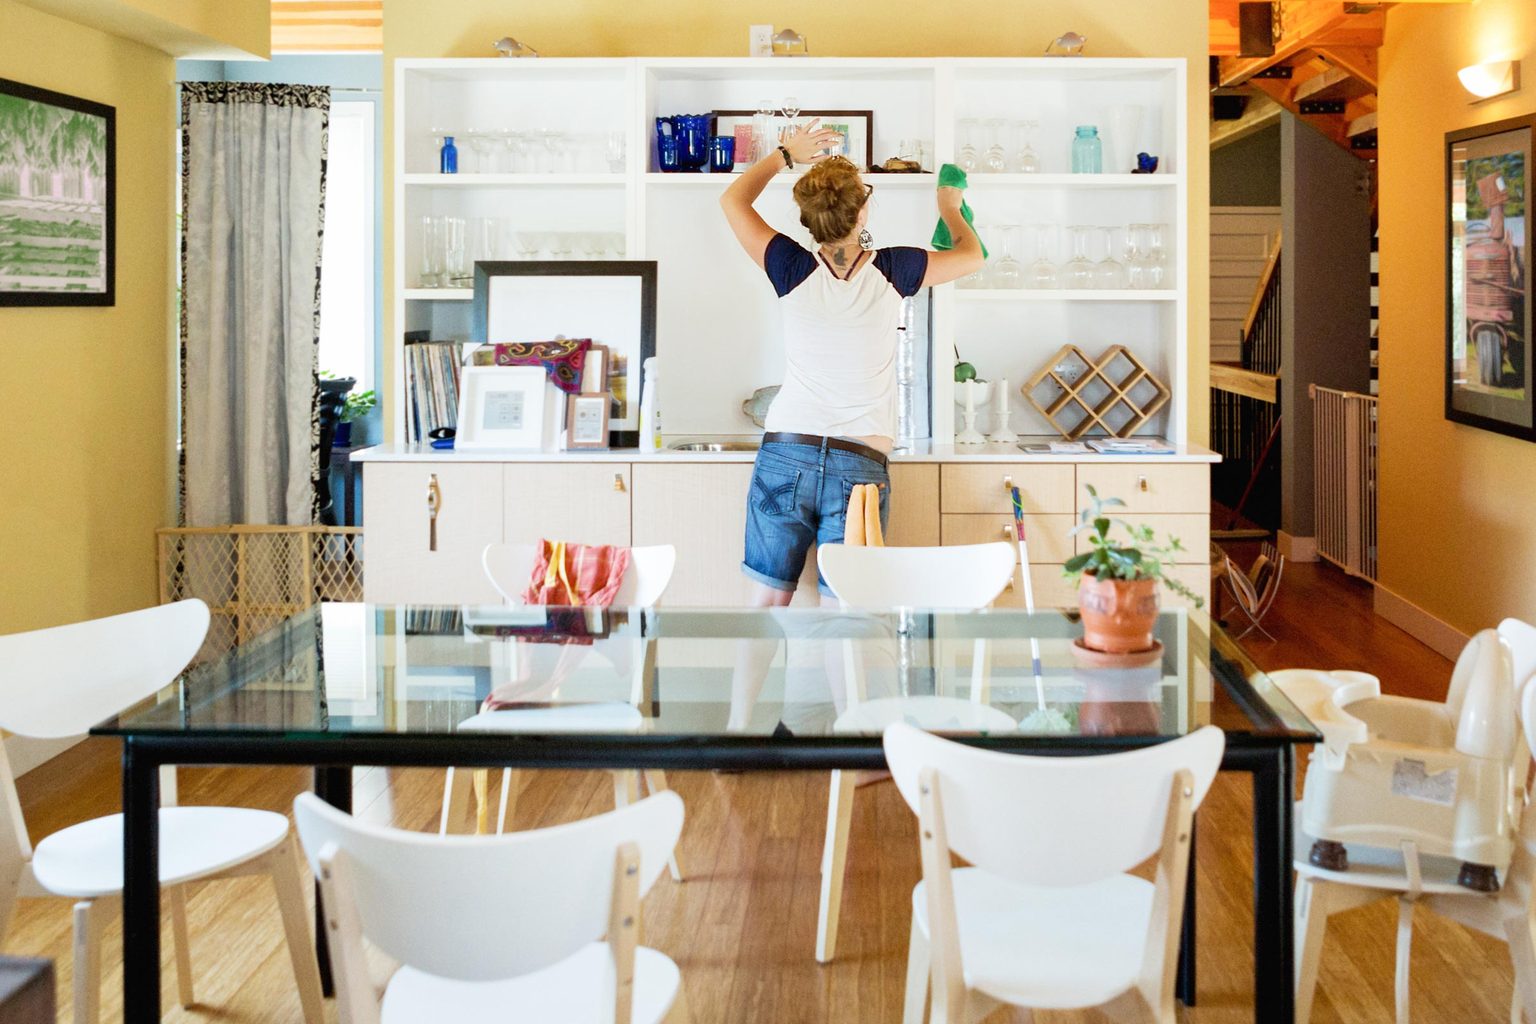
Add any final decorative touches or accessories to your dining room table. This could include table runners, placemats, centerpieces, or other elements that complement your personal style and the overall aesthetic of the room.
By following these steps, you can elevate the look and durability of your dining room table with the perfect finish. The finishing touches will not only protect the wood but also showcase its natural beauty, making your table a focal point in your dining area. Congratulations on completing the construction process!
Conclusion
Constructing a dining room table from start to finish is a rewarding and fulfilling project that allows you to showcase your creativity and craftsmanship. Throughout this guide, we have explored the step-by-step process of creating a beautiful and sturdy dining room table. From planning and measuring to cutting, sanding, assembly, and adding the finishing touches, each stage is essential in achieving a high-quality result.
By carefully selecting the materials and tools, taking accurate measurements, and following proper techniques, you can create a dining room table that not only serves as a functional piece of furniture but also becomes a centerpiece for family gatherings, dinner parties, and memorable moments with loved ones.
Remember, tableware plays a significant role in enhancing the overall dining experience and adding personality to your table. Choose the perfect dinnerware, glassware, flatware, and other accessories to complement your newly constructed table and create a cohesive and visually appealing table setting.
Whether you’re a seasoned woodworker or a beginner looking to embark on a new DIY project, constructing a dining room table is an excellent way to showcase your skills and create a piece of furniture that will be cherished for years to come.
Now that you have the knowledge and understanding of how to construct a dining room table, it’s time to gather your materials, set up your workspace, and let your creativity guide you through the construction process. Enjoy the journey of bringing your vision to life, and may your newly constructed dining room table become a gathering place for countless memories and shared meals.
Happy crafting!
Frequently Asked Questions about How Can You Construct A Dining Room Table?
Was this page helpful?
At Storables.com, we guarantee accurate and reliable information. Our content, validated by Expert Board Contributors, is crafted following stringent Editorial Policies. We're committed to providing you with well-researched, expert-backed insights for all your informational needs.

0 thoughts on “How Can You Construct A Dining Room Table?”