Tableware
What Is Stemware?
Modified: August 20, 2024
Discover the elegance of stemware, a type of tableware that adds sophistication to any dining experience. Learn more about stemware and its importance in fine dining.
(Many of the links in this article redirect to a specific reviewed product. Your purchase of these products through affiliate links helps to generate commission for Storables.com, at no extra cost. Learn more)
Introduction
When it comes to setting a table for a special occasion or enjoying a celebratory drink, the choice of tableware plays a crucial role. Beyond the surface level aesthetic, the type of glassware you use can greatly impact the overall drinking experience, enhancing the flavors and aromas of your favorite beverages. One such type of tableware that holds a special place in the world of dining is stemware.
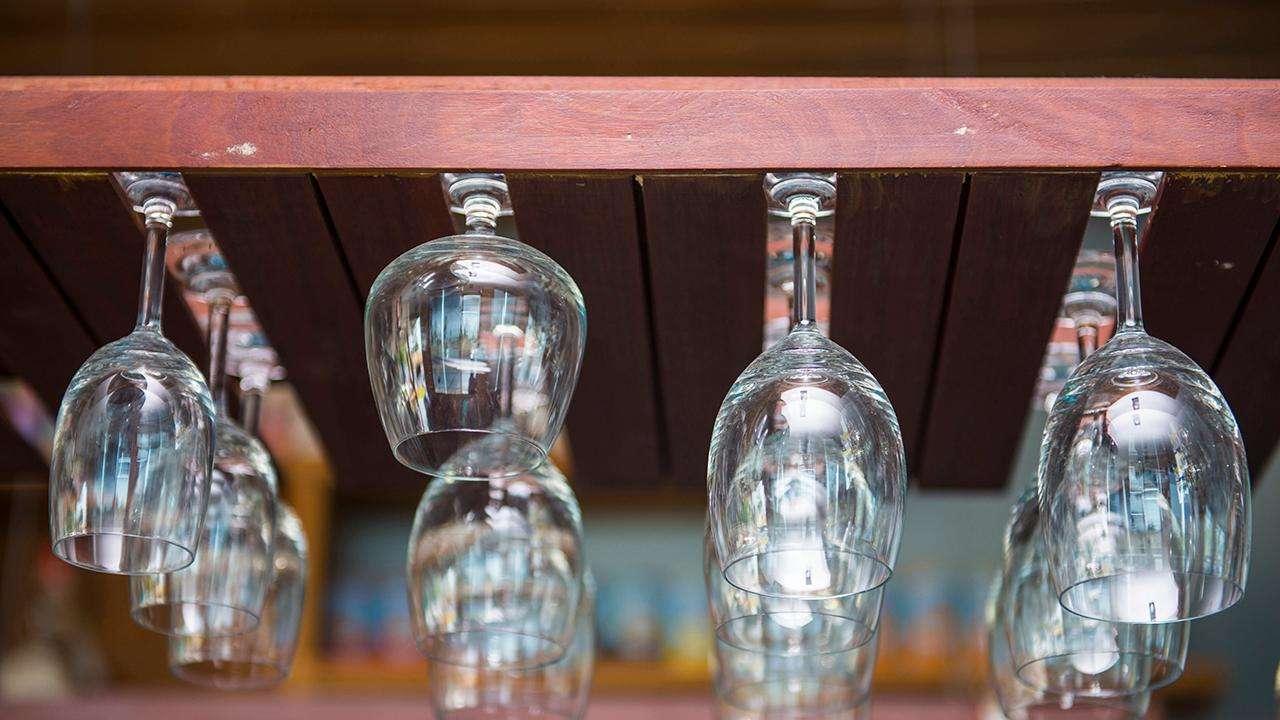
Stemware refers to a specific category of glassware that includes various types of glasses with a stem, a slender and elongated base that elevates the bowl or cup from the tabletop. This distinguishing feature is not only visually appealing but also serves a practical purpose.
Stemware is available in a wide range of designs, shapes, and sizes. Each type of stemware is specifically designed to complement a particular type of beverage, such as wine, champagne, or cocktails. From wine glasses to champagne flutes, each piece of stemware is crafted to enhance your drinking experience by highlighting the unique characteristics of different beverages.
Let’s take a closer look at some of the most popular types of stemware and their respective uses:
Key Takeaways:
- Stemware, such as wine glasses and champagne flutes, enhances the drinking experience by preserving temperature, promoting flavor, and adding an element of elegance to any occasion.
- When choosing stemware, consider factors such as material, shape, and price range to find glasses that complement your beverages and elevate your enjoyment of drinks.
Read more: What Is This Stemware Piece Used For?
Definition of Stemware
Stemware is a category of tableware that includes glasses with long, slender stems that elevate the drinking vessel from the tabletop. The stem acts as a handle, allowing the drinker to hold the glass without affecting the temperature of the beverage inside or leaving smudges on the bowl. This ensures that the drink remains at an optimal temperature, preserving its flavors and aromas.
In addition to the stem, stemware is also characterized by its bowl or cup, which is specifically designed to enhance the drinking experience of different beverages. Whether it’s a wine glass, champagne flute, martini glass, or highball glass, each type of stemware is uniquely shaped to highlight the flavors, aromas, and effervescence of the corresponding drink.
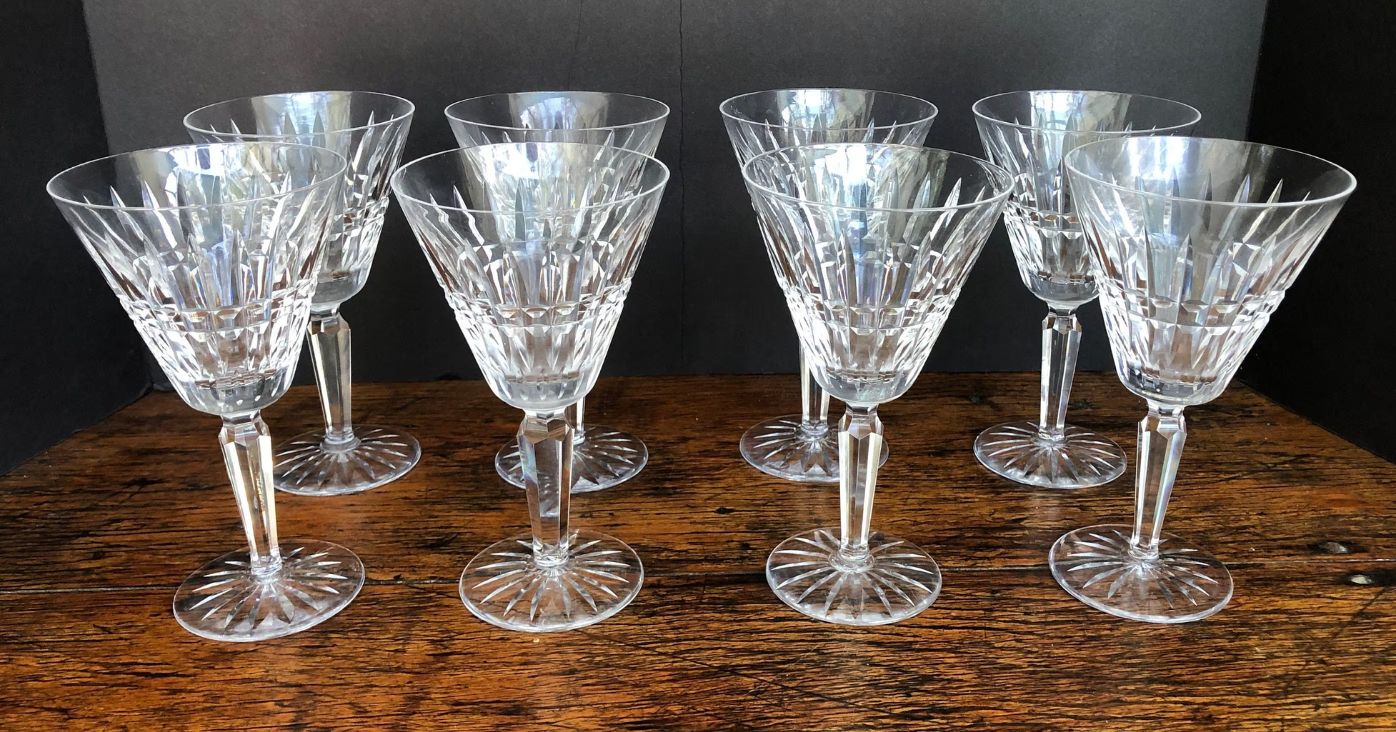
Stemware is typically made from high-quality glass or crystal, which not only enhances the visual appeal but also adds elegance and sophistication to any table setting. The glass or crystal used in stemware is carefully crafted to be thin, yet durable, allowing for an enjoyable drinking experience while maintaining the integrity and clarity of the glass.
Overall, stemware is an essential component of any dining or entertaining experience. It not only adds an aesthetic appeal to the table but also enhances the enjoyment of various beverages. From wine tastings to celebratory toasts, stemware is designed to elevate the drinking experience, making it a staple in the world of tableware.
Types of Stemware
Stemware comes in a variety of types, each specifically designed to complement and enhance the flavors, aromas, and presentation of different beverages. Here are some of the most common types of stemware:
- Wine Glasses: Wine glasses are perhaps the most widely recognized and used type of stemware. They come in various sizes and shapes, such as Bordeaux glasses, Burgundy glasses, and white wine glasses. Each style is designed to highlight the unique characteristics of different wines, allowing for maximum enjoyment of the flavors and aromas.
- Champagne Flutes: Champagne flutes are long, narrow glasses with a tall stem and a slender bowl. The shape of the flute helps retain the bubbles and effervescence of the champagne, while the long stem prevents the drinker’s hand from warming the contents. This type of stemware is perfect for celebrating special occasions and toasts.
- Martini Glasses: Martini glasses are iconic with their classic V-shaped design. The wide, open bowl of the glass allows the aromas of the martini to be concentrated, while the stem keeps the drink cool. Martini glasses are not only used for martinis but also for various cocktails and mixed drinks.
- Highball Glasses: Highball glasses, also known as Collins glasses, are tall and narrow with a wide rim. They are commonly used for serving mixed drinks and cocktails that are served with ice and a larger volume of non-alcoholic mixer. These glasses are versatile and can be found in various designs and sizes.
- Brandy Snifters: Brandy snifters have a unique shape with a short stem and a wide bowl that narrows towards the top. The bowl’s shape allows the drinker to hold the snifter in their hand, warming the brandy and releasing its rich aromas. The wide bowl also provides ample space for swirling the brandy, helping to release its flavors.
These are just a few examples of the wide range of stemware available. Other types include sherry glasses, whiskey glasses, liqueur glasses, and more. Each type of stemware is carefully designed to enhance the drinking experience of specific beverages, ensuring that you can savor every sip with the utmost pleasure and appreciation.
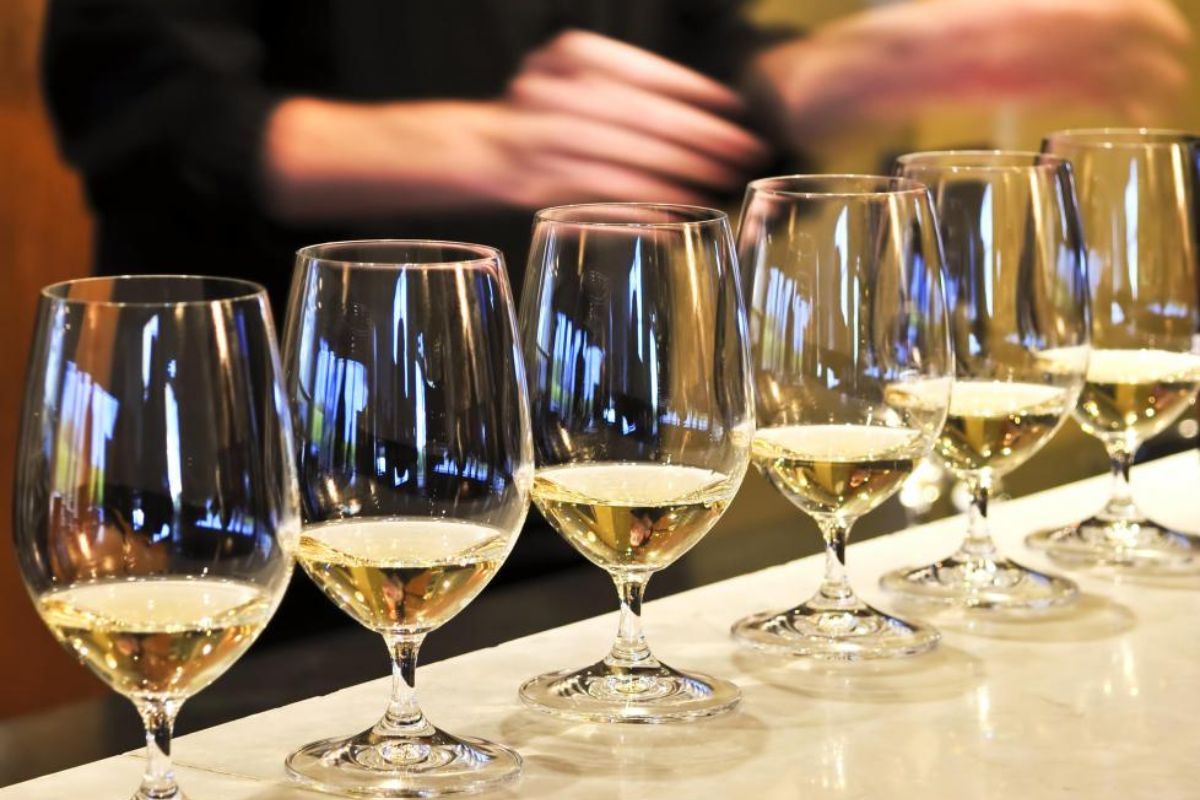
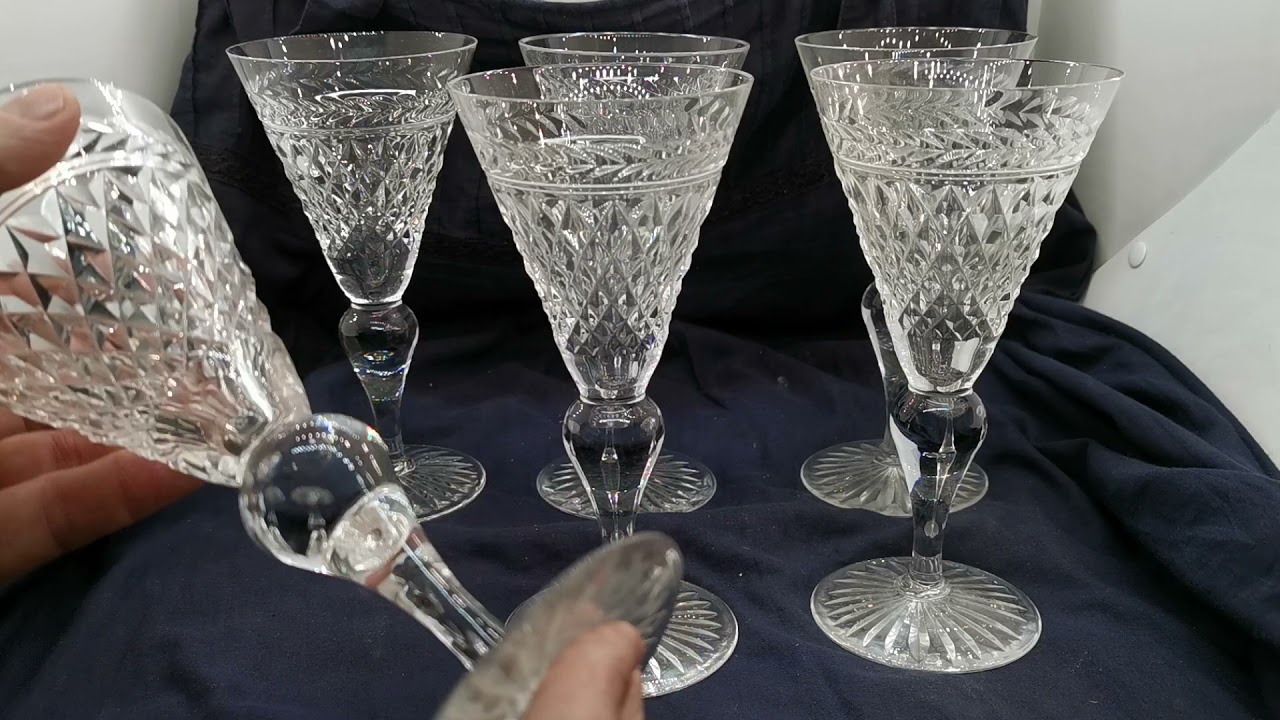
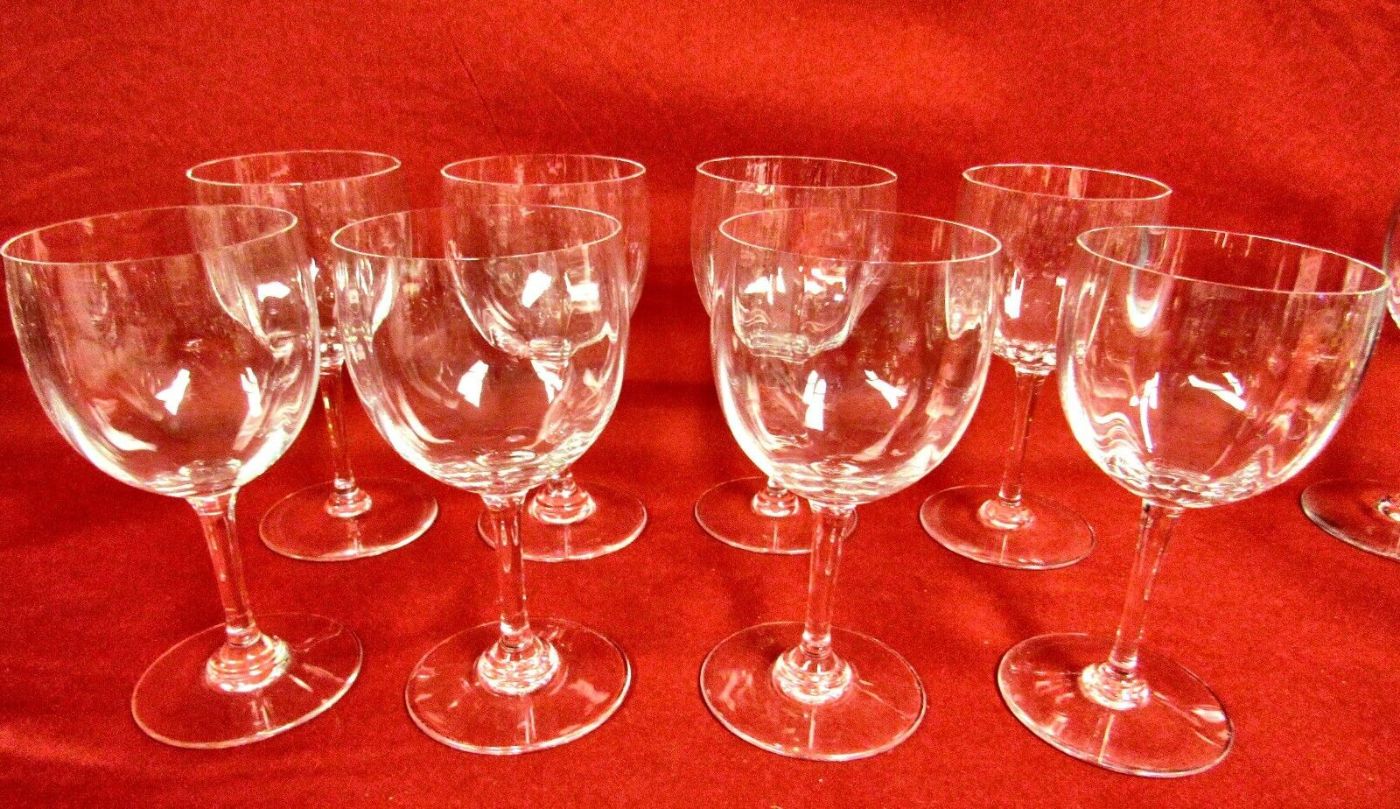
Wine Glasses
Wine glasses are a fundamental type of stemware that caters to the specific characteristics of different wines. They come in various shapes and sizes, each designed to enhance the flavors, aromas, and presentation of the wine in question.
There are three main styles of wine glasses: Bordeaux glasses, Burgundy glasses, and white wine glasses. Bordeaux glasses have a tall and broad bowl with a narrower rim, which directs the wine to the back of the mouth, emphasizing its bold flavors and tannins. These glasses are ideal for full-bodied red wines like Cabernet Sauvignon and Merlot.
Burgundy glasses, on the other hand, have a wider and more rounded bowl, which allows for more oxidation of the wine. This shape lends itself well to delicate and aromatic red wines, such as Pinot Noir. The wider bowl allows the wine to breathe, releasing its complex aromas and enhancing its flavors.
White wine glasses have a smaller and more U-shaped bowl compared to red wine glasses. This design helps preserve the cooler temperature of white wines and accentuates their fresh and crisp aromas. Choosing the right white wine glass depends on the style of white wine you prefer, such as Chardonnay or Sauvignon Blanc.
Regardless of the specific style, wine glasses typically have a stem that allows you to hold the glass without affecting the temperature of the wine or leaving smudges on the bowl. This stem prevents the heat from your hand from transferring to the wine, ensuring that it stays at an ideal drinking temperature.
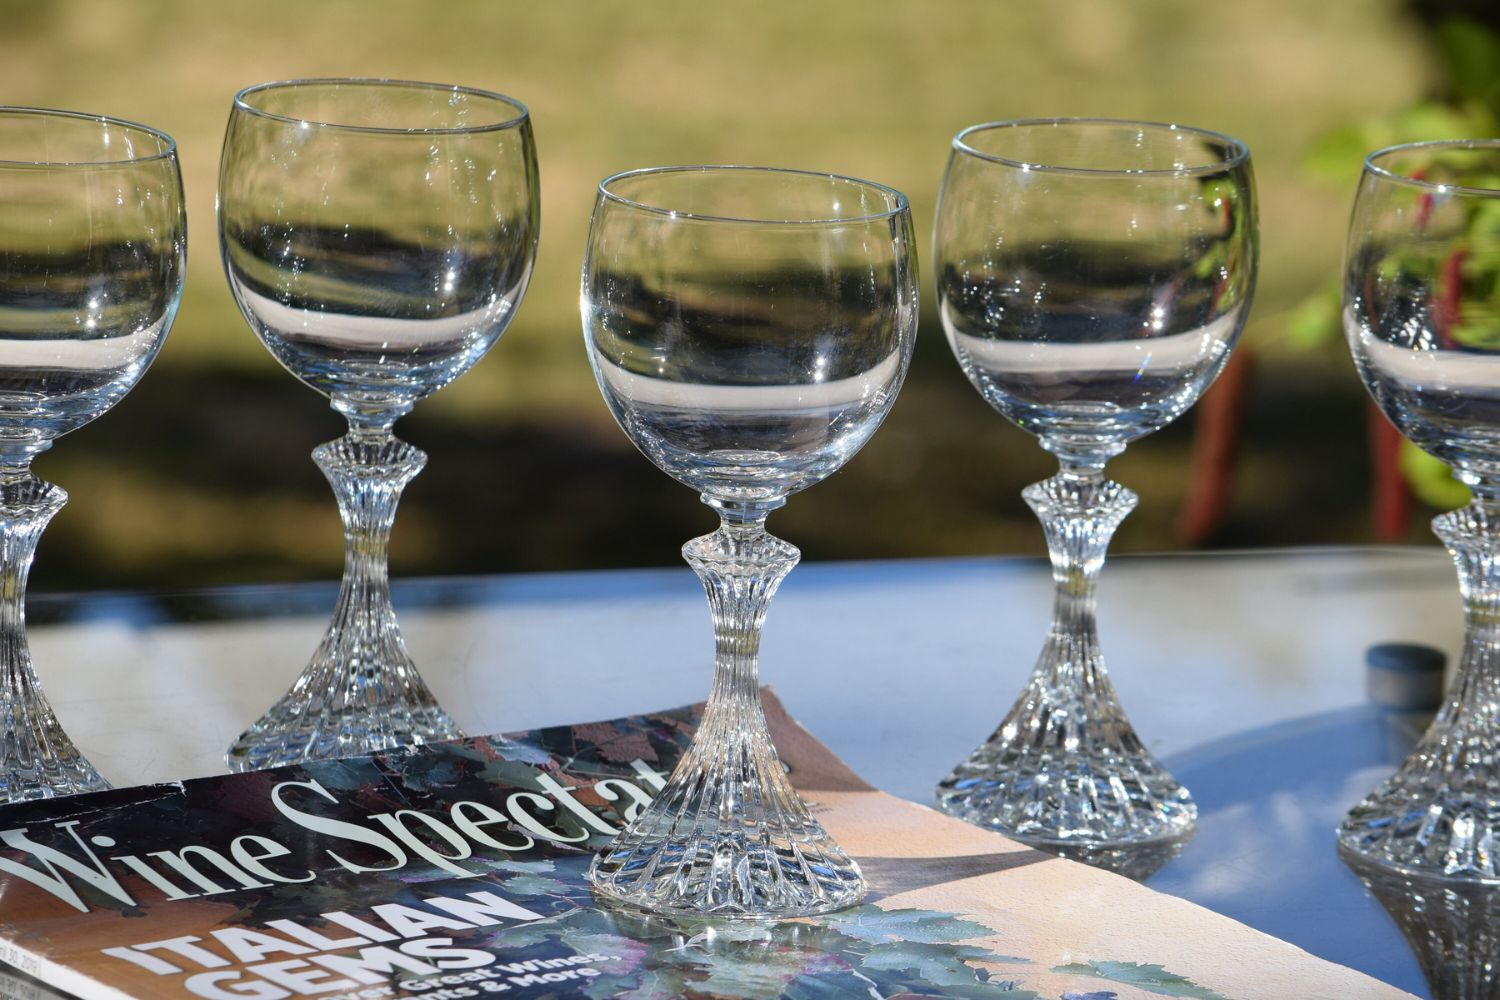
When selecting wine glasses, consider both the material and the size. Wine glasses are commonly made from high-quality glass or crystal. Crystal is often preferred due to its clarity, brilliance, and ability to enhance the wine’s aromas. As for size, choose glasses that provide ample space for swirling the wine, allowing it to aerate and release its full potential.
Properly chosen wine glasses can significantly enhance your enjoyment of wine, allowing you to appreciate its nuanced flavors and elegant aromas. So next time you pour a glass of your favorite wine, savor it in the appropriate wine glass that will elevate your tasting experience to new heights.
Champagne Flutes
Champagne flutes are elegant and iconic stemware designed specifically for enjoying the effervescent delights of champagne and sparkling wines. Their distinctive shape and design not only enhance the visual appeal of the bubbly beverage but also preserve its carbonation and showcase its delicate flavors and aromas.
The defining feature of a champagne flute is its long, narrow shape. The elongated bowl helps to preserve the carbonation by reducing the wine’s surface area exposed to the air. The upward-slanting sides of the flute also help to capture and maintain the sparkling bubbles, keeping them lively and effervescent for a longer period.
The stem of a champagne flute serves a practical purpose. By holding the flute by the stem, you avoid warming the liquid with your body heat, ensuring that the champagne remains chilled while you enjoy its crispness and refreshing qualities.
Champagne flutes come in various sizes, but they typically have a capacity of around 6 to 8 ounces. This size is ideal for appreciating the delicate flavors and fragrances of champagne without overwhelming your palate. It also allows for controlled pouring and minimizes the chances of spillage, ensuring a clean and elegant drinking experience.
In addition to sparkling wines, champagne flutes are also used to serve other sparkling beverages, such as prosecco, cava, and sparkling cocktails. The flute’s design helps to highlight and accentuate the bubbles in these beverages, creating a visually appealing and celebratory presentation.
When choosing champagne flutes, consider the material and quality. Opt for flutes made from high-quality glass or crystal to enhance the overall experience. Crystal flutes are often preferred for their clarity and ability to refract light, adding a touch of elegance to any occasion.
So, when it’s time to celebrate a special moment, wine in hand, raise your champagne flute high, and let the bubbles tickle your palate as you toast to joy, success, and all of life’s memorable milestones.
Read more: What To Do With Old Crystal Stemware?
Martini Glasses
Martini glasses, with their iconic V-shaped design, are considered the epitome of sophistication in the world of stemware. These timeless glasses are specifically crafted to enhance the drinking experience of martinis and other cocktails by showcasing their exquisite colors, aromas, and flavors.
The most recognizable feature of a martini glass is its distinctive shape. The wide, shallow bowl allows the drinker to admire the cocktail’s clarity and color, while the long stem prevents the warmth of your hand from altering the temperature of the drink. This ensures that the martini remains chilled and refreshing from the first sip to the last.
The wide rim of the martini glass also serves a purpose. It allows the drinker to enjoy the unique aromas of the cocktail as they take each sip. The shape of the glass helps concentrate the aromas, enhancing the overall drinking experience and allowing you to fully appreciate the intricacies of the cocktail’s ingredients.
Martini glasses aren’t just limited to martinis; they are versatile enough to be used for a wide variety of cocktails and mixed drinks. Whether you’re sipping on a classic martini, a cosmopolitan, or a gin and tonic, the elegant shape of the martini glass elevates the visual appeal of the drink and adds a touch of sophistication to your cocktail experience.
When selecting martini glasses, consider both the material and size of the glass. Martini glasses are commonly made from glass or crystal, with crystal often preferred for its clarity and brilliance. As for size, choose glasses that hold around 6 to 8 ounces, providing enough room for the cocktail to be properly stirred or shaken with ice.
Properly serving a martini is an art form, and the right martini glass is an essential element of the overall presentation. So, the next time you mix up your favorite martini or cocktail, pour it into a classic martini glass, enjoy the visual spectacle, and savor each sip with elegance and style.
Highball Glasses
Highball glasses, also known as Collins glasses, are a versatile type of stemware designed for serving a variety of mixed drinks, cocktails, and highball beverages. With their tall and narrow shape, highball glasses offer both style and practicality for enjoying refreshing drinks on any occasion.
The defining feature of a highball glass is its height and slender profile. The tall shape allows for a greater volume of liquid, making it ideal for drinks that are served with a larger proportion of non-alcoholic mixers, such as soda, tonic water, or fruit juices. This makes highball glasses perfect for cocktails like mojitos, gin and tonics, screwdrivers, and other long drinks.
The narrow opening of a highball glass helps to concentrate the aroma of the drink, allowing you to fully appreciate the flavors as you bring the glass to your lips. The relatively large capacity of the glass also allows for the addition of ice cubes, helping to keep your drink cool for a longer period.
Highball glasses are typically made from durable glass, allowing them to withstand the rigors of stirring, mixing, and muddling without fear of breakage. Some high-quality highball glasses may even feature intricate designs or etchings, adding a touch of elegance to your drink presentation.
In terms of size, highball glasses typically hold around 10 to 12 ounces of liquid. This capacity offers plenty of room for mixing your preferred cocktail ingredients and adding ice while still leaving ample space for garnishes, such as citrus wedges, herbs, or decorative stirrers.
Whether you’re hosting a casual get-together, enjoying a refreshing summer drink on a warm day, or simply unwinding with a classic cocktail, highball glasses are a versatile choice for any occasion. Their sleek and tall design, combined with their practicality, makes them a staple in every home bar or cocktail enthusiast’s collection.
So, grab your highball glass, prepare your favorite cocktail or highball concoction, and raise a toast to good times, great drinks, and the joy of sharing memorable moments with friends and loved ones.
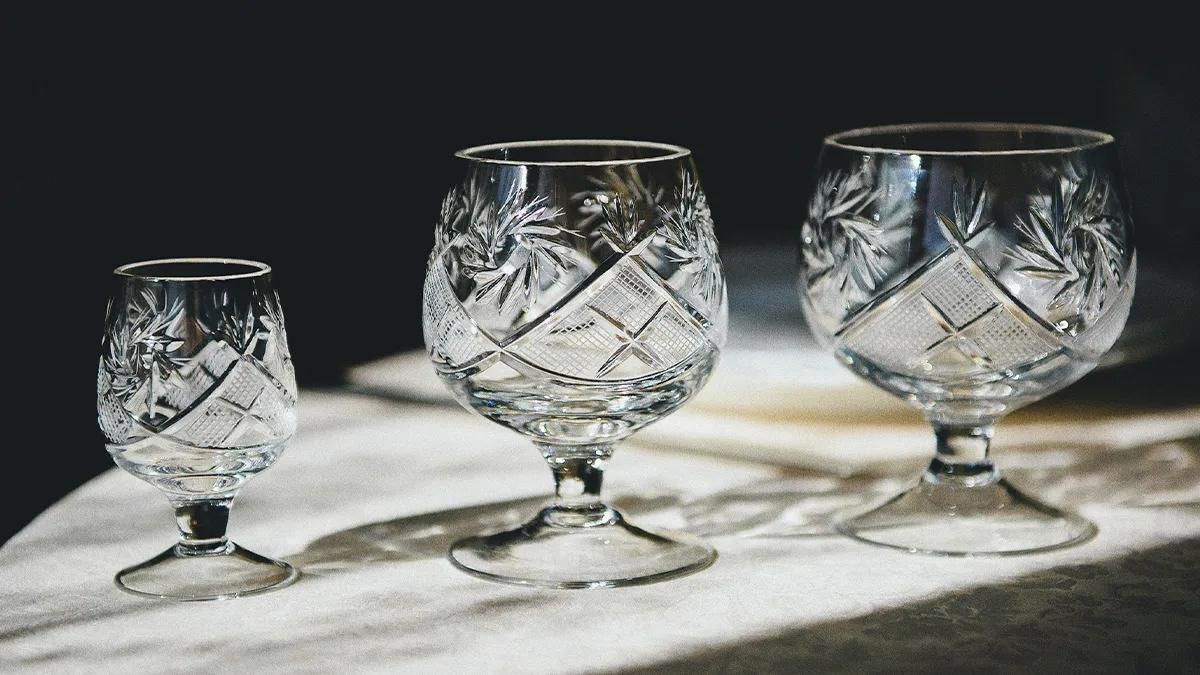
Brandy Snifters
Brandy snifters are a unique and elegant type of stemware specifically designed to enhance the experience of sipping and savoring fine brandies and cognacs. With their distinctive shape and design, brandy snifters allow for the optimal appreciation of the rich aromas and complex flavors found in these aged spirits.
The most notable feature of a brandy snifter is its bowl shape. The wide and rounded bowl allows you to cup the glass in your hand, gently warming the brandy and releasing its aromas. The round shape also provides ample space for swirling the brandy, helping to aerate and intensify its flavors before taking a sip.
The short stem of a brandy snifter serves a practical purpose. By holding the stem, you can prevent your body heat from warming the brandy too quickly, allowing you to enjoy it at the optimal temperature. The stem also enables you to admire the rich color and clarity of the brandy without smudging the bowl with fingerprints.
The size of a brandy snifter is typically smaller compared to other stemware, holding around 12 to 16 ounces. This capacity is ideal for serving smaller portions of brandy, allowing you to fully appreciate its complexities and enjoy it slowly over time.
Brandy snifters are traditionally made from crystal, which enhances the overall drinking experience. Crystal not only adds visual elegance but also refracts light, creating a stunning play of colors within the glass. The clarity and brilliance of crystal also allow you to appreciate the golden hues and viscosity of the brandy.
When selecting brandy snifters, look for glasses with a wide bowl that tapers slightly towards the rim. This shape helps to concentrate the brandy’s aromas and allows you to capture its nuanced complexity with each sip.
Whether you prefer a smooth and aged fine brandy or a rich and complex cognac, sipping from a brandy snifter elevates the experience. Take your time, swirl the glass, and allow the aromas to waft gently towards your nose. Close your eyes, savor the smooth flavors on your palate, and indulge in the refined pleasure that a brandy snifter offers.
Importance of Stemware
Stemware plays a crucial role in the overall drinking experience, as it not only adds an aesthetic appeal to the table but also enhances the flavors, aromas, and presentation of different beverages. Here are some key reasons why stemware is important:
- Enhancing Aesthetics: Stemware adds an element of sophistication and elegance to any table setting. The beautiful designs, crystal clarity, and delicate craftsmanship of stemware elevate the visual appeal of your dining experience, making it more inviting and memorable.
- Promoting Flavor and Aroma: Each type of stemware is carefully designed to enhance the specific qualities of different beverages. The shape, size, and material of the glass interact with the drink, allowing it to open up and fully express its flavors and aromas. The right stemware can help you fully appreciate the nuances and complexities of your favorite beverages.
- Preserving Temperature: Stemware with a long, slender stem allows you to hold the glass without affecting the temperature of the beverage inside. This is particularly important for drinks that should be served chilled, such as white wine or champagne. By holding the stem, you prevent your body heat from warming the drink, ensuring that it stays at the desired temperature.
- Avoiding Smudges and Marks: The stem of stemware serves as a handle, allowing you to hold the glass without touching the bowl or cup. This helps to prevent fingerprints, smudges, or watermarks on the glass surface, ensuring a clean and pristine presentation of your beverages.
- Creating a Festive Atmosphere: Stemware, particularly champagne flutes, adds a sense of celebration and festivity to special occasions. The elegant and elongated shape of champagne flutes showcases the effervescence and bubbles of the sparkling wine, creating a visually stunning and joyous display.
- Providing Versatility: Stemware is not limited to specific beverages. Many types, such as wine glasses and highball glasses, can be used for a variety of drinks, allowing you to enjoy a range of cocktails and mixed beverages with appropriate glassware.
Investing in high-quality stemware is a worthwhile choice for anyone who appreciates the art of drinking and desires to enhance their overall dining experience. Whether you’re enjoying a glass of fine wine, sipping a martini, or toasting with champagne, the right stemware can elevate your enjoyment, making every sip a moment to cherish.
When selecting stemware, consider the type of wine you will be serving. For example, use a larger bowl for red wine to allow for aeration, and a smaller bowl for white wine to preserve its delicate aromas.
Read more: What Is The Best Way To Hang Stemware?
Factors to Consider when Choosing Stemware
Choosing the right stemware goes beyond simply selecting a visually appealing design. To fully enhance your drinking experience, there are several key factors to consider when choosing stemware:
- Material: Stemware is commonly made from glass or crystal. Glass stemware is durable, dishwasher-safe, and more affordable. Crystal stemware, on the other hand, offers exceptional clarity, brilliance, and the ability to enhance the aromas of the beverage. Consider your budget, desired level of elegance, and maintenance preferences when choosing between glass and crystal.
- Shape and Size: Different types of beverages require different glass shapes and sizes to fully express their flavors and aromas. Wine glasses come in various shapes, such as Bordeaux, Burgundy, and white wine glasses, each designed for specific wine varietals. Consider the shape and size that best suits the type of drink you plan to enjoy.
- Stem Length and Stability: The length of the stem determines how easily you can hold and swirl the stemware. Longer stems keep your hand further away from the bowl, preventing heat transfer that could alter the temperature of the drink. Additionally, ensure that the stemware has a stable base to prevent potential tipping or spilling.
- Dishwasher Safe: Consider the stemware’s dishwasher compatibility if ease of cleaning is a priority for you. Some stemware is labeled as dishwasher safe, making cleanup a breeze. However, delicate crystal stemware may require hand washing to maintain its beauty and longevity.
- Price Range: Stemware prices can vary greatly based on factors like material, craftsmanship, and brand. Determine your budget beforehand and balance it with the quality and aesthetic appeal you desire. Remember that investing in higher-quality stemware can greatly enhance your drinking experience and stand the test of time.
By considering these factors, you can choose stemware that not only complements your personal style and preferences but also enhances the specific qualities of the beverages you enjoy. Whether you’re a wine enthusiast, a cocktail lover, or a purveyor of fine spirits, the right stemware can elevate your drinking experience and provide a touch of elegance to any occasion.
Material
The material of the stemware you choose plays a significant role in both the aesthetic appeal and functionality of the glasses. The two most common materials for stemware are glass and crystal, each with its own set of characteristics and advantages.
Glass stemware is typically made from a high-quality, durable glass that is resistant to chipping and breaking. Glass stemware is often more affordable, making it a practical choice for everyday use or larger gatherings. Glass stemware is also dishwasher safe, ensuring easy and convenient cleaning. However, the clarity and brilliance of glass may not match that of crystal, and it may lack the same level of elegance and refinement.
On the other hand, crystal stemware is renowned for its exceptional clarity, brilliance, and ability to refract light. Crystal is made from a high percentage of lead, which gives it a distinctive sparkle and weight. The lead content also contributes to its heightened resonating qualities, enhancing the aromas and flavors of the beverages. Crystal stemware tends to have a thinner and more delicate construction, adding to its elegance and sophistication.
When choosing between glass and crystal stemware, consider your budget, preferences, and intended use. Glass stemware works well for everyday use, informal gatherings, or when you require a larger quantity of glasses. Crystal stemware, on the other hand, is ideal for special occasions, formal events, or when you want to elevate the aesthetics of your table setting.
Furthermore, it’s important to note that not all crystal stemware is created equal. Lead-free crystal has become increasingly popular due to health and safety concerns associated with lead. Although this type of crystal may not offer the same brilliance as leaded crystal, it can still provide a higher level of clarity and elegance compared to glass.
Ultimately, the choice between glass and crystal stemware comes down to personal preference and the intended use of the glasses. Both options can enhance your drinking experience and add a touch of sophistication to any occasion. So whether you opt for the durability and affordability of glass or the luxurious appeal of crystal, choose stemware that aligns with your style and enhances your enjoyment of your favorite beverages.
Shape and Size
The shape and size of stemware are crucial factors to consider when choosing the right glasses for your beverages. Different types of drinks require specific glass shapes and sizes to enhance their flavors, aromas, and overall drinking experience.
For wine enthusiasts, the shape of wine glasses is key to unlocking the nuances of different wine varietals. Bordeaux glasses have a taller, broader bowl with a narrower rim, directing the wine to the back of the mouth, emphasizing its bold flavors and tannins. These glasses are well-suited for full-bodied red wines like Cabernet Sauvignon and Merlot. On the other hand, Burgundy glasses have a wider and rounder bowl, allowing for more oxidation and enhancing the delicate and aromatic nature of red wines like Pinot Noir. White wine glasses have a smaller and more U-shaped bowl, preserving the cooler temperature and accentuating the fresh and crisp aromas of white wines like Chardonnay or Sauvignon Blanc.
Cocktail and mixed drink enthusiasts should consider the shape and size of glasses that best showcase the flavors and presentation of their favorite beverages. Martini glasses with their iconic V-shaped design are perfect for enjoying the classic cocktail and other mixed drinks. The wide, shallow bowl of the glass allows you to appreciate the colors and clarity of the cocktail while the long stem keeps the drink cool. Highball glasses, with their tall and narrow shape, are ideal for mixed drinks that are served with a larger proportion of non-alcoholic mixers. The height of these glasses accommodates plenty of ice and mixer while still leaving room for garnishes and allowing for optimal enjoyment.
The size of the stemware also matters. It’s important to choose glasses that provide enough space for swirling, sniffing, and sipping. Wine glasses typically range in size from 8 to 20 ounces, depending on the style. Larger glasses allow for more aeration and better enjoyment of the wine’s aromas, while smaller glasses are better suited for delicate wines or smaller pours. When it comes to cocktail glasses, ensure they have a capacity that can accommodate both the desired amount of the beverage and any additional ingredients or garnishes. It’s important not to overfill the glass and leave space for mixing and adding ice if required.
Ultimately, the shape and size of stemware are designed to enhance the drinking experience by highlighting the unique qualities of each beverage. Consider the intended drink and the characteristics you want to showcase when selecting the appropriate shape and size of stemware. By choosing glasses tailored to your favorite beverages, you can fully enjoy the flavors, aromas, and visual appeal of your drinks.
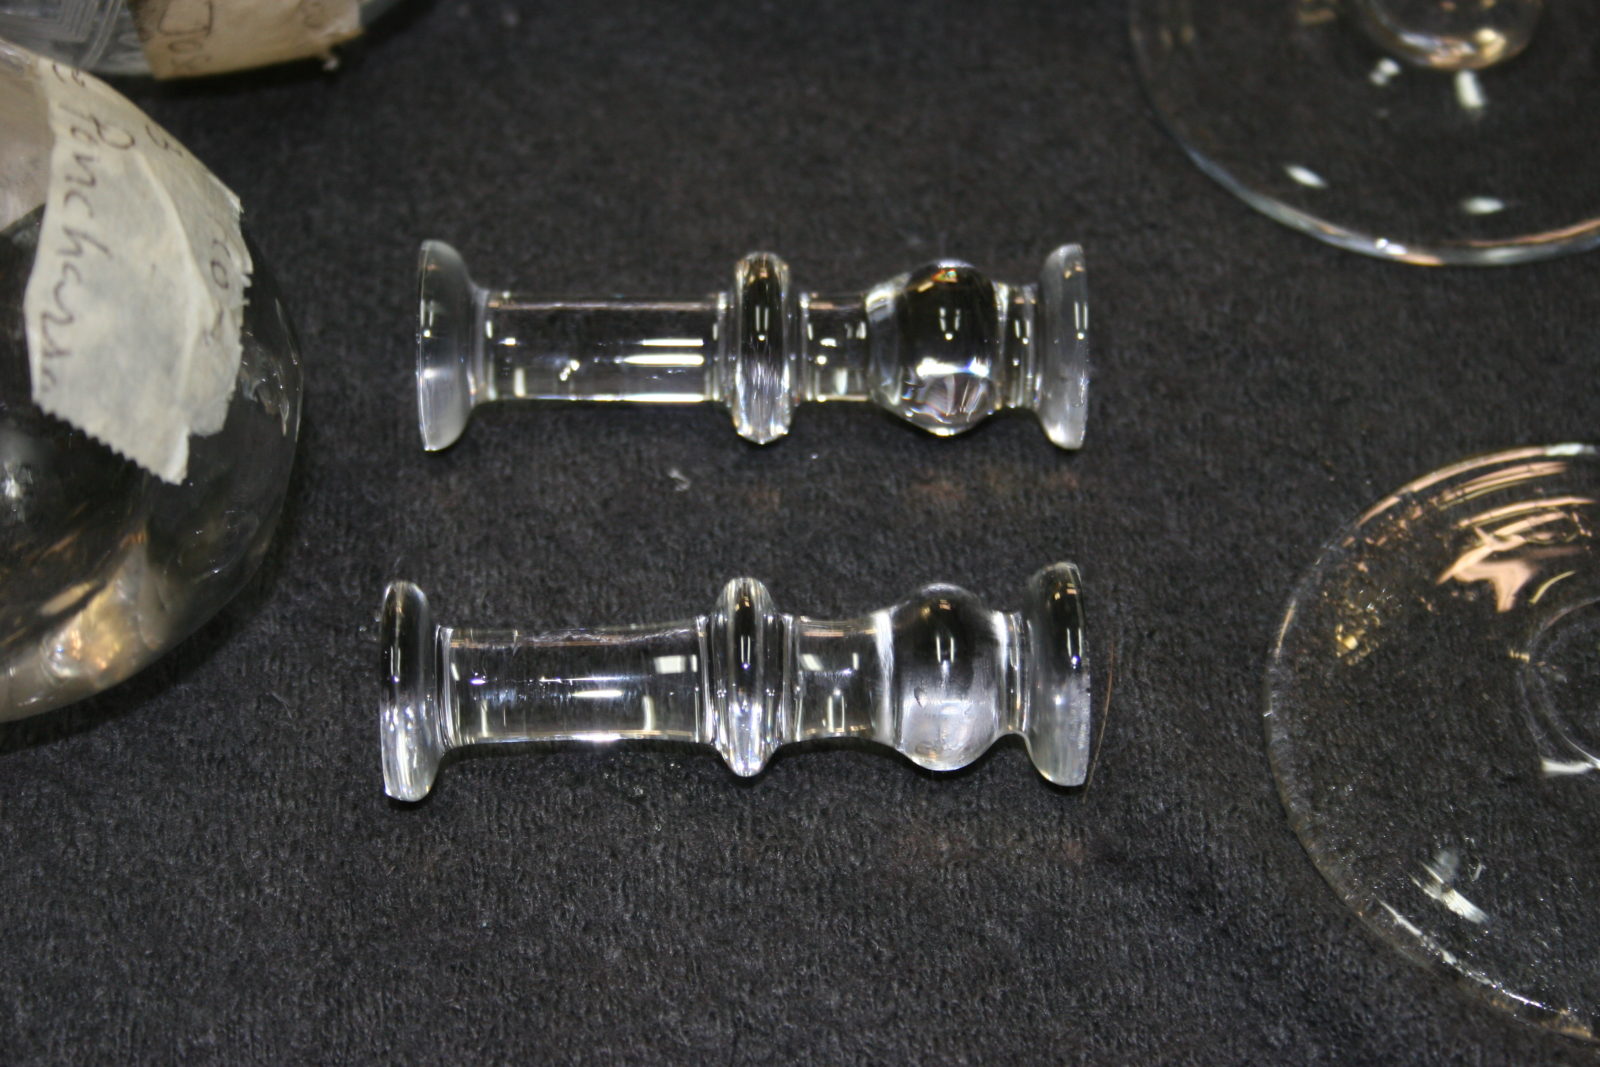
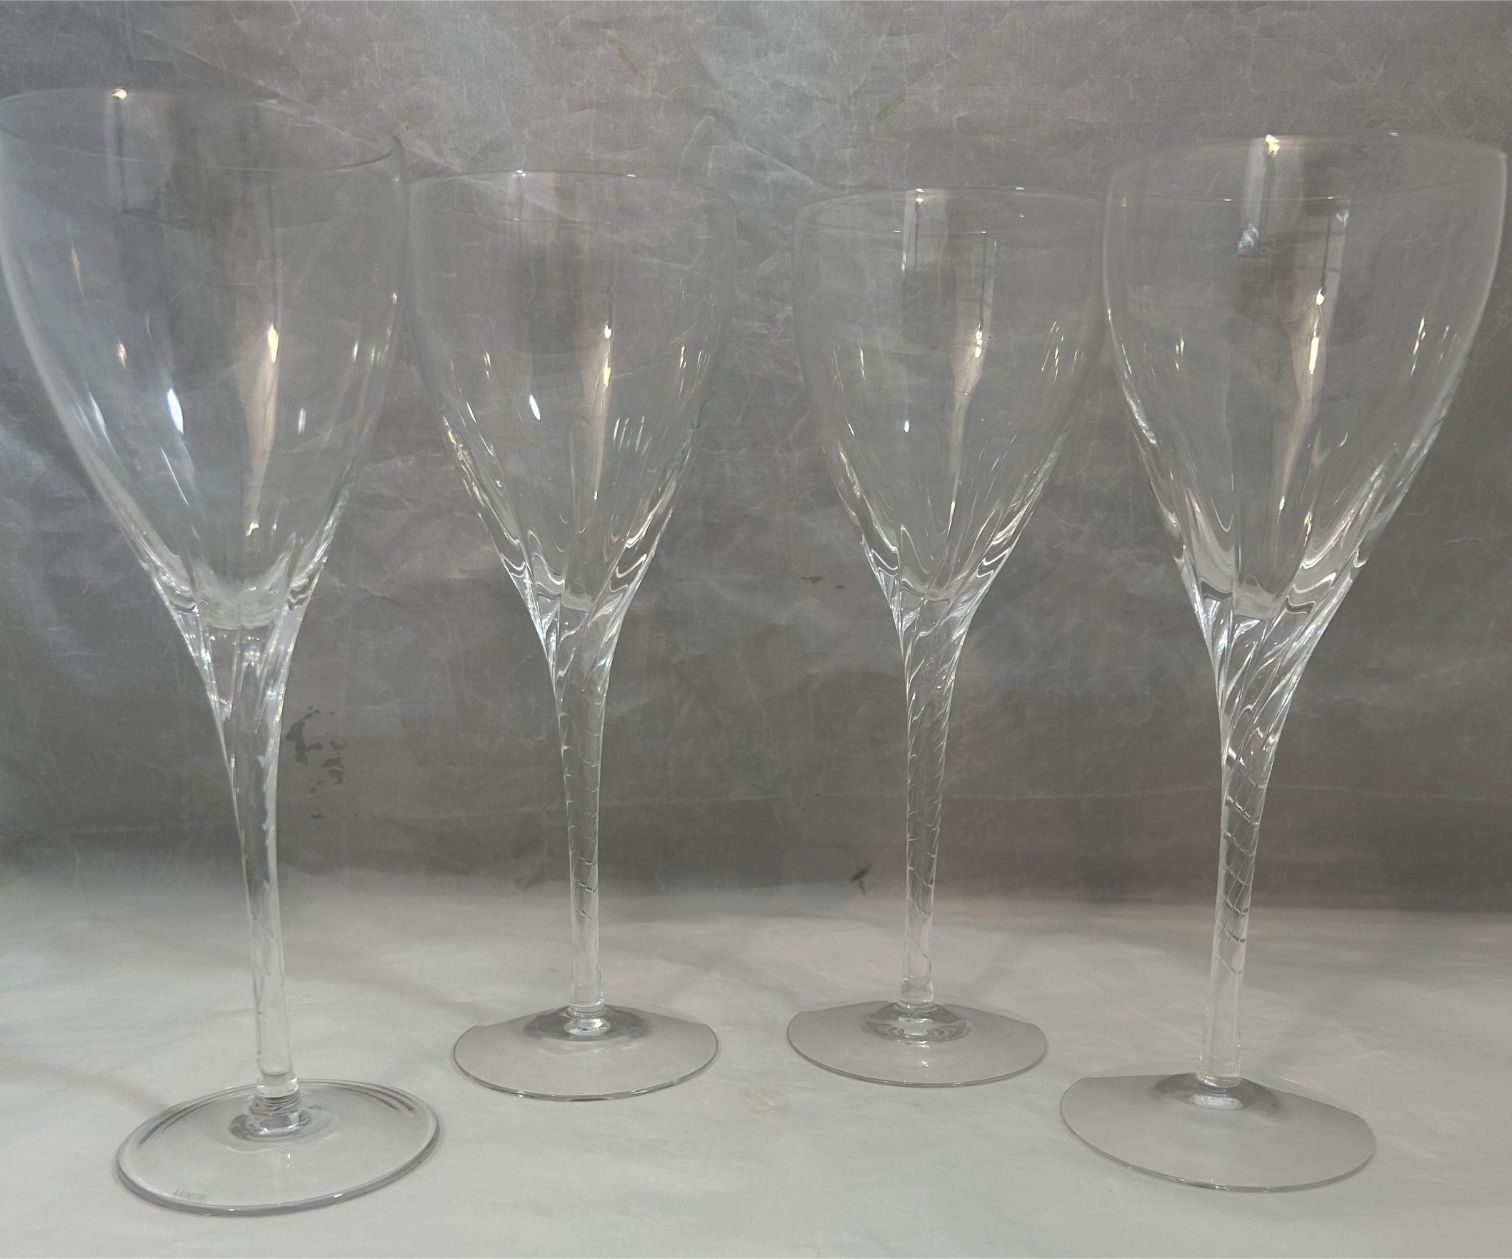
Stem Length and Stability
The length of the stem and the overall stability of stemware are important considerations when choosing the right glasses for your beverages. The stem of stemware serves both functional and aesthetic purposes, adding a touch of elegance while also ensuring a comfortable and enjoyable drinking experience.
The length of the stem is particularly important because it allows you to hold the glass without affecting the temperature of the beverage inside. By holding the stem, you prevent your body heat from transferring to the drink, helping to maintain its desired temperature. This is especially crucial for beverages that are best enjoyed at specific temperatures, such as white wine and champagne. Additionally, the length of the stem keeps your hand a distance away from the bowl or cup, reducing the risk of smudging or leaving fingerprints on the glass surface, which could hinder its visual appeal.
The stability of the stemware is another factor to consider. Glasses with a stable base are less likely to tip over, minimizing the risk of spills or accidents. This is especially important when using stemware for special occasions or formal events where you want to ensure a seamless dining experience. Glasses with a solid and well-balanced base contribute to the overall functionality and usability of the stemware, allowing you to enjoy your beverages without worrying about potential mishaps.
It’s also worth noting that the stem length and stability can impact the overall aesthetics and elegance of the stemware. Longer stems often exude a more refined and sophisticated look, adding a touch of grandeur to the table setting. Additionally, stemware with a well-constructed and stable base can create a visually pleasing silhouette, enhancing the overall appearance and visual appeal of the glasses.
When choosing stemware, consider your personal preference for stem length and stability. If you enjoy the traditional elegance associated with stemware, opt for glasses with longer stems. However, if you prefer a more contemporary or casual look, glasses with shorter stems may be more suitable. Regardless of your preference, ensure that the stemware you choose provides a stable and secure base, giving you confidence in its durability and usability.
By considering the stem length and stability of stemware, you can select glasses that not only add elegance to your table setting but also offer a comfortable and secure grip. This ensures a delightful and worry-free drinking experience, allowing you to fully appreciate the flavors, aromas, and visual appeal of your favorite beverages.
Read more: What Is My Crystal Stemware Worth?
Dishwasher Safe
The dishwasher has become an essential appliance in many households, providing convenience and efficiency when it comes to cleaning our kitchenware. When selecting stemware, considering whether it is dishwasher safe can greatly impact your overall experience and ease of maintenance.
Some stemware is specifically labeled as dishwasher safe, meaning it is designed to withstand the high temperatures and water pressure of a dishwasher without being damaged. Dishwasher-safe stemware offers several advantages:
Convenience: Choosing stemware that is dishwasher safe allows for easy and hassle-free cleaning. Instead of spending time washing delicate glassware by hand, you can simply place them in the dishwasher and let it do the work for you. This can be especially beneficial when hosting parties or larger gatherings where numerous glasses need to be cleaned.
Efficiency: Dishwashers are designed to thoroughly clean and sanitize your tableware, including stemware. They can remove stubborn stains, fingerprints, and lip marks from glasses, ensuring they look pristine for the next use. This saves you both time and effort in maintaining the cleanliness and sparkle of your stemware.
Maintenance: Dishwasher-safe stemware is typically constructed with durable materials and craftsmanship that can withstand repeated washing cycles. They are made to endure the high temperatures, water pressure, and mild detergents used in dishwashers without losing their clarity or shape. This means that dishwasher-safe stemware is less likely to chip, crack, or break compared to delicate, hand-wash-only glasses.
However, it’s important to note that not all stemware is dishwasher safe. Delicate or antique stemware, as well as crystal glasses with intricate designs or gold accents, may be more susceptible to damage in a dishwasher. These glasses are often best cleaned by hand to preserve their beauty and integrity.
If you prefer to use a dishwasher, be sure to check the manufacturer’s recommendations regarding dishwasher safety before purchasing stemware. Look for stemware that specifically states it is safe for dishwasher use. Following the manufacturer’s instructions, such as placing the glasses on the top rack or using a gentle cycle, can help ensure the longevity of your stemware.
Ultimately, the decision on whether to choose dishwasher-safe stemware depends on your personal preferences and lifestyle. If convenience and ease of cleaning are important to you, opting for dishwasher-safe stemware can be a practical choice. Just remember to check the labeling and care instructions to ensure that your stemware remains in top condition for years to come.
Price Range
When it comes to choosing stemware, the price range is an important factor to consider. Stemware can vary widely in price, depending on factors such as the material, craftsmanship, brand, and design. Understanding your budget and preferences will help you find stemware that meets your needs and offers the best value for your investment.
It’s essential to strike a balance between quality and price when purchasing stemware. While higher-end options may come with a heftier price tag, they often offer better craftsmanship, durability, and aesthetic appeal. Crystal stemware, for example, is often associated with luxury and elegance, but it tends to be more expensive than glass stemware. The lead content in crystal contributes to its exceptional clarity, brilliance, and ability to accentuate the aromas and flavors of beverages. However, there are also high-quality glass stemware options available that offer affordability without compromising on quality.
Consider the frequency of use and the importance of stemware in your personal enjoyment of beverages. If you frequently host dinner parties or enjoy entertaining guests with fine wines and cocktails, investing in higher-quality stemware may be worthwhile to enhance the overall experience. On the other hand, if stemware is primarily used for everyday meals or less formal occasions, there are plenty of stylish and functional options available at more affordable price points.
Keep in mind that the price of stemware can vary within different brands and retailers. Shopping around and comparing prices can help you find the best deals and ensure that you stay within your desired price range. Online platforms, specialty stores, and seasonal sales can be great sources for finding discounts and promotions on stemware.
Lastly, it’s important to consider the value and longevity of stemware. While higher-priced stemware may seem like a significant investment upfront, well-made glasses can last for many years with proper care. Taking this into account, it may be more cost-effective to invest in durable stemware that will bring you joy and elevate your drinking experience for a longer period, rather than repeatedly replacing cheaper, lower-quality options.
Ultimately, the price range for stemware is a personal decision based on your budget, preferences, and intended use. Whether you opt for high-end crystal stemware or more affordable glass options, prioritizing quality, durability, and aesthetic appeal will ensure that you find stemware that enhances your enjoyment of beverages while offering a good value for your investment.
Proper Care and Maintenance of Stemware
Caring for your stemware properly is essential to ensure its longevity, beauty, and functionality. With the right care and maintenance routine, you can continue to enjoy your stemware for many years to come. Here are some tips to keep in mind:
- Hand Washing: Whether your stemware is labeled as dishwasher safe or not, it’s generally recommended to wash them by hand. Fill a clean sink or basin with warm water and a mild dishwashing liquid. Gently hold the stem of the glass and use a soft sponge or cloth to clean the bowl, rim, and stem. Avoid using abrasive scrub brushes or harsh cleaners as they can scratch or damage the glass or crystal.
- Drying: After washing, carefully rinse the stemware with warm water to remove any soap residue. Use a lint-free, non-abrasive cloth to dry the glasses by hand. Inspect each glass to ensure they are clean and free of any water spots or streaks.
- Storing: When not in use, store your stemware in a secure and upright position to prevent any accidental damage. Consider using stemware storage racks or padded dividers to keep glasses separated and stable. Avoid stacking glasses inside one another, as this can increase the risk of chips or cracks.
- Minimizing Impact: Handle your stemware with care to avoid accidental knocks or drops. Hold the glass firmly by the stem rather than the bowl or rim, as this reduces the risk of leaving fingerprints or smudges and minimizes the chances of the glass being damaged or toppling over.
- Temperature Considerations: Extreme temperature changes can affect the integrity of your stemware. Avoid subjecting glasses to rapid temperature changes, such as pouring hot liquid into a cold glass or placing a hot glass in cold water. Allow glasses to gradually adjust to room temperature before serving or washing.
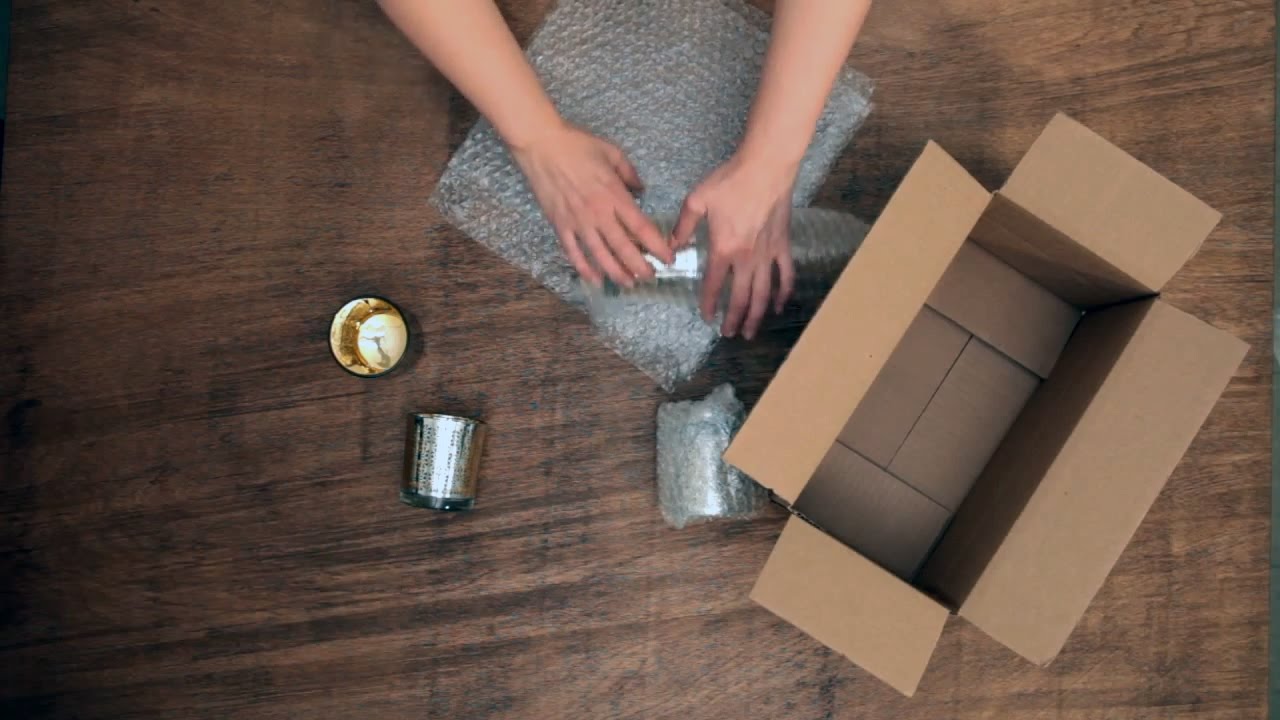
- Crystal Maintenance: If you own crystal stemware, take extra care to maintain its brilliance. Hand wash crystal glasses to prevent clouding or etching caused by dishwashing detergents. Use a mixture of warm water and white vinegar to remove any mineral deposits or stains. Rinse thoroughly and dry with a soft cloth to prevent water spots.
- Storage Environment: Store your stemware in a clean and dry environment, away from direct sunlight or sources of extreme heat. Exposure to sunlight or high temperatures can cause the glasses to become brittle, fade in color, or lose their luster over time.
By following these care and maintenance guidelines, you can preserve the beauty and functionality of your stemware. Whether you have glass or crystal stemware, proper care ensures that your glasses remain in pristine condition, allowing you to fully savor the aromas, flavors, and visual appeal of your favorite beverages.
Conclusion
Stemware is an essential part of creating an enjoyable and sophisticated dining experience. From enhancing the aromas and flavors of beverages to adding a touch of elegance to the table setting, stemware plays a significant role in elevating our enjoyment of drinks. Whether you’re a wine enthusiast, a cocktail lover, or a connoisseur of fine spirits, choosing the right stemware enhances your appreciation for the nuances of each beverage.
When selecting stemware, consider factors such as the material, shape, size, stem length, and stability. Glass or crystal stemware each offers its own advantages, and the choice ultimately depends on your personal preferences and budget. The shape and size of the glass should complement the specific characteristics of the beverage you’re serving. For wines, different styles of glasses cater to varietals, while martini glasses and highball glasses are designed for specific mixed drinks and cocktails.
Proper care and maintenance are crucial for preserving the beauty and functionality of your stemware. Hand washing is generally recommended to ensure that the glasses stay in optimal condition. Storing them upright and avoiding rough handling minimize the risk of damage. While the dishwasher may be suitable for some stemware, it’s important to check the manufacturer’s recommendations. For crystal stemware, extra care should be taken to maintain its brilliance and clarity.
Price range also comes into consideration when choosing stemware. Balancing your budget with the quality, craftsmanship, and aesthetics of the glasses will help you find the best value for your investment. Keep in mind that investing in higher-quality stemware can provide years of enjoyment.
Whether you’re hosting a formal dinner, enjoying a quiet evening at home, or celebrating a special occasion, the right stemware adds a touch of sophistication and enhances the overall drinking experience. So, take the time to choose stemware that reflects your style, complements your beverages, and adds that extra sparkle to your table settings. Cheers to creating memorable moments and savoring the flavors and aromas of your favorite beverages with the perfect stemware!
Frequently Asked Questions about What Is Stemware?
Was this page helpful?
At Storables.com, we guarantee accurate and reliable information. Our content, validated by Expert Board Contributors, is crafted following stringent Editorial Policies. We're committed to providing you with well-researched, expert-backed insights for all your informational needs.


0 thoughts on “What Is Stemware?”