Tableware
How To Make A Stemware Rack
Modified: August 22, 2024
Learn how to make a stylish and functional stemware rack for your tableware collection. Find step-by-step instructions and tips for organizing your glasses.
(Many of the links in this article redirect to a specific reviewed product. Your purchase of these products through affiliate links helps to generate commission for Storables.com, at no extra cost. Learn more)
Introduction
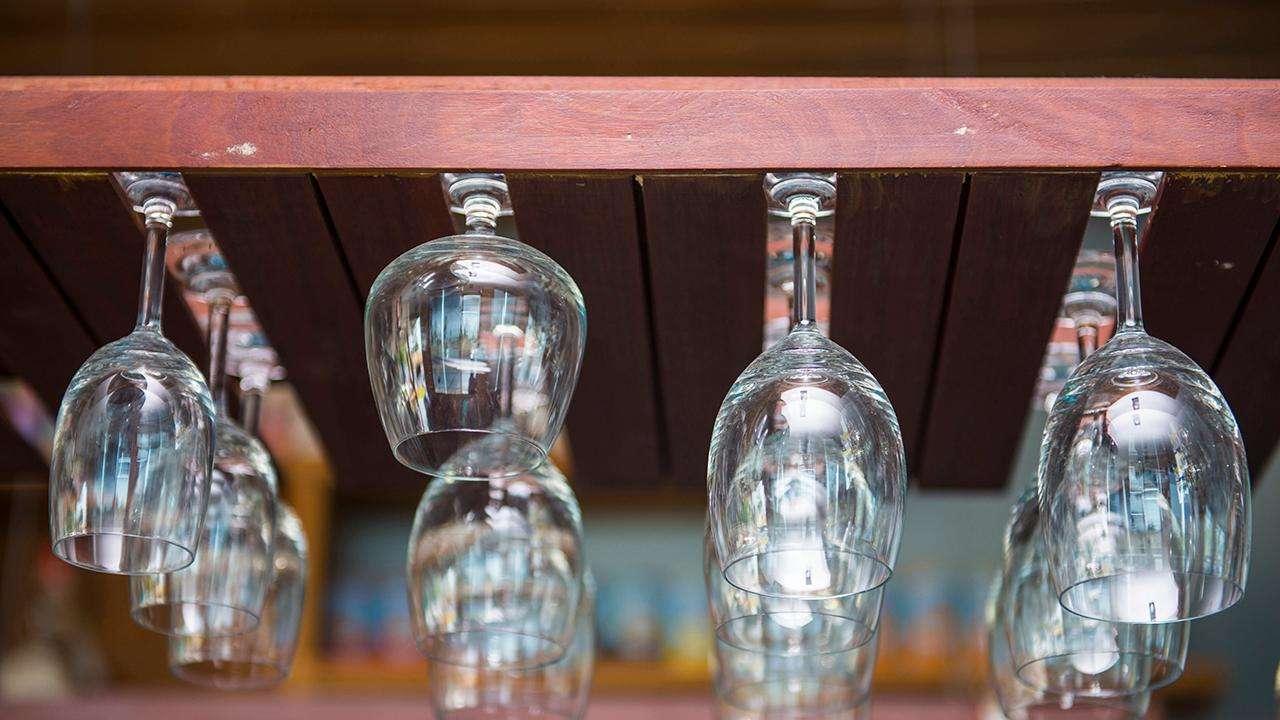
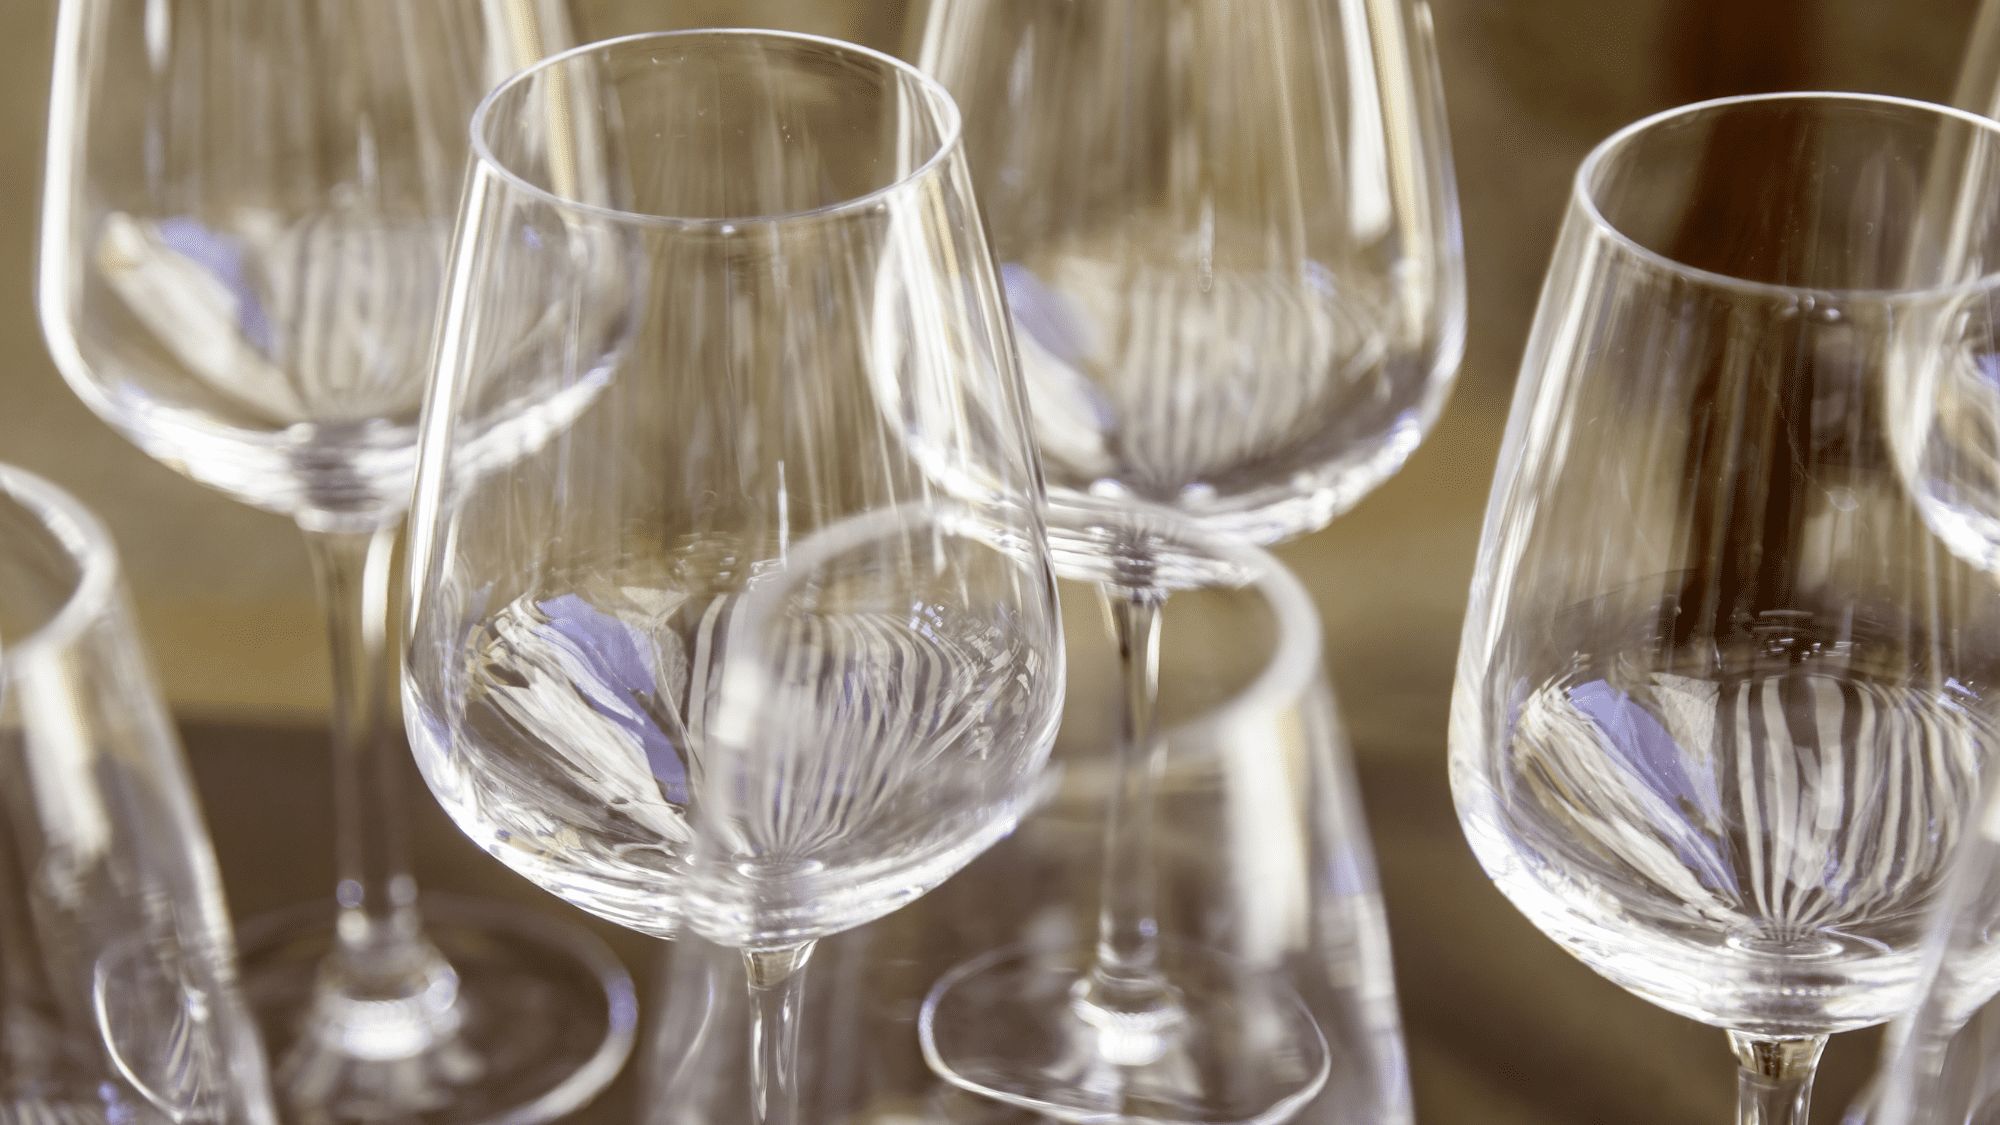
Welcome to the world of stemware! If you’re a proud owner of exquisite stemware collections, you know how important it is to store and display them properly. A stemware rack is just the solution you need to keep your delicate wine glasses, champagne flutes, and other stemware safe and organized.
In this article, we will guide you through the process of making your own stemware rack. With a few simple materials and some basic woodworking skills, you’ll be able to create a stylish and functional rack that will showcase your stemware collection in all its glory.
Imagine the satisfaction of beautifully arranging your stemware on a rack of your own creation! So let’s dive in and get started on this exciting DIY project.
Key Takeaways:
- Create a stunning stemware rack with basic woodworking skills and a few materials. Showcase your delicate glasses in style and add an elegant touch to your kitchen or dining area.
- Personalize your DIY stemware rack to match your decor and elevate the ambiance of your space. Enjoy the satisfaction of displaying and accessing your stemware collection with a custom-made rack.
Materials Needed
Before you begin crafting your stemware rack, gather the following materials:
- Wood – Choose a sturdy and durable wood, such as pine or oak. Make sure it is thick enough to support the weight of your stemware.
- Saw – A hand saw or a power saw will be necessary for cutting the wood to the required dimensions.
- Sandpaper – Different grades of sandpaper, ranging from coarse to fine, will be needed to smooth the edges and surfaces of the wood.
- Wood Finish – Select a wood finish that matches your desired aesthetic. Options include stain, paint, or varnish.
- Wood Glue – High-quality wood glue will come in handy for securely joining the pieces of your stemware rack.
- Dowel Rods – These cylindrical rods will serve as the support for your stemware. Choose a diameter that will snugly fit the stems of your glasses.
- Measuring Tape – You’ll need a measuring tape or ruler to accurately measure and mark the dimensions of the wood.
- Clamps – Clamps will keep your pieces in place as the glue dries, ensuring a strong and stable construction.
- Screws – If you plan on mounting your stemware rack, you’ll need screws to secure it to the wall.
- Screwdriver or Drill – Depending on the type of screws you choose, you’ll need a screwdriver or drill to attach the rack to the wall.
- Paintbrush and Rags – These tools will be necessary for applying the wood finish and cleaning up any excess.
Once you have gathered these materials, you’ll be ready to embark on your stemware rack DIY project. So let’s move on to the next step!
Step 1: Measure and Cut the Wood
The first step in creating your stemware rack is to measure and cut the wood to the desired dimensions. Here’s how:
- Measure the length and width of the rack: Decide how large you want your stemware rack to be. Consider the number of glasses you want to hold and the available space in your kitchen or dining area. Using a measuring tape, carefully measure and mark the dimensions on your wood.
- Cut the sides and bottom: Using a hand saw or power saw, carefully cut the wood according to the dimensions you marked. Be precise to ensure that all the pieces fit together properly.
- Smooth the edges: After cutting the wood, use sandpaper to smooth the edges of each piece. This will prevent any rough or splintered surfaces that could potentially damage your stemware.
Remember to wear safety goggles and gloves while cutting and sanding the wood to protect yourself from any potential injuries.
Once you have measured and cut the wood, proceed to the next step to prepare the pieces for assembly.
Step 2: Sand and Finish the Wood
After cutting the wood to the desired dimensions, it’s time to sand and finish the pieces. This step will give your stemware rack a polished and professional look. Follow these steps to sand and finish the wood:
- Start with coarse sandpaper: Begin by using coarse-grit sandpaper to remove any roughness, bumps, or imperfections on the surfaces of the wood. Sand in the direction of the grain for a smoother finish.
- Move to finer sandpaper: Once you have smoothed out the rough areas, switch to a finer-grit sandpaper. This will help to further refine the surfaces and eliminate any remaining scratches or marks.
- Pay attention to edges and corners: Be sure to sand the edges and corners of each piece to ensure they are smooth and safe to handle.
- Clean off the dust: After sanding, use a clean cloth or brush to remove any sawdust or debris from the wood surfaces.
- Apply the wood finish: Now it’s time to apply the wood finish of your choice. Whether you prefer a stain, paint, or varnish, carefully follow the instructions on the product label.
- Brush on the finish: Use a clean paintbrush to evenly apply the wood finish to all surfaces of the wood. Apply multiple coats if necessary, allowing each coat to dry before applying the next.
- Wipe off any excess: After applying the finish, use a clean cloth to wipe off any excess product and ensure a smooth and polished appearance.
Allow the finish to fully dry according to the manufacturer’s instructions. This will ensure that your stemware rack is not only visually appealing but also well protected from moisture and wear.
With the wood sanded and finished, you’re one step closer to creating your custom stemware rack. Let’s move on to the assembly process in the next step.
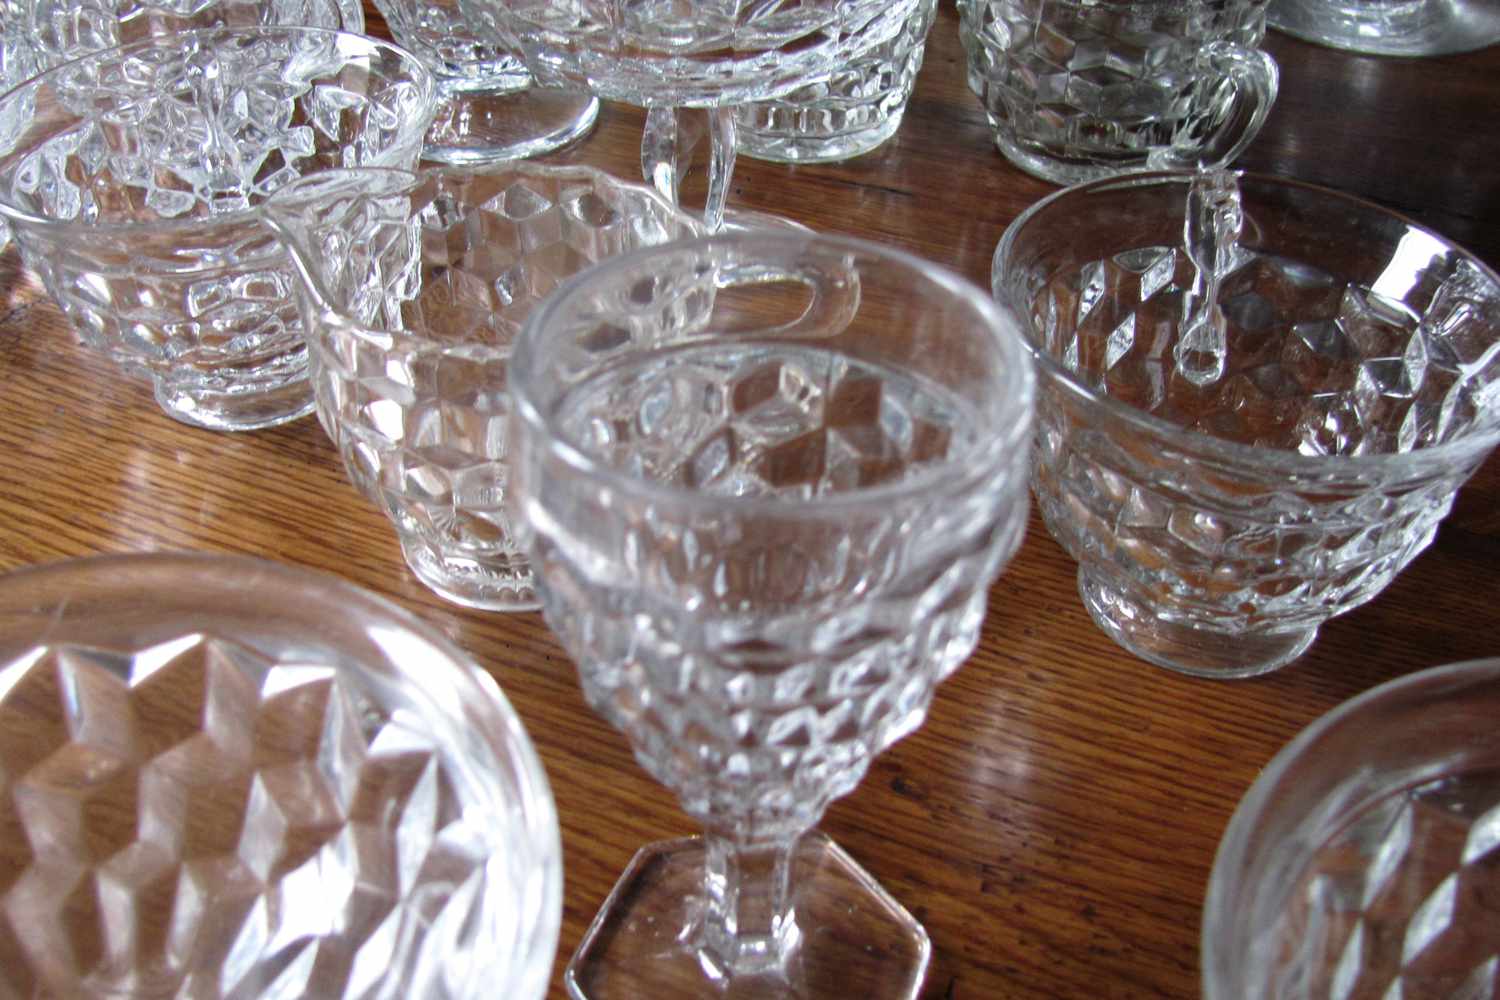
When making a stemware rack, be sure to measure the dimensions of your stemware to ensure that the rack will accommodate the size and shape of your glasses. This will help prevent any accidental breakage or damage to your stemware.
Step 3: Attach the Sides and Bottom
Now that you have the sanded and finished pieces of wood, it’s time to assemble your stemware rack. In this step, you will attach the sides and bottom of the rack. Follow these steps:
- Apply wood glue: Apply a generous amount of wood glue to the edges of one of the side pieces.
- Position the pieces: Place the glued edge of the side piece against the corresponding edge of the bottom piece.
- Secure with clamps: Use clamps to hold the pieces firmly in place. Make sure they are aligned correctly and the edges are flush.
- Repeat for the other side: Apply wood glue to the remaining side piece and attach it to the opposite edge of the bottom piece. Secure with clamps.
- Allow the glue to dry: Follow the drying time specified by the wood glue manufacturer. It’s important to allow the glue to fully set to ensure a strong and sturdy connection.
- Remove excess glue: Once the glue has dried, use a damp cloth or sponge to carefully remove any excess glue that may have oozed out from the joints. This will help achieve a clean and professional finish.
Remember to follow the safety precautions recommended by the wood glue manufacturer, such as proper ventilation and avoiding direct contact with the skin.
With the sides and bottom securely attached, your stemware rack is starting to take shape. In the next step, we’ll move on to adding the dowels that will hold your stemware.
Read more: What Is Stemware?
Step 4: Attach the Dowels
In this step, we will attach the dowels that will serve as the support for your stemware. Follow these steps to complete this process:
- Measure and mark the dowel placement: Determine how many glasses you want your stemware rack to hold and calculate the appropriate spacing between the dowels. Use a measuring tape and pencil to mark the positions on the inside of the side pieces.
- Drill pilot holes: Use a drill with a drill bit slightly smaller than the diameter of your dowels to create pilot holes at the marked positions. These pilot holes will help guide the dowels into place.
- Apply wood glue to the dowels: Apply a small amount of wood glue to the ends of each dowel and insert them into the pilot holes. Make sure they are seated securely.
- Allow the glue to dry: Allow the wood glue to dry completely according to the manufacturer’s instructions. This will ensure that the dowels are firmly attached and can support the weight of your stemware.
Once the wood glue has dried, give the dowels a gentle tug to ensure they are firmly in place. If any of the dowels come loose, reapply wood glue and allow it to dry again. It’s better to ensure the dowels are securely attached before moving on to the next step.
With the dowels in place, your stemware rack is nearly complete. In the final step, we will discuss how to mount the rack to the wall for convenient storage and display.
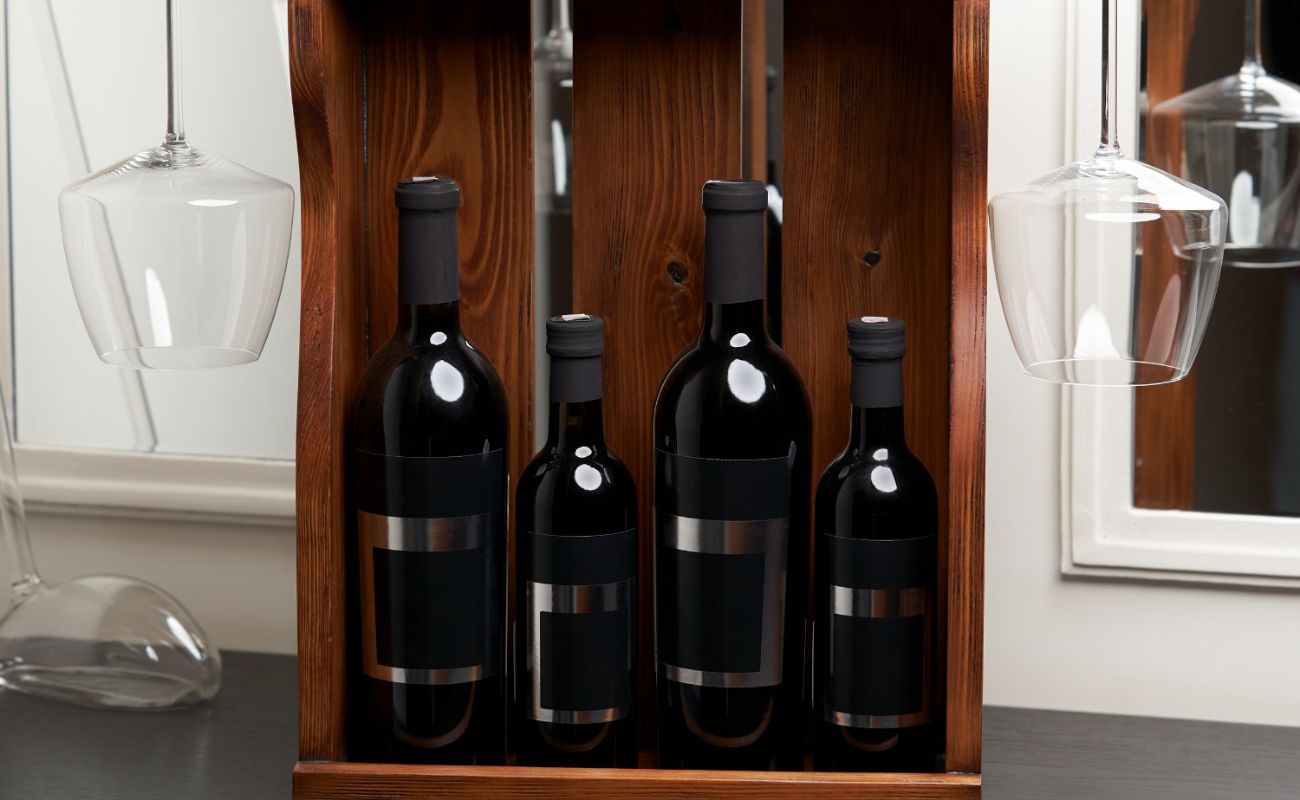
Step 5: Mount the Stemware Rack
In this final step, we will discuss how to mount your completed stemware rack to the wall. By mounting the rack, you’ll not only keep your stemware organized but also create an attractive display. Follow these steps to securely mount your rack:
- Choose the location: Select a suitable location on the wall where you want to mount your stemware rack. Ensure that it’s easily accessible and complements the overall aesthetics of your space.
- Mark the mounting holes: Hold the rack against the wall in the desired position. Use a pencil to mark the spots where you will attach the rack with screws.
- Pre-drill the holes: Using a drill with a bit slightly smaller than the size of your screws, pre-drill holes at the marked spots. This will prevent the wood from splitting when you insert the screws.
- Attach the rack: Line up the pre-drilled holes on the rack with the holes on the wall. Insert the screws and use a screwdriver or drill to secure the rack to the wall. Make sure the rack is level and securely fastened.
- Test the stability: Gently shake the rack to ensure it is securely mounted and doesn’t wobble. If necessary, tighten the screws or make any adjustments to ensure stability.
With the stemware rack securely mounted, step back and admire your handiwork. Arrange your stemware on the rack, and enjoy the convenience and elegance it adds to your space.
Remember, if you’re unsure about mounting the rack yourself or if you have concerns about the type of wall you are working with, seek professional assistance to ensure a safe and secure installation.
Congratulations! You’ve successfully created and mounted your own stemware rack. Now you can proudly showcase your stemware collection and elevate your dining experience.
Thank you for following this step-by-step guide. We hope you found it helpful and enjoyable. Cheers to your new stemware rack!
Conclusion
Creating your own stemware rack is a rewarding DIY project that allows you to showcase your stemware collection in a stylish and organized manner. By following the steps outlined in this guide, you have learned how to measure and cut the wood, sand and finish the pieces, attach the sides and bottom, secure the dowels, and mount the rack to the wall. With a little time and effort, you have created a functional and visually appealing storage solution for your stemware.
Not only does a well-crafted stemware rack provide a safe and secure place to store your delicate glasses, but it also adds a touch of elegance to your kitchen or dining area. With your stemware on display, you can easily access and admire your collection, making it a focal point of conversation and enjoyment during gatherings or everyday use.
Remember to personalize your stemware rack to suit your style and preferences. Choose a wood finish that complements your existing decor or experiment with paint or stain to create a unique look. Additionally, consider adding extra features such as decorative accents or lighting to further enhance the aesthetic appeal.
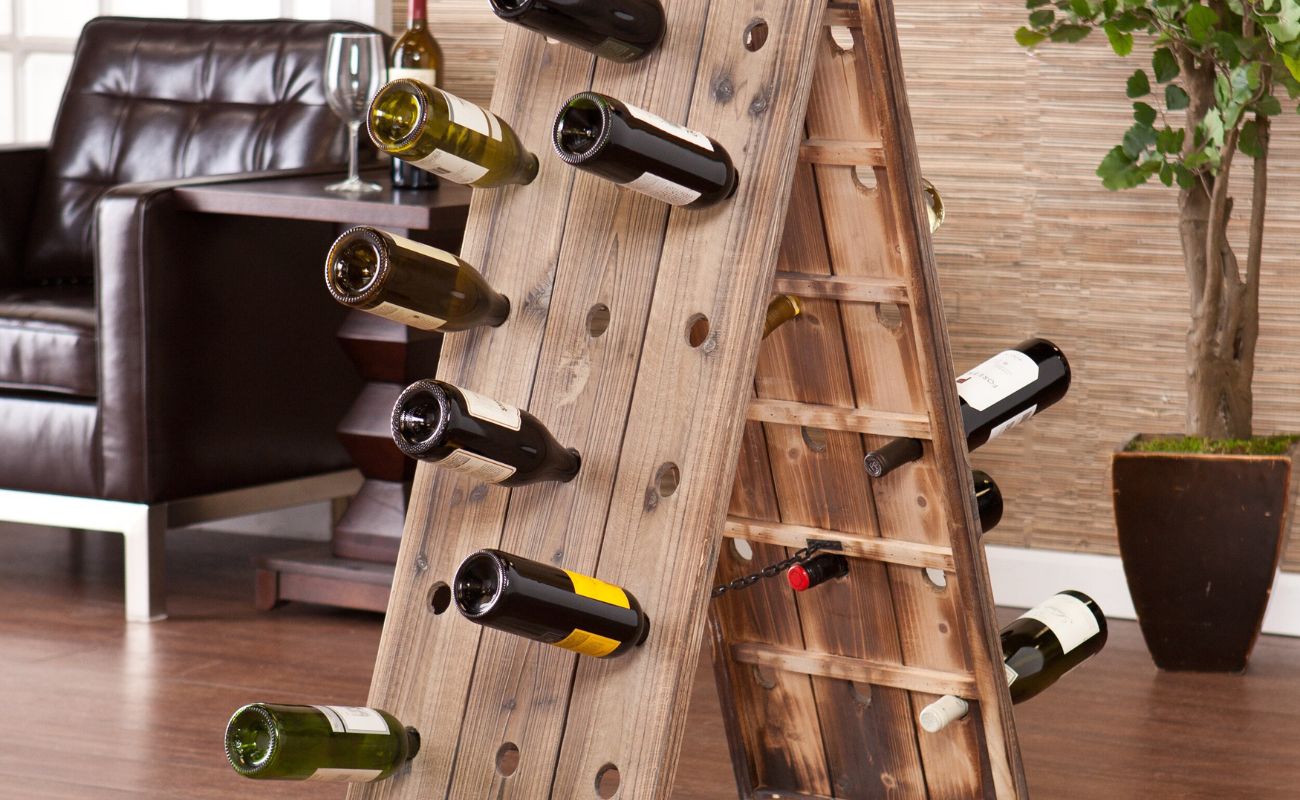
Whether you choose to mount your stemware rack in the kitchen, dining room, or even a dedicated home bar area, it will undoubtedly elevate the ambiance and functionality of the space. Your stemware rack can become a beautiful and practical addition to your home, allowing you to proudly display your collection and create an inviting atmosphere for entertaining guests.
We hope this guide has inspired you to embark on the journey of building your own stemware rack. By utilizing your woodworking skills and putting your creativity to the test, you have created a unique and personalized piece that will be treasured for years to come.
Now, go ahead and raise a glass to your craftsmanship as you enjoy the fruits of your labor with your cherished stemware collection beautifully displayed on your custom-made rack.
Frequently Asked Questions about How To Make A Stemware Rack
Was this page helpful?
At Storables.com, we guarantee accurate and reliable information. Our content, validated by Expert Board Contributors, is crafted following stringent Editorial Policies. We're committed to providing you with well-researched, expert-backed insights for all your informational needs.

0 thoughts on “How To Make A Stemware Rack”