Home>Dining>Tableware>How To Crochet Placemats For Beginners
Tableware
How To Crochet Placemats For Beginners
Modified: February 24, 2024
Learn how to crochet beautiful placemats easily with our beginner-friendly guide. Create stylish tableware using basic crochet techniques.
(Many of the links in this article redirect to a specific reviewed product. Your purchase of these products through affiliate links helps to generate commission for Storables.com, at no extra cost. Learn more)
Introduction
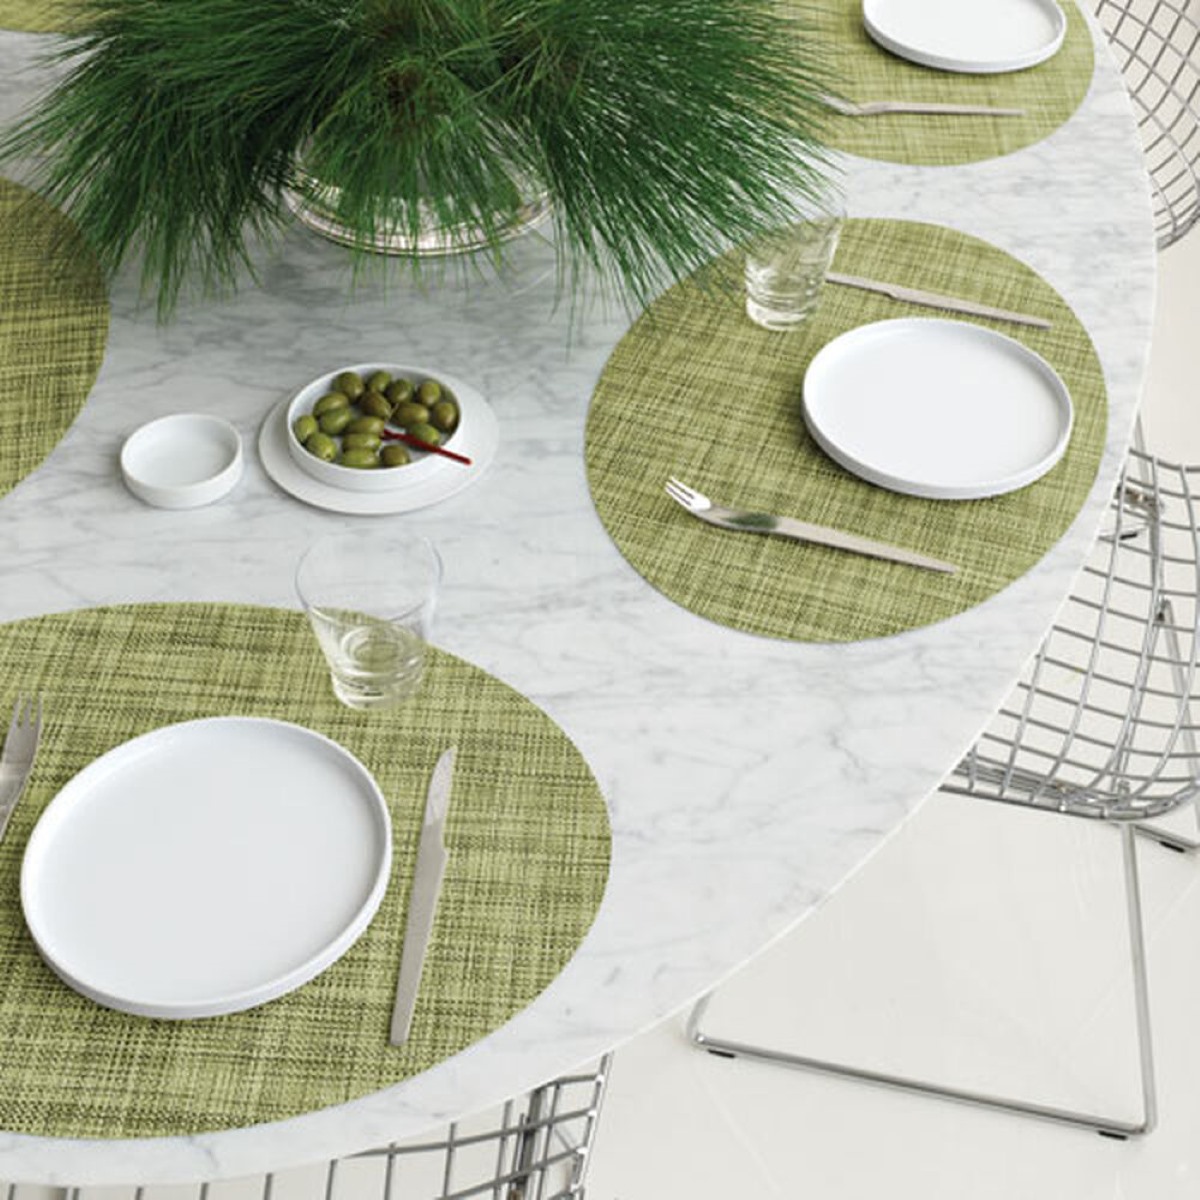
Welcome to the wonderful world of crochet! If you’re a beginner looking to dive into the world of crafting, crocheting placemats is a fantastic place to start. Not only is it a practical and functional project, but it also allows you to unleash your creativity and create beautiful pieces of tableware.
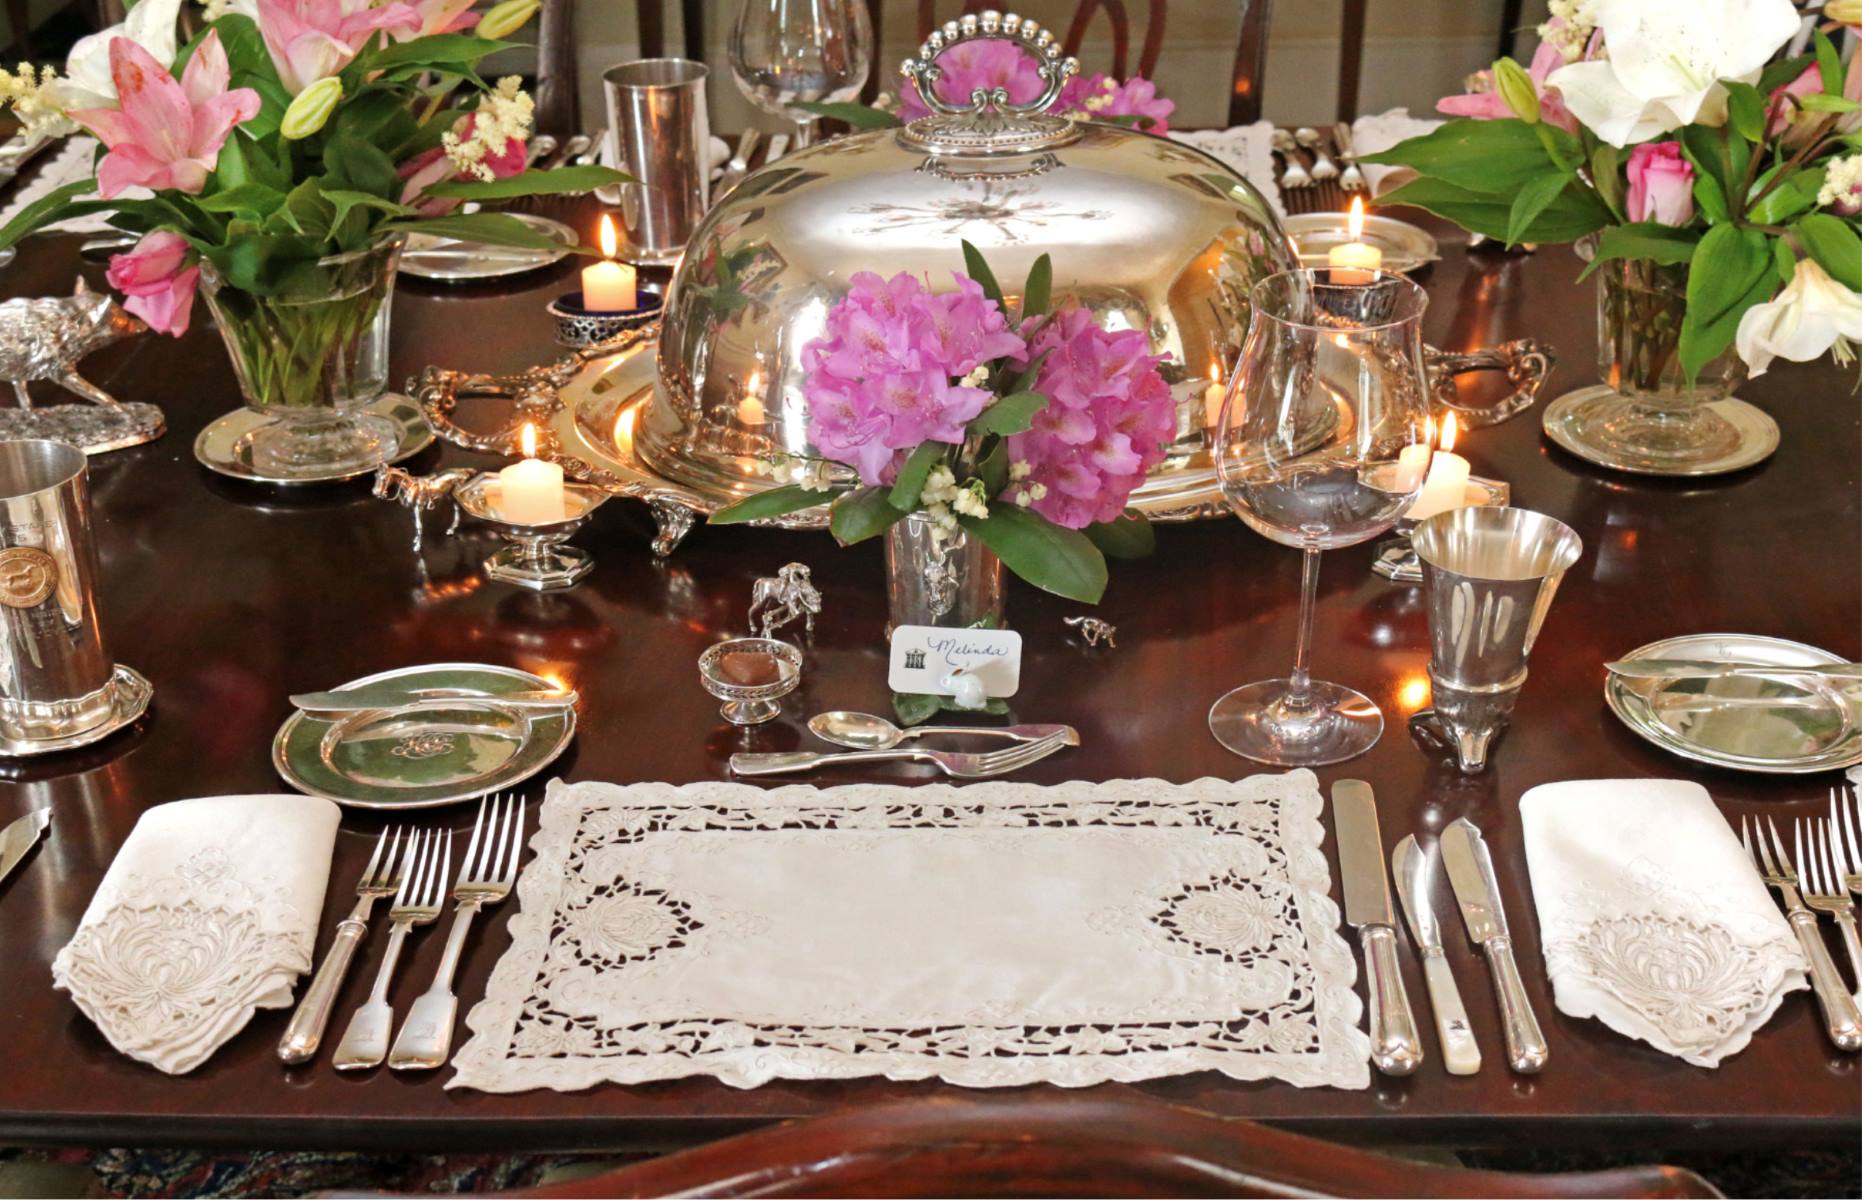
Crocheted placemats are not only visually appealing; they also add an extra layer of charm and elegance to your dining table. Plus, they make for wonderful handmade gifts for friends and loved ones.
In this step-by-step guide, we’ll walk you through the process of crocheting your very own placemats, even if you have zero prior crocheting experience. We’ll cover everything from choosing the right yarn and hook to creating intricate patterns and finishing off your masterpiece.
So grab your crochet hook and let’s get started on this creative journey together!
Key Takeaways:
- Dive into the world of crochet by crafting beautiful placemats, adding charm and elegance to your dining table while unleashing your creativity. It’s a practical, fun, and rewarding project for beginners.
- Select the right yarn and hook, master basic stitches, and experiment with patterns to create unique, personalized placemats. Finish with a polished edge and enjoy the satisfaction of handmade tableware.
Read more: How To Crochet Curtains
Materials Needed
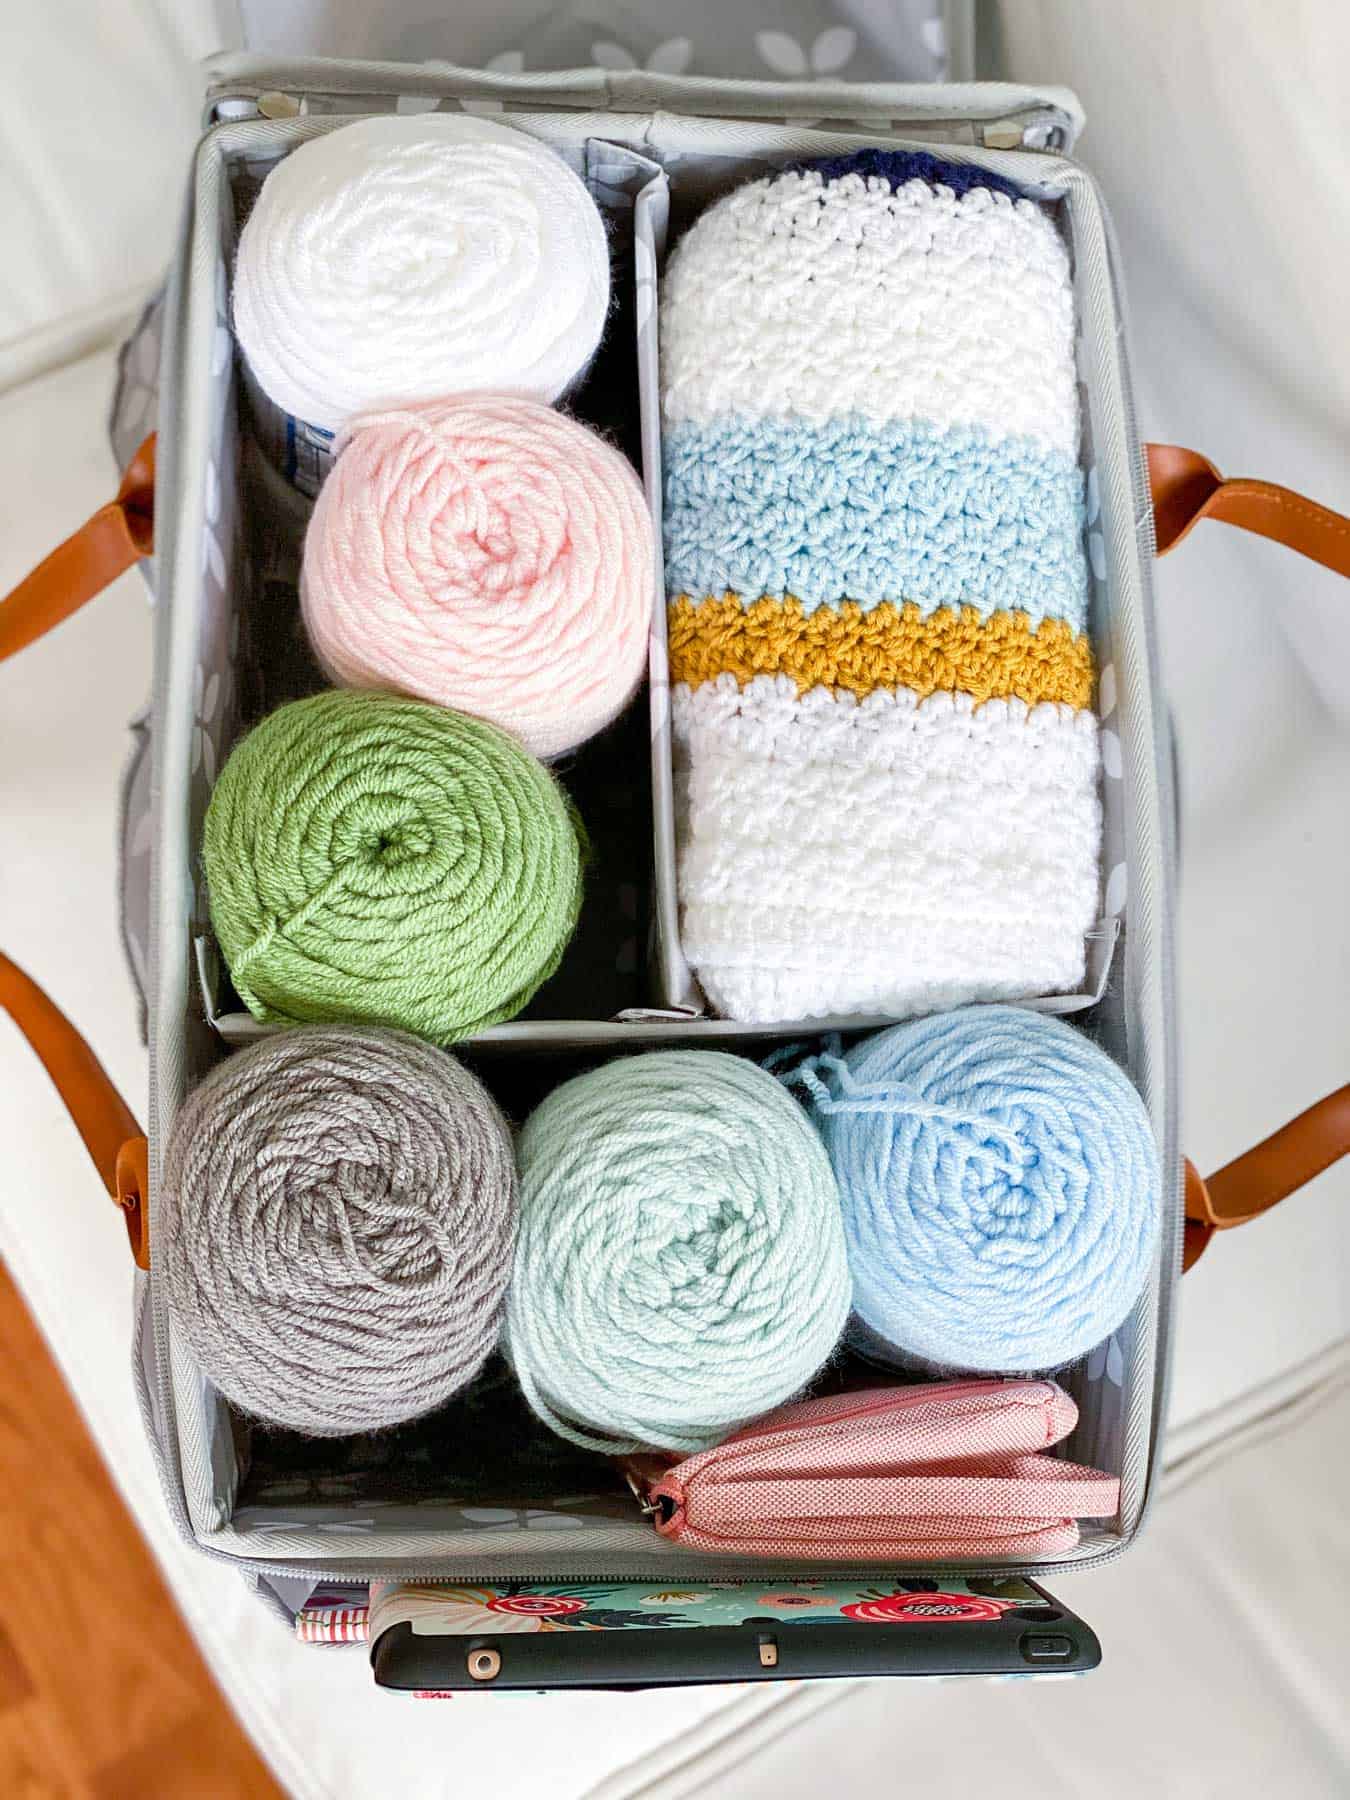
Before we begin crocheting our placemats, let’s gather all the materials required for this project. Here’s a checklist of what you’ll need:
- Crochet hook: Choose a hook size that is appropriate for the yarn you’ll be using. Generally, a hook size of G or H works well for most yarn weights.
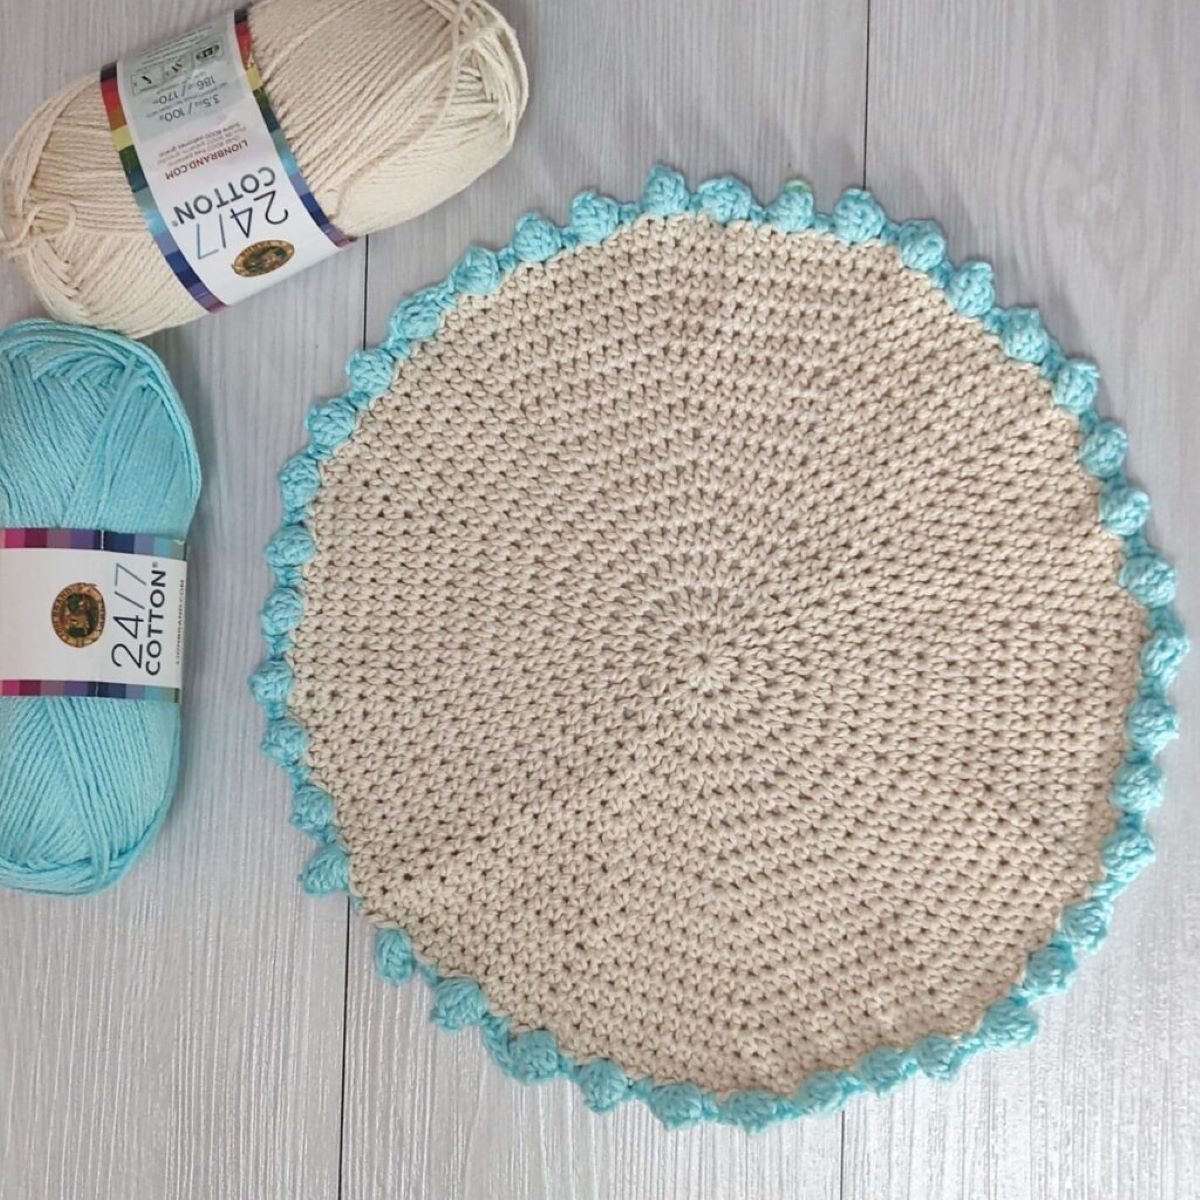
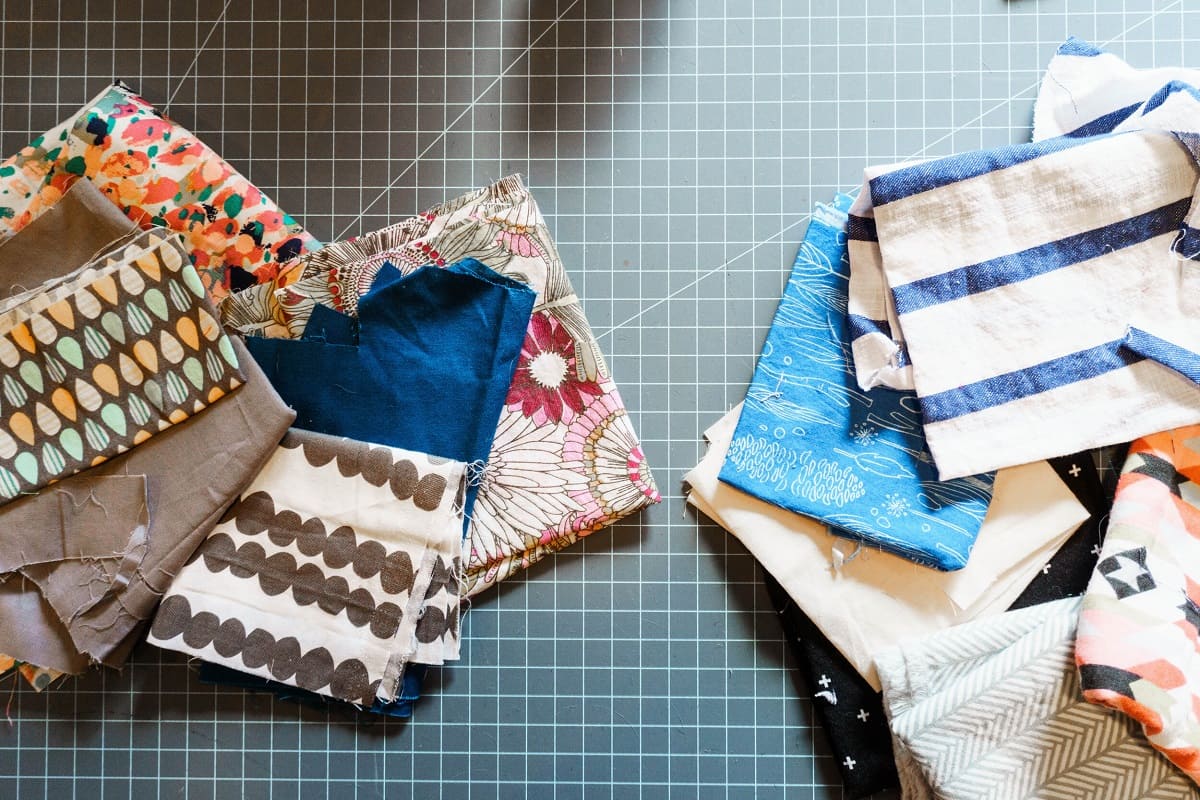
- Yarn: Opt for a durable and easy-to-clean yarn, such as cotton or acrylic, in your desired color or color combination. Make sure to choose yarn that is suitable for the selected hook size.
- Scissors: A good pair of scissors is essential for cutting yarn and trimming loose ends.
- Tapestry Needle: This needle will be used for weaving in the loose ends and joining your crocheted pieces together.
- Measuring Tape or Ruler: To ensure your placemats are the desired size, have a measuring tool handy.
Once you have gathered all these essential materials, you’re ready to begin your crochet journey and create stunning placemats that will impress everyone at your dining table!
Step 1: Choosing the Right Yarn and Hook
Choosing the right yarn and hook is crucial for creating beautiful and well-finished crocheted placemats. Here are some factors to consider when making your selection:
- Yarn Weight: The thickness of the yarn is indicated by its weight. For placemats, it’s best to choose a medium or bulky weight yarn. These weights will provide durability and substantial texture to the finished product.
- Fiber Content: Opt for a yarn that is easy to care for and can withstand frequent use and washing. Cotton is a popular choice for placemats as it is sturdy, absorbent, and comes in a variety of colors. Acrylic yarn is also a good option as it is low-maintenance and available in a wide array of shades.
- Hook Size: The size of your crochet hook will depend on the weight of the yarn you’ve chosen. Most medium or bulky weight yarns work well with a hook size of G or H. However, it’s always a good idea to check the yarn label for recommended hook sizes.
Take your time to explore different yarn options and experiment with hook sizes. Consider the desired look and feel of your placemats and choose materials that will help you achieve that. Remember, it’s all about finding the perfect balance between yarn weight, fiber content, and the right hook size.
Once you’ve gathered your materials and selected the perfect yarn and hook, you’re ready to move on to the next step: starting the foundation chain.
Step 2: Starting the Foundation Chain
Now that you have your yarn and hook ready, it’s time to begin crocheting your placemat by creating the foundation chain.
- To start, make a slip knot by creating a loop with the yarn, crossing the long end over the short end, and pulling it through the loop.
- Insert your crochet hook into the slip knot and tighten it gently.
- Hold the slip knot securely in your non-dominant hand and yarn-over by bringing the yarn from the back to the front over the hook.
- With the yarn-over in place, pull it through the slip knot, forming a new loop on your hook.
- Continue this process of yarn-over and pulling through the loop until you have reached the desired length of your foundation chain.
Remember to keep your tension consistent throughout the process. Avoid pulling the yarn too tightly, as it can make your foundation chain too tight and difficult to work with.
Once you have completed your foundation chain, you’re ready to move on to the next step: working the basic stitches to create the body of your placemat.
When crocheting placemats for beginners, start with a simple stitch pattern like single crochet or half double crochet for an easy and quick project. This will help you practice your tension and get comfortable with the basic techniques.
Step 3: Working the Basic Stitches
With the foundation chain in place, it’s time to start working the basic stitches to create the body of your crocheted placemat. The two most common stitches you’ll use are the single crochet and the double crochet.
- Single Crochet (SC): Insert your hook into the second chain from the hook, yarn-over, and pull up a loop. Yarn-over again and pull through both loops on the hook. This completes one single crochet stitch. Continue working single crochet stitches in each chain across the foundation chain.
- Double Crochet (DC): Yarn-over, then insert your hook into the next chain, yarn-over, and pull up a loop. Yarn-over again and pull through the first two loops on the hook, then yarn-over again and pull through the remaining two loops. This completes one double crochet stitch. Continue working double crochet stitches in each chain across the foundation chain.
As you work the stitches, make sure to keep your tension consistent and your stitches even in size. This will help create a neat and uniform appearance for your placemat.
Depending on the size of your placemat, you may need to repeat the rows of single crochet or double crochet stitches multiple times to achieve the desired width and length. Remember to turn your work at the end of each row and begin the next row by chaining one for a single crochet or chaining three for a double crochet.
Once you are satisfied with the size of your placemat, it’s time to move on to the next step: creating an appealing pattern to add visual interest.
Read more: How To Quilt Placemats
Step 4: Creating the Pattern
Creating a pattern for your crocheted placemat adds a touch of creativity and personalization to your project. There are numerous ways to incorporate patterns, whether it’s through different stitches, color changes, or unique design elements. Here are some ideas to get you started:
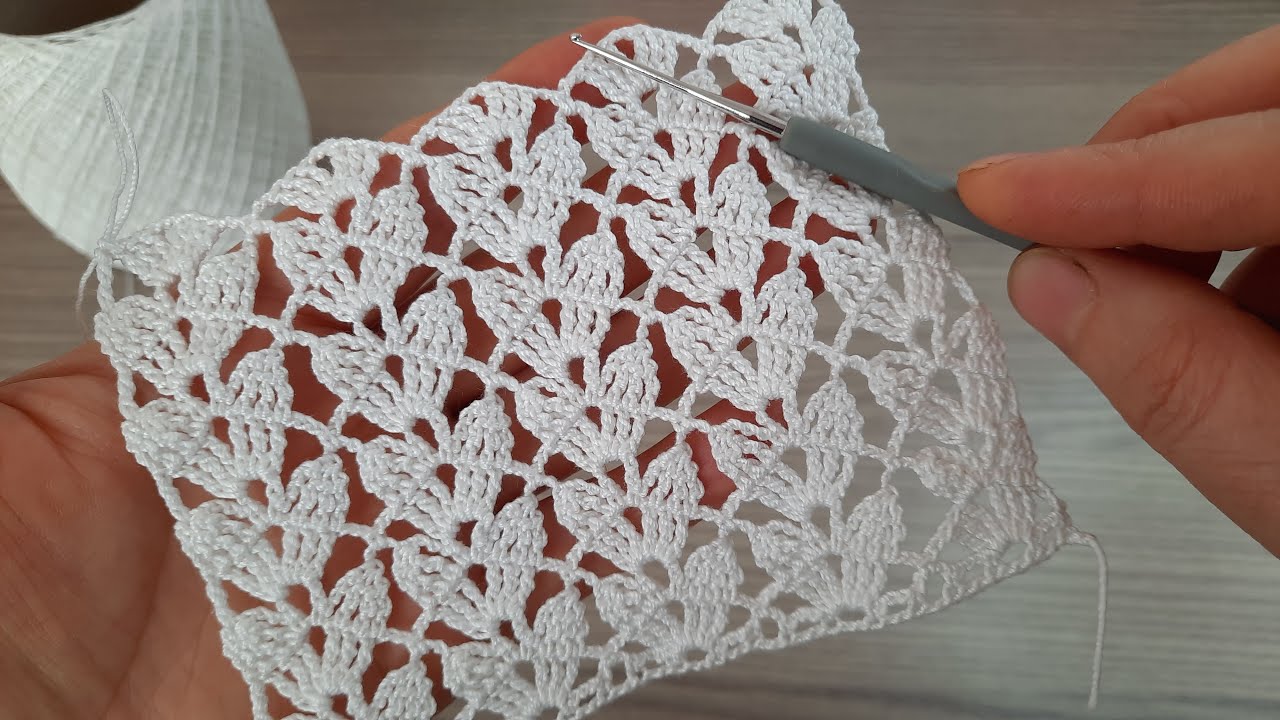
- Stitch Variation: Experiment with different stitches to create texture and visual interest. For example, you can alternate rows of single crochet with rows of double crochet or try out more complex stitches like the shell stitch or the popcorn stitch.
- Color Play: Add pops of color to your placemat by changing yarn colors at specific intervals. Create stripes, color blocks, or even intricate designs using different shades of yarn.
- Geometric Shapes: Incorporate geometric shapes into your placemat by using stitch combinations like clusters, bobbles, or granny squares. These shapes will bring a unique and eye-catching element to your finished piece.
Feel free to experiment and let your creativity shine through as you craft your placemat. Don’t be afraid to try new stitches, mix and match colors, and create your own unique patterns.
Remember to keep track of your pattern as you work, either by using a stitch marker or noting it down on a piece of paper. This will ensure consistency in your design and make it easier to replicate in future placemats.
Once you’ve completed the pattern, it’s time to move on to the final step: finishing off your placemat.
Step 5: Finishing Off the Placemat
Congratulations! You’ve made it to the final step of creating your crocheted placemat. Now, let’s finish off your masterpiece with a few important steps:
- Final Row: Once you’ve achieved the desired size and pattern for your placemat, work a final row of single crochet stitches to create a neat and even edge.
- Fasten Off: Cut the yarn, leaving a tail of a few inches. Pull the working end of the yarn through the loop on your hook and pull tight to secure the stitch.
- Weave in Ends: Take a tapestry needle and thread the yarn tail through the needle. Weave the yarn end into the stitches on the backside of your placemat, going back and forth to securely hide the tail.
- Block if Necessary: If your placemat needs some shaping or flattening, you can block it by wetting it, pinning it to the desired shape, and allowing it to dry completely.
Once you’ve completed these steps, you can proudly admire your finished crocheted placemat! Give it a gentle wash and blocking, if necessary, before displaying it on your dining table or gifting it to a loved one.
Remember, the more you practice and explore different patterns and variations, the more confident you’ll become in your crocheting skills. Don’t be afraid to experiment and push your creative boundaries with future projects!
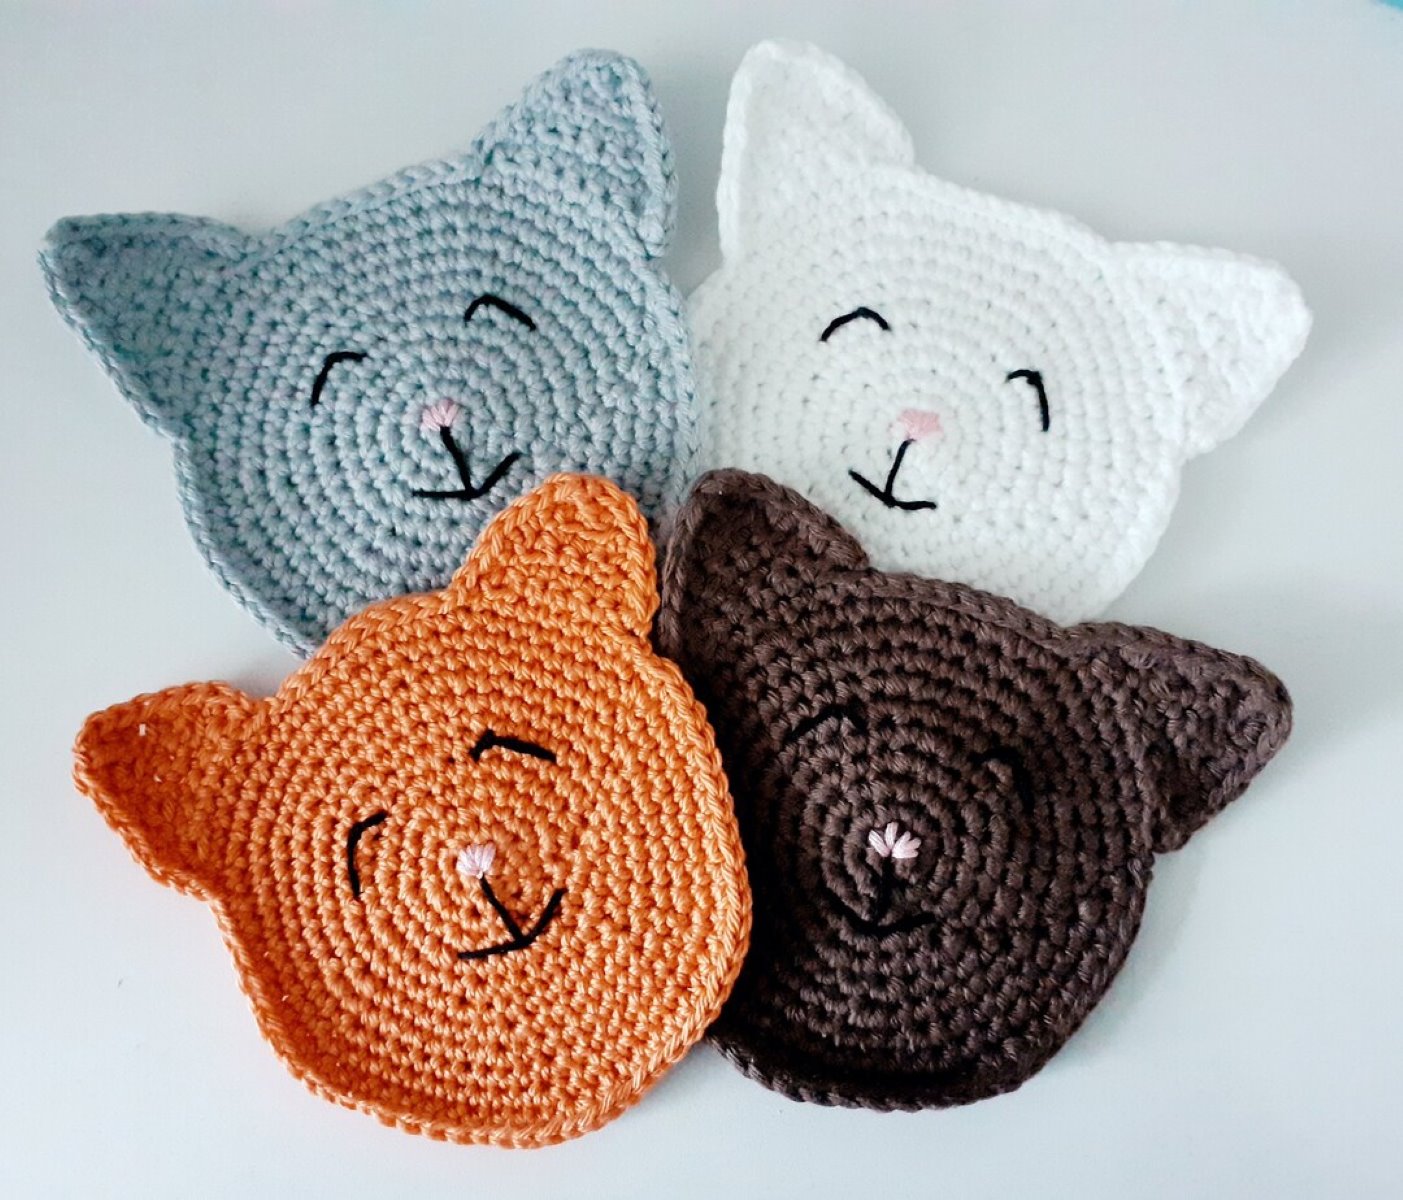
With your newly-acquired crochet expertise, you’ll be able to crochet even more delightful tableware items and expand your repertoire of handmade creations.
Enjoy the process, have fun, and happy crocheting!
Conclusion
Crocheting placemats is a fulfilling and enjoyable craft that allows you to create beautiful and practical pieces for your dining table. With the right materials, a basic understanding of crochet stitches, and a touch of creativity, you can craft stunning placemats that add charm and elegance to any mealtime.
In this guide, we’ve covered the essential steps to get you started on your crocheting journey. We began with selecting the right yarn and hook, ensuring that they are suitable for your desired project. We then learned how to create the foundation chain, followed by working the basic stitches to form the body of the placemat.
Adding a pattern to your placemat is where your creativity can truly shine. Whether it’s experimenting with different stitches or incorporating colors and shapes, the possibilities are endless. Embrace your creativity and make each placemat a reflection of your unique style and personality.
Once you’ve completed your pattern, the final steps of finishing off the placemat are crucial. Taking the time to create a neat and secure edge, weaving in ends, and blocking if necessary ensures a polished and professional finish.
Now that you have the knowledge and skills to crochet your own placemats, don’t hesitate to explore new patterns, stitch combinations, and color schemes. The more you practice, the more confident you’ll become, and you’ll be able to create beautiful tableware items to impress your guests or give as thoughtful handmade gifts.
Remember, crocheting is a journey, and each project is an opportunity to learn and grow. Enjoy the process, have fun with different techniques, and embrace the satisfaction that comes from creating something with your own hands.
So pick up your crochet hook, choose some gorgeous yarn, and embark on your next placemat-making adventure. Happy crocheting!
Frequently Asked Questions about How To Crochet Placemats For Beginners
Was this page helpful?
At Storables.com, we guarantee accurate and reliable information. Our content, validated by Expert Board Contributors, is crafted following stringent Editorial Policies. We're committed to providing you with well-researched, expert-backed insights for all your informational needs.


0 thoughts on “How To Crochet Placemats For Beginners”