Tableware
How To Repair Broken Stemware
Modified: January 5, 2024
Learn how to repair broken tableware with our step-by-step guide. Save money by fixing your stemware instead of replacing it.
(Many of the links in this article redirect to a specific reviewed product. Your purchase of these products through affiliate links helps to generate commission for Storables.com, at no extra cost. Learn more)
Introduction
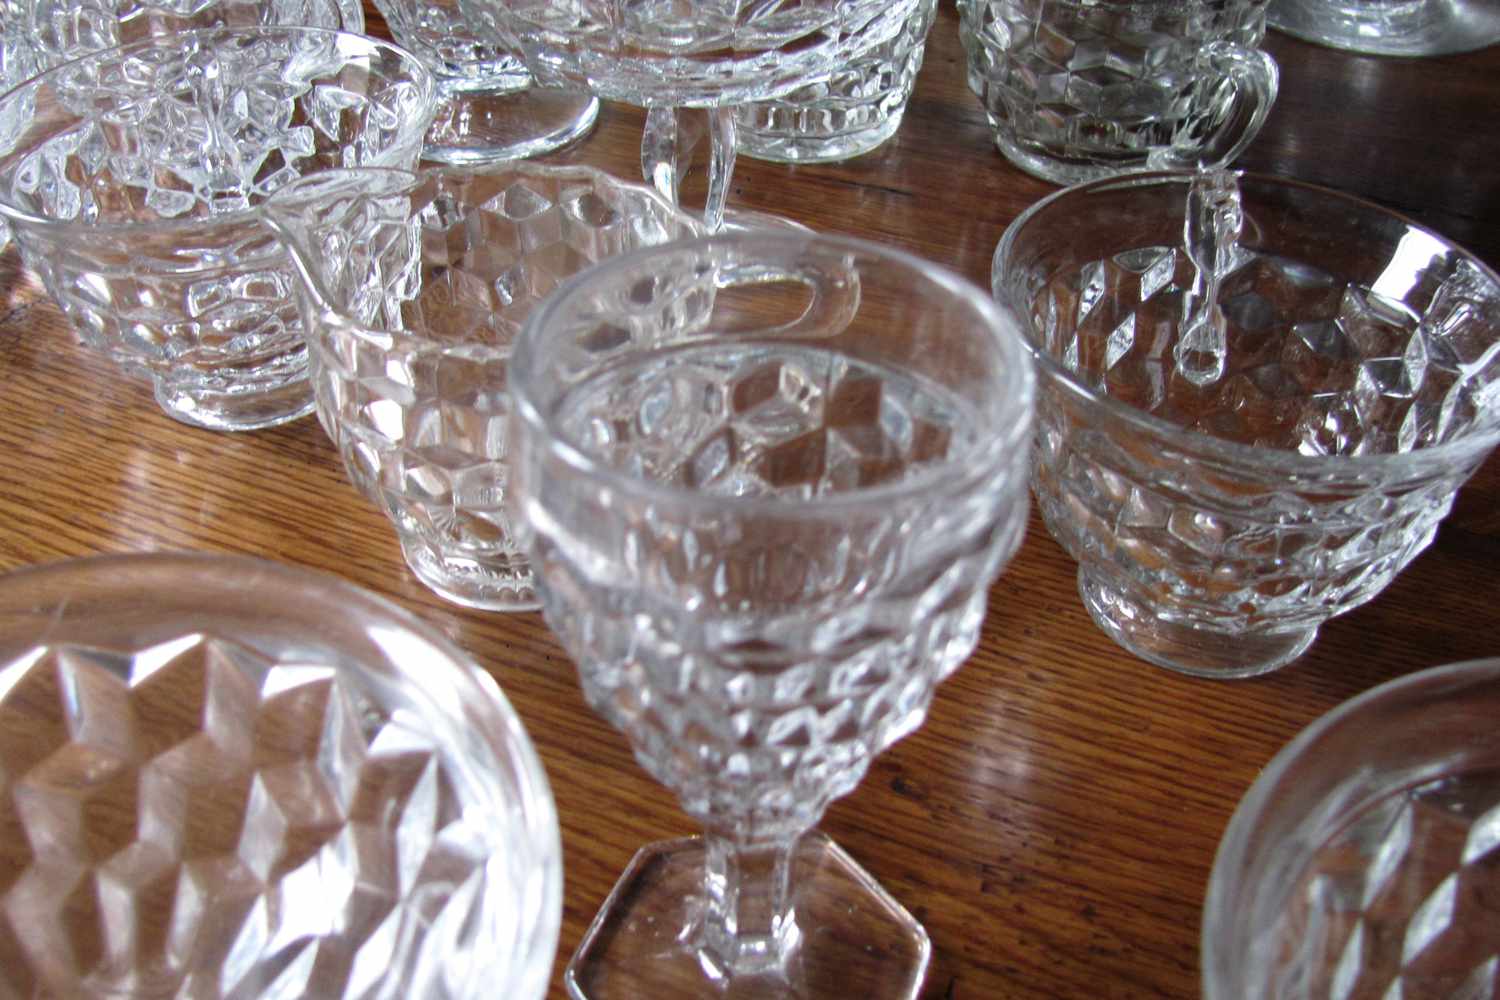
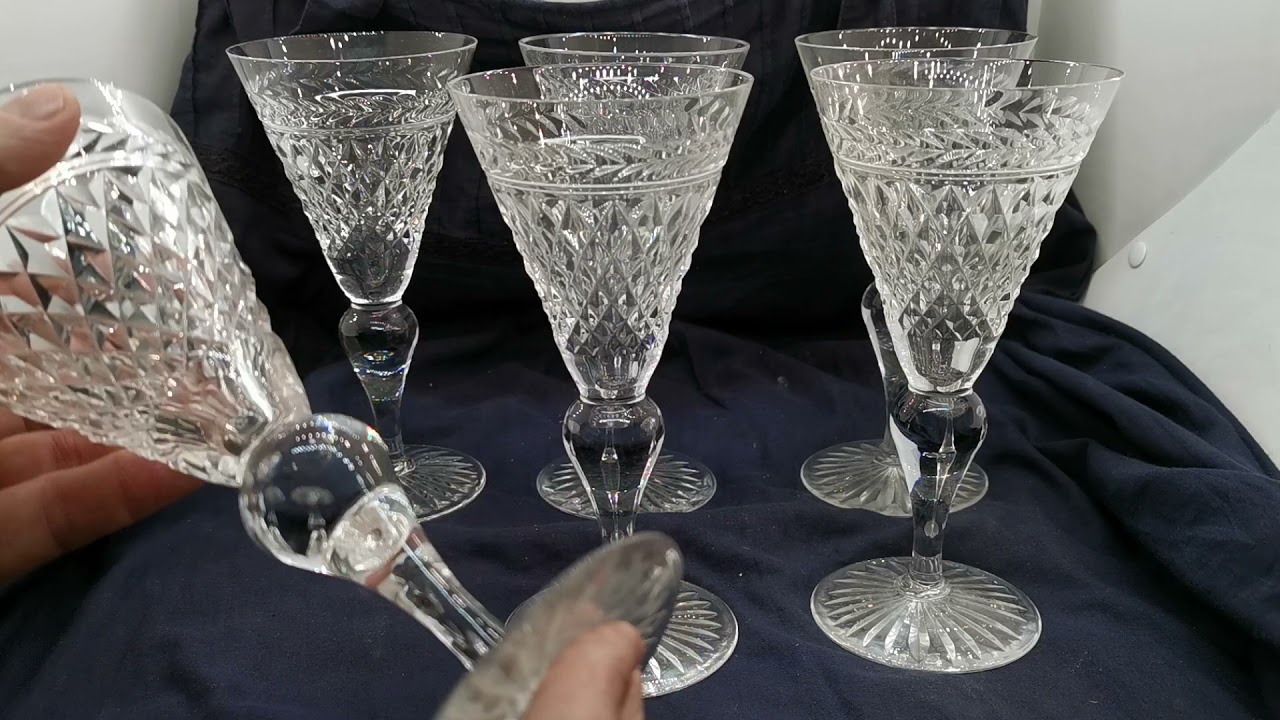
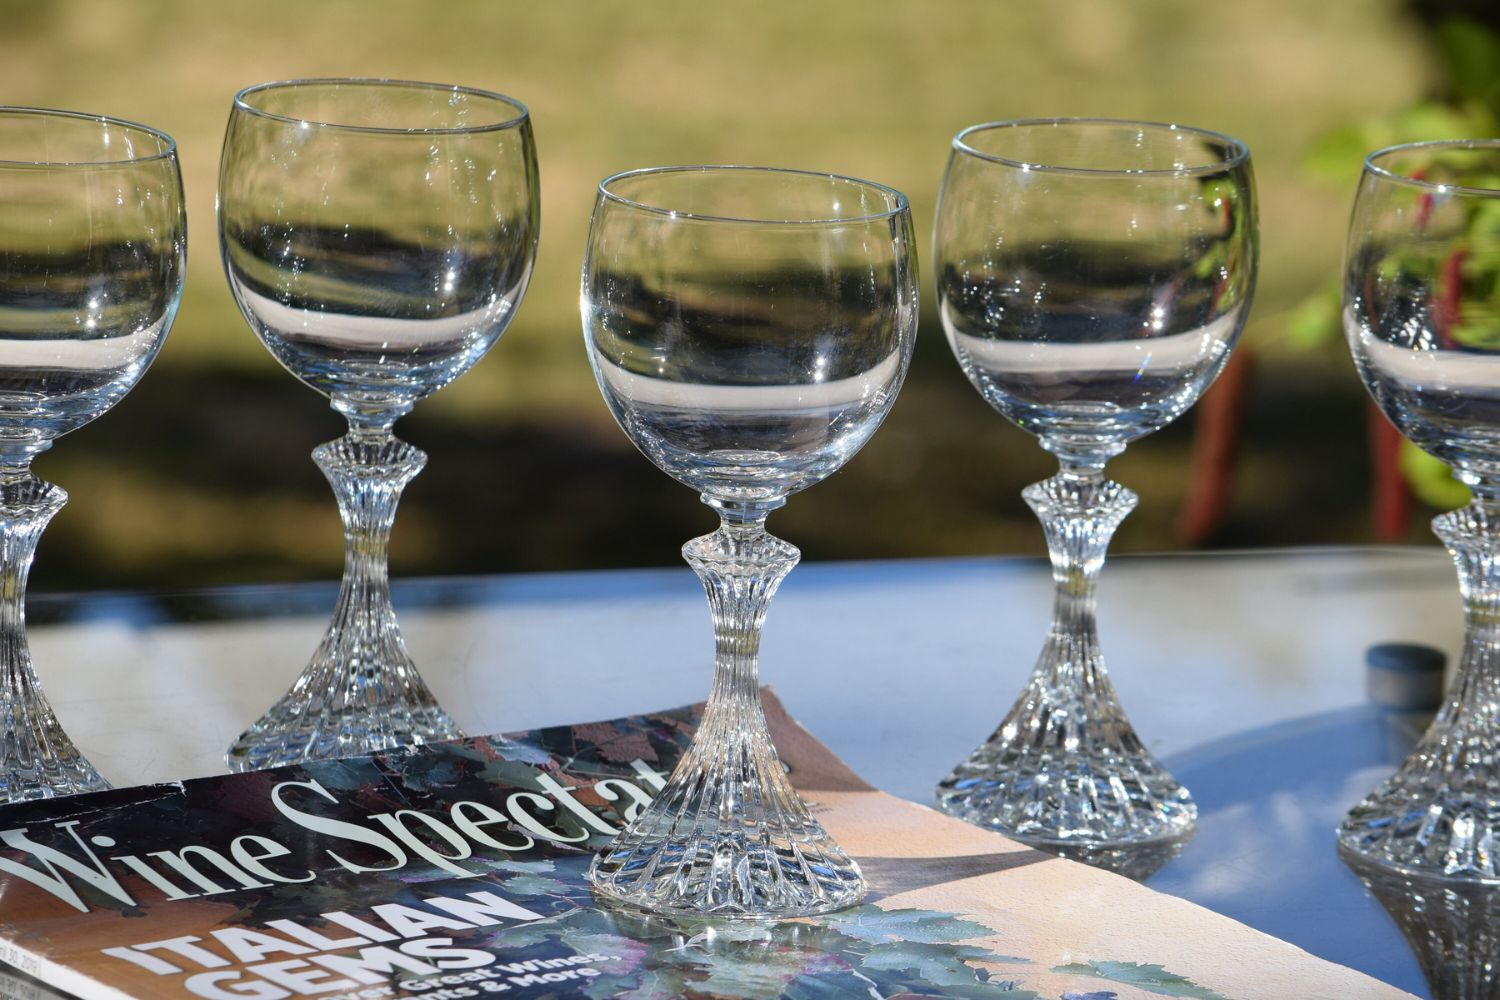
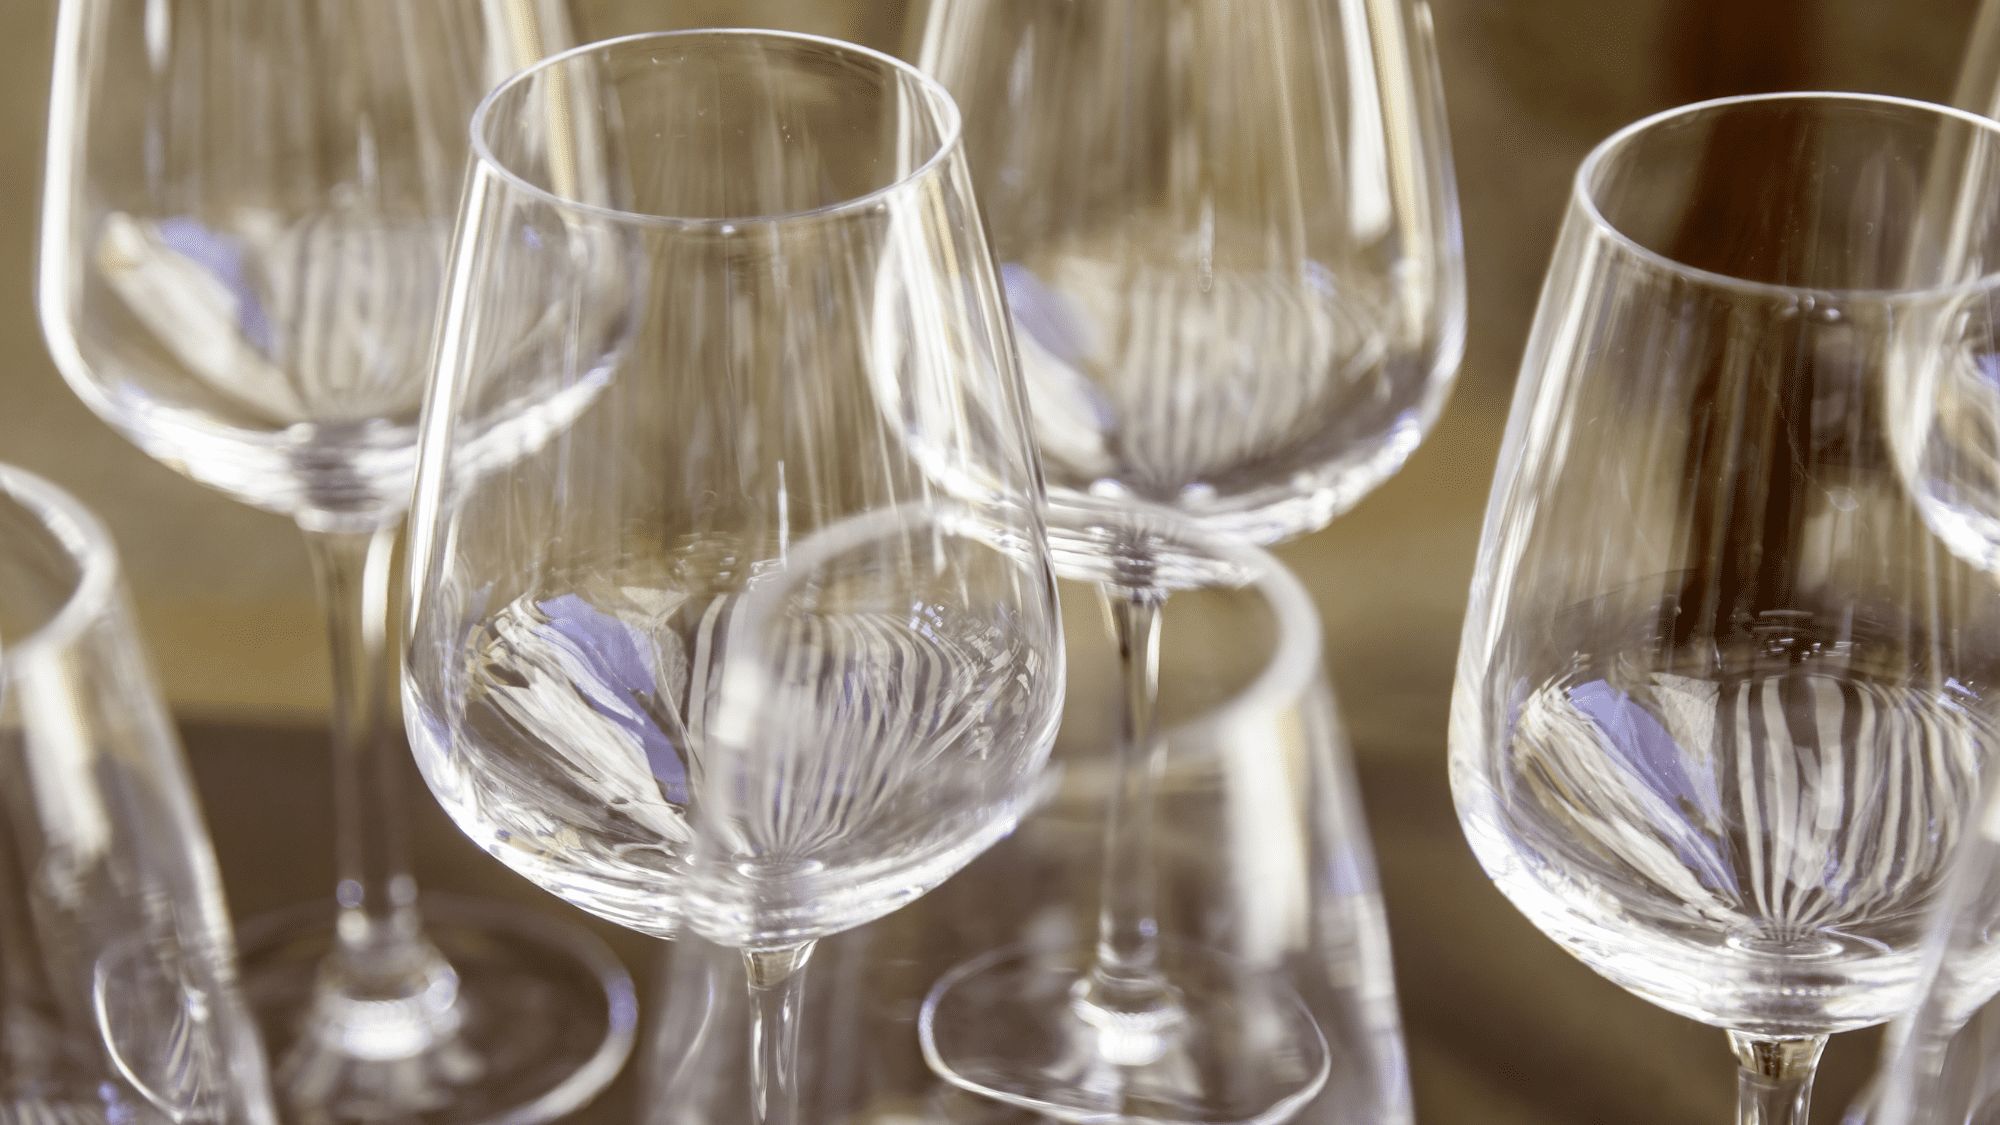
Welcome to the world of tableware, where elegance and refinement are brought to life through exquisite stemware. Stemware, which includes wine glasses, champagne flutes, and various other types of glassware with stems, adds a touch of sophistication to any dining experience. However, accidents can happen, and stemware may become chipped, cracked, or even broken. But fear not, as in this article, we will explore how to repair broken stemware and restore it to its former glory.
Repairing broken stemware requires some patience, a steady hand, and the right tools and materials. Whether you have a cherished heirloom piece or a favorite wine glass that met with an unfortunate accident, these repair techniques can help salvage and extend the lifespan of your beloved stemware.
Before we dive into the repair process, let’s gather the necessary tools and materials that will be needed for the job.
Key Takeaways:
- Repairing broken stemware requires patience, the right tools, and epoxy adhesive for seamless restoration. Assess the damage carefully and consider professional assistance for valuable or delicate pieces.
- Regular cleaning, polishing, and safety precautions are essential for preserving stemware. Simple household items can remove stubborn stains, while professional restorers are best for valuable or delicate pieces.
Read more: How To Repair Broken Pipe Plumbing
Tools and Materials Needed
Repairing broken stemware requires a few essential tools and materials to ensure a successful restoration. Here’s what you’ll need:
- Epoxy Adhesive: Choose a high-quality epoxy adhesive that is specifically designed for glass bonding. Look for a transparent, waterproof, and food-safe adhesive.
- Stemware Repair Kit: Consider investing in a stemware repair kit that includes specialized tools such as clamps, vices, and molds to hold the broken pieces in place during the repair process.
- Isopropyl Alcohol: Use isopropyl alcohol to clean the surfaces of the stemware before applying the adhesive. This will remove any dirt, oils, or residue that may interfere with the bonding process.
- Microfiber Cloth: A soft microfiber cloth is ideal for wiping and drying the stemware, ensuring a clean and smudge-free surface.
- Safety Equipment: It’s important to prioritize safety during the repair process. Wear protective gloves to prevent cuts or injuries from shards of broken glass, and consider using safety goggles for added eye protection.
These tools and materials will provide you with the necessary foundation to repair broken stemware effectively. Once you have gathered everything, it’s time to assess the damage and determine the appropriate repair method.
Assessing the Damage
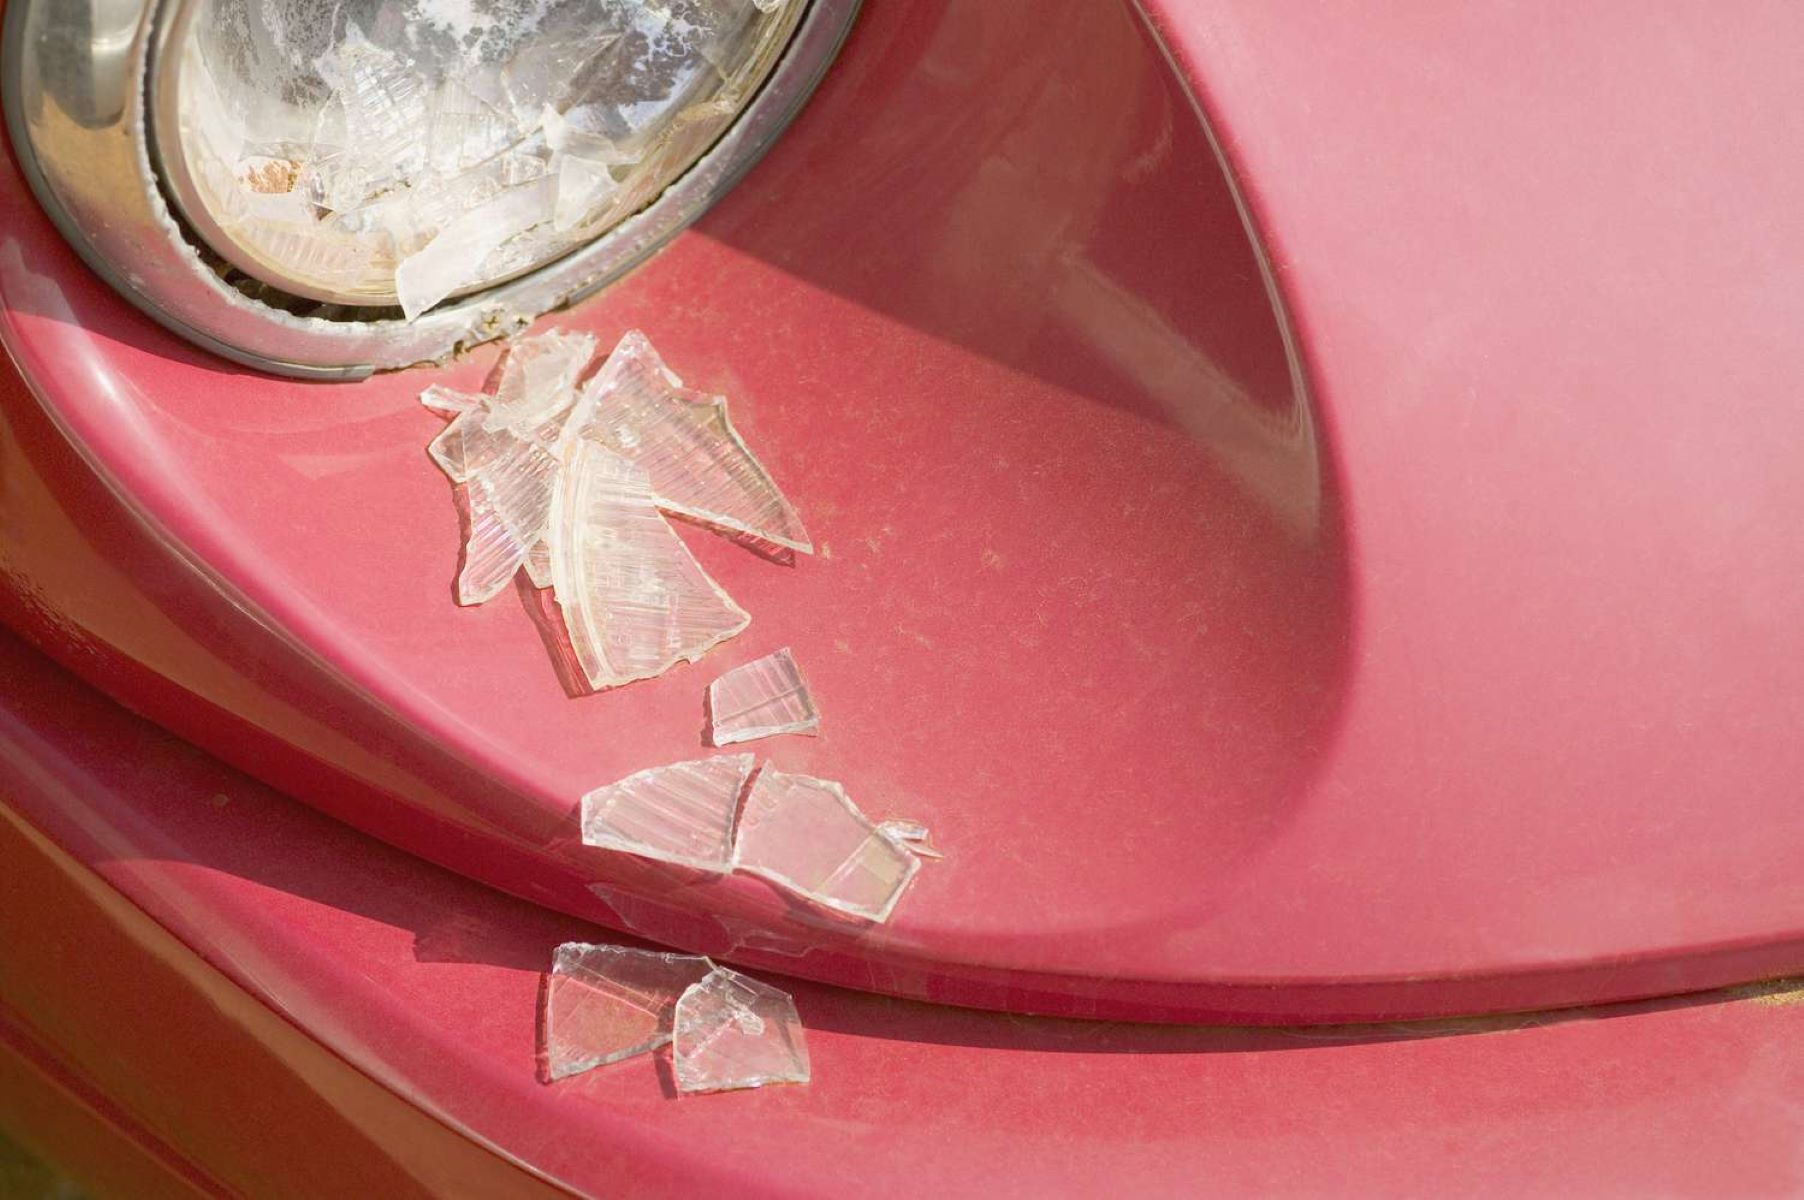
Before you begin the repair process, it’s essential to assess the extent of the damage on your stemware. This will help you determine the appropriate repair technique and whether the stemware is salvageable.
Start by carefully examining the broken pieces. Look for any chips, cracks, or missing parts. If the stemware is completely shattered, assess if all the broken pieces are still available. It’s important to have all the necessary pieces before attempting a repair.
If the damage is minor, such as a small chip or crack, it can usually be repaired relatively easily. However, if the stemware is severely damaged or the stem is completely detached, more extensive repair methods may be required.
Consider the value and sentimental importance of the stemware as well. If it holds significant sentimental value or is an expensive piece, you may want to consult a professional glass restorer to ensure the best possible outcome.
Once you have assessed the damage and determined the severity, you are ready to proceed with the appropriate repair method. In the following sections, we will explore different techniques for repairing various types of damage to your stemware.
Repairing Small Chips and Cracks
If your stemware has small chips or cracks, you can easily repair them using epoxy adhesive. Here’s a step-by-step guide:
- Start by cleaning the damaged area and the surrounding surface with isopropyl alcohol. This will ensure a clean and bonded surface.
- Apply a small amount of epoxy adhesive to the chipped or cracked area. Use a toothpick or a small brush to spread the adhesive evenly and ensure it fills the damaged area.
- Press the edges of the chip or crack together gently to align them. Hold them in place for a few minutes to allow the adhesive to set.
- Wipe off any excess adhesive with a soft cloth or paper towel. Avoid getting adhesive on other parts of the stemware.
- Let the repaired stemware sit undisturbed for the recommended curing time stated on the epoxy adhesive packaging. This will ensure a strong and durable bond.
It’s important to note that while epoxy adhesive provides a strong bond, it may not be completely invisible. The repaired area may still be slightly visible, especially if the stemware has intricate designs or patterns. However, this repair technique will prevent further damage and help restore the functionality of the stemware.
If you’re not confident in your repair skills or the damage is more severe, it’s best to consult a professional glass restorer for expert assistance.
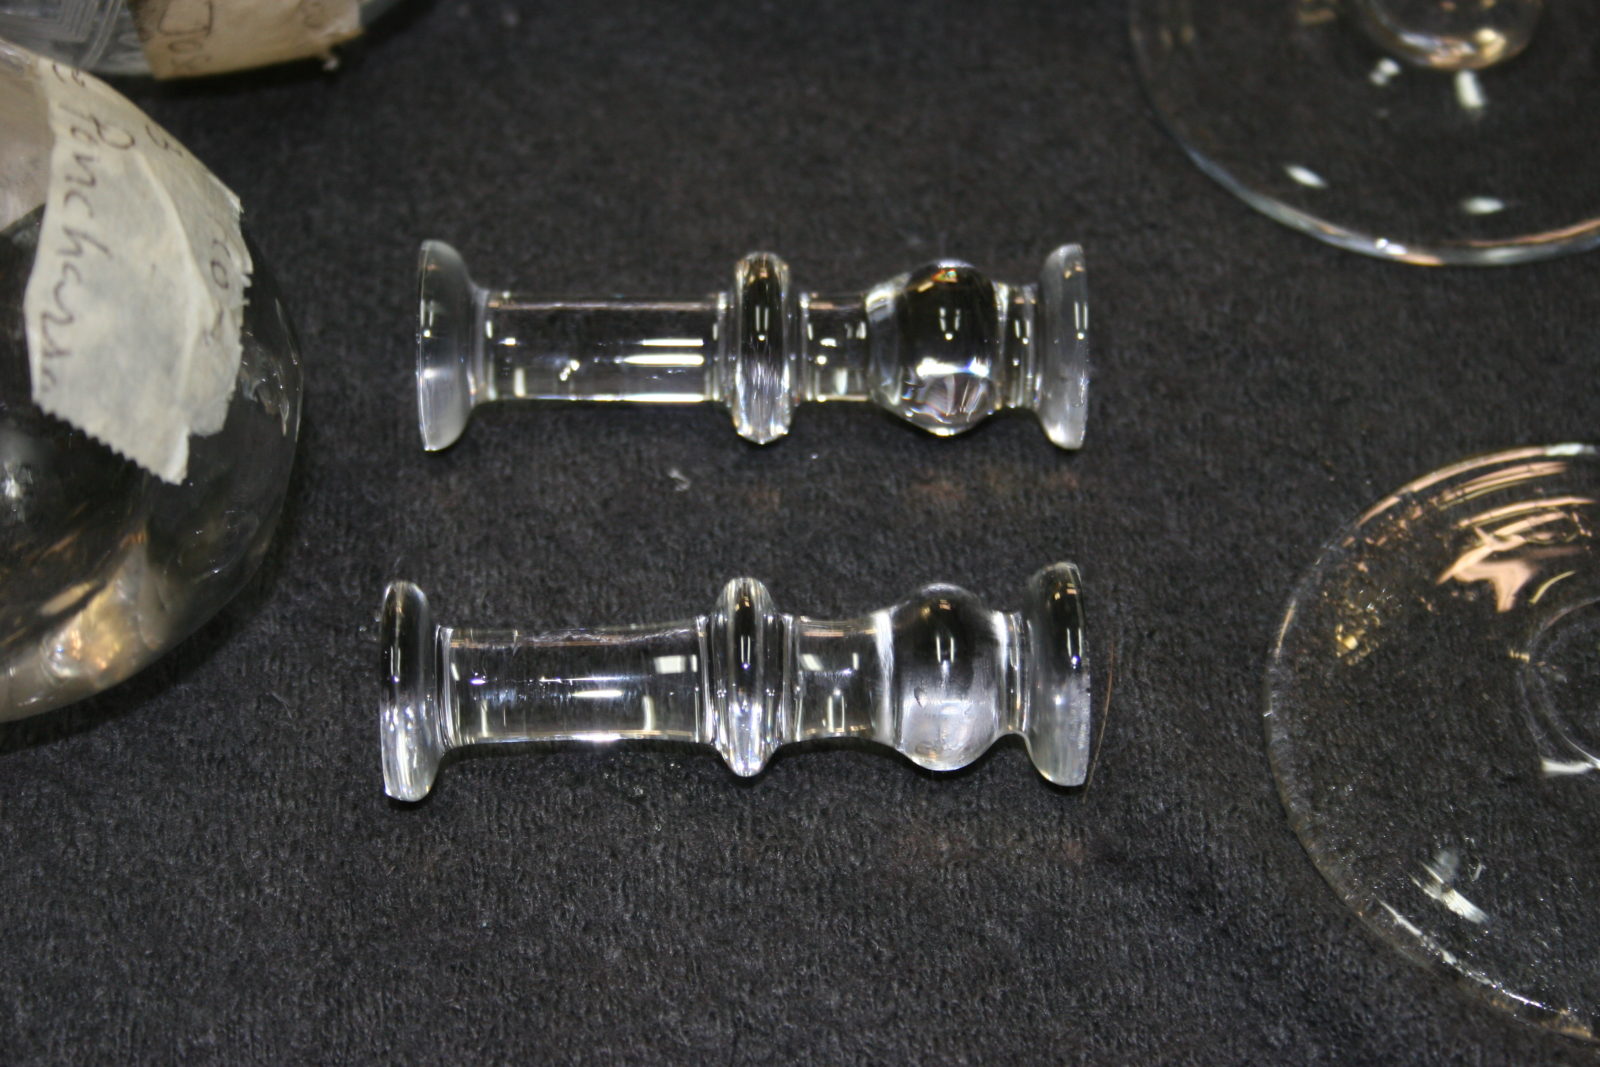
Reattaching Broken Stem
If the stem of your stemware is completely broken off, don’t worry. With the right technique, you can reattach the stem and restore your stemware to its original form. Here’s a step-by-step guide:
- Make sure the broken pieces of the stem and the base of the glass are clean and free from any debris or adhesive residue. Use isopropyl alcohol and a soft cloth to clean the surfaces.
- Apply epoxy adhesive to both the base of the glass and the broken end of the stem. Ensure that the adhesive is evenly spread on both surfaces.
- Align the broken pieces carefully, ensuring that they fit together snugly. Hold them firmly in place for a few minutes to allow the adhesive to bond.
- For added reinforcement, you can use a stemware repair kit that includes clamps or vice grips to hold the broken pieces together while the adhesive cures. Follow the manufacturer’s instructions for proper usage.
- Wipe off any excess adhesive that may have oozed out during the bonding process. Be careful not to smear the adhesive on other parts of the stemware.
- Allow sufficient time for the adhesive to cure, following the recommendations provided by the epoxy adhesive manufacturer. This will ensure a strong and secure bond.
Once the adhesive has fully cured, you should have a successfully reattached stem. It’s important to handle the stemware with care after the repair, avoiding any unnecessary stress or impact that could compromise the bond.
If the stemware is particularly delicate or has multiple breaks, it may be best to consult a professional glass restorer who specializes in stemware repair.
When repairing broken stemware, use a food-safe epoxy to reattach the pieces. Make sure to follow the instructions carefully and allow sufficient time for the epoxy to cure before using the glassware again.
Read more: How To Repair Broken Extension Cord
Strengthening Weak or Wobbly Stem
If you have a stemware with a weak or wobbly stem, you can reinforce it to restore stability and prevent further damage. Here are some steps to strengthen the stem:
- Inspect the stemware to identify the exact area where the weakness or wobbliness is occurring. It could be a loose joint between the stem and the base or a weakened section of the stem itself.
- Apply epoxy adhesive to the problematic area, ensuring that it is evenly coated. Use a toothpick or a small brush to apply the adhesive in a thin layer.
- If the joint between the stem and the base is weak, you can use a stemware repair kit to hold them securely together while the adhesive cures. Follow the instructions provided with the kit.
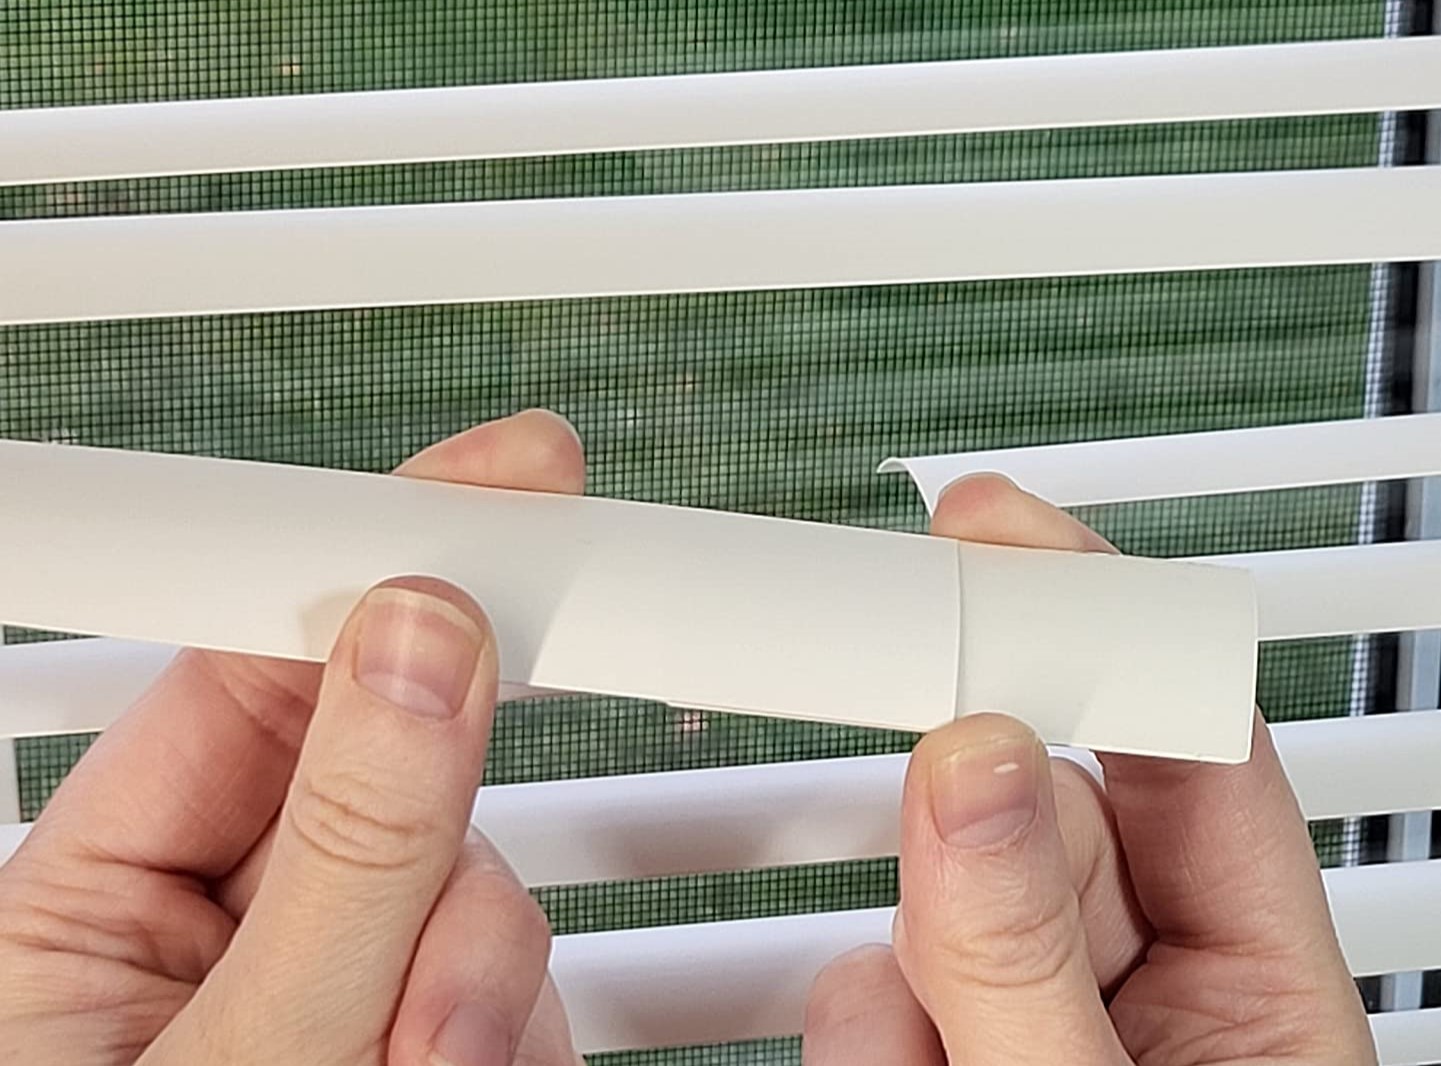
- If the weakness is in the stem itself, you can reinforce it by wrapping a thin layer of clear, adhesive-backed tape around the weak section. This will add strength and stability to the stem.
- Allow the adhesive to fully cure according to the recommendations provided by the manufacturer. This will ensure a strong and secure bond.
By strengthening the weak or wobbly stem, you can extend the lifespan of your stemware and prevent it from further damage. However, keep in mind that this technique may not be suitable for very delicate or thin-stemmed glassware. In such cases, it is best to handle the stemware with extreme care or consider replacing it.
If you are unsure about the repair process or if the stemware requires more intricate repair work, it is recommended to seek the assistance of a professional glass restorer.
Removing Stubborn Stains or Residue
Over time, stemware can accumulate stubborn stains or residue from liquids such as wine, champagne, or hard water deposits. When cleaning your stemware, it’s essential to remove these stains to maintain their clarity and shine. Here are some methods to help you remove stubborn stains or residue:
- Vinegar Soak: Fill a sink or basin with a mixture of equal parts white vinegar and warm water. Submerge the stained stemware in the solution and let it soak for about 10-15 minutes. Gently scrub the stained area with a soft brush or sponge, then rinse thoroughly with water and dry with a microfiber cloth.
- Baking Soda Paste: Create a paste by mixing baking soda with a small amount of water. Apply the paste to the stained area, gently scrub with a soft brush or sponge, and rinse thoroughly. This method can help remove both stains and residue.
- Lemon Juice: Cut a lemon in half and rub the inside of the fruit onto the stained surface. The acid in the lemon can help dissolve stains and residue. Afterward, rinse the stemware thoroughly and dry it with a microfiber cloth.
- Denture Cleaning Tablets: Drop a denture cleaning tablet into a glass of warm water. Submerge the stained stemware and let it soak for the recommended time stated on the tablet packaging. Rinse thoroughly with water and dry with a microfiber cloth.
It’s important to note that these methods may not remove deep-set or permanent stains. Additionally, avoid using abrasive materials or corrosive chemicals that could damage the glass. If the stains persist, it may be best to seek professional guidance or consider replacing the stemware.
Regular cleaning and maintenance can help prevent stubborn stains or residue from accumulating on your stemware. Always hand wash stemware with mild dish soap, rinse thoroughly, and dry using a lint-free cloth to maintain their beauty and longevity.
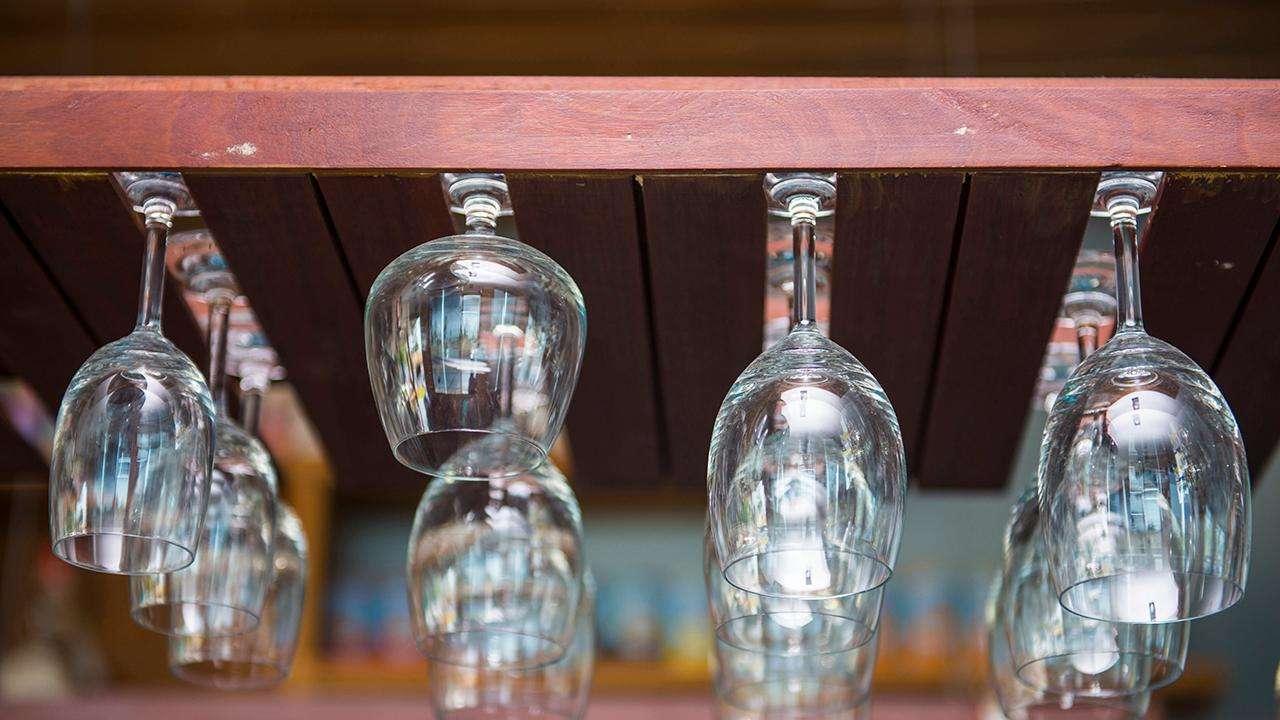
Cleaning and Polishing Stemware
Cleaning and polishing stemware is essential to preserve its crystal-clear appearance and maintain its elegance. Follow these steps to properly clean and polish your stemware:
- Preparation: Fill a clean sink or basin with warm water and add a mild dish soap. Make sure the sink is clean and free from any abrasive particles that could scratch the glass.
- Separate and Rinse: Gently separate the stemware from any other dishes or utensils to avoid potential damage. Rinse each piece of stemware with warm water to remove any loose debris or residue.
- Hand Washing: Carefully wash each stemware by hand using a soft sponge or brush. Avoid using abrasive materials that could scratch the glass. Pay special attention to the bowl and the stem, as these areas are more susceptible to stains and residue. Use a gentle swirling motion to clean the inside of the bowl and a straight motion to clean the stem.
- Rinsing: Rinse the stemware thoroughly with warm water to remove any traces of soap. Ensure all soap residue is washed away to prevent streaks or cloudiness.
- Drying: Gently dry the stemware using a lint-free microfiber cloth or a soft, non-abrasive towel. Hold the stemware by the base or the foot to avoid leaving fingerprints on the bowl. Allow the stemware to air dry for a few minutes to ensure it is completely dry before polishing.
- Polishing: To achieve a sparkling finish, you can polish the stemware using a lint-free polishing cloth or a microfiber cloth specifically designed for glassware. Hold the stemware by the base or the foot and polish the bowl and the stem in a circular motion. This will help remove any water spots or smudges, giving your stemware a brilliant shine.
Remember, it’s essential to handle stemware delicately during the cleaning and polishing process to prevent accidental breakage. Store your clean and polished stemware in a safe location where it won’t be easily bumped or knocked over.
By regularly cleaning and polishing your stemware, you can enjoy its beauty and enhance your dining experience for years to come.
Precautions and Safety Tips
When repairing, cleaning, and handling stemware, it’s important to prioritize safety. Follow these precautions and safety tips to ensure a safe and successful experience:
- Protective Gear: Wear protective gloves to prevent cuts or injuries from broken glass. Consider using safety goggles or glasses to protect your eyes.
- Work in a Well-Lit Area: Choose a well-lit workspace that allows you to see clearly and work with precision. This will help prevent accidents and mishaps.
- Handle with Care: Always handle stemware gently and with care to avoid accidental breakage or damage during the repair process or when cleaning. Use both hands when necessary to provide support and stability.
- Read and Follow Instructions: Whether using adhesive, repair kits, or cleaning products, carefully read and follow the instructions provided by the manufacturers. This will ensure correct usage and optimal results.
- Proper Ventilation: When working with adhesive or cleaning products, make sure the area is well-ventilated to prevent inhalation of fumes or chemicals. Open windows or use a fan to promote air circulation.
- Avoid Sudden Temperature Changes: Extreme temperature changes can cause glass to crack or break. Avoid subjecting your stemware to rapid temperature shifts, such as placing hot glassware directly into cold water or vice versa.
- Consult a Professional: If you have valuable, antique, or extremely delicate stemware, it’s best to consult a professional glass restorer for repair or restoration. They have the expertise and equipment to handle fragile and intricate pieces with care.
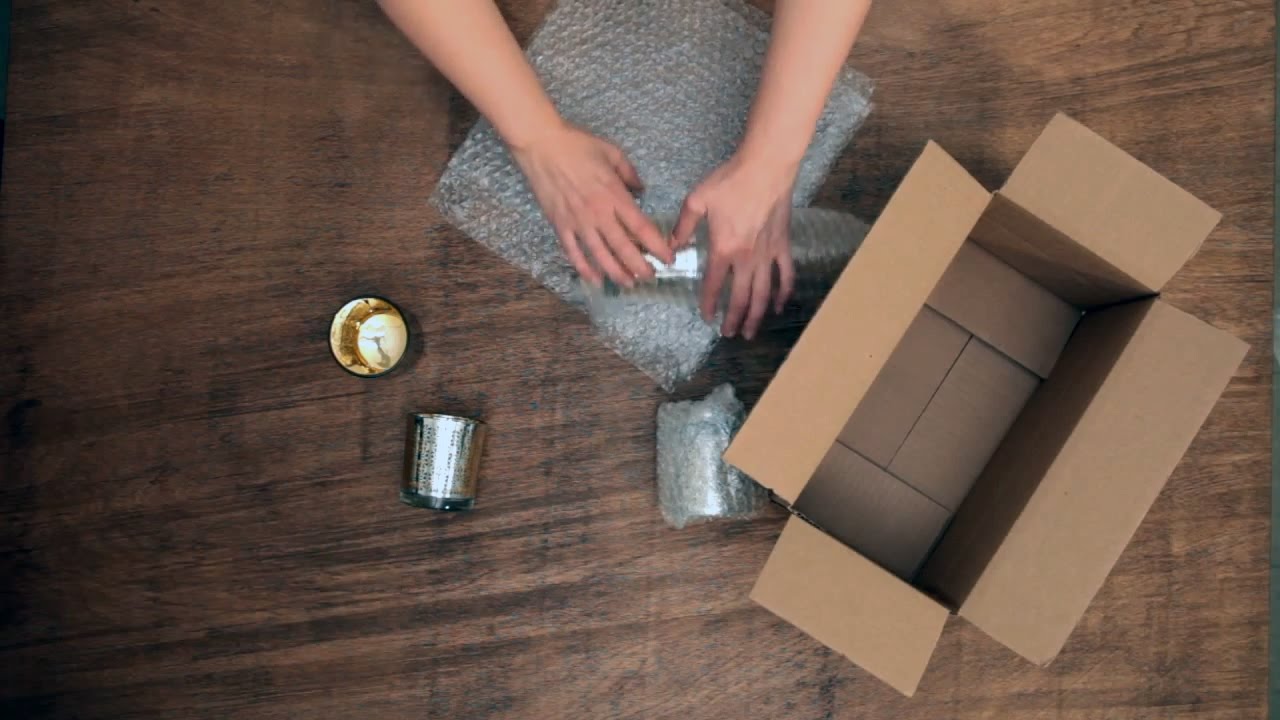
- Store Properly: After repair or cleaning, store your stemware in a safe location away from potential hazards. Use padded storage or individual stemware racks to prevent chipping or scratching.
By adhering to these precautions and safety tips, you can ensure your well-being and the preservation of your stemware throughout the repair, cleaning, and handling processes.
Read more: What Is Stemware?
Conclusion
Stemware adds an elegant touch to any dining experience, but accidents happen, and stemware can become chipped, cracked, or broken. Fortunately, with the right tools, materials, and techniques, you can repair, clean, and restore your stemware, extending its lifespan and preserving its beauty.
When faced with small chips or cracks, epoxy adhesive can be used to seamlessly repair the damaged areas. For stemware with broken stems, reattaching them using epoxy adhesive can save your favorite glass from being discarded. Strengthening weak or wobbly stems can be accomplished through the use of adhesive or reinforcing tools, enhancing their stability and preventing further damage.
Stubborn stains and residue can be removed using simple household items such as vinegar, baking soda, lemon juice, or denture cleaning tablets. Regular cleaning and gentle polishing will help maintain the crystal-clear appearance and shine of your stemware.
Throughout the repair, cleaning, and handling processes, it’s crucial to prioritize safety by wearing protective gear, working in a well-lit area, and handling stemware delicately. Following instructions, ensuring proper ventilation, and avoiding sudden temperature changes further enhance safety during these activities.
Remember, when dealing with valuable, antique, or delicate stemware, it may be best to consult a professional glass restorer. They possess the expertise and specialized equipment to handle such pieces with utmost care.
By following the guidelines outlined in this article, you can revive your broken stemware, maintain its elegance, and continue to enjoy its beauty for many memorable dining occasions to come.
Frequently Asked Questions about How To Repair Broken Stemware
Was this page helpful?
At Storables.com, we guarantee accurate and reliable information. Our content, validated by Expert Board Contributors, is crafted following stringent Editorial Policies. We're committed to providing you with well-researched, expert-backed insights for all your informational needs.

0 thoughts on “How To Repair Broken Stemware”