Home>Dining>Tableware>How To Install An Under-Cabinet Stemware Rack
Tableware
How To Install An Under-Cabinet Stemware Rack
Modified: February 24, 2024
Learn how to easily install an under-cabinet stemware rack to keep your tableware organized and accessible. Transform your kitchen with this simple DIY project!
(Many of the links in this article redirect to a specific reviewed product. Your purchase of these products through affiliate links helps to generate commission for Storables.com, at no extra cost. Learn more)
Introduction
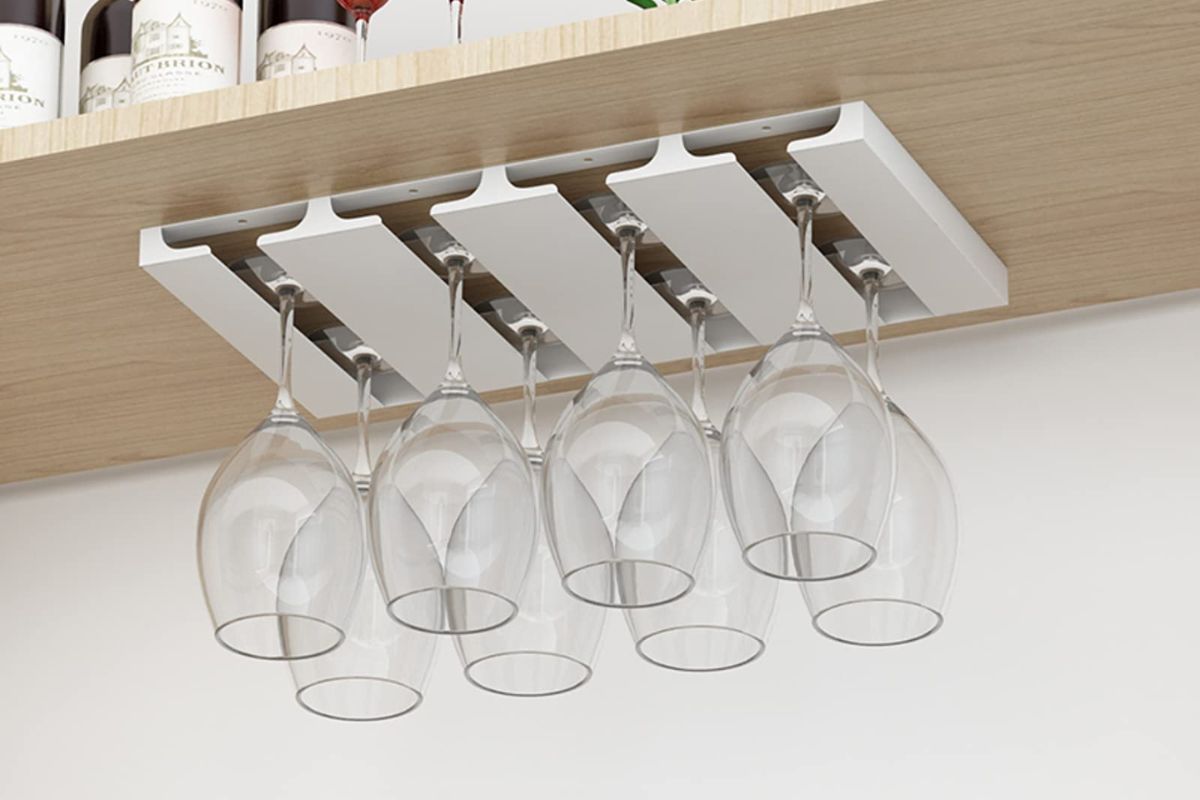
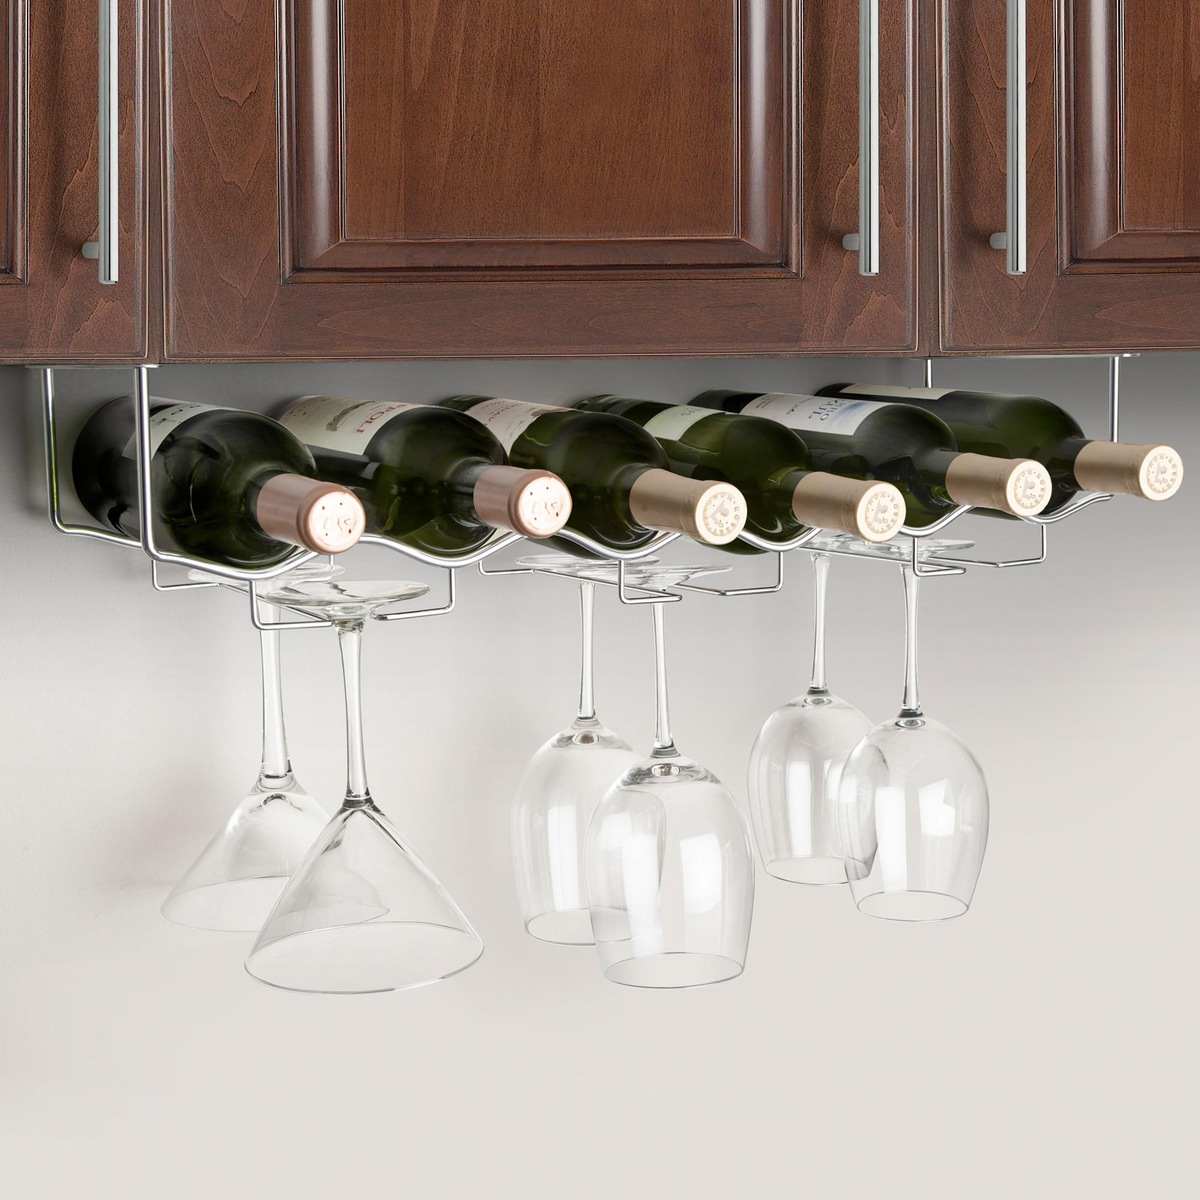
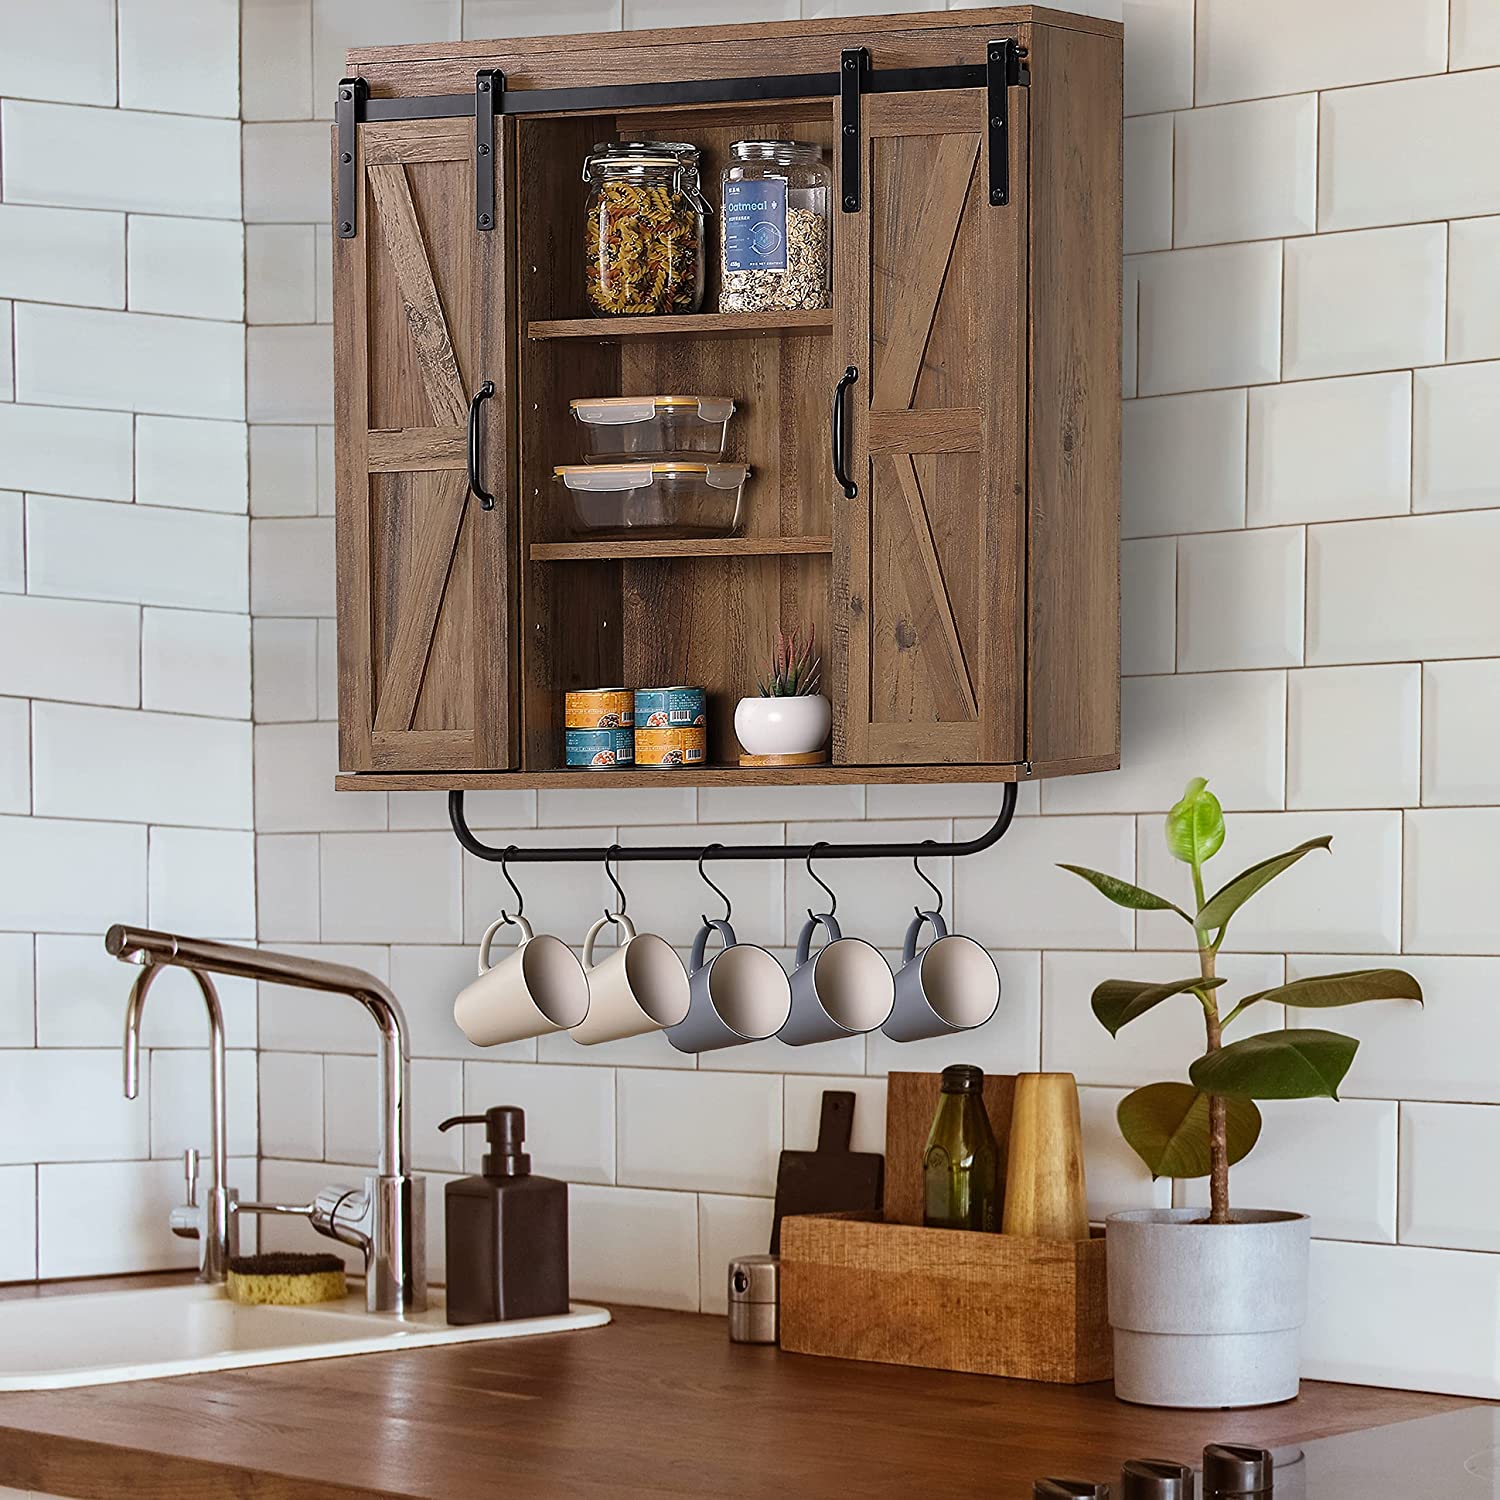
When it comes to tableware, stemware such as wine glasses and champagne flutes are not only functional but also add an elegant touch to any table setting. However, storing and organizing stemware can sometimes be a challenge, especially if you have limited cabinet space. This is where an under-cabinet stemware rack comes in handy.
An under-cabinet stemware rack is a simple yet effective solution for storing your stemware securely and conveniently. By utilizing the unused space underneath your cabinets, you can keep your stemware within easy reach while also freeing up valuable shelf or counter space.
In this comprehensive guide, we will walk you through the step-by-step process of installing an under-cabinet stemware rack. Whether you are a DIY enthusiast or a beginner, you can easily follow these instructions to successfully install your own stemware rack and enhance your storage capabilities.
Before we dive into the installation process, let’s take a look at the materials you will need for this project.
Key Takeaways:
- Maximize your storage space and add elegance to your kitchen by installing an under-cabinet stemware rack. Follow the simple steps to securely organize and access your stemware, freeing up valuable shelf or counter space.
- Ensure a stable and secure installation of your under-cabinet stemware rack by accurately measuring, pre-drilling, and testing the stability of the rack. Organize and hang your stemware for easy access and an elegant display.
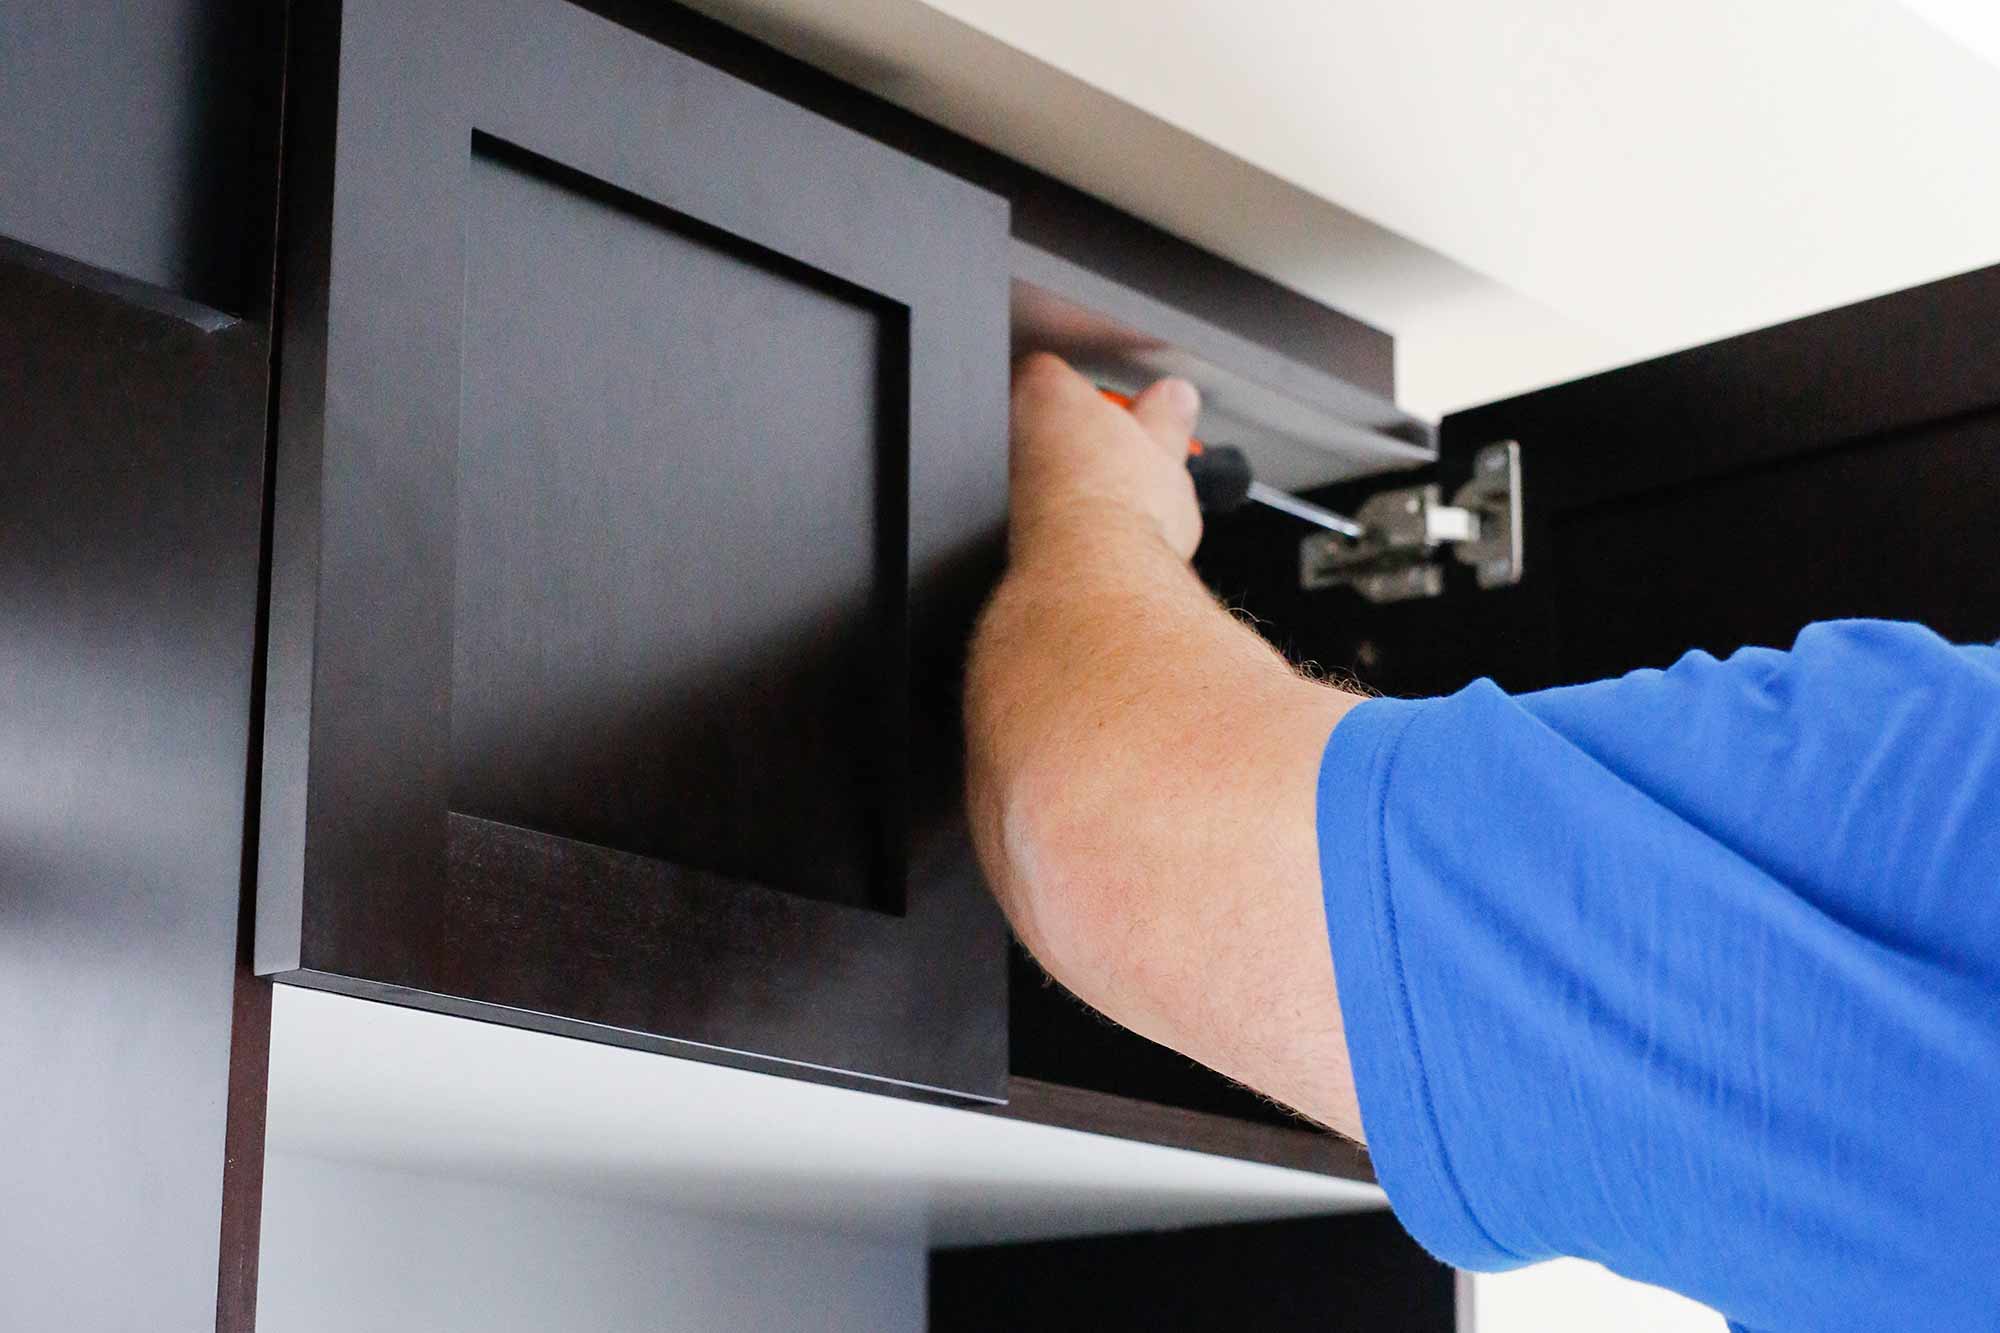
Read more: How To Install Under Cabinet Microwave
Step 1: Gather the Required Materials
Before you begin installing your under-cabinet stemware rack, ensure that you have all the necessary materials on hand. Here is a list of items you will need:
- Under-Cabinet Stemware Rack: Choose a rack that fits your cabinet dimensions and holds the desired number of stemware glasses.
- Tape Measure: Use a tape measure to accurately measure the dimensions of your cabinet space.
- Pencil: A pencil will come in handy for marking the installation area on your cabinet.
- Power Drill: You will need a power drill to pre-drill holes for mounting the rack.
- Screws: Depending on the rack’s design, you may need screws to secure it to the underside of the cabinet.
- Screwdriver: A screwdriver will be necessary for tightening the screws.
Once you have gathered all the materials, you’re ready to move on to the next step where you will measure and mark the installation area.
Step 2: Measure and Mark the Installation Area
Before installing the under-cabinet stemware rack, you need to measure the area where you plan to mount it. This will ensure proper placement and a secure fit. Follow these steps to measure and mark the installation area:
- Clear the space: Remove any items or clutter from the underside of the cabinet where you plan to install the rack. This will give you a clear workspace and make the measuring process easier.
- Measure the cabinet depth: Use a tape measure to measure the depth of your cabinet from front to back. This measurement will determine how far the rack will extend into the cabinet space.
- Measure the cabinet width: Measure the width of your cabinet to determine the appropriate size rack to purchase. Make sure to account for any obstructions such as hinges or other hardware that may affect the placement of the rack.
- Mark the installation area: Once you have determined the appropriate size and placement of the rack, use a pencil to mark the installation area on the underside of the cabinet. Take into consideration any clearance needed for the stemware to hang freely without touching any obstructions.
By accurately measuring and marking the installation area, you will ensure that the under-cabinet stemware rack fits perfectly and allows for easy access to your stemware. With the measurements in place, you can now move on to the next step of pre-drilling holes for mounting the rack.
Step 3: Pre-drill Holes for Mounting
In this step, you will pre-drill holes on the underside of the cabinet to prepare for mounting the under-cabinet stemware rack. Follow these steps to pre-drill the holes:
- Choose the drill bit size: Select a drill bit that is slightly smaller than the screws provided with the stemware rack. This will ensure a snug fit and prevent the wood from splitting.
- Mark the hole positions: Use a pencil to mark the positions where you will drill the holes. These marks should align with the mounting holes on the stemware rack.
- Start drilling: With the drill bit in place, carefully drill the marked holes on the underside of the cabinet. Apply moderate pressure while drilling to create the holes without damaging the cabinet surface.
- Remove any debris: After drilling the holes, clean out any wood debris or sawdust from the cabinet using a brush or cloth. This will ensure a clean and smooth mounting surface.
Pre-drilling the holes is essential for a secure and stable installation of the stemware rack. It prevents the wood from splitting and allows for easier screw insertion. With the holes in place, you can now proceed to the next step of attaching the rack to the underside of the cabinet.
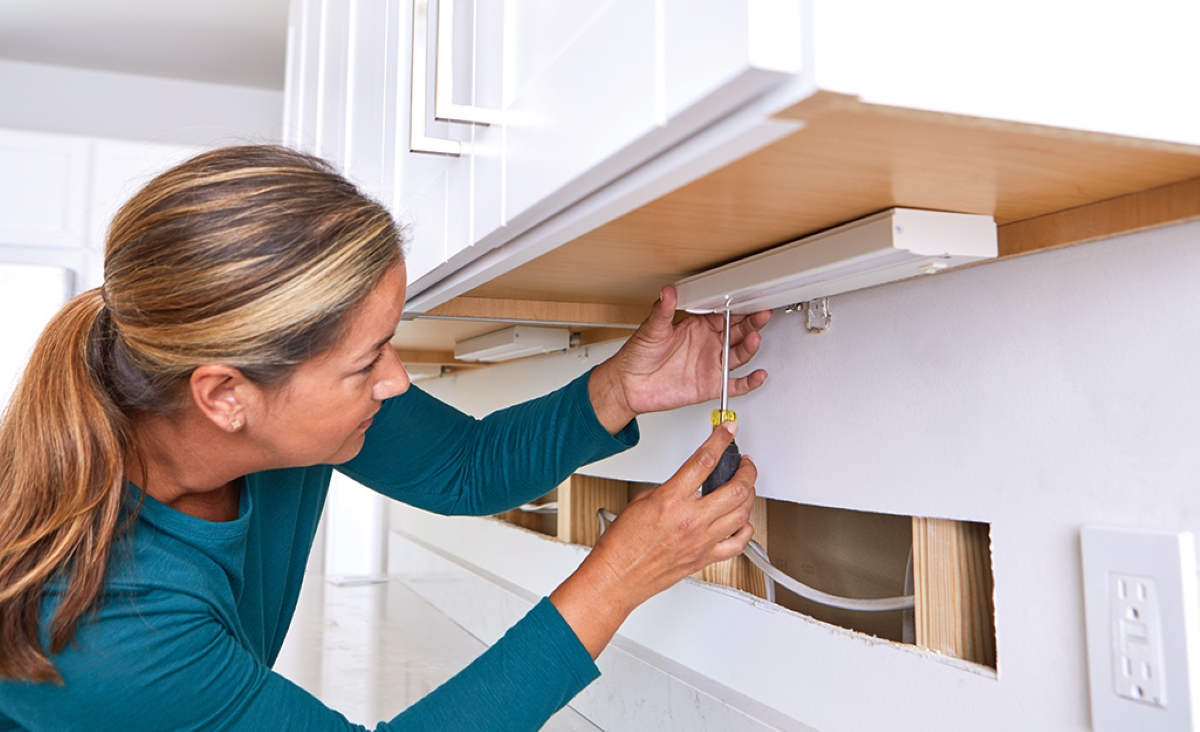
Step 4: Attach the Rack to the Underside of the Cabinet
Now that you have pre-drilled the holes, you are ready to attach the under-cabinet stemware rack to the underside of the cabinet. Follow these steps to securely mount the rack:
- Position the rack: Align the mounting holes on the rack with the pre-drilled holes on the underside of the cabinet. Ensure that the rack is centered and level before proceeding.
- Insert the screws: Insert the screws provided with the stemware rack through the mounting holes and into the pre-drilled holes on the cabinet. Use a screwdriver to tighten the screws, but be careful not to overtighten and damage the cabinet surface.
- Check stability: Gently shake the rack to ensure it is securely attached to the cabinet. If there is any wobbling or instability, double-check the tightness of the screws and adjust if necessary.
Attaching the rack to the underside of the cabinet is a crucial step in the installation process. It provides the foundation for securely hanging your stemware and ensures the rack’s stability. With the rack securely attached, you can now move on to the next step of securing it in place.
When installing an under-cabinet stemware rack, make sure to measure the space accurately before drilling any holes. Use a level to ensure the rack is straight and secure.
Read more: How To Install An Under Cabinet Range Hood?
Step 5: Secure the Rack in Place
Once you have attached the under-cabinet stemware rack to the underside of the cabinet, you need to ensure that it stays in place. Follow these steps to secure the rack and prevent any accidental movement:
- Tighten the screws: Using a screwdriver, double-check the tightness of the screws that attach the rack to the cabinet. Make sure they are firmly tightened without overtightening and damaging the cabinet surface.
- Use adhesive strips (optional): For added stability, you can use adhesive strips or double-sided tape to secure the rack to the cabinet. Apply the strips to the bottom surface of the rack and press firmly to adhere them to the cabinet. This will help prevent any lateral movement of the rack.
- Test the rack’s stability: Give the rack a gentle shake to ensure it is secure and does not wobble or move. If you notice any instability, reinforce the screws or adhesive strips as needed.
By securing the rack in place, you can have peace of mind knowing that your stemware will be safely stored and easily accessible. This step adds an extra layer of stability to the installation and ensures that the rack remains in place during everyday use.
Step 6: Test the Stability of the Stemware Rack
After securing the under-cabinet stemware rack in place, it’s important to test its stability before proceeding with organizing your stemware. This will help ensure that the rack is properly installed and can support the weight of your stemware without any issues. Follow these steps to test the stability of the rack:
- Hang a few stemware glasses: Choose a few stemware glasses of varying sizes and weights to hang on the rack.
- Gently shake the rack: Give the rack a gentle shake to simulate movement and see if the glasses remain securely in place. Check for any wobbling or instability.
- Observe for any issues: Pay close attention to how the glasses hang on the rack. Ensure that they are well-balanced and not at risk of falling or sliding off.
- Make necessary adjustments: If you notice any instability or issues with the way the glasses hang, make necessary adjustments. This may include tightening screws, repositioning glasses, or adding additional support if required.
By testing the stability of the stemware rack, you can have confidence that it will securely hold your stemware and prevent any accidents or damage. If you encounter any issues during this step, it’s important to address them before proceeding with organizing and hanging your stemware.
Step 7: Organize and Hang Your Stemware
With the under-cabinet stemware rack securely installed and tested for stability, it’s time to organize and hang your stemware. Follow these steps to efficiently arrange your glasses:
- Group similar glasses together: Sort your stemware by type (e.g., wine glasses, champagne flutes) or size to make it easier to find the glasses you need.
- Clean the glasses: Before hanging your stemware, wipe each glass with a clean, lint-free cloth to ensure they are free from any dust or residue.
- Hang the stemware: Position each glass on the rack, ensuring that the stems are securely inserted into the hanging slots. Hang the glasses at an angle to prevent them from accidentally sliding off.
- Leave adequate space between glasses: Allow enough space between each glass to prevent them from touching and potentially causing damage. This will also make it easier to remove and replace stemware without any obstructions.
- Organize by frequency of use: Consider organizing your stemware based on how frequently you use them. Place the glasses you use most often within easy reach, while storing less frequently used ones towards the back or on higher levels of the rack.
By organizing and hanging your stemware on the under-cabinet rack, you not only improve the aesthetics of your kitchen or dining area but also make it more convenient to access and use your glasses. With your stemware neatly arranged and within reach, you can now enjoy your favorite beverages with ease.
Conclusion
Installing an under-cabinet stemware rack is a practical and stylish solution for organizing and storing your stemware. With a few simple steps, you can create a functional storage space that not only keeps your glasses within reach but also adds a touch of elegance to your kitchen or dining area.
Throughout this guide, we have walked you through the process of installing an under-cabinet stemware rack, from gathering the necessary materials to organizing and hanging your stemware. By following these steps, you can ensure a secure and stable installation that will safely hold your stemware for years to come.
Remember to measure and mark the installation area accurately, pre-drill holes for mounting, and securely attach the rack to the underside of the cabinet. Test the stability of the rack and make any necessary adjustments before organizing and hanging your stemware.
By utilizing the unused space underneath your cabinets, you can maximize your storage capabilities and keep your stemware easily accessible. Not only does this free up cabinet space for other items but it also adds a decorative element to your kitchen or dining area.
Now that you have the knowledge and guidance to install an under-cabinet stemware rack, it’s time to get started. Enjoy the convenience, functionality, and aesthetic appeal that a well-organized stemware rack brings to your home.
Frequently Asked Questions about How To Install An Under-Cabinet Stemware Rack
Was this page helpful?
At Storables.com, we guarantee accurate and reliable information. Our content, validated by Expert Board Contributors, is crafted following stringent Editorial Policies. We're committed to providing you with well-researched, expert-backed insights for all your informational needs.


0 thoughts on “How To Install An Under-Cabinet Stemware Rack”