Home>Furniture & Design>Living Room Furniture>How To Paint An Ikea Dining Table
Living Room Furniture
How To Paint An Ikea Dining Table
Modified: January 18, 2024
Learn how to paint an Ikea dining table to give your living room furniture a fresh new look. Get expert tips and ideas for furniture and design.
(Many of the links in this article redirect to a specific reviewed product. Your purchase of these products through affiliate links helps to generate commission for Storables.com, at no extra cost. Learn more)
Introduction
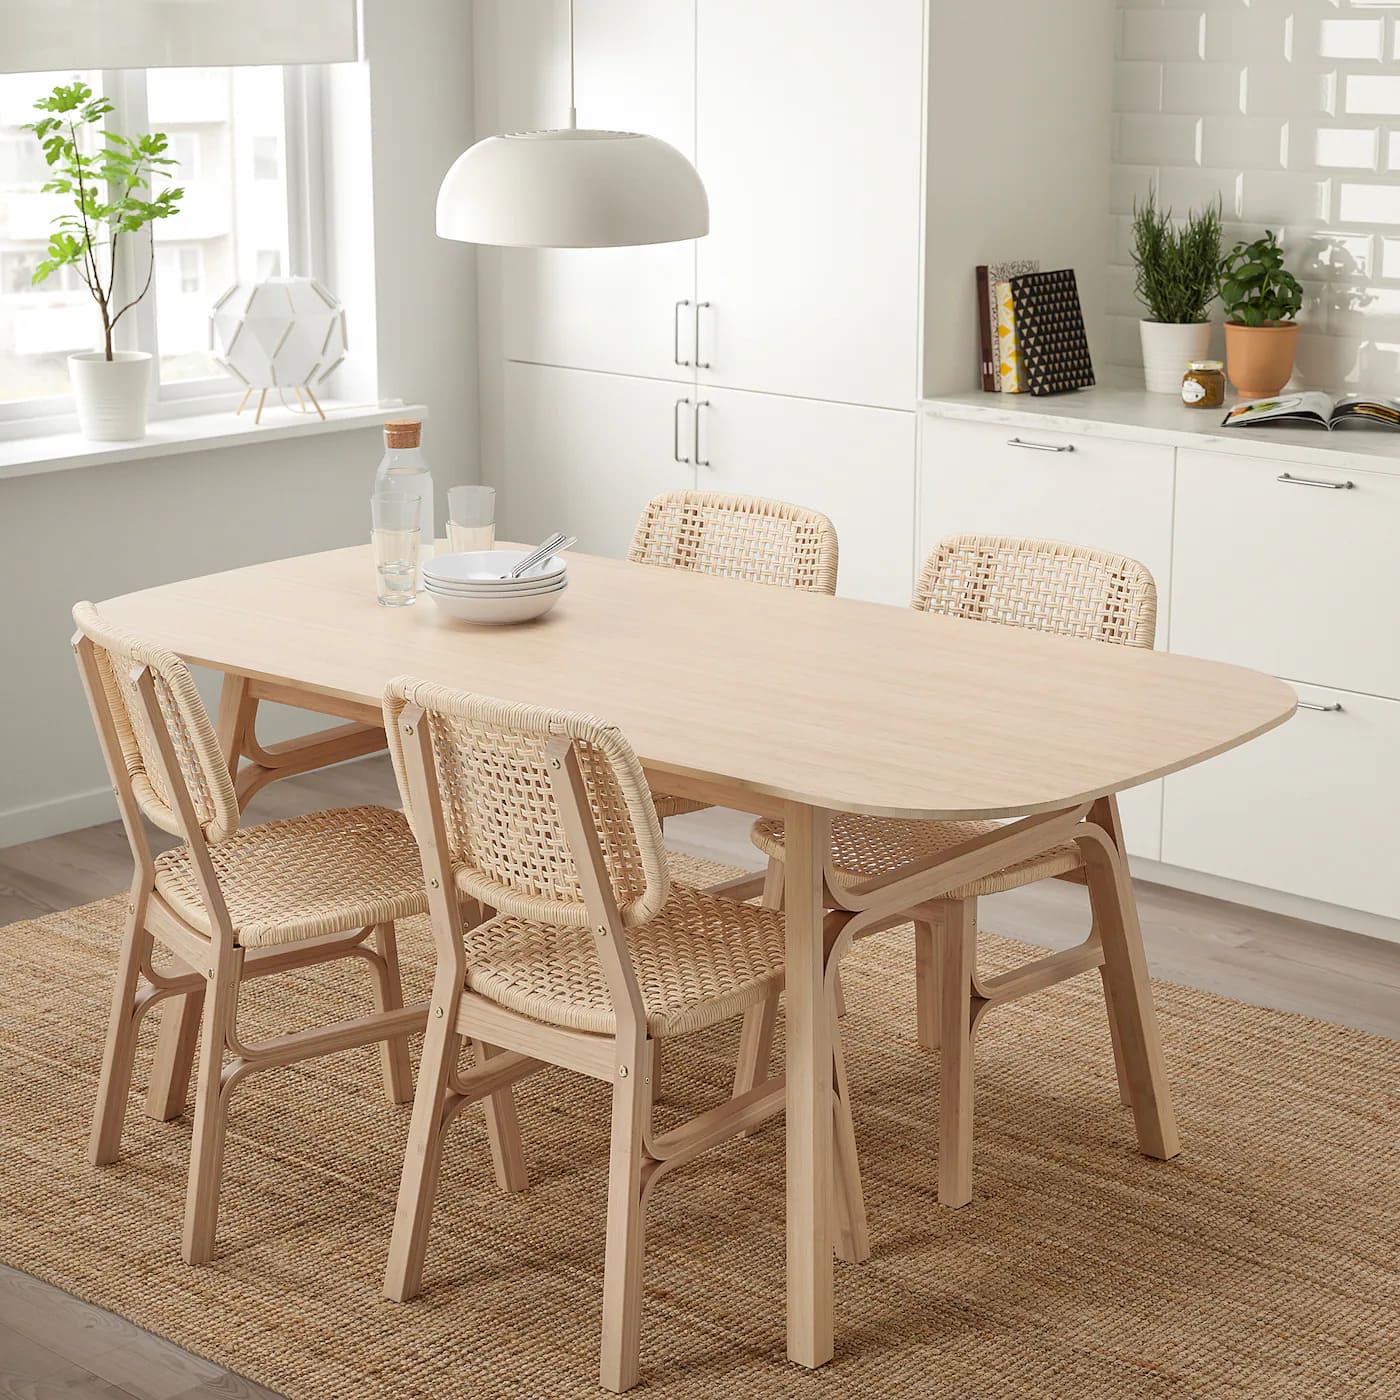
Welcome to the exciting world of furniture transformation! If you've ever looked at your dining table and thought it needed a fresh new look, then you're in the right place. Painting an IKEA dining table can breathe new life into your space and give your dining area a personalized touch. Whether you're aiming for a modern, sleek finish or a rustic, distressed look, painting your IKEA dining table can be a fun and rewarding project.
In this comprehensive guide, we'll walk you through the step-by-step process of painting an IKEA dining table, from gathering the necessary materials to adding the finishing touches. By the end of this journey, you'll have the confidence and know-how to transform your dining table into a stunning centerpiece that reflects your unique style and personality.
So, roll up your sleeves, put on your creative hat, and let's dive into the wonderful world of furniture revamping!
Key Takeaways:
- Transform your IKEA dining table into a personalized masterpiece by following these steps. From preparation to finishing touches, unleash your creativity and revamp your space with a fresh burst of color.
- With the right materials and techniques, painting your IKEA dining table can be a fun and rewarding project. Infuse your unique style and personality into your furniture for a stunning and long-lasting finish.
Read more: How To Paint A Dining Table
Materials Needed
Before embarking on your IKEA dining table painting adventure, it’s essential to gather the necessary materials. Here’s a list of items you’ll need to ensure a successful and satisfying transformation:
- IKEA dining table
- Sandpaper (medium and fine grit)
- Primer suitable for furniture
- High-quality paint suitable for furniture
- Paintbrushes (various sizes for different areas)
- Painter’s tape
- Dust mask
- Drop cloth or old sheets to protect the surrounding area
- Clean, lint-free cloths
- Wood filler (if needed for any repairs)
- Screwdriver (if disassembling the table is necessary)
- Protective sealant (optional, for added durability)
Having these materials on hand will ensure a smooth and efficient painting process, allowing you to achieve professional-looking results.
Now that you have your materials ready, let’s move on to the next step: preparation.
Preparation
Proper preparation is key to a successful painting project. Before you begin transforming your IKEA dining table, it’s important to prepare the workspace and the table itself. Here’s a step-by-step guide to ensure everything is ready for the painting process:
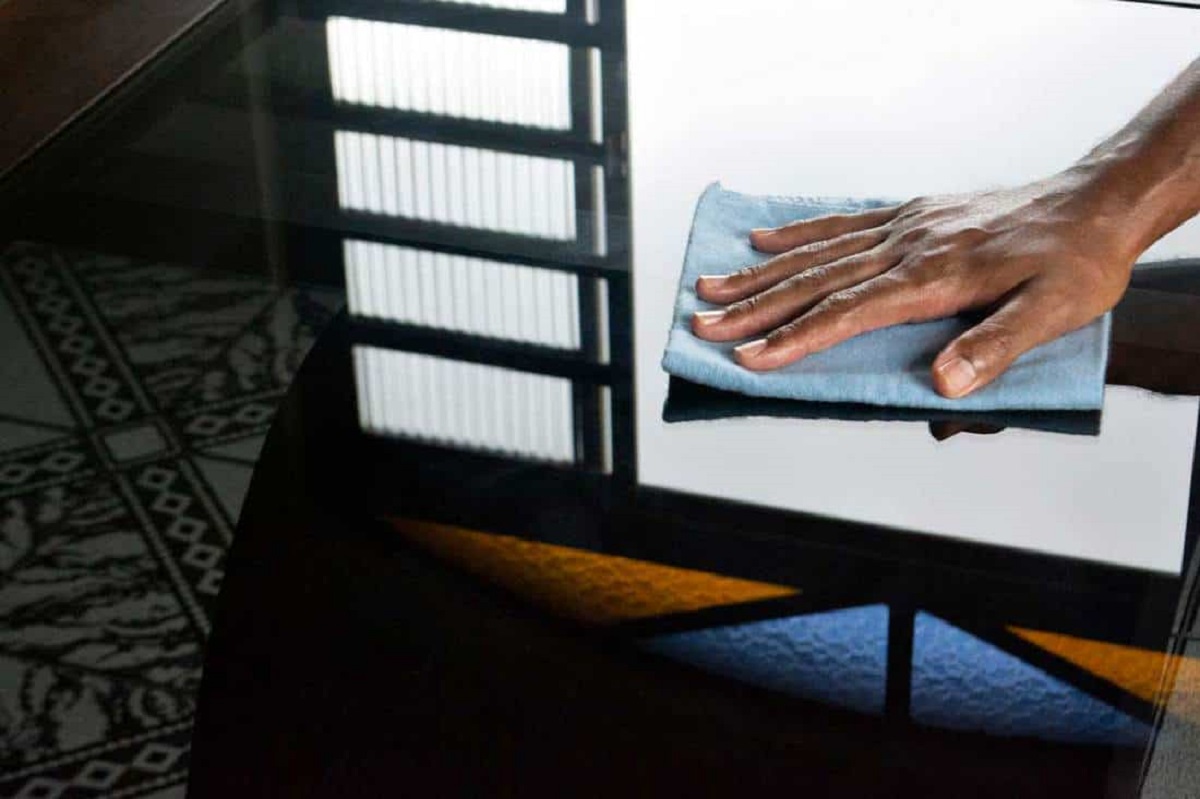
- Clean the Table: Start by thoroughly cleaning the dining table to remove any dust, dirt, or residue. Use a mild detergent and water to wipe down the surface, and allow it to dry completely before proceeding.
- Protect the Surrounding Area: Lay down a drop cloth or old sheets to protect the floor and surrounding area from paint drips and spills. This will help maintain a clean and tidy workspace.
- Disassemble (if necessary): If your dining table has removable parts, such as legs or extension leaves, consider disassembling it to make the painting process more manageable. Use a screwdriver to carefully remove any components that can be painted separately.
- Ventilation: Ensure proper ventilation in the workspace by opening windows or using fans. If working indoors, consider using a respirator mask to protect yourself from any fumes.
By taking the time to prepare the workspace and the table itself, you’ll set the stage for a smooth and enjoyable painting experience. With the groundwork laid, it’s time to move on to the next step: sanding.
Sanding
Once the table is clean and the workspace is prepared, it’s time to tackle the sanding process. Sanding is a crucial step in ensuring a smooth and durable paint finish. Here’s how to approach the sanding phase of your IKEA dining table painting project:
- Begin with Medium Grit Sandpaper: Start by using medium grit sandpaper to lightly sand the entire surface of the table. This will help roughen up the existing finish and create a suitable base for the primer to adhere to. Be sure to sand in the direction of the wood grain for an even finish.
- Focus on Problem Areas: Pay extra attention to any areas with imperfections, scratches, or uneven surfaces. Use the sandpaper to smooth out these spots, creating a uniform canvas for the primer and paint.
- Switch to Fine Grit Sandpaper: Once the initial sanding is complete, switch to a finer grit sandpaper to further smooth the surface. This step will help remove any remaining imperfections and create a silky-smooth texture for the paint to adhere to.
- Remove Sanding Residue: After sanding, use a clean, damp cloth to wipe away any sanding residue and ensure the table is free of dust and debris. This will prepare the surface for the next phase of the painting process.
By diligently sanding the dining table, you’ll create an ideal foundation for the primer and paint, ultimately leading to a flawless and professional-looking finish. With the sanding complete, it’s time to move on to the next crucial step: priming.
Before painting an Ikea dining table, make sure to sand the surface to remove any existing finish and create a smooth base for the new paint to adhere to. Sanding will also help the paint to go on more evenly and last longer.
Priming
As you venture into the world of painting your IKEA dining table, the priming stage is a critical preparatory step that sets the stage for a flawless and long-lasting paint application. Follow these steps to ensure your table is primed and ready for the next phase of the transformation:
- Select the Right Primer: Choose a high-quality primer specifically formulated for use on furniture. This will ensure proper adhesion and a durable finish. If your table has a laminate surface, opt for a primer designed to bond to slick or glossy materials.
- Apply the Primer Evenly: Using a high-quality paintbrush or a paint roller, apply the primer to the entire surface of the table. Ensure an even and consistent coat, covering the tabletop, legs, and any other components that will be painted.
- Allow Sufficient Drying Time: Follow the manufacturer’s instructions regarding drying time. It’s essential to allow the primer to dry thoroughly before moving on to the next step, as this will promote better paint adhesion and a professional finish.
- Sand the Primed Surface (Optional): For an ultra-smooth finish, lightly sand the primed surface with fine grit sandpaper after it has dried. This step can help eliminate any brush or roller marks, creating a silky texture for the paint application.
- Clean Up: Once the primer is dry and any optional sanding is complete, clean your painting tools thoroughly. Proper maintenance of your equipment will ensure they remain in top condition for the painting phase.
By diligently priming your IKEA dining table, you’re creating an optimal foundation for the paint, enhancing its adhesion and ensuring a professional, long-lasting finish. With the table primed and ready, it’s time to infuse it with color during the painting phase.
Read more: How To Paint Dining Chairs?
Painting
Now comes the exciting part of the transformation process – painting your IKEA dining table. This step allows you to infuse your personal style and creativity into the furniture, giving it a fresh and vibrant new look. Follow these steps to achieve a stunning paint finish:
- Choose High-Quality Furniture Paint: Select a premium paint specifically designed for use on furniture. Consider the desired finish – whether it’s a matte, satin, or glossy look – and choose a paint that aligns with your vision for the table.
- Apply the First Coat: Using a high-quality paintbrush or a paint roller, apply the first coat of paint to the entire surface of the table. Ensure even coverage, and pay attention to any intricate details or edges. Allow the first coat to dry completely before applying the next one.
- Apply Additional Coats (if needed): Depending on the type of paint and the desired opacity, you may need to apply multiple coats for full coverage. Follow the manufacturer’s recommendations for drying times between coats, and aim for a smooth and consistent finish.
- Detail Work: Use smaller brushes to reach any detailed or hard-to-access areas, ensuring that the paint coverage is uniform across the entire table. This attention to detail will contribute to a polished and professional result.
- Allow for Proper Drying Time: Once all coats of paint have been applied, allow the table to dry thoroughly according to the paint manufacturer’s instructions. This will help prevent smudges or imperfections and ensure a durable finish.
By following these steps, you’ll breathe new life into your dining table, infusing it with a fresh burst of color and personality. With the painting process complete, it’s time to add the finishing touches that will elevate the table’s appearance to a whole new level.
Finishing Touches
As you near the completion of your IKEA dining table painting project, the finishing touches play a crucial role in enhancing the overall appearance and durability of the newly transformed furniture. Follow these steps to add the final details that will elevate your table to a stunning centerpiece:
- Protective Sealant (Optional): Consider applying a protective sealant to the painted surface for added durability and resistance to daily wear and tear. Choose a sealant specifically formulated for use on painted furniture, and follow the application instructions carefully.
- Reassemble the Table (if applicable): If you disassembled any components of the table before painting, carefully reassemble them once the paint and sealant have fully dried. Take care to ensure a secure and even reassembly.
- Inspect for Touch-Ups: Thoroughly inspect the table for any areas that may require touch-ups or additional detailing. Address any imperfections with a steady hand and a small brush, ensuring a flawless final result.
- Clean Up the Workspace: Once the table is complete, remove the protective coverings and clean up the workspace. Properly dispose of any used materials and ensure the area is tidy and ready to showcase your newly painted dining table.
- Showcase Your Work: Finally, place your newly painted IKEA dining table in its designated space and admire the transformation. Whether it’s a vibrant pop of color or a sophisticated neutral tone, your personalized creation is ready to take center stage in your home.
With these finishing touches, your IKEA dining table will not only look stunning but also be well-prepared to withstand the demands of daily use. The attention to detail and care invested in the final steps will ensure a professional and long-lasting finish, allowing you to enjoy your revamped dining table for years to come.
Now that your table is complete, take a step back and appreciate the remarkable difference a fresh coat of paint can make. Your personalized creation is a testament to your creativity and dedication to transforming everyday furniture into extraordinary pieces that reflect your unique style.
Conclusion
Congratulations on successfully painting your IKEA dining table! Through careful preparation, meticulous execution, and a touch of creativity, you’ve transformed a functional piece of furniture into a personalized centerpiece that reflects your style and vision. As you admire your handiwork, take pride in the journey you’ve taken to breathe new life into your dining space.
By following the step-by-step process outlined in this guide, you’ve not only achieved a stunning visual transformation but also gained valuable experience in furniture revitalization. The skills and knowledge you’ve acquired can be applied to future painting projects, allowing you to infuse your surroundings with your unique aesthetic and personality.
As you enjoy the fruits of your labor, take a moment to appreciate the impact of your creativity and resourcefulness. Your newly painted dining table is more than just a piece of furniture; it’s a reflection of your ingenuity and the joy of breathing new life into everyday objects.
Remember, the possibilities for furniture transformation are endless. Whether it’s a coffee table, a set of chairs, or a bookshelf, the techniques and principles you’ve mastered can be applied to a variety of pieces, allowing you to continue expressing your individuality through the art of furniture painting.
So, as you revel in the beauty of your revamped dining table, know that you’ve unlocked a world of creative potential and the ability to transform your living space with a simple brushstroke. Embrace the satisfaction of a job well done, and let your newly painted dining table serve as a daily reminder of the power of creativity and the joy of making the ordinary extraordinary.
Now, sit back, relax, and savor the delightful ambiance of your revamped dining area – a space enriched by your creativity and the art of furniture revitalization.
Frequently Asked Questions about How To Paint An Ikea Dining Table
Was this page helpful?
At Storables.com, we guarantee accurate and reliable information. Our content, validated by Expert Board Contributors, is crafted following stringent Editorial Policies. We're committed to providing you with well-researched, expert-backed insights for all your informational needs.


0 thoughts on “How To Paint An Ikea Dining Table”