Articles
How To Kasher Your Stove Top
Modified: October 18, 2024
Learn how to properly kasher your stove top with our informative articles. Find step-by-step guides and tips to ensure a kosher kitchen setup.
(Many of the links in this article redirect to a specific reviewed product. Your purchase of these products through affiliate links helps to generate commission for Storables.com, at no extra cost. Learn more)
Introduction
Welcome to the comprehensive guide on how to kasher your stove top! Kashering, also known as koshering, is the process of making a utensil or appliance suitable for use according to Jewish dietary laws. This practice involves removing any trace of non-kosher substances from the item to ensure it meets the strict standards outlined in Jewish tradition.
In this guide, we will focus specifically on kashering the stove top. The stove top is an essential part of any kitchen, and it is crucial to ensure that it is properly kashered to maintain a kosher kitchen. Whether you are preparing for Passover or simply wanting to maintain a kosher home, this step-by-step guide will provide you with all the information you need to kasher your stove top.
Before we delve into the kashering process, it’s important to highlight the significance of kosher food preparation in Jewish tradition. The dietary laws, known as kashrut, play a fundamental role in Jewish observance and uphold the principles of purity, cleanliness, and ethical consumption. For those who follow these laws, kashering the stove top is an essential step in maintaining a kosher kitchen.
Now, let’s gather all the necessary materials and begin the process of kashering your stove top.
Key Takeaways:
- Ensure your stove top is thoroughly cleaned before kashering to create a clean foundation for the process. Proper preparation and attention to detail are essential for maintaining a kosher kitchen.
- After kashering your stove top, perform a final clean-up to remove any residue and ensure optimal condition. Regular maintenance and inspection are crucial for upholding kosher standards.
Read more: How To Make A Stove Top Distiller
Materials Needed
Before starting the process of kashering your stove top, it is important to gather all the necessary materials. Here is a list of items you will need:
- Hot water
- Dish soap
- Scrubbing brush or sponge
- Boiling pot or kettle
- Heat-resistant gloves
- Kosher certification symbol
- Aluminum foil
- Paper towels or clean cloth
- Soapstone or other heat-resistant material (optional)
Ensure that all the materials are clean and free from any non-kosher substances before starting the kashering process. Now that you have gathered the necessary materials, we can move on to cleaning the stove top.
Step 1: Cleaning the Stove Top
Before beginning the kashering process, it is essential to thoroughly clean the stove top. This step ensures that any food residue, grease, or dirt is removed from the surface, allowing for a more effective kashering process. Here’s how you can clean your stove top:
- First, make sure the stove is turned off and cooled down completely.
- Remove any removable burner grates, knobs, or other detachable parts of the stove top.
- Fill a sink or basin with hot water and add a few drops of dish soap.
- Submerge the removable parts into the soapy water and let them soak for a few minutes.
- Using a scrubbing brush or sponge, gently scrub the stove top surface to remove any built-up grime or food residue. Be careful not to scratch the surface.
- Rinse the removable parts with clean water and set them aside to dry.
- Wipe down the stove top surface with a clean cloth or paper towel to remove any remaining soap residue or debris. Ensure that the surface is fully dry before proceeding to the next step.
By thoroughly cleaning the stove top, you create a clean foundation for the kashering process. Once the stove top is clean and dry, you are ready to move on to the next step: preparing for the kashering process.
Step 2: Preparing for the Kashering Process
After cleaning the stove top, it is important to prepare for the kashering process. This step involves ensuring that the stove top is free from any non-kosher substances and properly sealed. Here’s what you need to do:
- Check for any cracks, scratches, or damages on the stove top surface. If you find any, consult a professional to repair or replace the damaged parts before proceeding with the kashering process.
- Inspect the burner grates, knobs, and other removable parts for cleanliness. If you notice any stubborn stains or residue, scrub them using a brush or sponge to ensure they are free from any non-kosher substances.
- Verify the kosher certification of your stove. Look for a kosher certification symbol, such as the letter “K” within a circle, on your stove or its packaging. This symbol ensures that the stove is suitable for kosher use.
- If your stove does not have a kosher certification symbol or if you are uncertain about its kosher status, consult with a rabbi or a reliable kosher certification authority for guidance on how to proceed.
- Prepare a heat-resistant material, such as soapstone, to cover the stovetop burners during the kashering process. This material will act as a barrier between the burners and the food, ensuring that the burners remain kosher throughout the cooking process.
By properly preparing your stove top and ensuring its kosher status, you set the foundation for a successful kashering process. Now that your stove top is ready, let’s move on to the next step: kashering the stove top.
To kasher a stove top, clean it thoroughly, then heat each burner until it glows red. This will burn off any residue and make the stove top kosher for use.
Step 3: Kashing the Stove Top
Now that you have cleaned and prepared your stove top, it’s time to begin the kashering process. This step involves using heat to remove any non-kosher substances and purify the stove top. Here’s how you can kasher your stove top:
- Ensure that your kitchen is well-ventilated before starting the kashering process. Open windows or turn on exhaust fans to allow for proper air circulation.
- Place a layer of aluminum foil over the burner grates. This will prevent direct contact between the grates and the food during the kashering process.
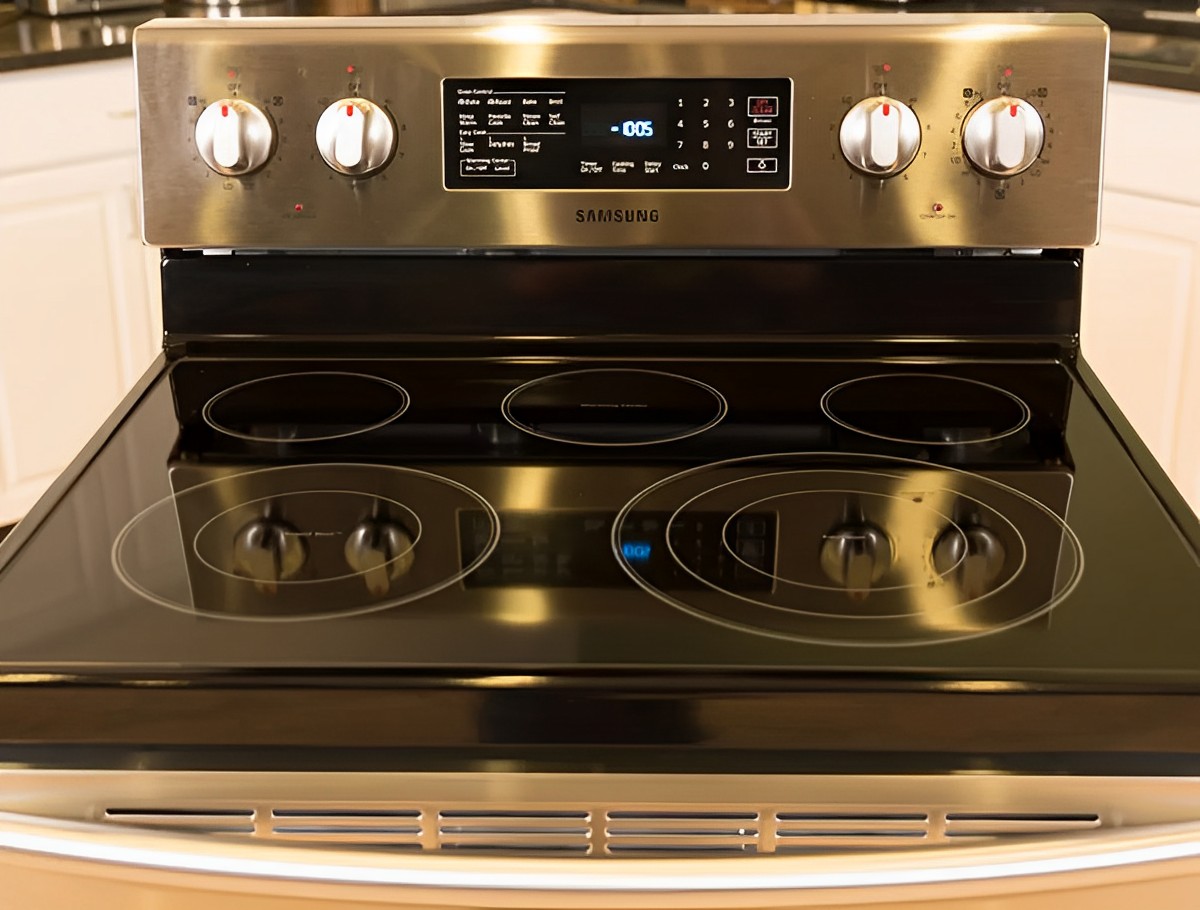
- For electric stoves: Turn on all the burners to their highest setting and allow them to heat up until they reach their maximum temperature. Keep them on for approximately 20-30 minutes to ensure thorough heat distribution.
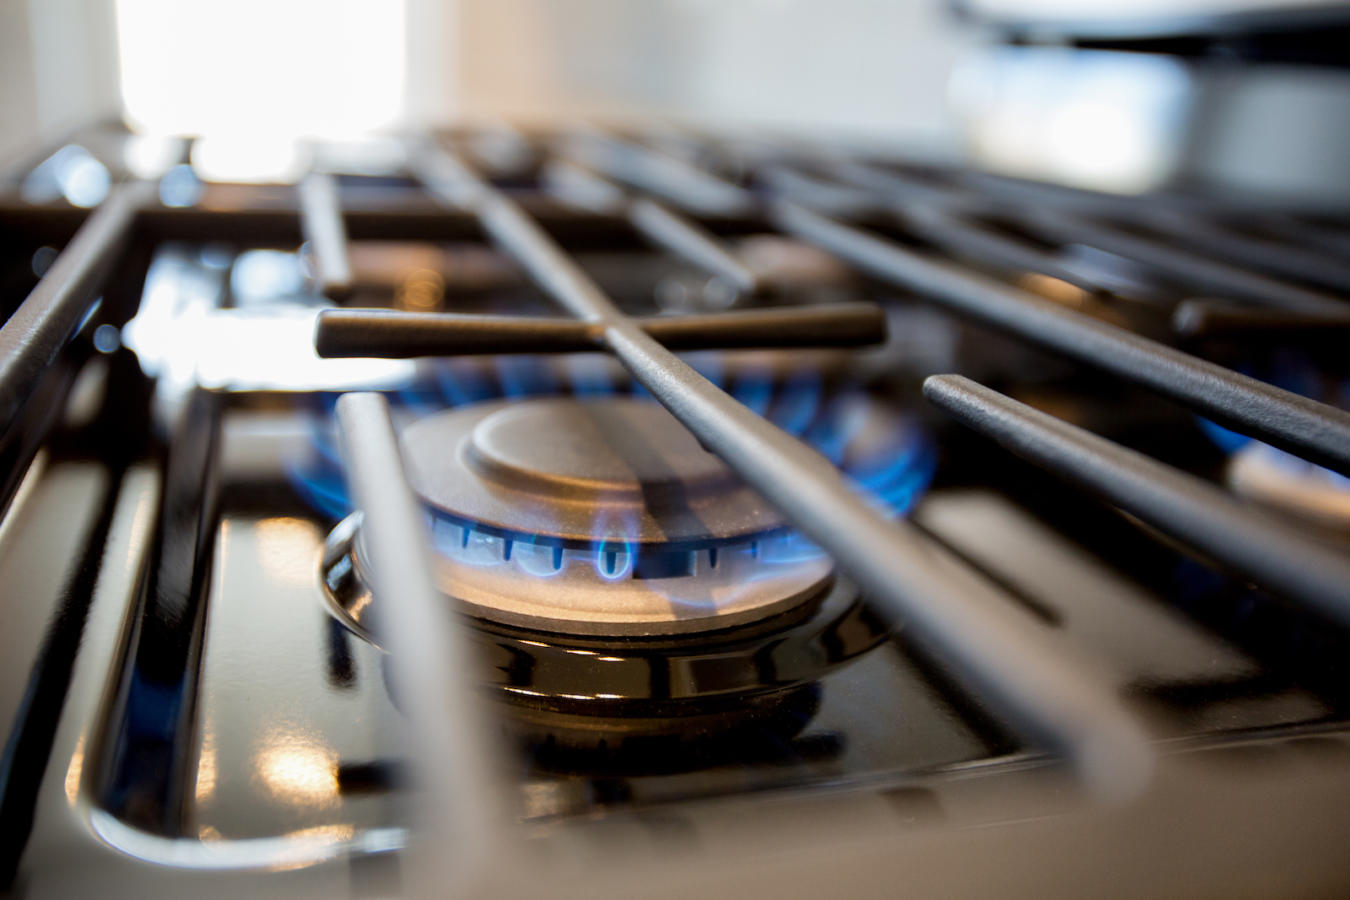
- For gas stoves: Turn on all the burners and adjust them to their highest flame level. Allow them to heat up for approximately 20-30 minutes to ensure thorough heat distribution.
- During the kashering process, avoid placing any uncovered food directly on the burners. Instead, use heat-resistant cookware or place a layer of aluminum foil on the burners before placing the food on top.
- While the burners are heating, monitor the stove closely to ensure that the heat is evenly distributed and that the foil remains securely in place.
- After the 20-30 minutes have passed, turn off the burners and allow the stove top to cool down completely.
- Once the stove top has cooled, carefully remove the aluminum foil and discard it.
By following these steps, you effectively kasher your stove top, removing any non-kosher substances and ensuring its suitability for kosher use. However, it is important to note that this kashering method is specific to the stove top surface and does not apply to the oven compartment or other parts of the stove. If you have additional questions or require guidance for kashering other parts of your stove, consult with a rabbi or a reliable kosher certification authority.
Now that you have completed the kashering process, it’s time to move on to the final step: performing a thorough clean-up.
Read more: How To Clean A Smooth Top Range Or Cooktop
Step 4: Final Clean-Up
After the kashering process is complete, it is important to perform a final clean-up to ensure that your stove top is pristine and ready for use. This step involves removing any residue from the kashering process and ensuring that the stove top is in optimal condition. Here’s what you need to do:
- Allow the stove top to cool down completely before beginning the final clean-up process.
- Using a damp cloth or paper towel, wipe down the stove top surface to remove any debris or residue left behind from the kashering process.
- Pay extra attention to any areas where foil may have stuck to the stove top. Gently scrape off any remaining foil using a plastic scraper or a dull knife, being careful not to scratch the surface.
- For stubborn residue or stains, you can use a gentle cleanser that is safe for your stove top material. Follow the manufacturer’s instructions and rinse thoroughly to remove any traces of the cleaning product.
- Dry the stove top completely using a clean cloth or paper towel to prevent any water spots or streaks.
- Reattach any removable parts, such as burner grates or knobs, that were removed during the cleaning and kashering process. Ensure that they are properly aligned and secure.
- Dispose of any trash or used cleaning materials properly.
With the final clean-up complete, your stove top is now ready for use in a kosher kitchen. It is recommended to periodically clean and maintain your stove top to ensure its ongoing kosher status. Regularly inspect the stove top for any signs of wear or damage and address them promptly to maintain its cleanliness and effectiveness.
Congratulations! You have successfully kashered your stove top and have taken an important step towards maintaining a kosher kitchen. Enjoy cooking with confidence, knowing that your stove top meets the highest kosher standards.
Remember, if you have any specific concerns or questions regarding kashering or maintaining a kosher kitchen, consult with a rabbi or a reliable kosher certification authority for guidance and assistance.
Thank you for following this step-by-step guide. Happy cooking!
Conclusion
Congratulations on successfully completing the process of kashering your stove top! By following the steps outlined in this guide, you have taken a significant step towards maintaining a kosher kitchen and upholding the principles of Jewish dietary laws. A properly kashered stove top ensures that your food remains kosher and aligns with the traditions and values of Jewish observance.
Throughout this guide, we have discussed the importance of thorough cleaning, proper preparation, and the kashering process itself. By diligently following these steps, you have created a clean and kosher environment in your kitchen.
Remember, the kashering process for the stove top is specific to that area alone. If you have additional appliances or utensils that require kashering, consult with a rabbi or a reliable kosher certification authority for specific guidance tailored to those items.
Maintaining a kosher kitchen is an ongoing commitment. Regularly clean and inspect your stove top for any signs of damage or wear, and promptly address any issues that may arise. By staying vigilant and adhering to the principles of kashrut, you can continue to enjoy the benefits of a kosher home.
Thank you for following this comprehensive guide on how to kasher your stove top. We hope it has provided you with the knowledge and confidence to incorporate kashering practices into your culinary routine. If you have any further questions or require additional guidance, do not hesitate to seek advice from a rabbi or a dependable kosher certification authority.
Wishing you many delicious and kosher meals in your newly kashered kitchen!
Frequently Asked Questions about How To Kasher Your Stove Top
Was this page helpful?
At Storables.com, we guarantee accurate and reliable information. Our content, validated by Expert Board Contributors, is crafted following stringent Editorial Policies. We're committed to providing you with well-researched, expert-backed insights for all your informational needs.


0 thoughts on “How To Kasher Your Stove Top”