Home>Dining>Tableware>How To Prepare And Stage A Dining Room For Viewing

Tableware
How To Prepare And Stage A Dining Room For Viewing
Modified: October 21, 2024
Learn how to prepare and stage your dining room for viewing with the perfect tableware. Enhance the visual appeal of your space and impress potential buyers.
(Many of the links in this article redirect to a specific reviewed product. Your purchase of these products through affiliate links helps to generate commission for Storables.com, at no extra cost. Learn more)
Introduction
Welcome to the world of tableware! Whether you are a tableware enthusiast, a homeowner looking to update your dining setup, or someone preparing to stage a dining room for viewing, this article will provide you with valuable insight and guidance.
Tableware plays an essential role in creating a visually pleasing and functional dining experience. From elegant dinner plates and sparkling glassware to stylish cutlery and charming linens, the right tableware can transform an ordinary meal into a memorable event.
When it comes to staging a dining room for viewing, the goal is to showcase the full potential of the space and capture the imagination of potential buyers. A well-prepared and thoughtfully staged dining room can create a lasting impression, increasing the chances of a successful sale.
In this article, we will guide you through the process of preparing and staging a dining room to make it irresistibly appealing. We will cover essential steps such as decluttering, deep cleaning, furniture arrangement, table setting, ambiance creation, lighting optimization, and adding finishing touches.
So let’s dive in and discover the secrets to creating a captivating dining room that will leave viewers impressed and eager to make it their own!
Key Takeaways:
- Staging a dining room involves decluttering, deep cleaning, furniture arrangement, table setting, ambiance creation, and adding finishing touches. These steps create an irresistible and visually appealing space for potential buyers.
- Maximizing natural lighting, incorporating candles, and adding tasteful decor and accessories are essential for enhancing the ambiance of a staged dining room. These elements create a warm and inviting atmosphere for potential buyers to envision memorable dining experiences.
Read more: How To Stage Dining Room Table
Step 1: Decluttering the dining room
Before you can begin the process of staging your dining room, it is crucial to declutter the space. Removing unnecessary items and creating a clean and organized environment will not only make the room appear more spacious but also allow potential buyers to envision their own belongings in the space.
Start by taking a critical look at each item in your dining room. Remove any personal items, such as family photos or personal memorabilia, as these can distract potential buyers. Clear off any clutter from tables, shelves, and sideboards, and store unnecessary items out of sight.
Consider removing extra furniture pieces that may overcrowd the room. A cluttered space can make it difficult for viewers to visualize how they would utilize the area for their own dining experiences. Keep only essential furniture, such as the dining table, chairs, and perhaps a sideboard for storage.
Once you have decluttered the surfaces and furniture, turn your attention to the storage spaces in the room. Clean out dining room cabinets, drawers, and buffets, and neatly organize items that are necessary to keep. Potential buyers will appreciate seeing ample storage space that is well-maintained.
During the decluttering process, take the opportunity to assess the condition of the dining room’s walls, floors, and windows. Address any visible issues such as chipped paint, scuffed floors, or cracked windows. These maintenance tasks will help create a more polished and appealing environment.
Remember, the goal of decluttering is to create a clean and inviting space that allows potential buyers to visualize their own dining experiences. By removing personal items, excess furniture, and cleaning up storage areas, you are setting the stage for a successful dining room staging.
Step 2: Deep cleaning the dining room
Once you have decluttered the dining room, it’s time to give it a thorough deep clean. Deep cleaning will not only make the room look fresher and more inviting, but it will also eliminate any odors or dirt that may be off-putting to potential buyers.
Start by dusting all surfaces in the dining room, including tables, chairs, shelves, and decorative items. Pay attention to corners, crevices, and hard-to-reach areas, as these tend to accumulate dust over time. Use a microfiber cloth or a duster to ensure that you pick up all the dust particles.
Next, tackle the floors. Depending on the type of flooring you have, you may need to vacuum, sweep, or mop the floors to remove any dirt, dust, or stains. Pay special attention to high-traffic areas such as the entrance of the dining room.
If your dining room has windows, clean them inside and out to let in as much natural light as possible. Use a glass cleaner to achieve a streak-free shine. Additionally, clean any window treatments, such as curtains or blinds, to remove dust and dirt.
Don’t forget about the lighting fixtures in the dining room. Dust and clean chandeliers, pendant lights, or wall sconces to ensure they are in pristine condition. Replace any burnt-out light bulbs to create a well-lit environment.
As you deep clean, be sure to address any stains or marks on the walls. Use a mild cleaning solution and a soft cloth to gently wipe away any blemishes. If necessary, touch up the paint to ensure a seamless and flawless appearance.
Finally, consider cleaning or refreshing any upholstered furniture in the dining room. Vacuum upholstered chairs or consider professional cleaning if needed. For fabric seat cushions, check for any stains or tears and address them accordingly.
By dedicating time to deep clean the dining room, you are demonstrating to potential buyers that the space has been well-maintained and is ready for them to move in without any additional cleaning chores. A clean and fresh dining room will make a lasting positive impression.
Step 3: Organizing and arranging furniture
After decluttering and deep cleaning the dining room, the next step in staging is to organize and arrange the furniture in a way that maximizes the space’s potential. Proper furniture placement can create a sense of flow and make the room feel more spacious and inviting.
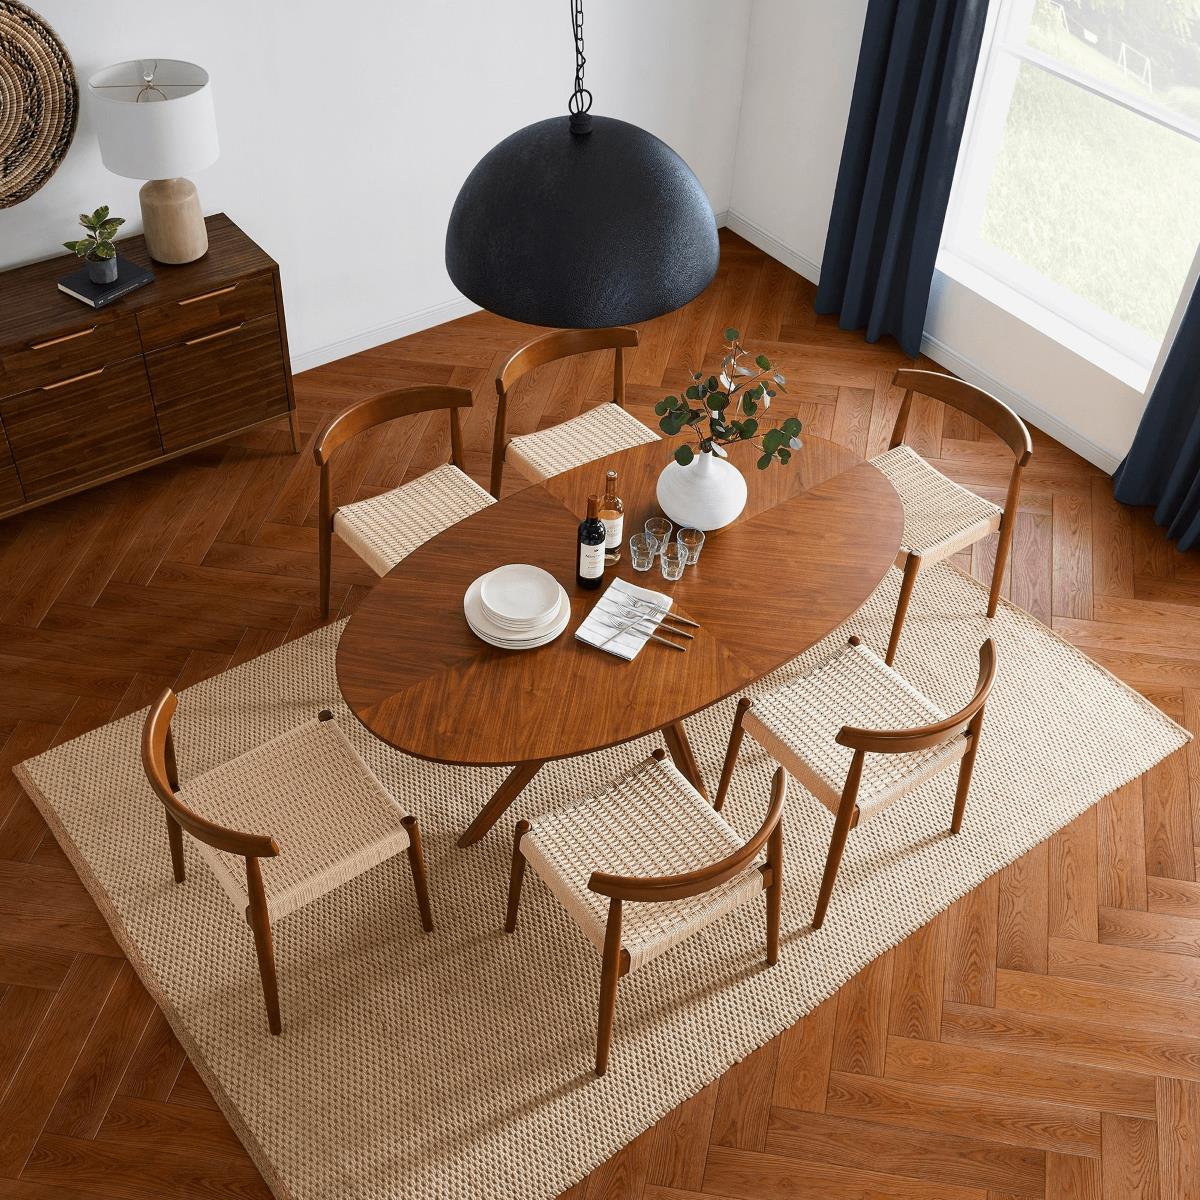
Start by evaluating the size and shape of your dining room. Consider the focal point of the space, which is typically the dining table. Arrange the table in the center of the room or in a way that highlights its features, such as a beautiful table runner or centerpiece.
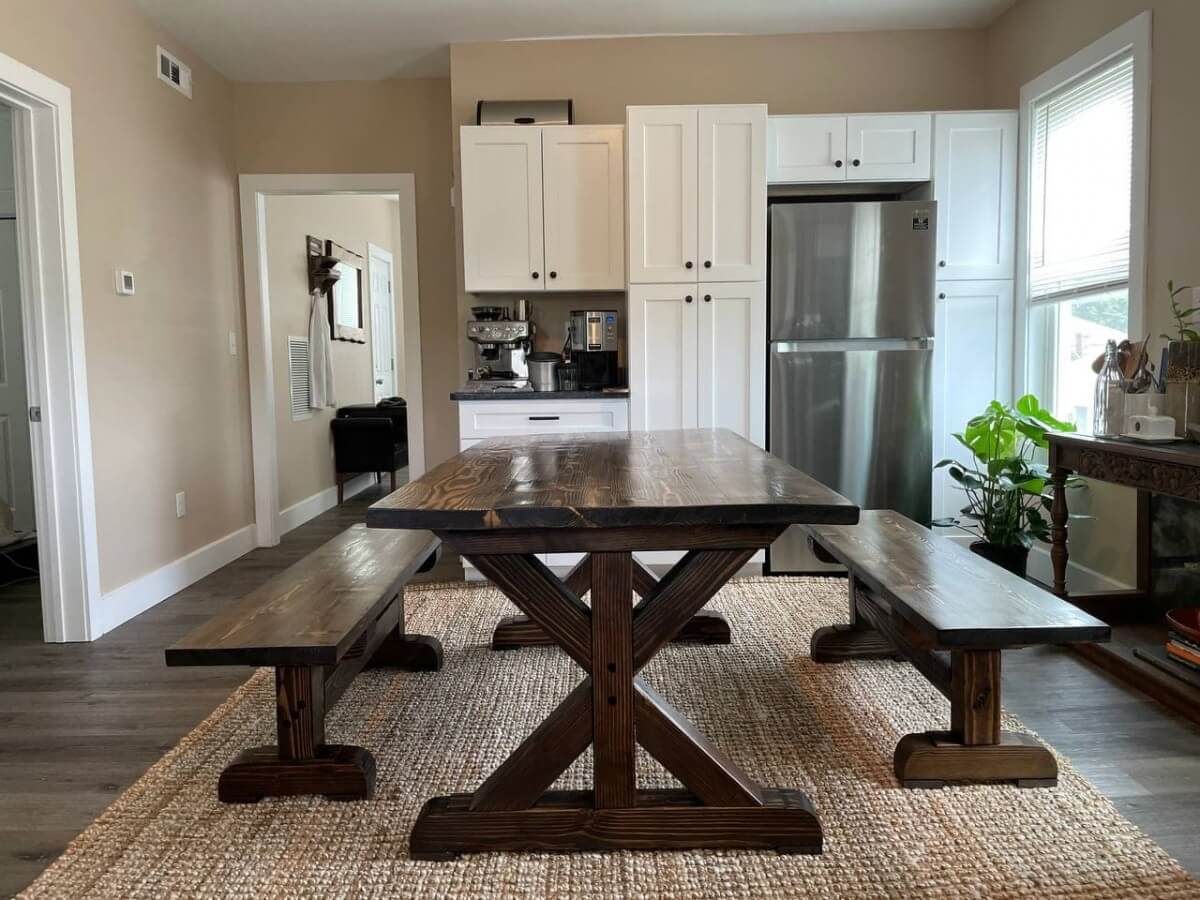
Ensure that there is ample space around the dining table for comfortable movement and seating. Avoid placing the table too close to the walls or other furniture, as this can make the room appear cramped. Aim to create a balanced and visually pleasing layout.
If your dining room is small, consider using a round or oval table, as they tend to take up less space and offer better flow around them. For larger dining rooms, a rectangular or square table may work well. Choose a dining table size that suits the room’s proportions without overpowering it.
Arrange the chairs around the dining table in a way that allows easy navigation. Alternate the position of chairs to create a symmetrical and well-balanced look. If you have extra chairs, consider storing them elsewhere to optimize space and prevent overcrowding.
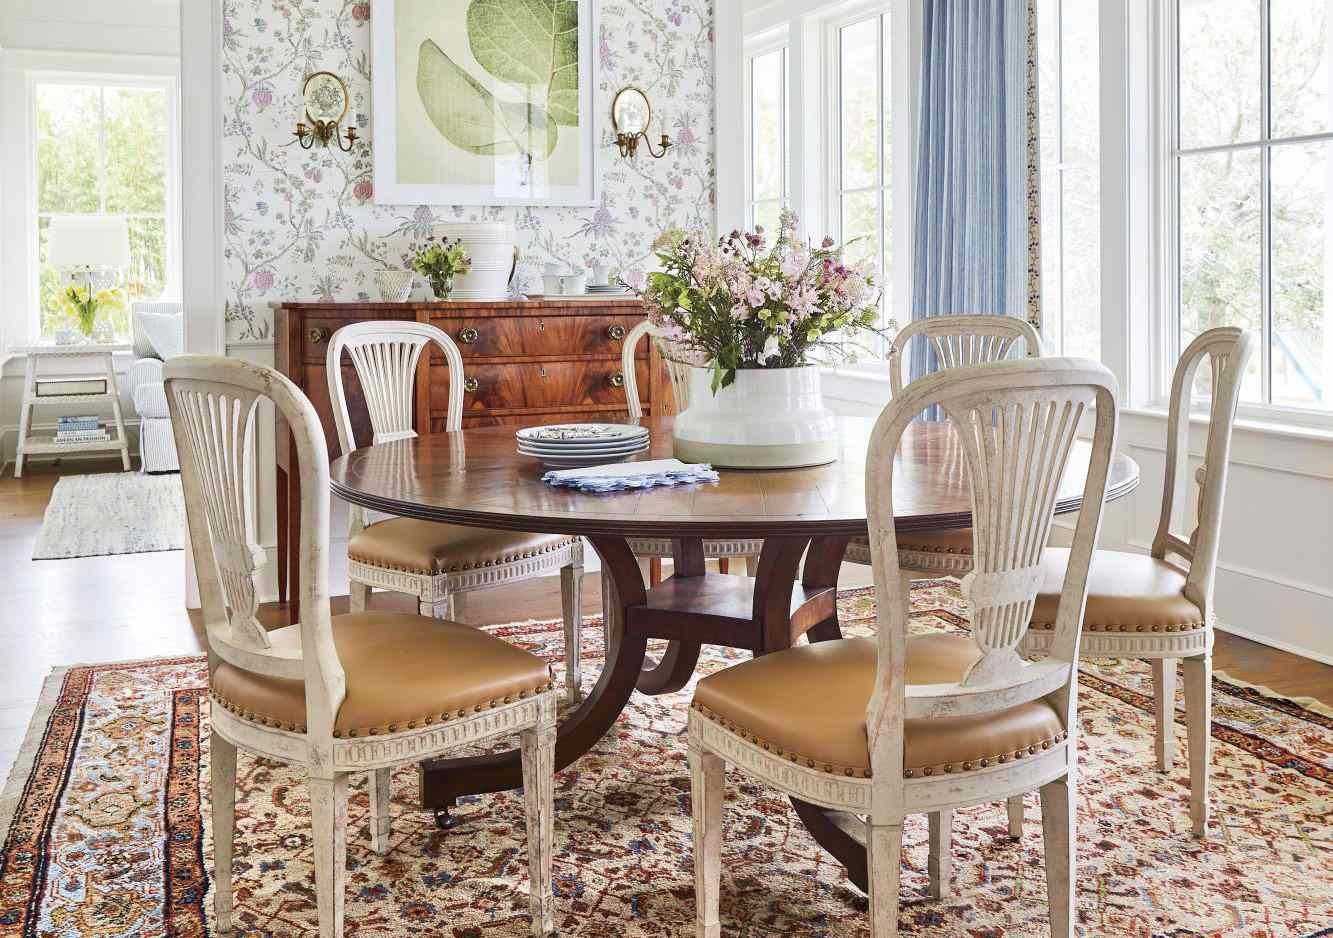
If you have a buffet or sideboard, position it against a wall or in a corner of the room. Use the surface to display tasteful and minimal decor items such as a vase of fresh flowers or a few decorative pieces. This will add visual interest without overwhelming the space.
To create a sense of openness, ensure that there is ample space between furniture pieces. This will make it easier for potential buyers to imagine themselves comfortably using the dining room for their own gatherings and celebrations.
If your dining room has any unique architectural features, such as a fireplace or floor-to-ceiling windows, incorporate them into the furniture arrangement. Highlight these features by positioning the dining table or chairs in a way that draws attention to them.
Remember to consider the traffic flow in the dining room. Ensure that there is enough space for people to move freely around the furniture, especially when chairs are pulled out. By creating a functional and visually appealing layout, you are making the dining room more inviting and appealing to buyers.
By carefully organizing and arranging the furniture in your dining room, you create a visually pleasing and functional space that draws potential buyers in. A well-thought-out arrangement can help buyers imagine themselves enjoying meals and entertaining guests in the space.
Step 4: Setting the table
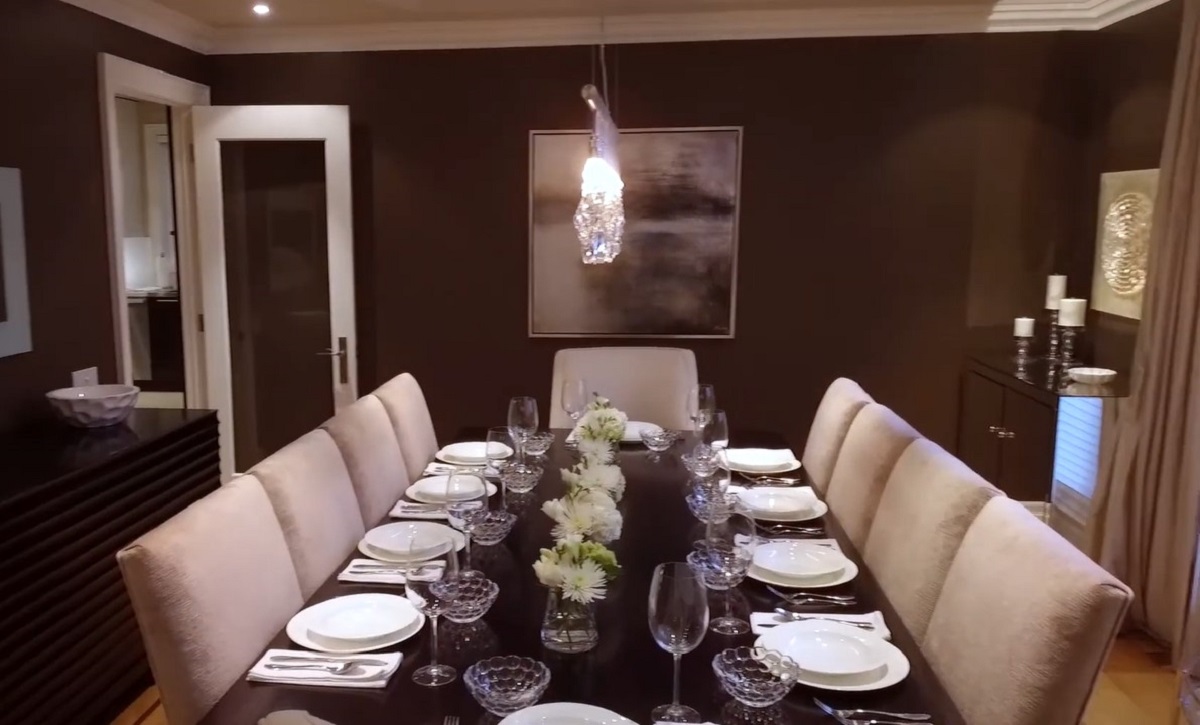
Setting the table is an essential step in staging a dining room. A beautifully set table not only enhances the overall appearance of the room but also allows potential buyers to envision themselves enjoying meals and special occasions in the space.
Start by selecting a tablecloth or table runner that complements the style and color scheme of the room. Opt for neutral or muted tones that create an elegant and timeless look. Make sure the tablecloth is freshly laundered and free of wrinkles.
Next, choose a set of dinnerware that showcases the quality and style of the dining room. Use matching plates, bowls, and other serving dishes. If you don’t have a complete set, consider mixing and matching complementary pieces for a creative and eclectic look.
Select high-quality glassware, including water glasses, wine glasses, and champagne flutes, if applicable. Polish the glassware to give it a sparkling appearance. Place a water glass and a wine glass at each setting for a formal and elegant touch.
When it comes to cutlery, lay out a complete set of forks, knives, and spoons. Position them carefully, ensuring that each piece is aligned and easily accessible. Consider using a charger plate or placemat underneath the dinner plate to add depth and dimension to the table setting.
For a decorative element, add a centerpiece to the table. This could be a floral arrangement, a cluster of candles, or a combination of both. Choose a centerpiece that complements the size of the table and doesn’t obstruct the view or conversation between guests.
Don’t forget the smaller details that can make a difference. Place a folded napkin or a napkin ring beside each plate. Consider adding a name card to each place setting if you want to convey a personalized touch.
As you set the table, aim for a balanced and visually appealing arrangement. Take into consideration the size of the table and the number of place settings needed. Space the settings evenly, and ensure there is enough room for guests to comfortably dine without feeling crowded.
Keep in mind that the goal is to create a table setting that is both visually appealing and realistic. Avoid setting a table that is overly formal or elaborate, as this might intimidate potential buyers. A tasteful and well-executed table setting will enhance the overall impression of the dining room.
By taking the time to set the table properly, you are showcasing the potential of the dining room as a space for memorable meals and gatherings. A well-arranged table can help potential buyers imagine themselves enjoying special moments in this inviting and beautifully staged dining room.
Consider using a neutral color palette for the dining room to create a welcoming and versatile space. This will allow potential buyers to envision their own style and decor in the room.
Read more: How To Stage A Dining Table
Step 5: Enhancing the ambiance
Creating a welcoming and inviting ambiance is a crucial step in staging your dining room. The right ambiance sets the mood and atmosphere, making potential buyers feel comfortable and envisioning themselves enjoying meals and special moments in the space.
Consider the overall style and theme of your dining room. Is it modern and minimalist, or classic and traditional? Choose lighting, decor, and accessories that align with the room’s aesthetic to create a cohesive ambiance.
Start by focusing on the lighting. Lighting plays a vital role in setting the mood and creating a warm and inviting atmosphere. Use a combination of ambient, task, and accent lighting to achieve the desired effect.
If possible, maximize the natural light in the dining room by opening curtains or blinds. Natural light creates a welcoming and fresh ambiance. During evening viewings, make use of subtle and flattering lighting fixtures such as dimmable chandeliers or wall sconces to create a cozy and intimate atmosphere.
Consider incorporating candles into your staging. They add a soft and warm glow, instantly elevating the ambiance of the dining room. Place them strategically, such as on the table or on a sideboard, to create a romantic and enchanting atmosphere.
Choose decor and accessories that enhance the room’s ambiance. Consider artwork or wall decor that complements the style and color palette of the dining room. Hang a mirror strategically to reflect light and make the room appear larger.
Fresh flowers or greenery can add a touch of vibrance and freshness to the dining room. Choose a simple and elegant bouquet that won’t overpower the space. Place it as a centerpiece on the table or in a corner to add a natural element to the ambiance.
Consider adding texture and warmth through textiles such as cushions for chairs or a cozy throw draped over an armchair. These thoughtful details can create a sense of comfort and make potential buyers imagine themselves relaxing and enjoying meals in the dining room.
Lastly, don’t forget about the sense of smell. Pleasant scents can greatly contribute to the ambiance of a space. Consider using a subtle room fragrance or lighting scented candles with a pleasant aroma.
By incorporating these elements into your dining room staging, you create an ambiance that evokes positive emotions and encourages potential buyers to envision themselves enjoying the space. A well-enhanced ambiance sets the stage for a memorable dining experience and leaves a lasting impression.
Step 6: Maximizing natural lighting
Natural lighting can greatly enhance the overall appeal of a dining room. It not only creates a bright and spacious atmosphere but also showcases the beauty of the space and its surrounding environment. Maximizing natural lighting in your dining room is a valuable step in creating an inviting and appealing space for potential buyers.
Start by maximizing the amount of natural light entering the dining room. Clean the windows thoroughly to remove any dirt or smudges that may hinder the light from coming in. Consider using sheer or light-colored curtains or blinds that allow ample light to pass through while still providing privacy.
If privacy is not a concern, consider leaving the windows uncovered or using minimal window treatments to let in the maximum amount of natural light. Keep in mind that a well-lit dining room will appear more spacious and welcoming.
Position mirrors strategically in the dining room to reflect and amplify natural light. Place a large mirror opposite a window to optimize the light’s reflection. The mirror will not only brighten the space but also create the illusion of a larger room.
Another way to maximize natural lighting is by ensuring that the dining room is free from any obstacles that may block the light. Move any large furniture pieces or decorative items that cast shadows and obstruct the light’s path. Opt for furniture with lighter colors to reflect light and create a brighter setting.
Trim any trees or shrubs outside the dining room’s windows that may block natural light. If possible, consider using sheer window coverings that diffuse the light and allow it to filter into the room while still maintaining some privacy.
Incorporate reflective surfaces into the dining room’s decor. Choose light-colored or metallic finishes for furniture, such as mirrored sideboards or glass tabletops, to bounce light around the space. Use glossy or reflective materials for accent pieces and accessories to further enhance natural lighting.
During daytime viewings or open houses, ensure that the dining room is well-lit with natural light. Open all curtains or blinds, and turn off any artificial lighting that may compete with or overpower the natural light. This will create a bright and airy ambiance, showcasing the potential of the dining room.
By maximizing natural lighting in your dining room, you create an inviting and visually appealing space. Natural light enhances the room’s features and makes it more attractive to potential buyers. A well-lit dining room can capture attention and leave a lasting impression, increasing the chances of a successful sale.
Step 7: Adding finishing touches
As you near the completion of staging your dining room, it’s time to add those final touches that will elevate the space and leave a lasting impression on potential buyers. These finishing touches are the small details that tie the whole room together and make it feel polished and welcoming.
Start by paying attention to the details of your table setting. Ensure that everything is perfectly aligned and symmetrical. Double-check that the cutlery is in the correct order and that the napkins are neatly folded or placed in napkin rings. Straighten the tablecloth or table runner to create a crisp and clean look.
Consider adding some decorative elements to enhance the visual appeal. Place a few well-chosen accessories on the table, such as a decorative bowl filled with fresh fruit or a small vase of flowers. These elements add a touch of color and life to the dining room.
Take a look at the walls and consider adding artwork or a decorative wall hanging. Choose pieces that complement the style of the room and create a focal point. Art can inject personality and character into the dining room, making it feel like a truly curated space.
Pay attention to the overall cleanliness and tidiness of the room. Ensure that there are no dust particles visible on surfaces or furniture. Wipe down any smudges or fingerprints on glass or reflective surfaces. Polish and shine any metallic finishes to give them a lustrous appearance.
Add a final layer of comfort by placing cushions or throws on chairs or armchairs. Choose fabrics and textures that complement the overall color scheme and style of the dining room. This will create a cozy and inviting atmosphere and make potential buyers feel at home in the space.
Consider adding a touch of fragrance to the dining room. Lightly spray a room freshener or place scented diffusers around the room to create a pleasant and inviting scent. Choose a fragrance that is not overpowering and appeals to a broad range of preferences.
Finally, step back and evaluate the overall balance and harmony of the room. Check that the elements are well-proportioned and that there is a cohesive flow throughout the dining room. Adjust any items that feel out of place or disrupt the visual harmony.
Remember that the finishing touches are the subtle details that can make a big impact. They add that extra layer of thoughtfulness and care to the staging process, making the dining room feel complete and inviting to potential buyers.
By adding these finishing touches, you create a dining room that is visually appealing, comfortable, and memorable. These small details contribute to the overall positive experience for potential buyers and increase the chances of a successful sale.
Conclusion
Staging a dining room is a crucial step in selling your home or creating an inviting space for your own enjoyment. By following the steps outlined in this article, you can transform your dining room into an irresistible and visually appealing area that captures the hearts of potential buyers.
Start by decluttering the dining room, removing personal items and unnecessary furniture to create a clean and spacious environment. Next, deep clean the space, ensuring that every surface is spotless and fresh. Organize and arrange the furniture in a way that maximizes space and creates a comfortable flow for dining and entertaining.
Setting the table is an essential part of staging a dining room. Choose high-quality dinnerware, glassware, and cutlery to create an elegant and cohesive look. Enhance the ambiance of the dining room by maximizing natural lighting, incorporating candles, and adding tasteful decor and accessories.
Finally, add the finishing touches that tie the whole dining room together. Pay attention to the small details, from perfectly aligned table settings to beautiful artwork and thoughtful fragrances. These details make the space feel complete and welcoming.
Remember, the goal of staging a dining room is to create an environment that allows potential buyers to envision themselves enjoying meals and making memories in the space. By following these steps and infusing your own creativity and style, you can create a dining room that stands out and leaves a lasting impression.
Whether you’re preparing to sell your home or simply desire a refreshed dining experience, staging your dining room is an investment in creating a captivating and inviting space. With proper preparation and attention to detail, your dining room will become a focal point that enhances the overall appeal of your home.
So roll up your sleeves, dive into the process, and watch as your dining room transforms into a stunning showcase of style, elegance, and functionality. Prepare to be amazed at the impact a well-staged dining room can have on potential buyers and your own enjoyment of your home.
Frequently Asked Questions about How To Prepare And Stage A Dining Room For Viewing
Was this page helpful?
At Storables.com, we guarantee accurate and reliable information. Our content, validated by Expert Board Contributors, is crafted following stringent Editorial Policies. We're committed to providing you with well-researched, expert-backed insights for all your informational needs.

0 thoughts on “How To Prepare And Stage A Dining Room For Viewing”