
Tableware
How To Build Black Dining Chairs
Modified: January 23, 2024
Discover the step-by-step guide on building stylish black dining chairs. Enhance your tableware collection with these chic and versatile chairs.
(Many of the links in this article redirect to a specific reviewed product. Your purchase of these products through affiliate links helps to generate commission for Storables.com, at no extra cost. Learn more)
Introduction
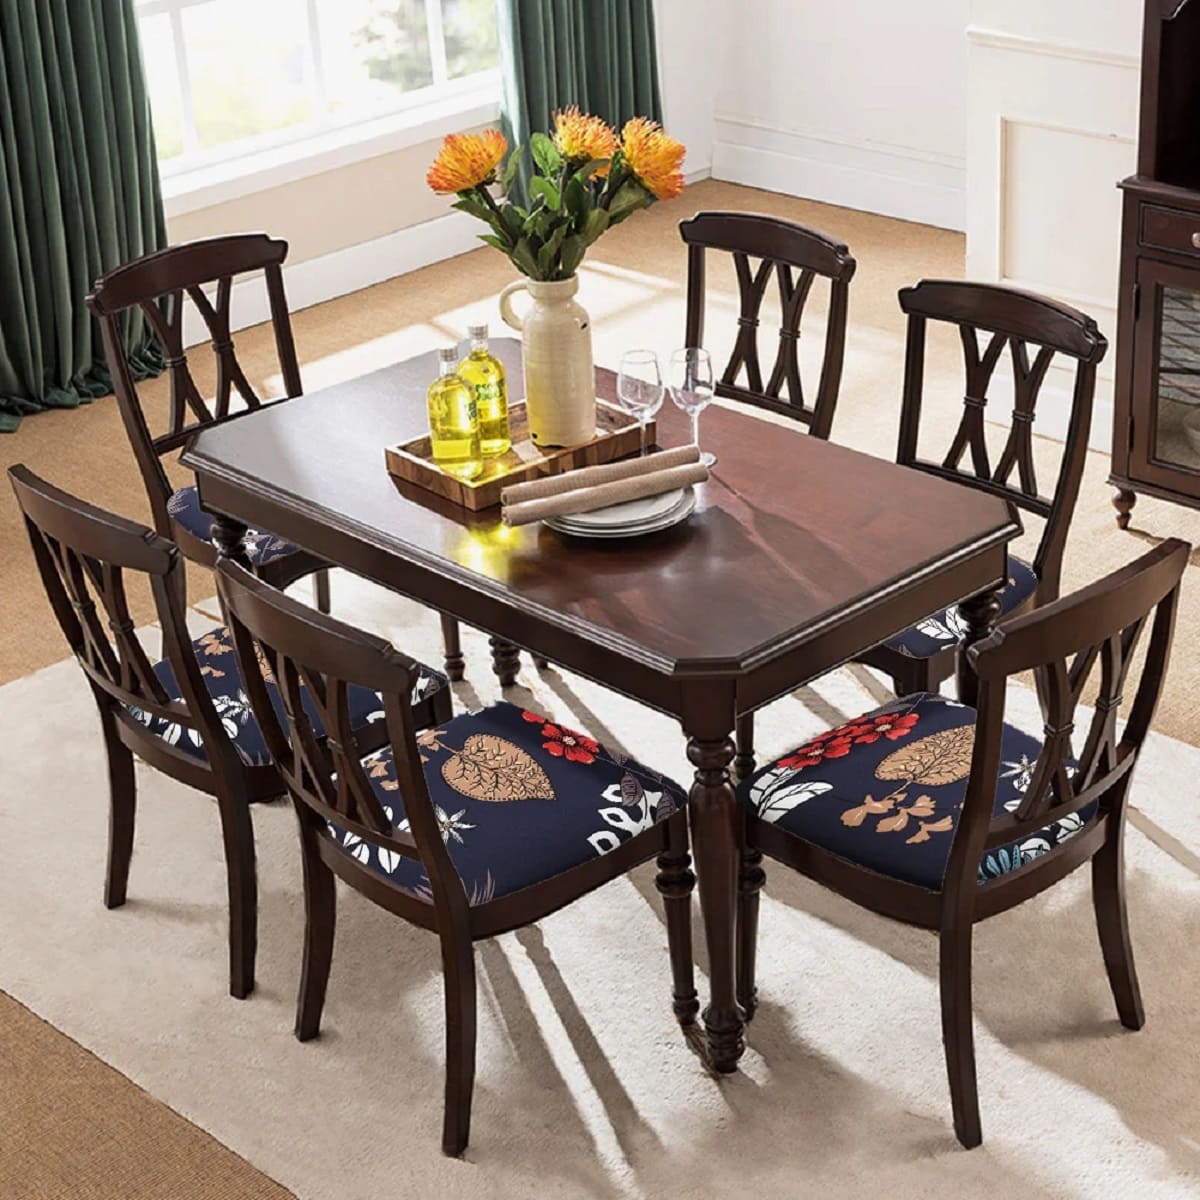
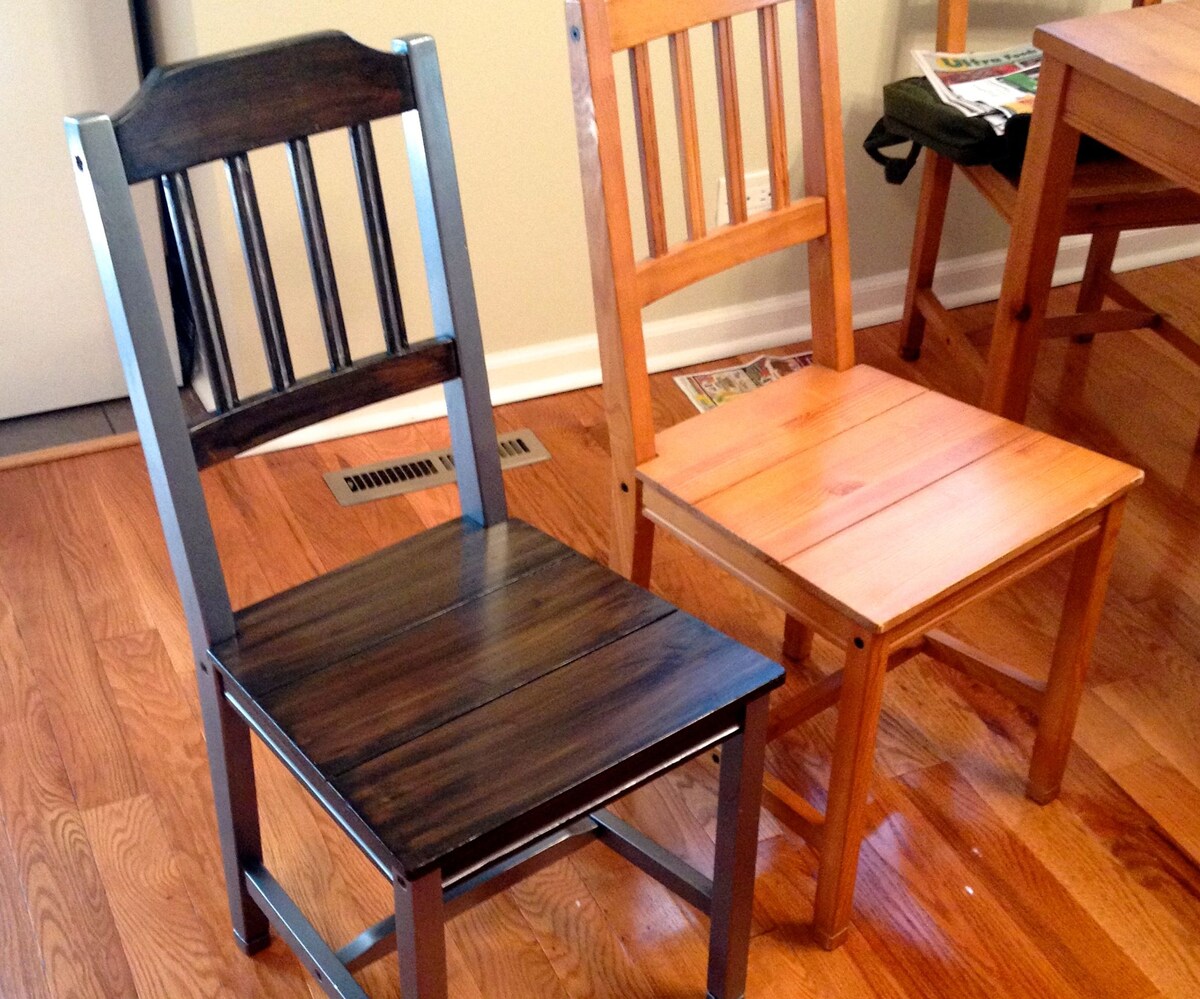
Welcome to our guide on how to build black dining chairs. If you’re looking to add a touch of elegance and sophistication to your dining room, black dining chairs can be a perfect choice. Not only do they complement various design styles, but they also provide a sleek and contemporary look.
Building your own black dining chairs not only allows you to customize the design to suit your tastes but also gives you the satisfaction of creating something with your own hands. Whether you’re a seasoned woodworking enthusiast or a beginner looking for a fulfilling DIY project, this step-by-step guide will help you build beautiful black dining chairs that you can proudly showcase in your home.
Before we delve into the construction process, it’s important to gather all the materials and tools you’ll need. This way, you’ll be well-prepared and ready for a smooth and efficient building experience.
Key Takeaways:
- Building black dining chairs allows for customization and a sense of accomplishment. From gathering materials to adding finishing touches, the process offers a fulfilling woodworking experience for creating stylish and sturdy furniture.
- Constructing black dining chairs involves precision and attention to detail. Embrace creativity by customizing the design and finish to complement your dining room, creating a space of sophistication and charm.
Step 1: Gathering Materials and Tools
Before you begin building your black dining chairs, it’s crucial to gather all the necessary materials and tools. Here’s a list of items you’ll need:
- Wood: Choose a sturdy and durable wood type for the chair frame, such as oak or maple.
- Screws: Opt for high-quality screws that are suitable for woodworking projects.
- Wood glue: Use wood glue to secure the joints and add extra stability to the chair.
- Sanding tools: Prepare various sandpaper grits and a sanding block to smooth the surfaces.
- Paint or stain: To achieve the desired black finish, select a high-quality black paint or wood stain.
- Paintbrushes or foam applicators: Use brushes or foam applicators to apply the black finish smoothly.
- Saw: Depending on your preferred style, you’ll need either a circular saw or a miter saw to cut the wood.
- Drill: A good-quality power drill will be essential for drilling pilot holes and attaching screws.
- Measuring tape and ruler: Accurate measurements are vital to ensure a precise and well-balanced chair.
- Safety equipment: Don’t forget to wear safety glasses, a dust mask, and ear protection during the construction process.
Once you have gathered all the necessary materials and tools, you can move on to the next step of the process, which involves cutting and preparing the wood.
Step 2: Cutting and Preparing the Wood
Now that you have all the materials and tools ready, it’s time to start cutting and preparing the wood for your black dining chairs. Follow these steps:
- Measure and mark: Begin by measuring and marking the dimensions for the chair frame components, including the legs, seat supports, and backrest. Use a measuring tape and ruler to ensure accurate measurements.
- Cut the wood: Using a circular saw or miter saw, carefully cut the wood according to the marked measurements. Take your time to make precise cuts, as they will contribute to the overall stability and aesthetics of the chair.
- Smooth the edges: After cutting, use sandpaper or a sanding block to smooth the edges of the wood. This will prevent any splintering and create a cleaner look.
- Drill pilot holes: To facilitate the assembly process, drill pilot holes in the appropriate spots on the wood components. These holes will guide the screws and prevent the wood from splitting.
- Apply wood glue: Before attaching the pieces together, apply a thin layer of wood glue along the joints. This will enhance the strength and stability of the chair frame.
Make sure to double-check the measurements and alignment of the wood components before proceeding to the next step. Taking the time to properly cut and prepare the wood will lay a solid foundation for the construction of your black dining chairs. In the next step, we will assemble the chair frame.
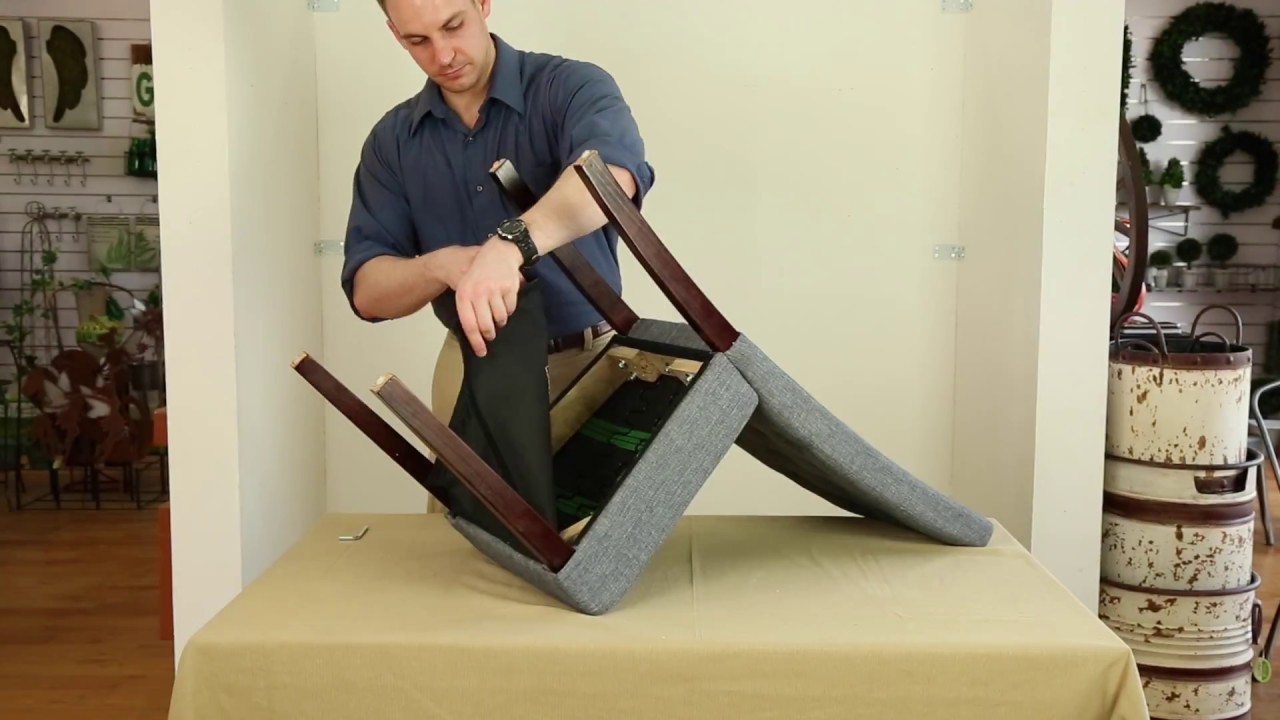
Step 3: Assembling the Chair Frame
With the wood cut and prepared, it’s time to assemble the chair frame. Follow these steps to ensure a sturdy and stable foundation:
- Arrange the pieces: Lay out the wood components according to the chair design. Position the legs, seat supports, and backrest in the correct orientation.
- Attach the legs: Take one leg piece and align it with the corresponding seat support. Use screws and a power drill to secure the leg to the seat support. Repeat this step for each leg.
- Attach the remaining components: Once the legs are securely attached, continue assembling the chair frame by attaching the remaining seat supports and backrest. Follow the same process of aligning the pieces and using screws to secure them together.
- Check for stability: After assembling the chair frame, make sure to check for stability. Sit on the chair frame or apply weight and test its sturdiness. If there is any wobbling or instability, reinforce the joints with additional screws or wood glue.
Take your time during the assembly process to ensure that the chair frame is properly aligned and securely attached. This step is critical to the overall structural integrity of the black dining chair. Once you are satisfied with the assembly, proceed to the next step: sanding and smoothing the surfaces.
Step 4: Sanding and Smoothing the Surfaces
After assembling the chair frame, it’s important to sand and smooth the surfaces to create a polished and professional look. Follow these steps to achieve a smooth finish:
- Start with coarse-grit sandpaper: Begin by using a coarse-grit sandpaper, such as 80 or 100 grit, to remove any rough spots, imperfections, or splinters on the wood surfaces. Sand in the direction of the wood grain to prevent scratches.
- Progress to finer grits: Gradually move on to finer grit sandpapers, such as 120, 180, and 220 grit, to further smoothen the surfaces. This will help achieve a silky and refined finish.
- Use a sanding block: To ensure even and consistent sanding, use a sanding block or a sanding sponge. This will help maintain a flat and smooth surface across the chair frame.
- Remove dust: After sanding, use a clean cloth or a vacuum cleaner to remove any dust or debris from the surfaces. This will ensure a clean canvas for applying the black finish.
Sanding and smoothing the surfaces is an essential step to achieve a professional and polished look for your black dining chairs. It not only enhances the aesthetic appeal but also ensures a pleasant tactile experience. Once you have completed this step, you are ready to move on to the next phase: applying the black finish.
When building black dining chairs, consider using high-quality, durable materials such as hardwood or metal for the frame to ensure longevity and stability. Additionally, choose a comfortable and stylish upholstery fabric that complements the overall design of the chair.
Read more: How To Mix Dining Chairs
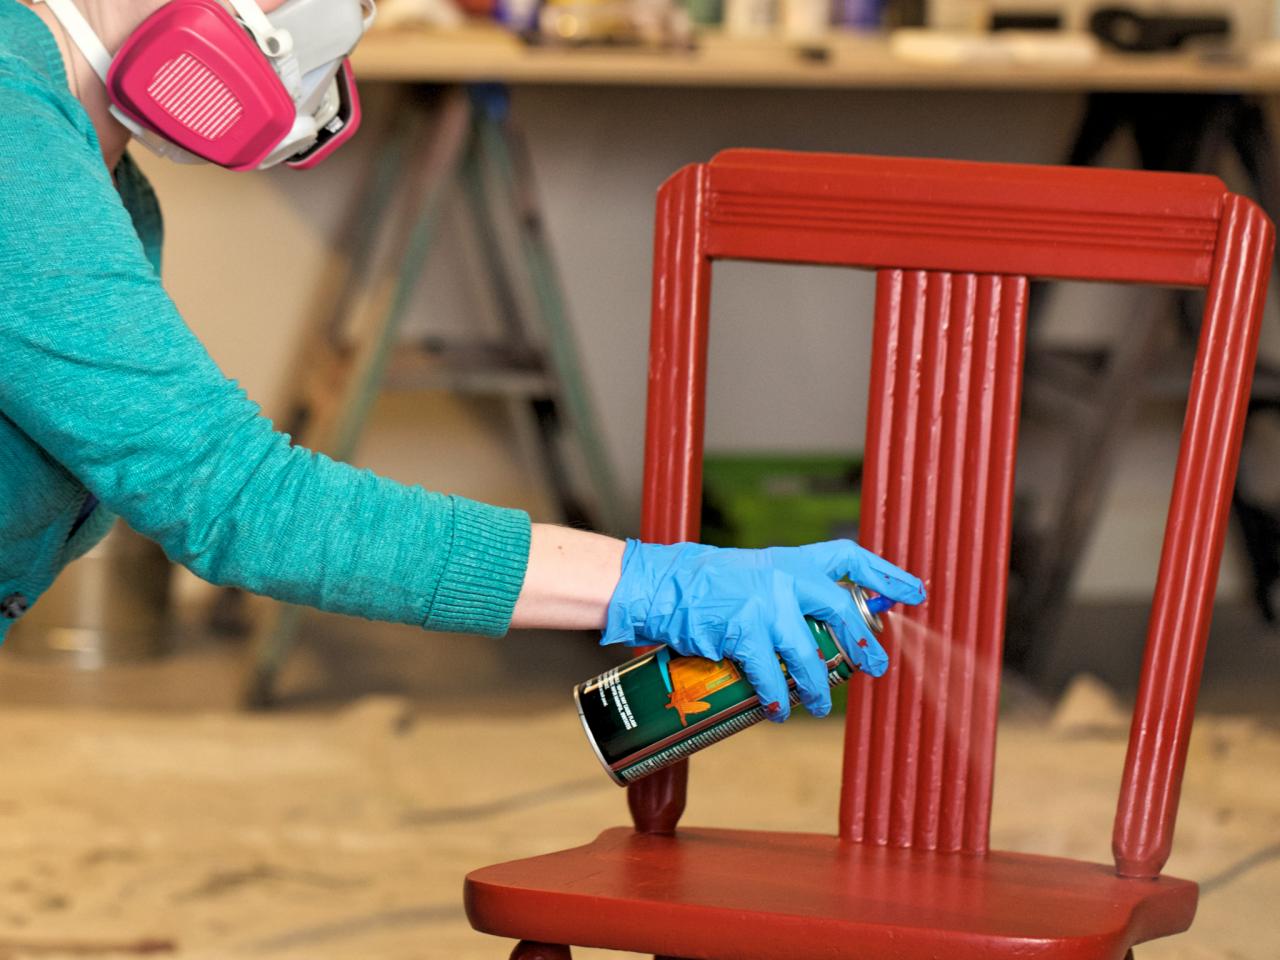
Step 5: Applying the Black Finish
Now that the surfaces of your chair frame are smooth and ready, it’s time to apply the black finish. Follow these steps to achieve a sleek and elegant look:
- Choose the right paint or stain: Select a high-quality black paint or wood stain that is specifically formulated for furniture. Consider factors such as durability, coverage, and the desired level of sheen.
- Prepare the workspace: Set up a well-ventilated area or work outdoors to ensure proper ventilation during the application process. Lay down a drop cloth or newspapers to protect the surrounding surfaces.
- Stir the finish: If you are using paint, stir it well before application to ensure a consistent color. If using a wood stain, follow the manufacturer’s instructions for proper mixing.
- Apply the finish: Use a paintbrush or foam applicator to evenly apply the black finish onto the chair frame. Work in long, smooth strokes, following the direction of the wood grain. Allow the first coat to dry completely before applying additional coats if necessary.
- Smooth out any imperfections: After the finish has fully dried, inspect the surface for any imperfections, such as drips or uneven patches. Use a fine-grit sandpaper to gently sand down any rough areas and create a smooth, flawless finish.
- Apply a sealant (optional): If desired, you can apply a clear sealant or topcoat to protect the black finish and enhance its longevity. Follow the manufacturer’s instructions for application and drying times.
Applying the black finish is the transformative step that brings your dining chairs to life. It adds depth, richness, and a touch of sophistication to the wood surfaces. Once the finish is dry and the chair frame looks stunning, you are ready to move on to the next step: attaching the seat.
Step 6: Attaching the Seat
Once you have completed the black finish on the chair frame, it’s time to move on to attaching the seat. Follow these steps to secure the seat and ensure a comfortable and sturdy sitting experience:
- Create the seat template: Measure the dimensions of the chair frame and use these measurements to create a template for cutting the seat. You can use plywood or another suitable material for the seat.
- Prepare the seat: Use a saw or a jigsaw to cut the seat according to the dimensions of your template. Make sure the seat is smooth and free from any rough edges.
- Align the seat: Position the seat on top of the chair frame, ensuring it is centered and aligned with the legs and seat supports. Take measurements and make any necessary adjustments before proceeding.
- Secure the seat: Use screws or wood glue to secure the seat to the chair frame. If using screws, pre-drill pilot holes to prevent splitting. Attach the seat by driving the screws through the underside of the chair frame into the seat.
- Test for stability: After attaching the seat, test the chair for stability. Sit on the chair and apply gentle pressure to ensure it feels secure and does not wobble. Make any necessary adjustments or reinforcements if required.
Attaching the seat is a crucial step in completing your black dining chairs. It not only adds functionality but also enhances the overall appearance of the chair. Once the seat is securely in place, you can move on to the next step: adding the backrest.
Step 7: Adding the Backrest
With the seat securely attached, it’s time to add the backrest to your black dining chairs. The backrest not only adds comfort but also contributes to the overall aesthetics of the chair. Follow these steps to successfully add the backrest:
- Measure and mark: Measure the desired height and width for the backrest. Use a measuring tape and ruler to mark these measurements on the chair frame.
- Cut the backrest: Cut the backrest piece according to the marked measurements. Ensure that the backrest is smooth and free from any rough edges.
- Position the backrest: Place the backrest against the chair frame, aligning it with the marks. Ensure that it is centered and level with the seat.
- Secure the backrest: Use screws and a power drill to attach the backrest to the chair frame. Drive the screws through the backrest and into the seat supports, ensuring a secure and stable connection.
- Test for comfort: Sit in the chair and lean against the backrest to test its comfort and stability. Make any necessary adjustments to the backrest’s position or reinforcements if needed.
The addition of the backrest completes the construction of your black dining chairs. It not only provides comfort for extended sitting but also enhances the overall design. Once the backrest is securely attached and you’ve tested it for comfort, you’re ready to move on to the final step: adding the finishing touches and conducting a thorough inspection.
Step 8: Final Touches and Inspection
Congratulations! You’re in the final step of building your black dining chairs. In this step, you’ll add the final touches and conduct a thorough inspection to ensure your chairs are ready to shine in your dining room. Here’s what you need to do:
- Check for any imperfections: Inspect the entire chair for any imperfections, such as uneven paint or rough edges. Use sandpaper or a touch-up brush to fix any flaws and achieve a flawless finish.
- Apply a topcoat (optional): If desired, you can apply a clear protective topcoat to safeguard the black finish and add extra durability to your chairs.
- Reinforce joints if necessary: Carefully examine the chair frame and all its connections. If you notice any loose joints or areas that may need reinforcement, apply additional screws or wood glue to strengthen them.
- Smooth and soften edges: Use sandpaper to gently round off any sharp edges or corners of the chair frame. This ensures a comfortable sitting experience and minimizes the risk of any accidental bumps or scratches.
- Clean and polish: Wipe down the entire chair with a clean, damp cloth to remove any dust or debris. You can also apply a wood polish to enhance the shine and maintain the beauty of the black finish.
- Perform a final stability check: Sit in the chair and test its stability once again. Rock back and forth gently to ensure it can withstand regular use without any wobbling or instability.
Once you have completed these final touches and conducted a thorough inspection, you can confidently showcase your newly built black dining chairs. Sit back, relax, and enjoy the fruits of your labor!
Remember, building furniture can be a rewarding and fulfilling experience. Take pride in your craftsmanship and creativity. Your black dining chairs will not only provide functional seating but also add a touch of elegance to your dining room.
Read more: How To Paint Dining Chairs?
Conclusion
Building your own black dining chairs is a gratifying and creative endeavor that allows you to showcase your woodworking skills while adding a stylish touch to your dining room. By following the step-by-step guide outlined in this article, you can create beautiful and sturdy chairs that you can proudly call your own.
From gathering the necessary materials and tools to cutting and preparing the wood, assembling the chair frame, and adding the finishing touches, each step in the construction process contributes to the overall quality and aesthetics of the chairs. It’s important to approach each task with precision, patience, and attention to detail to ensure a successful outcome.
Throughout the process, you should also consider your own personal style and preferences. Choose a black finish that complements your existing decor or creates a striking contrast. Additionally, you can customize the design by incorporating unique details or embellishments to make the chairs truly one-of-a-kind.
Once your black dining chairs are complete, take the time to appreciate your hard work and craftsmanship. Invite friends and family to share a meal around your newly built chairs and revel in the satisfaction of creating something functional and aesthetically pleasing.
Remember, building furniture is not just about creating a practical piece; it’s also about creating memories and a sense of accomplishment. Enjoy the process, embrace your creativity, and continue to explore the world of DIY furniture construction.
So, go ahead and embark on this woodworking adventure, and witness your dining room transform into a space of sophistication and charm with your self-built black dining chairs.
Frequently Asked Questions about How To Build Black Dining Chairs
Was this page helpful?
At Storables.com, we guarantee accurate and reliable information. Our content, validated by Expert Board Contributors, is crafted following stringent Editorial Policies. We're committed to providing you with well-researched, expert-backed insights for all your informational needs.


0 thoughts on “How To Build Black Dining Chairs”