Home>Dining>Tableware>How To Safely Pack A Dining Table For Relocation
Tableware
How To Safely Pack A Dining Table For Relocation
Modified: January 18, 2024
Learn how to safely pack your dining table, including delicate tableware, for a smooth relocation process. Expert tips and tricks to ensure your table arrives in one piece.
(Many of the links in this article redirect to a specific reviewed product. Your purchase of these products through affiliate links helps to generate commission for Storables.com, at no extra cost. Learn more)
Introduction
Moving to a new home can be an exciting yet stressful time. Along with the numerous tasks that come with relocation, safely packing your belongings is of the utmost importance. When it comes to delicate items like a dining table, proper packing techniques become crucial to ensure that they arrive at your new home in pristine condition.
Packing a dining table may seem like a daunting task, but with the right approach and materials, you can protect it from any potential damage during the move. In this article, we will guide you through step-by-step instructions on how to safely pack a dining table for relocation.
By following these guidelines, you will not only safeguard your dining table from scratches and impacts but also make the unpacking process much easier. So let’s get started on preparing your dining table for a smooth and stress-free move.
Key Takeaways:
- Safely packing a dining table for relocation involves disassembling the table, gathering the right packing supplies, and protecting each component with care to minimize the risk of damage during transit.
- Proper labeling, securing, and loading of the dining table into the moving vehicle are essential steps to ensure its safe arrival at the new home, ready for reassembly and use.
Read more: How To Pack Dining Chairs For Moving
Step 1: Gather Packing Supplies
Before you begin the packing process, it’s crucial to gather all the necessary supplies. Having the right packing materials will ensure that your dining table is adequately protected throughout the moving process. Here are the essentials you’ll need:
1. Moving Blankets: These thick, padded blankets provide excellent cushioning for your dining table and prevent scratches or dents during transit.
2. Bubble Wrap: This is essential for protecting delicate surfaces and edges of your dining table.
3. Packing Tape: High-quality packing tape is necessary to secure the protective materials in place.
4. Furniture Plastic Wrap: This wrap is ideal for covering the entire dining table to protect it from dust, dirt, and moisture during the move.
5. Cardboard Sheets: These sheets act as additional protective layers to shield the tabletop from any accidental damages.
6. Ziploc Bags: Use these bags to store small hardware like screws and bolts from the disassembled parts of your dining table.
7. Marker: This will be used to label the parts and boxes for easy identification during unpacking.
Make sure to purchase enough of each item to pack your dining table effectively. Having these supplies readily available will make the packing process much smoother and minimize any potential damage while in transit.
Step 2: Disassemble the Dining Table
Disassembling your dining table before packing it is essential to make it more manageable and protect its various components. Follow these steps to disassemble your dining table properly:
1. Clear the Table: Remove any items on the table, including dishes, tableware, and decorations.
2. Take Photos: Before you start disassembling, take photos of the assembled table from different angles. These photos will be helpful when you need to reassemble the table later.
3. Remove Tabletop: If your dining table has a removable tabletop, carefully unscrew or detach it from the table base. Place the tabletop on a flat, padded surface to prevent scratches or damage.
4. Detach the Legs: Depending on the design of your dining table, you may need to unscrew or detach the legs. Keep any screws, bolts, or small hardware in a labeled ziplock bag to ensure you don’t lose them during the move.
5. Remove Extensions (if applicable): If your dining table has extension leaves, carefully remove them following the manufacturer’s instructions. Wrap each extension leaf with bubble wrap or cardboard sheets to protect them during transportation.
6. Keep Parts Organized: As you disassemble the dining table, keep the parts organized and clearly label them. This will make reassembly much easier when you arrive at your new home.
Remember to handle each component with care and avoid applying excessive force. If you are unsure about how to disassemble your specific dining table, consult the manufacturer’s instructions or seek the help of a professional. By disassembling your dining table, you will reduce the risk of damage during transportation and ensure a smoother moving process.
Step 3: Clean and Prepare the Tabletop
Before packing the tabletop of your dining table, it’s essential to clean and prepare it properly. Here’s how you can do it:
1. Dust and Wipe Down: Use a soft, dry cloth to remove any dust or debris from the surface of the tabletop. Be thorough in cleaning all areas, including the edges and corners.
2. Polish (if necessary): If your dining table has a wooden or glass tabletop, consider using a suitable furniture polish to enhance its shine and protect it during the move. Make sure to follow the manufacturer’s instructions for the polish you choose.
3. Check for Damages: Inspect the tabletop for any existing damages, such as scratches or chips. If you notice any, take note of them and consider taking photographs as evidence for insurance purposes.
4. Fill in Scratches (optional): For minor scratches, you can try using a wood filler or scratch repair kit to minimize their appearance. Follow the instructions provided with the product and allow sufficient time for it to dry before packing.
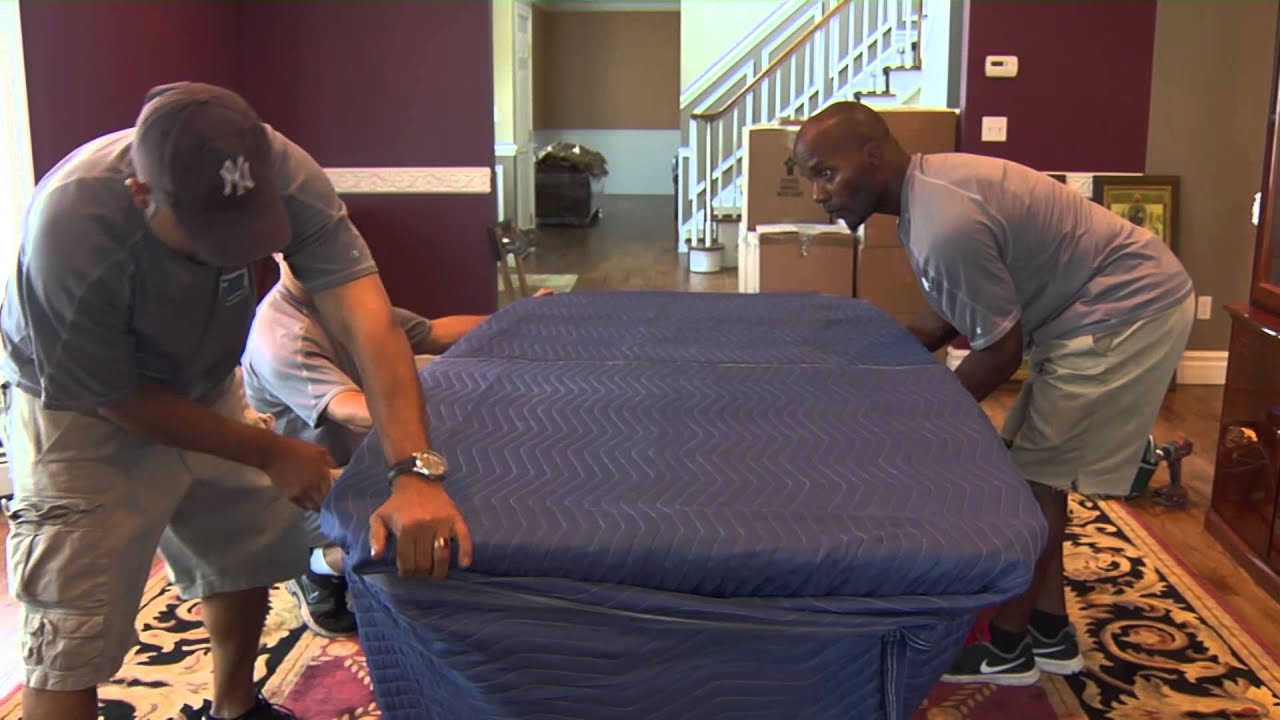
5. Protect Surface: Once the tabletop is clean and dry, use a layer of protective material to shield it from potential scratches and impacts during transit. Wrap the tabletop with a moving blanket or bubble wrap, making sure to secure it with packing tape.
By cleaning and preparing the tabletop, you ensure that no dirt or debris will transfer to other items during the move. Additionally, protecting it with suitable materials adds an extra layer of security against any potential damage. When the time comes to unpack and reassemble your dining table, you’ll be greeted with a clean and well-preserved tabletop in your new home.
Step 4: Wrap the Tabletop with Protective Material
To ensure the safety of your dining table’s tabletop during the move, it’s crucial to wrap it with adequate protective material. Follow these steps to properly wrap and secure the tabletop:
1. Start with Bubble Wrap: Begin by laying a layer of bubble wrap on a clean and flat surface. Ensure that the size of the bubble wrap is sufficient to cover the entire tabletop.
2. Place the Tabletop: Carefully place the tabletop on the bubble wrap, ensuring that it is aligned properly and centered.
3. Wrap the Bubble Wrap: Fold the edges of the bubble wrap over the tabletop, covering it entirely. If necessary, use packing tape to secure the bubble wrap in place. Make sure that the entire surface of the tabletop is well-padded and protected.
4. Add Cardboard Sheets (if needed): If you desire an extra layer of protection, place cardboard sheets on top of the bubble wrap. These sheets will provide added stability and prevent any potential damage to the tabletop from impacts or pressure.
5. Secure the Cardboard Sheets: If you decide to use cardboard sheets, gently fold the edges of the sheets over the tabletop. Use packing tape to secure the sheets in place, ensuring a snug fit.
6. Cover with Furniture Plastic Wrap: To protect the tabletop from dust, dirt, and moisture, wrap the entire tabletop assembly with furniture plastic wrap. Begin at one end and tightly wrap it around the bubble wrap and cardboard sheets (if applicable). Continue wrapping until the tabletop is completely covered.
7. Secure the Plastic Wrap: Use packing tape to secure the loose ends of the plastic wrap in place. Make sure it is tightly sealed to provide maximum protection.
By wrapping the tabletop with adequate protective materials, you significantly reduce the risk of scratches, dents, or other damages during the move. Once properly wrapped, your tabletop will be well-prepared to withstand the rigors of transportation and arrive safely at your new home.
When packing a dining table for relocation, start by removing any detachable parts such as legs or glass tops. Wrap the pieces in moving blankets or bubble wrap to prevent damage during transit. Label each piece for easy reassembly at your new location.
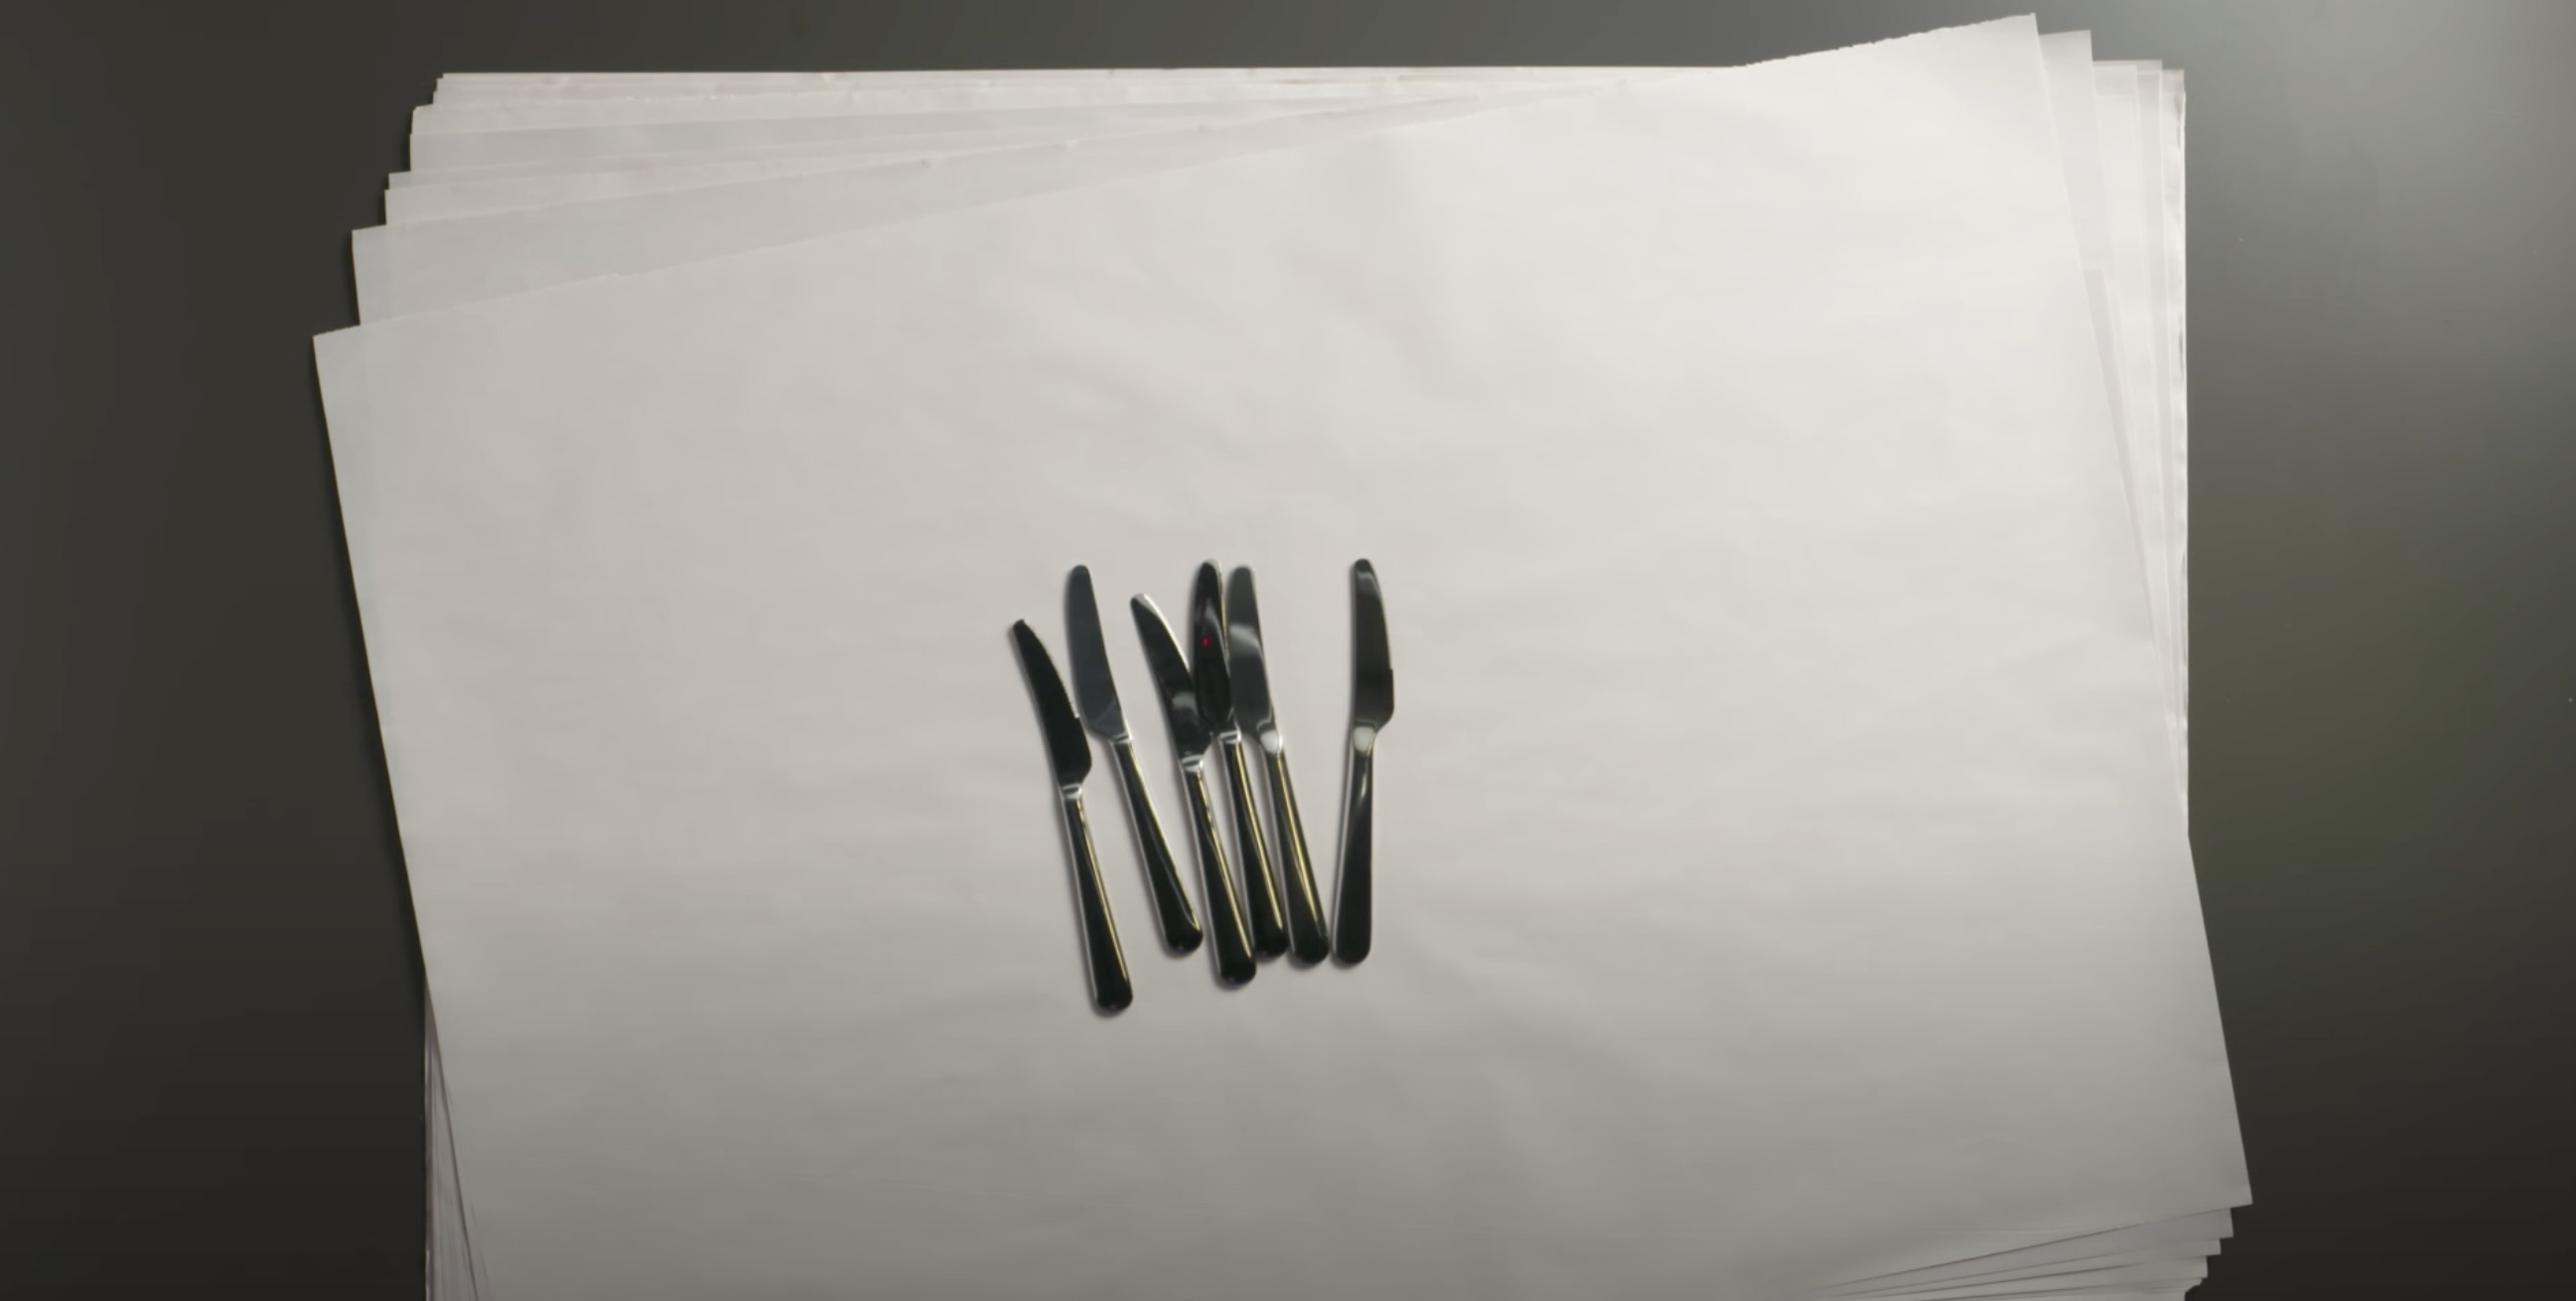
Read more: How To Pack Cutlery For Moving
Step 5: Protect the Table Legs and Other Parts
While the tabletop is a crucial component of your dining table, it’s equally important to protect the legs and other parts. Follow these steps to ensure their safety during the move:
1. Wrap the Legs Individually: Start by wrapping each table leg with bubble wrap or moving blankets. This will provide cushioning and prevent any scratches or dents from occurring during transportation. Secure the protective material with packing tape to keep it in place.
2. Use Cardboard Tubes or Pool Noodles: If your dining table legs are particularly fragile or have intricate designs, consider using cardboard tubes or pool noodles. Cut these items lengthwise and affix them around the legs using tape. This will provide an extra layer of protection against impacts and potential damages.
3. Protect Additional Parts: If your dining table has additional parts, such as support beams or decorative attachments, make sure to wrap them individually with protective material. Treat them with the same care and attention as the legs to prevent any damage.
4. Secure with Packing Tape: After wrapping each leg and additional part, use packing tape to secure the protective material in place. Pay close attention to any loose ends or areas that may be prone to shifting during transport.
5. Label and Identify Parts: As you complete wrapping each leg and part, label them accordingly. This will make it easier to identify and assemble them once you reach your new home. Use masking tape or labels to mark each piece with clear and visible identification.
By protecting the table legs and other parts of your dining table, you ensure their safe journey during the move. These steps help minimize the risk of damage while also facilitating an easier reassembly process at your new residence.
Step 6: Securely Pack the Tabletop and Legs
Now that you have properly protected the tabletop, legs, and other parts of your dining table, it’s time to securely pack them for transportation. Here’s how you can do it effectively:
1. Choose the Right Box: Select a sturdy and appropriately sized box that can accommodate the tabletop and legs. It should provide enough space for padding and ensure a snug fit to prevent shifting during the move.
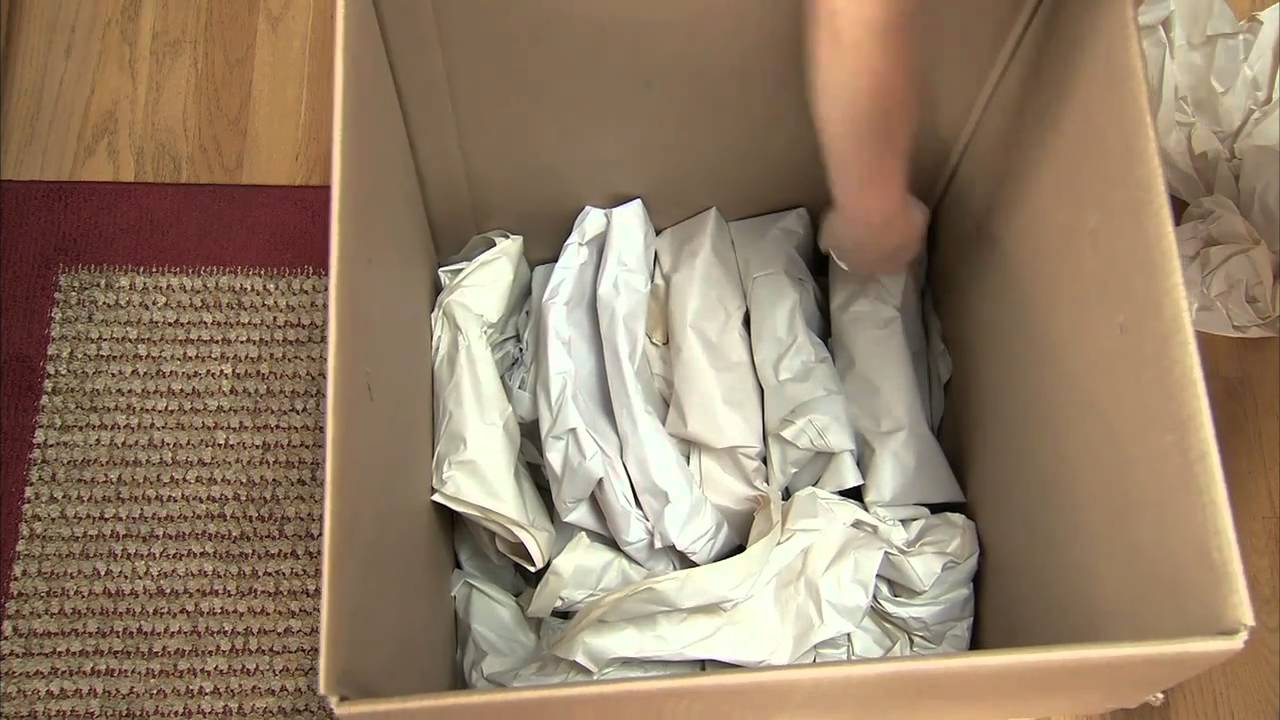
2. Add Padding: Line the bottom of the box with packing peanuts, crumpled paper, or bubble wrap for additional cushioning. This will provide a protective layer between the table legs and the box.
3. Pack the Tabletop: Carefully place the wrapped tabletop in the box. Ensure that it is positioned with the protected side facing up to minimize the risk of damage.
4. Insert the Legs: Place the wrapped legs and any other protected parts into the box alongside the tabletop. Position them in a way that minimizes space and avoids any potential movement or shifting.
5. Fill Empty Spaces: If there are any gaps or empty spaces between the tabletop, legs, and sides of the box, fill them with additional padding material. This will prevent the components from shifting and potentially getting damaged during transit.
6. Secure the Box: Close and seal the box using high-quality packing tape. Ensure that all edges and seams are tightly secured to maintain the integrity of the box during transportation.
7. Label the Box: Use a marker to clearly label the box. Include information such as “Fragile,” “Dining Table Top and Legs,” and any specific instructions for handling. This will alert movers and you to exercise caution when unpacking and assembling the dining table.
By securely packing the tabletop and legs of your dining table, you provide an extra layer of protection against potential damage during the move. Taking the time and care to pack them properly will ensure their safe arrival at your new home, ready for reassembly and use.
Step 7: Label the Dining Table Parts and Boxes
Labeling the dining table parts and boxes is a crucial step to ensure easy identification and organized unpacking. Proper labeling will save you time and effort when it comes to reassembling your dining table. Follow these steps to effectively label the parts and boxes:
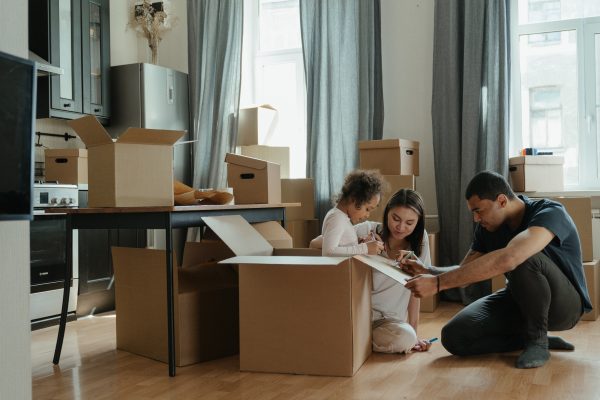
1. Label Each Component: As you disassemble the dining table, label each part individually. Use masking tape or labels, and clearly write the name or description of each component. For example, label the table legs, tabletop, extension leaves, and any other parts accordingly.
2. Number the Pieces (Optional): If you have many components, consider numbering them in addition to labeling. This will provide a systematic approach during reassembly, as you’ll be able to follow the numbered sequence to put the pieces together correctly.
3. Label the Boxes: Each box that contains the dining table parts should also be labeled. Write “Dining Table Parts” or a similar description on the box using a marker. Additionally, mark the box as “Fragile” to ensure extra caution during handling.
4. Include Reassembly Instructions: To make the reassembly process smoother, you can include simple instructions on a piece of paper inside the box. This could be a simple diagram or a step-by-step guide on how to put the dining table back together. This will help you avoid confusion and expedite the reassembly process.
5. Color Code (Optional): For added convenience, you can use a color-coding system to differentiate between various dining table components and their corresponding boxes. For example, use blue labels for the table legs and green labels for the tabletop. This will make it easier to match the components during unpacking and reassembly.
6. Keep an Inventory List: Make a detailed inventory list of all the dining table parts and corresponding boxes. This will help you keep track of everything during the move and ensure that nothing goes missing along the way.
By labeling the dining table parts and boxes, you eliminate confusion and streamline the process of unpacking and reassembling your dining table. It allows for easy identification, organization, and a stress-free transition to your new home.
Step 8: Load the Dining Table into a Moving Vehicle Safely
Loading your dining table into the moving vehicle requires proper care and attention to ensure its safety during transportation. Follow these steps to load your dining table securely:
1. Clear a Path: Before moving the dining table, make sure to clear a wide and unobstructed path from its current location to the moving vehicle. Remove any obstacles that could hinder the smooth transfer of the table.
2. Enlist Help: Depending on the size and weight of your dining table, it is advisable to have at least two people assist in carrying and loading it into the moving vehicle. This reduces the risk of accidents and minimizes strain on your back or other muscles.
3. Use Furniture Sliders or Moving Blankets: Place furniture sliders or moving blankets on the floor to provide a smooth surface for sliding the dining table without causing any scratches or damages.
4. Lift with Care: When lifting the dining table, use your legs rather than your back to avoid any injuries. Keep your back straight and use your leg muscles to lift the table off the ground.
5. Maneuver Through Doorways: Slowly and carefully maneuver the dining table through doorways and hallways. Tilt it slightly, if necessary, to ensure it passes through without hitting any walls or door frames.
6. Utilize a Dolly or Furniture Straps: If your dining table is too heavy to carry, consider using a dolly or furniture straps to transport it to the moving vehicle. These tools provide stability and make it easier to navigate through different surfaces.
7. Position in the Moving Vehicle: Carefully place the dining table in the moving vehicle, ensuring that it is secure and cannot shift during transportation. If possible, position it against a wall or use other heavy items to stabilize it further.
8. Secure with Straps or Tie-Downs: Use straps or tie-downs to secure the dining table in place. This will prevent any movement or shifting during transit and protect it from potential damage.
9. Protect with Moving Blankets: Cover the dining table with moving blankets to provide an additional layer of protection against bumps or impacts during the journey.
10. Take Caution while Unloading: When unloading the dining table from the moving vehicle, follow the same precautions as when loading it. Use furniture sliders, enlist help, and ensure a clear and safe path.
By following these steps, you guarantee the safe handling and transportation of your dining table. Taking the time to load it properly into the moving vehicle will give you peace of mind, knowing that it will arrive in your new home in excellent condition and ready for reassembly.
Conclusion
Packing and moving a dining table may require some effort and attention to detail, but by following the steps outlined in this article, you can ensure that your table arrives safely at your new home. Properly disassembling the table, gathering the necessary packing supplies, and protecting the tabletop, legs, and other parts using bubble wrap, furniture plastic wrap, and other materials are key components of a successful transition.
Labeling each component and box, as well as creating an inventory list, will help you keep track of all the parts during the move and simplify the reassembly process. Taking the time to securely load the dining table into the moving vehicle, using furniture sliders, dollies, and tie-downs, will provide extra peace of mind knowing that your table is well-protected during transportation.
By carefully following these steps, you can minimize the risk of scratches, dents, or other damages to your dining table and ensure that it remains in excellent condition throughout the moving process. Remember, the key is to handle each component with care, utilize proper padding and protection, and enlist help when needed.
When it’s time to unpack and reassemble your dining table in your new home, refer to your labeled boxes and instructions for a smooth setup. Enjoy the anticipation of gathering around your beautifully preserved dining table in your new space, creating new memories with family and friends.
Moving can be a challenging and stressful process, but with the right approach to packing and protecting your dining table, you can take a significant step towards a successful and hassle-free relocation. Happy moving and enjoy your new dining area!
Frequently Asked Questions about How To Safely Pack A Dining Table For Relocation
Was this page helpful?
At Storables.com, we guarantee accurate and reliable information. Our content, validated by Expert Board Contributors, is crafted following stringent Editorial Policies. We're committed to providing you with well-researched, expert-backed insights for all your informational needs.


0 thoughts on “How To Safely Pack A Dining Table For Relocation”