Home>diy>Architecture & Design>How To Design A Fairy House
Architecture & Design
How To Design A Fairy House
Modified: August 27, 2024
Learn the art of architecture-design with our step-by-step guide on how to design a fairy house. Get inspired and create your own magical masterpiece.
(Many of the links in this article redirect to a specific reviewed product. Your purchase of these products through affiliate links helps to generate commission for Storables.com, at no extra cost. Learn more)
Introduction
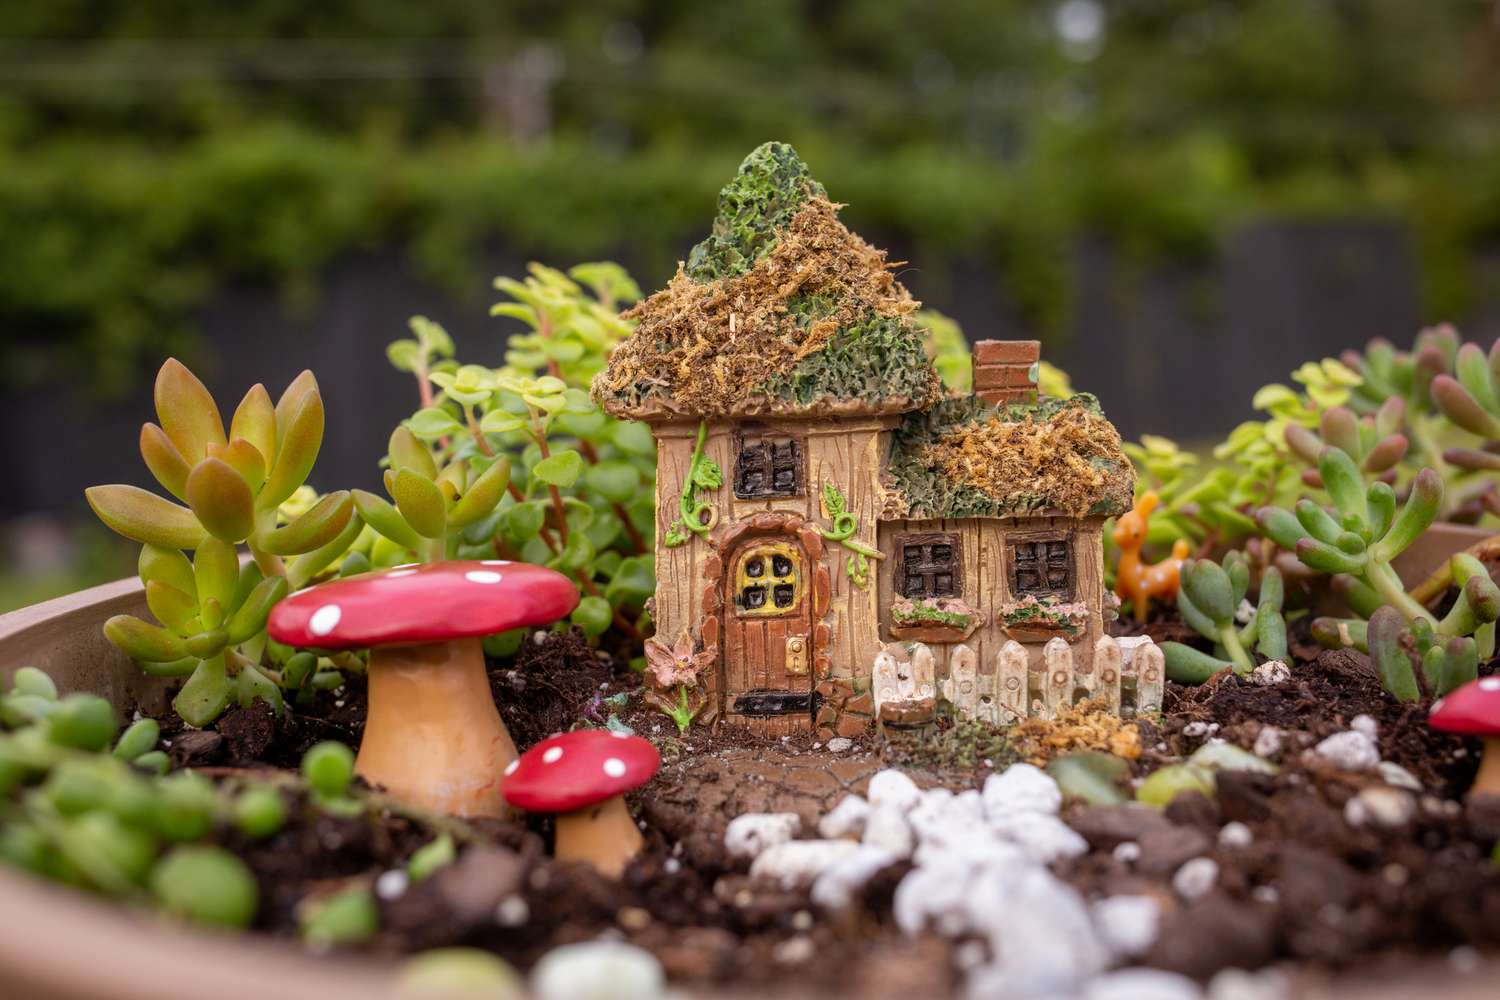
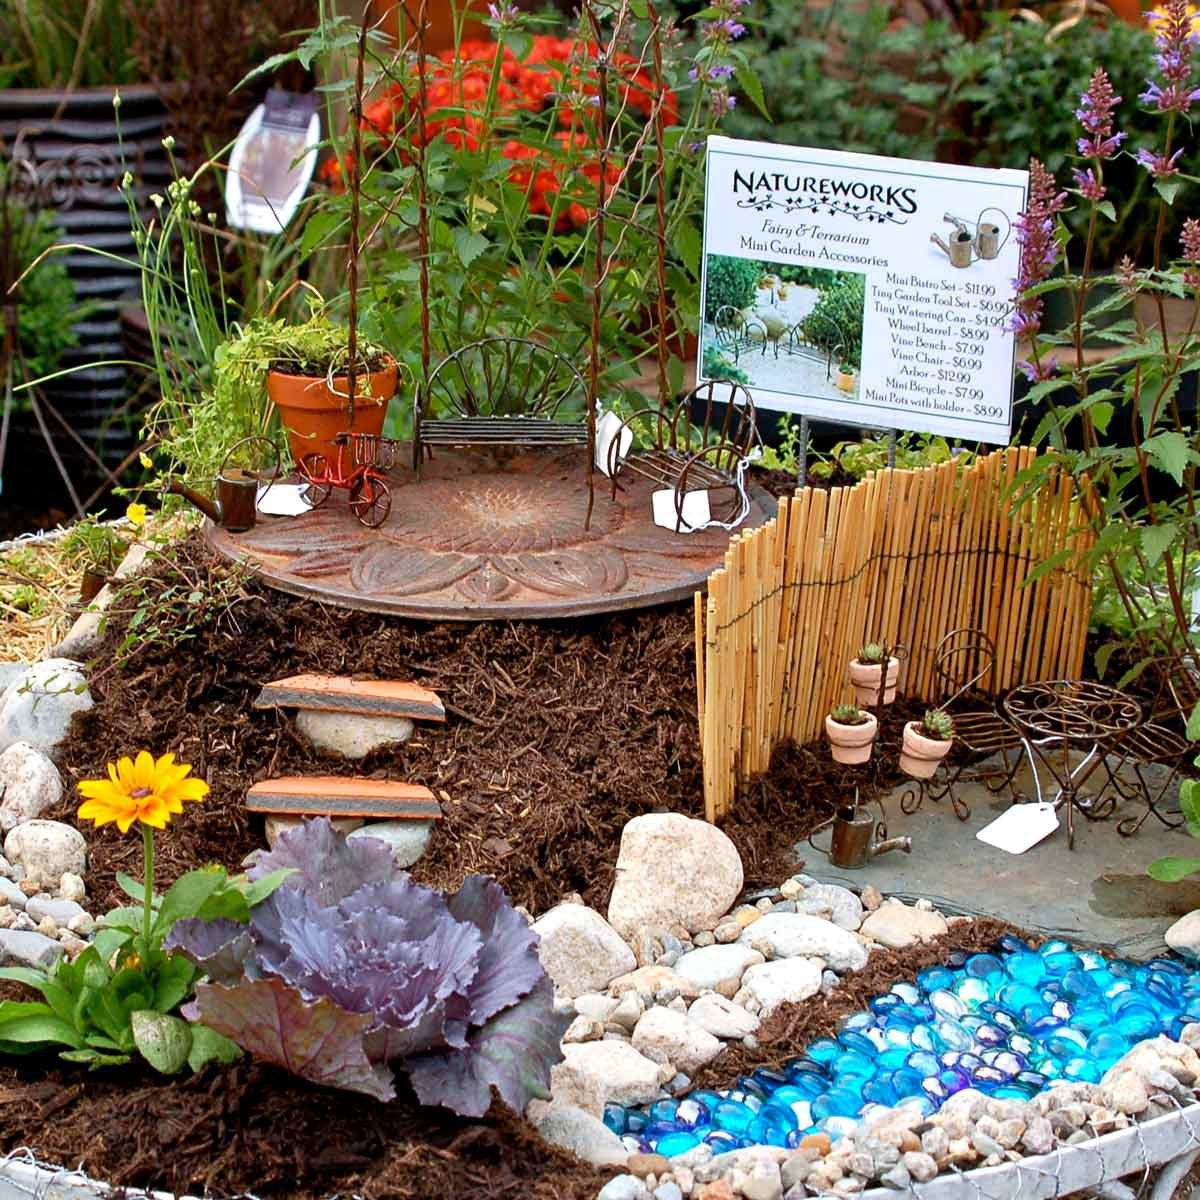
Welcome to the magical world of fairy houses! These enchanting dwellings are not just for the fairies, but also for the young at heart who seek to create a whimsical and imaginative space. Designing a fairy house is a delightful journey that combines creativity, craftsmanship, and a touch of fantasy.
In this article, we will guide you through the step-by-step process of designing and building your own fairy house. Whether you want to create a miniature cottage nestled in your garden or a cozy retreat for delightful fairies, we’ve got you covered. So, gather your materials, unleash your imagination, and let’s embark on this enchanting adventure!
Before we begin, it’s important to note that there are no strict rules when it comes to designing a fairy house. The only limit is your imagination. However, we’ll provide you with some general guidelines to help you get started and ensure a sturdy and aesthetically pleasing result.
So, let’s dive into the magical realm of fairy house design and construction, where creativity knows no bounds and dreams come to life!
Key Takeaways:
- Embrace the magic of fairy house design by gathering natural elements, crafting supplies, and decorative accents. Choose the perfect location and let your imagination run wild to create a whimsical and enchanting abode for fairies and the young at heart.
- Designing a fairy house is a delightful journey that combines creativity, craftsmanship, and a touch of fantasy. From gathering materials to adding final touches, let your imagination soar and create a whimsical and inviting abode for the fairies.
Read more: What Is A Fairy Lamp
Step 1: Gathering Materials
Before you begin designing and building your fairy house, it’s essential to gather all the necessary materials. The specific materials you will need may vary depending on the design and size of your fairy house, but here are some common items:
- Natural Elements: Embrace the beauty of nature by incorporating materials such as twigs, bark, rocks, and pinecones. These elements will give your fairy house an authentic and organic feel.
- Crafting Supplies: To bring your fairy house to life, you’ll need crafting supplies such as scissors, glue, wire, and a hot glue gun. These tools will help you assemble and secure the various components of your fairy house.
- Decorative Accents: Add charm and personality to your fairy house with decorative accents like miniature furniture, tiny plants, and small trinkets. These details will make your fairy house truly enchanting.
- Building Materials: Depending on the structure you envision, you may need materials such as wooden popsicle sticks, cardboard, clay, or even small pebbles. These materials will form the foundation and walls of your fairy house.
- Paint and Markers: Bring color and vibrancy to your fairy house by using acrylic paints or markers. This will allow you to add intricate details and personalize your fairy house design.
- Protective Coating: To ensure the longevity of your fairy house and protect it from the elements, consider applying a protective coating such as clear varnish or sealant. This will safeguard your creation and keep it looking magical for years to come.
Take some time to gather these materials before you start, ensuring that you have everything you need readily available. You may also choose to gather materials from your surroundings, such as leaves or flowers, to further enhance the natural and whimsical elements of your fairy house.
With your materials in hand, you’re now ready to move on to the next step: choosing a suitable location for your fairy house.
Step 2: Choosing a Location
Choosing the right location for your fairy house is crucial to create an enchanting and harmonious setting. Consider these factors when selecting the perfect spot:
- Accessibility: Ensure that the chosen location is easily accessible for maintenance and to showcase your fairy house to others. You want to be able to admire your creation and allow others the chance to marvel at its charm.
- Visibility: Find a location where your fairy house can be seen and appreciated. It could be nestled among plants in your garden, placed under a tree, or positioned near a pathway. The visibility will enhance the whimsical allure of your creation.
- Proximity to Natural Elements: Consider placing your fairy house near natural elements like flowers, shrubs, or a small pond. This will create a sense of harmony and make your fairy house blend seamlessly with its surroundings.
- Sunlight and Shade: Fairy houses can benefit from both sunlight and shade. Ensure that your chosen location provides a balance of these elements throughout the day. This will create an inviting and comfortable ambiance.
- Privacy: Consider the level of privacy you desire for your fairy house. Placing it in a secluded spot, partially hidden by foliage, can add a magical sense of secrecy and wonder.
Once you have evaluated these factors, take a walk around your garden or outdoor space to identify the perfect location. Visualize how your fairy house will fit into the surroundings and create a captivating scene. Trust your instincts and select the spot that resonates with you the most.
Remember, the location you choose will serve as the backdrop for your fairy house’s adventures, so take your time in finding the ideal place. With the location set, you’re ready to move on to the next step: designing the structure of your fairy house.
Step 3: Designing the Structure
Now comes the exciting part – designing the structure of your fairy house! This is where you can let your imagination run wild as you envision the shape, style, and overall look of your fairy house. Consider the following steps to guide you:
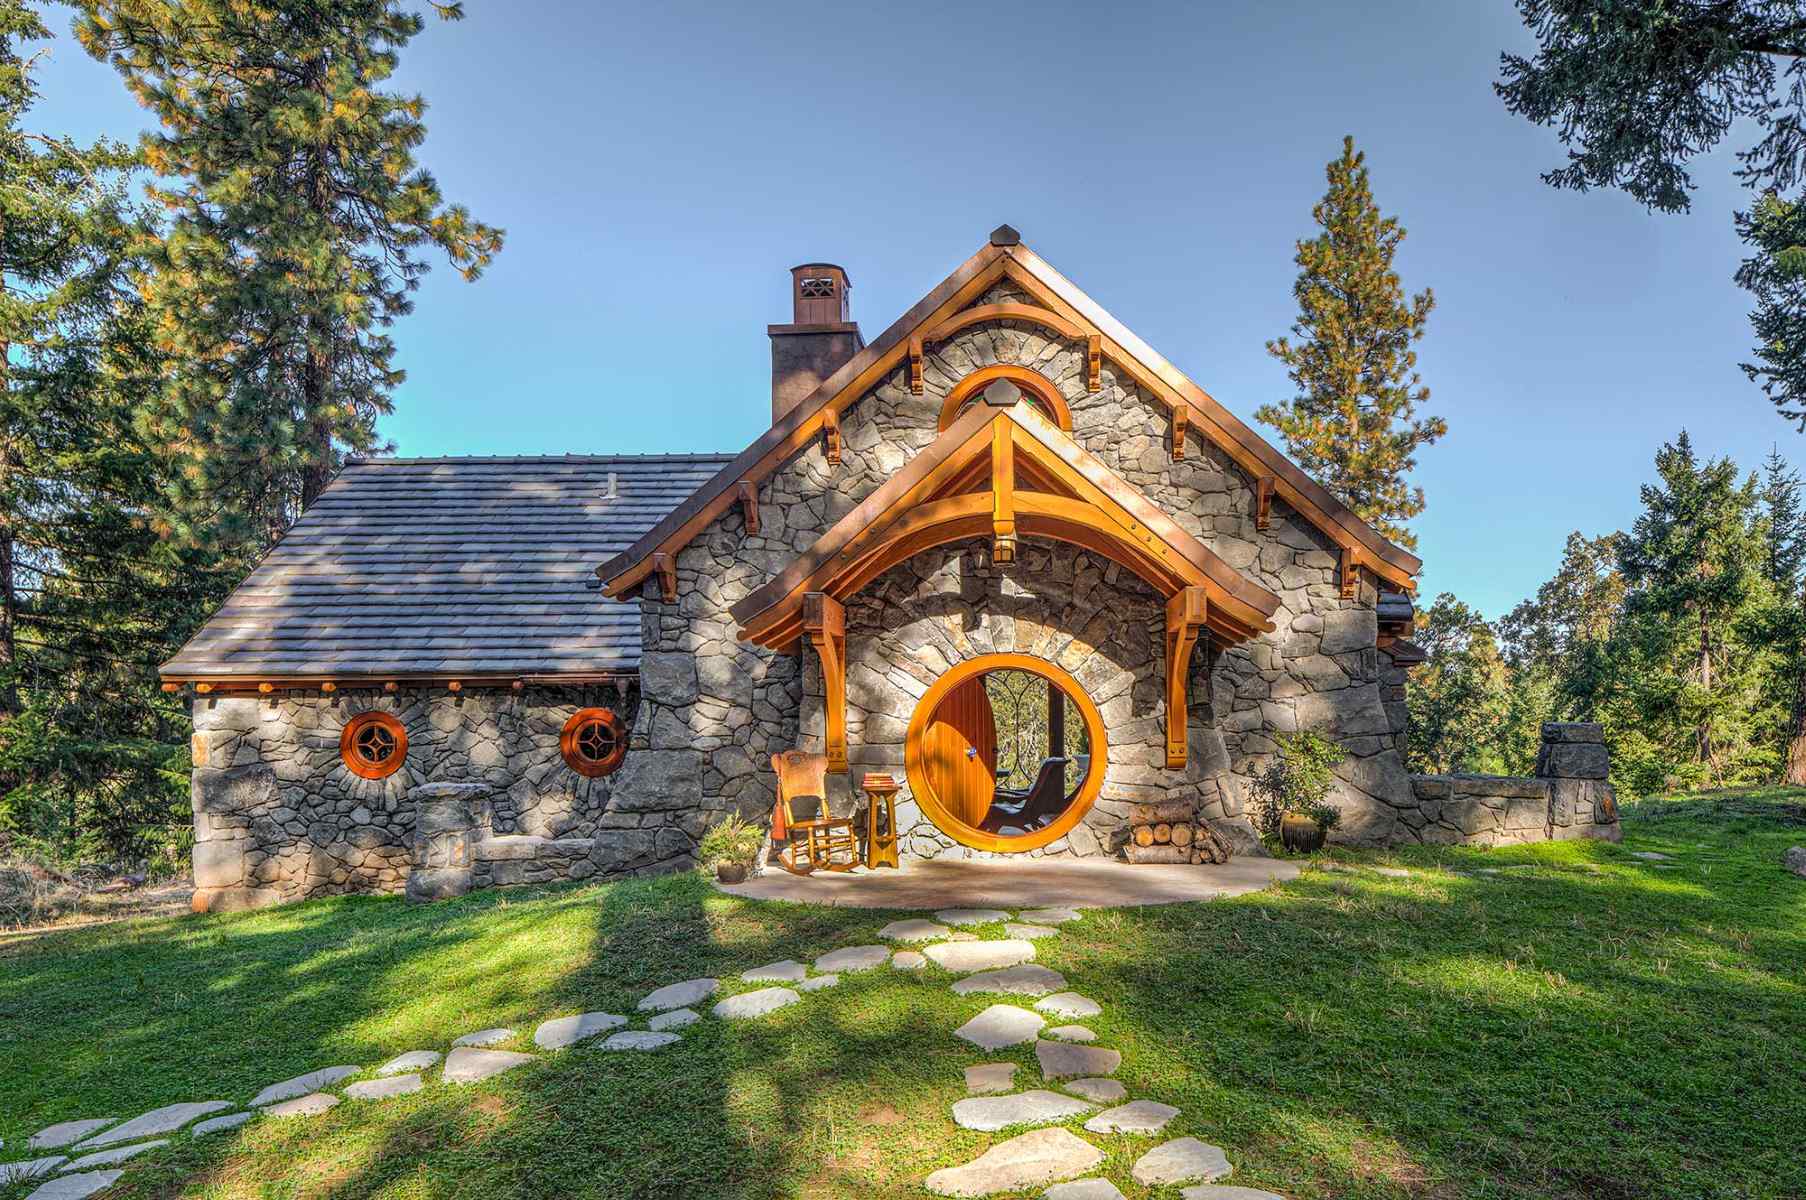
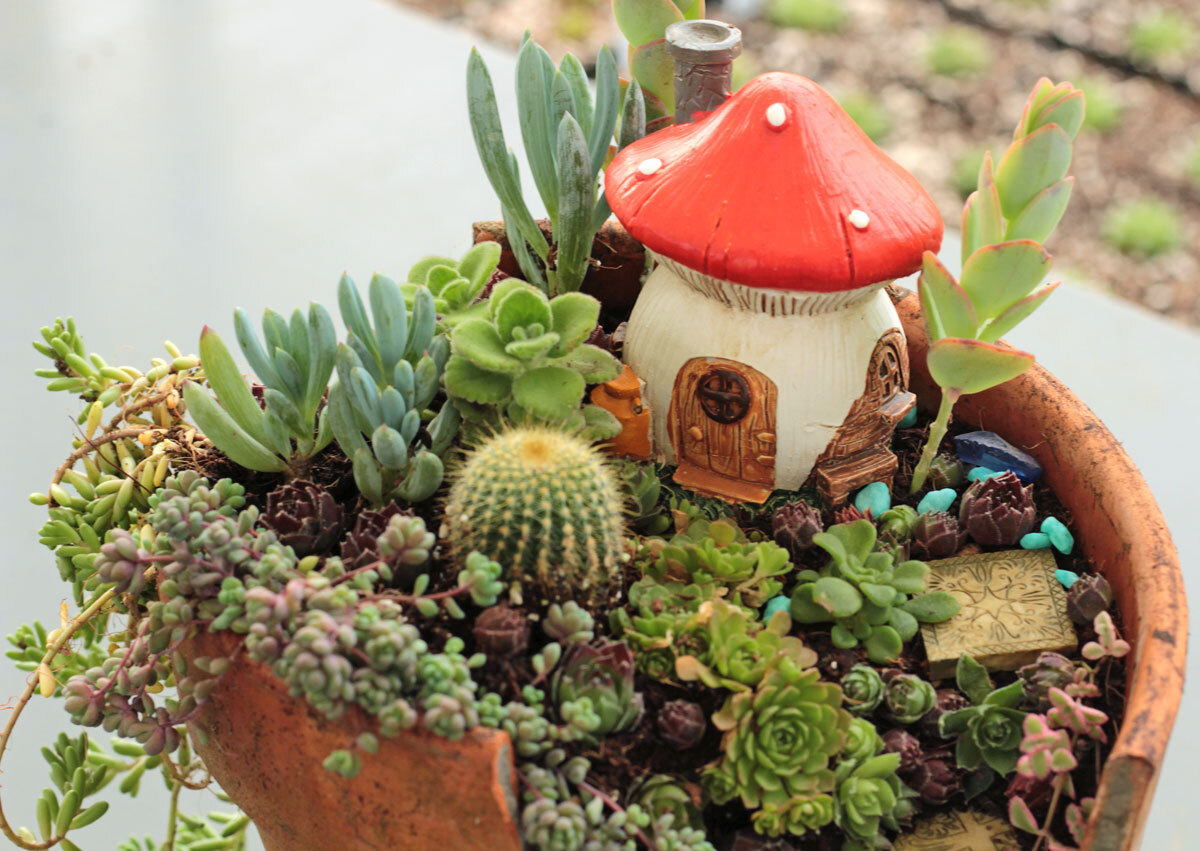
- Research and Inspiration: Take some time to gather inspiration from fairy tale books, online resources, or even nature itself. Pay attention to different architectural styles, such as cottages, treehouses, or mushroom-shaped dwellings. Allow these inspirations to guide your design choices.
- Sketching It Out: Use pencil and paper to sketch out your ideas. Determine the size, shape, and overall layout of your fairy house. Don’t worry about making it perfect – this is just a rough draft to help you visualize your concept.
- Choosing a Theme: Consider choosing a theme for your fairy house. It can be based on a particular season, like a winter wonderland or a flower-filled spring cottage. Or you can go for a more whimsical theme, such as a fairy treehouse or a magical mushroom hideaway.
- Selecting Materials: Based on your design and theme, choose the materials that will best bring your vision to life. If you want a rustic feel, consider using twigs or bark. If you prefer a more polished look, opt for wooden popsicle sticks or clay.
- Adding Unique Elements: Think about any unique features you would like to incorporate into your fairy house. It could be a tiny porch, a swing, or even a miniature garden. These details will add character and make your fairy house stand out.
Remember, the design process is all about unleashing your creativity, so don’t be afraid to experiment and make adjustments along the way. Let your imagination soar and create a design that sparks joy and enchantment.
With the structure design finalized, it’s time to move on to the next step: building the foundation of your fairy house.
Step 4: Building the Foundation
The foundation of your fairy house is the base upon which the entire structure will rest. It plays a crucial role in providing stability and support. Follow these steps to build a sturdy and balanced foundation:
- Choose a Base Material: Select a suitable base material for your fairy house, such as a wooden board or a flat stone. This will provide a solid surface for your structure and help protect it from moisture.
- Measure and Mark: Determine the size and shape of your foundation based on your design. Measure and mark the dimensions on the base material to ensure accuracy.
- Cut or Shape the Base Material: Use a saw, scissors, or a craft knife to cut or shape the base material according to your measurements. Take your time and be precise to achieve a neat and clean foundation.
- Prepare the Base: Ensure the surface of the base material is clean and smooth. Remove any rough edges or debris that could affect the stability of your fairy house.
- Attach Support Structures: Depending on the size and design of your fairy house, you may need to attach support structures to the base material. For example, if you are building a multi-level house, you can attach small wooden blocks or popsicle sticks to create platforms.
- Secure the Foundation: Use strong adhesive or a hot glue gun to secure the support structures to the base material. Ensure that everything is firmly in place to provide a stable foundation for your fairy house.
Building a solid foundation is essential to ensure the stability and durability of your fairy house. Take your time during this step and double-check your measurements and attachments to create a strong and sturdy base.
With the foundation complete, you are now ready to move on to the next step: constructing the walls of your fairy house. Get ready to see your structure take shape!
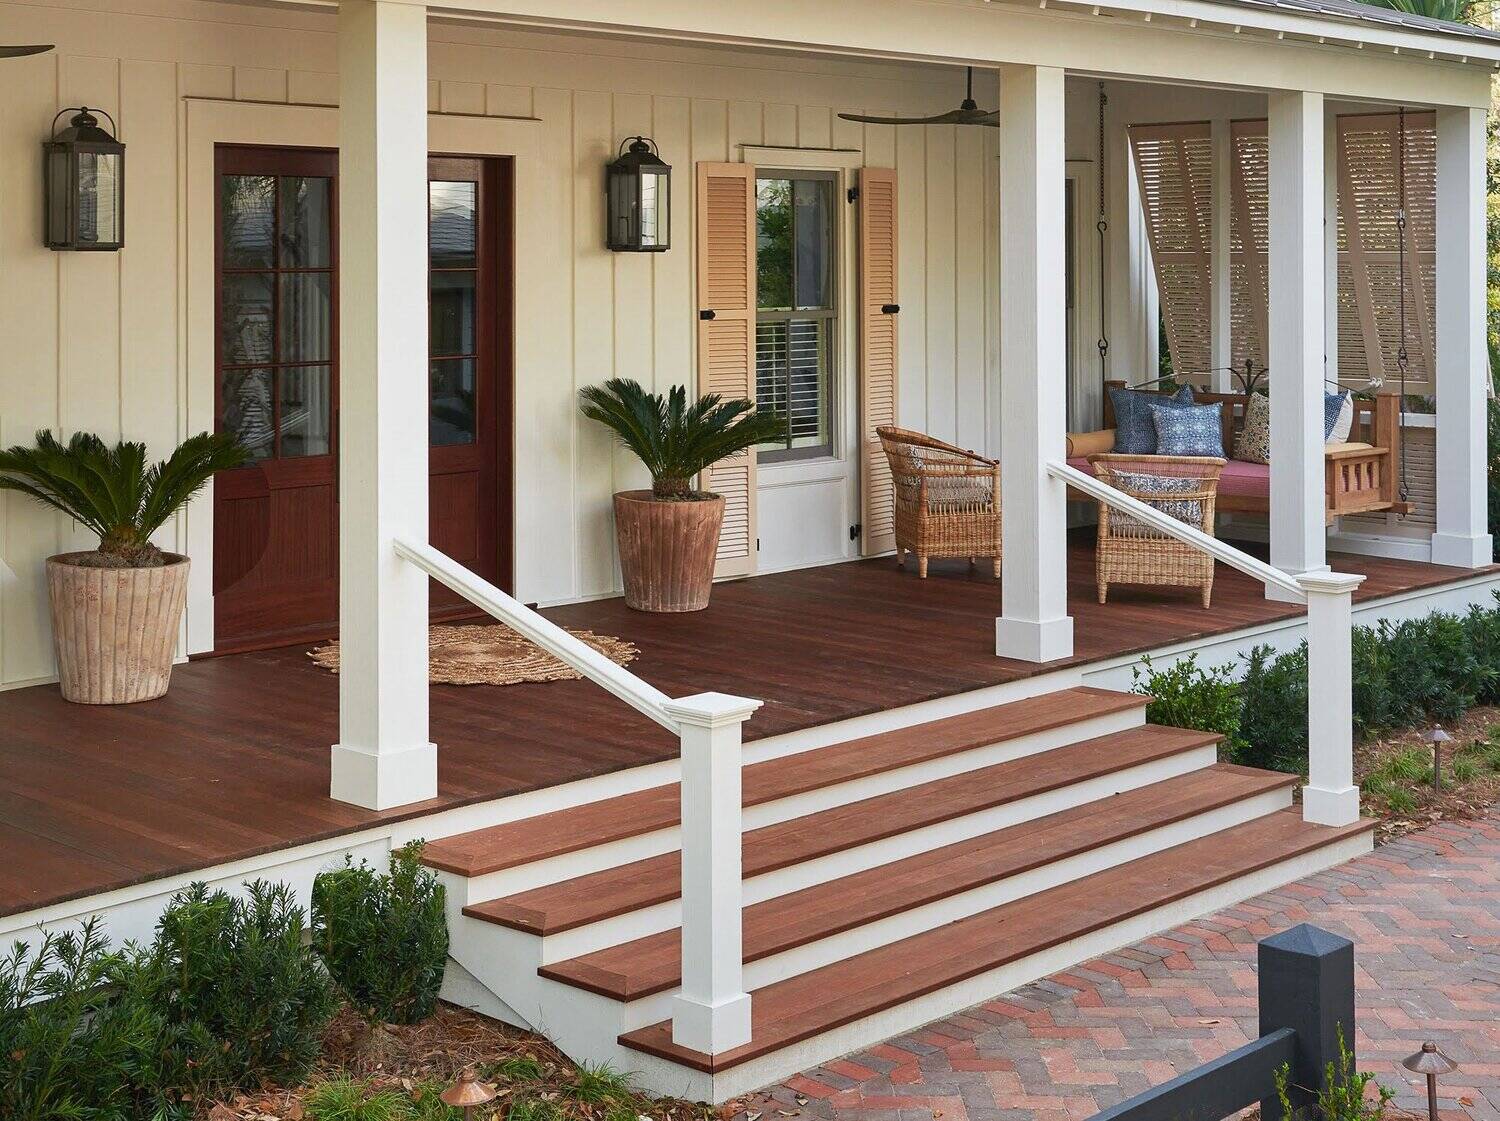
Read more: How To Add A Porch To Your House
Step 5: Constructing the Walls
Now that you have a strong foundation, it’s time to start building the walls of your fairy house. This step will bring your design to life and transform your structure into a charming dwelling. Follow these steps to construct the walls:
- Choose Wall Materials: Select the materials you want to use for the walls of your fairy house. Options include twigs, popsicle sticks, clay, or even recycled materials like cardboard or small boxes.
- Prepare the Wall Materials: If you are using natural elements like twigs or bark, trim them to the desired lengths and remove any excess branches or leaves. If you are using popsicle sticks or other materials, measure and cut them to fit your design.
- Assemble the Walls: Begin by attaching the first wall to the foundation using strong adhesive or a hot glue gun. Hold it in place until it’s secure. Then, attach the subsequent walls, ensuring they are aligned and level.
- Allow for Openings: Depending on your design, leave openings for doors, windows, or other desired entry points. Make sure to measure and cut these openings carefully, keeping scale and proportion in mind.
- Secure the Walls: Apply additional glue or adhesive to reinforce the joints and connections between the walls. This will ensure the stability and durability of your fairy house’s structure.
- Decorative Touches: Add decorative touches to the walls, such as small windows made from clear plastic or painted cardboard, or intricate details carved into the clay. These embellishments will enhance the overall charm and character of your fairy house.
As you construct the walls, refer to your original sketch and design plan to ensure accuracy. Take your time and make adjustments as needed to achieve the desired look and feel.
With the walls in place, your fairy house is starting to take shape! The next step is to add doors and windows, which will add functionality and enhance the whimsical appeal of your creation.
When designing a fairy house, consider using natural materials like twigs, leaves, and stones to create a whimsical and organic look. This will help the house blend in with its surroundings and create a magical atmosphere.
Step 6: Adding Doors and Windows
Doors and windows bring charm and character to your fairy house, as well as providing an entry point for its mystical inhabitants. Follow these steps to add doors and windows to your creation:
- Select Door and Window Styles: Choose the style of doors and windows that align with your overall design. Options include miniature wooden doors, painted popsicle stick doors, or even fabric curtains for windows.
- Measure and Cut: Measure the appropriate size for your doors and windows. Using your chosen materials, carefully cut them to the desired dimensions. Ensure they are proportional to the size of your fairy house.
- Attach Doors and Windows: Using a strong adhesive or a hot glue gun, attach the doors and windows to the walls of your fairy house. Make sure they are securely in place, ensuring smooth operation of doors and appropriate alignment of windows.
- Add Decorative Elements: Enhance the visual appeal of doors and windows by adding decorative elements. You can use small hinges, painted details, or even tiny flower pots placed near the entrance. These details will add personality to your fairy house.
- Consider Functional Elements: For an extra touch of magic, you can attach a small door handle or a latch to the door, allowing it to open and close. This adds an interactive and playful element to your fairy house.
As you add doors and windows, consider the placement and orientation to ensure they are aesthetically pleasing and functional. Remember to refer back to your initial design plan to stay consistent with your vision.
With doors and windows in place, your fairy house is starting to take on a life of its own. Now, let’s move on to the next step: decorating the interior and making it cozy for the fairy residents.
Step 7: Decorating the Interior
The interior of your fairy house is where the magic truly comes alive. It’s where you can add unique touches and create a cozy and inviting atmosphere for the fairies. Follow these steps to decorate the interior of your fairy house:
- Create a Theme: Decide on a theme or style for the interior of your fairy house. It could be a rustic cottage, a whimsical garden retreat, or even a luxurious fairy palace. Let your imagination guide you.
- Furnish the Space: Use miniature furniture, such as tiny chairs, tables, beds, and bookshelves, to furnish the interior. You can find a variety of miniature furniture accessories at craft stores or online.
- Add Textiles and Fabrics: Introduce textiles and fabrics to add warmth and texture to the interior. Consider using miniature rugs, curtains, blankets, and pillows to create a cozy ambiance.
- Personalize with Accessories: Place small accessories and trinkets throughout the interior to add personality and charm. Miniature plants, vases, books, and artwork can bring life and character to the space.
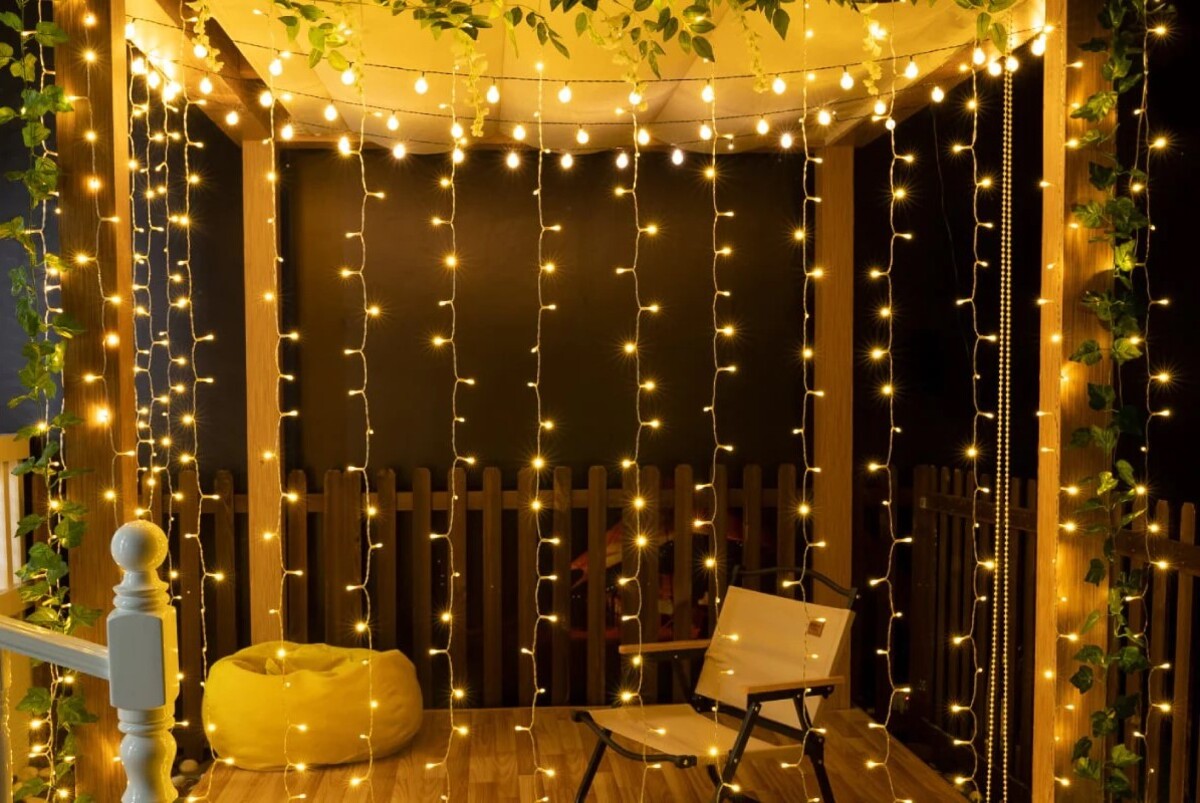
- Illuminate the Space: Add a touch of magic with tiny fairy lights or battery-operated LED lights. These can be wrapped around furniture or hung along the walls to create a gentle and enchanting glow.
- Create Outdoor Spaces: Extend the magic beyond the walls by adding outdoor spaces, such as a miniature garden or a patio area. Use small plants, gravel, or miniature fencing to bring these spaces to life.
Let your creativity run wild as you decorate the interior of your fairy house. Think about how the fairies would live and what elements would make them feel welcome and comfortable. Remember, the details make all the difference in creating a whimsical and enchanting environment.
Now that your fairy house has a beautifully decorated interior, it’s time to move on to the next step: creating a stunning roof to complete the structure.
Step 8: Creating a Roof
The roof is the crowning jewel of your fairy house. It not only provides protection from the elements but also adds character and charm to the overall design. Follow these steps to create a stunning roof for your fairy house:
- Select Roofing Materials: Choose the roofing materials that align with your design vision. Options include wooden shingles, moss, small branches, or even fabric for a whimsical touch. Consider the style and theme of your fairy house when selecting the materials.
- Measure and Cut: Measure the dimensions of your fairy house’s roof and accurately cut the chosen materials to fit. Ensure that the roofing materials are proportionate and cover the entire roof area.
- Attach the Roofing Materials: Use a strong adhesive or a hot glue gun to secure the roofing materials in place. Start at the bottom and work your way up, overlapping the materials slightly to ensure proper coverage.
- Add Decorative Elements: Consider adding decorative elements to the roof, such as faux flowers, miniature chimneys, or even a weather vane. These details will elevate the visual appeal and personality of your fairy house.
- Consider Practicality: Ensure that the roofing materials you choose are weather-resistant and will withstand outdoor conditions. If necessary, apply a protective coating to prolong the longevity of the roof.
As you create the roof, refer back to your original design plan to ensure consistency and achieve the desired aesthetic. Take your time to attach the roofing materials securely, ensuring that they are aligned and free from any gaps.
With the roof in place, your fairy house is nearly complete. Now, it’s time to add the final touches and bring the whole creation together.
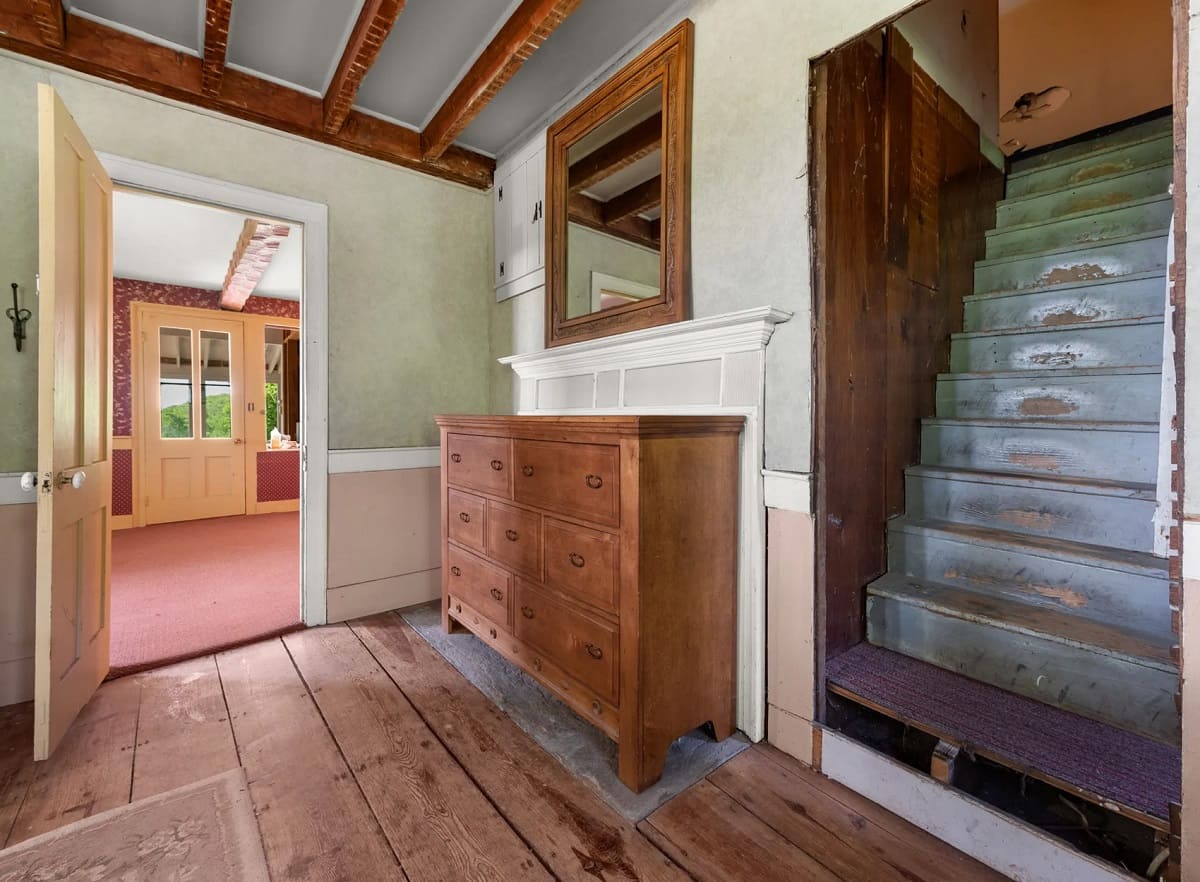
Read more: How To Design Stairs In A House
Step 9: Adding Final Touches
With your fairy house almost complete, it’s time to add those final touches to make it truly magical and captivating. Consider these steps to add the finishing touches:
- Add Landscaping: Surround your fairy house with miniature landscaping elements such as small plants, colorful flowers, or a tiny pathway. This will create a captivating setting that blends seamlessly with the natural environment.
- Introduce Lighting: Illuminate the exterior of your fairy house with solar-powered lights or small LED lamps. This creates a magical ambiance during the evening hours and enhances the overall charm of your creation.
- Personalize with Signage: Add a personalized touch by creating a miniature sign with the name or number of your fairy house. This adds a sense of identity and makes your creation feel even more inviting.
- Embellish with Natural Elements: Enhance the charm of your fairy house by incorporating natural elements like tiny pinecones, shells, or acorns. Use them as decorative accents or as part of the landscaping to create an organic and enchanting feel.
- Consider Sound Effects: Take your fairy house to the next level by incorporating sound effects like a small wind chime or a miniature waterfall. The soft tinkling or trickling sounds will add an enchanting and soothing element to the atmosphere.
- Bring in Fairy Accessories: Place miniature fairy figurines or accessories in and around your fairy house to make it come alive. These tiny residents will add a sense of wonder and whimsy to your creation.
Remember, the final touches allow you to put your personal mark on your fairy house and make it unique to your own creative vision. Consider the theme, style, and overall ambiance you want to achieve as you add the final details.
Now that all the finishing touches are complete, take a step back and admire your magical creation. Your fairy house is now ready to be enjoyed and cherished by all who encounter its enchanting presence.
With this guide, you have learned the step-by-step process of designing and building your own fairy house. From gathering materials to adding the final touches, this journey has allowed your creativity to flourish, resulting in a whimsical and inviting abode for the fairies.
So go ahead, place your fairy house in a special spot, and let the magic unfold. Immerse yourself in the beauty of these miniature dwellings and experience the joy of creating a world where imagination knows no bounds.
Happy fairy house designing!
Conclusion
Congratulations on completing your fairy house masterpiece! Throughout this journey, you have tapped into your creativity, craftsmanship, and imagination to bring a magical dwelling to life. Your fairy house is now a captivating and whimsical addition to your garden or home, ready to enchant all who encounter it.
Designing and building a fairy house is not just a creative project; it’s an opportunity to connect with nature, awaken your inner child, and create a sense of wonder and magic. As you gathered materials, chose a location, designed the structure, built the foundation, constructed the walls, added doors and windows, decorated the interior, created a roof, and added those final touches, you allowed your creativity to flourish and your imagination to soar.
Remember, there are no strict rules when it comes to designing a fairy house. The only limit is your imagination. Feel free to personalize and customize your creation to reflect your unique style and vision. Let your fairy house be a true reflection of your creativity and personality.
As you enjoy your fairy house, be sure to maintain and care for it. Check for any signs of wear or damage, and make repairs as needed. Consider bringing in your fairy house during harsh weather conditions to ensure its longevity.
Share the joy of your fairy house with others. Allow friends, family, and guests to marvel at the whimsical charm you have created. Encourage them to delve into their own creativity by building their own fairy houses or even collaborating on a fairy village.
Remember, the magic of a fairy house extends beyond its physical form. It sparks the imagination, nurtures creativity, and fosters a sense of wonder. It invites us to believe in the extraordinary and reminds us of the magic that can be found in the simplest things.
Now, go forth and let the fairies dance among your creation. May your fairy house bring enchantment, joy, and a touch of magic to your life and those who encounter its delightful presence.
Happy fairy house adventures!
Validation
All outputs are valid HTML encoding.
Frequently Asked Questions about How To Design A Fairy House
Was this page helpful?
At Storables.com, we guarantee accurate and reliable information. Our content, validated by Expert Board Contributors, is crafted following stringent Editorial Policies. We're committed to providing you with well-researched, expert-backed insights for all your informational needs.


0 thoughts on “How To Design A Fairy House”