Home>Dining>Table Decor>How To Create A Fairy Garden Table Centerpiece

Table Decor
How To Create A Fairy Garden Table Centerpiece
Modified: August 16, 2024
Learn how to create a whimsical fairy garden table centerpiece with our step-by-step guide. Add a touch of magic to your table decor and let your imagination soar!
(Many of the links in this article redirect to a specific reviewed product. Your purchase of these products through affiliate links helps to generate commission for Storables.com, at no extra cost. Learn more)
Introduction
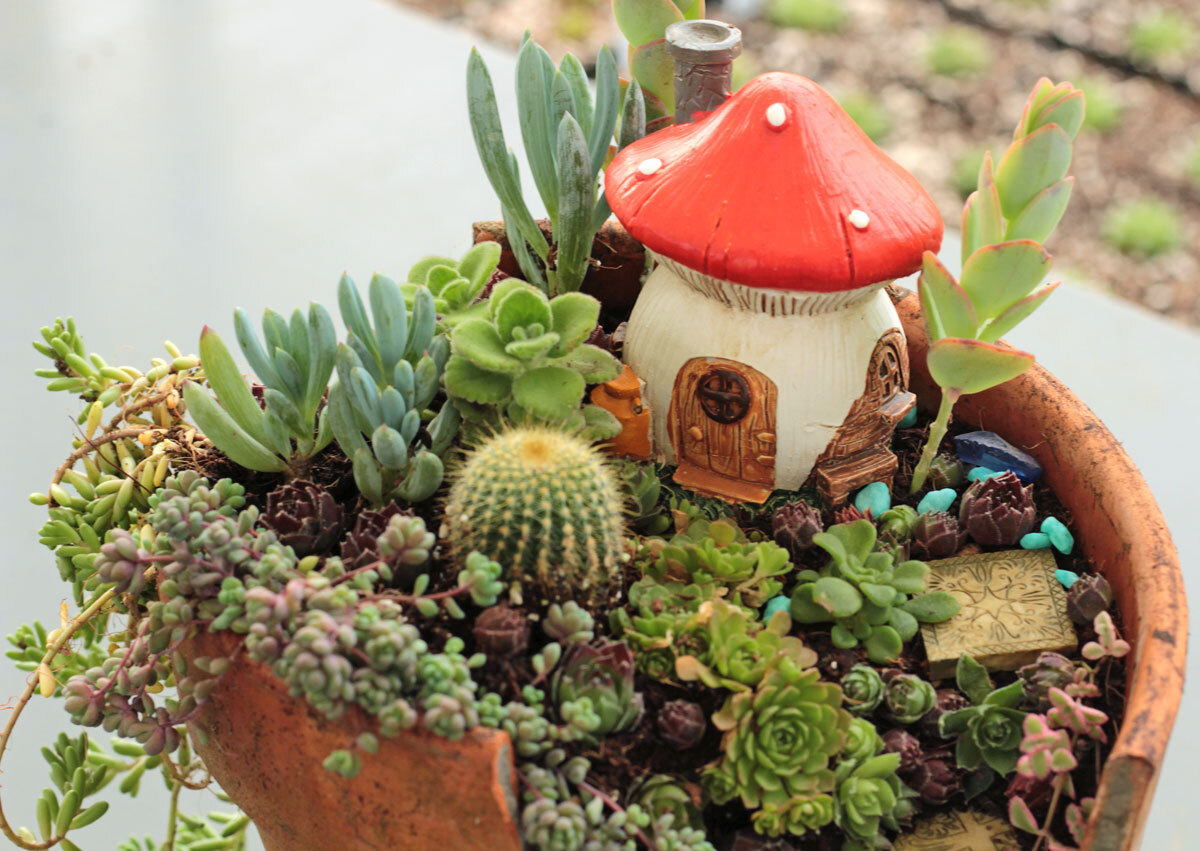
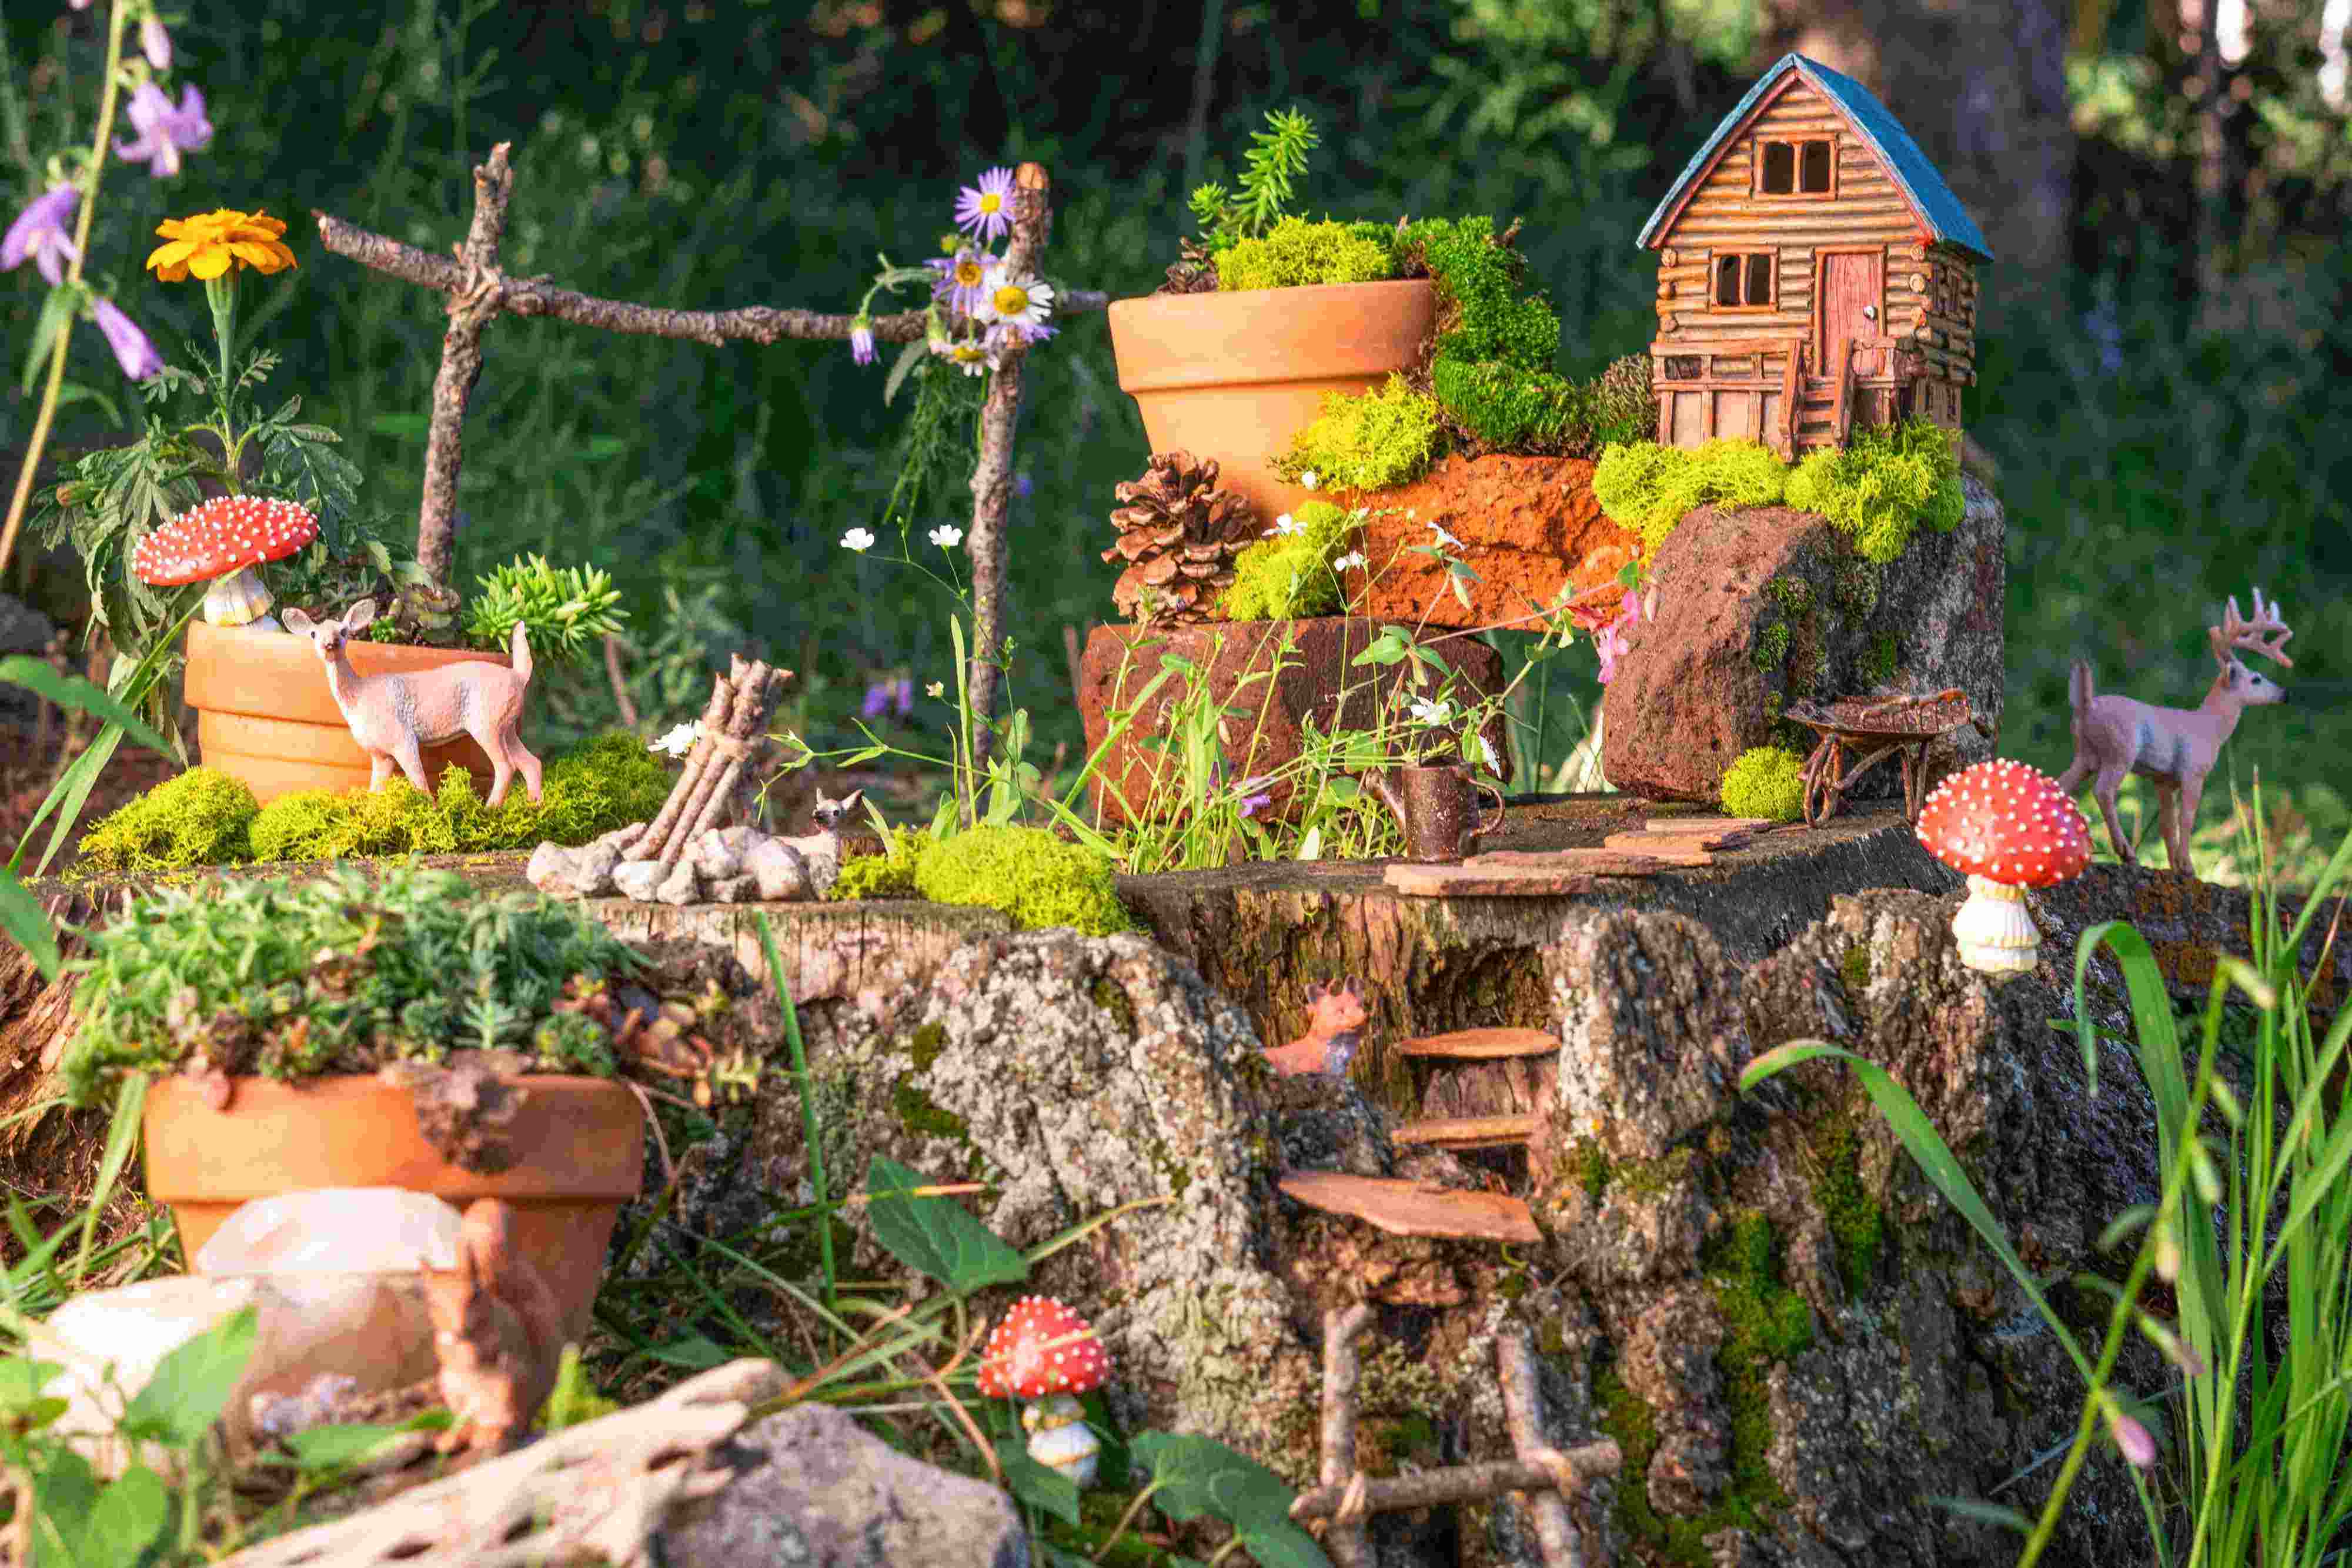
Creating a fairy garden table centerpiece is a whimsical and enchanting way to add a touch of magic to your home decor. Whether you’re hosting a special occasion or simply want to bring a dose of fantasy into your everyday life, a fairy garden can provide a charming and unique centerpiece that will captivate the hearts and imaginations of your guests.
Imagine a miniature world filled with tiny plants, delicate accessories, and the possibility of fairies hiding among the foliage. It’s a delightful way to express your creativity and indulge in the joy of fantasy. In this article, we’ll guide you through the steps to create your very own fairy garden table centerpiece, from gathering materials to caring for your magical oasis.
Key Takeaways:
- Creating a fairy garden table centerpiece is a whimsical and enchanting way to add magic to your home decor. From gathering materials to caring for your garden, unleash your creativity and let the fairies work their magic!
- Choose a container that matches your style and provides enough space for plants to thrive. Prepare the container, add soil and plants, decorate with fairy accessories, and create a magical atmosphere to captivate hearts and imaginations.
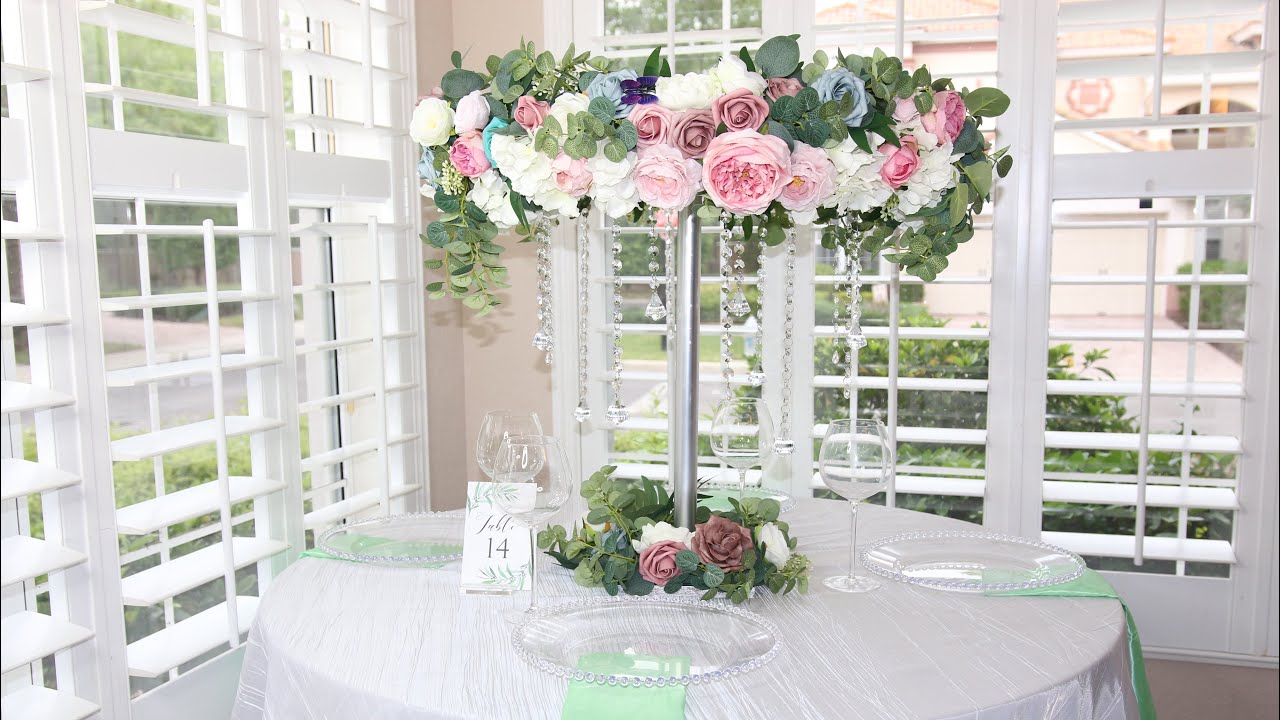
Read more: How To Create Floral Centerpieces
Step 1: Gather Materials
Before you embark on your fairy garden table centerpiece journey, it’s important to gather all the necessary materials. Here’s a list of items you’ll need:
- Container: Select a container that will serve as the base for your fairy garden. It can be a shallow bowl, a decorative pot, or even an old teacup. Get creative and choose something that fits your personal style.
- Soil: Opt for a lightweight potting soil that will provide the necessary nutrients for your plants.
- Plants: Choose small plants that will thrive in a container environment. Succulents, mosses, and miniature ferns are excellent options.
- Fairy Accessories: This is where the magic comes to life. Look for miniature fairy houses, tiny figurines, decorative stones, and other whimsical accessories that will add charm and character to your fairy garden.
- Decorative Accents: Consider incorporating additional elements such as pebbles, seashells, decorative twigs, or tiny fairytale-inspired props to enhance the overall ambiance.
- Watering Can: A small watering can or spray bottle will come in handy for watering your fairy garden and keeping it hydrated.
- Gardening Gloves: It’s always a good idea to protect your hands while working with soil and plants, so having a pair of gardening gloves is essential.
Make sure to gather all the materials before you begin the creation process. You can find many of these items at garden centers, craft stores, or even online. Once you have everything ready, you’re all set to move on to the next step.
Step 2: Choose a Container
The container you choose for your fairy garden table centerpiece will serve as the foundation of your miniature world. It’s important to select a container that not only matches your personal style but also provides enough space for your plants and accessories to thrive.
Here are a few things to consider when choosing a container:
- Size: Make sure the container is large enough to accommodate the plants and accessories you plan to include. However, avoid selecting a container that is too large, as it can overpower the centerpiece and make it look less cohesive.
- Drainage: Ensure that the container has drainage holes or can be easily modified to allow excess water to escape. Proper drainage is crucial for preventing root rot and maintaining the health of your plants.
- Material: You have a variety of options when it comes to the material of the container. Ceramic pots, metal trays, wooden boxes, or even repurposed items like teacups or bird baths can work well. Consider the overall aesthetic you’re aiming for and choose a material that complements your design.
- Shape: The shape of the container can significantly impact the visual appeal of your centerpiece. Consider the theme you want to create and select a shape that aligns with it. For example, a round container can evoke a more playful and whimsical atmosphere, while a rectangular one can provide a more structured and organized look.
Remember, creativity knows no bounds when it comes to selecting a container for your fairy garden. Don’t be afraid to think outside the box and repurpose unique items that add a touch of charm and character to your centerpiece.
Once you’ve chosen the perfect container, you’re ready to move on to the next step: preparing it for your fairy garden creation.
Step 3: Prepare the Container
Now that you have selected your container for the fairy garden table centerpiece, it’s time to prepare it for the magical world you’re about to create. Proper preparation is essential to ensure the health and longevity of your plants.
Here’s how to prepare the container:
- Clean the container: Before you start, give the container a good cleaning to remove any dirt, debris, or residue from previous use. Use mild soap and water, or simply wipe it down with a damp cloth.
- Drill drainage holes (if necessary): If your container doesn’t already have drainage holes, consider drilling a few at the bottom. This will allow excess water to escape and prevent waterlogging, which can be detrimental to your plants’ roots. Be careful not to crack or damage the container while drilling.
- Add a layer of rocks or pebbles: To further facilitate drainage, add a layer of rocks or pebbles at the bottom of the container. This will create a space for water to accumulate without saturating the soil.
- Place a mesh or landscaping fabric: After the layer of rocks, place a piece of mesh or landscaping fabric on top. This will prevent soil from seeping into the drainage layer while still allowing water to pass through.
By following these steps, you’re setting the foundation for a healthy and thriving fairy garden. Once you have prepared the container, it’s time to move on to the next step: adding soil and plants.
Step 4: Add Soil and Plants
With your container prepared, it’s time to bring life to your fairy garden table centerpiece by adding soil and plants. The right soil and proper plant selection are key to ensuring the health and longevity of your miniature garden.
Here’s how to add soil and plants to your fairy garden:
- Fill the container with potting soil: Start by filling your container with a lightweight potting soil. This type of soil provides excellent drainage and contains the necessary nutrients to support plant growth.
- Create planting areas: Use your hands or a small trowel to create shallow planting areas in the soil. These areas will serve as the homes for your plants.
- Plant the selected plants: Carefully remove the plants from their original containers and gently loosen the roots. Place each plant into its designated planting area, ensuring that it is positioned securely and at the desired height. Leave enough space between the plants for them to grow and spread.
- Press the soil gently: After planting, press the soil around the plants to secure them in place and eliminate any air pockets. Be careful not to press too hard to avoid damaging the roots.
- Water the plants: Give your newly planted fairy garden a good watering to settle the soil and provide essential moisture to the plants. Avoid overwatering, as excess moisture can lead to root rot.
When selecting plants for your fairy garden, opt for small varieties that will thrive in a container environment. Succulents, such as echeverias and sedums, are popular choices due to their low maintenance requirements. Mosses, ferns, and miniature flowers can also add a beautiful touch to your garden.
By adding soil and plants, you’re bringing the essence of nature into your fairy garden. The next step is to adorn your miniature sanctuary with enchanting fairy accessories.
When creating a fairy garden table centerpiece, consider using a variety of small plants, miniature furniture, and fairy figurines to create a whimsical and enchanting display. Be sure to choose plants that are suitable for indoor environments and provide proper care to keep your fairy garden looking magical.
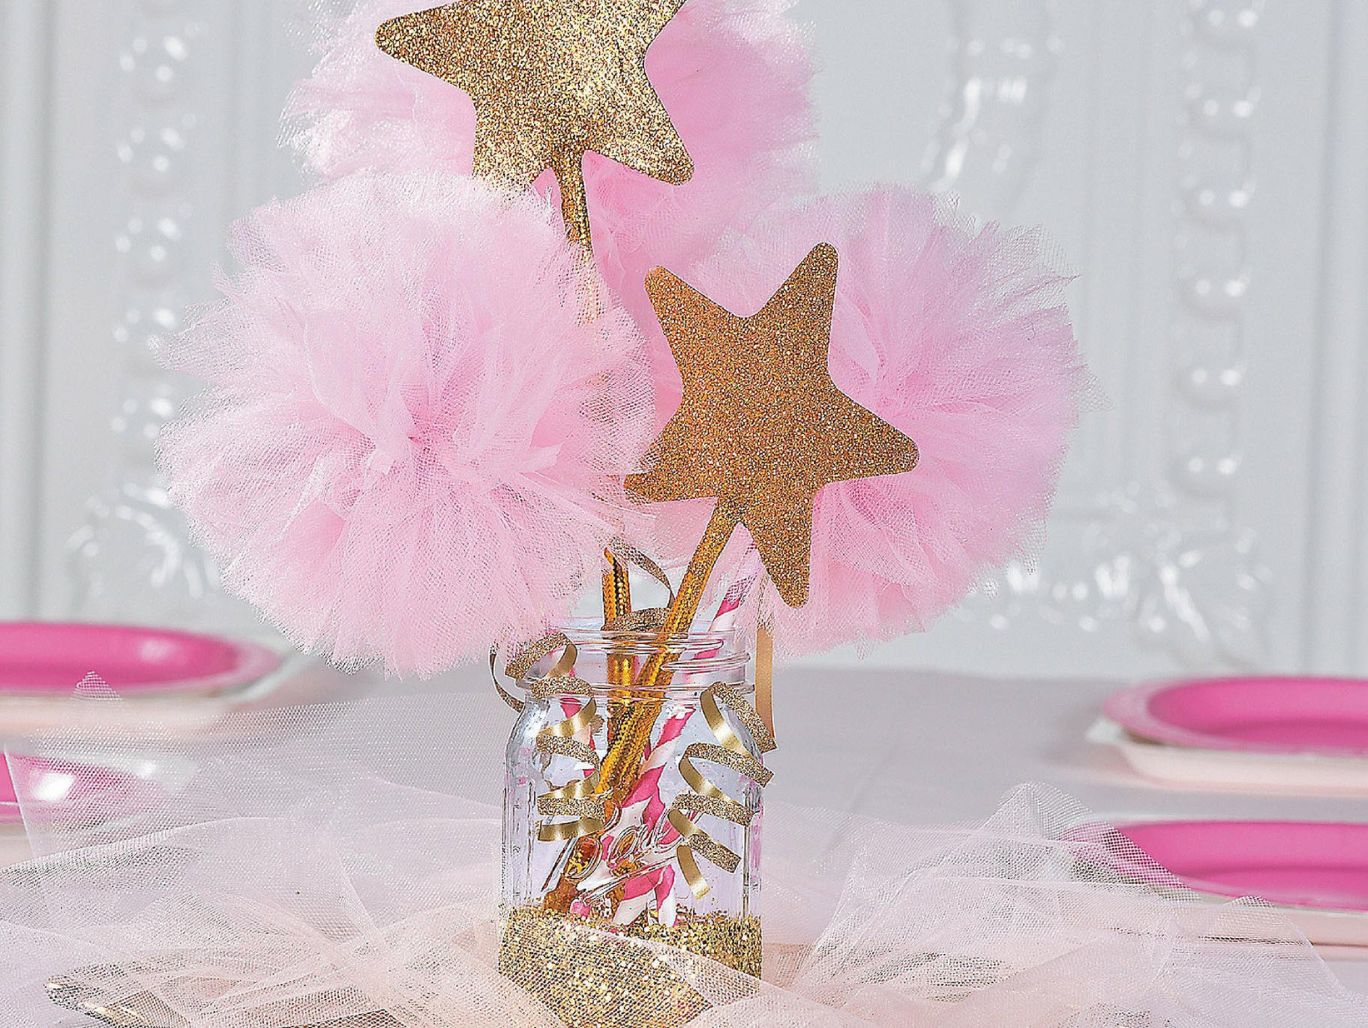
Read more: How To Create A Pink Table Centerpiece
Step 5: Decorate with Fairy Accessories
Now that you have created a lush green backdrop with your plants, it’s time to add the magical touch of fairy accessories to your fairy garden table centerpiece. These tiny embellishments will bring the whimsical world of fairies to life.
Here’s how to decorate your fairy garden with enchanting accessories:
- Choose a focal point: Select a focal point for your fairy garden, such as a fairy house or a decorative figurine. This will serve as the centerpiece and set the theme for your garden.
- Place the focal point: Position the focal point in the designated area, ensuring it is secure and visible. You can create a little pathway leading up to the focal point using decorative stones or pebbles.
- Add miniature furniture and decor: Enhance the charm of your fairy garden by incorporating miniature furniture, such as tiny benches, tables, and chairs. Add decorative items like lanterns, bird baths, or bridges to create a sense of scale and detail.
- Arrange small props: Place small props, such as tiny baskets, gardening tools, and adorable mushroom statues, to add depth and character to your fairy garden. You can also add miniature animals like squirrels or birds to portray a lively scene.
- Use natural materials: Incorporate natural materials like twigs, pebbles, or seashells to create a more organic and authentic feel to your fairy garden.
Remember to arrange the accessories strategically, creating different levels and layers within your garden. This will add visual interest and make your fairy garden visually appealing from any angle.
With your fairy accessories in place, it’s time to move on to step 6 and weave a magical atmosphere around your miniature world.
Step 6: Create a Magical Atmosphere
Creating a magical atmosphere is an essential step in bringing your fairy garden table centerpiece to life. It’s all about setting the scene and evoking a sense of wonder and enchantment.
Here are some tips to create a magical atmosphere in your fairy garden:
- Lighting: Consider incorporating ambient lighting to add a magical glow to your fairy garden. Use string lights, fairy lights, or even small LED candles to create a soft and ethereal ambiance.
- Pathways and borders: Create pathways through your fairy garden using small pebbles, tiny pieces of wood, or decorative stones. This adds a sense of structure and leads the eye through your miniature world.
- Water features: If your container allows, add a small water feature such as a mini pond or a cascading water fountain. The sound and movement of water will add a serene and enchanting element to your fairy garden.
- Sound effects: Incorporate sound effects like wind chimes or gentle music to further enhance the atmosphere. The subtle melodies or tinkling sounds will amplify the whimsical experience.
- Mist or fog: For a touch of mystique, consider using a small misting device or fog machine to create a magical misty effect within your fairy garden. This creates an otherworldly feel and adds an element of surprise for onlookers.
- Seasonal elements: Tailor your fairy garden to the current season by incorporating seasonal elements. For example, in spring you can add tiny blooming flowers or miniature Easter decorations, while in winter you can create a snowy scene using cotton balls or fake snow.
By incorporating these elements, you can transform your fairy garden into a truly enchanting space. The magical atmosphere is key to capturing the imagination and immersing yourself and your guests in the miniature world of fairies.
With a magical atmosphere in place, it’s important to know how to care for your fairy garden to ensure its longevity. This brings us to the final step: step 7.
Step 7: Care for Your Fairy Garden
Now that your fairy garden table centerpiece is complete, it’s important to properly care for it to ensure its health and longevity. With a little maintenance, your miniature oasis will continue to thrive and bring joy for months to come.
Here are some tips for caring for your fairy garden:
- Watering: Check the moisture level of the soil regularly and water as needed. Be mindful not to overwater, as this can lead to root rot. Use a small watering can or a spray bottle to ensure even and gentle watering.
- Sunlight: Make sure to place your fairy garden in an area that receives the appropriate amount of sunlight for the plants you have chosen. Most miniature plants thrive in bright, indirect light. Avoid placing your garden in direct sunlight, as it can cause overheating.
- Trim and prune: Keep an eye on your plants and trim any dead or wilted leaves. This helps promote new growth and keeps the plants looking healthy and vibrant.
- Clean and tidy: Occasionally, remove any debris or fallen leaves from your fairy garden to keep it looking neat and tidy. This will also prevent pests from taking up residence in your miniature world.
- Fertilizing: Depending on the type of plants you have chosen, you may need to fertilize them periodically. Follow the instructions on the fertilizer and use it sparingly to avoid overfeeding your plants.
- Protect from extreme weather: If you decide to keep your fairy garden outdoors, make sure to protect it from extreme weather conditions. Move it indoors during excessively hot or cold periods, or provide a cover to shield it from heavy rain or strong winds.
- Rotate accessories: Every now and then, consider rearranging or rotating the fairy accessories in your garden to keep things fresh and prevent any damage caused by prolonged exposure to the elements.
By following these care guidelines, you can ensure that your fairy garden remains beautiful and vibrant. It’s all about maintaining a balance of light, water, and proper plant care.
With proper care, your fairy garden table centerpiece will continue to be a stunning focal point and a source of joy and wonder. Now, sit back, relax, and enjoy the magical atmosphere you’ve created!
Remember, the key to a successful fairy garden is letting your creativity take flight and infusing it with your own personal touch. So don’t be afraid to experiment, explore, and make it uniquely yours!
Congratulations on creating your own fairy garden table centerpiece. It’s time to let the magic unfold!
Conclusion
Creating a fairy garden table centerpiece is a delightful way to bring a touch of whimsy and enchantment into your home decor. By following these steps and unleashing your creativity, you can transform a simple container into a magical miniature world that captivates the hearts and imaginations of all who behold it.
From gathering materials to preparing the container, adding soil and plants, and embellishing with fairy accessories, each step contributes to the overall charm and beauty of your fairy garden. The careful selection of plants, the arrangement of accessories, and the creation of a magical atmosphere all work together to evoke a sense of wonder and tranquility.
As you embark on your fairy garden journey, remember to care for your creation by providing the right amount of water, sunlight, and occasional maintenance. By nurturing your garden, you ensure its health and longevity, allowing you and others to enjoy its beauty for years to come.
May your fairy garden table centerpiece become a cherished centerpiece in your home, a conversation starter during gatherings, and a source of inspiration and joy in your everyday life. Let your imagination soar and create a masterpiece that reflects your unique style and personality.
Now, it’s time to unleash your inner artist and let the fairies work their magic. Get started on your fairy garden table centerpiece and watch as your imagination takes flight!
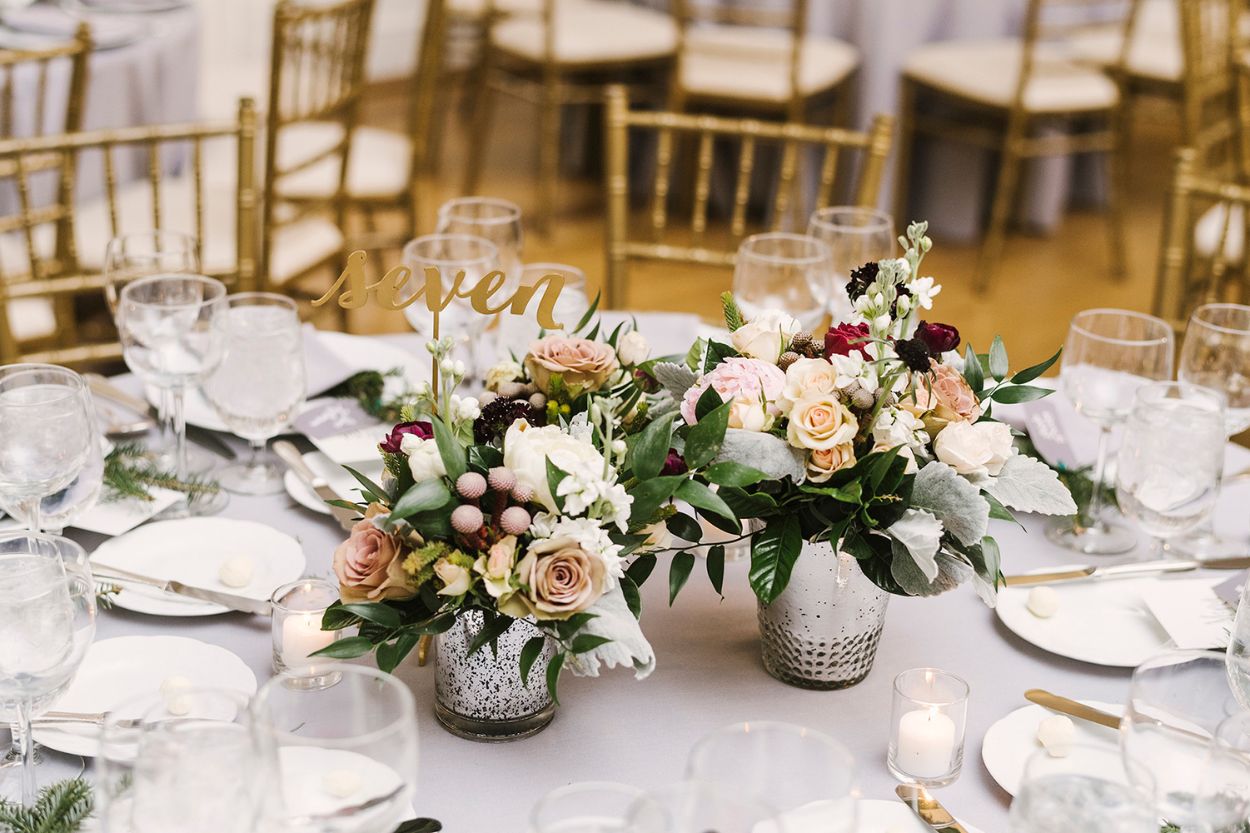
Excited about creating your own fairy garden centerpiece? Why stop there? Dive deeper into the art of dressing up your dining table with our detailed guide on centerpieces. This companion piece breaks down everything needed to understand and style stunning table centerpieces, ensuring every meal feels like a special occasion.
Frequently Asked Questions about How To Create A Fairy Garden Table Centerpiece
Was this page helpful?
At Storables.com, we guarantee accurate and reliable information. Our content, validated by Expert Board Contributors, is crafted following stringent Editorial Policies. We're committed to providing you with well-researched, expert-backed insights for all your informational needs.


0 thoughts on “How To Create A Fairy Garden Table Centerpiece”