
Articles
How To Build A Carport Attached To House
Modified: September 1, 2024
Learn how to build a carport attached to your house with our informative articles. Get expert tips and step-by-step instructions for a successful project.
(Many of the links in this article redirect to a specific reviewed product. Your purchase of these products through affiliate links helps to generate commission for Storables.com, at no extra cost. Learn more)
Introduction
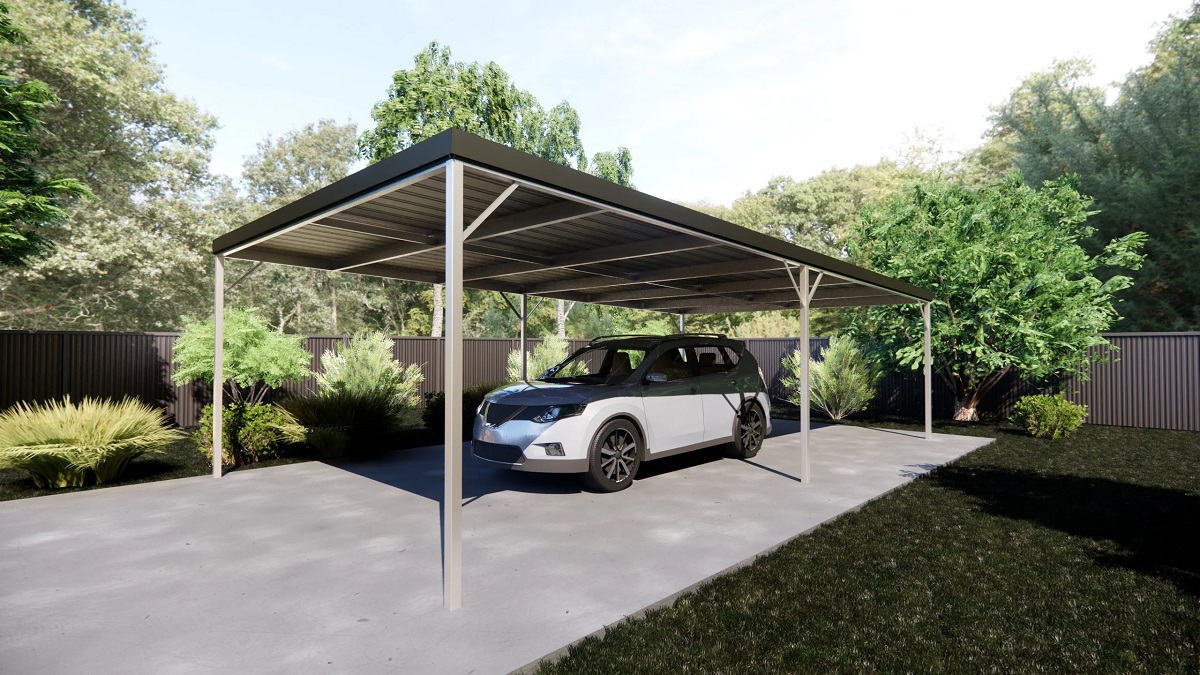
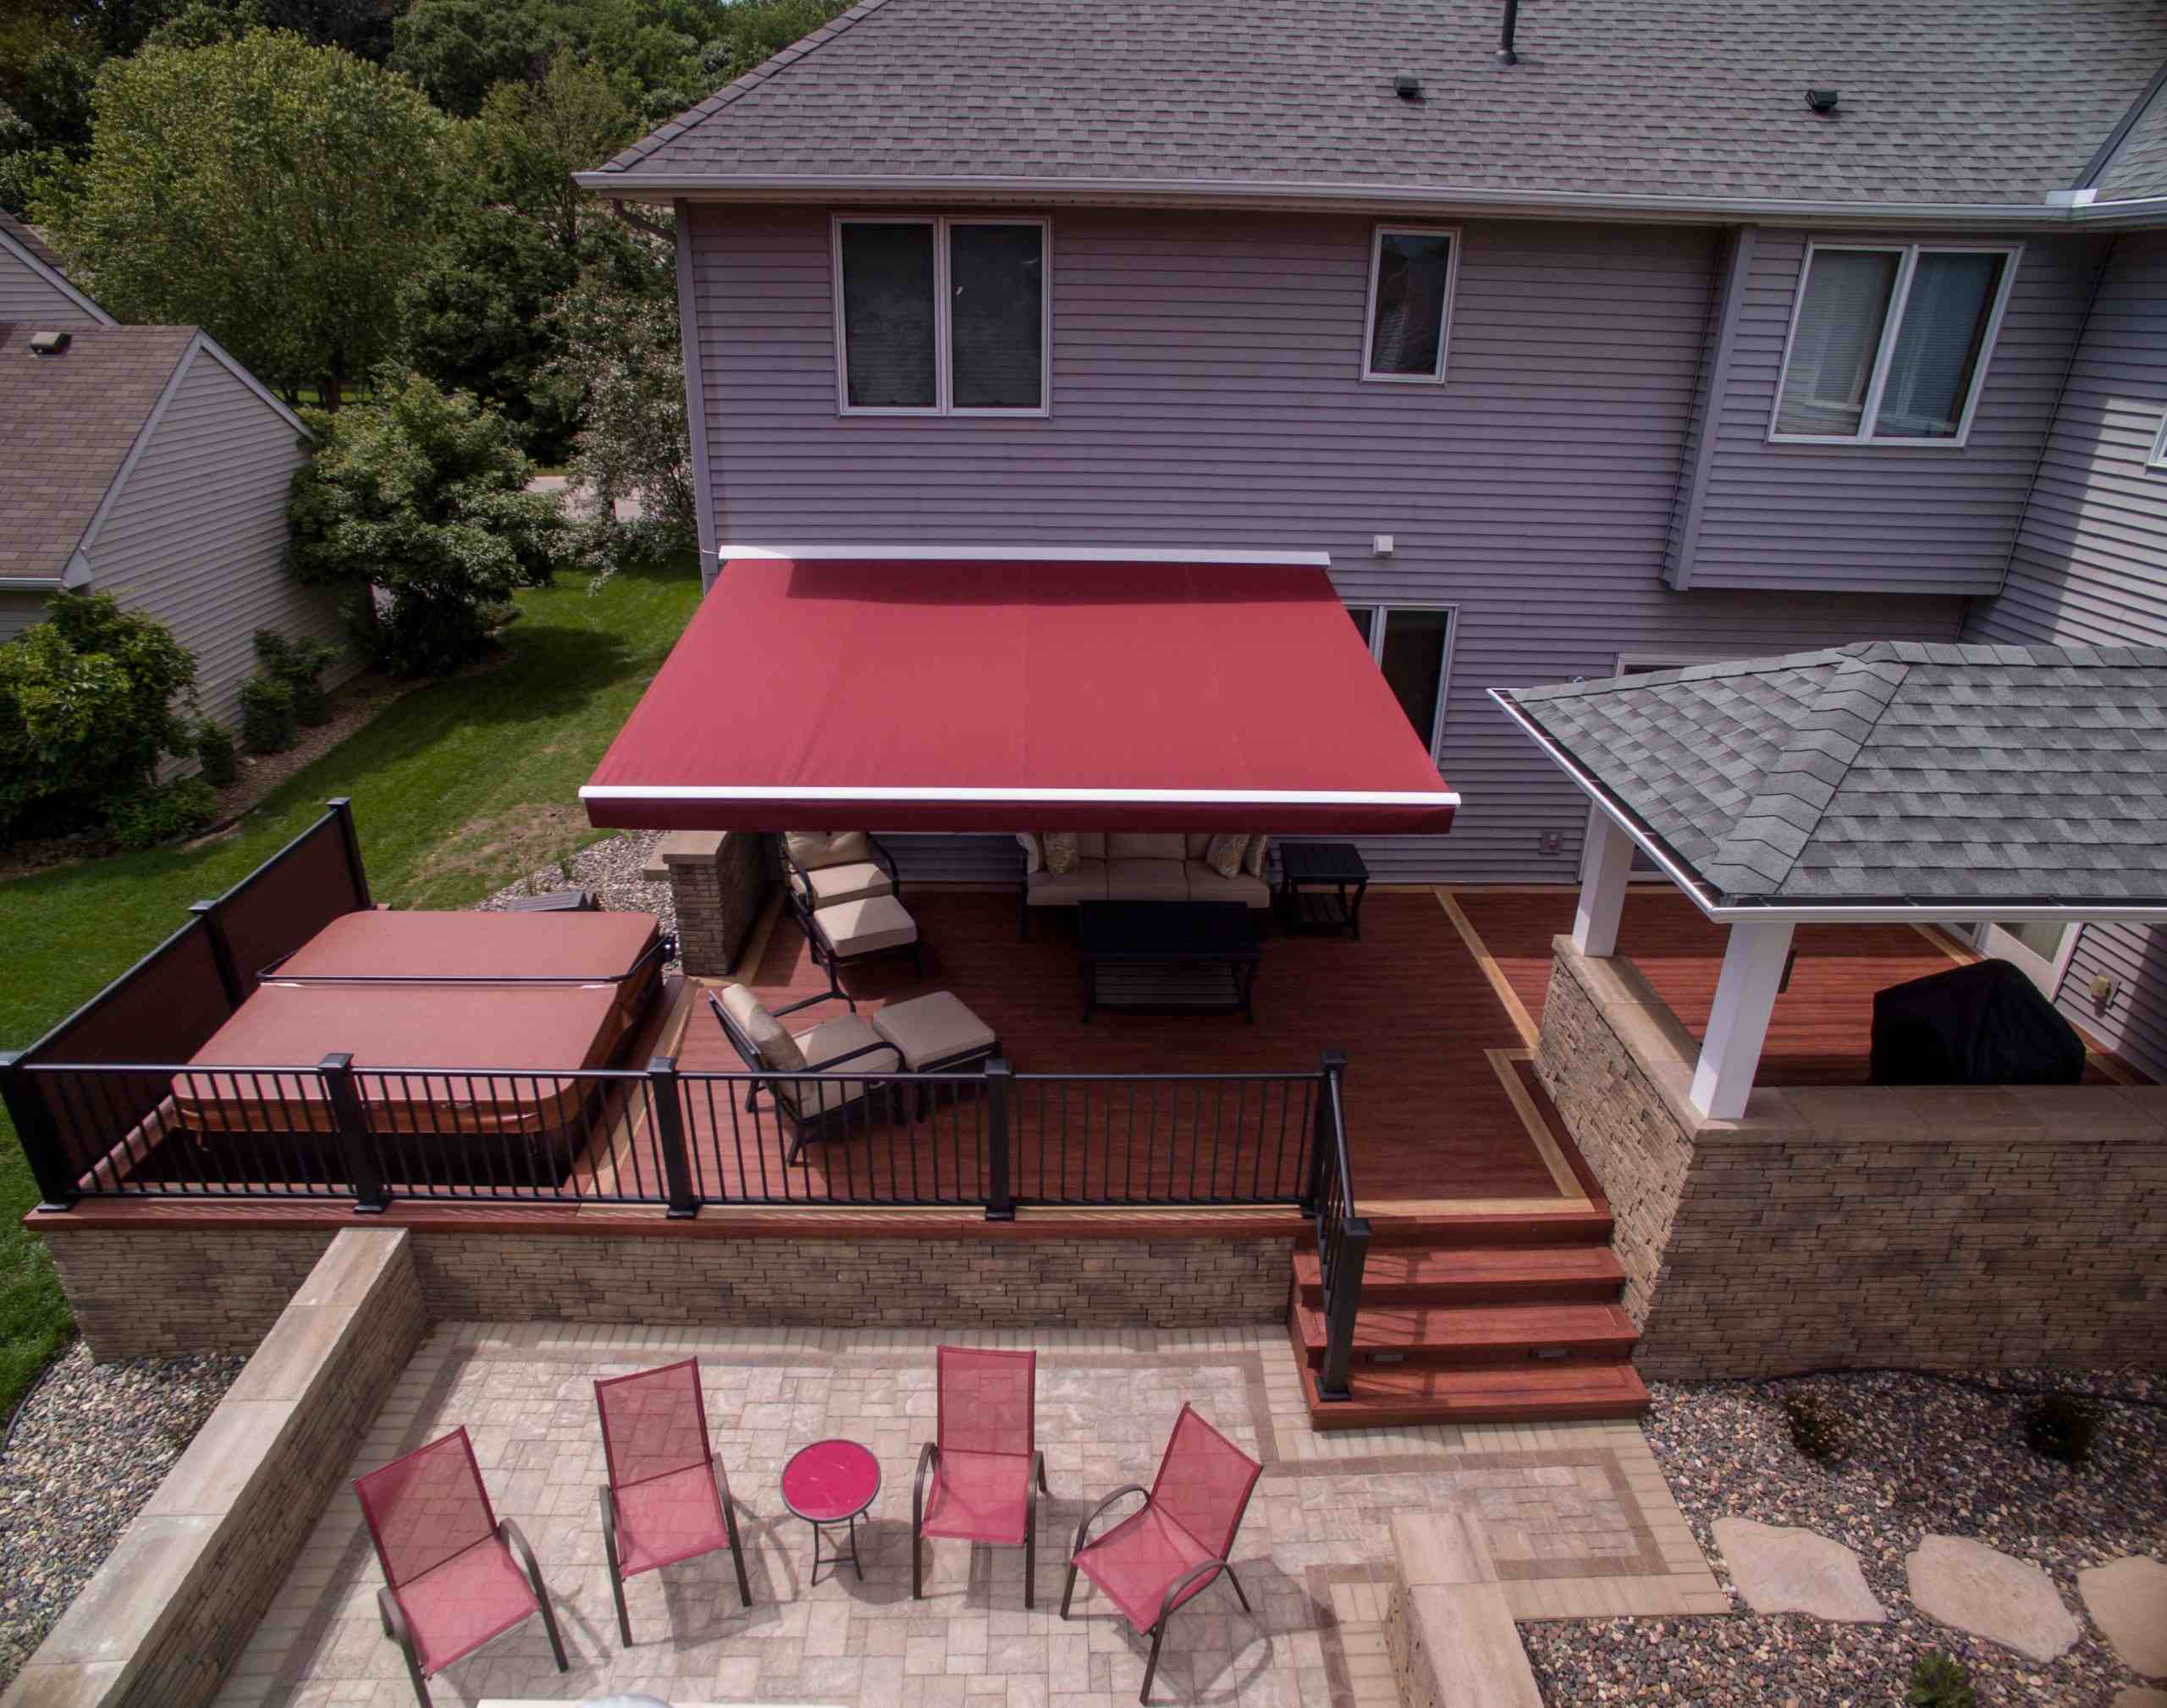
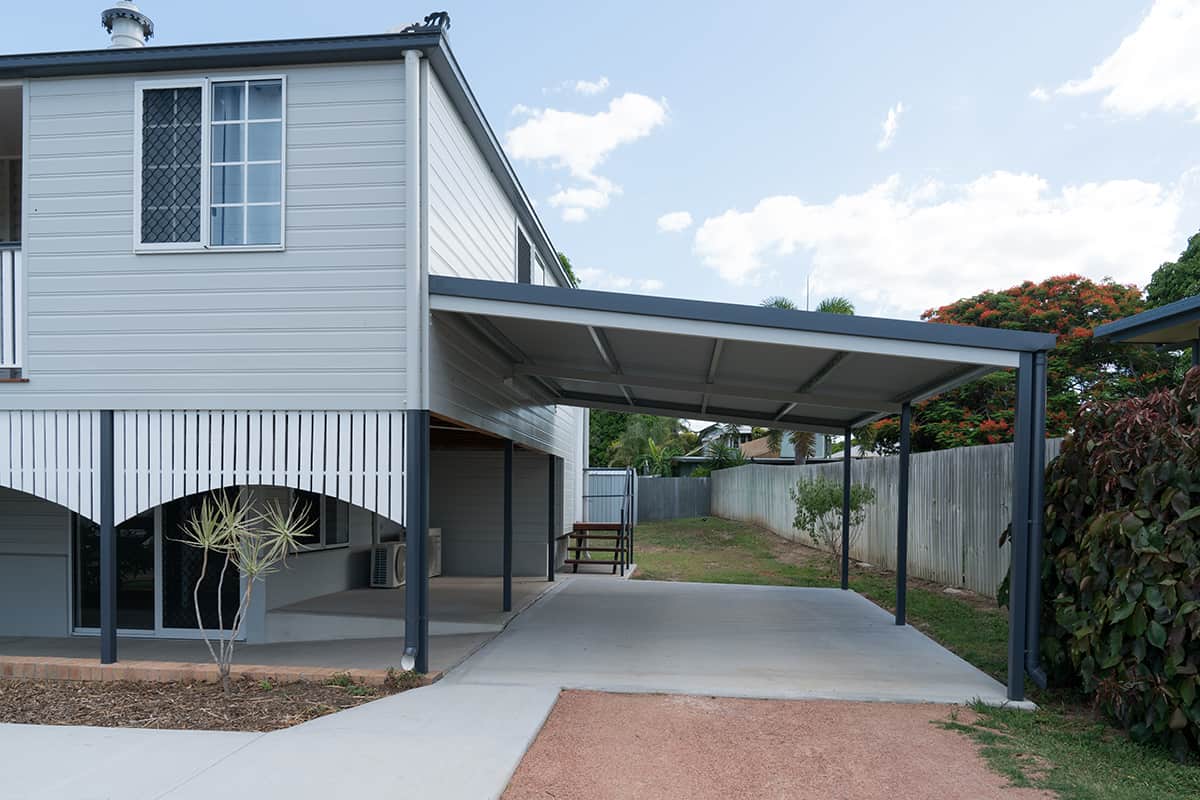
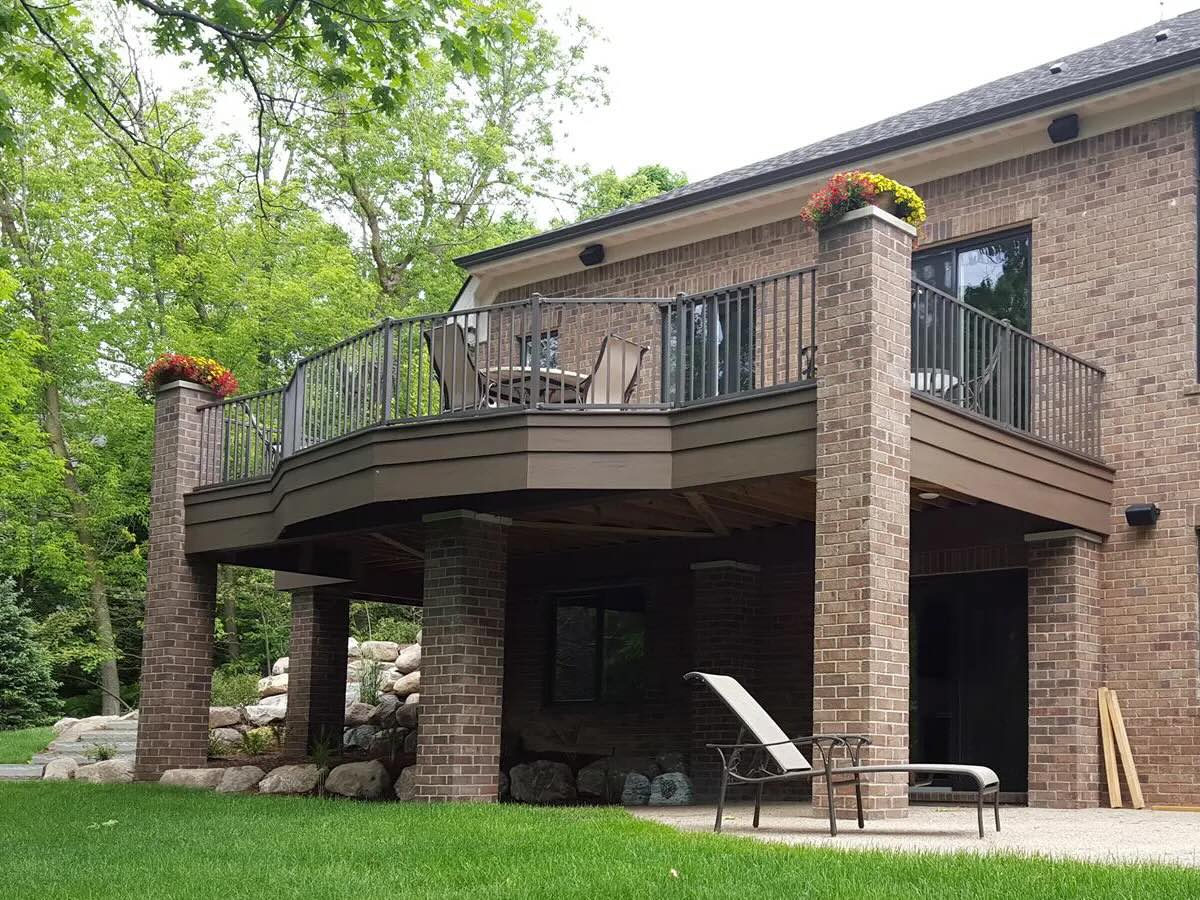
Welcome to our comprehensive guide on how to build a carport attached to your house. Building a carport can provide a practical and cost-effective solution for protecting your vehicles from the elements, while also adding value to your home. By attaching the carport to your house, you can create a seamless integration that not only provides shelter but also enhances the overall aesthetic appeal of your property.
Before diving into the construction process, it is important to note that building codes and regulations may vary depending on your location. It is essential to check with your local authorities and obtain the necessary permits and approvals before starting the project. Additionally, if you do not have prior experience with construction, it is recommended to consult with professionals or hire a contractor to ensure proper execution and adherence to safety standards.
In this guide, we will take you through step-by-step instructions on how to build a carport attached to your house. We will provide insights on planning, preparation, materials, and the construction process. So, let’s get started!
Key Takeaways:
- Proper planning, obtaining necessary permits, and precise construction are essential for building a sturdy and visually appealing carport attached to your house. Prioritize safety and enjoy the benefits of your new addition.
- From measuring and marking the placement to securing the carport to the house, each step contributes to the stability and functionality of the structure. Attention to detail and regular maintenance ensure long-term durability.
Step 1: Planning and Preparation
Proper planning and preparation are crucial for a successful carport construction project. Here are the key steps to consider:
- Determine the Purpose: Start by determining the purpose of your carport. Will it be solely for vehicle parking, or do you plan to use it for additional storage space? Understanding your needs will help you determine the size, design, and features of the carport.
- Select the Location: Choose an ideal location for your carport attached to your house. Consider factors such as convenience, accessibility, and existing structures. Ensure that there is enough space for the carport and that it does not hinder any functional aspects of the house.
- Check Building Codes and Permits: Check the local building codes and regulations relating to carport construction. Obtain the necessary permits and approvals from the relevant authorities.
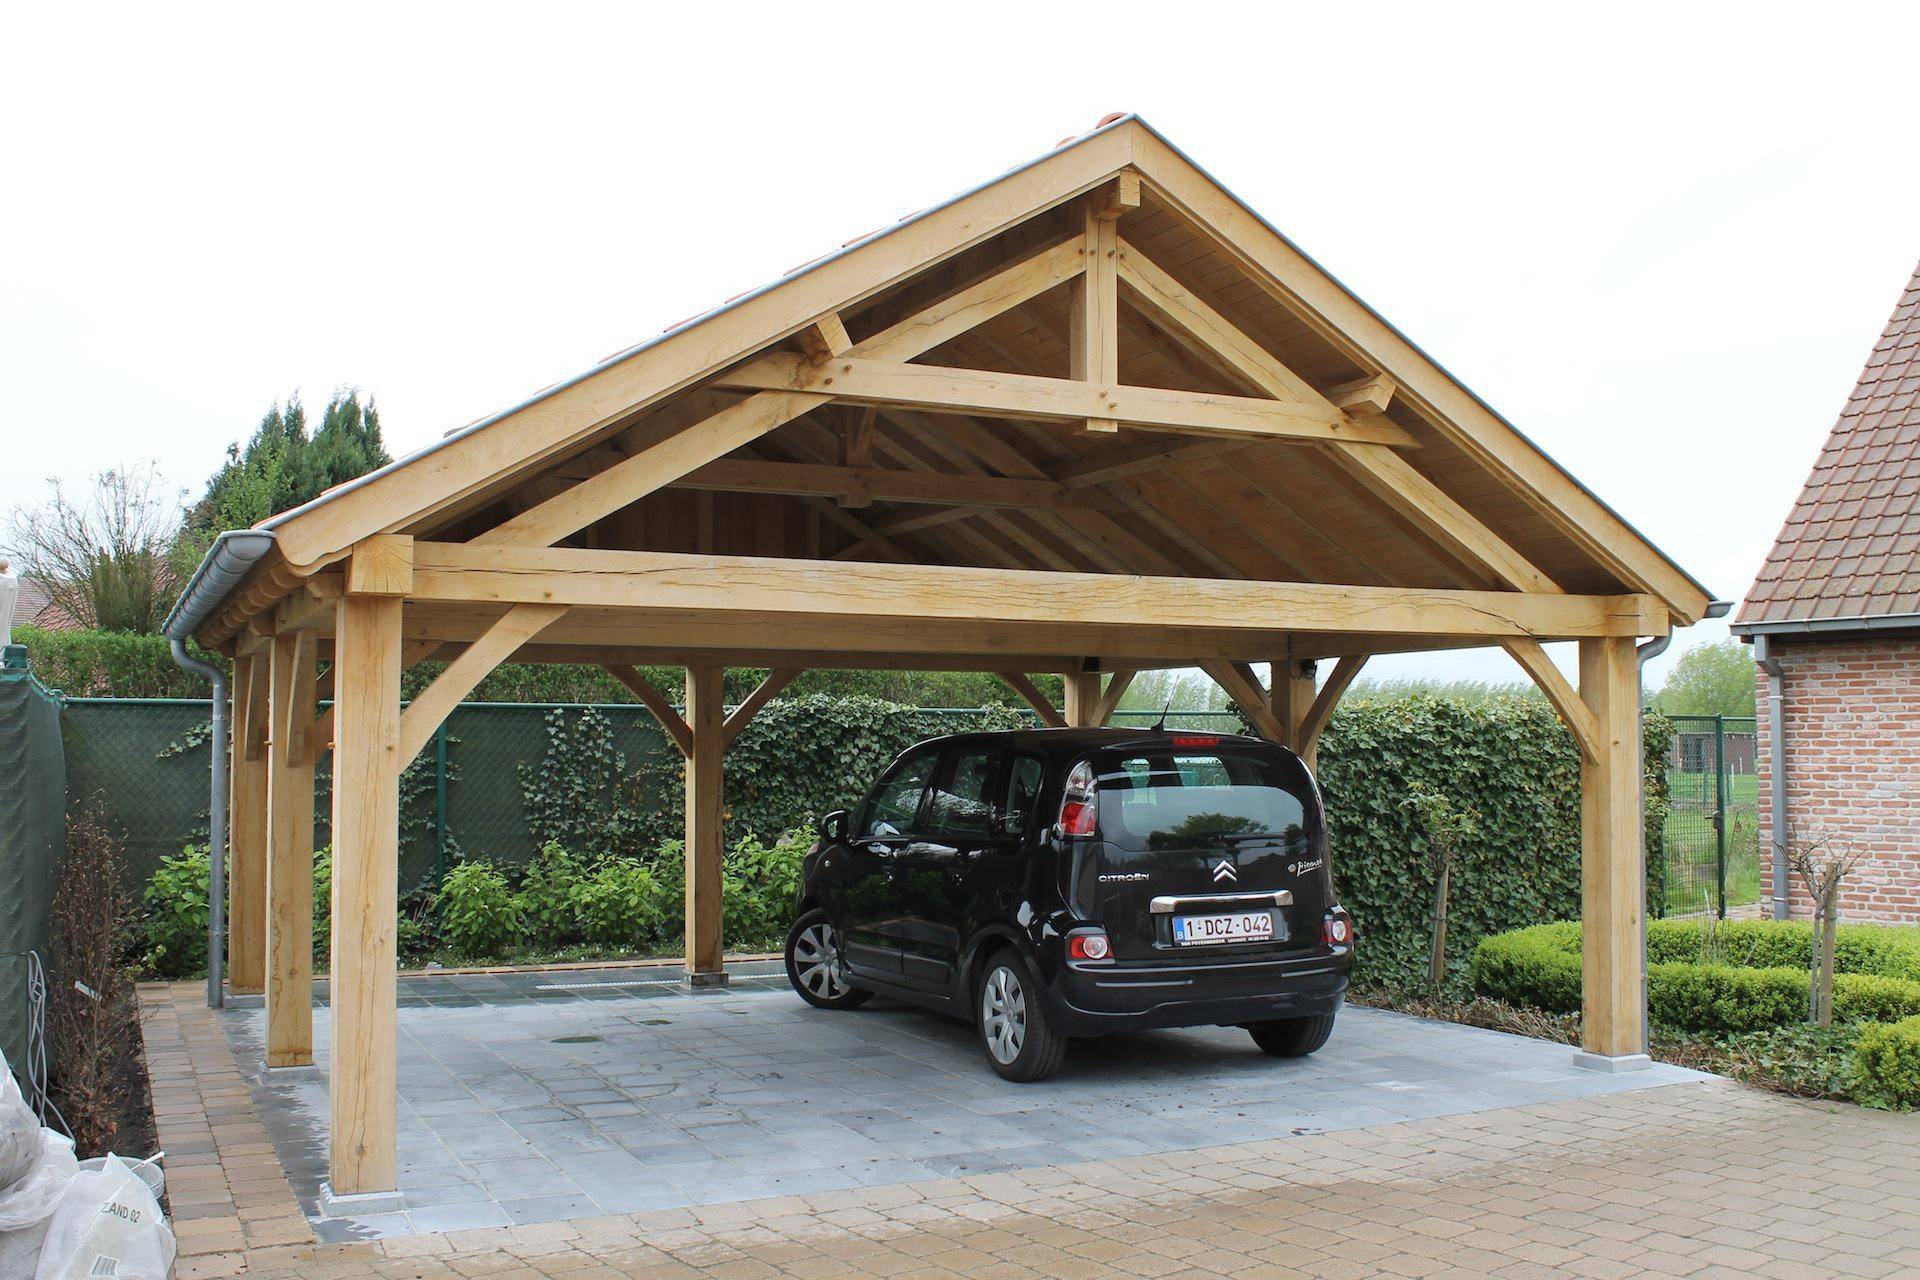
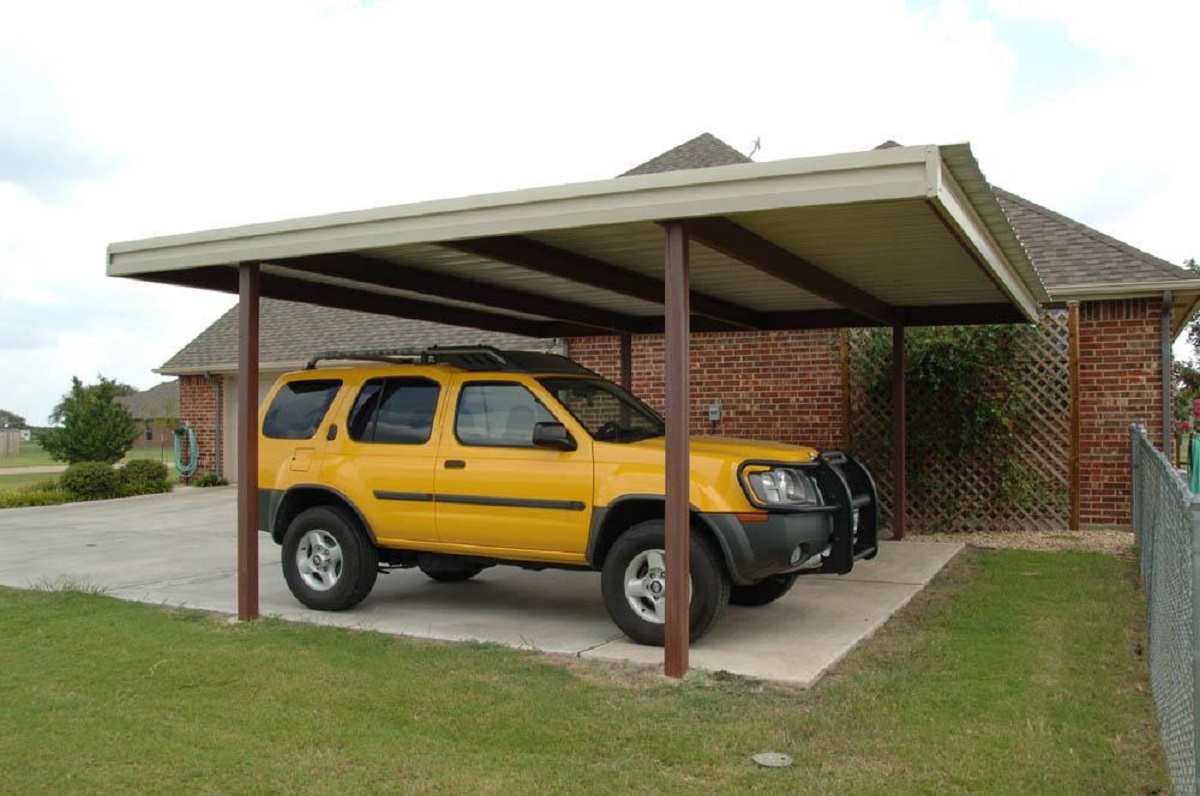
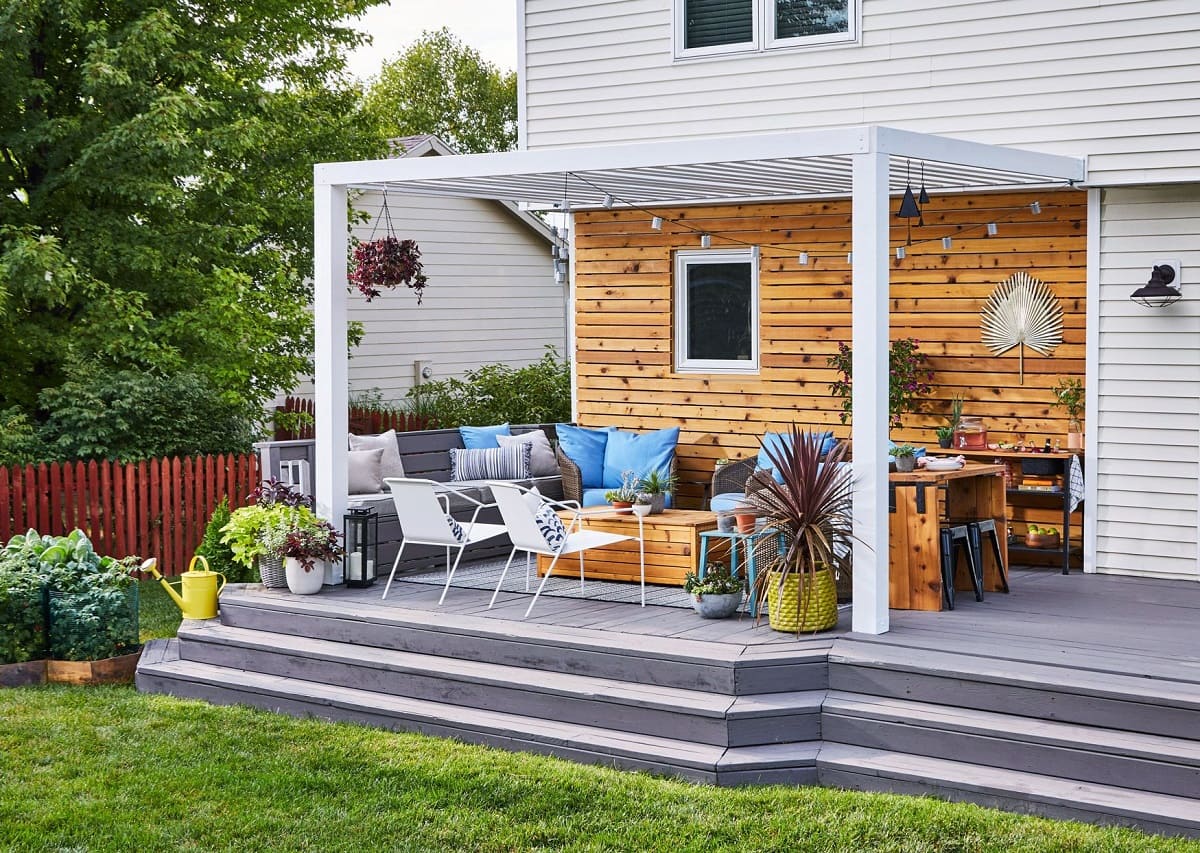
- Design Considerations: Decide on the design and style of your carport. Consider the architectural aesthetics of your home to ensure a seamless integration. You can choose between various roof styles, such as flat, gable, or hip, depending on your preference and the overall design of your house.
- Materials and Budget: Determine the materials you will use for the carport construction. Common materials include wood, metal, or a combination of both. Consider your budget and select materials that are durable, weather-resistant, and within your price range.
- Create a Construction Timeline: Develop a timeline for your carport construction project. This will help you stay organized and ensure that the project progresses smoothly. Account for any weather delays or other potential obstacles that may affect the timeline.
- Obtain Necessary Tools and Equipment: Make a list of the tools and equipment you will need for the construction process. This may include items like measuring tape, drills, saws, hammers, and safety gear. Gather all the necessary tools beforehand to avoid any delays during construction.
By carefully planning and preparing for your carport construction project, you set a solid foundation for a successful and efficient process. Take the time to consider your needs, study local regulations, and gather the right materials and tools. With proper planning, your carport attached to your house will be a valuable addition that enhances the functionality and overall look of your property.
Step 2: Obtain Necessary Permits
Before you begin construction on your carport, it is essential to obtain the necessary permits and approvals from the local building authorities. Each city or municipality may have specific regulations and requirements for carport construction, so it’s crucial to understand and comply with them to avoid any legal issues later on.
Here are the key steps to obtain the necessary permits:
- Research Local Regulations: Research the building codes and regulations specific to your area. Contact your local building department or visit their website to understand the requirements for carport construction. Check for any zoning restrictions, setback requirements, height restrictions, or design guidelines that may apply.
- Submit Permit Application: Once you have gathered all the necessary information, complete the permit application form provided by the building department. Include all relevant details, such as the size and dimensions of the carport, materials to be used, and its location in relation to your house.
- Provide Supporting Documents: In addition to the permit application, you may be required to provide supporting documents, such as site plans, structural drawings, and elevation drawings. These documents help the building department assess the safety and compliance of your proposed carport project.
- Pay Permit Fees: There may be fees associated with obtaining a permit for your carport construction project. The amount will vary depending on your location and the scope of the project. Ensure you pay the necessary fees as instructed by the building department.
- Wait for Permit Approval: Once you have submitted your permit application and paid the fees, the building department will review your application. This process may take a few days to a few weeks, depending on the workload of the department. Be patient and allow ample time for the permit approval.
- Inspect and Finalize: After your permit is approved, the building department will provide instructions on scheduling inspections throughout the construction process. It is crucial to adhere to these inspections and address any issues or concerns raised by the building inspector. Once the inspections are completed and the project is deemed compliant, you will receive a final approval or certificate of occupancy.
Obtaining the necessary permits is a critical step in building a carport attached to your house. It ensures that your structure complies with local building codes, safety standards, and zoning requirements. Remember to start the permitting process well in advance of your planned construction timeline to avoid any delays or setbacks. By following the proper procedures, you can proceed with peace of mind and confidence, knowing that your carport project is fully approved and within legal guidelines.
Step 3: Gather Tools and Materials
Gathering the necessary tools and materials is crucial before starting the construction of your carport attached to your house. Having everything prepared will ensure a smoother and more efficient building process. Here are the key tools and materials you will need:
- Tools:
- Measuring tape
- Level
- Power drill
- Screwdriver
- Hacksaw or circular saw
- Hammer
- Chalk line
- Ladder
- Safety equipment (gloves, goggles, helmet)
- Materials:
- Lumber (for the frame)
- Concrete (for the footings or piers)
- Galvanized metal brackets or hardware
- Roofing materials (such as metal sheets, shingles, or polycarbonate panels)
- Siding materials (if desired, such as wood, metal, or vinyl)
- Nails or screws
- Paint or stain (if you plan to finish the wood)
- Sealant or caulk
- Waterproofing membrane (if required)
- Additional Materials:
- Gravel (for the base of the footings or piers)
- Anchor bolts or concrete screws
- Flashing (for waterproofing)
- Gutter system (if desired or necessary for water runoff)
- Electrical wiring and fixtures (if you plan to include lighting or electrical outlets)
- Decorative elements (such as trims, moldings, or finials, for added aesthetics)
Make sure to gather all the necessary tools and materials before starting your carport construction project. Double-check your list against the design and measurements to ensure you have everything you need. This will save you time and prevent unnecessary delays during the building process.
Remember to prioritize safety by wearing appropriate protective gear, using tools correctly, and following safety guidelines. If you are unsure about any aspect of the construction process, consult with professionals or seek guidance from experienced individuals to ensure a successful and safe carport construction.
Step 4: Measure and Mark the Carport Placement
Accurate measurements and proper marking are essential to ensure the precise placement of your carport attached to your house. This step will help you establish the correct position and alignment, guaranteeing a sturdy and well-structured carport. Follow these steps to measure and mark the carport placement:
- Verify the Design and Measurements: Review your carport design plans and take note of the specified dimensions. Ensure that you have a clear understanding of the layout and any specific requirements for your carport.
- Prepare the Site: Clear the area where the carport will be positioned. Remove any debris, vegetation, or obstacles that may interfere with the construction process. Level the ground if necessary to provide a solid foundation for the carport.
- Measure the House Wall: Begin by measuring the width of the wall of your house where the carport will be attached. Use a measuring tape to get an accurate dimension. Make note of any windows, doors, or other features that you will need to consider when placing the carport.
- Mark the Placement: Use chalk or a pencil to mark the position of the carport on the ground, based on the measurements taken in the previous step. Use a level to ensure that the markings are straight and levelled with the ground.
- Double-Check the Measurements: Double-check all the measurements and markings to ensure accuracy. Ensure that the width and height of the carport align with the marking and that it is positioned correctly in relation to the house wall. Take into consideration any setbacks or clearance requirements specified by local regulations.
- Establish Footing Placement: If your carport requires footings or piers, mark the placement of these as well. Follow the design plans and specifications to mark the positions accurately. Make sure to consider the measurements and spacing required for the footings or piers.
- Review and Adjust: Step back and review the marked placement of the carport. Ensure that it is in the desired location, and make any necessary adjustments if needed. Consult the design plans and double-check the measurements before proceeding.
By taking the time to measure and mark the carport placement accurately, you lay the foundation for a properly aligned and structurally sound carport. Precise measurements and markings will facilitate the subsequent steps of the construction process, ensuring that your carport is seamlessly attached to your house and meets your specific design and functional requirements.
Read more: How To Build A Lean To Carport
Step 5: Install Footings or Piers
The installation of footings or piers is a crucial step in building a stable and secure carport attached to your house. These serve as the base support for the structure and ensure its strength and durability. Follow these steps to properly install the footings or piers for your carport:
- Refer to Design Plans: Review your carport design plans to determine the recommended type and size of footings or piers. Ensure that you understand the requirements and specifications for your specific carport project.
- Locate Footing Positions: Use the markings made during the previous step to identify the positions where the footings or piers will be placed. Double-check the measurements and alignment with the design plans.
- Excavate the Ground: Dig holes at each footing or pier location. The depth and diameter of the holes will depend on the recommended size and depth specified in your design plans. Use a shovel or an excavator to remove the soil, ensuring that the holes are deep enough to provide a solid foundation.
- Prepare the Holes: Clean the holes and remove any loose dirt or debris. Ensure that the bottom of the hole is level and compacted to provide a firm base for the footings or piers.
- Install Footings or Piers: Depending on the design and materials specified in your plans, you will either pour concrete footings or place precast piers into the holes. Follow the manufacturer’s instructions or consult with a professional for proper installation techniques.
- Ensure Proper Alignment: Use a level to ensure that the footings or piers are positioned correctly and are level with each other. Adjust as necessary to achieve proper alignment and even support for the carport structure.
- Allow for Curing: If you poured concrete footings, allow sufficient time for the concrete to cure and harden. Follow the curing guidelines provided by the manufacturer or consult with a professional for the recommended curing period.
- Inspect and Reinforce: Once the footings or piers have cured, inspect them to ensure that they are solid and structurally sound. If necessary, reinforce them with additional concrete or steel reinforcements to enhance their strength.
Properly installed footings or piers provide a solid foundation for your carport, ensuring that it can withstand various weather conditions and remain stable over time. Take the time to carefully follow the design plans and instructions to ensure that the footings or piers are installed correctly. By doing so, you lay the groundwork for a sturdy and durable carport structure attached to your house.
When building a carport attached to your house, make sure to check local building codes and obtain any necessary permits. It’s also important to properly secure the carport to the house to ensure stability and safety.
Step 6: Construct the Frame
The construction of the frame is a critical step in building your carport attached to your house. The frame provides the structural support for the roof and walls, ensuring the stability and integrity of the entire structure. Follow these steps to construct the frame of your carport:
- Gather the Required Materials and Tools: Ensure that you have all the necessary materials and tools for constructing the frame. This typically includes lumber, galvanized nails or screws, a power drill, a saw, a measuring tape, and a level.
- Start with the Posts: Begin by installing the corner posts and the intermediate support posts, following the design plans and measurements. Use a level to ensure that the posts are perfectly vertical and firmly secured in place with the appropriate hardware or brackets.
- Connect the Horizontal Beams: Once the posts are in place, connect the horizontal beams to create the framework for the roof and walls. Measure and cut the lumber to the specified dimensions, ensuring accurate and tight connections. Use galvanized nails or screws to secure the beams to the posts.
- Install the Roof Rafters: Cut and install the roof rafters according to the design plans. Ensure that they are evenly spaced and properly aligned with the horizontal beams. Use a level to confirm that the roof rafters are at the correct angle and slope for the preferred design.
- Add Additional Support: Depending on the size and design of your carport, you may need to add additional support beams or braces for added stability and strength. Check the design plans for any additional supports required and install them accordingly.
- Secure all Connections: Carefully inspect all connections and joints within the frame to ensure that they are secure and stable. Reinforce any weak areas or loose connections with additional nails, screws, or hardware.
- Double-Check Alignment and Levelness: Once the frame is completed, step back and verify that it is level and aligned correctly. Use a level to check horizontal and vertical alignment. Make any necessary adjustments before proceeding to the next steps.
Constructing a sturdy and well-built frame is essential for the overall strength and stability of your carport. Take your time to accurately measure, cut, and align the various components of the frame. By following the design plans and ensuring secure connections, you will create a reliable framework that forms the backbone of your carport structure.
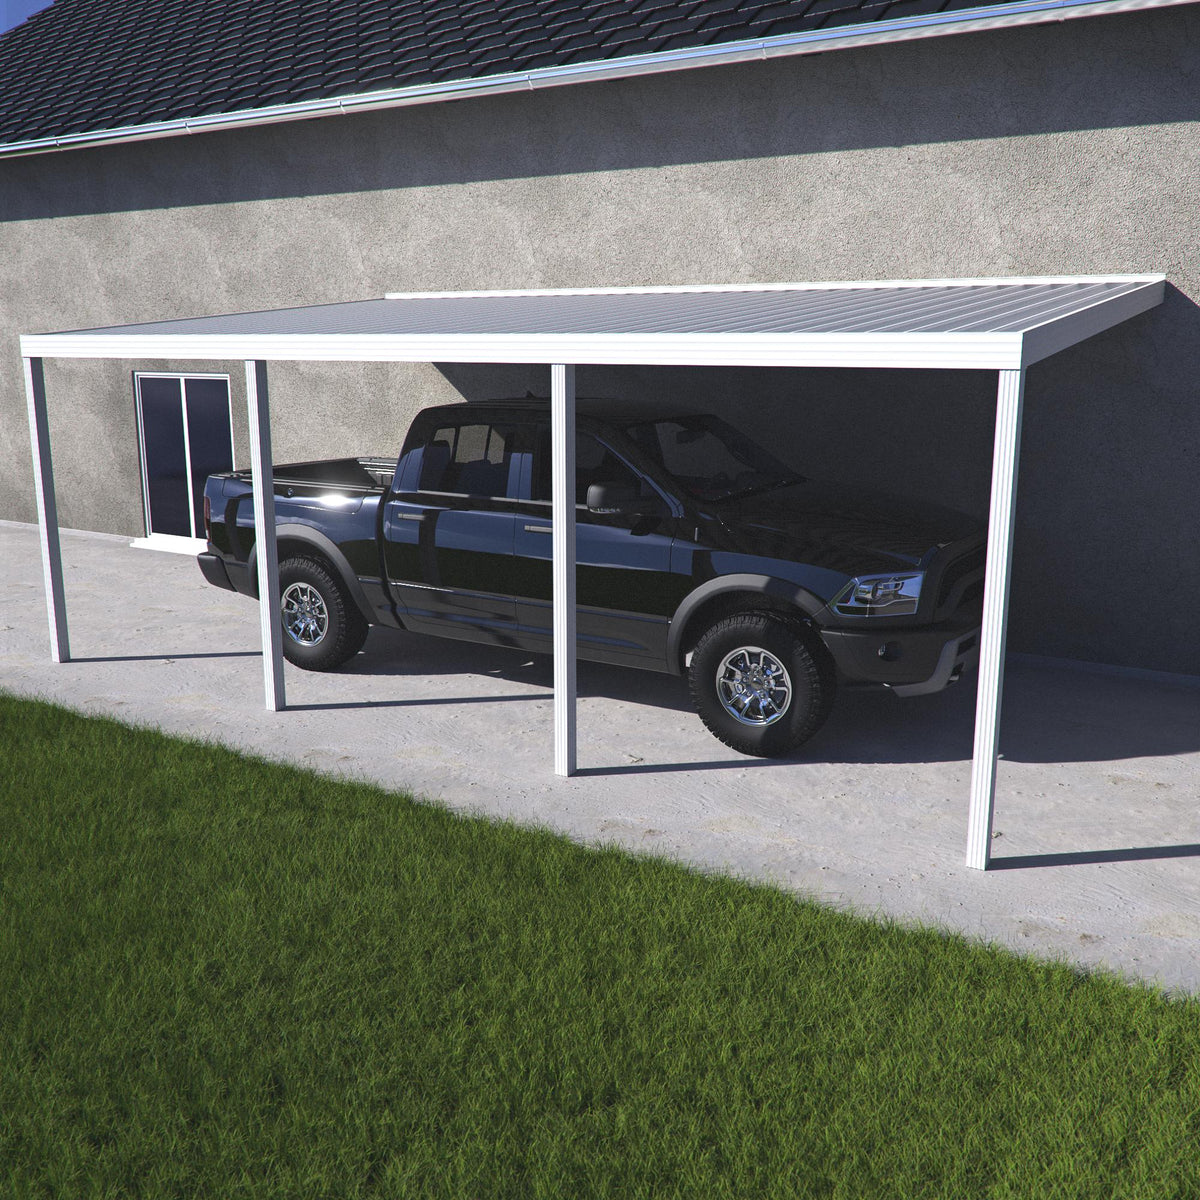
Step 7: Attach the Carport to the House
Attaching the carport to your house is a crucial step that ensures a seamless integration and enhances the structural integrity of the overall carport. By securely connecting the carport to your house, you create a stable and functional extension that provides protection for your vehicles and adds value to your property. Follow these steps to attach the carport to your house:
- Prepare the House Wall: Clear and clean the area of the house wall where the carport will be attached. Remove any obstructions, debris, or loose materials that may hinder the installation process.
- Create Attachment Points: Install ledger boards or attachment plates onto the house wall at the desired height and position. Use a level to ensure that they are straight and properly aligned with the carport frame.
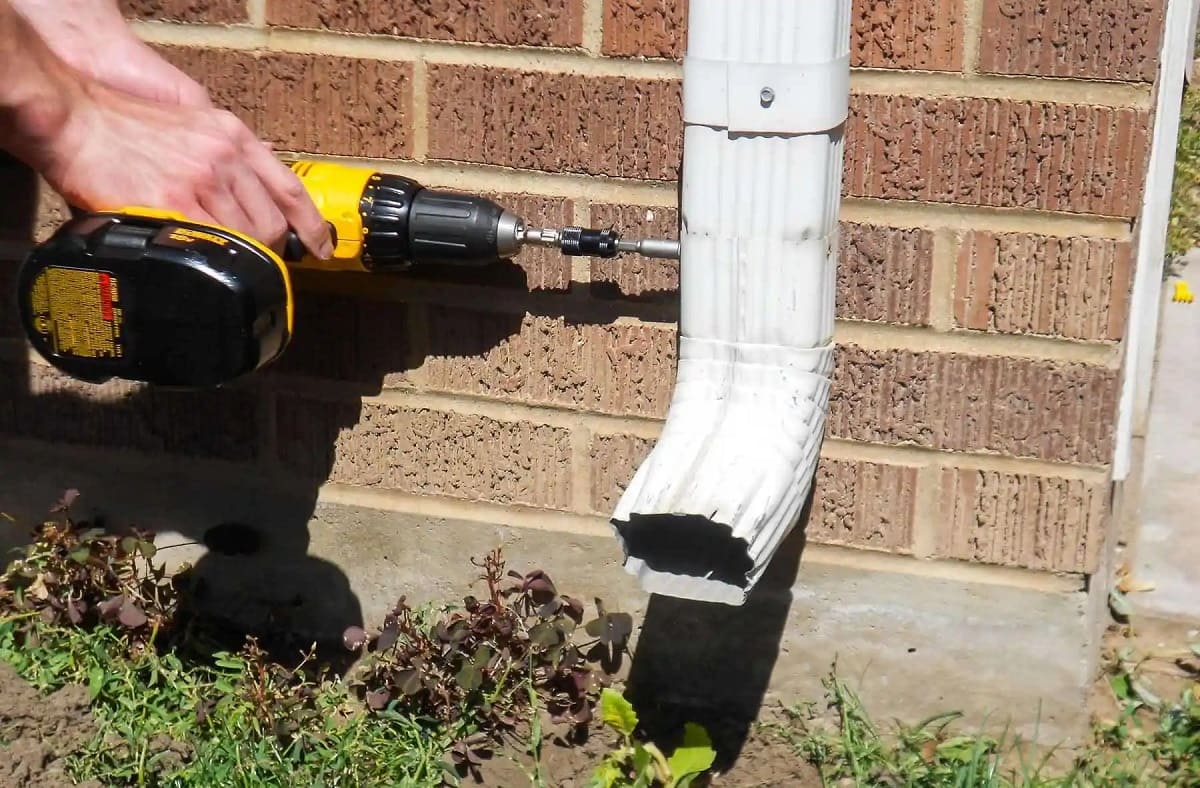
- Secure the Attachment Points: Securely attach the ledger boards or attachment plates to the house wall using galvanized screws or bolts. Ensure that the connection is tight, with sufficient support and stability.
- Align the Carport Frame: Carefully position the carport frame against the attachment points on the house wall. Make sure that the frame is level and evenly aligned with the attachment points.
- Attach the Carport Frame: Securely fasten the carport frame to the attachment points using appropriate hardware, such as lag bolts or through-bolts. Ensure that the fasteners are tightened properly to provide a secure and stable connection.
- Double-Check Alignment and Stability: Step back and verify that the carport is securely attached to the house wall. Use a level to check for horizontal and vertical alignment. Shake or gently test the carport frame to ensure that it is stable and sturdy.
- Seal and Waterproof: Apply a sealant or waterproofing membrane to the attachment points and any gaps between the carport frame and the house wall. This helps to prevent water infiltration and ensures a tight seal.
- Inspect the Attachment: Thoroughly inspect the attachment points and the overall connection between the carport frame and the house wall. Look for any signs of weakness, gaps, or loose connections. Adjust or reinforce as needed to ensure a secure attachment.
Attaching the carport to your house requires careful attention to detail and precise installation. By following these steps, you can ensure that the carport is securely connected to your house, providing a functional and aesthetically pleasing addition to your property.
Step 8: Install Roofing and Siding
Installing the roofing and siding is an important step in completing your carport attached to your house. The roofing provides protection from the elements, while the siding adds aesthetic appeal and further shields the structure. Follow these steps to install the roofing and siding for your carport:
- Choose the Roofing Material: Select the roofing material that best suits your design preferences and budget. Common options include metal sheets, shingles, or polycarbonate panels. Ensure that the chosen roofing material is durable, weather-resistant, and compatible with the design and structure of your carport.
- Measure and Cut the Roofing Material: Measure and cut the roofing material according to the dimensions of the carport roof. Use appropriate cutting tools, such as metal shears or a utility knife, to achieve accurate and clean cuts.
- Install the Roofing Material: Start from one end of the carport roof and lay the roofing material in overlapping rows. Secure each piece using nails, screws, or clips, as recommended by the manufacturer. Ensure that the roofing material is properly aligned and that there are no gaps or exposed areas.
- Consider Roofing Accessories: Depending on the roofing material chosen, you may need to install additional accessories, such as ridges, vents, or flashings. Follow the manufacturer’s instructions for the specific accessories and their proper installation.
- Choose the Siding Material: Select the siding material that complements the architectural style of your house and carport. Common options include wood, vinyl, or metal. Consider factors such as durability, maintenance requirements, and visual appeal when choosing the siding material.
- Measure and Cut the Siding Material: Measure and cut the siding material to fit the walls of your carport. Use a saw or appropriate cutting tool to achieve accurate and clean cuts.
- Install the Siding Material: Start at one corner of the carport and attach the siding material to the frame, following the manufacturer’s instructions. Secure the siding with nails, screws, or clips, ensuring that the pieces are properly aligned and tightly fastened.
- Complete the Finishing Touches: Once the roofing and siding are installed, inspect the carport for any gaps, exposed areas, or loose connections. Seal any gaps or joints with caulk or appropriate sealants to ensure a weather-tight and finished appearance.
Properly installing the roofing and siding is crucial for the functionality, durability, and overall aesthetics of your carport. Take the time to carefully measure, cut, and install the materials to ensure a proper fit and a clean finish. By following these steps, you will complete the exterior of your carport and provide enhanced protection for your vehicles and belongings.
Read more: How To Build A Wood Carport
Step 9: Finish and Secure the Carport
Finishing and securing your carport is the final step in the construction process, ensuring that the structure is safe, functional, and visually appealing. By paying attention to the small details, you can enhance the overall functionality and aesthetics of your carport attached to your house. Follow these steps to finish and secure your carport:
- Inspect for any Deficiencies: Thoroughly inspect the entire carport, including the frame, roofing, siding, and all connections. Look for any signs of loose or weak spots, gaps, or areas that may require additional attention.
- Make Necessary Adjustments: Address any deficiencies or issues identified during the inspection. Tighten or reinforce connections, add additional fasteners or supports as needed, and fill any gaps or exposed areas to ensure a safe and secure structure.
- Apply a Protective Finish: If the carport is constructed from wood, consider applying a protective finish such as paint, stain, or sealant to enhance its durability and resistance to weather elements. Follow the manufacturer’s instructions for proper application and drying times.
- Install Lighting and Electrical Outlets: If desired, install lighting fixtures and electrical outlets in the carport for added functionality and convenience. Consult with a licensed electrician to ensure proper wiring and compliance with local electrical codes.
- Add Security Measures: Enhance the security of your carport by installing motion-sensor lights or a security camera system. This will provide added protection for your vehicles and belongings, deterring potential trespassers or thieves.
- Create Storage Solutions: Incorporate storage solutions to maximize the functionality of your carport. Install hooks, shelves, or racks to keep tools, equipment, or other items organized and easily accessible.
- Maintain Regular Cleaning and Maintenance: Regularly clean and maintain your carport to ensure its longevity and functionality. Remove debris, perform routine inspections, and address any maintenance needs promptly.
- Consider Landscaping and Aesthetics: Enhance the curb appeal of your carport by landscaping the surrounding area and adding planters or decorative elements. This will further integrate the structure with your house and improve the overall appearance of your property.
- Review Safety Guidelines: Familiarize yourself with safety guidelines specific to your carport. Ensure that everyone using the carport, including family members and guests, understands the safety protocols, such as parking and maneuvering within the structure.
Completing the final touches and securing your carport is essential for both the function and aesthetics of the structure. By paying attention to details and implementing necessary security measures, you can ensure a safe and visually appealing carport that adds value and convenience to your property.
Conclusion
Congratulations, you have successfully learned how to build a carport attached to your house! By following the step-by-step guide outlined in this article, you have gained the knowledge and understanding necessary to plan, prepare, and construct a functional and visually appealing carport.
Throughout the process, you learned the importance of obtaining necessary permits, gathering the required tools and materials, measuring and marking the carport placement, installing footings or piers, constructing the frame, attaching the carport to the house, installing roofing and siding, and finishing and securing the structure. Each step plays a crucial role in ensuring the stability, durability, and overall quality of your carport.
Remember, safety is of utmost importance at every stage of construction. Always prioritize safety by using appropriate protective gear and following proper guidelines and practices.
Now that your carport is complete, take the time to enjoy the benefits it offers. Protect your vehicles from the elements, create additional storage space, and enhance the aesthetic value of your property. Regular maintenance and cleaning will help preserve the integrity of the carport, ensuring its longevity and functionality for years to come.
We hope this comprehensive guide has provided you with the necessary knowledge and confidence to embark on your carport construction project. Remember, if you ever feel unsure or overwhelmed, consult with professionals or seek guidance from experienced individuals who can assist you in the process.
Good luck, and enjoy your new carport attached to your house!
Now that you've mastered building a carport, why not extend your expertise into creating other impressive outdoor structures? Our next guide offers a wealth of information on crafting everything from elegant gazebos to robust sheds. Enhancing your property's appeal and functionality has never been easier, so dive into our detailed walkthrough and transform your outdoor space today!
Frequently Asked Questions about How To Build A Carport Attached To House
Was this page helpful?
At Storables.com, we guarantee accurate and reliable information. Our content, validated by Expert Board Contributors, is crafted following stringent Editorial Policies. We're committed to providing you with well-researched, expert-backed insights for all your informational needs.


0 thoughts on “How To Build A Carport Attached To House”