Home>Furniture & Design>Bathroom Accessories>How To Clean A Plastic Shower Caddy
Bathroom Accessories
How To Clean A Plastic Shower Caddy
Modified: October 19, 2024
Learn how to effectively clean your plastic shower caddy and keep your bathroom accessories looking fresh and tidy. Follow our simple tips for a sparkling clean caddy.
(Many of the links in this article redirect to a specific reviewed product. Your purchase of these products through affiliate links helps to generate commission for Storables.com, at no extra cost. Learn more)
Introduction
Cleaning a plastic shower caddy is an essential task to maintain a hygienic and organized bathroom space. Over time, these handy accessories can accumulate soap scum, mildew, and grime, detracting from their functionality and aesthetic appeal. By following a few simple steps, you can restore your plastic shower caddy to its pristine condition, ensuring that it continues to serve its purpose effectively.
A clean shower caddy not only enhances the overall look of your bathroom but also contributes to a healthier environment by preventing the buildup of bacteria and mold. Whether you have a simple plastic caddy or a more intricate design with multiple compartments, regular cleaning is key to prolonging its lifespan and preserving its functionality.
In this comprehensive guide, we will walk you through the step-by-step process of cleaning a plastic shower caddy, providing you with practical tips and techniques to achieve optimal results. From gathering the necessary supplies to disinfecting and reassembling the caddy, each stage of the cleaning process will be thoroughly explained to ensure that you can tackle this task with confidence and efficiency.
By investing a small amount of time and effort into maintaining your plastic shower caddy, you can elevate the overall cleanliness and organization of your bathroom. With the insights and strategies shared in this guide, you will be equipped to tackle this cleaning task with ease, allowing you to enjoy a fresh and tidy bathroom space every day. Let's dive into the step-by-step process and discover how simple it can be to keep your plastic shower caddy in pristine condition.
Key Takeaways:
- Keep your plastic shower caddy clean to prevent bacteria and mold buildup, promoting a healthier and more organized bathroom space. Regular cleaning and disinfection with simple household supplies can extend its lifespan and maintain its functionality.
- By following a step-by-step cleaning process, including rinsing, scrubbing with soap and water, and disinfecting with vinegar, you can ensure a fresh and sanitized plastic shower caddy. Drying and reassembling the caddy completes the process, providing a clutter-free and hygienic shower accessory.
Read more: What Is A Shower Caddy
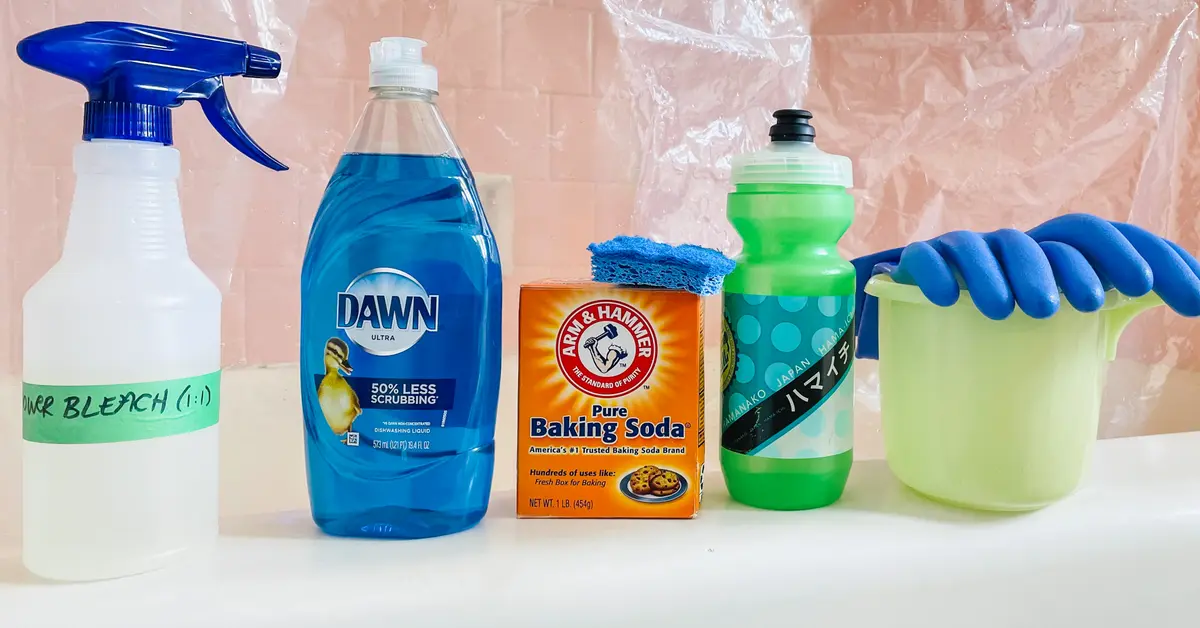
Step 1: Gather Your Supplies
Before embarking on the cleaning process for your plastic shower caddy, it's essential to gather all the necessary supplies. Having the right tools and cleaning agents at your disposal will streamline the process and ensure that you can tackle each step effectively. Here's a comprehensive list of supplies you will need:
-
Rubber Gloves: To protect your hands from any harsh cleaning agents and to maintain hygiene throughout the cleaning process, a pair of rubber gloves is essential.
-
Cleaning Brush or Sponge: Select a non-abrasive cleaning brush or sponge that is suitable for use on plastic surfaces. This will help you to effectively scrub away any accumulated grime and residue without causing damage to the caddy.
-
Mild Dish Soap: Opt for a gentle, non-abrasive dish soap that is safe for use on plastic. This will serve as the primary cleaning agent to remove dirt, soap scum, and other residues from the caddy.
-
White Vinegar: Vinegar is a natural disinfectant and is highly effective in combating mold, mildew, and bacteria. It will be used to disinfect the plastic shower caddy, ensuring a hygienic and sanitized outcome.
-
Water: Access to a water source, such as a sink or a bucket of water, is essential for rinsing and cleaning the caddy thoroughly.
-
Microfiber Cloth or Towel: A soft, absorbent cloth or towel will be used to dry the caddy after cleaning, preventing water spots and ensuring a clean, polished finish.
-
Optional: Baking Soda: If your plastic shower caddy exhibits stubborn stains or tough-to-remove grime, baking soda can be used as a gentle abrasive to aid in the cleaning process.
By ensuring that you have all these supplies on hand before you begin, you can proceed through the cleaning process seamlessly, without the need to pause and search for missing items. With these supplies at your disposal, you are well-equipped to tackle the task of cleaning your plastic shower caddy effectively and efficiently.
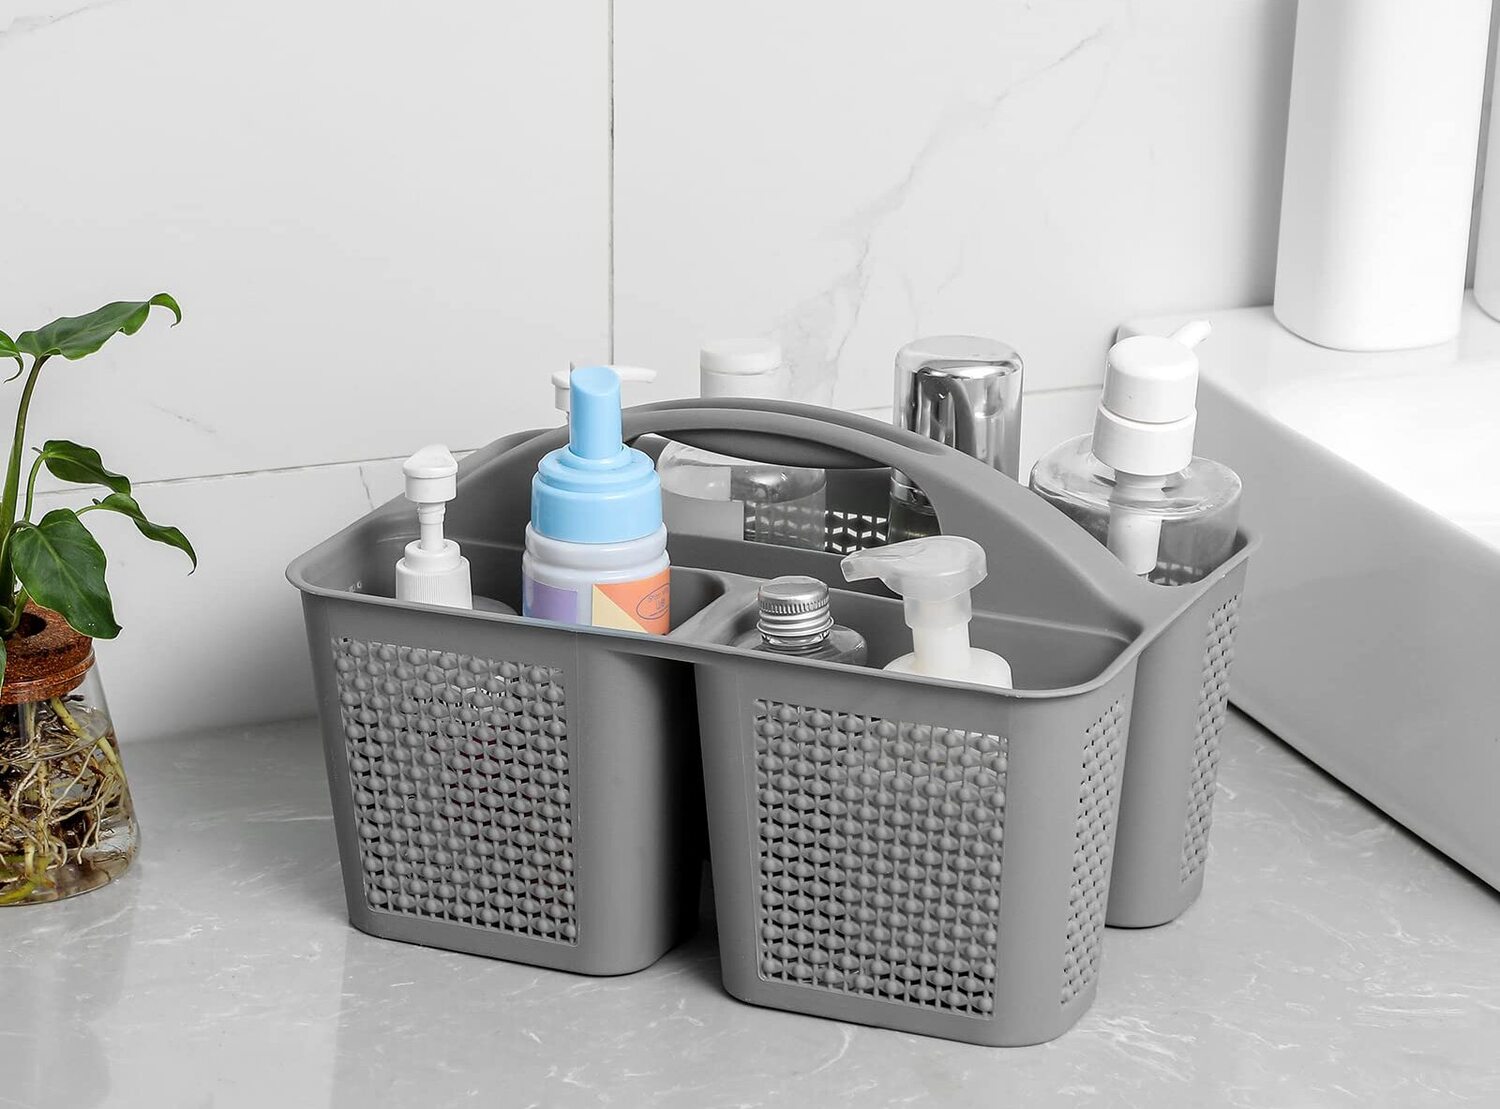
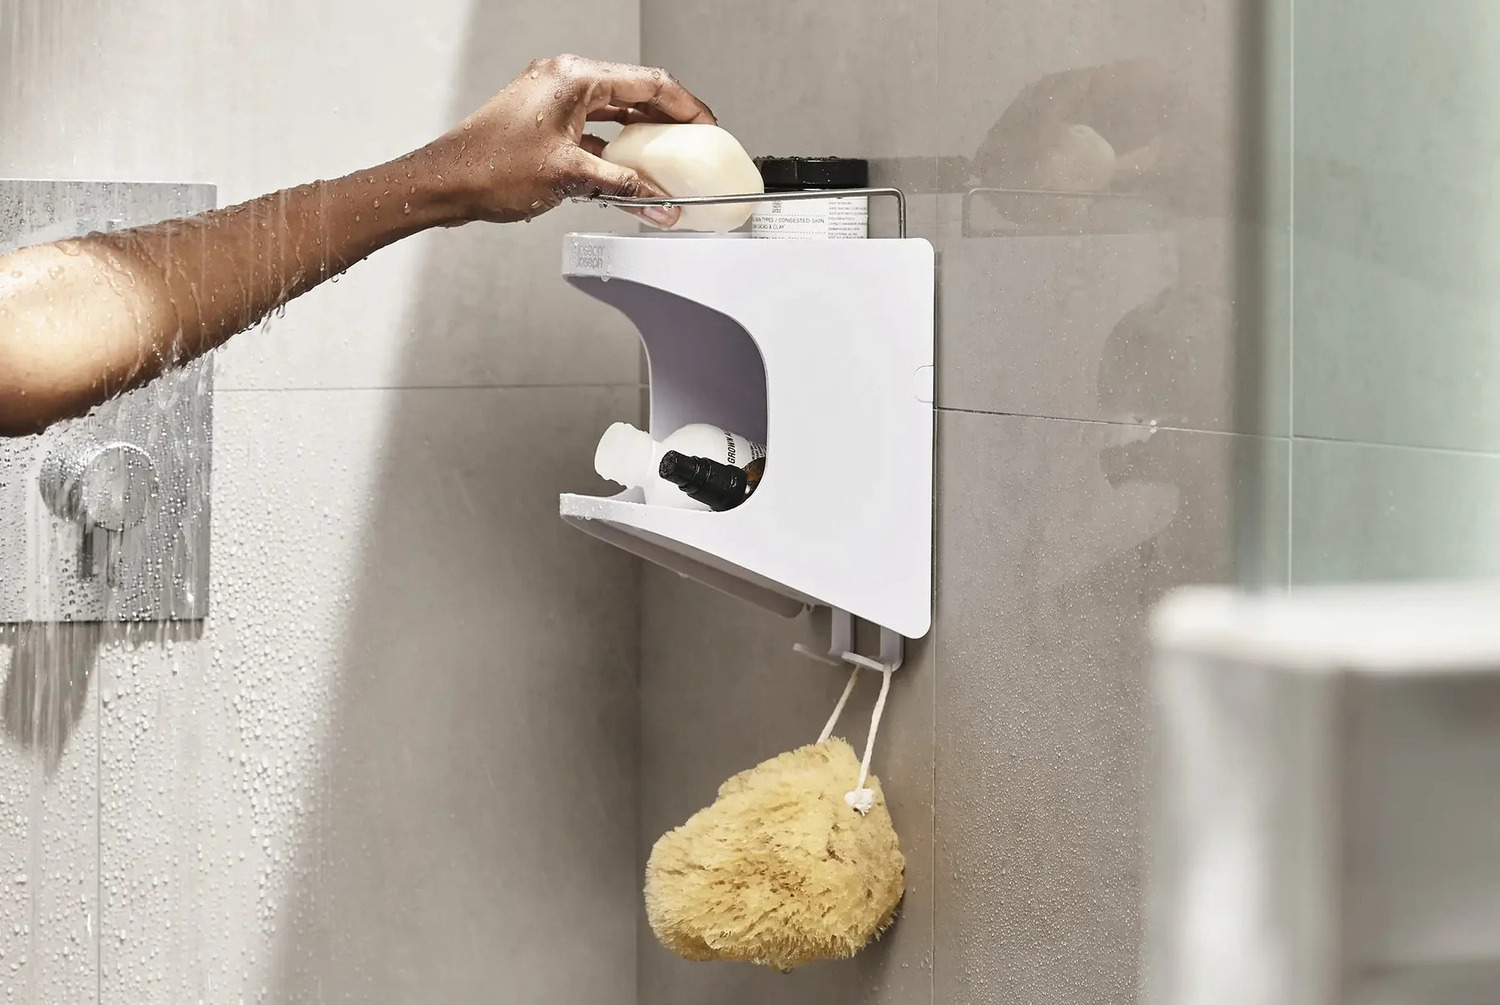
Step 2: Remove Items from the Caddy
Before diving into the cleaning process, it's crucial to start by removing all items from the plastic shower caddy. This step is essential to ensure that you have unobstructed access to every nook and cranny of the caddy, allowing for thorough cleaning without any items getting in the way. Here's a detailed breakdown of this crucial step:
-
Emptying the Caddy: Carefully remove all items stored in the caddy, including shampoo bottles, soap bars, loofahs, and any other accessories. Place these items in a safe and convenient location, such as the bathroom countertop or a nearby shelf, to prevent them from getting wet or misplaced during the cleaning process.
-
Check for Residue: Take a moment to inspect the caddy's compartments and surfaces for any residual products or debris. It's not uncommon for small amounts of shampoo, conditioner, or soap to accumulate in the caddy over time. Use a paper towel or a damp cloth to wipe away any visible residue, ensuring that the caddy is completely empty and ready for cleaning.
-
Remove Detachable Components: If your plastic shower caddy features detachable or adjustable components, such as shelves or hooks, consider removing them at this stage. This will allow for a more thorough cleaning of each individual piece, ensuring that no hidden dirt or grime is left behind. Follow the manufacturer's instructions for safely detaching and reattaching these components to avoid any damage.
By taking the time to empty the caddy, inspect for residue, and remove any detachable components, you set the stage for a comprehensive and effective cleaning process. This initial step ensures that the cleaning efforts will yield optimal results, leaving your plastic shower caddy fresh, sanitized, and ready to be reassembled for future use.
Step 3: Rinse the Caddy
Rinsing the plastic shower caddy is a crucial preliminary step that sets the foundation for thorough cleaning. By subjecting the caddy to a comprehensive rinse, you can effectively remove surface-level dirt, soap residue, and other impurities, preparing it for the subsequent cleaning and disinfection process. Here's a detailed breakdown of how to rinse the caddy effectively:
-
Water Rinse: Begin by placing the plastic shower caddy under a steady stream of warm water. Ensure that the water is at a moderate temperature, as excessively hot water may cause damage to certain types of plastic. Use a handheld showerhead or a bucket of water to facilitate the rinsing process. The gentle pressure of the water will help dislodge loose debris and prepare the caddy for deeper cleaning.
-
Scrubbing: While rinsing, use a non-abrasive cleaning brush or sponge to gently scrub the surfaces of the caddy. This will help loosen and remove any stubborn residues, such as dried soap scum or mineral deposits. Pay particular attention to areas with textured surfaces or crevices, as these areas are prone to trapping dirt and grime.
-
Inspecting for Residue: As you rinse and scrub the caddy, periodically inspect the surfaces for any lingering residue. If you encounter areas with persistent stains or buildup, consider using a mild dish soap in conjunction with the scrubbing to further loosen and remove the impurities.
-
Thorough Drainage: Once the rinsing process is complete, allow the caddy to drain thoroughly. Shake it gently to remove excess water and ensure that no standing water remains in the compartments or on the surfaces. Proper drainage is essential to prevent water spots and to facilitate the subsequent cleaning and disinfection steps.
By diligently rinsing the plastic shower caddy, you lay the groundwork for a comprehensive cleaning process. This step effectively removes surface-level impurities, making way for the subsequent cleaning and disinfection steps to yield optimal results. With the caddy now thoroughly rinsed and prepared, you are ready to proceed to the next stage of the cleaning process.
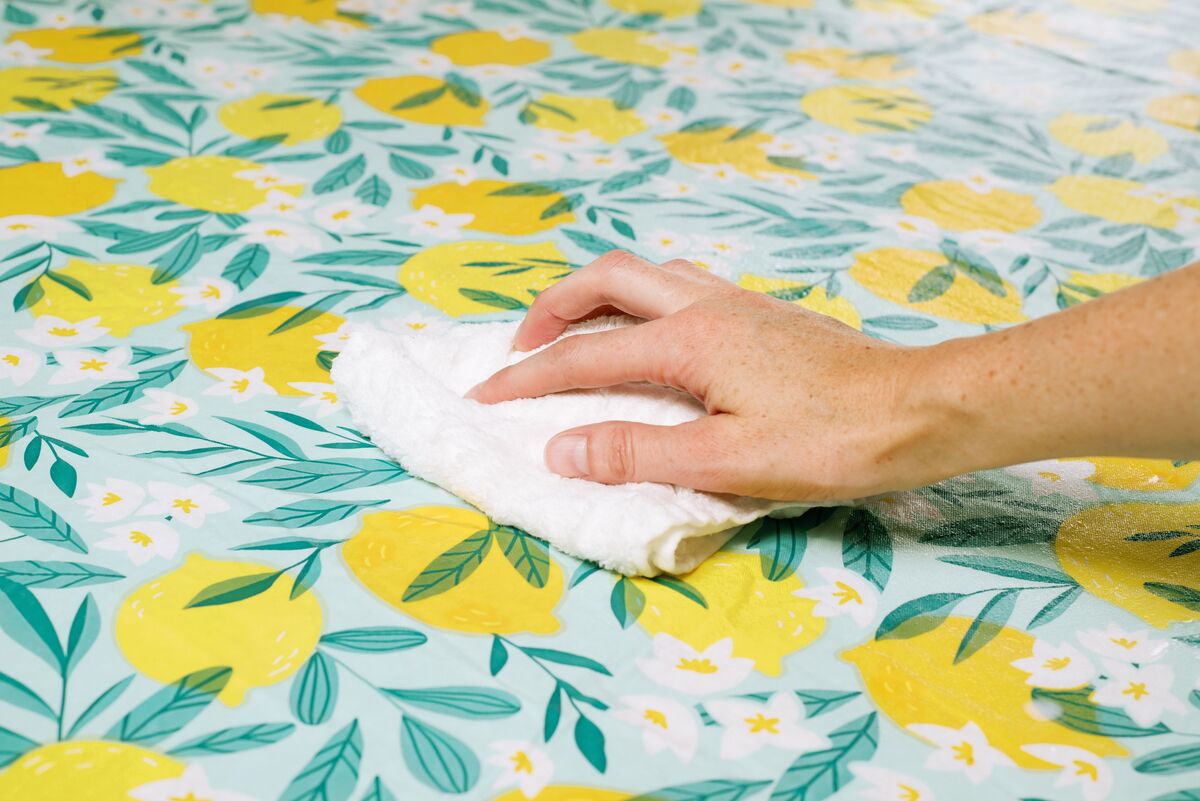
To clean a plastic shower caddy, remove it from the shower and scrub it with a mixture of warm water and mild dish soap. Rinse thoroughly and let it air dry before placing it back in the shower.
Step 4: Clean with Soap and Water
Cleaning the plastic shower caddy with a gentle yet effective solution of soap and water is a pivotal step in the overall cleaning process. This method targets and removes accumulated dirt, soap scum, and other residues, restoring the caddy to a clean and hygienic state. Here's a detailed breakdown of how to clean the caddy using soap and water:
-
Prepare the Cleaning Solution: Begin by filling a basin or sink with warm water. Add a small amount of mild dish soap to the water and agitate it gently to create a soapy solution. Ensure that the soap is thoroughly mixed with the water to form a uniform cleaning solution.
-
Soak and Scrub: Submerge the plastic shower caddy in the soapy water, ensuring that all surfaces and compartments are fully immersed. Allow the caddy to soak for a few minutes to loosen any stubborn residues. Using a non-abrasive cleaning brush or sponge, gently scrub the surfaces of the caddy, paying particular attention to areas with visible grime or soap buildup. The soapy solution works to break down and lift away the accumulated dirt and residues, facilitating their removal during the scrubbing process.
-
Focus on Problem Areas: For areas with persistent stains or tough-to-remove grime, concentrate the scrubbing efforts to effectively dislodge the impurities. Utilize the soapy water to create a lather on the surfaces, further aiding in the cleaning process. Take care to scrub along the edges, corners, and any textured areas where dirt and residue may be trapped.
-
Rinse Thoroughly: Once the scrubbing is complete, thoroughly rinse the plastic shower caddy under clean, running water. Ensure that all traces of the soapy solution are removed, leaving the caddy free of any residual soap. The rinsing process serves to wash away dislodged dirt and residues, leaving the caddy refreshed and ready for the next cleaning stage.
-
Inspect and Repeat as Needed: After rinsing, inspect the caddy for any remaining stains or areas requiring further attention. If necessary, repeat the cleaning process with the soap and water solution to target specific areas that may require additional cleaning. By addressing any lingering residues at this stage, you can ensure that the caddy is thoroughly cleaned before proceeding to the disinfection phase.
By cleaning the plastic shower caddy with a gentle yet effective solution of soap and water, you effectively eliminate surface-level dirt and residues, setting the stage for the subsequent disinfection process. This step ensures that the caddy is primed for thorough cleaning, paving the way for a sanitized and refreshed bathroom accessory.
Read more: What To Put In A Shower Caddy
Step 5: Disinfect with Vinegar Solution
Disinfecting the plastic shower caddy with a vinegar solution is a crucial step that ensures the elimination of bacteria, mold, and other harmful microorganisms, thereby promoting a hygienic and sanitized bathroom environment. Vinegar, particularly white vinegar, is renowned for its natural disinfectant properties, making it an ideal choice for effectively sanitizing plastic surfaces without the use of harsh chemicals. Here's a detailed breakdown of how to disinfect the plastic shower caddy using a vinegar solution:
-
Prepare the Vinegar Solution: Begin by creating a vinegar solution by mixing equal parts of white vinegar and water in a clean container or spray bottle. The diluted vinegar solution provides a potent yet safe disinfectant that is suitable for use on plastic surfaces. Thoroughly combining the vinegar and water ensures a uniform solution that is ready for application.
-
Apply the Vinegar Solution: Liberally apply the vinegar solution to all surfaces of the plastic shower caddy, ensuring comprehensive coverage of each compartment, shelf, and exterior area. The disinfecting properties of the vinegar work to neutralize and eliminate any lingering bacteria, mold, or mildew, effectively sanitizing the entire caddy.
-
Allow for Dwell Time: After applying the vinegar solution, allow it to dwell on the surfaces for a few minutes to maximize its disinfecting efficacy. This dwell time enables the vinegar to penetrate and eradicate any microbial contaminants, ensuring a thorough and hygienic disinfection process.
-
Scrub and Wipe: Using a cleaning brush or sponge, gently scrub the surfaces of the caddy to further distribute the vinegar solution and aid in the disinfection process. Pay particular attention to areas prone to mold or mildew growth, such as corners and crevices. After scrubbing, use a clean cloth or sponge to wipe away any excess vinegar solution, ensuring that the caddy is left clean and sanitized.
-
Rinse and Dry: Once the disinfection process is complete, thoroughly rinse the plastic shower caddy under clean, running water to remove any residual vinegar solution. Proper rinsing ensures that the caddy is free of any lingering vinegar odor and residue. After rinsing, use a dry microfiber cloth or towel to pat the caddy dry, removing any remaining moisture and leaving it with a clean, polished finish.
By disinfecting the plastic shower caddy with a vinegar solution, you effectively eliminate harmful microorganisms, ensuring a hygienic and sanitized accessory for your bathroom. This essential step contributes to a clean and healthy bathroom environment, promoting overall well-being and cleanliness. With the caddy now thoroughly disinfected and refreshed, it is ready to be reassembled and put back into use, providing a functional and sanitized storage solution for your shower essentials.
Step 6: Dry and Reassemble the Caddy
After completing the cleaning and disinfection process, it is crucial to ensure that the plastic shower caddy is thoroughly dried and reassembled to preserve its functionality and appearance. This final step not only prevents water spots and mold growth but also allows you to return the caddy to its rightful place in the bathroom, ready for everyday use.
To effectively dry and reassemble the caddy, follow these detailed steps:
-
Drain Excess Water: Begin by shaking the caddy gently to remove any lingering water droplets from the compartments and surfaces. Ensure that all excess water is eliminated to prevent water spots and maintain a clean, dry finish.
-
Air-Drying: Place the plastic shower caddy in a well-ventilated area, allowing it to air-dry completely. Positioning the caddy in an area with good air circulation expedites the drying process, ensuring that all moisture evaporates, and the caddy is left completely dry.
-
Use of a Microfiber Cloth or Towel: If necessary, use a soft, absorbent microfiber cloth or towel to gently pat the caddy dry, particularly in areas where water may have accumulated. This helps to expedite the drying process and ensures that the caddy is free of any residual moisture.
-
Reassemble Components: Once the caddy is thoroughly dry, reassemble any detachable components, such as shelves or hooks, according to the manufacturer's instructions. Ensure that each piece is securely attached and properly aligned, restoring the caddy to its original configuration.
-
Return Items to the Caddy: After the caddy is fully dry and reassembled, return the shower essentials and accessories to their designated compartments. Organize the items neatly, optimizing the caddy's storage capacity and ensuring easy access to your shower necessities.
By meticulously following these steps to dry and reassemble the plastic shower caddy, you complete the comprehensive cleaning process, culminating in a sanitized, dry, and fully functional bathroom accessory. With the caddy now restored to its optimal condition, you can enjoy a tidy and organized shower space, free from dirt, grime, and microbial contaminants.
Conclusion
In conclusion, maintaining a clean and hygienic plastic shower caddy is essential for preserving a fresh and organized bathroom environment. By following the step-by-step cleaning process outlined in this guide, you can effectively restore your plastic shower caddy to its pristine condition, ensuring that it remains a functional and visually appealing accessory in your bathroom.
Regular cleaning and disinfection of the plastic shower caddy not only eliminate dirt, soap scum, and grime but also contribute to a healthier bathroom environment by preventing the buildup of harmful bacteria, mold, and mildew. The thorough rinsing, gentle scrubbing with soap and water, and disinfection with a vinegar solution work in tandem to ensure that the caddy is free from impurities and microbial contaminants, promoting overall cleanliness and hygiene.
By diligently following the cleaning process, you can extend the lifespan of your plastic shower caddy, preserving its functionality and aesthetic appeal. Additionally, maintaining a sanitized caddy contributes to a more enjoyable and comfortable shower experience, as your essential bath products are stored in a clean and hygienic manner.
Furthermore, the final steps of drying and reassembling the caddy ensure that it is ready for immediate use, providing a convenient and organized storage solution for your shower essentials. With the caddy thoroughly cleaned, disinfected, and dried, you can enjoy a clutter-free and sanitized shower space, enhancing the overall comfort and cleanliness of your bathroom.
Incorporating regular cleaning of the plastic shower caddy into your household maintenance routine not only promotes a clean and organized bathroom but also contributes to a healthier living environment. By investing a small amount of time and effort into the care of your plastic shower caddy, you can enjoy the benefits of a tidy, sanitized, and functional accessory that enhances your daily shower routine.
In essence, the process of cleaning a plastic shower caddy is a simple yet impactful task that yields significant benefits in terms of cleanliness, hygiene, and overall bathroom maintenance. By following the guidelines provided in this comprehensive guide, you can confidently and efficiently maintain your plastic shower caddy, ensuring a fresh, sanitized, and visually appealing bathroom accessory for the long term.
Frequently Asked Questions about How To Clean A Plastic Shower Caddy
Was this page helpful?
At Storables.com, we guarantee accurate and reliable information. Our content, validated by Expert Board Contributors, is crafted following stringent Editorial Policies. We're committed to providing you with well-researched, expert-backed insights for all your informational needs.


0 thoughts on “How To Clean A Plastic Shower Caddy”