Home>Furniture & Design>Bathroom Accessories>How To Hang A Shower Caddy On The Wall
Bathroom Accessories
How To Hang A Shower Caddy On The Wall
Modified: October 18, 2024
Learn how to easily hang a shower caddy on the wall for convenient storage of bathroom accessories. Follow our step-by-step guide for a hassle-free installation.
(Many of the links in this article redirect to a specific reviewed product. Your purchase of these products through affiliate links helps to generate commission for Storables.com, at no extra cost. Learn more)
Introduction
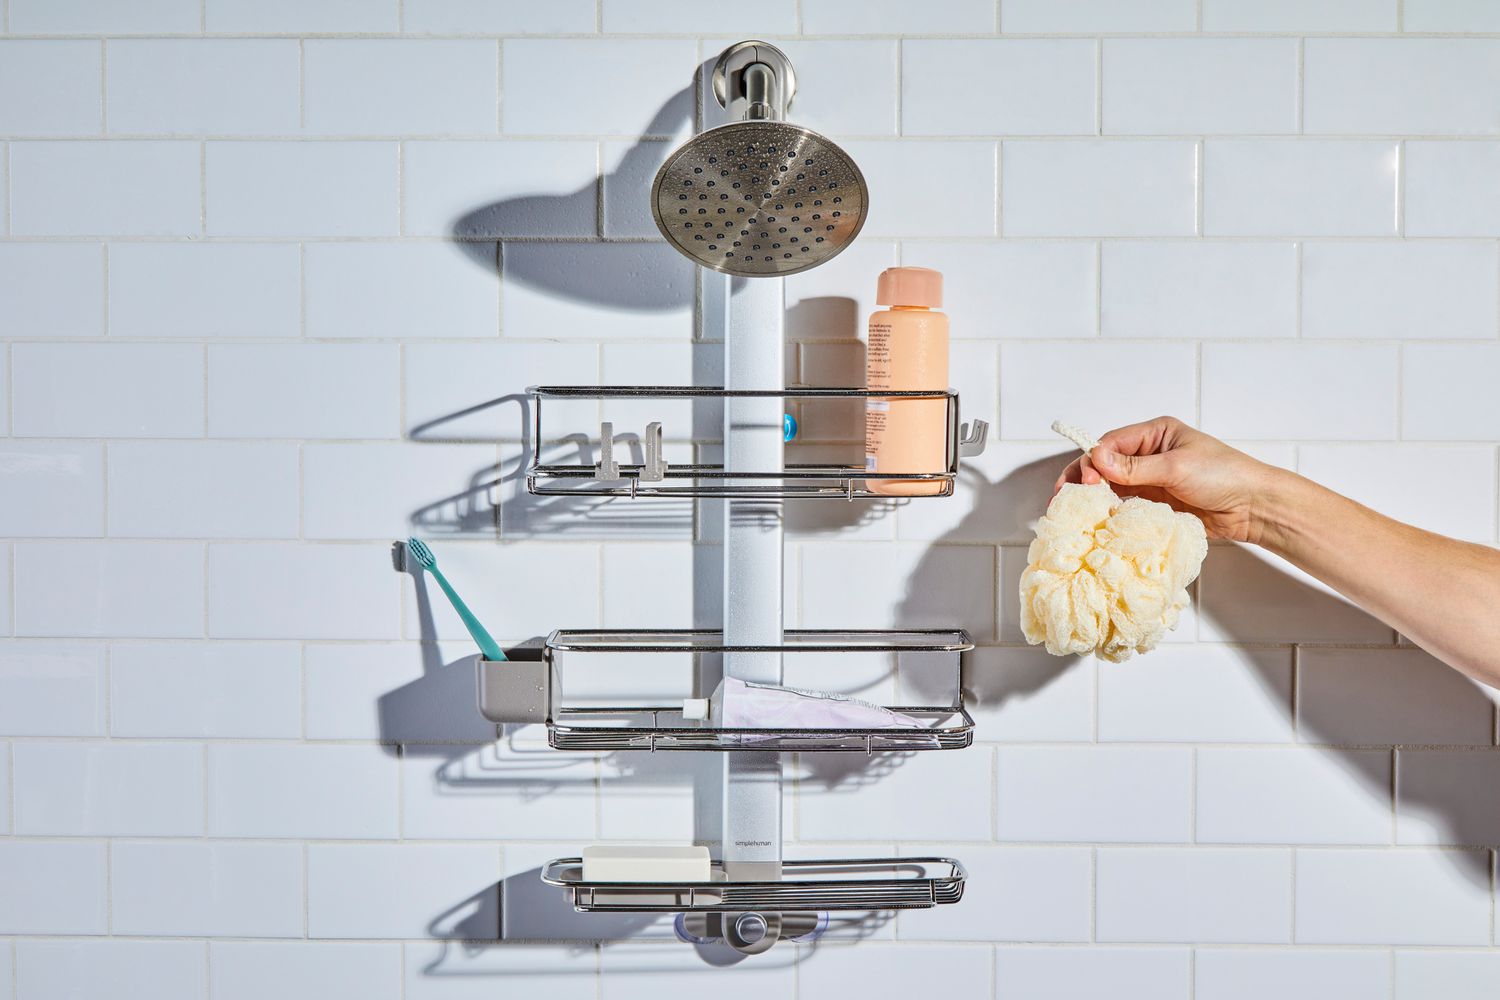
Hanging a shower caddy on the wall is a practical and stylish way to keep your bathroom organized and clutter-free. Whether you're looking to create more storage space in a small bathroom or simply want to streamline your shower routine, a well-installed shower caddy can make a world of difference. In this comprehensive guide, we will walk you through the step-by-step process of hanging a shower caddy on the wall, ensuring that it is securely in place and ready to hold all your essential bath and shower accessories.
A shower caddy is a versatile bathroom accessory that can accommodate a variety of items, including shampoo bottles, soap, razors, loofahs, and more. By installing a shower caddy on the wall, you can free up valuable space in your shower or bathtub area, making it easier to access your toiletries and maintain a tidy bathroom environment. Additionally, a well-placed shower caddy can add a touch of elegance to your bathroom decor, serving as both a functional storage solution and a decorative accent.
Whether you're a DIY enthusiast or simply looking to tackle a small home improvement project, hanging a shower caddy on the wall is a manageable task that can yield significant benefits. With the right tools, materials, and a clear understanding of the installation process, you can achieve a professional-looking result that enhances the functionality and aesthetics of your bathroom space.
In the following steps, we will guide you through the process of gathering the necessary tools and materials, choosing the right location for the shower caddy, marking the placement, installing wall anchors if needed, attaching the shower caddy to the wall, and testing its stability. By following these steps, you can ensure that your shower caddy is securely and safely installed, providing you with a convenient and organized storage solution for your bath and shower essentials.
Key Takeaways:
- Hanging a shower caddy on the wall is a practical way to keep your bathroom organized and stylish. It frees up space, adds elegance, and makes your shower routine more convenient.
- Before installing a shower caddy, gather the right tools and materials, choose the best location, and mark the placement carefully. Test the stability to ensure a secure and organized bathroom space.
Step 1: Gather the necessary tools and materials
Before embarking on the process of hanging a shower caddy on the wall, it's essential to gather all the required tools and materials. Having the right items at your disposal will not only streamline the installation process but also ensure a secure and long-lasting result. Here's a comprehensive list of the tools and materials you'll need:
Tools:
- Measuring Tape: A measuring tape is crucial for determining the precise placement of the shower caddy and ensuring that it aligns with your specific needs and preferences.
- Pencil: A pencil will be used for marking the wall to indicate where the shower caddy will be installed.
- Level: A level is essential for ensuring that the shower caddy is installed straight and evenly aligned with the wall.
- Power Drill: Depending on the wall material, a power drill may be necessary for creating holes for wall anchors or screws.
- Screwdriver: A screwdriver, either manual or electric, will be used to secure the shower caddy in place.
- Stud Finder (optional): If you plan to attach the shower caddy to a wall stud, a stud finder can help locate the most suitable placement for installation.
Materials:
- Shower Caddy: Select a high-quality shower caddy that suits your storage needs and complements your bathroom decor. Consider the size, design, and material of the caddy to ensure it meets your requirements.
- Wall Anchors: If you're not able to secure the shower caddy directly into a wall stud, wall anchors will provide additional support and stability.
- Screws: Depending on the type of shower caddy and the wall material, you may need screws to attach the caddy securely.
- Optional Mounting Adhesive: Some shower caddies come with adhesive backing for easy installation without the need for drilling.
By gathering these essential tools and materials, you'll be well-prepared to proceed with the installation of your shower caddy. With everything in hand, you can move on to the next step of choosing the right location for the caddy and commencing the installation process with confidence and efficiency.
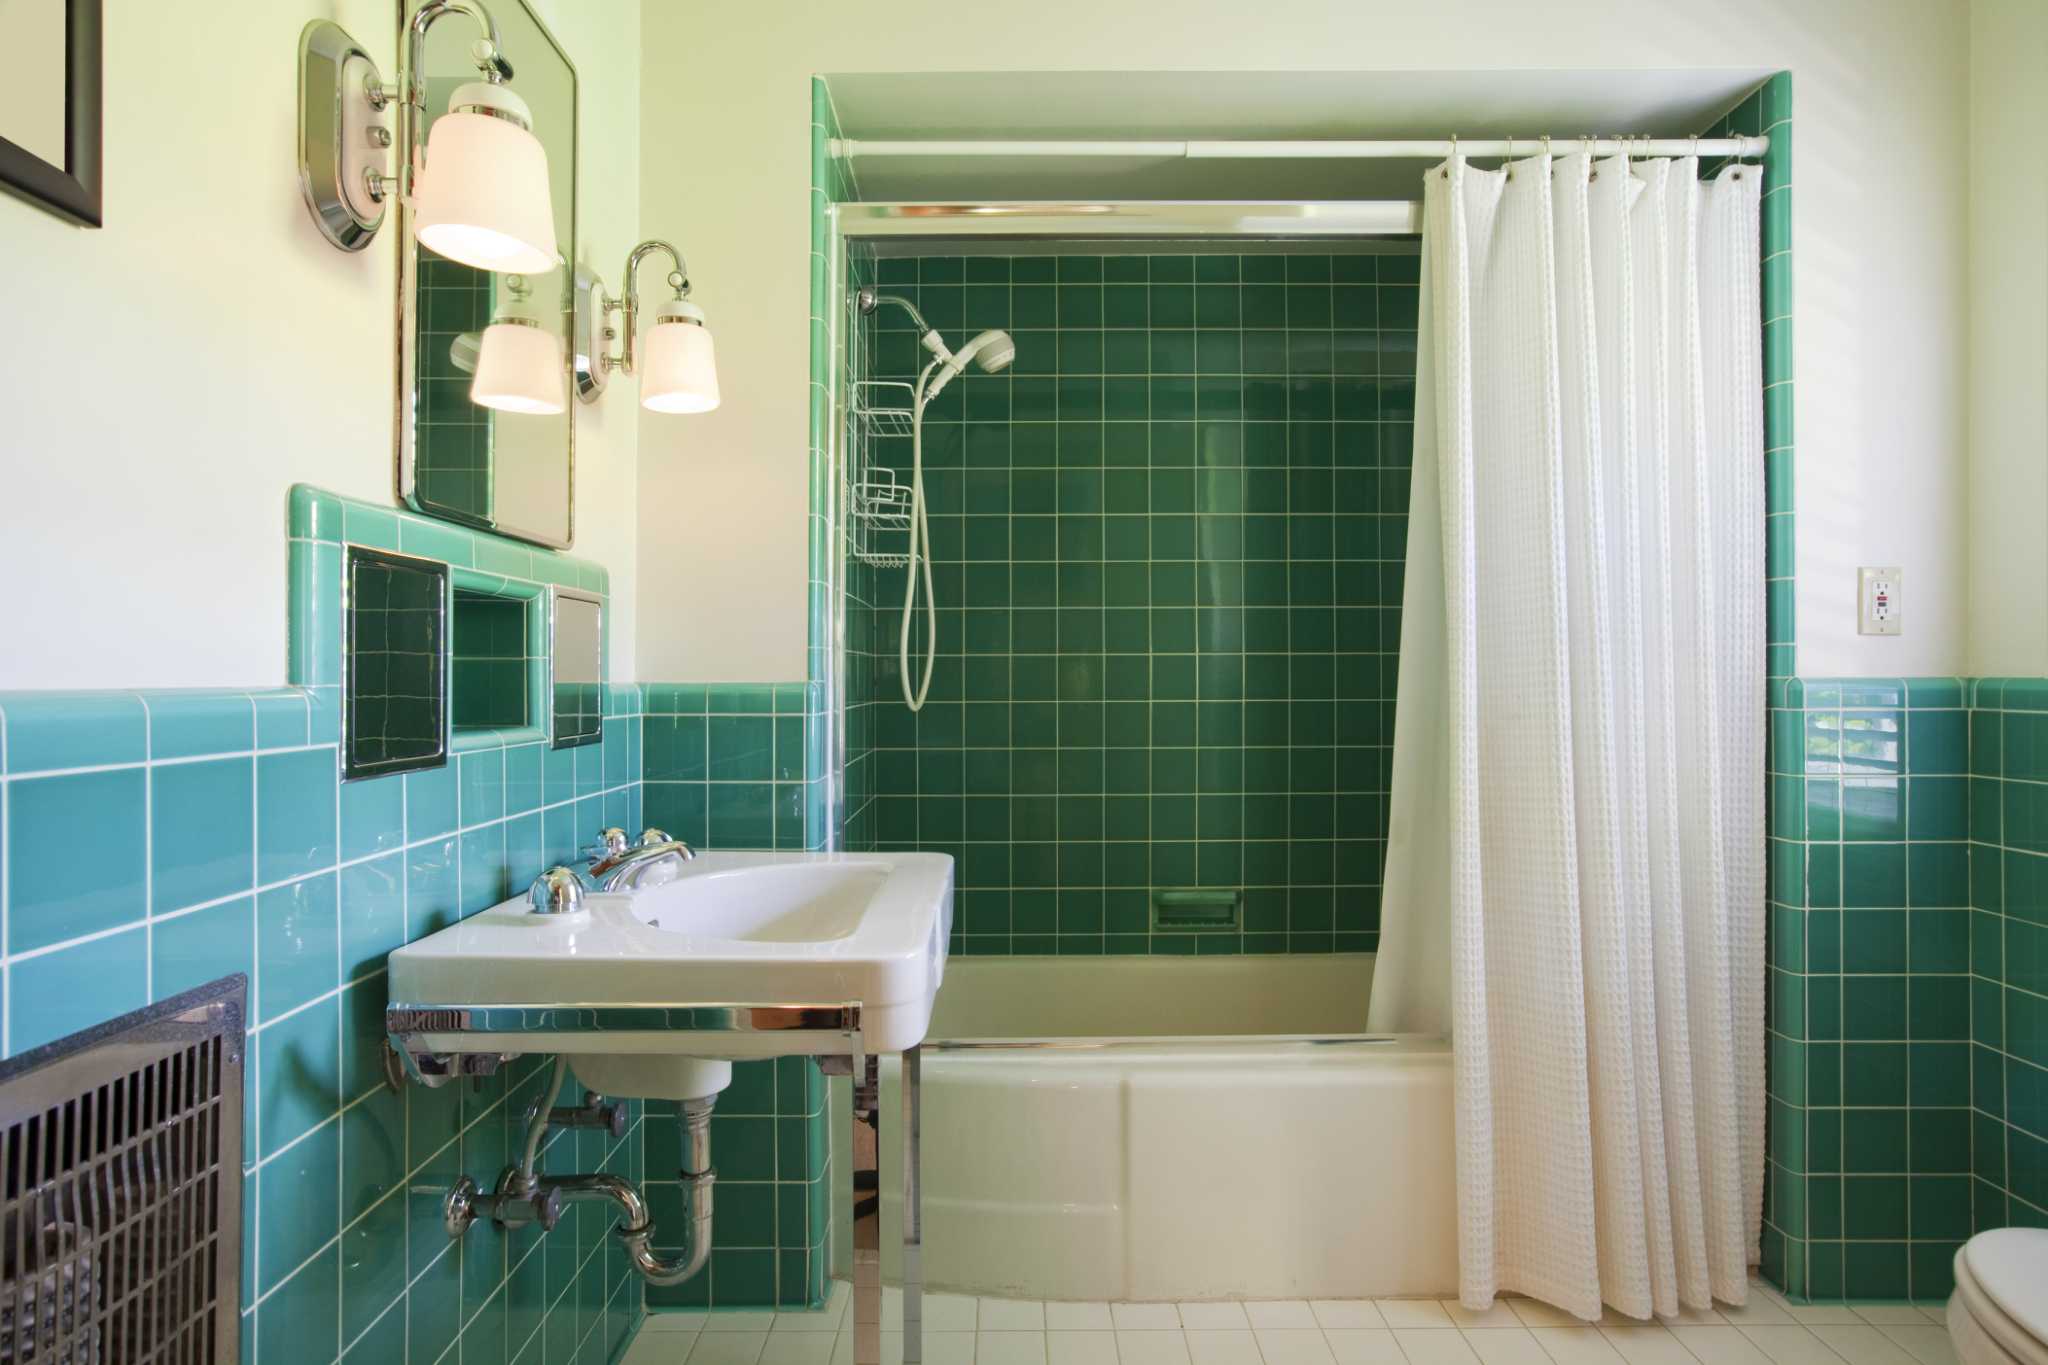
Step 2: Choose the right location for the shower caddy
Selecting the optimal location for your shower caddy is a crucial step in the installation process. The placement should not only accommodate your storage needs but also enhance the functionality and aesthetics of your bathroom space. Here are some key considerations to keep in mind when choosing the right location for your shower caddy:
-
Accessibility: Assess the accessibility of the chosen location. Ideally, the shower caddy should be within easy reach from the shower or bathtub, allowing you to conveniently access your toiletries during your daily bathing routine. Consider the height at which the caddy will be installed to ensure that it is easily accessible to all members of the household.
-
Water Drainage: Take into account the water drainage in the chosen location. It's essential to avoid installing the shower caddy in an area where water tends to accumulate or splash frequently. Opt for a spot that allows water to drain effectively, preventing the buildup of moisture and potential damage to the caddy and the surrounding wall.
-
Stability: Evaluate the stability of the wall where the shower caddy will be installed. If possible, choose a location that provides a solid and stable surface for mounting the caddy. Avoid areas with uneven or damaged walls, as they may compromise the secure attachment of the caddy.
-
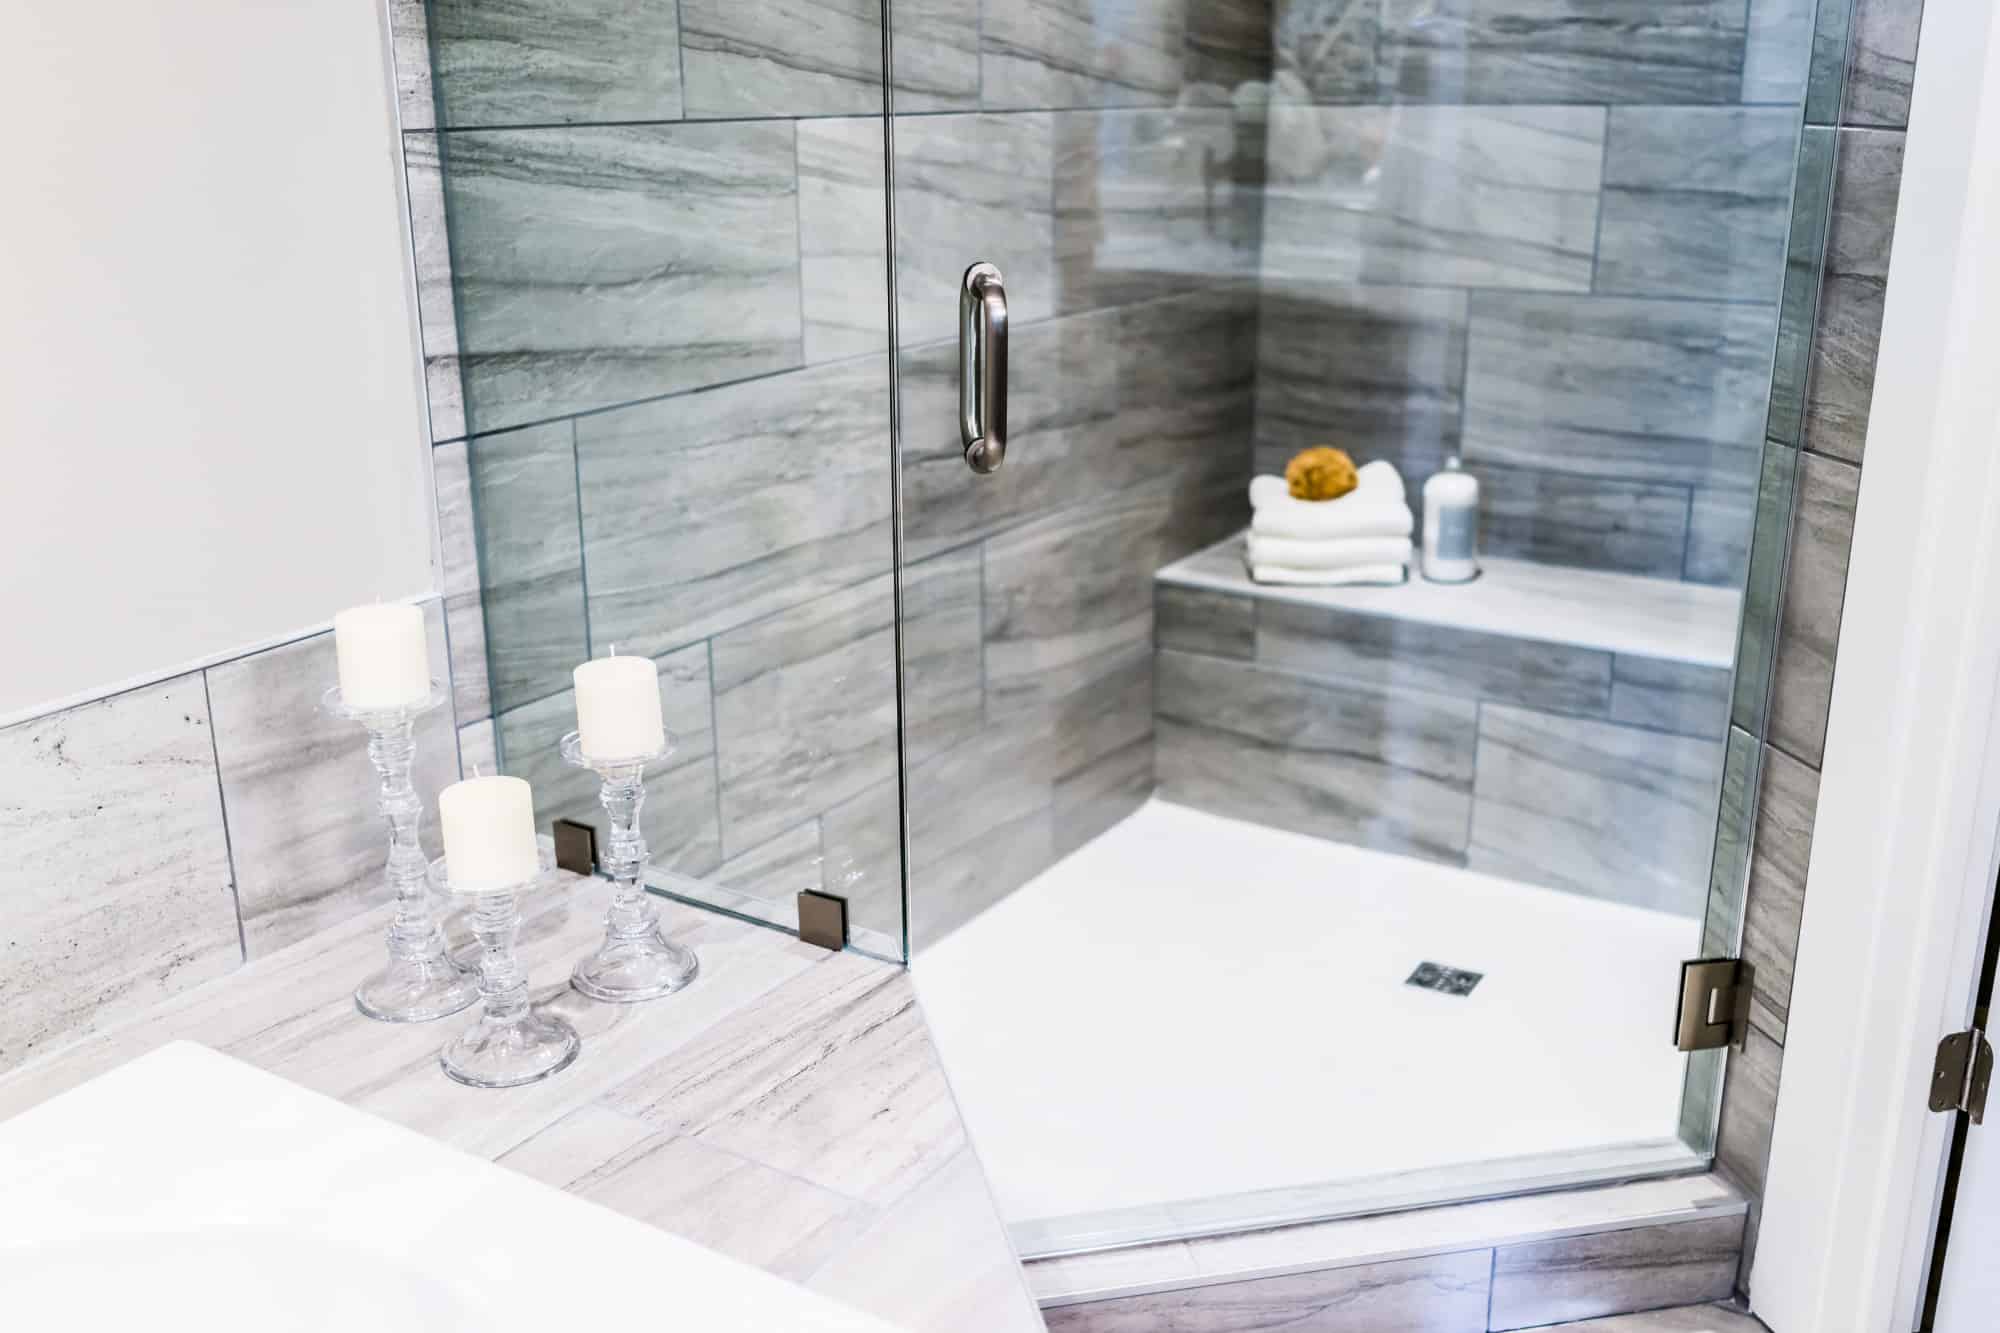
Aesthetic Appeal: Consider the visual impact of the chosen location. The shower caddy should complement the overall aesthetic of your bathroom. Take into account the existing decor, color scheme, and design elements to ensure that the caddy enhances the visual appeal of the space.
-
Storage Capacity: Assess the storage capacity of the chosen location. Depending on the size and design of the shower caddy, ensure that the selected spot can accommodate the caddy's dimensions and storage capacity without overcrowding the area or obstructing other bathroom fixtures.
-
Wall Material: Take note of the wall material in the chosen location. Different wall materials may require specific installation methods. For example, if the caddy will be mounted on a tile wall, you may need specialized tools and hardware to ensure a secure attachment.
By carefully considering these factors, you can identify the most suitable location for your shower caddy, ensuring that it meets your practical needs, enhances the functionality of your bathroom, and contributes to a visually appealing and organized space. Once you've determined the ideal location, you can proceed to the next step of marking the placement of the shower caddy and preparing for its installation.
Read more: What Is A Shower Caddy
Step 3: Mark the placement of the shower caddy
Marking the placement of the shower caddy is a critical preparatory step that ensures the accurate and precise installation of the caddy on the wall. By marking the placement, you establish a clear guide for the subsequent installation process, helping to avoid errors and achieve a professional-looking result. Here's a detailed breakdown of the steps involved in marking the placement of the shower caddy:
-
Measure and Mark: Using a measuring tape and a pencil, measure the desired height and position for the shower caddy on the wall. Take into account the considerations from the previous step, such as accessibility, water drainage, and aesthetic appeal. Once you've determined the ideal location, mark the top and bottom edges of the caddy with a pencil. Use a level to ensure that the markings are straight and aligned with the wall.
-
Spacing and Alignment: If you plan to install multiple shower caddies or additional bathroom accessories, consider the spacing and alignment of the items. Use the measuring tape and pencil to mark the positions of any additional caddies or fixtures, ensuring that they are evenly spaced and aligned with each other. This step is particularly important for creating a cohesive and organized storage arrangement in your bathroom.
-
Verify the Placement: Before proceeding with the installation, step back and visually verify the marked placement of the shower caddy. Confirm that the height, spacing, and alignment align with your preferences and practical needs. Make any necessary adjustments to the markings to ensure that they accurately reflect the intended placement of the caddy.
-
Consider Wall Material: If you're working with a specific wall material, such as tile or drywall, take into account the appropriate tools and hardware required for installation. Different wall materials may necessitate varying installation methods, so it's essential to tailor the marking process to suit the characteristics of the wall surface.
By meticulously marking the placement of the shower caddy, you establish a solid foundation for the subsequent installation steps. This attention to detail and precision will contribute to a seamless and effective installation process, ultimately resulting in a securely mounted shower caddy that meets your functional and aesthetic requirements. With the placement marked and verified, you're ready to proceed to the next phase of the installation process, bringing you one step closer to enjoying a well-organized and stylish bathroom space.
Step 4: Install the wall anchors (if necessary)
Before proceeding with the installation of the shower caddy, it's essential to assess the wall surface and determine whether wall anchors are necessary to ensure a secure and stable mounting. Wall anchors, also known as wall plugs or molly bolts, are crucial for providing additional support when attaching the caddy to a wall that lacks a stud or solid backing. Here's a detailed guide on the process of installing wall anchors, if deemed necessary for your specific installation:
-
Assess the Wall Material: Begin by evaluating the composition of the wall where the shower caddy will be installed. Different wall materials, such as drywall, tile, or plaster, may require the use of wall anchors to reinforce the attachment. If the wall is made of drywall or a similar material with limited load-bearing capacity, wall anchors are likely necessary to distribute the weight of the caddy and prevent it from pulling out of the wall over time.
-
Select the Appropriate Wall Anchors: Choose the right type and size of wall anchors based on the wall material and the anticipated weight of the loaded shower caddy. There are various types of wall anchors available, including expansion anchors, toggle bolts, and plastic anchors. Consider the weight capacity and installation method of each type to determine the most suitable option for your specific installation.
-
Mark the Anchor Locations: Using the previously marked placement of the shower caddy as a guide, identify the positions where the wall anchors will be installed. Use a pencil to mark these locations on the wall, ensuring that they align with the top and bottom edges of the caddy and any additional markings for multiple caddies or fixtures.
-
Drill Pilot Holes (if applicable): If the selected wall anchors require pilot holes, use a power drill equipped with the appropriate drill bit to create holes at the marked locations. The size of the pilot holes should correspond to the specifications provided for the chosen wall anchors, ensuring a snug and secure fit for the anchors.
-
Insert and Secure the Wall Anchors: With the pilot holes prepared, insert the wall anchors into the wall at the marked locations. Depending on the type of anchors, this may involve tapping them into place, screwing them in, or utilizing a specialized installation method. Once the anchors are in position, ensure that they are flush with the wall surface and securely seated for optimal stability.
By following these steps, you can effectively install wall anchors to reinforce the attachment of the shower caddy, providing a reliable and durable mounting solution. The use of wall anchors, when necessary, enhances the overall stability and load-bearing capacity of the installation, ensuring that your shower caddy remains securely in place, ready to accommodate your bath and shower essentials. With the wall anchors installed, you're now prepared to proceed with the next phase of attaching the shower caddy to the wall, bringing you closer to completing the installation process and enjoying the benefits of a well-organized and functional bathroom space.
Use adhesive hooks or suction cups to hang a shower caddy on the wall. Make sure the wall is clean and dry before attaching the hooks or cups. Avoid hanging heavy items in the caddy to prevent it from falling.
Step 5: Attach the shower caddy to the wall
With the necessary preparations and markings in place, it's time to proceed with attaching the shower caddy to the wall. This step involves securing the caddy in its designated location, ensuring a stable and reliable installation that can withstand the weight of your bath and shower essentials. Here's a detailed breakdown of the process for attaching the shower caddy to the wall:
-
Position the Caddy: Begin by positioning the shower caddy against the wall, aligning it with the previously marked placement. If wall anchors were installed in the preceding step, ensure that the caddy is positioned to correspond with the anchor locations. Use a level to verify that the caddy is straight and evenly aligned with the wall, making any necessary adjustments to achieve the desired positioning.
-
Secure the Caddy: Depending on the design of the shower caddy and the wall material, use the appropriate hardware to secure the caddy in place. If wall anchors were installed, insert the screws through the mounting holes of the caddy and into the anchors, ensuring a tight and secure fit. For installations without wall anchors, drive the screws directly into the wall at the designated mounting points, using a power drill or screwdriver as needed.
-
Adjust and Tighten: As you secure the caddy to the wall, periodically check the alignment and stability of the installation. Make any necessary adjustments to the positioning of the caddy, ensuring that it remains level and securely attached. Tighten the screws firmly, but avoid over-tightening, as this may damage the wall or the caddy.
-
Verify Stability: Once the shower caddy is attached to the wall, gently test its stability by applying light pressure and ensuring that it can support the weight of your typical bath and shower items. Verify that the caddy remains securely in place without wobbling or shifting. If any instability is detected, re-evaluate the attachment and make adjustments as needed to enhance the caddy's stability.
-
Optional Adhesive Application: If your shower caddy includes adhesive backing for mounting, follow the manufacturer's instructions for applying the adhesive to the wall and securing the caddy in place. Ensure that the adhesive is applied to a clean and dry surface, and press the caddy firmly against the wall to promote adhesion.
By following these steps, you can effectively attach the shower caddy to the wall, creating a functional and organized storage solution for your bath and shower essentials. With the caddy securely in place, you're one step closer to enjoying a clutter-free and well-organized bathroom space, where your toiletries are readily accessible and neatly arranged.
Step 6: Test the stability of the shower caddy
After attaching the shower caddy to the wall, it's crucial to thoroughly test its stability to ensure that it can reliably support the weight of your bath and shower essentials. This step is essential for verifying the effectiveness of the installation and addressing any potential issues before regular use. Here's a detailed guide on how to test the stability of the shower caddy:
-
Load the Caddy: Begin by placing your typical bath and shower items, such as shampoo bottles, soap, and other toiletries, onto the shelves of the caddy. Mimic the weight distribution that the caddy will experience during regular use to provide an accurate assessment of its stability.
-
Apply Pressure: Gently apply pressure to the items on the caddy to simulate the conditions of daily use. This step allows you to evaluate how the caddy responds to the weight of the items and whether it remains securely attached to the wall without shifting or becoming unstable.
-
Check for Wobbling or Movement: Observe the caddy closely as you apply pressure to the items. Look for any signs of wobbling, tilting, or movement that may indicate instability. If the caddy shifts or feels unsteady, it's essential to address the underlying cause to ensure a secure and reliable installation.
-
Verify Attachment Points: Inspect the attachment points of the caddy, including the screws, wall anchors, or adhesive, to confirm that they are holding the caddy securely in place. Ensure that the hardware is tight and properly fastened to the wall, providing the necessary support for the caddy.
-
Reinforce if Necessary: If any instability or movement is detected during the stability test, take the necessary steps to reinforce the attachment of the caddy. This may involve tightening the screws, adjusting the positioning of the caddy, or applying additional adhesive or wall anchors to enhance its stability.
-
Repeat the Test: After making any adjustments, repeat the stability test to verify the effectiveness of the reinforcement measures. Ensure that the caddy remains stable and secure under the simulated weight and pressure, indicating a successful installation.
By diligently testing the stability of the shower caddy, you can identify and address any potential issues, ensuring that the caddy provides a reliable and durable storage solution for your bath and shower essentials. This thorough assessment allows you to enjoy peace of mind, knowing that your shower caddy is securely installed and ready to streamline your daily bathing routine.
Read more: What To Put In A Shower Caddy
Conclusion
In conclusion, hanging a shower caddy on the wall is a practical and rewarding endeavor that can significantly enhance the functionality and organization of your bathroom space. By following the step-by-step process outlined in this guide, you can achieve a secure and aesthetically pleasing installation that provides a convenient storage solution for your bath and shower essentials.
The initial steps of gathering the necessary tools and materials, as well as choosing the right location and marking the placement of the shower caddy, lay the groundwork for a successful installation. These preparatory measures ensure that the installation process proceeds smoothly, with careful consideration given to accessibility, water drainage, stability, aesthetic appeal, and wall material.
The installation of wall anchors, if necessary, further reinforces the attachment of the shower caddy, providing additional support and load-bearing capacity. This step is crucial for ensuring the long-term stability and durability of the installation, particularly in walls with limited load-bearing capacity.
Attaching the shower caddy to the wall, whether through screws, wall anchors, or adhesive, marks the culmination of the installation process. This step brings the vision of a well-organized and clutter-free bathroom space to fruition, with the caddy securely in place and ready to accommodate your bath and shower items.
Finally, testing the stability of the shower caddy serves as the ultimate validation of the installation's effectiveness. By simulating the conditions of regular use and verifying the caddy's ability to support the weight of your toiletries, you can ensure that the installation meets the highest standards of reliability and functionality.
In essence, the installation of a shower caddy on the wall is not only a practical solution for bathroom organization but also a means of enhancing the overall aesthetic and functionality of the space. With a securely installed shower caddy, you can enjoy the convenience of having your bath and shower essentials neatly arranged and readily accessible, contributing to a more enjoyable and efficient daily bathing routine.
By following the comprehensive guide provided here, you can embark on the installation process with confidence, knowing that each step is designed to ensure a successful and rewarding outcome. Whether you're a seasoned DIY enthusiast or a first-time home improver, the installation of a shower caddy on the wall is a manageable and gratifying project that can elevate the comfort and organization of your bathroom space.
Frequently Asked Questions about How To Hang A Shower Caddy On The Wall
Was this page helpful?
At Storables.com, we guarantee accurate and reliable information. Our content, validated by Expert Board Contributors, is crafted following stringent Editorial Policies. We're committed to providing you with well-researched, expert-backed insights for all your informational needs.


0 thoughts on “How To Hang A Shower Caddy On The Wall”