Home>Furniture & Design>Bathroom Accessories>How To Install A Shower Caddy

Bathroom Accessories
How To Install A Shower Caddy
Modified: October 18, 2024
Learn how to easily install a shower caddy in your bathroom with our step-by-step guide. Organize your bathroom accessories hassle-free!
(Many of the links in this article redirect to a specific reviewed product. Your purchase of these products through affiliate links helps to generate commission for Storables.com, at no extra cost. Learn more)
Introduction
Installing a shower caddy is a practical and convenient way to keep your shower essentials organized and easily accessible. Whether you're tired of cluttered shower shelves or simply looking to upgrade your bathroom, a shower caddy can make a significant difference in your daily routine. With the right tools and a step-by-step approach, you can effortlessly install a shower caddy in your bathroom.
A well-organized shower caddy not only adds functionality to your shower space but also enhances the overall aesthetic appeal of your bathroom. By having your shampoo, conditioner, body wash, and other essentials neatly stored within reach, you can streamline your shower experience and eliminate the hassle of searching for items while bathing.
In this comprehensive guide, we will walk you through the process of installing a shower caddy, from gathering the necessary tools and materials to choosing the right type of caddy for your shower. Whether you're a seasoned DIY enthusiast or a novice in home improvement projects, this step-by-step tutorial will equip you with the knowledge and confidence to complete the installation with ease.
By following these instructions, you can transform your shower area into a well-organized and visually appealing space, elevating the functionality and comfort of your daily shower routine. So, let's dive into the details and learn how to install a shower caddy like a pro.
Key Takeaways:
- Transform your shower experience by installing a shower caddy, keeping your essentials organized and easily accessible, enhancing your daily routine with convenience and eliminating clutter.
- Carefully measure your shower space, choose the right caddy type, and ensure secure installation for a well-organized and visually appealing shower area, elevating functionality and comfort.
Read more: What Is A Shower Caddy
Step 1: Gather the necessary tools and materials
Before embarking on the installation of a shower caddy, it's essential to gather the required tools and materials to ensure a smooth and efficient process. By having everything at hand, you can minimize interruptions and complete the installation with confidence. Here's a comprehensive list of the necessary items you'll need:
Tools:
- Measuring Tape: A reliable measuring tape will help you accurately assess the dimensions of your shower space, enabling you to select a caddy that fits perfectly.
- Pencil or Marker: Having a pencil or marker on hand will allow you to mark the precise spots for drilling or mounting the shower caddy.
- Level: A level is crucial for ensuring that the shower caddy is installed straight and aligned with the walls, preventing any tilting or instability.
- Power Drill: Depending on the type of shower caddy and the wall material, a power drill may be necessary for creating holes for mounting hardware.
- Screwdriver: A screwdriver, whether manual or powered, will be essential for securing screws or fasteners during the installation process.
Materials:
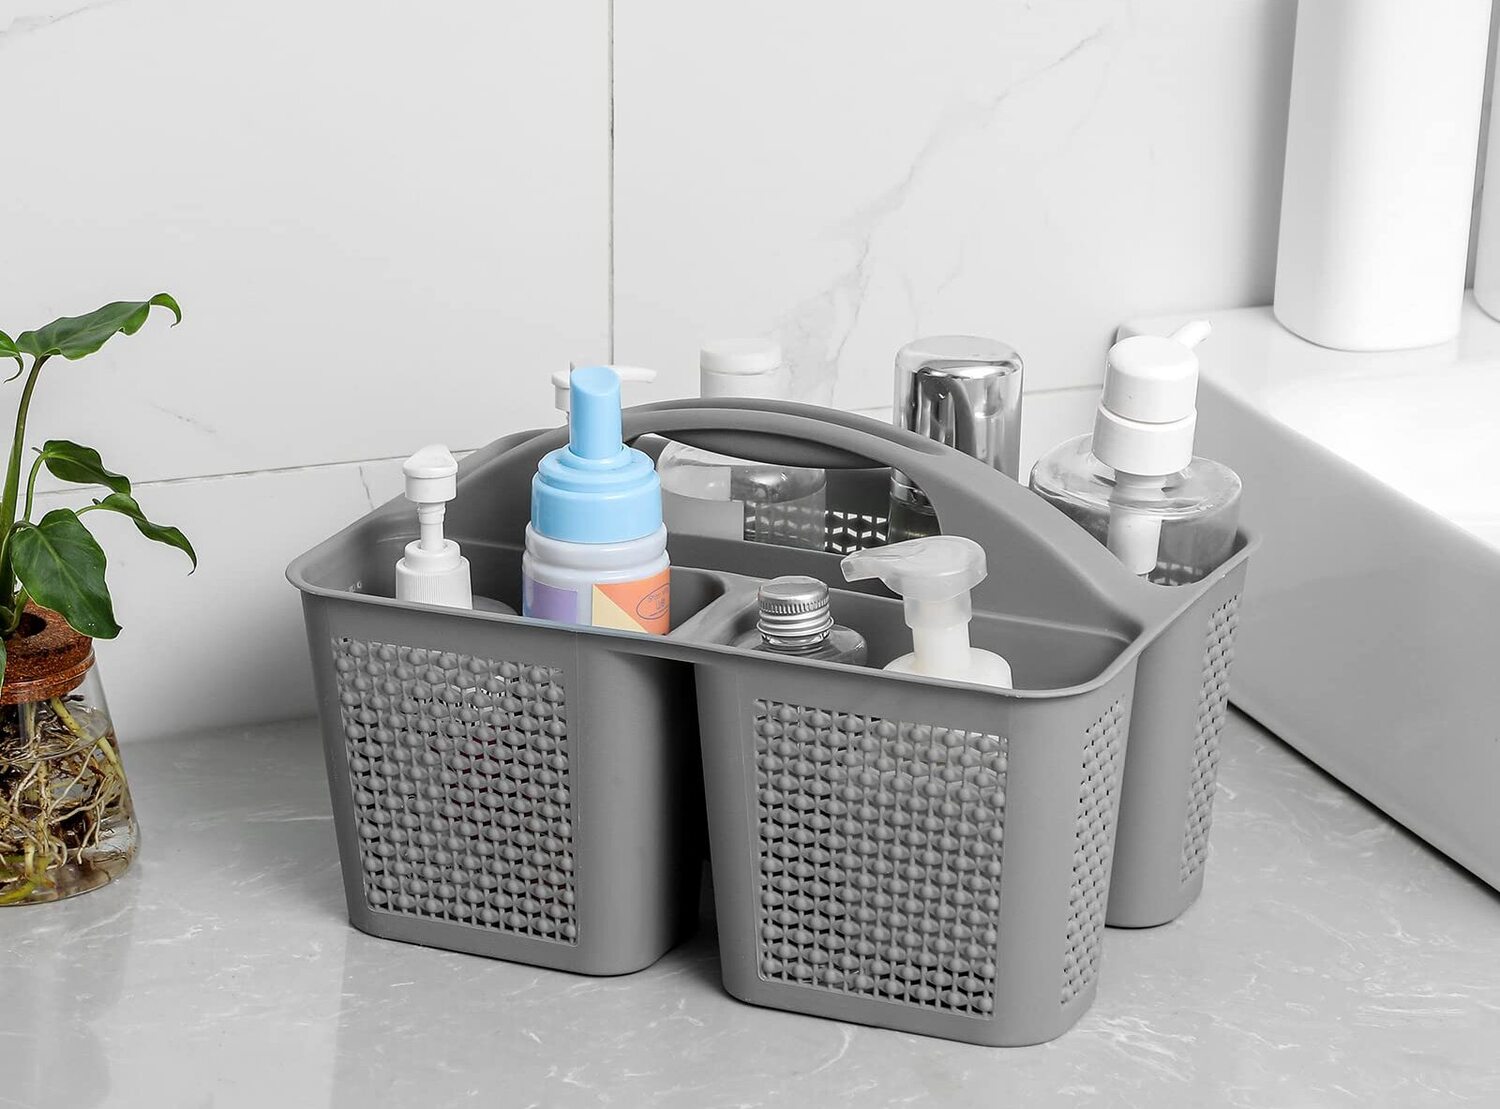
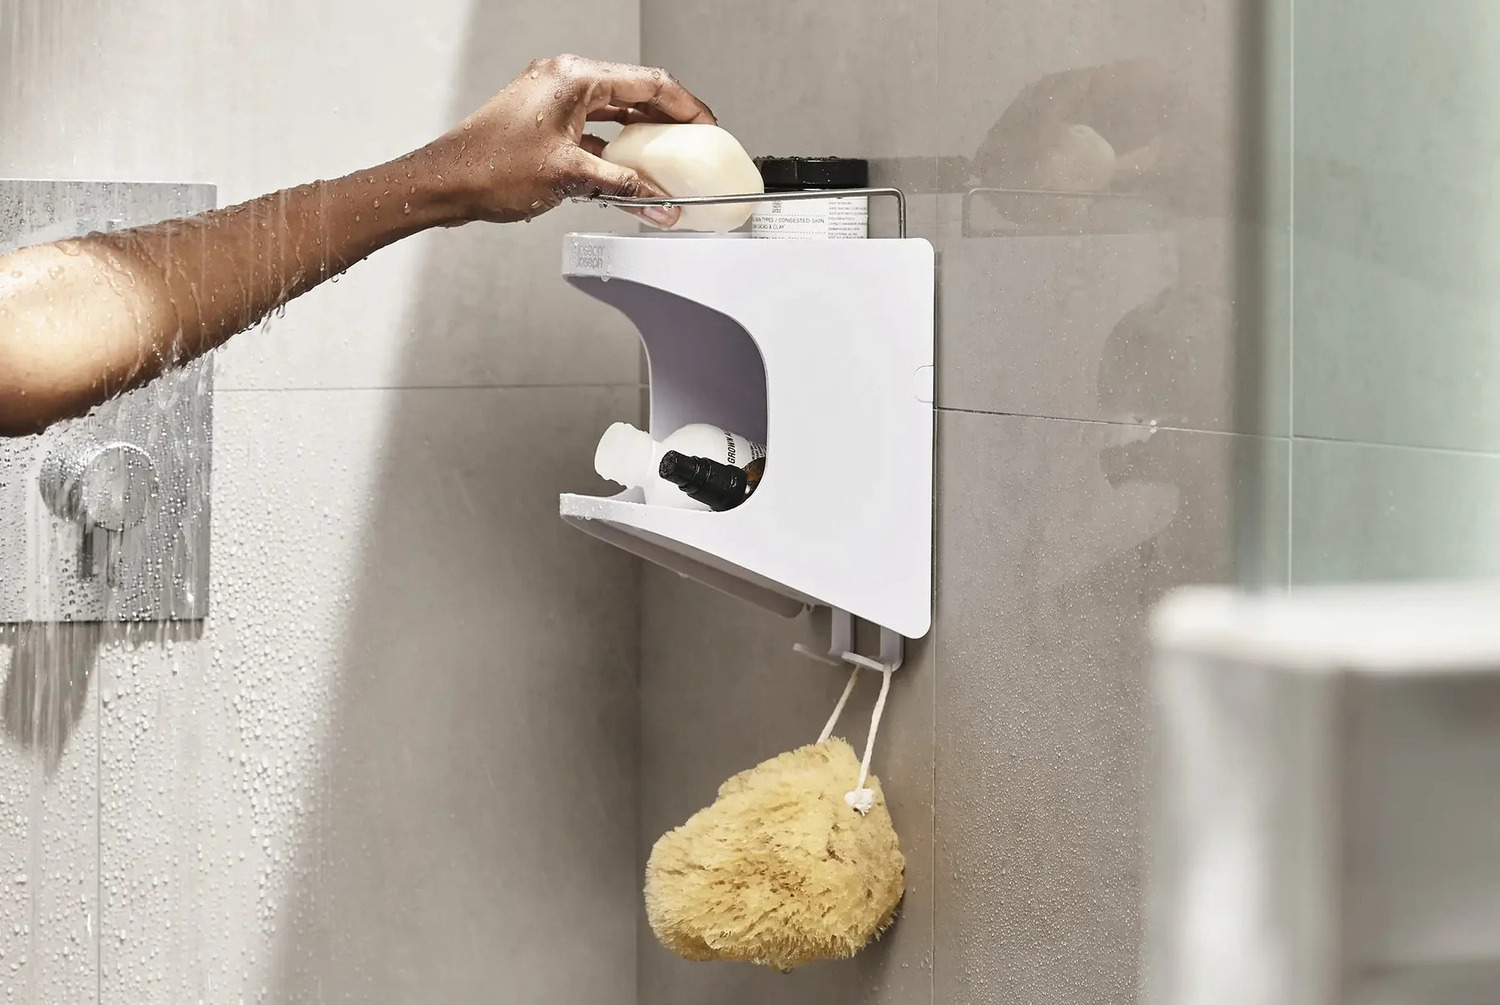
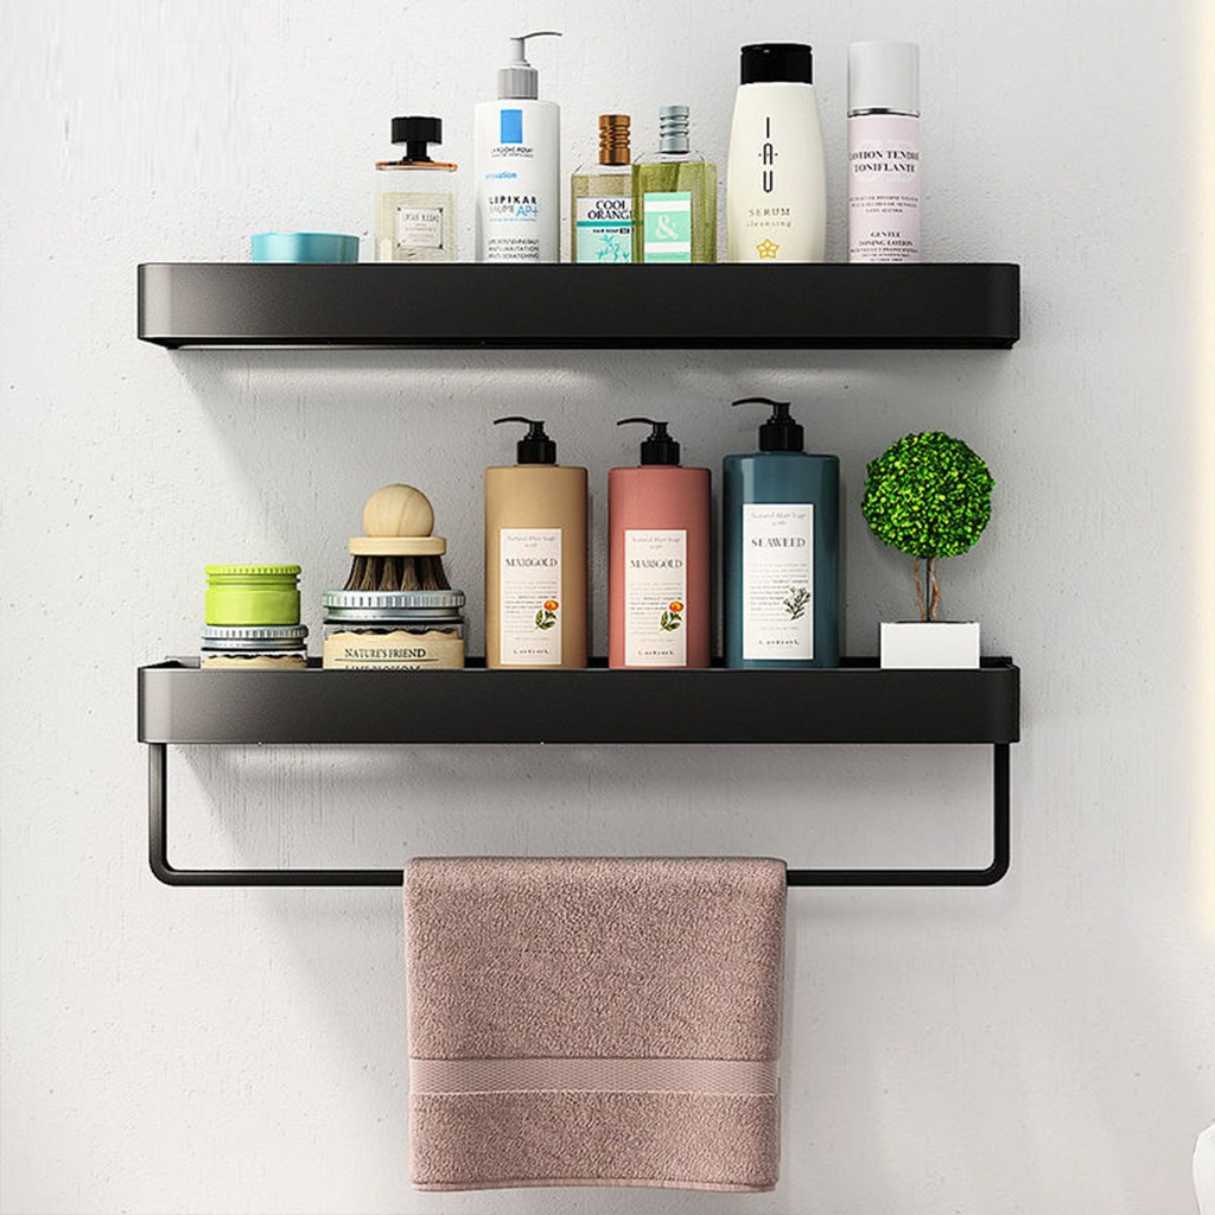
- Shower Caddy: Select a high-quality shower caddy that suits your preferences and the layout of your shower. Whether you opt for a tension pole caddy, over-the-door caddy, or wall-mounted caddy, ensure it complements your shower space.
- Mounting Hardware: If your chosen shower caddy requires mounting, ensure you have the appropriate hardware, such as screws, anchors, or brackets, based on your wall type (e.g., tile, drywall, or fiberglass).
- Optional Adhesive: For adhesive-mounted caddies, adhesive strips or suction cups may be necessary for secure attachment without drilling.
By gathering these essential tools and materials, you'll be well-prepared to proceed with the subsequent steps of measuring the shower space, selecting the right type of shower caddy, and ultimately completing the installation process with confidence and precision.
Step 2: Measure the shower space
Accurately measuring the shower space is a crucial initial step in the installation process of a shower caddy. By obtaining precise measurements, you can ensure that the chosen caddy fits seamlessly within your shower area, maximizing both functionality and aesthetic appeal.
Begin by using a reliable measuring tape to assess the dimensions of your shower space. Measure the width and height of the area where you intend to install the shower caddy. Take into account any obstructions such as shower fixtures, handles, or faucets that may impact the placement of the caddy.
It's essential to consider the available space for the caddy without obstructing the movement within the shower. Additionally, if you're opting for a wall-mounted caddy, measure the distance between existing fixtures or tiles to determine the ideal placement.
After obtaining these measurements, it's advisable to mark the intended placement of the shower caddy using a pencil or marker. This step allows you to visualize the positioning of the caddy and make any necessary adjustments before proceeding with the installation.
Furthermore, it's important to assess the material of the shower walls, as this will influence the installation method. For example, if you have tiled walls, you may require specific tools or hardware to securely mount the caddy without damaging the tiles.
By meticulously measuring the shower space and taking into account any potential obstacles or wall materials, you can make an informed decision when selecting the type of shower caddy that best suits your needs. Whether it's a corner caddy, hanging caddy, or over-the-door caddy, the accurate measurements will guide you in choosing the most suitable option for your shower area.
With the shower space accurately measured and marked, you are now ready to proceed to the next step of selecting the right type of shower caddy that complements your shower space and fulfills your organizational needs.
Read more: What To Put In A Shower Caddy
Step 3: Choose the right type of shower caddy
Selecting the right type of shower caddy is a pivotal decision that significantly impacts the organization and functionality of your shower space. With a myriad of options available, ranging from tension pole caddies to corner caddies and over-the-door caddies, it's essential to consider several factors to ensure the chosen caddy seamlessly integrates with your shower area.
When deliberating on the type of shower caddy, it's crucial to assess the layout and dimensions of your shower space. For compact showers with limited floor area, a corner caddy can efficiently utilize the vertical space, providing storage without occupying valuable floor space. Alternatively, tension pole caddies offer adjustable shelving and are ideal for accommodating varying heights of shower essentials, making them a versatile choice for different shower configurations.
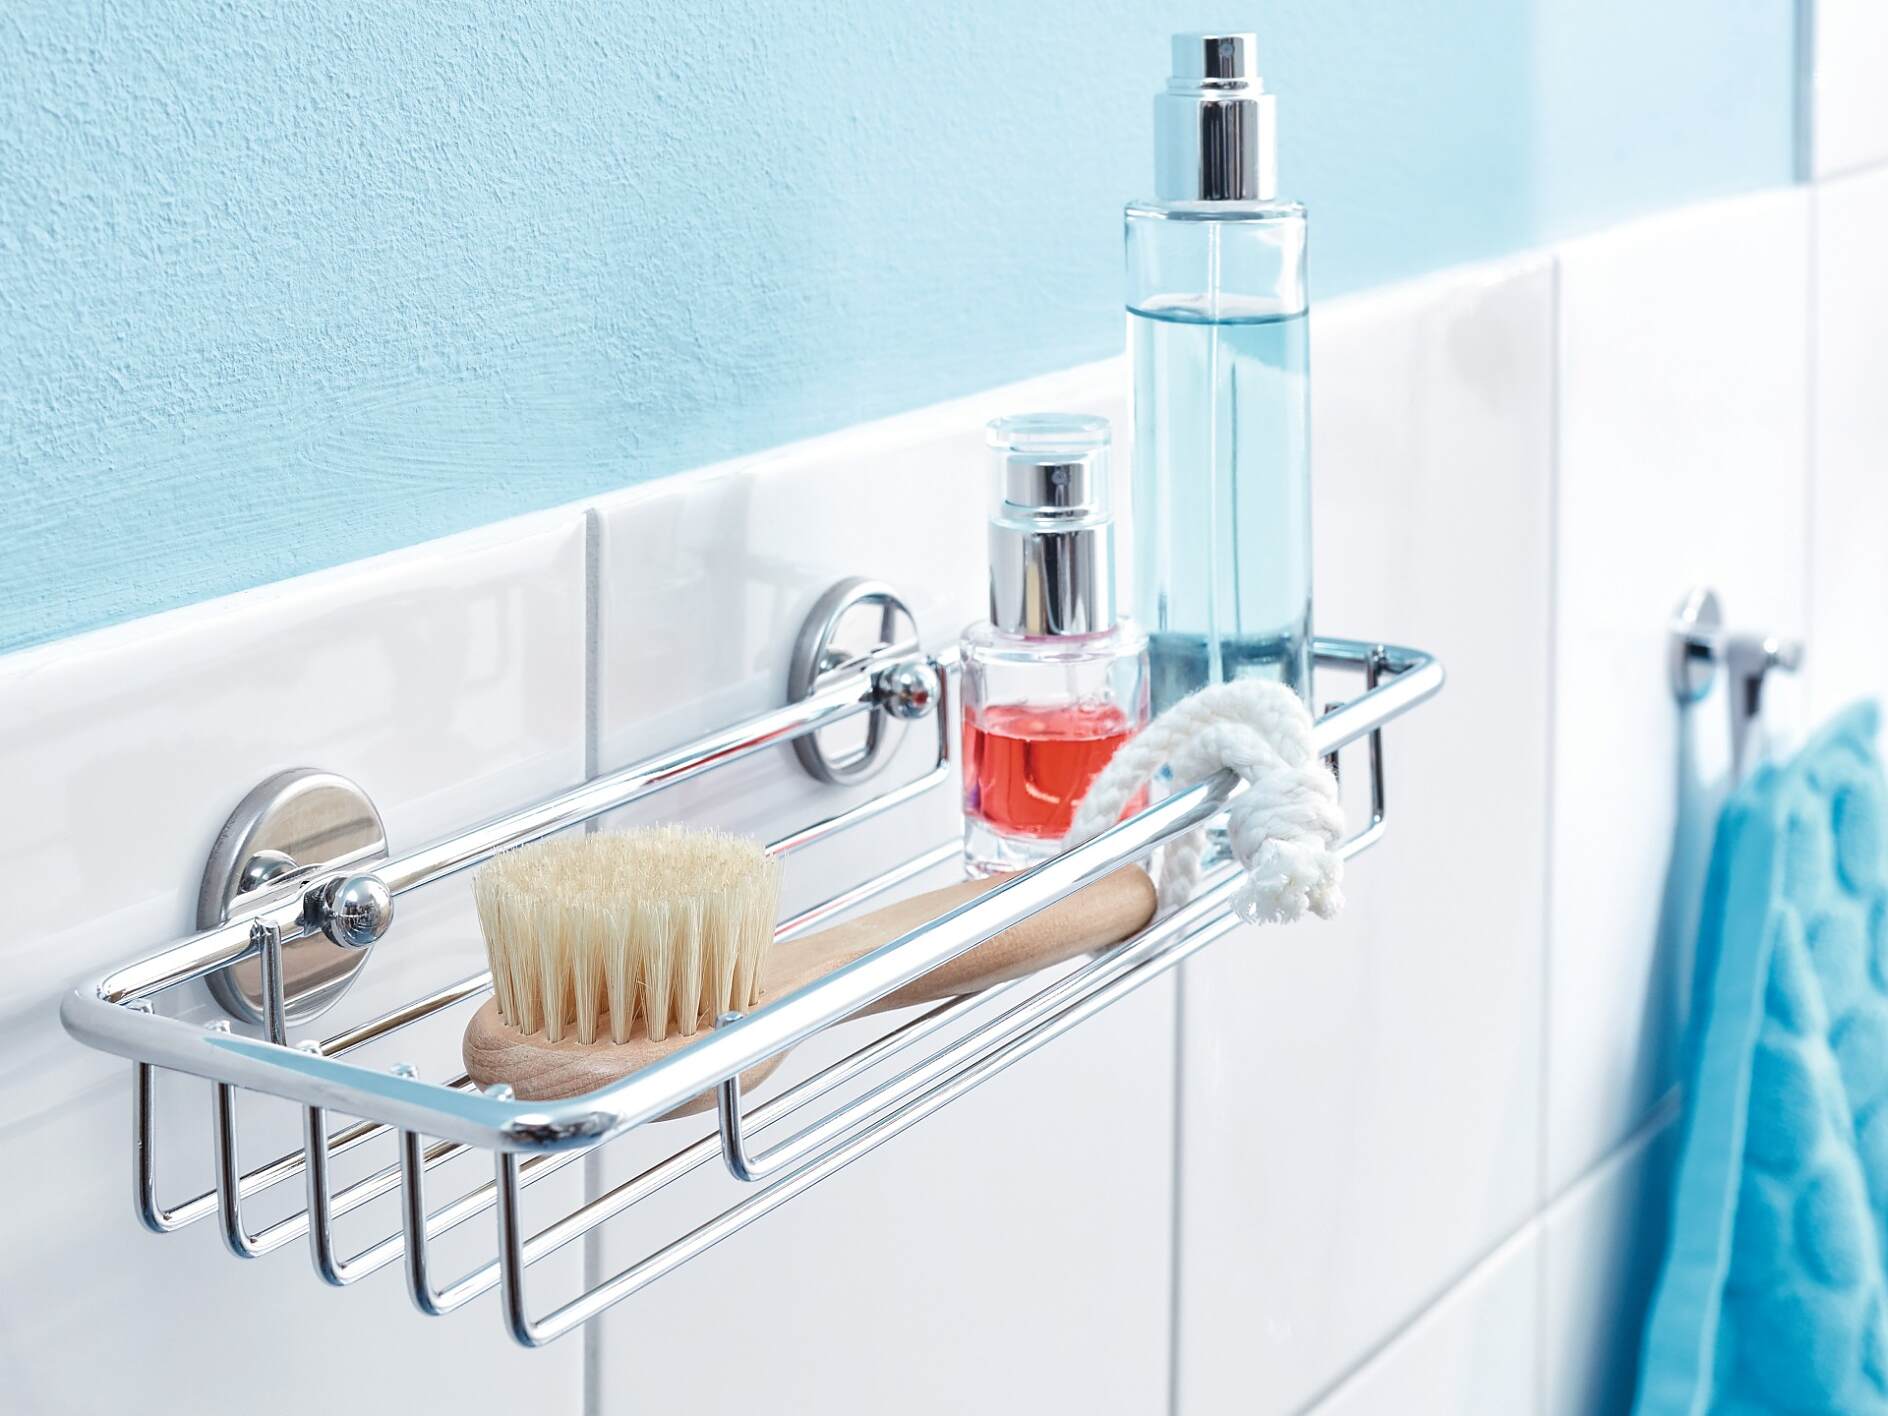
Furthermore, the material and construction of the shower caddy play a significant role in its durability and suitability for your shower environment. Stainless steel caddies are renowned for their corrosion resistance and sleek appearance, making them an excellent choice for modern bathrooms. On the other hand, plastic or aluminum caddies offer lightweight and rust-resistant options, catering to diverse preferences and budget considerations.
Consider the specific storage needs and the items you intend to store in the caddy. If you have an array of tall shampoo bottles, a caddy with adjustable shelves or tall storage compartments can accommodate these items with ease. Additionally, some caddies feature hooks or holders for razors, loofahs, or washcloths, providing convenient storage solutions for various shower accessories.
Another crucial consideration is the installation method that aligns with your preferences and the characteristics of your shower walls. While tension pole caddies and over-the-door caddies offer hassle-free installation without drilling, wall-mounted caddies provide a permanent and sturdy storage solution. It's essential to evaluate the feasibility and structural integrity of the installation method, ensuring that it complements your shower space and meets your long-term requirements.
By carefully considering these factors and evaluating the specific attributes of each type of shower caddy, you can make an informed decision that enhances the organization and visual appeal of your shower area. The chosen caddy should seamlessly integrate with your shower space, providing efficient storage solutions and elevating the functionality of your daily shower routine. With the right type of shower caddy selected, you are now prepared to proceed with the installation process, bringing your vision of a well-organized and visually appealing shower space to fruition.
Step 4: Install the shower caddy
With the necessary tools, materials, and a clear understanding of your shower space and chosen caddy type, you are now ready to proceed with the installation of the shower caddy. Follow these step-by-step instructions to ensure a seamless and secure installation process:
-
Prepare the Installation Area: Begin by clearing the designated installation area in your shower. Remove any existing shower caddies or storage units, ensuring a clean and unobstructed space for the new installation. Wipe down the area to remove any residue or debris that may affect the adhesion or mounting of the new caddy.
-
Follow Manufacturer's Instructions: If your shower caddy comes with specific installation instructions provided by the manufacturer, carefully review and follow these guidelines. Pay close attention to any recommended mounting or assembly steps to ensure the caddy is installed correctly and securely.
-
Position the Caddy: Based on your earlier measurements and markings, position the shower caddy at the desired location within the shower. If you are installing a tension pole caddy, extend the pole to fit securely between the floor and ceiling, ensuring a stable and level placement. For wall-mounted caddies, align the caddy with the marked spots, ensuring it is level and centered according to your preferences.
-
Secure the Caddy: Depending on the installation method, use the appropriate tools and hardware to secure the caddy in place. For wall-mounted caddies, use a power drill to create pilot holes for screws or anchors, then carefully fasten the caddy to the wall using the provided hardware. Ensure the caddy is firmly attached and level to prevent any instability or tilting.
-
Adjust and Test Stability: Once the caddy is secured, test its stability by gently placing shower essentials and accessories on the shelves or compartments. Ensure that the caddy can support the weight without shifting or becoming unbalanced. If necessary, make any adjustments to the positioning or fastening of the caddy to achieve optimal stability.
-
Adhere Adhesive-Mounted Caddies: If you are installing an adhesive-mounted caddy, carefully follow the adhesive application instructions provided by the manufacturer. Apply the adhesive strips or suction cups as directed, ensuring a secure and reliable attachment to the shower walls without the need for drilling.
By following these detailed steps, you can successfully install the shower caddy, transforming your shower space into a well-organized and functional area. With the caddy securely in place, you can enjoy the convenience of easily accessible shower essentials while maintaining a clutter-free and visually appealing shower environment.
When installing a shower caddy, make sure to clean and dry the surface before applying any adhesive. This will help the caddy stick better and prevent it from falling down.
Step 5: Test the stability and adjust if necessary
Once the shower caddy is securely installed, it's crucial to test its stability and make any necessary adjustments to ensure its reliability and functionality. This step is essential for confirming that the caddy can effectively support the weight of shower essentials and accessories without the risk of tilting, shifting, or becoming unbalanced.
To begin the stability testing process, carefully place your shampoo bottles, body wash, and other shower essentials onto the shelves or compartments of the caddy. Pay close attention to any signs of instability or imbalance as you load the caddy with items of varying weights and sizes. Gently nudge the caddy to assess its resistance to movement and ensure that it remains firmly in place.
Next, evaluate the alignment and levelness of the caddy to guarantee that it complements the visual symmetry of your shower space. Using a reliable level, check that the caddy is perfectly horizontal or vertical, depending on its orientation, to maintain a polished and professional appearance.
If any instability or misalignment is detected during the testing phase, promptly address these issues by making the necessary adjustments. For wall-mounted caddies, carefully loosen the mounting hardware, reposition the caddy as needed, and securely fasten it once again to achieve optimal stability. Tension pole caddies may require minor height adjustments to ensure a snug fit between the floor and ceiling, preventing any wobbling or swaying.
In the case of adhesive-mounted caddies, verify that the adhesive strips or suction cups provide a secure attachment to the shower walls. If any slippage or detachment occurs, reapply the adhesive as per the manufacturer's instructions, ensuring a reliable and durable bond without compromising the integrity of the walls.
Throughout the stability testing and adjustment process, prioritize the safety and longevity of the installation, aiming to create a robust and dependable storage solution for your shower essentials. By meticulously testing the stability of the caddy and promptly addressing any issues, you can guarantee a secure and visually pleasing addition to your shower space, enhancing both its functionality and aesthetic appeal.
With the stability testing completed and any necessary adjustments made, your newly installed shower caddy is now ready to streamline your shower routine, providing convenient access to your favorite bath and body products while maintaining a tidy and organized shower environment.
Conclusion
In conclusion, the installation of a shower caddy is a transformative addition to any bathroom, offering practical organization and convenient accessibility for shower essentials. By following the step-by-step process outlined in this guide, you can seamlessly integrate a shower caddy into your shower space, elevating both its functionality and visual appeal.
From the initial gathering of tools and materials to the meticulous measurement of the shower space, each step contributes to a well-informed and precise installation. The careful consideration of the shower caddy type ensures that it harmonizes with the specific layout and storage needs of your shower, creating a tailored solution for organizing bath and body products.
The installation process itself, whether involving wall-mounted, tension pole, or adhesive-mounted caddies, demands attention to detail and a commitment to stability and reliability. By adhering to manufacturer's instructions and conducting thorough stability testing, you can ensure that the installed caddy enhances your shower experience without compromising safety or aesthetics.
Upon completing the installation and stability testing, the newly installed shower caddy becomes a functional and visually pleasing asset to your bathroom. With shower essentials neatly organized and easily accessible, you can streamline your daily shower routine, eliminating clutter and enhancing the overall ambiance of your shower space.
Ultimately, the installation of a shower caddy represents a significant enhancement to your bathroom, reflecting a commitment to organization, convenience, and a well-curated living space. Whether you opt for a sleek stainless steel wall-mounted caddy or a versatile tension pole caddy, the impact of a well-installed shower caddy extends beyond mere storage, contributing to a more enjoyable and efficient bathing experience.
In embracing the installation process outlined in this guide, you have taken a proactive step toward optimizing your shower space and elevating the functionality of your bathroom. With a well-organized and visually appealing shower area, you can savor the convenience and comfort of a thoughtfully curated bathing environment, enhancing your daily routine and the overall ambiance of your home.
Frequently Asked Questions about How To Install A Shower Caddy
Was this page helpful?
At Storables.com, we guarantee accurate and reliable information. Our content, validated by Expert Board Contributors, is crafted following stringent Editorial Policies. We're committed to providing you with well-researched, expert-backed insights for all your informational needs.


0 thoughts on “How To Install A Shower Caddy”